Mulching is one of the best things you can do for your garden—especially in the fall. A well-applied layer of mulch helps regulate soil temperature, retain moisture, suppress weeds, and protect plant roots from harsh winter conditions. However, while the benefits of mulching are undeniable, doing it incorrectly can do more harm than good.
Many gardeners make simple mistakes in fall mulching that can lead to problems like root rot, pest infestations, and poor plant growth come spring. To help you protect your plants and make your garden thrive year-round, here are five common mulching mistakes to avoid this fall—plus expert tips on how to do it the right way.
1. Piling Mulch Too High (“Volcano Mulching”)
One of the most common and damaging mistakes gardeners make is piling mulch up high around the base of trees and shrubs—a practice often called “volcano mulching.” While it may look tidy, it creates a mound that traps moisture and encourages rot at the base of plants.
Why It’s a Problem:
- Trapped moisture can lead to bark decay and root rot.
- It creates a cozy environment for rodents and insects, which may chew on bark or roots.
- Excess mulch can suffocate roots by limiting air and water movement into the soil.
The Right Way:
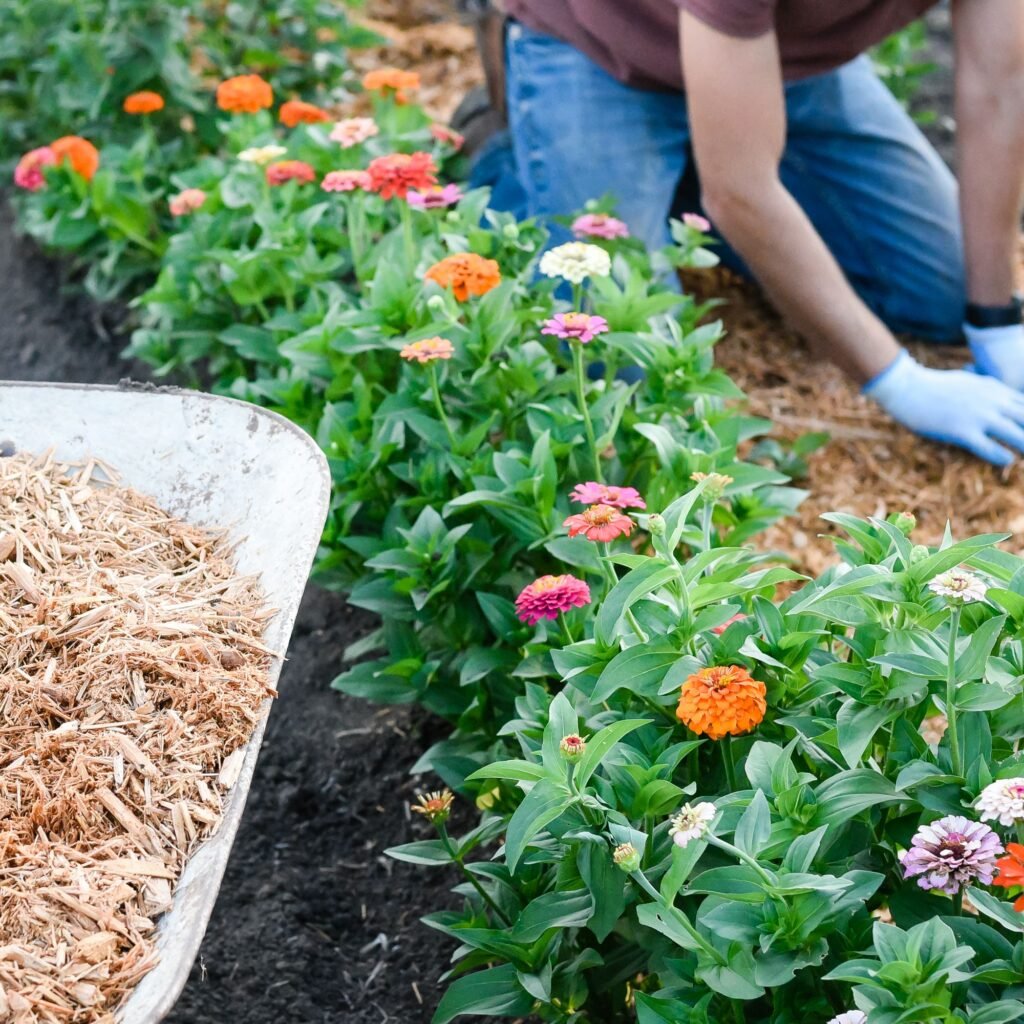
- Spread mulch in a flat, even layer, keeping it 2–3 inches deep.
- Leave a 2–4 inch gap between the mulch and the base of trees or plant stems.
- For large trees, extend mulch to the drip line (the area beneath the outermost branches) to protect the root zone.
Expert Tip: If you already have mulch piled too high, gently pull it back from the trunk or crown to allow airflow and prevent rot.

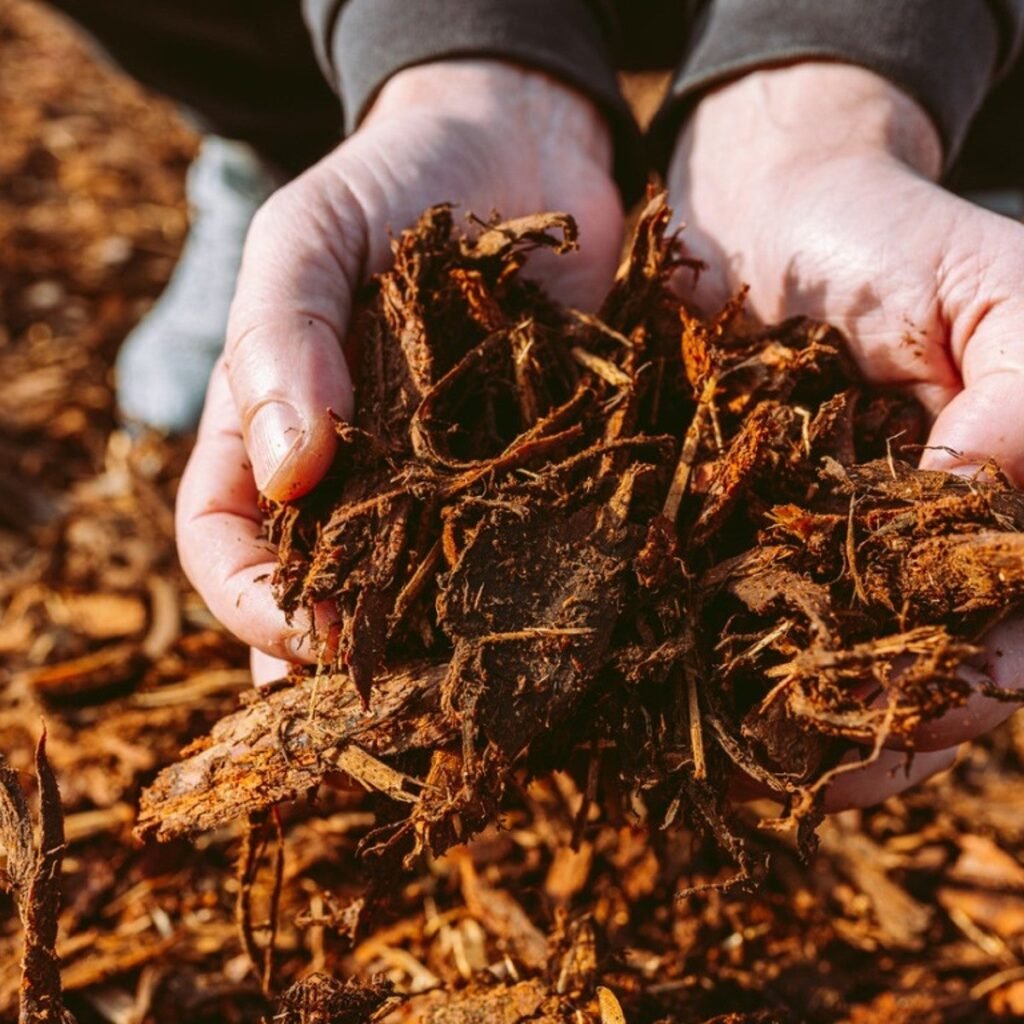
2. Using the Wrong Type of Mulch for the Season
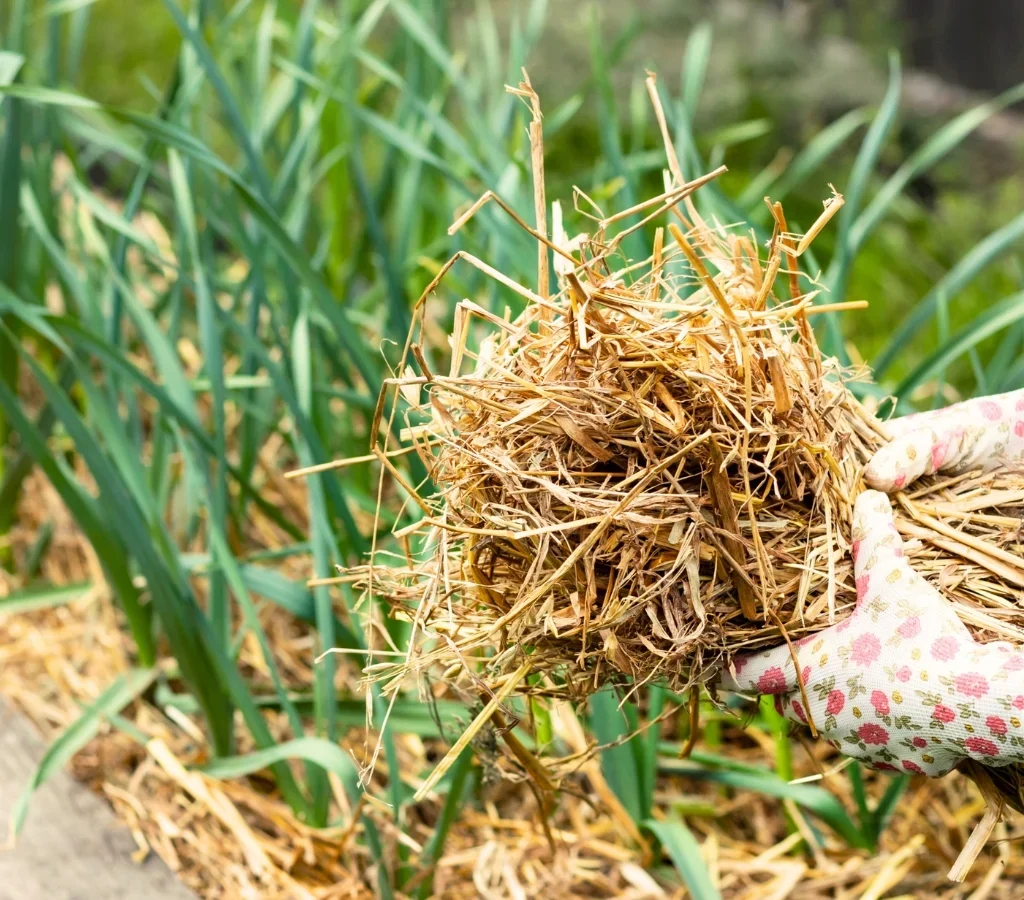
Not all mulch is created equal—and using the wrong kind in fall can cause more problems than it solves. Organic mulches like wood chips, shredded bark, and leaves decompose over time, enriching the soil. But some mulches, like fresh wood chips, can temporarily rob the soil of nitrogen as they break down.
Why It’s a Problem:
- Fresh or unfinished mulch can deplete nutrients from the soil.
- Certain materials, like dyed or rubber mulch, may contain chemicals that are harmful to plants and soil microbes.
- Mulch that retains too much water (such as thick layers of grass clippings) can create excess moisture, leading to fungal growth or mold.
The Right Way:
- Use aged organic mulch, such as shredded bark, composted leaves, or straw, which enriches the soil while protecting plants.
- Avoid thick mats of grass clippings or sawdust, which can compact and block air circulation.
- Choose mulch that suits your plant type—pine bark for shrubs, compost or leaf mold for flower beds, and pine needles for acid-loving plants like azaleas or blueberries.
Expert Tip: Combine coarse mulch (like bark chips) on top of finer mulch (like compost) for a balance of insulation and nutrient value.
3. Applying Mulch Too Early (or Too Late)
Timing matters more than most gardeners realize. Mulching too early in the fall can trap warm air in the soil, encouraging plants to keep growing instead of going dormant. On the other hand, mulching too late may leave roots exposed to the season’s first hard frost.
Why It’s a Problem:

- Early mulching can lead to premature growth, making plants vulnerable when temperatures drop.
- Late mulching means roots aren’t insulated in time, risking frost damage.
The Right Way:
- Wait until the first few hard frosts have occurred but before the ground freezes completely.
- This ensures plants are dormant, and the mulch acts as insulation rather than a heat trap.
- In most regions, the ideal time is late October to mid-November, depending on local climate.
Expert Tip: If you’re unsure, do a quick soil test—if the soil feels cold and firm but not frozen, it’s the perfect time to mulch.
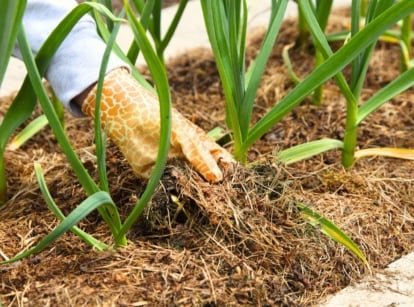
4. Ignoring Weed Growth Before Mulching
Many gardeners rush to spread mulch without clearing weeds first, assuming that a thick layer will smother them. While mulch does help suppress new weed growth, existing weeds can still thrive underneath if not properly removed. Their roots can continue spreading and even push through the mulch layer in spring.
Why It’s a Problem:
- Weeds compete with plants for water and nutrients.
- Some hardy weeds, like dandelions or bindweed, can grow through thick mulch.
- Leaving weeds behind can make next season’s cleanup much harder.
The Right Way:
- Before mulching, thoroughly remove all weeds, including roots and runners.
- Apply a weed barrier—such as cardboard, newspaper, or a layer of compost—underneath your mulch to block light and prevent new growth.
- Aim for a mulch depth of 2–4 inches, which is thick enough to discourage weed seedlings but still allows air and water to penetrate.
Expert Tip: Avoid using plastic sheeting under mulch. It prevents water and oxygen from reaching plant roots and can cause soil health to decline over time.

5. Forgetting to Maintain Mulch Throughout the Season
Many gardeners treat mulching as a “set it and forget it” task—but that’s a mistake. Over the winter, mulch can compress, blow away, or decompose unevenly, reducing its effectiveness. Ignoring it can lead to exposed soil, poor drainage, or even root stress when temperatures fluctuate.
Why It’s a Problem:
- Compacted mulch prevents air and water from reaching roots.
- Thin or displaced mulch leaves soil vulnerable to freezing.
- Decomposing mulch may introduce mold or fungus if not refreshed periodically.
The Right Way:
- Inspect mulch every few weeks throughout the fall and winter.
- If it has compacted, gently fluff it with a rake to restore airflow.
- If areas look thin or bare, add a light top-up layer to maintain even coverage.
- Remove decayed or moldy sections before adding fresh material.
Expert Tip: In spring, rake away some of the old mulch to let soil warm up and breathe—this prevents mold and encourages new plant growth.
Bonus Tips for Fall Mulching Success
- Measure Depth Carefully: Aim for 2–3 inches for most plants. Too little won’t insulate roots, and too much can suffocate them.
- Keep Mulch Dry Before Applying: Wet mulch clumps easily, making it harder to spread evenly.
- Don’t Mulch Annual Beds Too Early: Wait until after removing spent plants to prevent spreading disease or pests.
- Use Mulch Around Perennials Wisely: Keep the crown area (where stems meet roots) free from mulch to avoid rot.
- Mix Old and New Mulch: Refresh existing mulch by turning it and blending in new material to maintain consistency and nutrient balance.
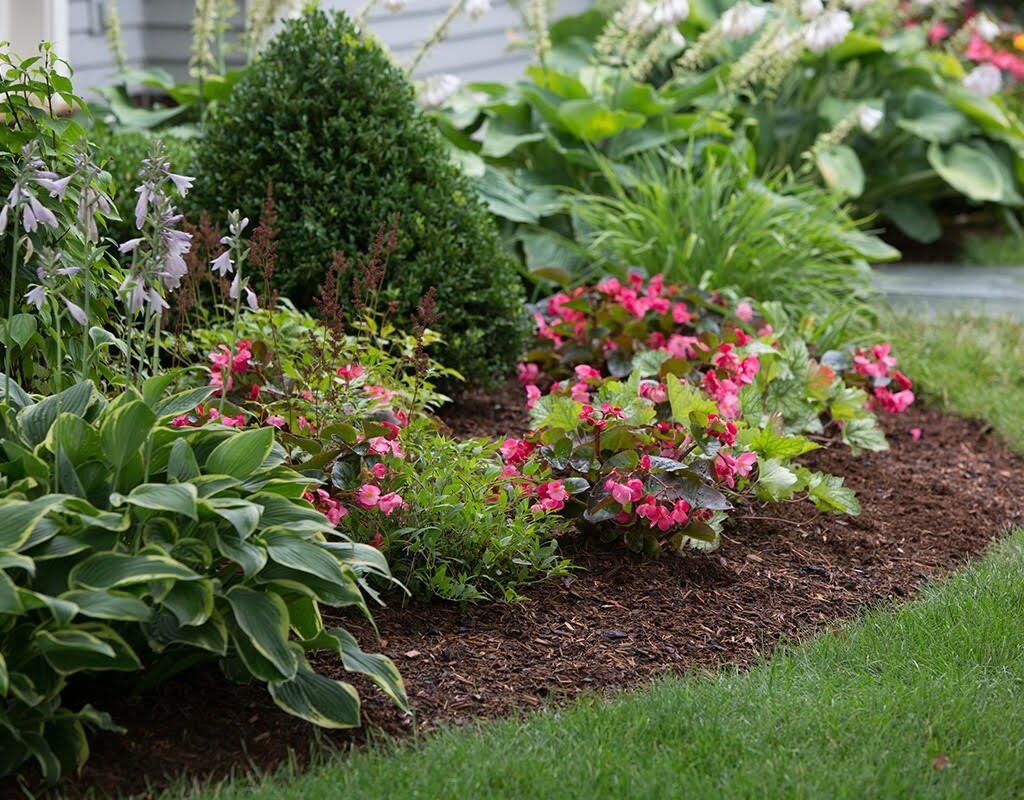
The Benefits of Getting Fall Mulching Right
When done correctly, mulching in fall provides long-term rewards for your garden. Here’s what you gain:
- Better Soil Health: Organic mulch breaks down over winter, adding nutrients for spring growth.
- Improved Moisture Retention: Prevents soil from drying out during windy, cold months.
- Temperature Regulation: Insulates plant roots from extreme cold and prevents freeze-thaw cycles that can heave plants out of the soil.
- Fewer Weeds: A consistent mulch layer blocks sunlight, reducing early spring weed germination.
- Healthier, More Resilient Plants: Protects root systems and ensures a strong start when growing season returns.
Conclusion: Mulch Smart, Not Hard
Mulching is a simple, affordable, and incredibly effective way to protect your garden—but only if you do it right. By avoiding common mistakes like piling mulch too high, using the wrong materials, or applying it at the wrong time, you’ll give your plants the best possible chance to thrive through winter and beyond.

Think of fall mulching as an investment: the care and attention you put in now will pay off when your garden bursts back to life in spring. A little effort today ensures healthy soil, stronger roots, and a more beautiful, resilient garden year-round.
Leave A Comment