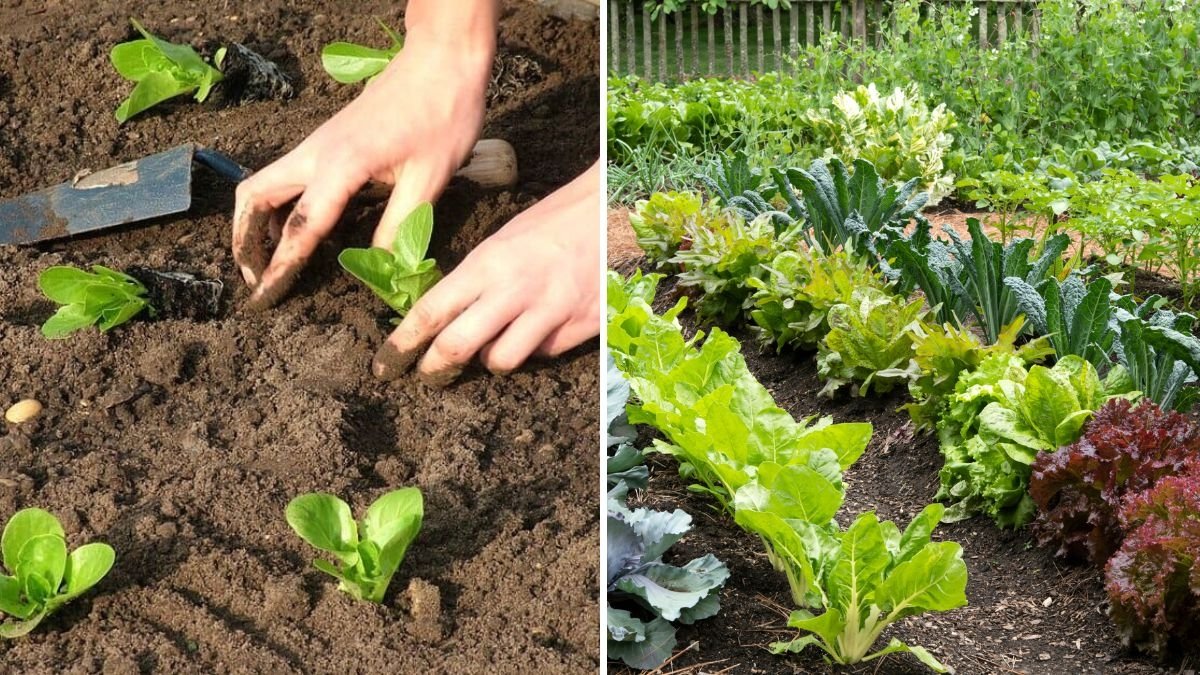
A thriving vegetable garden starts from the ground up — quite literally. No matter how carefully you choose your plants, water them, or care for them, your vegetables will never reach their full potential if the soil isn’t properly prepared. Healthy soil is the foundation of a productive garden, teeming with nutrients, organic matter, and beneficial organisms that help your vegetables grow strong and delicious.
Whether you’re starting a brand-new garden bed or rejuvenating an old one, this 7-step guide to preparing soil for vegetable gardens will help you create the perfect growing environment for your plants — rich, well-draining, and full of life.
Step 1: Assess Your Soil Type and Condition
Before you add anything to your garden, you need to know what you’re working with. Different soil types hold water, nutrients, and air differently — and understanding yours is the first step to improving it.
Common Soil Types:
- Clay Soil: Dense and sticky when wet, hard when dry. It holds water well but drains poorly. Great for moisture retention, but roots may struggle to breathe.
- Sandy Soil: Gritty and loose; drains quickly but doesn’t retain nutrients well.
- Silty Soil: Smooth and soft; holds water better than sandy soil and contains more nutrients.
- Loamy Soil: The ideal mix — a balance of clay, sand, and silt. It retains moisture yet drains well and supports healthy microbial activity.
Simple Soil Tests You Can Do at Home:
- The Squeeze Test: Grab a handful of moist soil and squeeze it.
- If it crumbles easily, it’s loamy.
- If it sticks together like clay, it’s clay-heavy.
- If it falls apart quickly, it’s sandy.
- The Jar Test: Mix a cup of soil with water in a clear jar, shake it, and let it settle overnight. The layers (sand, silt, and clay) will separate, showing your soil composition.
Once you know your soil type, you can plan how to improve its structure for vegetable growth.
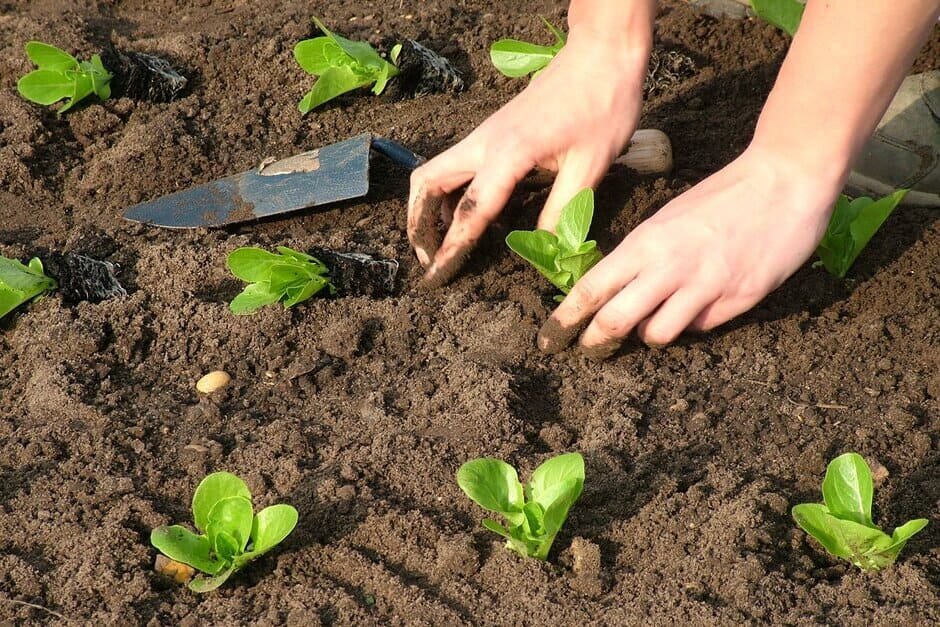
Step 2: Clear and Clean the Planting Area
Healthy soil needs a clean, clutter-free base. Begin by clearing your garden area of weeds, old roots, rocks, and debris.

- Pull out weeds completely, including roots, to prevent regrowth.
- Remove dead plant material from previous crops that might harbor pests or disease.
- Loosen the soil using a garden fork or tiller — this helps air and water move freely.
If you’re working with raised beds or containers, clean them thoroughly before adding new soil or compost to eliminate lingering pathogens.
Step 3: Test and Adjust Soil pH
The pH level of your soil determines how well your plants can absorb nutrients. Most vegetables prefer a slightly acidic to neutral pH — between 6.0 and 7.0.
How to Test Soil pH:
- Use an inexpensive home pH test kit or digital pH meter.
- Alternatively, collect a soil sample and send it to a local agricultural extension or garden center for a professional test.
Adjusting pH Levels:
- If your soil is too acidic (below 6.0), add garden lime or crushed eggshells to raise the pH.
- If your soil is too alkaline (above 7.5), mix in elemental sulfur, pine needles, or peat moss to lower the pH.
Maintaining the right pH ensures that essential nutrients like nitrogen, phosphorus, and potassium remain available to your vegetables.
Step 4: Enrich the Soil with Organic Matter
Organic matter is the heart of healthy soil — it improves texture, water retention, drainage, and fertility.
Best Organic Additives for Vegetable Soil:
- Compost: The gold standard for soil improvement. It adds nutrients and beneficial microbes.
- Aged Manure: Cow, horse, or chicken manure (well-composted) boosts nitrogen levels.
- Leaf Mold: Decomposed leaves enhance soil structure and water retention.
- Coconut Coir or Peat Moss: Improves aeration and moisture balance, especially in sandy or clay-heavy soils.
Spread a 2–3 inch layer of compost or organic matter on top of your soil and mix it in about 6–8 inches deep using a garden fork or tiller. This step transforms lifeless dirt into nutrient-rich, living soil.

Step 5: Improve Soil Structure and Drainage
Even nutrient-rich soil can fail if it doesn’t have proper drainage or structure. Vegetables need soil that’s both moist and airy, allowing roots to expand easily.
For Clay Soil:
- Add coarse sand, gypsum, or compost to break up compacted particles.
- Create raised beds to improve drainage and prevent waterlogging.
For Sandy Soil:
- Add compost, leaf mold, or aged manure to retain nutrients and moisture.
- Use mulch to slow down evaporation.
For Poorly Draining Soil:
- Consider installing a French drain or raised bed system.
- Avoid stepping on wet soil — this compacts it and reduces air spaces needed for root health.
By improving soil texture and drainage, you’ll create a welcoming environment for your vegetables to establish strong roots and grow vigorously.
Step 6: Add Nutrients and Natural Fertilizers
Vegetables are heavy feeders — they extract lots of nutrients from the soil as they grow. Replenishing these nutrients is essential for sustained productivity.
Key Nutrients for Vegetable Growth:
- Nitrogen (N): Promotes leafy green growth. Found in blood meal, fish emulsion, or compost.
- Phosphorus (P): Supports root development and flowering. Found in bone meal or rock phosphate.
- Potassium (K): Strengthens plant structure and boosts disease resistance. Found in wood ash, kelp meal, or greensand.
Fertilizing Tips:
- Mix slow-release organic fertilizer into the soil before planting.
- During the growing season, feed your plants every 3–4 weeks with a balanced liquid fertilizer.
- Always follow the recommended dosage — too much fertilizer can burn roots or upset soil balance.
For best results, alternate between compost-based feeds and liquid fertilizers to maintain both short-term and long-term soil fertility.
Step 7: Mulch and Maintain Your Soil
After preparing your soil, it’s crucial to protect all the hard work you’ve done. Mulching locks in moisture, suppresses weeds, and regulates soil temperature — creating a stable growing environment for your vegetables.

Best Mulching Materials:
- Straw or Hay: Great for vegetable beds — keeps soil cool and moist.
- Compost or Leaf Mold: Adds nutrients as it breaks down.
- Grass Clippings: Use a thin layer to avoid compacting.
- Wood Chips or Bark: Ideal for pathways or perennial beds but less suited for root crops.
Spread a 2–3 inch layer of mulch around your plants, leaving a few inches of space near the stems to prevent rot.
Ongoing Soil Maintenance:
- Rotate crops each season to prevent nutrient depletion and pest buildup.
- Top-dress with compost each spring to refresh organic content.
- Avoid over-tilling, as it can disrupt beneficial soil organisms.
- Keep soil moist but not waterlogged — consistency is key for vegetable roots.
By maintaining your soil year-round, you’ll ensure every planting season starts off strong.
Final Thoughts
Preparing your soil for a vegetable garden is more than a one-time task — it’s an ongoing process of nurturing the living ecosystem beneath your feet. When you invest time in creating nutrient-rich, well-structured soil, your plants will reward you with faster growth, higher yields, and superior flavor.
This 7-step guide simplifies the process:
- Understand your soil.
- Clear and clean the area.
- Balance the pH.
- Add organic matter.
- Improve drainage.
- Feed your plants.
- Protect your soil with mulch.
With each step, you’re building the foundation for a thriving vegetable garden — one that will continue to produce healthy, vibrant crops season after season.

So grab your shovel, test your soil, and start preparing — because great gardens always begin with great soil!
Leave A Comment