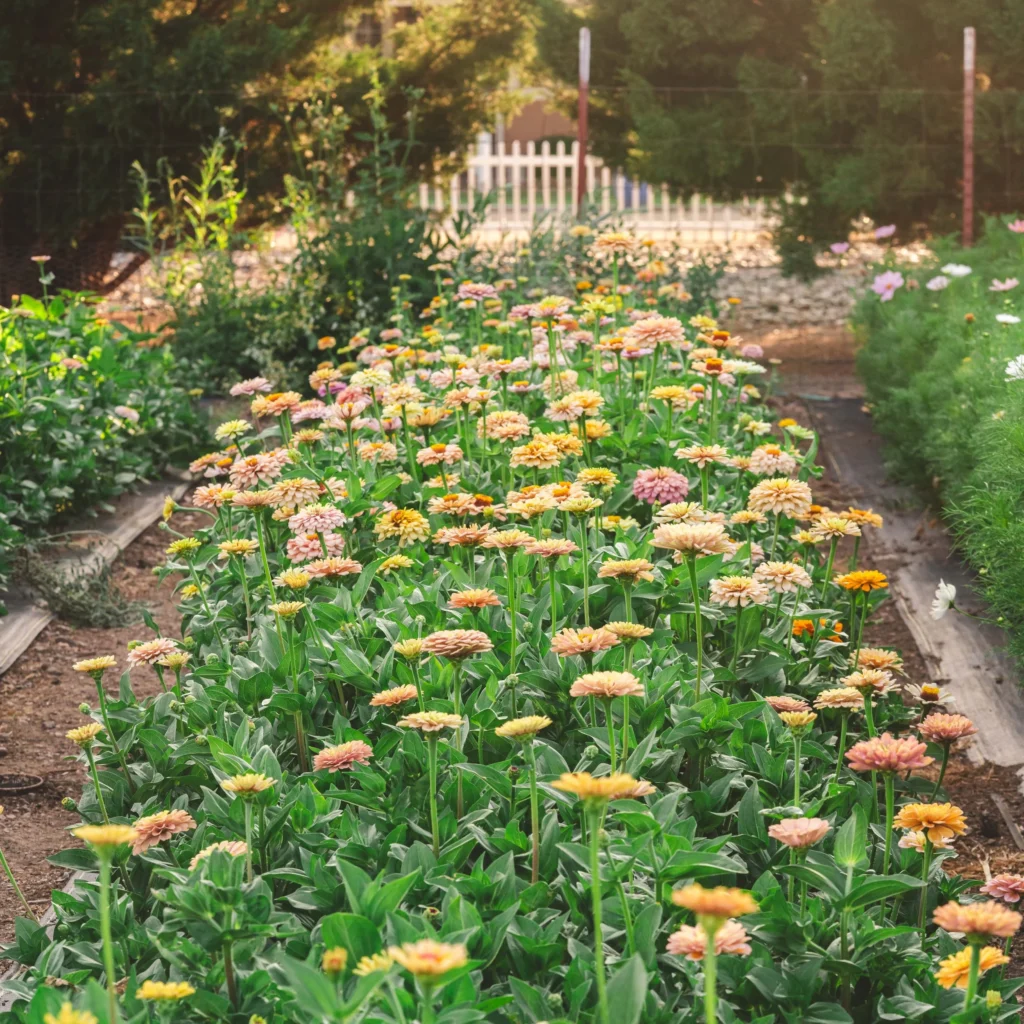
Zinnias are among the most rewarding flowers a gardener can grow. With their brilliant colors, endless varieties, and long-lasting blooms, they brighten up beds, borders, and containers all summer long. But beyond their beauty, zinnias are also one of the easiest flowers to save seeds from, allowing you to enjoy their charm year after year without spending extra money on new packets. Seed saving is not just economical—it’s also deeply satisfying, connecting you with the natural cycle of life in your garden.
In this guide, we’ll explore step-by-step methods to save zinnia seeds for next season’s blooms, from choosing the right plants to harvesting, drying, and storing seeds properly. Whether you’re a beginner or a seasoned gardener, you’ll find practical tips to ensure your next crop of zinnias is just as vibrant as this year’s.
Why Save Zinnia Seeds?

Before diving into the process, let’s understand why saving zinnia seeds is such a smart gardening practice:
- Cost-effective gardening – Instead of buying fresh seeds every spring, you can collect hundreds of seeds from just a few zinnia flowers.
- Sustainability – Saving seeds reduces reliance on commercial seed companies and contributes to self-sufficient gardening.
- Adaptation – Seeds saved from your garden adapt over time to local soil, pests, and weather conditions, often performing better than store-bought ones.
- Sentimental value – Maybe you grew a variety you particularly loved; saving seeds ensures you can grow it again.
Understanding Zinnia Seed Biology
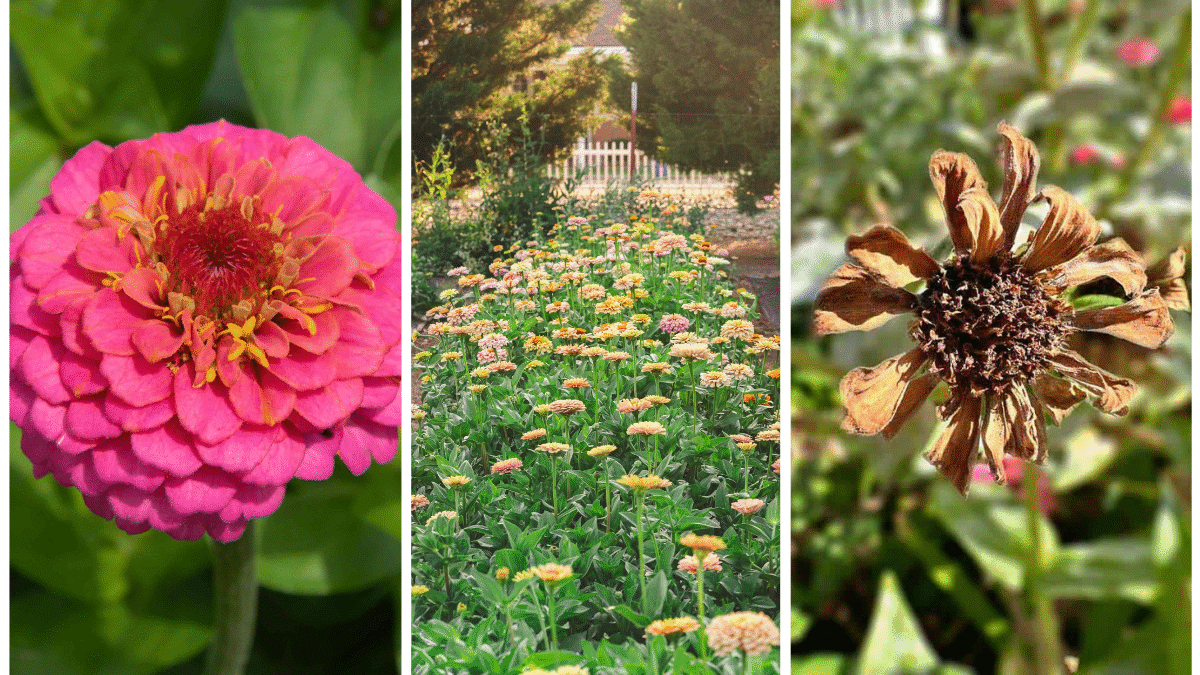
Zinnia seeds are found in the dried flower heads, attached to the base of each petal. They are wedge-shaped, flat, and often brown or grayish when mature. To save seeds successfully, it’s important to know:
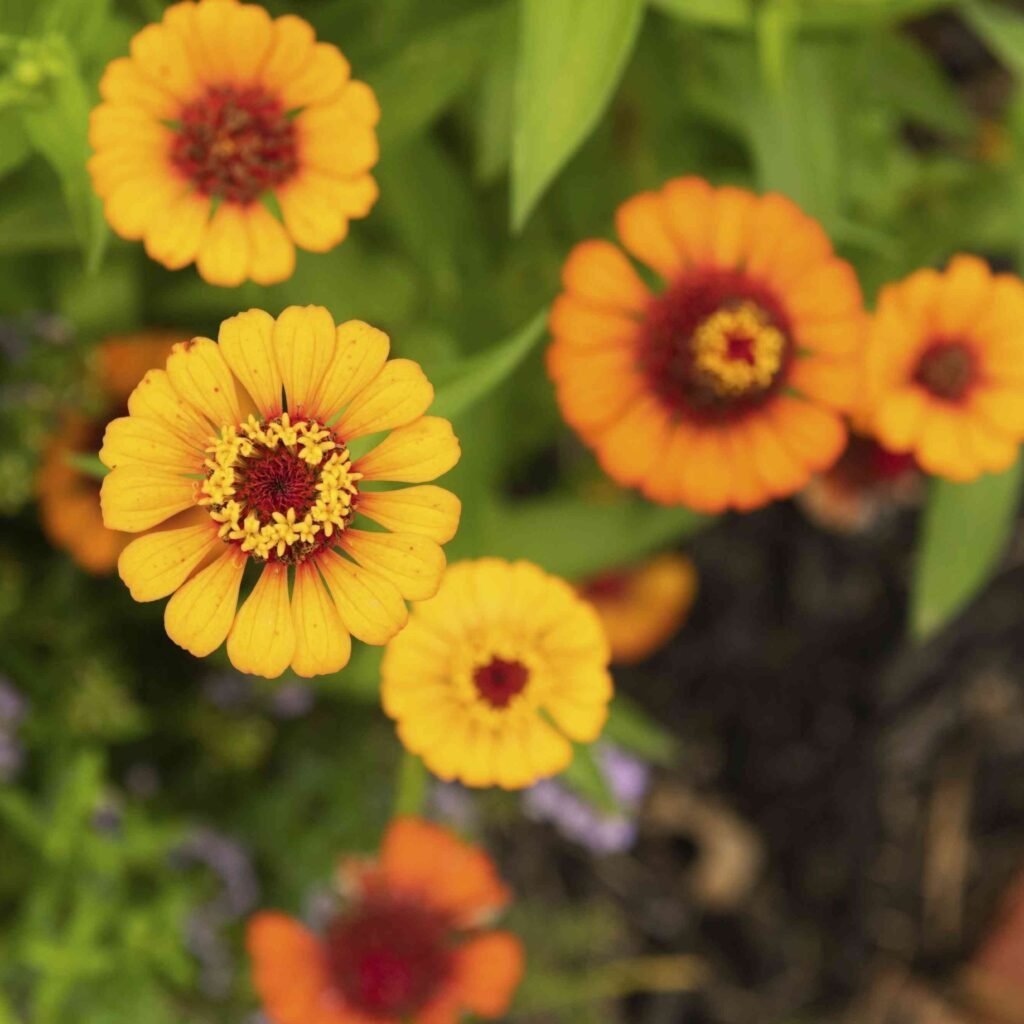
- Zinnias are open-pollinated flowers. This means their seeds will produce plants similar to the parent, but they can also cross-pollinate if you grow multiple varieties close together.
- Hybrid zinnias may not “come true” from seed. If you planted hybrids, the next season’s blooms might look different from the original. For consistent results, grow and save seeds from heirloom or open-pollinated zinnia varieties.
Step 1: Selecting the Right Plants
Not all flowers in your garden are ideal for seed saving. Choosing the right parent plants increases your chances of strong, healthy seedlings next year. Here’s what to look for:

- Vigor and health – Select plants that grew strong, resisted pests, and bloomed abundantly.
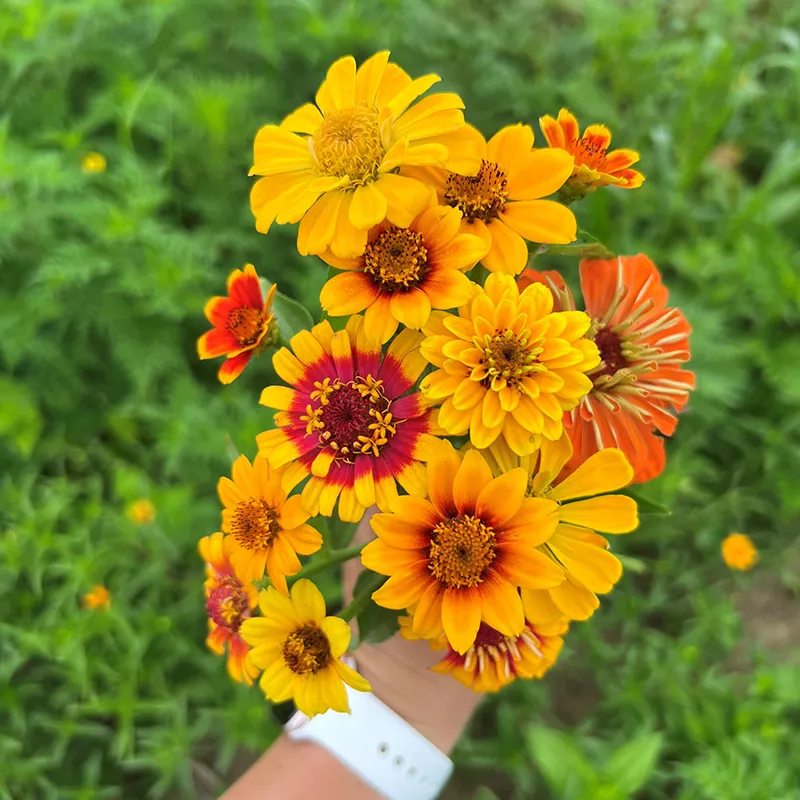
- Desired traits – Choose flowers with the size, color, and shape you want to see again.
- Maturity – Only collect seeds from fully mature flowers. Immature seeds won’t germinate well.
Tip: If you’re growing multiple zinnia varieties and want to avoid cross-pollination, plant them in separate parts of the garden or save seeds from just one variety each season.
Step 2: Allowing Flowers to Mature
Seed saving requires patience. Instead of deadheading zinnias as soon as blooms fade, let some flowers remain on the plant.
- Timing: Leave the flower heads on until petals dry, turn brown, and fall off naturally.
- Appearance: A seed-ready head looks papery, brittle, and dark brown.
- Seed maturity: Seeds inside should feel firm and dry, not soft.
Resist the urge to harvest too early; immature seeds won’t germinate properly.
Step 3: Harvesting Zinnia Seeds
Once the flower heads are completely dry, it’s time to collect seeds.
- Cut the heads: Use clean scissors or pruners to snip off the dried seed heads.
- Collect carefully: Hold the heads over a bowl or paper bag to catch loose seeds.
- Extract seeds: Gently pull apart the dried petals and center disc. Each petal base often has a seed attached.
Tip: Harvest on a dry, sunny day to prevent mold or excess moisture from being trapped in seeds.

Step 4: Cleaning the Seeds
After collecting, separate the seeds from chaff (petal fragments, dried stems, and dust).
- Manual separation: Rub the seed heads between your fingers to loosen seeds.
- Sorting: Discard any small, shriveled, or discolored seeds—they’re less likely to sprout.
- Air cleaning: Gently blow across the seeds in a shallow bowl to remove lighter debris.
Clean seeds store better and have higher germination rates.
Step 5: Drying the Seeds
Moisture is the biggest enemy of saved seeds. Proper drying prevents mold and preserves viability.
- Spread seeds: Lay them in a single layer on a paper towel, plate, or fine mesh screen.
- Drying time: Allow 1–2 weeks in a warm, dry, well-ventilated area away from direct sunlight.
- Check dryness: Seeds should snap cleanly when bent, not feel soft or pliable.
Step 6: Storing Zinnia Seeds
Once completely dry, seeds are ready for storage.
- Containers: Use paper envelopes, small jars, or airtight plastic containers. Paper is best for preventing moisture buildup.
- Labeling: Always mark the variety name and collection date. This avoids confusion later.
- Storage conditions: Keep seeds in a cool, dark, and dry place. Ideal temperature is around 40–50°F (like a refrigerator).
Properly stored, zinnia seeds remain viable for 3–5 years, though fresher seeds tend to germinate best.

Step 7: Testing Seed Viability (Optional)
Before planting next season, you can test your saved seeds:
- Place 10 seeds on a damp paper towel.
- Roll it up, place in a plastic bag, and keep it in a warm spot.
- Check after 7–10 days to see how many sprouted.
If 7 out of 10 seeds germinate, that’s a 70% germination rate—still good for planting.
Common Mistakes to Avoid
- Harvesting too early: Immature seeds won’t sprout.
- Skipping drying: Moist seeds develop mold in storage.
- Using plastic bags without drying: Traps moisture, leading to seed rot.
- Not labeling seeds: Easy to forget which variety you collected.
Bonus Tip: Saving Seeds for Sharing
One of the joys of gardening is sharing. Saving zinnia seeds means you can:
- Gift them to friends and neighbors.
- Swap with other gardeners for different varieties.
- Start a community seed bank to encourage local biodiversity.
Bringing It All Together
Saving zinnia seeds is a simple, rewarding practice that ensures your garden keeps blooming with vibrant colors season after season. By carefully selecting healthy flowers, allowing them to mature, and properly harvesting, drying, and storing seeds, you can create a self-sustaining cycle of growth in your garden.
It’s not just about saving money or reducing dependency on seed companies—it’s about building a connection with nature, carrying forward the beauty of this year into the next, and preserving your favorite varieties.

So this season, resist cutting every spent bloom. Leave a few to go to seed, follow the steps above, and by next spring, you’ll be ready to sow your very own saved zinnia seeds. The reward? A garden bursting with life, color, and the satisfaction of knowing you nurtured every stage of the process.
Leave A Comment