Urban living and limited outdoor space have inspired gardeners to think creatively about how to grow more in less area. One of the most effective and attractive solutions is the vertical container garden. Instead of spreading plants across the ground, you grow upward, using walls, trellises, stacked containers, or modular systems. This technique not only maximizes space but also transforms plain walls and balconies into lush, productive, and visually striking gardens.
Whether you want fresh herbs in your kitchen, vibrant flowers on your balcony, or compact vegetable gardens on your patio, vertical gardening makes it possible. In this guide, we’ll walk through the benefits, materials, design options, step-by-step building instructions, and maintenance tips for creating your own vertical container garden at home.
Why Choose a Vertical Container Garden?

Before diving into construction, let’s explore why vertical gardening is such a smart choice:

- Space Efficiency: Perfect for small balconies, patios, or apartments where ground space is limited.
- Aesthetic Appeal: Creates a living wall of greenery that enhances any indoor or outdoor space.
- Improved Airflow and Light: Elevating plants improves circulation and ensures better exposure to sunlight.
- Easy Maintenance: No bending or kneeling required—plants are at eye level, making watering and harvesting more comfortable.
- Versatility: Suitable for vegetables, herbs, flowers, and even decorative foliage.
- Pest and Disease Reduction: Raising plants off the ground minimizes exposure to soil-borne pests and fungal infections.
Planning Your Vertical Container Garden
1. Choose the Right Location
- Look for a spot with 4–8 hours of sunlight daily, depending on plant type.
- Balconies, patios, fences, kitchen walls, or even sunny indoor areas can work.
- Ensure easy access to water for regular maintenance.
2. Decide What to Grow
Not all plants thrive vertically. Compact, lightweight, and shallow-rooted species work best.
- Herbs: Basil, parsley, thyme, mint, oregano.
- Leafy Greens: Lettuce, spinach, kale, arugula.
- Vegetables: Cherry tomatoes, peppers, bush beans, cucumbers (with support).
- Flowers: Petunias, nasturtiums, pansies, marigolds.
- Succulents: Excellent for decorative vertical walls.
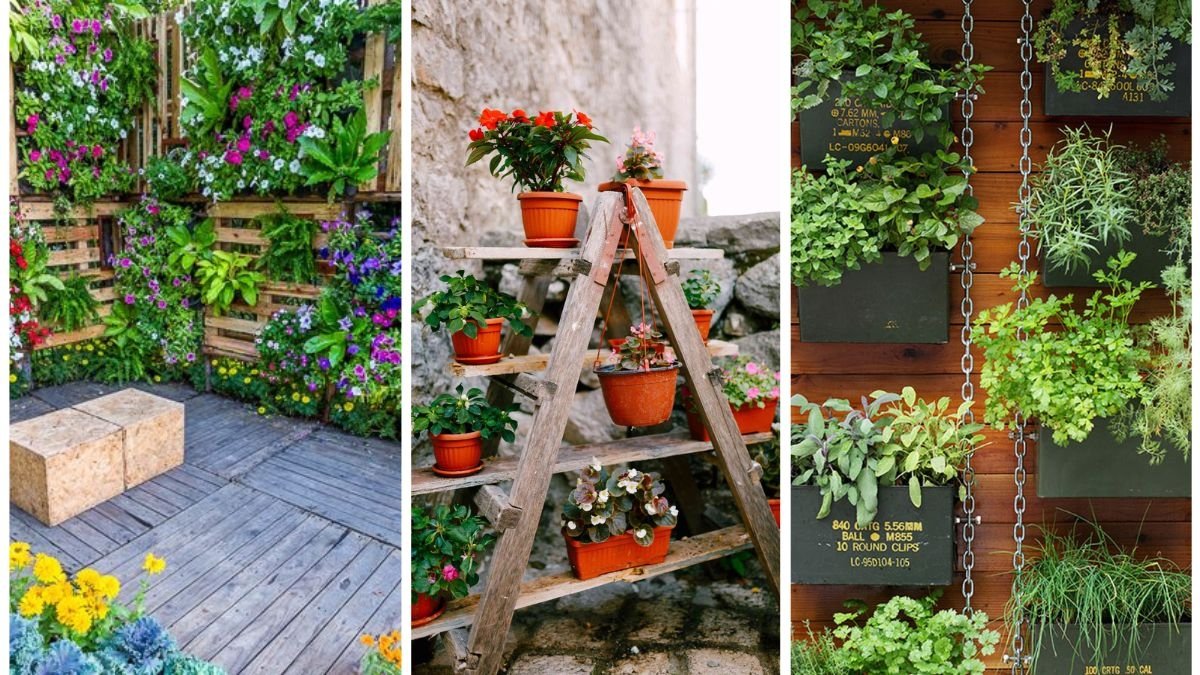
3. Select Your Structure Style
There are multiple design approaches, each suited to different spaces:
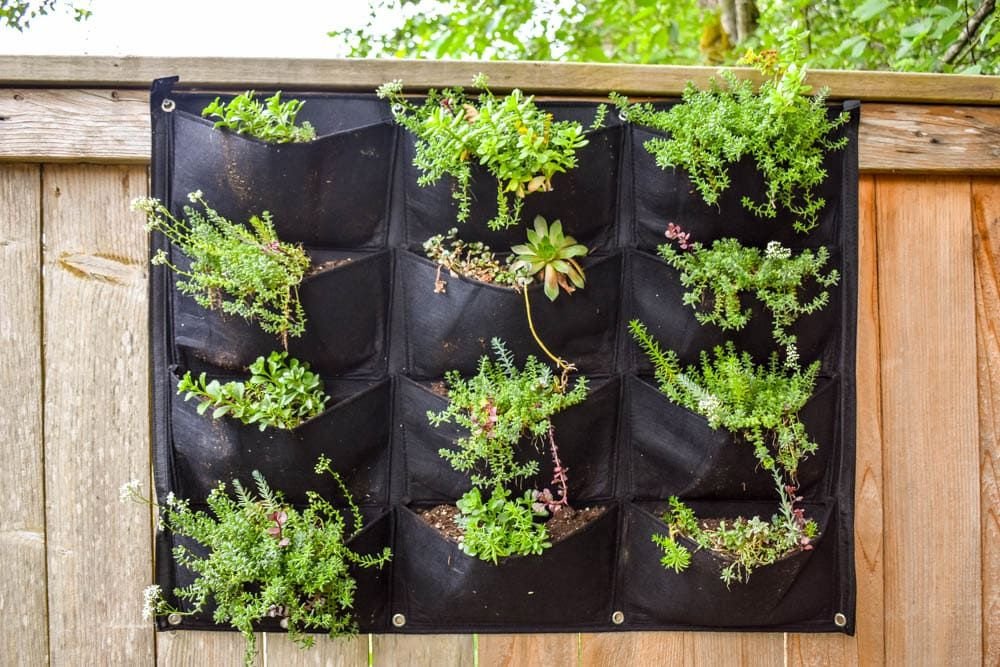
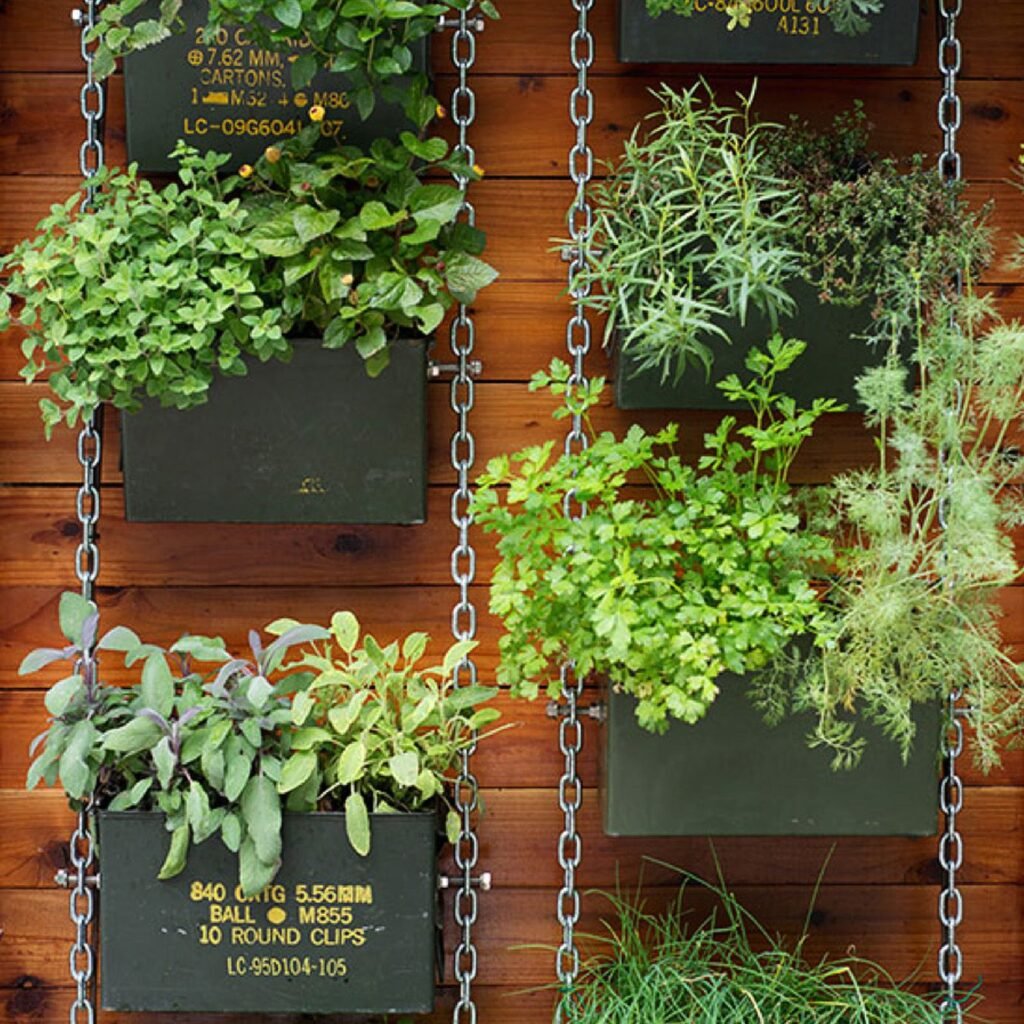
- Wall-mounted planters: Attach containers or pockets to a wall or wooden frame.
- Stacked containers: Place pots on top of each other in a pyramid or tiered arrangement.
- Hanging gardens: Suspend containers with ropes, hooks, or recycled materials.
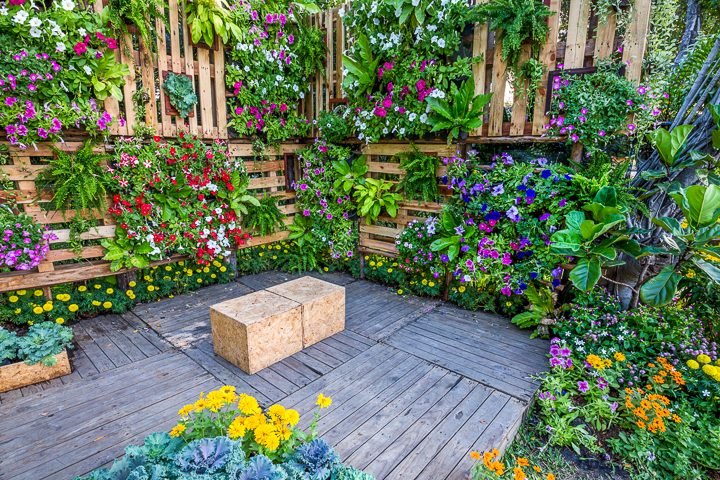
- Pallet gardens: Upcycle wooden pallets into vertical planting walls.
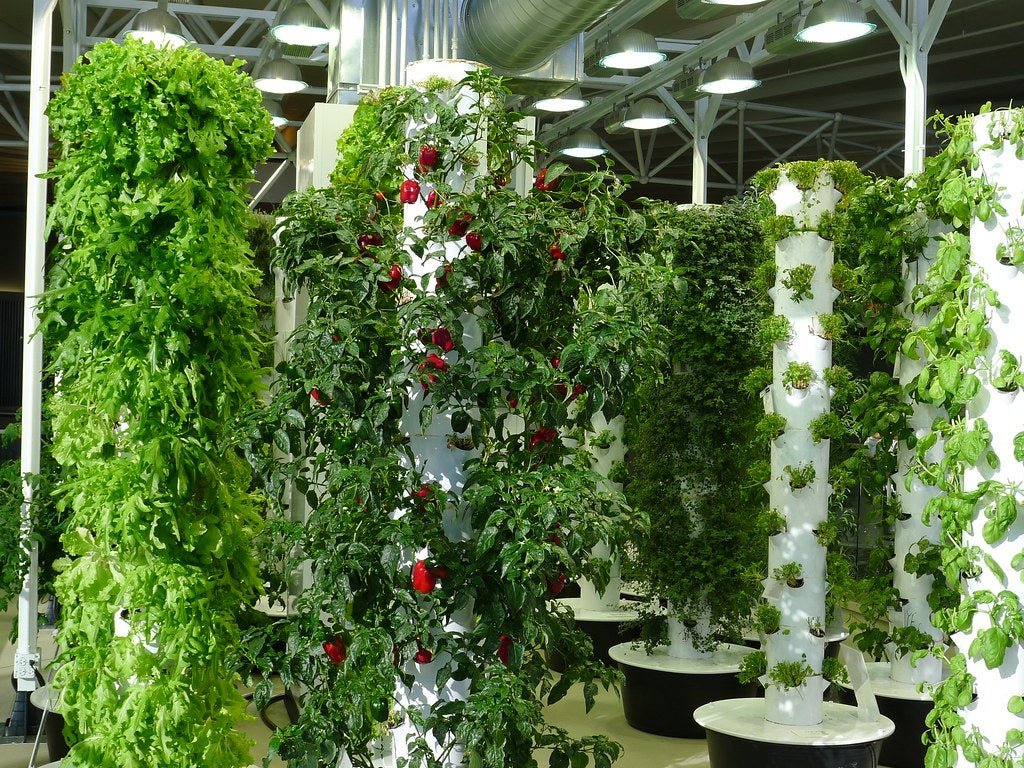
- Tower gardens: Cylindrical containers with multiple planting holes.
Materials You’ll Need
Building a vertical garden doesn’t require expensive supplies. Here’s a basic checklist:

- Containers: Plastic pots, fabric grow bags, recycled bottles, wooden boxes, or vertical planters.
- Frame or Support: Wooden pallets, metal trellis, shelving unit, or wall hooks.
- Potting Mix: Lightweight, well-draining soil enriched with compost.
- Fertilizer: Balanced organic fertilizer or slow-release pellets.
- Irrigation System: Watering can, drip irrigation, or self-watering setup.
- Tools: Drill, screws, brackets, hammer, gardening gloves, and scissors (for DIY projects).
Step-by-Step Guide to Building a Vertical Container Garden
Step 1: Design Your Layout
Sketch out the structure and decide how many containers you’ll need. Consider spacing for airflow and sunlight.
Step 2: Prepare the Frame
- For wall-mounted systems, attach shelves, racks, or planter hooks securely.
- For pallet gardens, sand the pallet, add landscape fabric to the back and bottom, and create planting pockets.
- For stacked containers, drill drainage holes and ensure stability by using larger pots at the base.
Step 3: Select and Prepare Containers
- Ensure each container has drainage holes to prevent root rot.
- Use lightweight materials (plastic, fabric) if attaching to walls to avoid excess weight.
Step 4: Add Soil and Fertilizer
- Fill containers with high-quality potting mix rather than garden soil.
- Mix in slow-release fertilizer or compost to provide nutrients.
Step 5: Plant Your Crops
- Position taller or trailing plants at the top and smaller, shallow-rooted plants lower down.
- Avoid overcrowding; leave enough space for root and leaf expansion.
Step 6: Install Watering System
- Watering is critical in vertical gardens since containers dry out quickly.
- Options include:
- Manual watering with a can or hose.
- Drip irrigation lines installed along rows of containers.
- Self-watering planters with reservoirs.
Step 7: Secure and Stabilize
- Anchor the frame to a wall or railing to prevent tipping.
- Regularly check containers for stability, especially in windy areas.
Plant Care and Maintenance
A vertical container garden requires consistent care, especially during seasonal transitions.
Watering
- Vertical gardens dry out faster due to exposure.
- Check soil moisture daily; water when the top inch feels dry.
- Water from top to bottom to ensure lower containers benefit from runoff.
Fertilizing
- Nutrients leach faster in containers. Apply liquid fertilizer every 2–3 weeks or use slow-release granules.
- Adjust feeding based on plant type (leafy greens need nitrogen, flowering plants need more potassium).
Pruning and Harvesting
- Trim herbs and leafy greens regularly to promote fresh growth.
- Harvest vegetables promptly to encourage continued production.
- Prune dead leaves and flowers to prevent disease spread.
Pest and Disease Control
- Common pests: aphids, spider mites, whiteflies. Use neem oil or insecticidal soap.
- Ensure good airflow to prevent fungal diseases.
- Rotate crops seasonally to maintain soil health.
Creative Vertical Garden Ideas
- Herb wall in the kitchen: Mason jars or fabric pockets filled with herbs mounted near a sunny window.
- Balcony flower wall: Colorful annuals cascading from stacked containers.
- Vegetable tower: PVC pipes or barrel towers with multiple planting holes.
- Recycled verticals: Hanging old shoe organizers, tin cans, or plastic bottles repurposed into planters.
- Succulent art frame: Create a living picture frame with drought-tolerant succulents.
Common Mistakes to Avoid
- Overcrowding plants → restricts airflow and leads to disease.
- Ignoring drainage → causes root rot; always drill holes.
- Using garden soil → too heavy and compact; opt for potting mix.
- Uneven sunlight → rotate or reposition containers for balanced light exposure.
- Neglecting water needs → vertical systems dry out quicker than ground-level gardens.
Benefits Beyond Gardening
A vertical container garden isn’t just practical—it offers psychological and environmental benefits too:

- Stress relief: Caring for plants lowers anxiety and improves mood.
- Sustainability: Growing your own herbs and vegetables reduces reliance on store-bought produce.
- Energy efficiency: Outdoor vertical gardens can act as natural insulation, keeping walls cooler in summer.
- Home décor: Living walls add beauty and personality to your home.
Final Thoughts
Building a vertical container garden at home is an exciting way to combine creativity, sustainability, and productivity. With a bit of planning and the right setup, you can transform even the smallest corner of your home into a thriving green space.
By selecting the right plants, designing a stable structure, using quality soil, and maintaining proper watering and fertilization, you’ll enjoy a bountiful harvest of herbs, vegetables, or flowers throughout the year.
Whether you live in a compact apartment or a spacious house, a vertical garden proves that you don’t need vast land to grow fresh, healthy produce. All you need is vision, effort, and a few containers to bring your walls to life.

So, roll up your sleeves, gather your supplies, and start building your own vertical garden today—because the future of gardening is not just horizontal, but vertical.
Leave A Comment