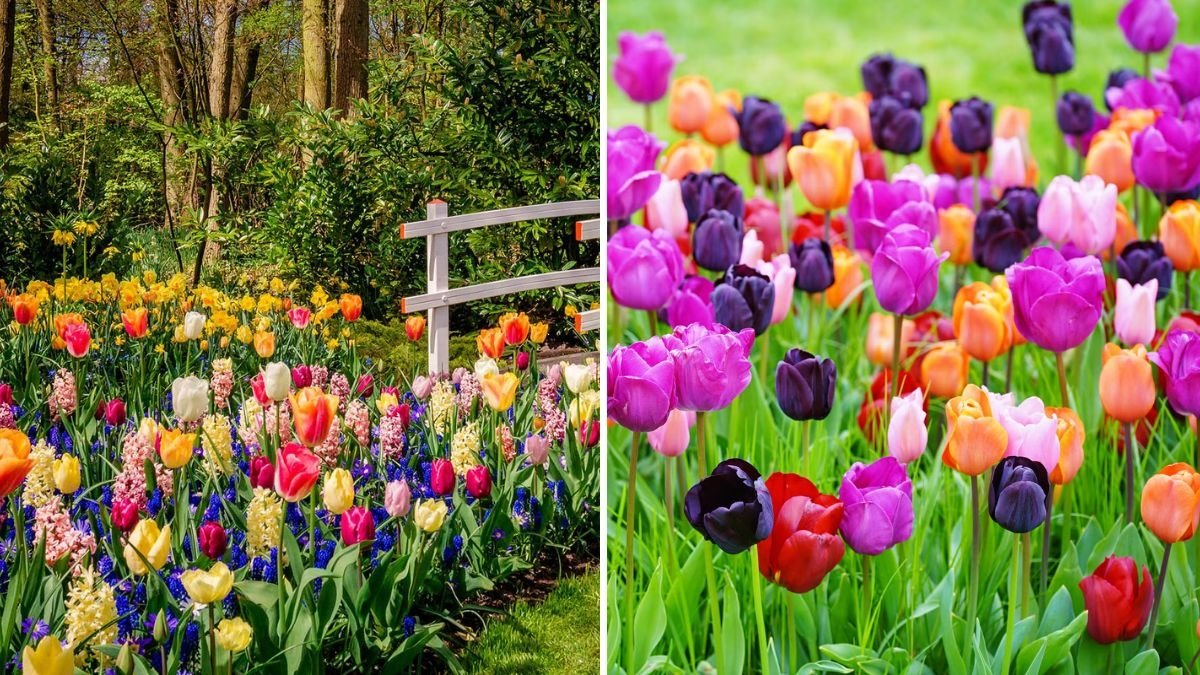
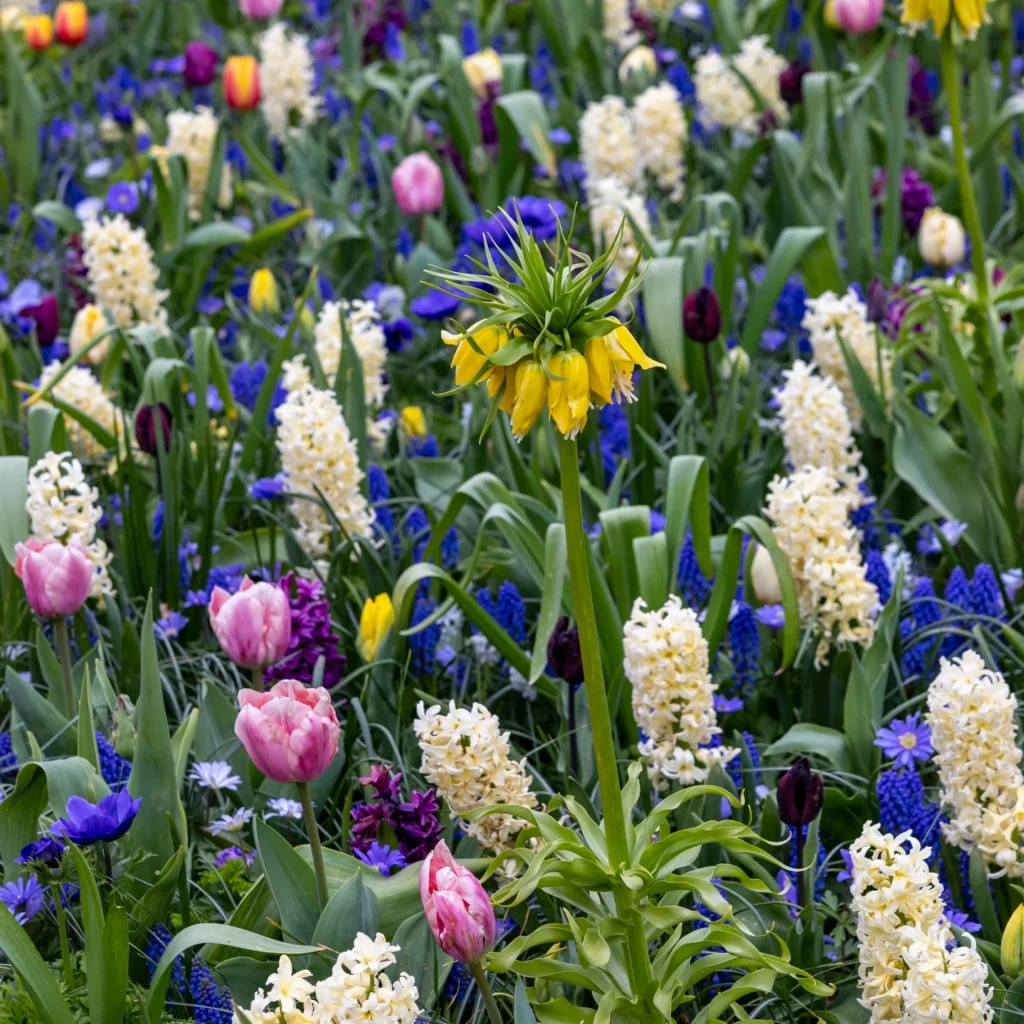
One of the greatest joys of gardening is the anticipation of what’s to come. Few things capture that spirit better than planting fall bulbs for spring blooms. By tucking bulbs into the soil during autumn, you set the stage for a dazzling display of tulips, daffodils, hyacinths, and other flowers that announce the arrival of spring with color and fragrance.
Planting bulbs in the fall is not just about filling your garden with beauty—it’s also about planning ahead, understanding soil conditions, and timing your efforts so that nature can do its magic over the winter. In this guide, you’ll learn everything you need to know about how to plant fall bulbs for a colorful spring.
Why Plant Bulbs in Fall?
Bulbs are storage organs packed with energy to produce flowers and foliage. Planting them in autumn allows bulbs to:
- Establish Roots Before Winter: Cooler soil encourages root development, which ensures stronger growth in spring.
- Benefit from Winter Chill: Many bulbs, such as tulips and hyacinths, need a chilling period to trigger flowering.
- Take Advantage of Dormancy: During the cold months, bulbs rest underground, protected from harsh conditions, and prepare for spring growth.
If planted at the right time, bulbs reward you with vibrant flowers just as the gray days of winter give way to warmth.
Choosing the Right Bulbs
Not all bulbs are equal when it comes to creating a breathtaking spring garden. Here are some of the most popular fall-planted bulbs:

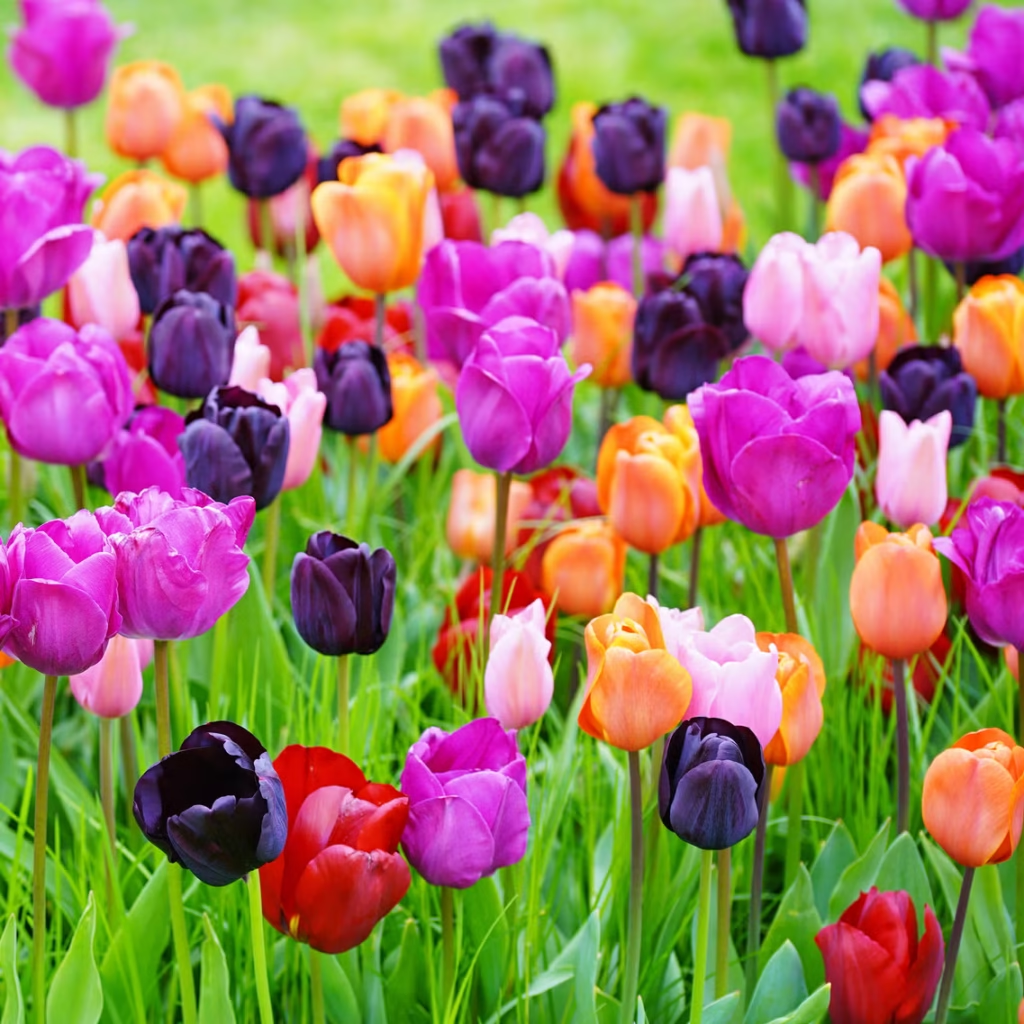
- Tulips: Available in almost every color imaginable, tulips offer elegant blooms that suit formal and informal gardens.
- Daffodils (Narcissus): Cheerful yellow or white flowers that are among the earliest to bloom, symbolizing spring’s arrival.
- Hyacinths: Known for their intoxicating fragrance and dense flower spikes.
- Crocuses: Small but striking flowers that often push through snow, adding early-season charm.
- Alliums: Tall, globe-shaped blooms that make a dramatic statement in mid-to-late spring.
When selecting bulbs:
- Look for firm, plump bulbs without mold, soft spots, or blemishes.
- Choose larger bulbs for stronger flowers.
- Consider bloom times (early, mid, late spring) to stagger flowering across the season.
Timing: When to Plant
The general rule is to plant bulbs in the fall, about 6–8 weeks before the ground freezes. This gives roots enough time to establish.
- Cool-Climate Regions (Zones 3–5): Plant in September or early October.
- Moderate Climates (Zones 6–7): Plant in October to November.
- Warm Climates (Zones 8–10): Many bulbs require pre-chilling in the refrigerator (6–10 weeks) before planting in late fall or early winter.
The soil temperature should be below 15°C (60°F) but not yet frozen.
Preparing the Soil
Healthy soil is key to successful bulb growth. Here’s how to prepare it:
- Choose a Sunny Location: Most spring-blooming bulbs thrive in full sun, though some tolerate light shade.
- Ensure Good Drainage: Bulbs rot easily in soggy soil. If your soil is heavy clay, amend it with compost, sand, or peat moss. Raised beds or slopes also help.
- Enrich the Soil: Work in organic matter such as compost or well-rotted manure. A slow-release bulb fertilizer can also boost early growth.
Think of soil as a bulb’s foundation—the better prepared it is, the more spectacular your blooms will be.

Planting Depth and Spacing
The golden rule for bulb planting is “three times as deep as the bulb is tall.”
- Tulips and Daffodils: Plant 6–8 inches deep.
- Hyacinths: Plant 5–6 inches deep.
- Crocuses: Plant 3–4 inches deep.
- Alliums: Plant 6–8 inches deep.
Spacing:
- Larger bulbs (tulips, daffodils): 4–6 inches apart.
- Smaller bulbs (crocuses, grape hyacinths): 2–3 inches apart.
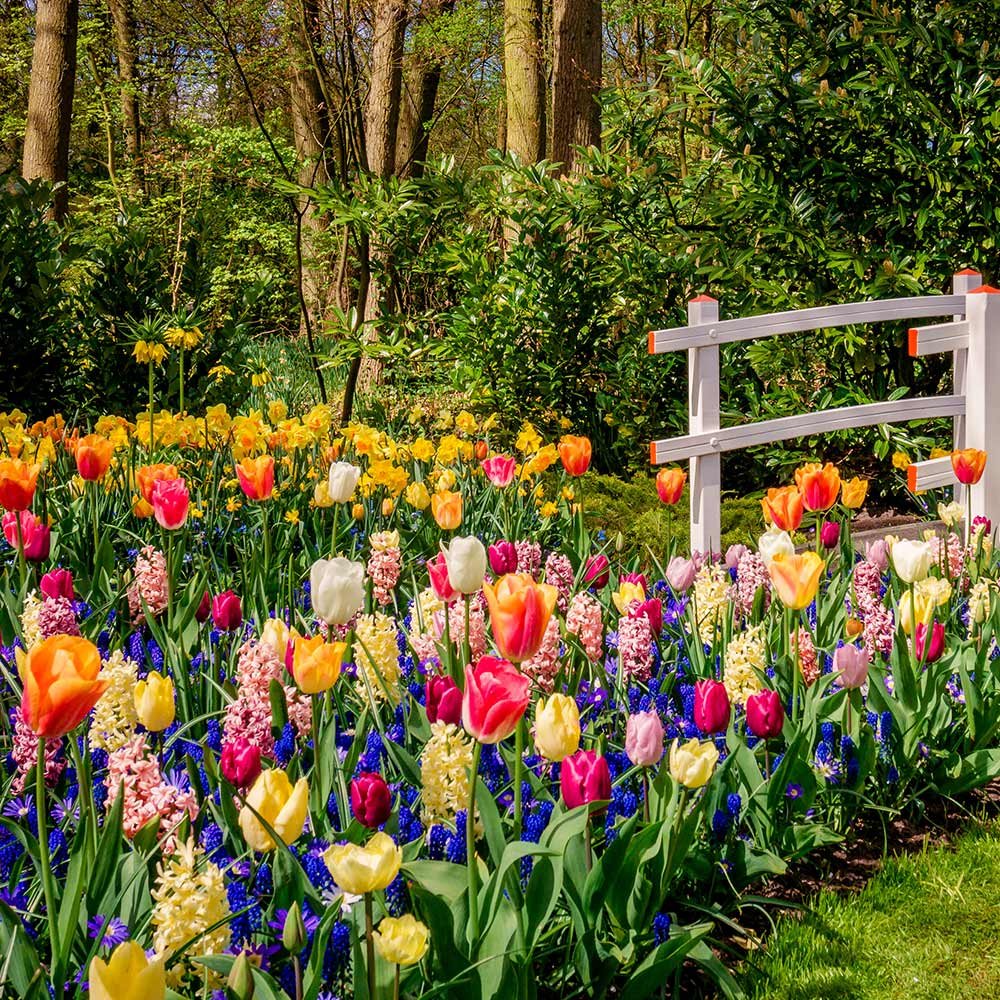
Bulbs look best when planted in groups or clusters rather than single rows. Naturalized drifts of bulbs mimic how they grow in the wild and create a more impressive display.
Step-by-Step Guide to Planting Fall Bulbs
- Plan Your Layout: Decide whether you want neat rows, clusters, or naturalized drifts.
- Dig the Hole or Trench: Use a trowel, bulb planter, or shovel, depending on the size and number of bulbs.
- Loosen Soil at the Bottom: Break up compacted soil to encourage root growth.
- Add Fertilizer (Optional): A bulb-specific fertilizer can be mixed into the soil at the bottom of the hole.
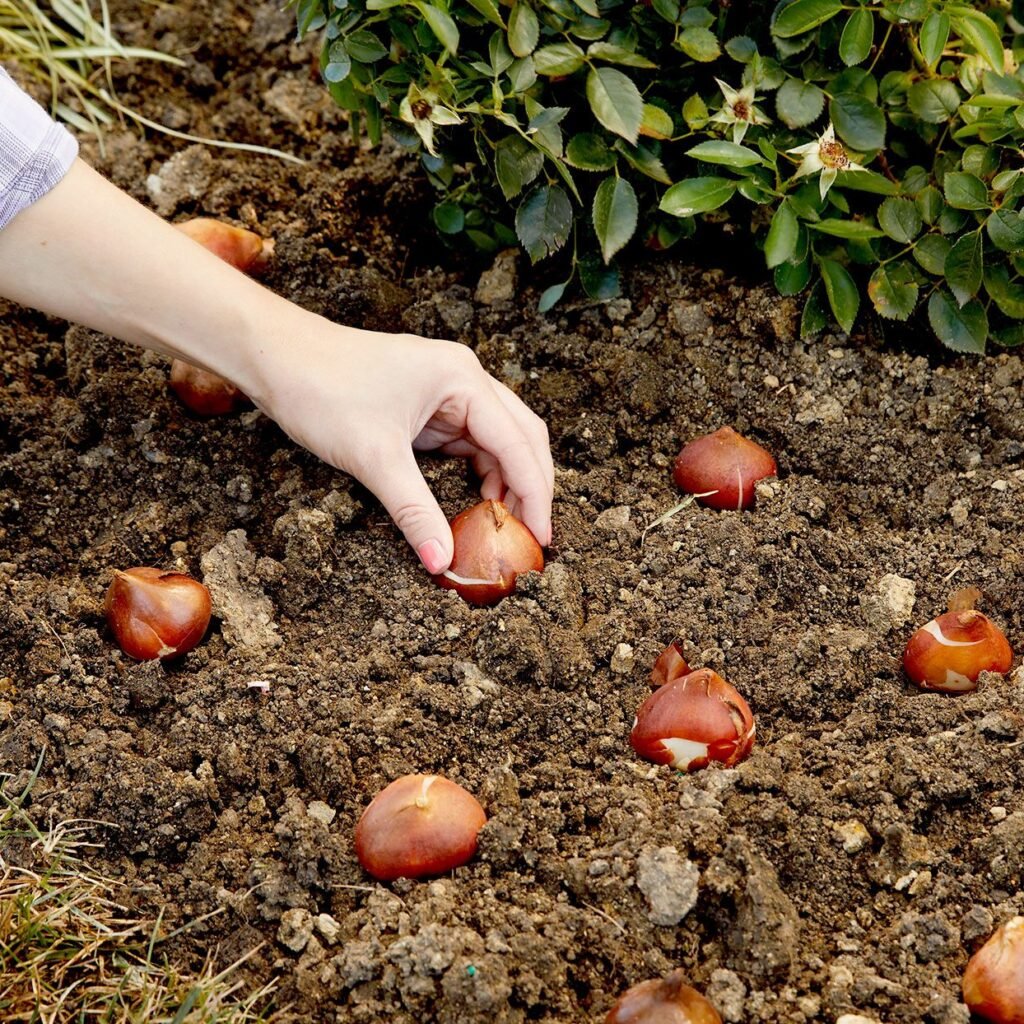
- Place Bulbs Right Side Up: The pointed end faces upward, while the flatter root side faces down.
- Backfill with Soil: Cover bulbs with soil and gently firm it down to remove air pockets.
- Water Thoroughly: This helps settle the soil and initiate root growth.
Once planted, bulbs can be mulched with straw, shredded leaves, or bark to regulate soil temperature and moisture.
Aftercare Through Winter
Though bulbs require little maintenance during winter, a few steps ensure success:
- Mulching: A 2–3 inch layer of mulch insulates bulbs from temperature fluctuations.
- Protection from Rodents: Squirrels and voles sometimes dig up bulbs. To prevent this, cover planting areas with chicken wire before mulching.
- Avoid Overwatering: Excess moisture causes rot. Allow nature’s rainfall to provide most of the hydration.
Bulbs remain dormant through the cold months, silently preparing for spring’s burst of growth.

Encouraging Strong Spring Blooms
When spring arrives, you’ll want your bulbs to shine. Here are tips to maximize their performance:
- Fertilize in Spring: As shoots appear, apply a balanced fertilizer to encourage healthy blooms.
- Deadhead Spent Flowers: This prevents the plant from using energy on seed production.
- Leave the Leaves: Allow foliage to die back naturally, as it feeds the bulb for next year’s blooms. Don’t cut back green leaves prematurely.
- Water During Dry Spells: While spring is often rainy, supplemental watering may be needed in dry periods.
Common Mistakes to Avoid
- Planting Too Shallow: Shallow planting leads to weak stems and poor flowering.
- Overcrowding: Bulbs need space to grow; overcrowding reduces bloom size.
- Planting in Wet Soil: Poor drainage causes bulbs to rot before they flower.
- Cutting Leaves Too Soon: Removing leaves early deprives bulbs of essential nutrients for the next season.
Avoiding these pitfalls ensures your bulb garden thrives year after year.
Creative Planting Ideas
- Layering (Lasagna Planting): Plant bulbs at different depths in the same hole—large bulbs like tulips deep, then daffodils, then smaller crocuses on top. This creates successive waves of blooms in spring.
- Mixing Bulbs with Perennials: Plant bulbs among hostas, daylilies, or ornamental grasses. As bulb foliage dies back, perennials fill the space.
- Naturalizing Lawns: Scatter crocus or daffodil bulbs across grassy areas for a meadow-like effect.
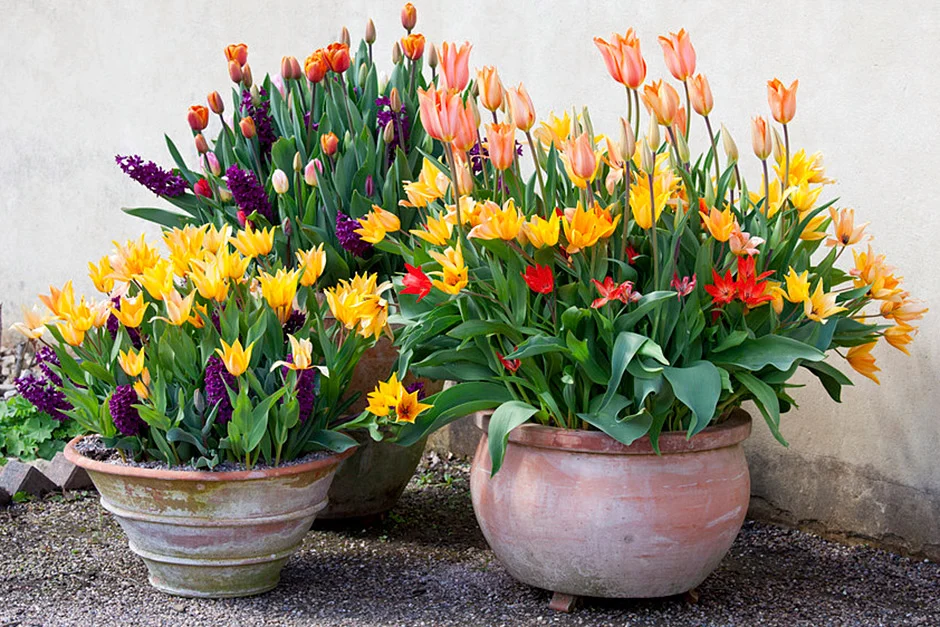
- Containers: Plant bulbs in pots for patios and balconies. Containers can be moved to prominent spots when blooming.
These strategies add layers of interest and extend your garden’s seasonal beauty.
Final Thoughts
Planting fall bulbs is an act of hope and patience. By investing a little effort in autumn, you guarantee a colorful, joyful spring filled with tulips, daffodils, hyacinths, crocuses, and more. From preparing the soil to protecting bulbs through winter, every step contributes to the final spectacle of blooms.
The beauty of bulb gardening is its reliability—once planted, bulbs return year after year, often multiplying and spreading naturally. Whether you’re designing neat rows along a walkway or creating a naturalized meadow, fall bulbs bring life, fragrance, and color to the spring garden.

By following the steps outlined in this guide, you’ll not only learn how to plant fall bulbs for a colorful spring, but you’ll also cultivate a timeless garden tradition that bridges seasons and rewards your patience with unforgettable beauty.
Leave A Comment