Houseplants bring beauty, life, and freshness into our homes, but like every living thing, they have changing needs as they grow. One of the most important—and often overlooked—aspects of plant care is knowing when and how to repot them. Repotting gives plants more room to expand, renews the soil, and prevents problems like root rot or stunted growth.
But timing is everything. Repotting at the wrong time or without proper preparation can stress your plant, sometimes even causing it to decline. So, how do you know when the time is right? And once you decide to repot, how can you do it smoothly?
This guide will take you through the signs your plant needs a new home, the best seasons for repotting, and a step-by-step method to repot houseplants without stress.
Why Repotting Is Essential
Repotting is more than just moving a plant to a bigger pot. It serves several important purposes:

- Prevents root-bound stress: When roots circle around themselves inside a pot, they suffocate and limit water absorption.
- Refreshes nutrients: Over time, soil depletes and compacts, leaving fewer nutrients for the plant.
- Improves drainage and aeration: Fresh soil prevents waterlogging and encourages healthy root growth.
- Boosts growth: With more room and nutrients, the plant can expand, flower, or produce new leaves.
Without repotting, even a well-cared-for plant may eventually stall in growth, weaken, or become more susceptible to pests and diseases.
How to Know It’s the Right Time to Repot
Here are the most common signs your houseplant is ready for a bigger home:
1. Roots Are Escaping
- Roots growing out of the drainage holes or poking above the soil surface mean the plant is root-bound.
2. Soil Dries Too Quickly
- If you water thoroughly but the soil dries out in a day or two, the roots may have taken up all the space, leaving little soil to hold moisture.
3. Slowed or Stunted Growth
- A plant that stops producing new leaves during its active season often signals root restrictions.
4. Pot Feels Top-Heavy
- When the plant becomes too large for its pot, it tips over easily.
5. Salt or Mineral Buildup
- White crusts on the soil surface or pot edges mean the soil has become compacted or overly saturated with fertilizer residues.
6. It’s Been 1–2 Years
- As a rule of thumb, most houseplants benefit from fresh soil every 12–24 months, even if they haven’t visibly outgrown their pots.
The Best Time of Year to Repot

Timing is critical. Plants, like humans, have cycles of activity and rest. Choosing the right season helps them recover faster and grow stronger.
Best Seasons to Repot
- Spring and early summer: Ideal for most houseplants. This is their active growth phase, so they bounce back quickly.
- Early fall: Suitable for some plants, especially if they’ve had a vigorous summer.
Times to Avoid Repotting
- Winter: Most plants are dormant, focusing energy on survival rather than growth. Repotting then may cause unnecessary stress.
- During blooming: Repotting a plant in flower can cause blooms to drop prematurely since energy gets diverted to recovery.
- When stressed: If a plant is battling pests, diseases, or underwatering/overwatering issues, fix those problems first before repotting.
Preparing for Repotting
To repot successfully, preparation is key.

Choose the Right Pot
- Size: Select a pot that is 1–2 inches larger in diameter than the current one. Too large a jump can cause soil to stay wet longer, increasing the risk of root rot.
- Material: Terracotta pots are breathable and ideal for plants that dislike soggy soil, while plastic pots hold moisture better for water-loving plants.
- Drainage: Always ensure there are drainage holes. Without them, water can pool and rot the roots.
Prepare the Soil Mix
Different plants need different soil types:
- Cacti and succulents: Fast-draining sandy soil.
- Orchids: Bark-based, airy mix.
- General houseplants: A peat-free potting mix with perlite or vermiculite for aeration.
Water Before Repotting
Water your plant a day in advance. Slightly moist soil helps roots slide out easily while reducing breakage.
Gather Your Tools
Keep everything ready:
- New pot and soil mix.
- Trowel or spoon.
- Pruners or scissors (sterilized).
- Gloves (optional).
- A tarp or newspaper to keep things tidy.
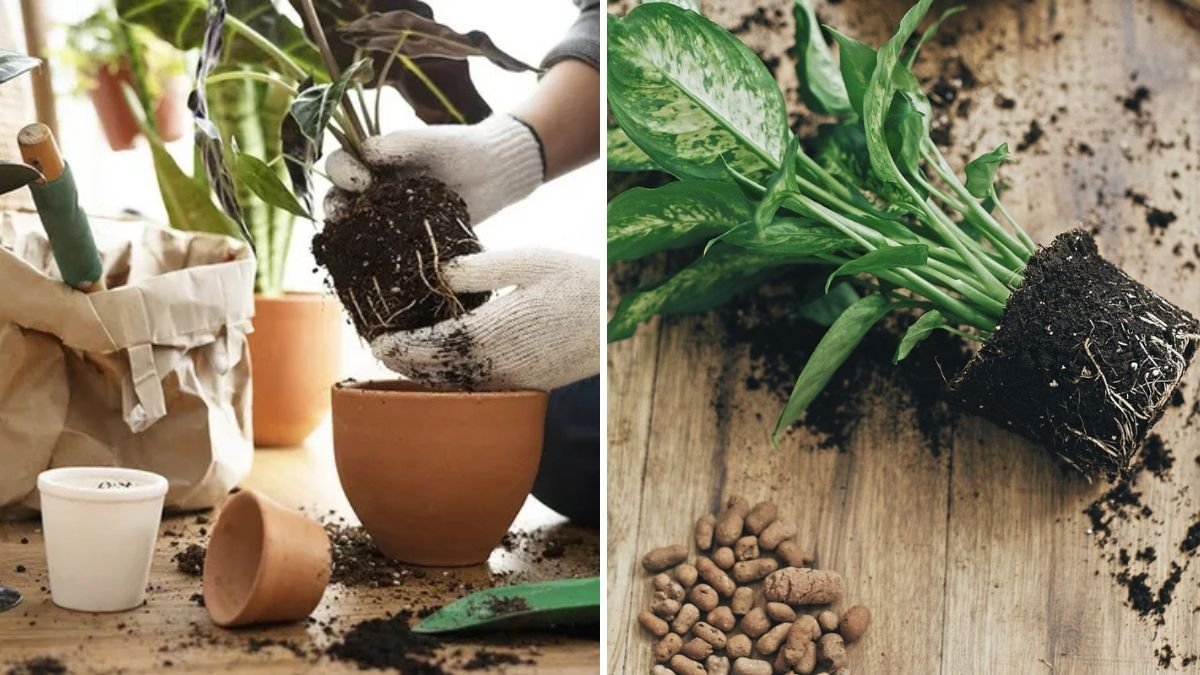
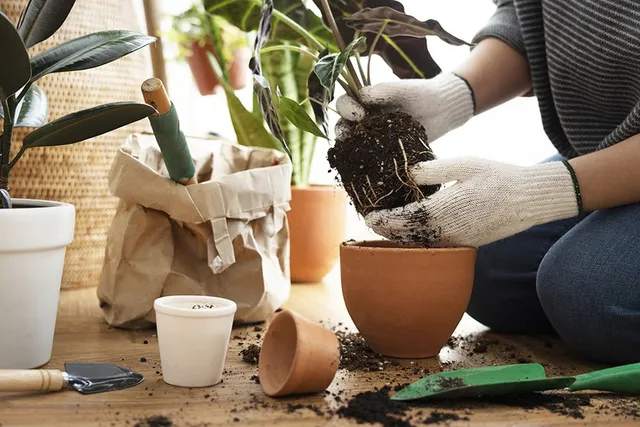
Step-by-Step Guide to Repotting Houseplants
Step 1: Remove the Plant from Its Old Pot
- Gently tilt the pot and support the base of the plant.
- Tap the sides or bottom to loosen the soil.
- If roots are stuck, run a butter knife or spatula along the edges to free them.
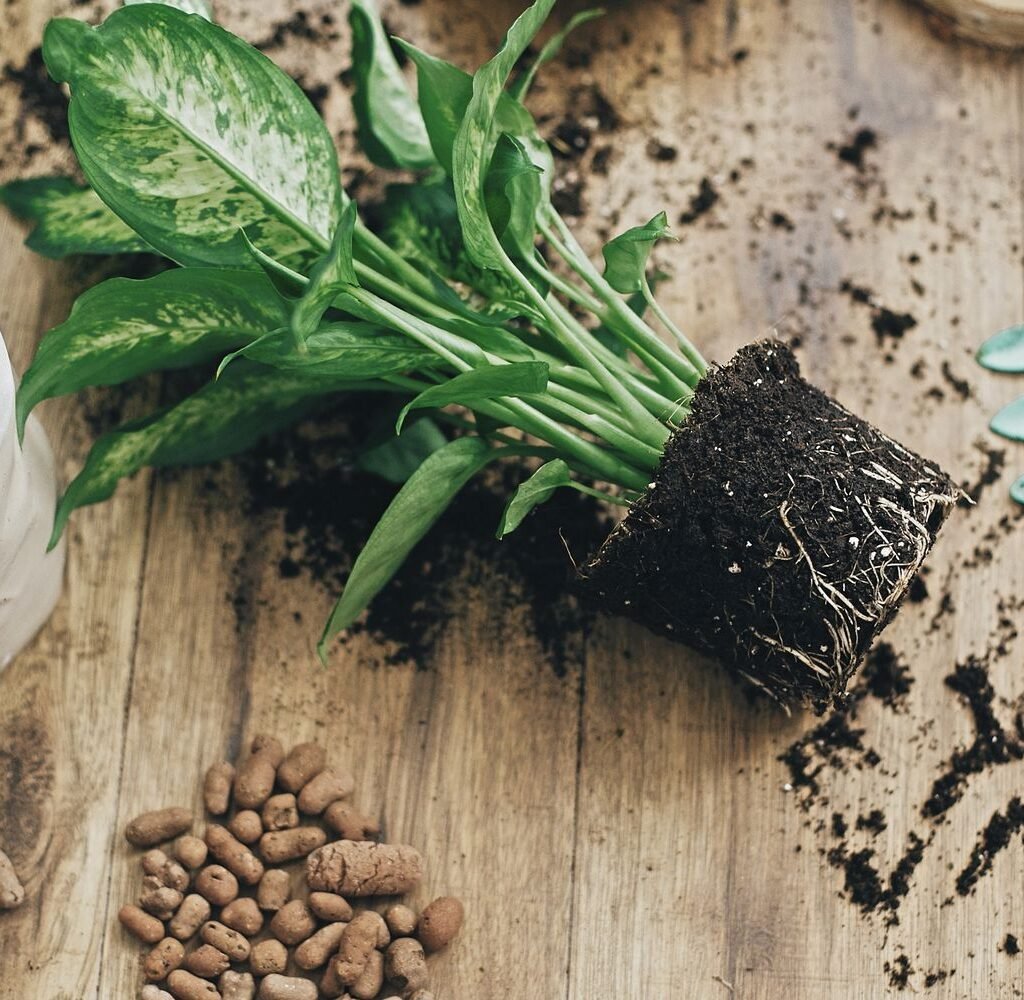
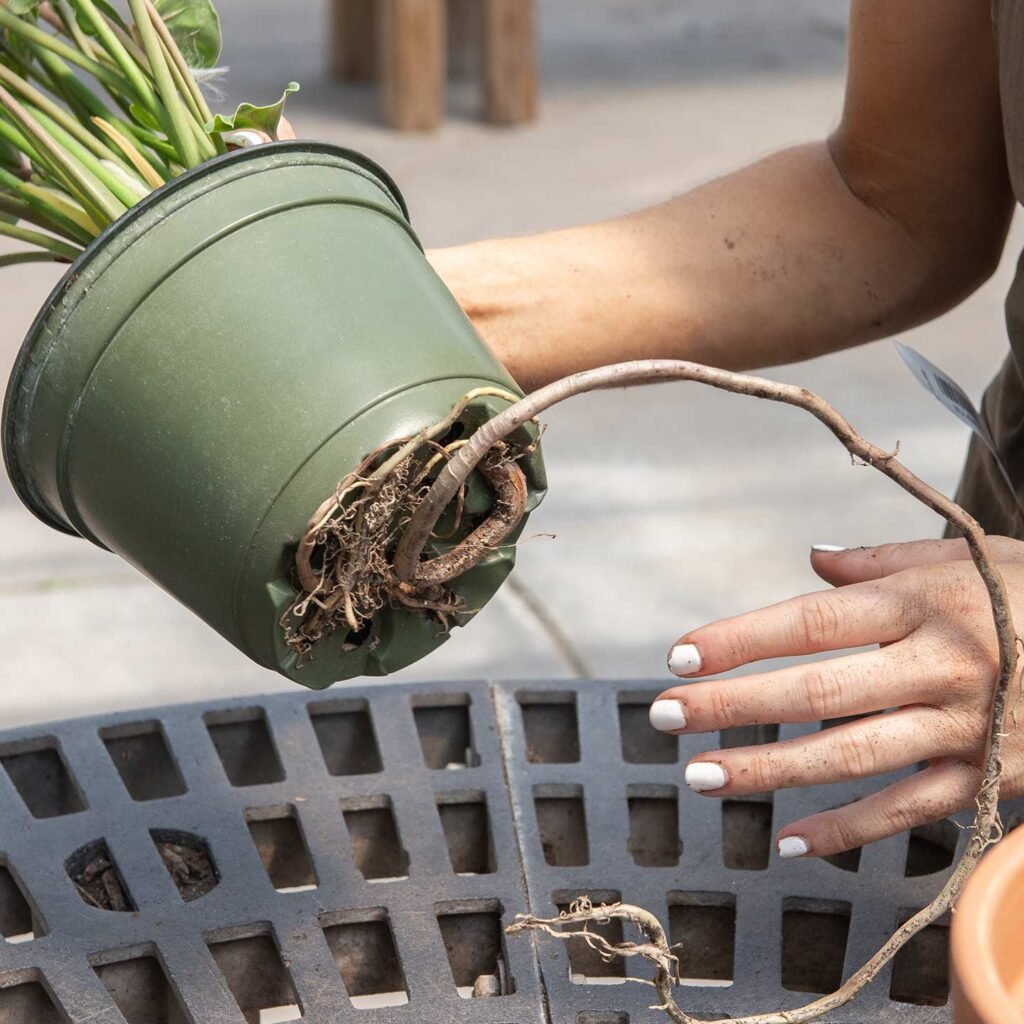
Step 2: Inspect and Trim the Roots
- Healthy roots: White or light tan, firm, and flexible.
- Unhealthy roots: Brown, black, mushy, or foul-smelling. Trim these with sterilized scissors.
- If roots are tightly circling the pot, gently tease them apart to encourage outward growth.
Step 3: Prepare the New Pot
- Add a layer of fresh soil at the bottom.
- Position the plant so the root ball sits about an inch below the rim (to allow watering space).
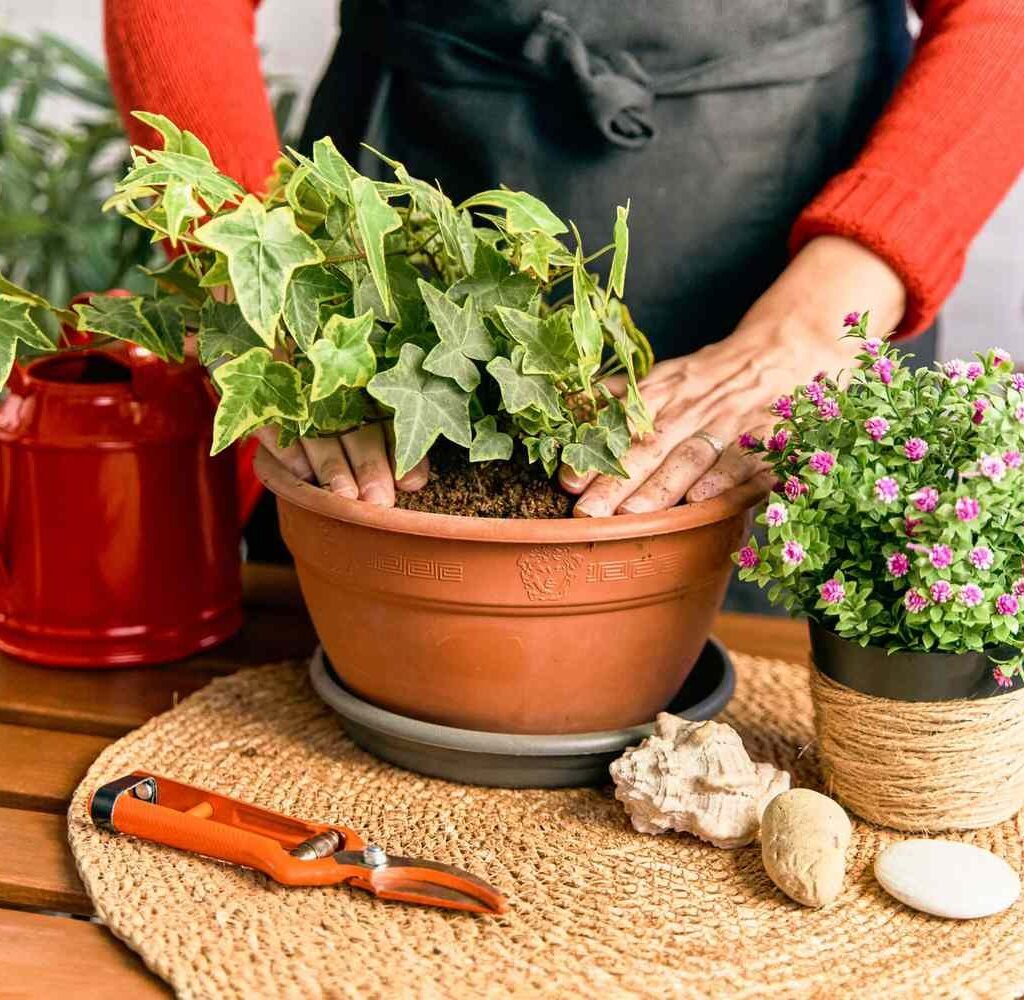
Step 4: Fill Around the Roots
- Add soil around the plant, gently pressing down to remove air pockets.
- Don’t pack too tightly—roots need oxygen.
Step 5: Water Thoroughly
- Water until excess drains out the bottom. This helps settle the soil around the roots.
How to Reduce Transplant Shock
Even with careful handling, plants may wilt or slow down after repotting. Here’s how to ease the transition:

- Keep out of direct sun for 1–2 weeks: Bright, indirect light reduces stress.
- Avoid fertilizing immediately: Wait 4–6 weeks before feeding to prevent overwhelming the roots.
- Maintain consistent watering: Stick to the plant’s usual schedule. Don’t overcompensate with extra water.
- Monitor humidity: Tropical plants benefit from stable humidity levels during recovery.
- Be patient: Growth may pause briefly. This is normal as the plant focuses on re-establishing roots.
Special Repotting Tips for Popular Houseplants
Succulents and Cacti
- Use a gritty, well-draining mix.
- Let the soil dry completely before the first watering after repotting.
Orchids
- Use bark chips instead of regular soil.
- Trim away old or dead roots carefully before repotting.
Large Houseplants (like fiddle leaf figs or monstera)
- Consider repotting in the same pot but replacing the top 2–3 inches of soil if the plant is too heavy to handle.
- Provide stakes for support if the plant droops after repotting.
Common Repotting Mistakes to Avoid
- Choosing a pot that’s too big: This leads to soggy soil and root rot.
- Burying the stem too deep: Can cause rot at the base.
- Skipping drainage holes: Always ensure proper drainage.
- Fertilizing right away: Newly repotted roots are sensitive.
- Neglecting aftercare: Repotting is stressful—monitor the plant closely in the weeks that follow.
Aftercare for a Thriving Plant
Once your plant is in its new home, the job isn’t finished. Ongoing care is essential for success:
- Lighting: Place the plant in a stable environment with indirect sunlight. Gradually reintroduce bright conditions if needed.
- Watering: Stick to your plant’s normal routine, avoiding extremes.
- Feeding: Resume fertilization only after the plant has adjusted—usually 4–6 weeks.
- Observation: Watch for drooping, yellowing, or slow recovery. These are usually temporary, but persistent problems may indicate overwatering, poor soil, or incorrect light.
Conclusion
Repotting is one of the most beneficial yet often misunderstood parts of plant care. Knowing the right time to repot—when roots outgrow their container, soil becomes depleted, or the plant stalls in growth—makes all the difference in keeping your houseplants healthy. Pairing the right timing with careful preparation and proper aftercare ensures your plant doesn’t just survive repotting but thrives in its new home.
Think of repotting not as a stressful chore but as a chance to refresh and rejuvenate your plant. Done thoughtfully, it’s like giving your green companion a fresh start—and the reward is lusher growth, healthier roots, and a longer lifespan.

Leave A Comment