One of the most common challenges plant owners face is knowing when a houseplant needs a bigger home. While plants are generally adaptable, keeping them in a pot that’s too small for too long can limit their growth, cause stress, and even lead to decline. On the other hand, repotting too frequently can also disrupt their root systems. The key is to recognize the signs that your plant has truly outgrown its pot—and act at the right time.
In this article, we’ll explore the telltale signs your plant needs a new pot, why it happens, how to check root health, and tips for repotting successfully without stressing your green companion.
Why Plants Outgrow Their Pots

Every plant starts small, but as it matures, so do its roots. While foliage growth is easy to see, root growth happens beneath the soil and often goes unnoticed until problems surface. A plant outgrows its pot when:
- Roots run out of space – They circle around the pot, tangle, or push through drainage holes.
- Soil compacts and depletes – Roots displace soil over time, reducing nutrients and water retention.
- Top growth exceeds root capacity – A small pot can’t support a large plant’s water and nutrient needs.
If left unaddressed, an overgrown plant becomes stressed, leading to stunted growth, yellowing leaves, or even death.
10 Signs Your Plant Has Outgrown Its Pot
1. Roots Emerging from Drainage Holes
The most obvious sign is roots poking out of the bottom of the pot. This means they’re searching for more space and resources.
2. Roots Circling the Top or Sides of Soil
If you see roots on the surface of the soil or wrapped tightly inside the pot when you remove it, your plant is rootbound.
3. Water Drains Too Quickly
When soil is mostly replaced by roots, water rushes straight through the pot. This leaves little moisture available for the plant.

4. Soil Dries Out Faster Than Usual
If you find yourself watering far more often, it’s a clue that the roots have outgrown the soil’s ability to retain water.
5. Stunted or Slowed Growth
If your plant has stopped producing new leaves or flowers despite proper care, its roots may be restricted.
6. Yellowing or Dropping Leaves
Nutrient deficiencies caused by depleted soil often show up as yellow, limp, or falling leaves.
7. Wilting Despite Regular Watering
A rootbound plant can’t take up enough water, leaving it thirsty even when you water consistently.
8. Top-Heavy Plant or Tipping Pot
If your plant leans, topples easily, or seems unstable, the pot is too small to anchor it.
9. Cracked or Warped Pots
In extreme cases, especially with plastic pots, expanding roots can warp or crack the container.
10. Poor Overall Health
Frequent pest problems, lackluster foliage, and failure to thrive may all point to a pot that no longer meets your plant’s needs.

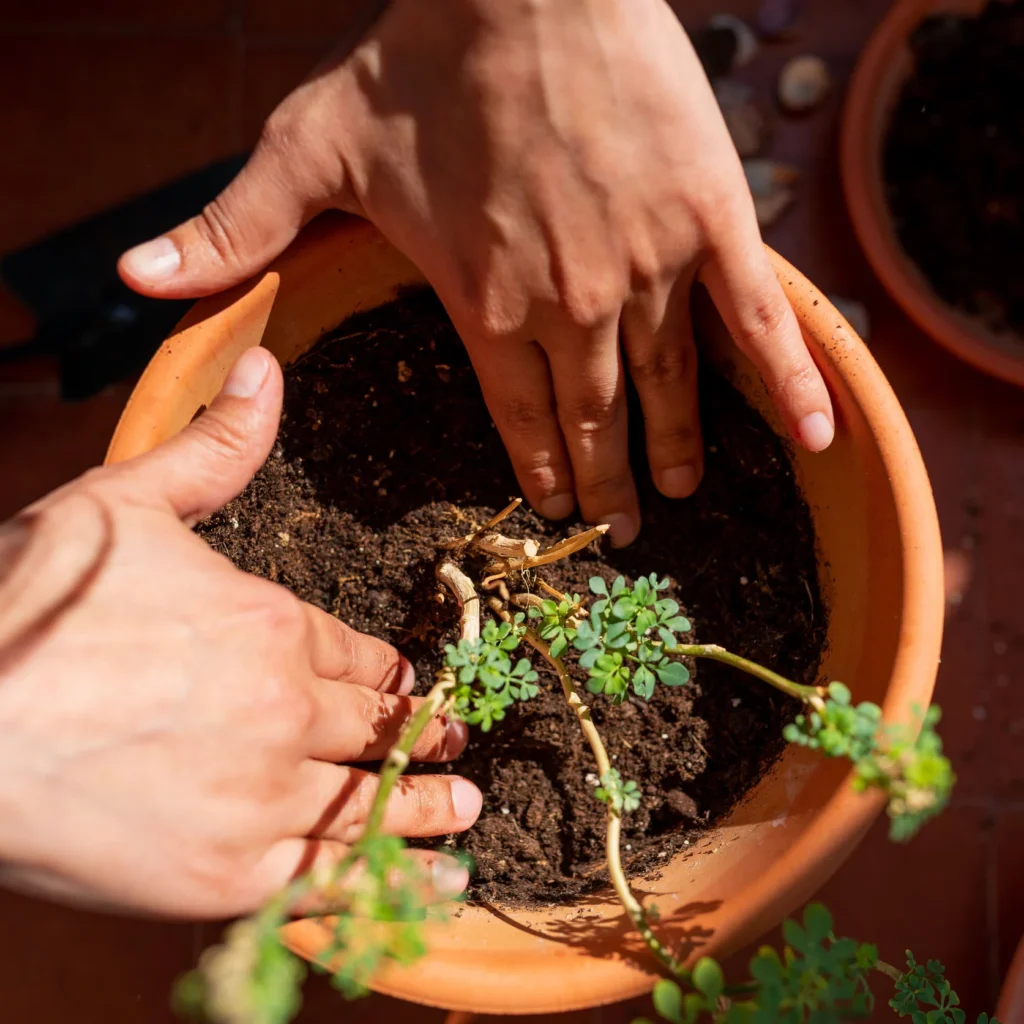
How to Check If Your Plant Is Rootbound
If you’re still unsure, the best way to confirm is by gently inspecting the roots:
- Water lightly a day before for easier removal.
- Tilt the pot sideways and carefully slide out the plant.
- Examine the root system:
- Healthy fit – Roots and soil are balanced, with roots not overly circling.
- Rootbound – Roots densely packed, circling the edges, or replacing most of the soil.
If your plant looks rootbound, it’s time to repot.
When Is the Best Time to Repot?
Timing matters when repotting, as stressed plants can struggle to recover. Here’s when you should—and shouldn’t—repot:
- Best time: Spring and early summer, when plants are actively growing.
- Acceptable: Early fall for hardy plants, though recovery may be slower.
- Avoid: Late fall and winter, as plants are dormant and won’t rebound quickly.
Choosing the Right New Pot
When upgrading your plant’s container, consider the following:
- Size – Choose a pot only 1–2 inches larger in diameter than the current one. Oversized pots can hold excess water, leading to root rot.
- Material – Terracotta allows airflow but dries faster, while ceramic and plastic retain moisture longer. Pick based on your plant’s needs.
- Drainage – Always select pots with drainage holes to prevent soggy soil.
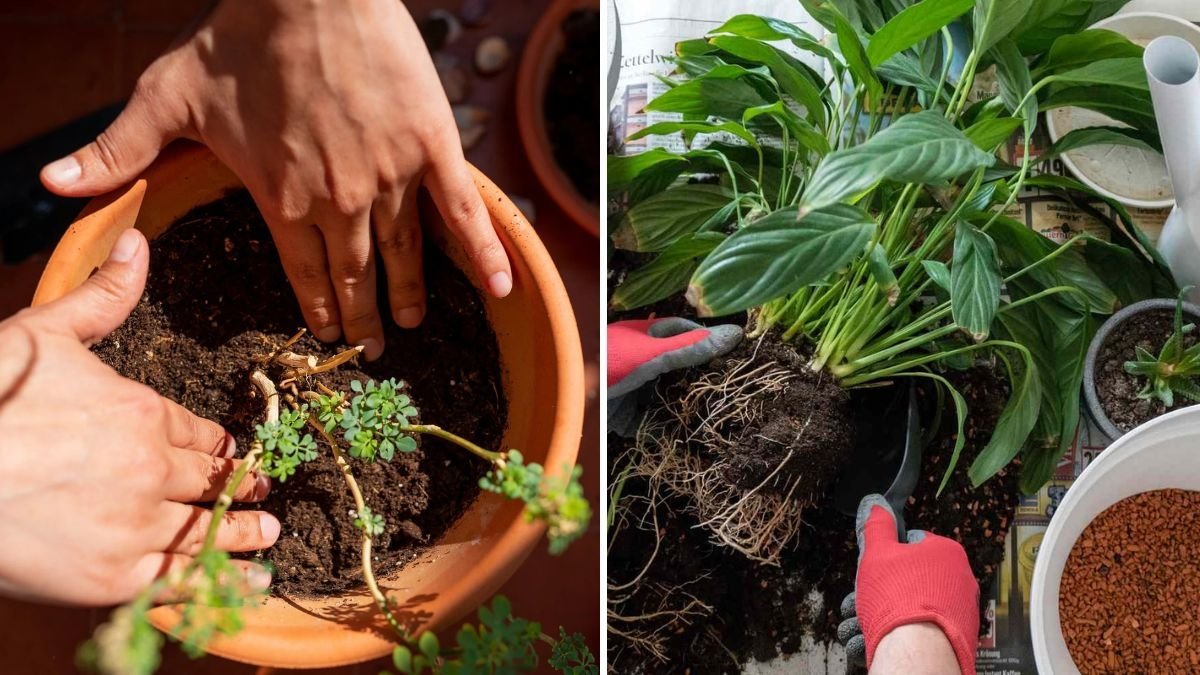
Step-by-Step Guide to Repotting
Once you’ve identified that your plant has outgrown its pot, here’s how to repot successfully:
Step 1: Gather Supplies
You’ll need fresh potting soil, a slightly larger pot, gloves, and clean scissors or pruners.
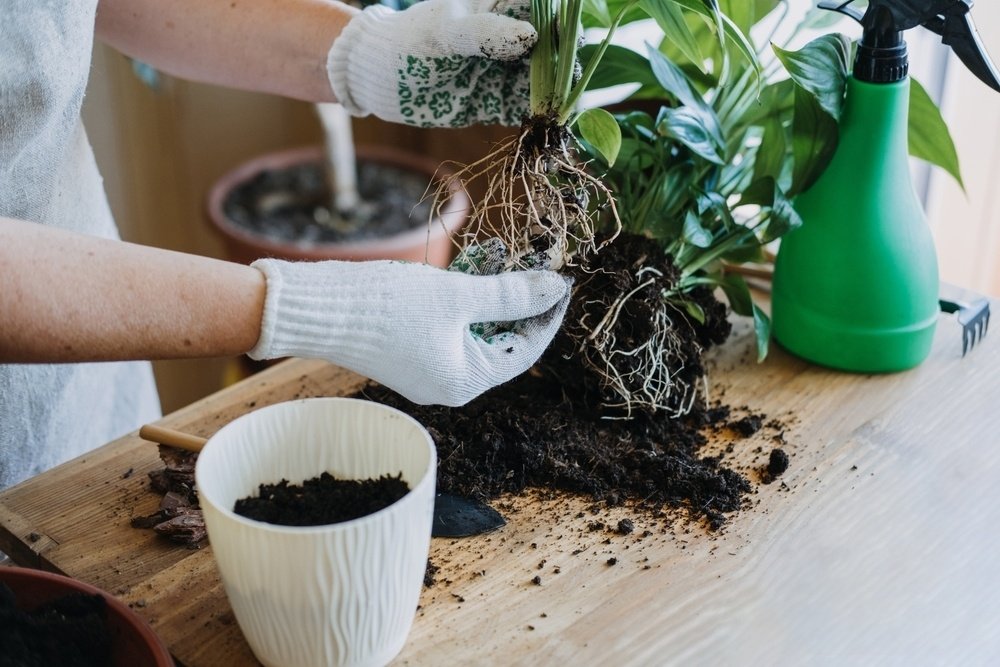
Step 2: Remove the Plant
Turn the pot on its side and gently slide out the plant. Loosen the sides with a knife or squeeze the pot if needed.

Step 3: Inspect the Roots
Trim away any dead, mushy, or excessively long roots. If roots are tightly circling, gently tease them apart.
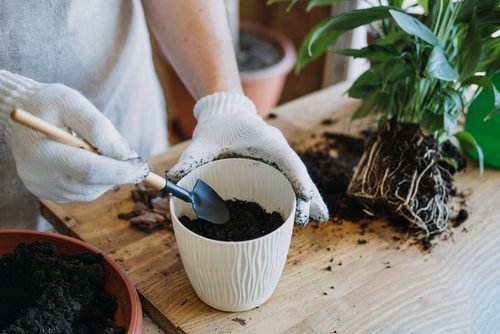
Step 4: Prepare the New Pot
Add a layer of fresh potting soil at the bottom.
Step 5: Position the Plant
Place the plant in the center, making sure it sits at the same depth it was in the old pot.
Step 6: Fill with Soil
Backfill with fresh soil, pressing gently to eliminate air pockets. Leave about an inch at the top for watering space.
Step 7: Water Thoroughly
Give the plant a deep watering to help roots settle into the new soil.
Aftercare: Helping Your Plant Adjust
Repotting can temporarily shock your plant, so proper aftercare is essential:
- Place in indirect light for a week, avoiding harsh sun.
- Water sparingly until new growth appears—overwatering is a common mistake after repotting.
- Skip fertilizer for 4–6 weeks, as fresh soil contains nutrients.
- Prune lightly to reduce stress on the plant.
Within a few weeks, your plant should perk up and resume healthy growth.

Common Mistakes to Avoid

- Going too big with the pot – Leads to soggy soil and root rot.
- Repotting at the wrong time – Dormant plants recover poorly.
- Neglecting to loosen rootbound roots – Roots may continue circling instead of spreading.
- Overwatering right after repotting – Roots need oxygen as well as moisture.
- Skipping drainage holes – A guaranteed recipe for waterlogged roots.
Final Thoughts
Learning how to tell if your plant has outgrown its pot is a key skill for every plant parent. From roots peeking out of drainage holes to stunted growth and frequent wilting, the signs are easy to spot once you know what to look for. Repotting at the right time with the right pot size and soil can give your plant a fresh start, ensuring healthier roots, vibrant foliage, and continued growth.
With a little observation and care, you can keep your plants thriving for years—and enjoy the satisfaction of watching them flourish in their new, roomier homes.
Leave A Comment