Healthy plants start with healthy soil, water, and containers. While many plant lovers focus on watering schedules, sunlight, and fertilizers, they often overlook one critical factor: the cleanliness of their pots. Plant containers, whether clay, plastic, ceramic, or terracotta, can harbor harmful pathogens, fungi, bacteria, and even pest eggs. If not properly disinfected, these hidden dangers can transfer from one plant to another, spreading diseases that compromise your entire collection.
Disinfecting pots might sound like an extra chore, but it’s one of the most effective and simplest steps to safeguard your plants. In this article, we’ll explore why disinfecting pots matters, the common risks of dirty containers, different cleaning methods, step-by-step disinfection techniques, and practical prevention tips so you can maintain a disease-free indoor or outdoor garden.
Why Disinfecting Pots Is Essential
Plant diseases don’t just appear out of nowhere—they’re often carried by contaminated soil, water, tools, or pots. When a plant dies from fungal infection, bacterial wilt, or root rot, pathogens can linger in the pot’s pores, cracks, and surface. Reusing the same container without cleaning essentially gives these pathogens a second chance to attack your next plant.
Some key reasons to disinfect your pots include:
- Preventing the spread of fungal infections like powdery mildew, root rot, and damping-off.
- Eliminating pest eggs and larvae (fungus gnats, mealybugs, or aphids often hide in crevices).
- Avoiding nutrient imbalances caused by leftover salts and fertilizer residues.
- Protecting young or sensitive plants, which are especially vulnerable to pathogens.
Just like washing your hands reduces the spread of germs, disinfecting pots creates a safer growing environment.

Common Plant Diseases Spread by Dirty Pots
Understanding what you’re protecting your plants from makes the cleaning process feel more meaningful. Some diseases and pests often spread through contaminated containers include:
- Pythium and Phytophthora (Root Rot): Thrive in moist soil and remain in pot surfaces even after old soil is discarded.
- Fusarium Wilt: A stubborn fungus that clings to containers and spreads quickly.
- Powdery Mildew: Spores can survive on surfaces and reinfect new plants.
- Damping-Off Disease: Common in seedlings when grown in contaminated pots.
- Fungus Gnat Larvae: Eggs can remain in soil particles stuck to pot walls.
- Bacterial Leaf Spot & Blight: Bacteria can linger in water stains or residues.
By properly disinfecting, you cut off these pathogens’ chances of reappearing.
Materials You’ll Need for Pot Disinfection
Before starting, gather your cleaning and disinfecting supplies. Depending on the method, you may not need all of these, but having options helps:
- A stiff brush or scrub pad
- Dish soap (mild, unscented preferred)
- Household bleach
- White vinegar
- Hydrogen peroxide (3% solution)
- Baking soda (for scrubbing and odor removal)
- A large tub, sink, or bucket for soaking
- Rubber gloves for safety
- Clean towels or racks for drying
Step 1: Remove Old Soil and Debris
- Start by knocking out as much old soil as possible.
- Use a brush or your hands to scrape off roots, dirt, and salt deposits around the rim and drainage holes.
- Rinse the pot with warm water to loosen stubborn debris.
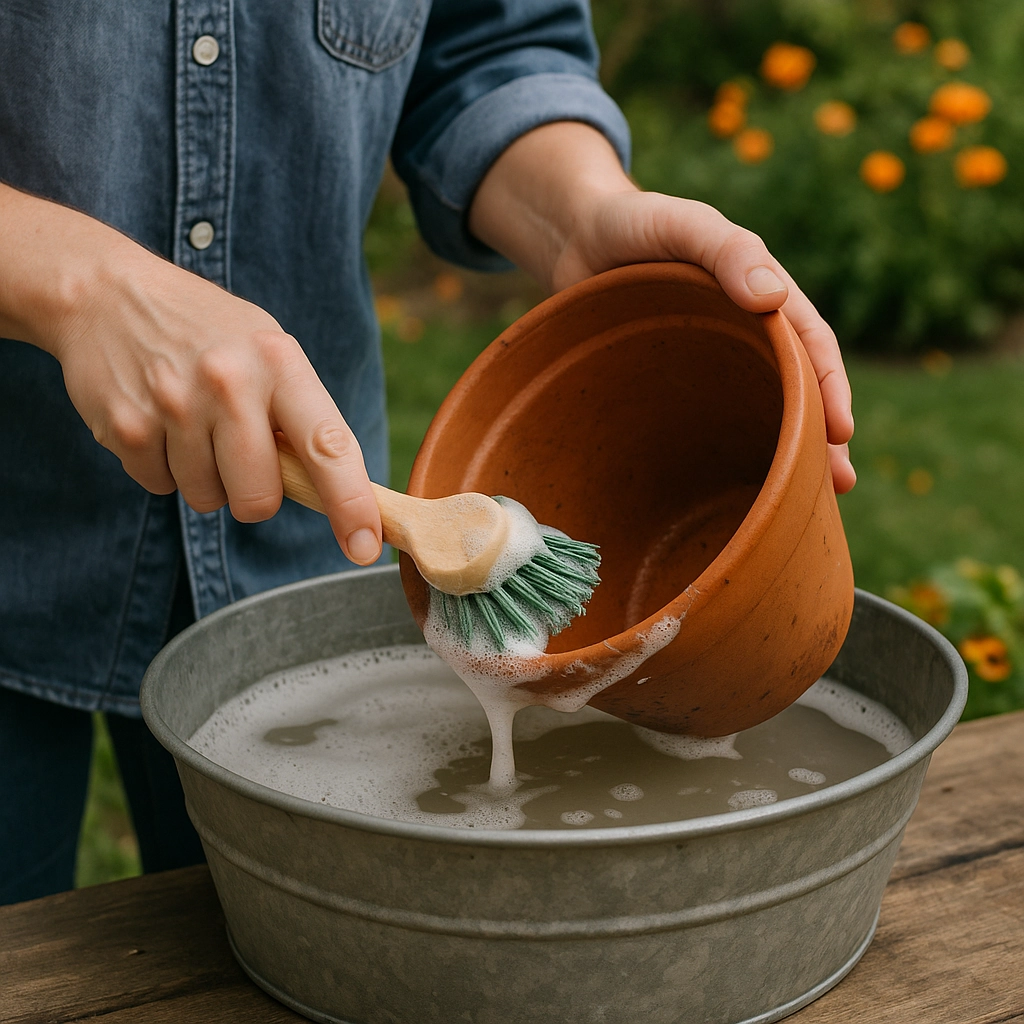
Tip: If you’re dealing with terracotta or clay pots, soak them in water for about an hour before cleaning. Their porous surface holds onto soil particles, and pre-soaking softens residues.
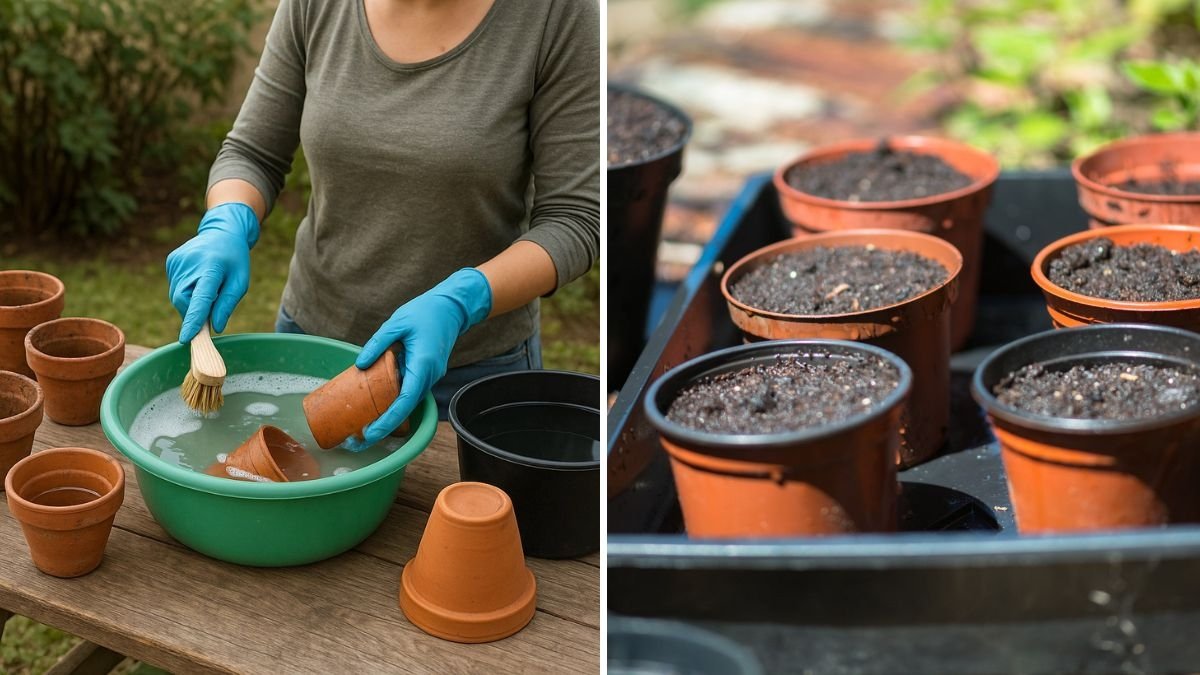
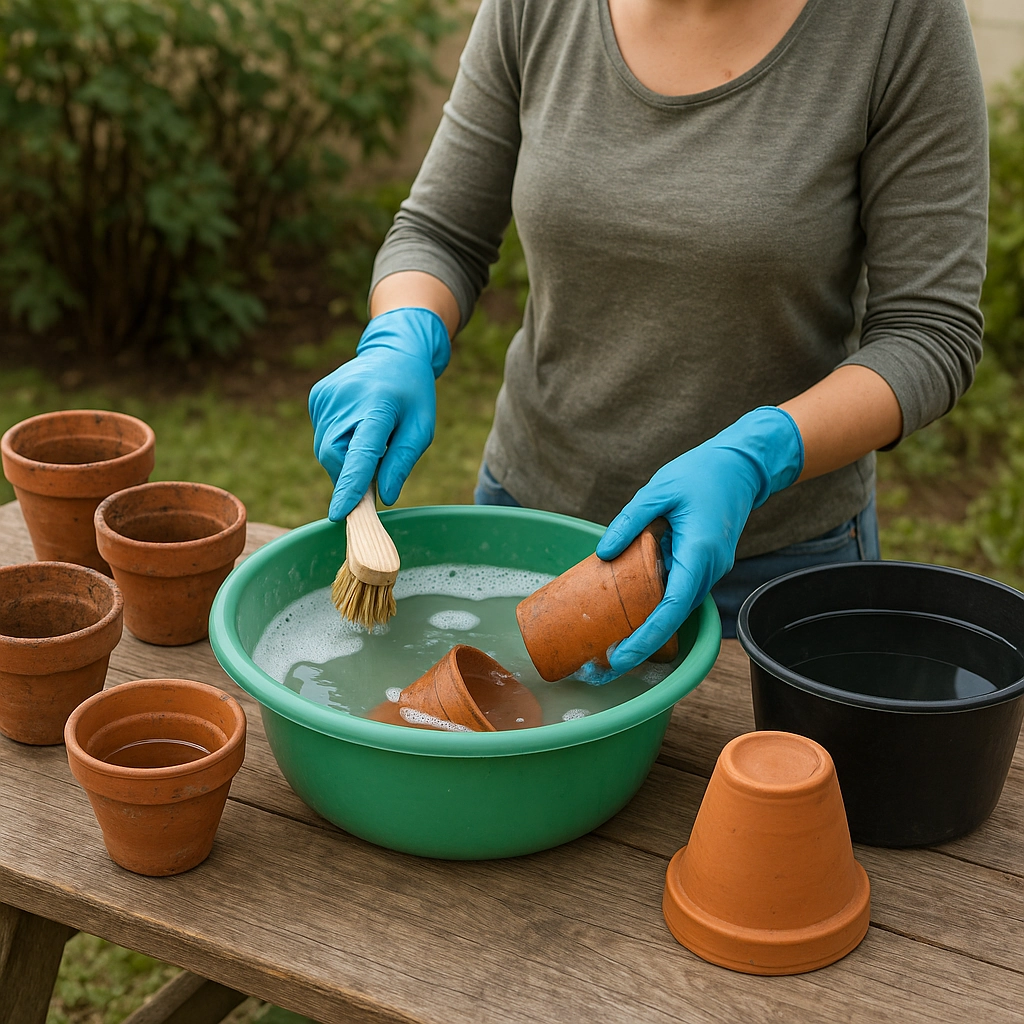
Step 2: Wash with Soap and Water
Soap and water form the foundation of cleaning before actual disinfection. This step removes grime, salts, and organic matter that may shield pathogens.

- Fill a sink or tub with warm water.
- Add a few drops of mild dish soap.
- Scrub pots inside and out with a brush until visibly clean.
- Rinse thoroughly with clean water.
Remember, disinfection only works on a clean surface. Skipping this step reduces the effectiveness of disinfectants.
Step 3: Choose Your Disinfection Method
Here are the most effective natural and chemical methods for disinfecting plant pots:
1. Bleach Solution (Most Effective for Tough Pathogens)
- Mix 1 part bleach to 9 parts water in a bucket.
- Submerge pots for at least 10 minutes.
- Rinse thoroughly with clean water to remove bleach residue.
- Let pots air dry completely.
Pros: Kills a wide range of bacteria, fungi, and viruses.
Cons: Strong smell, may damage terracotta if used repeatedly.
2. Vinegar Solution (Gentle, Eco-Friendly Option)
- Mix 1 part white vinegar to 1 part water.
- Soak pots for 30–60 minutes.
- Scrub and rinse well.
Pros: Removes mineral deposits and mild fungal spores.
Cons: Not as effective against aggressive pathogens like Fusarium.
3. Hydrogen Peroxide (3%)
- Fill a spray bottle with undiluted hydrogen peroxide.
- Spray pots generously and let them sit for 10 minutes.
- Rinse and air dry.
Pros: Safe, non-toxic, leaves no residue.
Cons: May require multiple applications for heavily contaminated pots.

4. Baking Soda Paste (for Scrubbing Salt Deposits)
- Mix baking soda with a little water to form a paste.
- Scrub the inside of the pot to remove stubborn white salt buildup.
- Rinse well before disinfecting with another method.
5. Sun Sterilization (Natural Method)
- After washing, place pots in direct sunlight for 6–8 hours.
- UV rays help kill pathogens naturally.
Pros: Free and natural.
Cons: Works best in sunny, dry climates; not effective for all pathogens.
Step 4: Dry Thoroughly
After disinfecting, pots must be completely dry before use. Moisture encourages the very fungal growth you’re trying to prevent.
- Place pots upside down on a clean towel or drying rack.
- For clay pots, allow at least 24 hours for complete drying, since they absorb water.
Special Considerations by Pot Material
- Clay/Terracotta Pots: Very porous, so disinfect more often. Avoid repeated bleach soaking (use vinegar or hydrogen peroxide instead).
- Plastic Pots: Easy to disinfect, but avoid hot water or prolonged sunlight, which can warp them.
- Ceramic/Glazed Pots: Non-porous and easier to clean, though hairline cracks can hide pathogens.
- Metal Pots: Resistant to pathogens but prone to rust; dry thoroughly after cleaning.
Preventing Diseases Beyond Cleaning Pots
While disinfecting pots is powerful, it’s not the only step in disease prevention. Consider these additional practices:
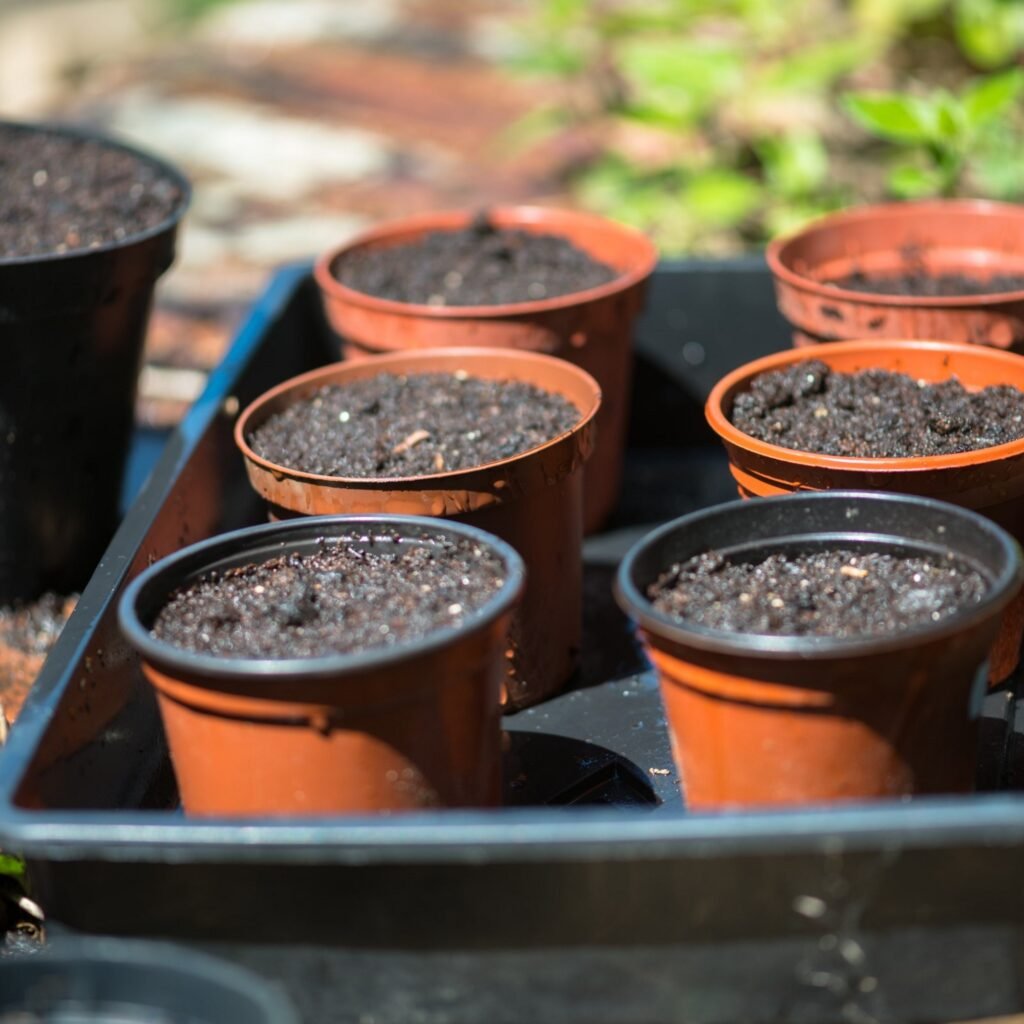
- Always use fresh, sterile potting soil—never reuse old soil without sterilizing it.
- Clean gardening tools regularly, as they also spread pathogens.
- Quarantine new plants for 1–2 weeks before placing them with your collection.
- Water correctly—overwatering encourages fungi and bacteria to thrive.
- Improve air circulation around plants to reduce fungal growth.
When to Disinfect Pots
Not every repotting requires a full disinfection. Here’s when it’s essential:
- When a plant has died from disease.
- Before using second-hand or thrifted pots.
- At the start of each new growing season.
- When moving plants between indoor and outdoor settings.
For healthy plants with routine repotting, a simple wash with soap and water may be enough.

Conclusion
Disinfecting pots is one of the simplest, most overlooked steps in plant care. A quick soak in bleach, vinegar, or hydrogen peroxide can mean the difference between thriving plants and repeated cycles of disease. By cleaning and sterilizing containers, you’re not just giving your plants a fresh start—you’re creating a healthier environment that reduces stress and maximizes growth potential.
The next time you prepare to repot, remember: a clean pot is just as important as good soil and proper watering. Taking the extra step to disinfect can save you months of frustration and ensure your plants flourish, disease-free.
Leave A Comment