Fertilizer is often called “plant food,” and it’s true—nutrients like nitrogen, phosphorus, and potassium are vital for healthy growth. But just like with people, too much of a good thing can turn harmful. When plants are overfertilized, they suffer from what’s commonly known as “fertilizer burn”—a condition that can weaken, damage, or even kill your beloved greenery.
If your plant’s leaves are browning, curling, or dropping after a recent feeding, overfertilization could be the culprit. The good news? You can often reverse the damage with the right care and a bit of patience.
This guide will walk you through how to identify fertilizer burn, the science behind it, and—most importantly—how to save your overfertilized plants and prevent it from happening again.
Understanding What Happens When You Overfertilize
Fertilizers contain mineral salts that dissolve in water and are absorbed by plant roots. When you apply too much, these salts build up in the soil. As a result, the soil’s salt concentration becomes higher than that inside the plant’s roots.
This causes a process called reverse osmosis—instead of absorbing water, the roots start losing it. The roots then dry out, burn, and fail to transport nutrients properly. Essentially, the plant becomes dehydrated from the inside, even if the soil looks moist.
In other words, overfertilizing starves your plant while appearing to feed it.
Common Causes of Overfertilization
Even experienced gardeners can make mistakes when feeding their plants. Here are the most common causes:
- Using Too Much Fertilizer at Once
Following the “more is better” mindset can lead to disaster. Plants can only absorb nutrients at a certain rate; excess salts just accumulate in the soil. - Fertilizing Too Often
Regular feeding is important, but doing it too frequently (especially during dormant periods) overwhelms plants. - Not Watering Before Fertilizing
Applying fertilizer to dry soil increases salt concentration instantly, burning root tips. - Poor Drainage
In pots without proper drainage, fertilizer salts can’t wash out, causing buildup over time. - Using a Strong Formula or Wrong Type
Some fertilizers are highly concentrated and meant for outdoor plants, not delicate indoor ones.
How to Recognize Overfertilization Symptoms
Overfertilization can mimic other plant problems, such as underwatering or disease. Here’s how to tell if fertilizer is to blame:
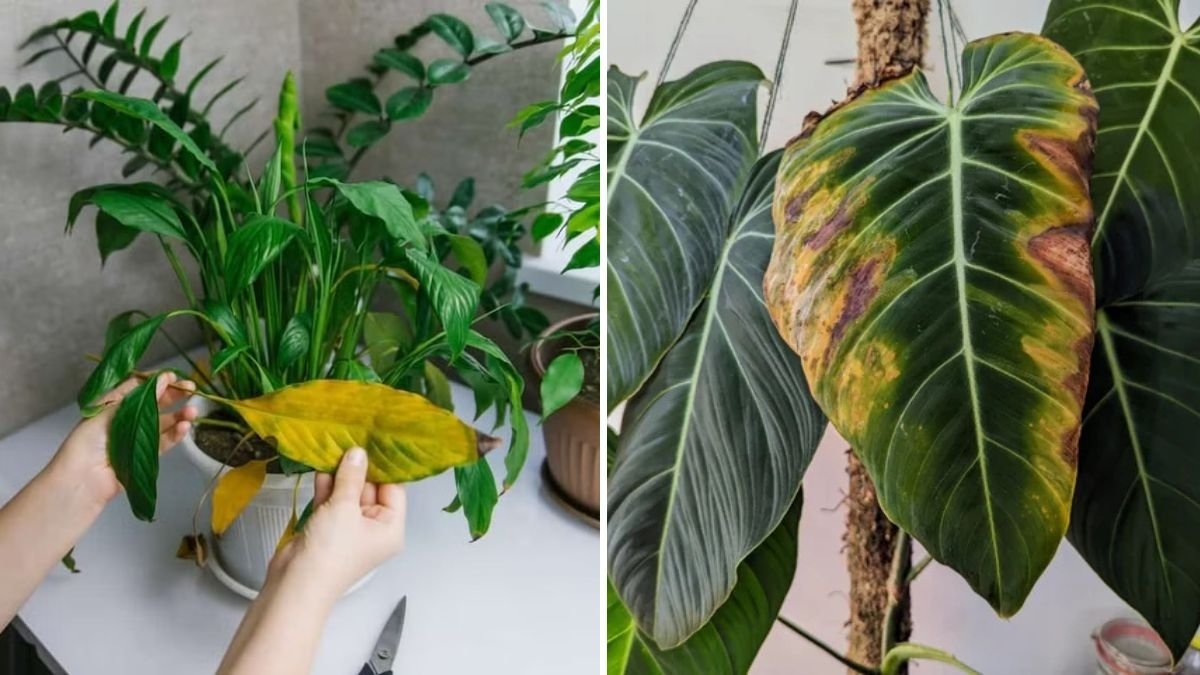
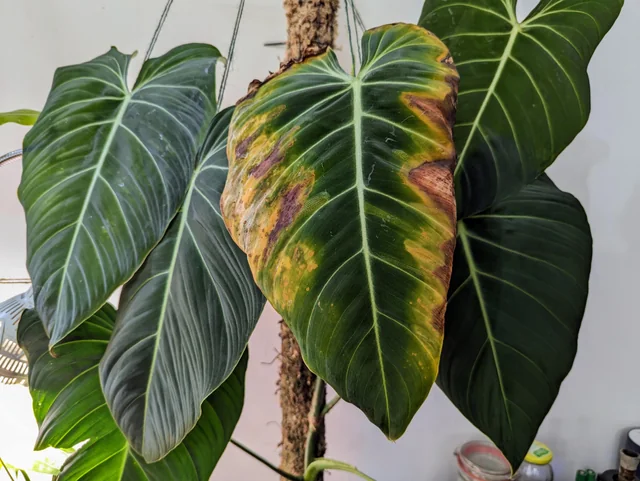
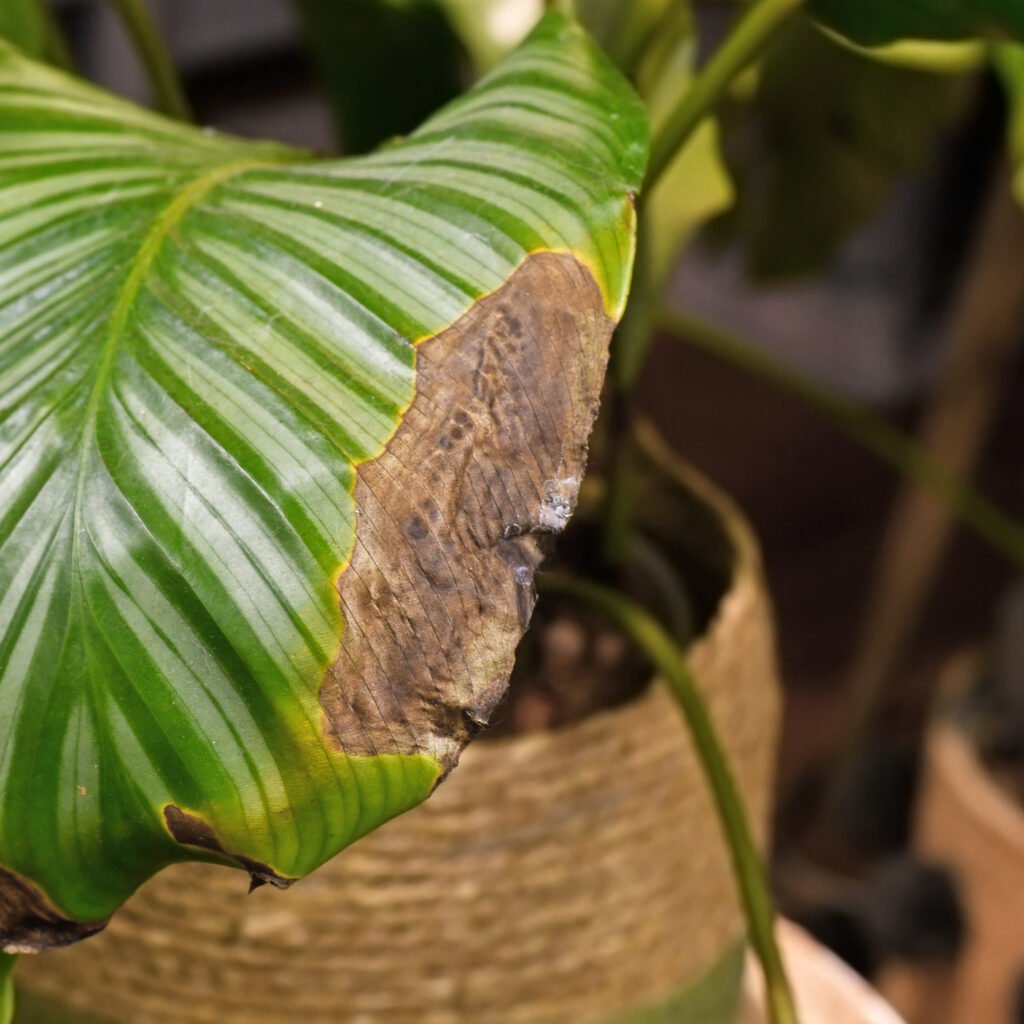
1. Brown or Burned Leaf Tips
This is the most common and immediate sign. The edges or tips of leaves turn brown and crispy while the rest of the leaf may still be green. This happens because excess salts pull moisture away from leaf cells.

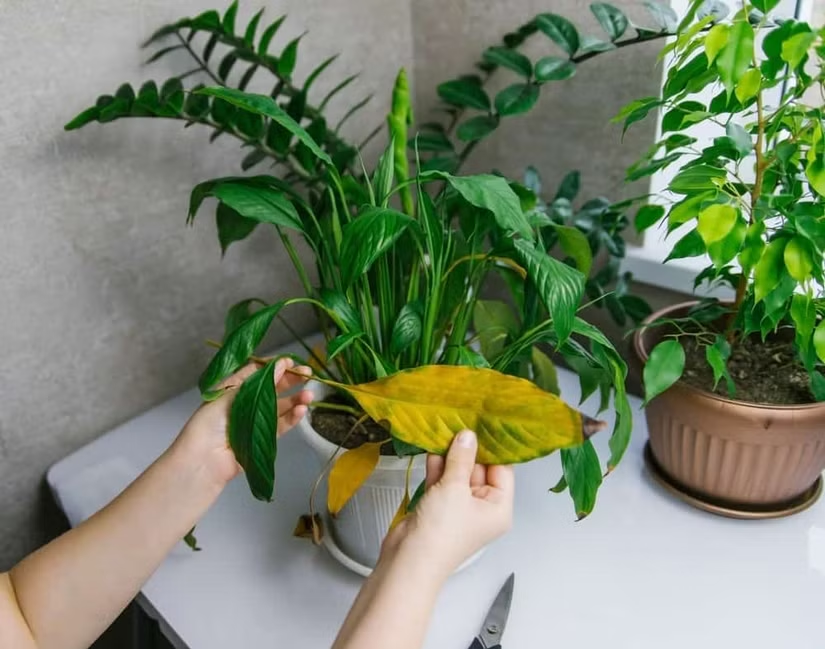
2. Yellowing Leaves (Chlorosis)
Leaves that start yellowing from the edges inward could indicate nutrient stress or chemical burn.
3. Wilting Despite Moist Soil
If the soil is damp but your plant looks droopy, its roots may be too damaged to absorb water properly.
4. White Crust on Soil or Pot
A visible white or yellowish crust on the soil surface or pot rim means fertilizer salts have accumulated and dried out there.
5. Leaf Drop or Stunted Growth
Excess salts disrupt nutrient absorption, leading to slow growth, fewer new leaves, and eventually leaf shedding.
6. Root Burn (Underground Damage)
When you remove the plant from its pot, burned roots may appear brown or black instead of healthy white or tan.
Step-by-Step Guide: How to Revive Overfertilized Plants
Reviving an overfertilized plant is about flushing out excess salts, healing root damage, and restoring balance. Follow these steps carefully to give your plant the best chance at recovery.
Step 1: Stop Fertilizing Immediately
Cease all fertilizer applications right away. Even if you think the plant is starving, it’s essential to remove excess salts before reintroducing nutrients. Feeding more at this stage will only worsen the problem.
Step 2: Remove Visible Fertilizer and Salt Crust
Gently scrape off any visible fertilizer granules or white salt crust from the soil surface. Be careful not to disturb the roots or compact the soil further.
Step 3: Flush the Soil Thoroughly
Flushing helps wash out built-up salts from the root zone. Here’s how to do it:

- Move the plant to a sink, tub, or outdoor area.
- Slowly pour water through the soil—use at least three times the volume of the pot. For example, if you have a 1-liter pot, run 3 liters of water through it.
- Allow the excess water to drain completely from the bottom.
Repeat the flushing process once or twice over the next few days if symptoms are severe.
Tip: Use filtered or rainwater if possible—tap water sometimes contains minerals that can worsen salt buildup.
Step 4: Check for Root Damage
If your plant still looks weak after flushing, gently slide it out of the pot to inspect the roots.
- Healthy roots: Firm, white, or light tan.
- Damaged roots: Dark, soft, mushy, or foul-smelling.
Trim away any rotten or burned roots using sterilized scissors. This prevents further decay.
Step 5: Repot in Fresh Soil (If Necessary)
If salt buildup is severe or the soil smells musty, repotting is the best solution.
- Gently remove as much old soil as possible without breaking healthy roots.
- Use fresh, well-draining potting mix appropriate for your plant species.
- Choose a pot with drainage holes to prevent future salt accumulation.
After repotting, water the plant thoroughly and place it in a shaded area for a few days to recover from the stress.
Step 6: Adjust Watering Practices
Once your plant begins to stabilize, maintain a consistent watering schedule. Always water deeply until it drains out the bottom. This helps flush out minor salt buildup naturally over time.
Avoid watering in small sips, as that only keeps salts near the surface.
Step 7: Wait Before Fertilizing Again
Give your plant at least 4–6 weeks to recover before adding any fertilizer again. When you resume feeding:

- Dilute fertilizer to half or quarter strength.
- Apply only when the plant is actively growing (usually spring and summer).
- Water before fertilizing to avoid burning roots.
Natural Remedies to Help Recovery
In addition to flushing and repotting, you can support your plant’s recovery with a few natural aids:
1. Add Activated Charcoal
Mixing a small amount into the new soil can help absorb residual toxins and balance pH levels.
2. Use Epsom Salt (With Caution)
If magnesium deficiency develops after flushing, dissolve a teaspoon of Epsom salt in a gallon of water and apply once a month—but only if the plant truly shows deficiency symptoms.
3. Apply Organic Soil Conditioners
Compost tea, worm castings, or seaweed extract provide mild nutrition without causing salt stress.
Preventing Future Overfertilization
Once you’ve revived your plant, prevention becomes key. Here’s how to avoid fertilizer burn in the future:
1. Follow Label Directions Exactly
Always read the fertilizer label carefully. More doesn’t equal better—stick to recommended dosages and frequencies.
2. Choose the Right Fertilizer Type
- Liquid fertilizers are easier to control and less likely to cause salt buildup than slow-release granules.
- Organic fertilizers release nutrients gradually and are gentler on roots.
3. Water Before Feeding
Always water your plant thoroughly before applying fertilizer. This helps buffer root tips and reduces the risk of salt burn.
4. Flush Regularly
Even if you fertilize correctly, salts can still build up slowly. Every few months, flush the soil with plain water to keep it fresh.
5. Match Fertilizer to Growth Stage
Plants in active growth need more nutrients. During dormancy (often in winter), reduce or stop feeding altogether.

6. Monitor and Observe
Your plant’s appearance is your best guide. If new growth is strong, leaves are green, and the plant looks vibrant, you’re likely feeding just right.
How Long Does Recovery Take?
The recovery timeline depends on how severe the damage is.
- Mild overfertilization: Visible improvement within 1–2 weeks after flushing.
- Moderate damage: May take a month or two to regain normal growth.
- Severe cases (root burn): Can take 3–6 months for full recovery, or the plant may not survive if too much of the root system is destroyed.
Patience and consistent care are key—plants recover slowly but steadily once the stress is removed.
Final Thoughts
Overfertilization is a common plant care mistake, but it doesn’t have to be fatal. The key is recognizing the signs early—brown tips, yellowing leaves, or white crust on soil—and acting quickly to remove excess salts.
Remember, plants thrive on balance. Fertilizer is meant to support growth, not replace it. Think of it as a supplement, not a meal.
By learning how to flush, repot, and care thoughtfully after a feeding mishap, you can not only rescue your overfertilized plants but also prevent future problems. And once your plant starts producing healthy new growth again, you’ll know your efforts paid off—proof that even overfed plants can bounce back with the right touch.
Leave A Comment