
In recent years, microgreens have taken the world of healthy eating and home gardening by storm—and for good reason. These tiny plants pack intense flavor, vibrant color, and up to 40 times more nutrients than their mature counterparts. Growing microgreens indoors is not only easy and space-efficient but also a fun, rewarding way to enjoy fresh, organic greens year-round.
Whether you live in a small apartment or a house with limited outdoor space, you can create your own mini farm of nutritious greens right on your windowsill or countertop. This guide will walk you through how to grow microgreens indoors, from choosing the best seeds and containers to harvesting your own nutrient-rich greens in just a few weeks.
1. What Are Microgreens?

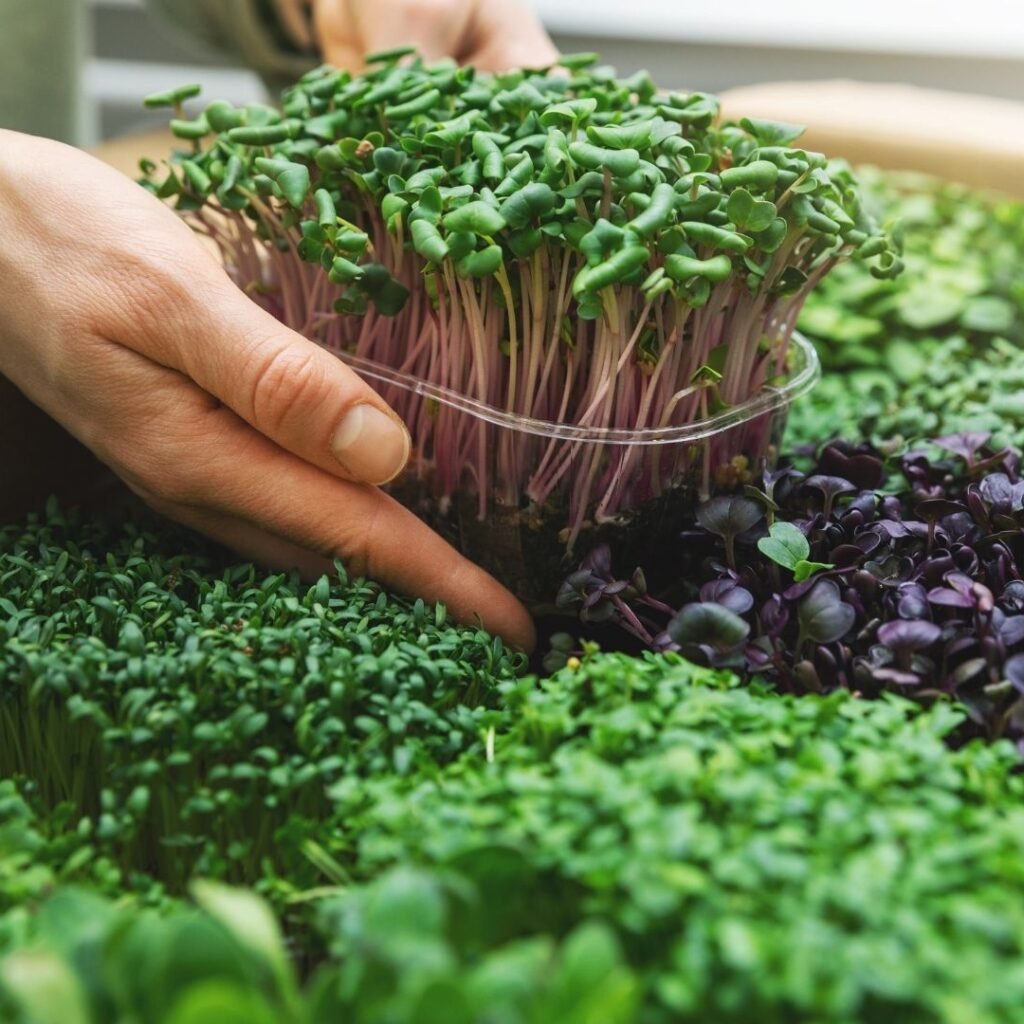
Microgreens are young seedlings of vegetables, herbs, or grains harvested when they are about 1 to 3 inches tall—usually within 7 to 21 days after germination. They are not sprouts (which are grown in water without soil) but are more mature, with tiny leaves and stems full of flavor and nutrients.
Common Microgreens Include:
- Broccoli
- Radish
- Kale
- Arugula
- Beet greens
- Basil
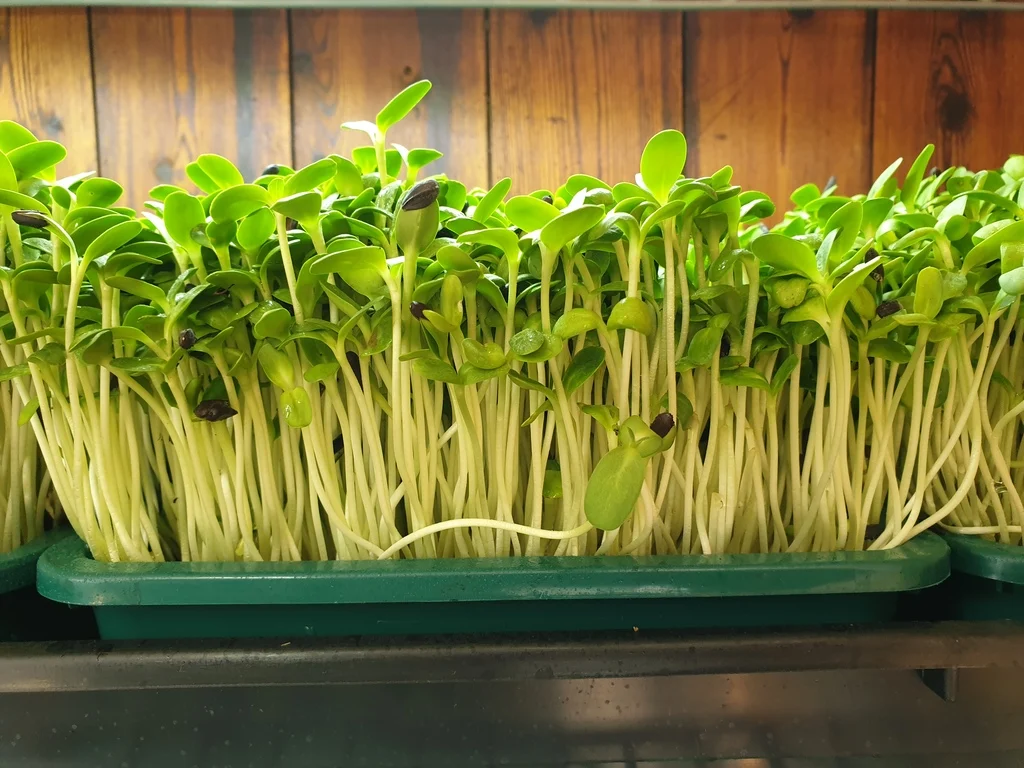
- Sunflower shoots
- Pea shoots
- Mustard greens
- Cilantro
Each type offers a unique taste—ranging from spicy to sweet—and can enhance salads, sandwiches, smoothies, or even garnishes for gourmet dishes.
2. Why Grow Microgreens Indoors?
Growing microgreens indoors offers numerous advantages, especially for health-conscious individuals or urban gardeners:
- Fast Growth: Harvest-ready in just 1–3 weeks.
- Low Maintenance: Requires minimal water and care.
- Space-Saving: Perfect for small apartments, kitchen counters, or window sills.
- Nutrient-Dense: Contains high levels of vitamins A, C, E, and K, along with antioxidants and minerals.
- Cost-Effective: A single packet of seeds can yield multiple trays of greens.
- Year-Round Freshness: No need to depend on store-bought produce.
In short, it’s an easy, sustainable way to grow your own superfoods at home.
3. Best Microgreens to Start With
If you’re a beginner, it’s best to start with easy and fast-growing varieties that have consistent germination rates.
| Easy Microgreens | Days to Harvest | Flavor Profile |
|---|---|---|
| Radish | 7–10 | Peppery and spicy |
| Broccoli | 10–14 | Mild and earthy |
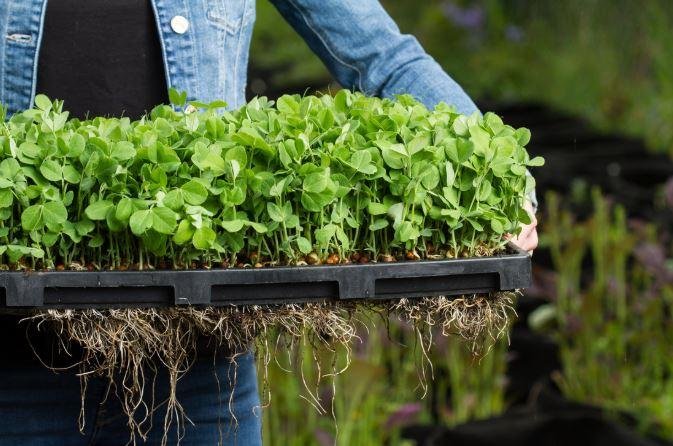
| Pea shoots | 10–14 | Sweet and tender |
| Sunflower | 10–12 | Nutty and crisp |
| Kale | 12–15 | Mildly bitter, rich |
| Mustard | 8–12 | Spicy and tangy |
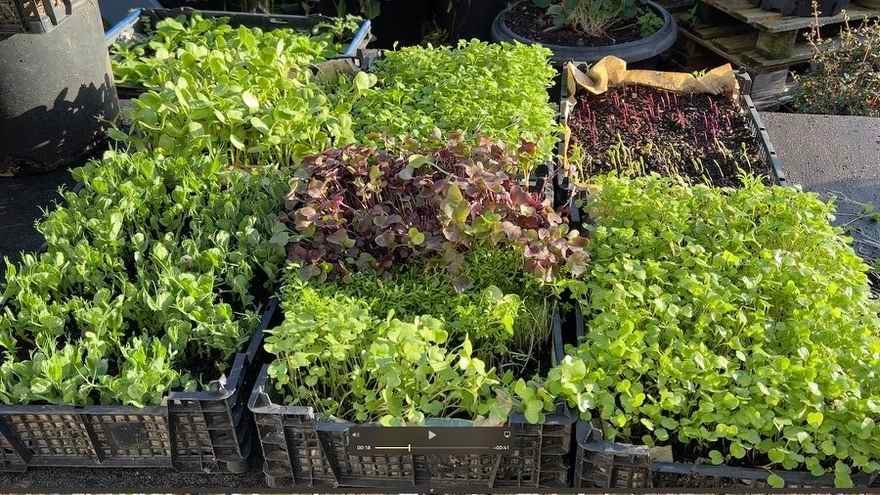
Once you’re comfortable, you can experiment with mixes like “spicy salad blend” or “rainbow mix” for variety.

4. What You’ll Need to Get Started
The beauty of microgreens is that they don’t require fancy tools or a garden. You only need a few basic materials:
Supplies Checklist:
- Seeds: Organic, untreated seeds specifically labeled for microgreens.
- Containers or Trays: Shallow trays (1–2 inches deep) with drainage holes. Recycled food containers work fine.
- Growing Medium: Options include potting mix, coco coir, peat moss, or hemp mats.
- Spray Bottle: For misting the seeds and soil.
- Light Source: Bright window or LED grow light.
- Plastic Lid or Cover: Helps retain moisture during germination.
- Scissors: For clean harvesting.
That’s all you need to start your indoor microgreen garden!
5. Step-by-Step Guide to Growing Microgreens Indoors
Step 1: Prepare the Container
Choose a shallow tray (about 1–2 inches deep).
- If it doesn’t have holes, poke a few small drainage holes at the bottom.
- Place it on a waterproof tray to catch any excess water.
Step 2: Add Growing Medium
Fill the container with your chosen medium—about 1 inch deep—and level it out.
Lightly press down to create a flat surface but don’t compact it too much, as roots need airflow.
Step 3: Moisten the Soil
Use a spray bottle to mist the soil until it’s evenly moist but not soggy. This creates the perfect environment for seed germination.
Step 4: Sow the Seeds
Evenly sprinkle the seeds across the surface—almost like seasoning food. You can sow them densely since they’ll be harvested young.
Gently press them into the soil with your palm or the back of a spoon but don’t bury them deeply.
Step 5: Cover for Germination
Cover the tray with a plastic lid or another tray to maintain humidity and darkness.
Keep it in a warm place (around 70°F / 21°C).
- Germination Time: 2–4 days depending on the variety.
- Once most seeds have sprouted, remove the cover and expose them to light.
Step 6: Provide Light and Air
Move the tray to a bright windowsill or under a grow light.
Microgreens need about 12–16 hours of light daily for strong growth.
Rotate the tray every few days for even light exposure.

Step 7: Water Gently
Use a spray bottle to mist the plants once or twice a day.
Avoid overwatering—too much moisture can lead to mold.
Alternatively, you can bottom-water by adding water to the tray underneath so the soil absorbs it without wetting the leaves.
Step 8: Watch Them Grow
In 7–14 days, you’ll see your microgreens flourish with vibrant color and tender stems.
Once they develop their first true leaves, they’re ready to harvest!
6. How to Harvest Microgreens
Harvesting is the most exciting part—it’s when your indoor garden turns into food!
- Use clean, sharp scissors or a knife.
- Cut the microgreens just above the soil line.
- Rinse gently with cool water and dry with paper towels or a salad spinner.
- Store in an airtight container in the refrigerator for up to a week.
Tip: Harvest in the morning for the freshest flavor and highest nutrient content.
7. Nutrition and Health Benefits
Microgreens are a true nutritional powerhouse. According to research by the USDA, many varieties contain 4 to 40 times more vitamins and antioxidants than mature plants.
Key Nutrients Found in Microgreens:
- Vitamin C: Boosts immunity and collagen production.
- Vitamin K: Supports bone health.
- Vitamin E: Powerful antioxidant that protects cells.
- Beta-Carotene: Enhances vision and skin health.
- Iron and Magnesium: Improve energy levels.
- Polyphenols: Help reduce inflammation.
They’re an excellent addition to smoothies, soups, sandwiches, or as garnishes that add both flavor and nutrition.
8. Common Problems and Solutions
Even though microgreens are simple to grow, a few issues can occur if conditions aren’t right.
| Problem | Cause | Solution |
|---|---|---|
| Mold growth | Too much moisture, poor air circulation | Water less; increase airflow or add a small fan. |
| Uneven growth | Uneven seeding or lighting | Distribute seeds evenly; rotate tray under light. |
| Yellow seedlings | Lack of light | Move to a brighter spot or use grow lights. |
| Weak stems | Overcrowding or insufficient light | Thin out seeds; provide 12+ hours of light. |
With slight adjustments, your next batch will grow perfectly.

9. Reusing and Sustainability Tips
One of the best things about growing microgreens is that it’s eco-friendly and sustainable.
- Reuse containers: Wash and disinfect between uses.
- Compost old soil: Spent soil makes great compost or can be added to garden beds.
- Rotate seed types: Helps maintain nutrient balance and adds variety to your diet.
- Use organic seeds: Avoid those treated with chemicals or fungicides.
You can even experiment with hydroponic mats like hemp or coconut fiber for a soil-free setup.
10. Creating a Continuous Harvest
To ensure a steady supply of microgreens, start new trays every 7–10 days.
This overlapping cycle keeps you stocked with fresh greens throughout the year.
Example rotation:
- Week 1: Start radish and broccoli seeds.
- Week 2: Start sunflower and pea shoots.
- Week 3: Start kale and mustard greens.
By the time your first tray is harvested, your second will be halfway grown—creating a sustainable system of endless fresh nutrition.
11. Light and Temperature Requirements
Microgreens grow best in:
- Temperature: 18–24°C (65–75°F)
- Light: Bright, indirect sunlight or artificial grow lights (LED full-spectrum).
- Humidity: Moderate (40–60%)
Avoid placing them near AC vents or direct sun that could dry them out quickly. A consistent environment ensures uniform growth and nutrient density.
12. Why Homegrown Microgreens Beat Store-Bought
Homegrown microgreens are:

- Fresher: You harvest minutes before eating.
- Safer: No pesticides or chemicals.
- Cheaper: A handful of seeds yields multiple trays.
- Customizable: Mix your favorite flavors and colors.
Plus, growing them yourself is deeply satisfying—it reconnects you with your food and promotes healthy, mindful eating.
Conclusion
Learning how to grow microgreens indoors is one of the simplest and most rewarding gardening experiences. In just a few weeks, you can turn a handful of seeds into a bowl of nutrient-rich, flavorful greens that boost your meals and your health.
All you need is a small tray, a bit of light, and a few minutes each day. Whether you’re growing broccoli microgreens for their detoxifying power, radish for its spicy kick, or sunflower shoots for their nutty crunch, you’ll enjoy a continuous supply of fresh, organic nutrition at your fingertips.
So, start your indoor microgreen garden today—you’ll not only transform your meals but also cultivate a greener, healthier lifestyle right in your home.
Leave A Comment