Fresh herbs are every cook’s secret weapon — they elevate dishes with fragrance, flavor, and color that dried herbs simply can’t match. Imagine reaching over your kitchen windowsill and plucking fresh basil, thyme, or cilantro to add to your meals. A windowsill herb garden makes this dream a reality — even if you live in a small apartment or have no outdoor space.
This guide will walk you through how to build, plant, and care for a thriving windowsill herb garden, step-by-step, so you can enjoy fresh, homegrown herbs all year long.
1. Why a Windowsill Herb Garden Is Perfect for Every Home
A windowsill herb garden is not just a decorative feature — it’s a practical and sustainable way to grow your own food. Here’s why it’s a great choice:
- Convenience: Having fresh herbs within arm’s reach makes cooking faster and easier.
- Low Maintenance: Most herbs require minimal care and adapt well to indoor conditions.
- Space-Saving: Even a small sunny window can host several pots of thriving herbs.
- Cost-Effective: A one-time setup saves you from buying expensive packets of herbs.
- Eco-Friendly: Growing your own herbs reduces plastic packaging and food waste.
Whether you’re a beginner gardener or an experienced cook, your windowsill can become a miniature green oasis.
2. Choosing the Right Location
The key to success is light. Most culinary herbs love sunshine, so pick a windowsill that gets at least 5–6 hours of direct sunlight daily.
- South-facing windows are ideal in most regions, offering bright, consistent light.
- East or west-facing windows work too, but you may need supplemental lighting in winter.
- North-facing windows receive limited light, so you’ll need a grow light to help your herbs thrive.
If drafts are an issue, seal gaps near the window to protect delicate herbs from sudden temperature changes.

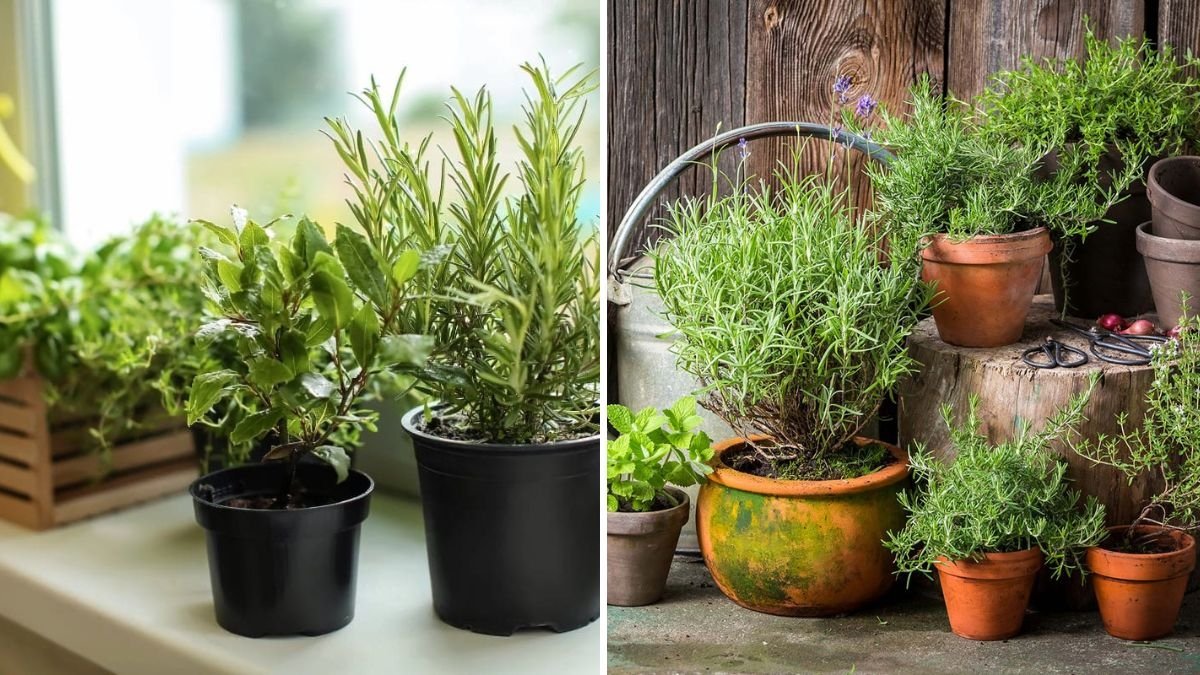
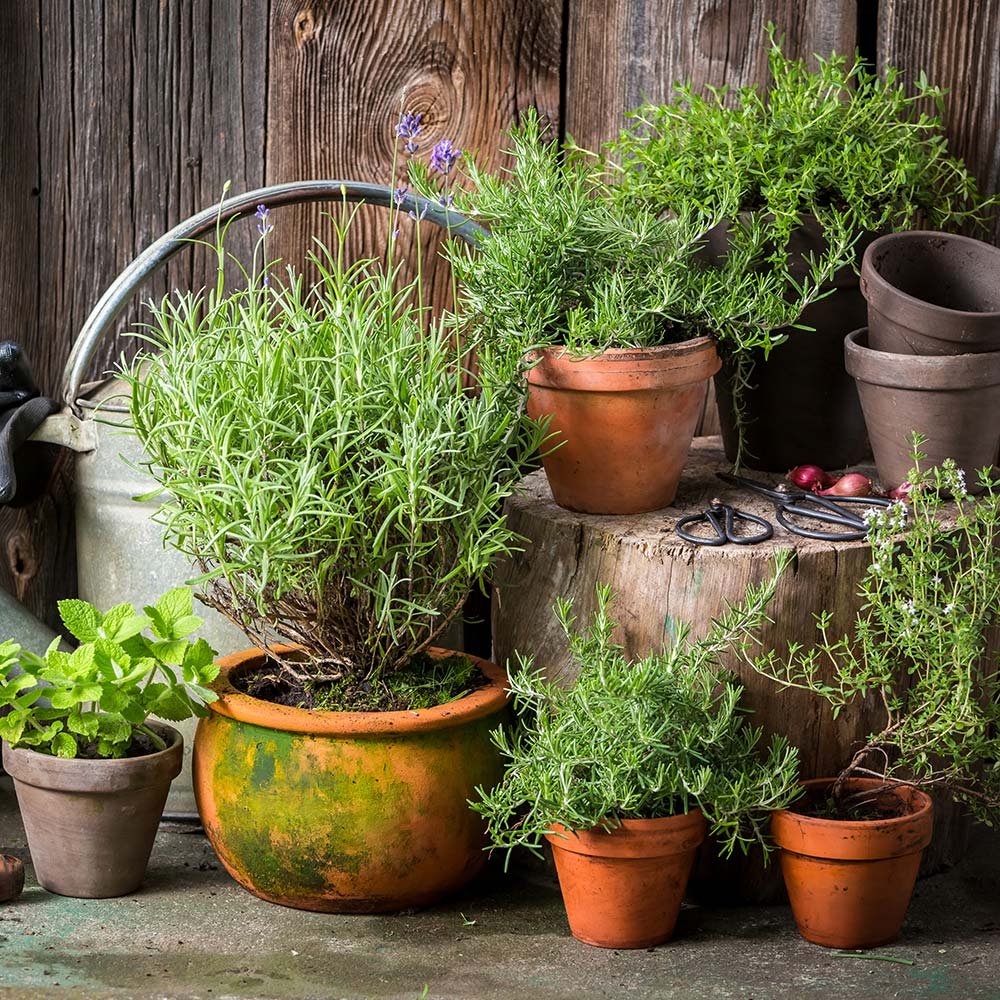
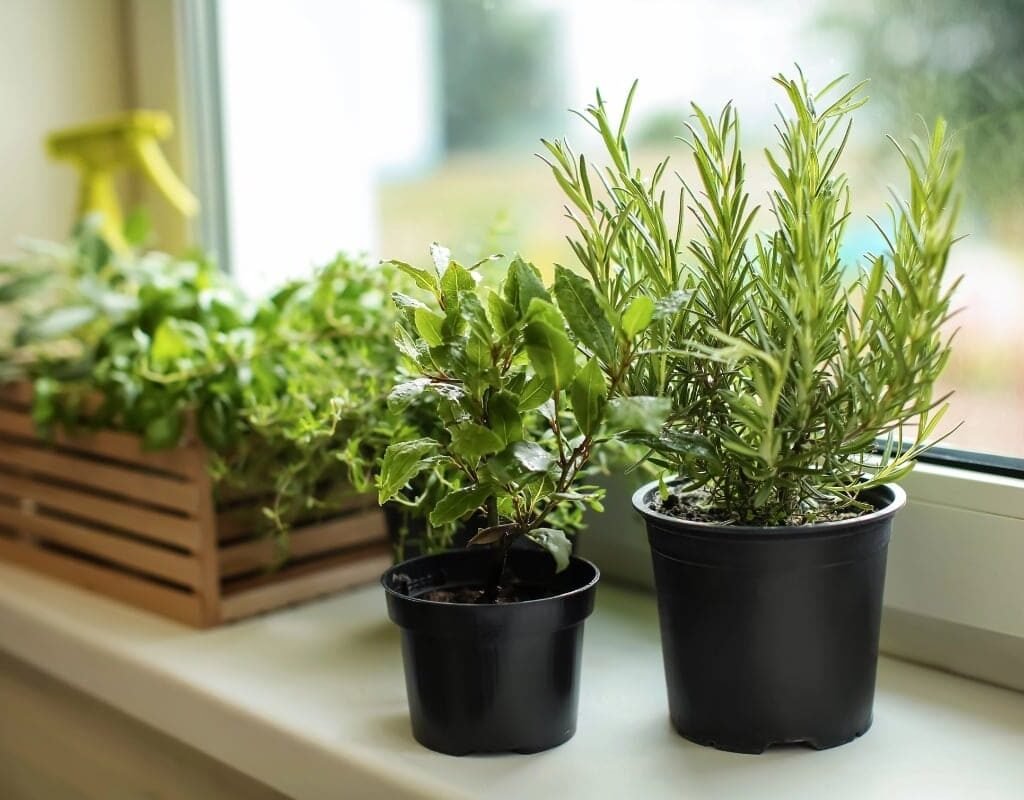
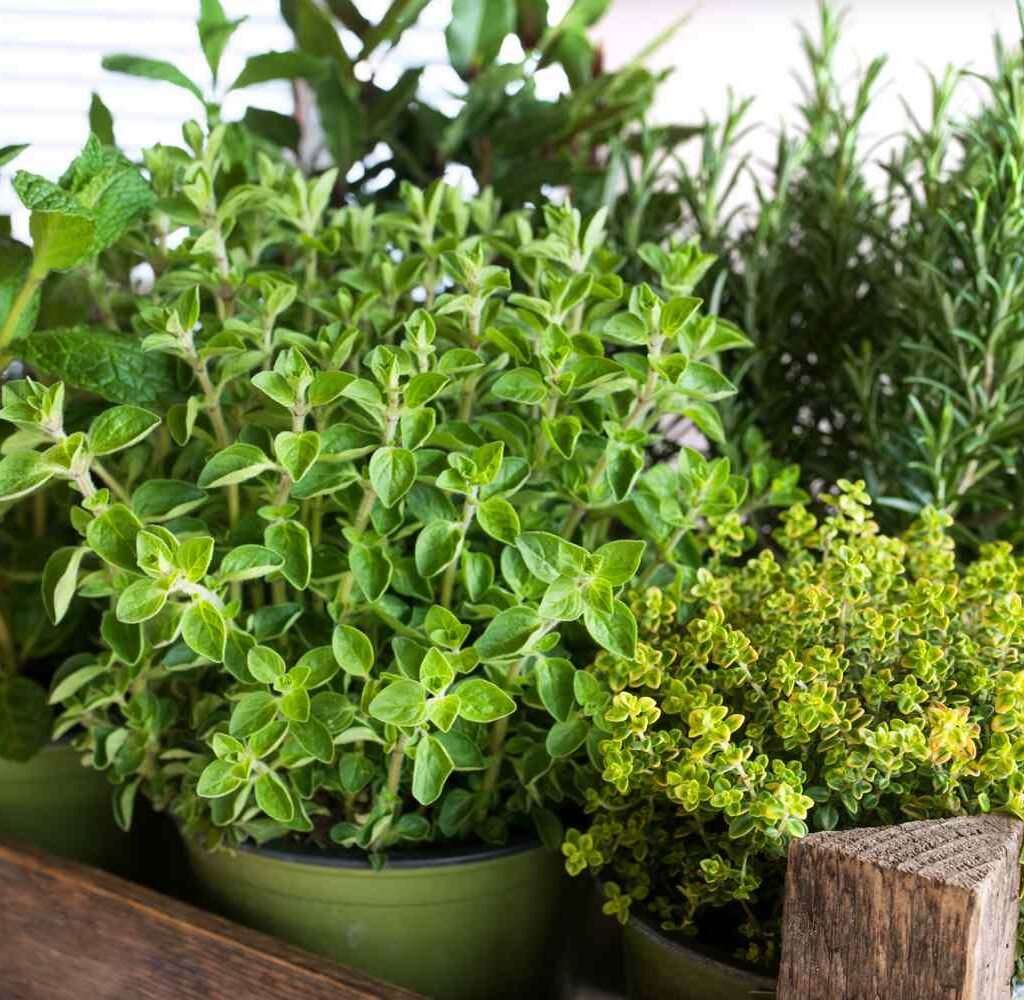
3. Selecting Herbs for Your Kitchen Garden
Not all herbs grow equally well indoors. The best choices are compact, fast-growing herbs that adapt well to container life.
Best Herbs to Grow Indoors:
- Basil: Loves warmth and sunlight. Perfect for pasta, pizza, and salads.
- Mint: Hardy and aromatic. Great for teas, desserts, and chutneys.
- Thyme: Thrives with little care and enhances roasted dishes and soups.
- Parsley: Easy to grow and perfect for garnishing or sauces.
- Chives: Adds a mild onion flavor to soups, eggs, and dips.
- Cilantro (Coriander): Quick to grow and essential in many cuisines.
- Oregano: A Mediterranean favorite for pizzas and pasta sauces.
- Rosemary: Woody and fragrant, perfect for roasted meats and breads.
You can start with three to five herbs based on what you use most in cooking.
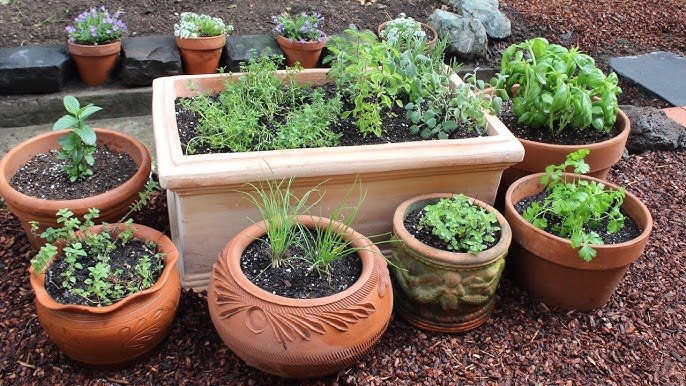
4. Picking the Right Containers
For a windowsill garden, you don’t need fancy pots — any container with good drainage will do. However, choosing the right container ensures your herbs stay healthy.
Container Options:
- Terracotta pots: Classic look, good air circulation, but dry out faster.
- Ceramic or glazed pots: Retain moisture longer but ensure there’s a drainage hole.
- Recycled jars or tins: Great for a rustic look; add pebbles at the bottom for drainage.
- Long planter boxes: Perfect if you want to grow multiple herbs side by side.
Tip: Avoid pots without drainage holes unless you create a layered system with pebbles or charcoal to prevent root rot.
5. Choosing the Right Soil Mix
Herbs need light, well-draining soil to prevent soggy roots. Regular garden soil is too heavy for containers.
Use a potting mix designed for indoor plants or make your own:

- 2 parts potting soil
- 1 part perlite or coarse sand (for drainage)
- 1 part compost or coco peat (for nutrients and moisture retention)
You can also mix in a small amount of organic fertilizer like worm castings to boost growth naturally.
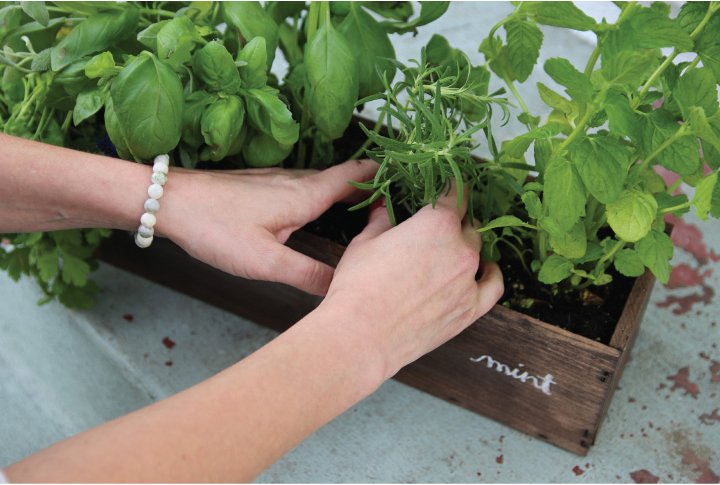
6. Planting Your Herbs
You can start your herb garden either from seeds or young transplants:
- Seeds: Cost-effective and satisfying, though slower to grow.
- Transplants: Easier and faster — available at local nurseries or garden centers.
Steps for Planting:
- Fill your container with moist potting mix, leaving about 1 inch from the rim.
- Sprinkle seeds evenly or plant transplants gently, covering roots with soil.
- Water lightly — the soil should be damp, not soaked.
- Label each pot to avoid mixing herbs as they grow.
Tip: If growing from seeds, place a clear plastic cover over the pot to create a mini greenhouse until sprouts appear.
7. Watering and Feeding Your Herbs
Indoor herbs need consistent moisture, but overwatering is a common mistake.
- Check soil moisture by touching the surface; water only when the top inch feels dry.
- Always pour off excess water collected in saucers.
- Mist herbs occasionally to maintain humidity, especially in dry rooms.
Feed your herbs with a diluted liquid fertilizer (half strength) every 3–4 weeks. Organic fertilizers or compost tea work best for edible plants.
8. Pruning and Harvesting for Healthy Growth
Regular pruning encourages herbs to grow fuller and more productive.

- Pinch off top leaves when the plant reaches 6–8 inches tall.
- Avoid removing more than one-third of the plant at a time.
- Harvest in the morning when essential oils are most concentrated.
Frequent harvesting not only gives you fresh herbs for cooking but also prevents plants from becoming leggy or flowering too soon.
9. Managing Light and Temperature
Indoor herbs thrive in warm temperatures (18–25°C or 65–77°F). Avoid placing them near cold drafts or heat sources.
If your window doesn’t get enough light, use LED grow lights placed about 6–8 inches above the plants for 12–14 hours daily. This mimics natural sunlight and keeps herbs lush through the darker months.
10. Common Problems and Solutions
Even healthy herbs can face challenges indoors. Here’s how to handle the most common issues:
| Problem | Cause | Solution |
|---|---|---|
| Yellow leaves | Overwatering or poor drainage | Let soil dry, ensure pots drain properly |
| Weak growth | Lack of light | Move to brighter window or add grow light |
| Pests (aphids, gnats) | Poor airflow or humidity | Spray with neem oil or insecticidal soap |
| Mold on soil | Overwatering or poor ventilation | Allow soil to dry; improve airflow |
11. Creative Styling Ideas
Your windowsill herb garden can also enhance your kitchen décor. Try these ideas:
- Matching pots: Use uniform white or clay pots for a neat, minimalist look.
- Hanging jars: Attach small glass jars with hooks or a metal rod above the sill.
- Chalkboard labels: Write herb names stylishly on pots or markers.
- Vertical shelves: Stack herbs in tiers if space is tight.
With a little creativity, your indoor garden becomes both functional and visually appealing.

12. Year-Round Herb Care
Most herbs can thrive indoors year-round with proper care:
- Rotate pots occasionally for even light exposure.
- Re-pot annually to refresh soil and encourage new root growth.
- Trim flowering buds to extend harvest life.
- In winter, reduce watering and feeding frequency.
With the right attention, your windowsill herb garden can supply fresh, aromatic herbs 365 days a year.
Conclusion: A Small Garden, Big Flavor
Building a windowsill herb garden is one of the easiest and most rewarding ways to bring nature into your home. With a few containers, sunlight, and consistent care, you can enjoy fresh, organic herbs straight from your window whenever you cook.
From basil for your pasta to mint for your tea, every leaf you grow adds a burst of freshness to your meals — and a touch of green beauty to your kitchen. Start small, stay consistent, and soon your windowsill will become your favorite corner — fragrant, flavorful, and full of life.
Leave A Comment