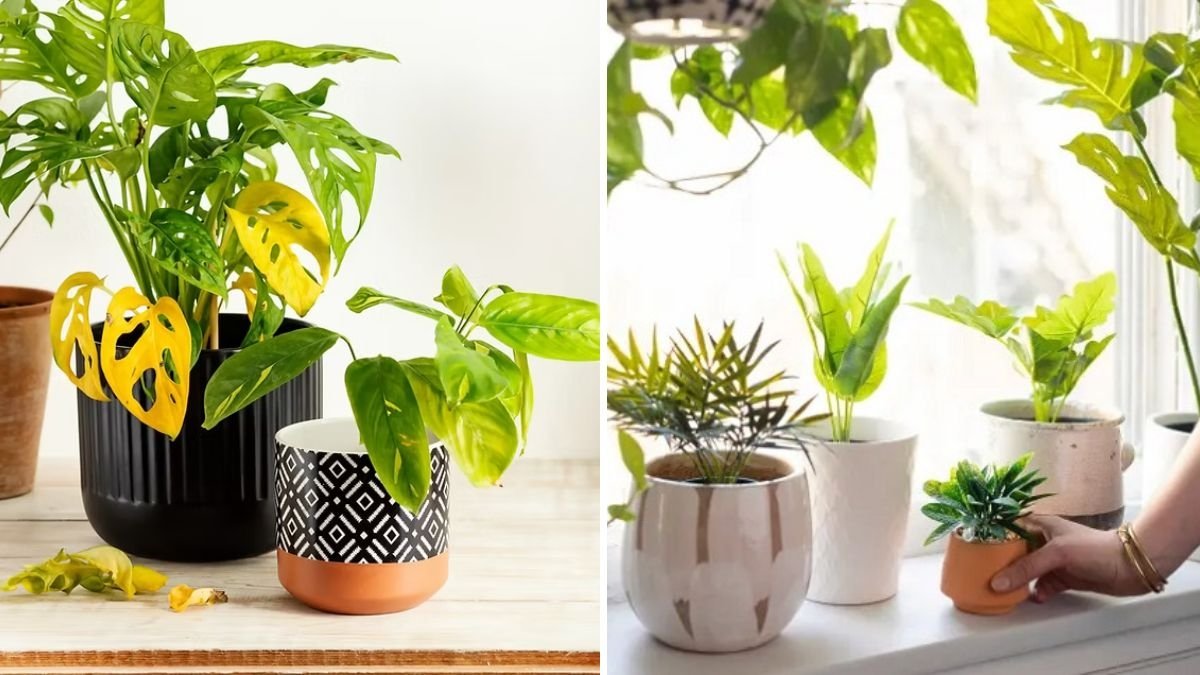
Bringing home a new indoor plant is an exciting experience. The lush leaves, the vibrant color, the promise of fresh life in your living space — it all feels refreshing. But often, new plant parents notice something unexpected after a few days: leaves droop, colors fade, or the plant seems “unhappy.”
This doesn’t necessarily mean you did something wrong. Most plants experience a period of adjustment or “transplant shock” when they move to a new environment. Like humans adapting to new surroundings, plants need time — and the right care — to settle in.
In this detailed guide, we’ll explore why indoor plants struggle when moved, how to help them adapt smoothly, and the best care strategies to ensure they thrive in their new home.
1. Why Plants Need Time to Adjust
When a plant is moved — whether from a greenhouse, nursery, or even one room to another — it experiences sudden changes in conditions such as:
- Light intensity and direction
- Humidity and air circulation
- Temperature levels
- Soil moisture and watering habits
- Exposure to drafts or heating systems
In their previous environment (usually a nursery), plants are grown under ideal, controlled conditions with perfect humidity, light, and watering. Once they’re moved to your home, the difference can feel drastic.
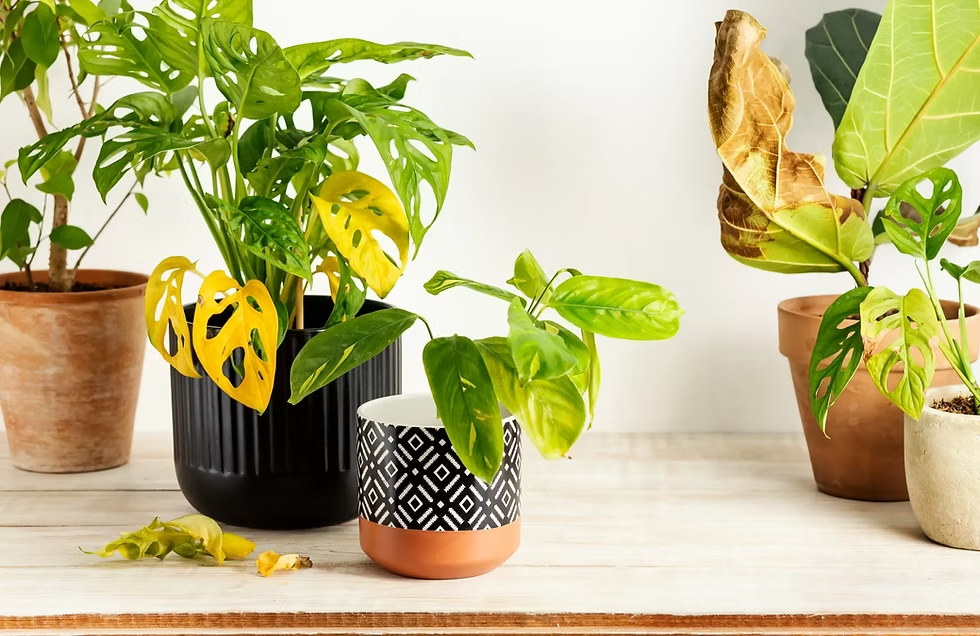
This adjustment period may cause temporary signs of stress, such as:
- Drooping or curling leaves
- Leaf yellowing or browning
- Slower growth
- Shedding of older leaves
The good news is — this phase is completely normal and can be managed with patience and care.
2. Step One: Give Your Plant Time to Settle
The first few weeks after bringing a plant home are crucial. Think of it as your plant’s “quarantine and adaptation” phase.

Avoid Overhandling
Resist the urge to repot or prune immediately. Let the plant settle for at least two weeks before making any major changes.
Keep It in a Stable Location
Choose a spot that offers the right light conditions for that species — not too harsh, not too dark. Sudden changes in lighting (like direct sunlight after a shaded nursery) can shock the plant.
Avoid Moving It Around
Find a good spot and let the plant acclimate there. Moving it frequently confuses its growth pattern and increases stress.
3. Step Two: Gradually Introduce Light
Light is the most important factor for plant adjustment. Too little, and it can’t photosynthesize; too much, and the leaves can burn.
For Bright-Light Plants (like Fiddle Leaf Fig, Rubber Plant, Monstera):
- Start in indirect bright light for the first week.
- Gradually increase exposure to sunlight over 10–14 days.
- Avoid placing them right next to sunny windows initially.
For Low-Light Plants (like Pothos, ZZ Plant, Snake Plant):
- Keep them in filtered or medium light for the first few weeks.
- Even low-light plants need some natural light — avoid dark corners.
If your plant was previously grown in artificial nursery lighting, use grow lights to help bridge the adjustment period gradually.
4. Step Three: Adjust Your Watering Habits
Watering is often where new plant owners go wrong — especially right after bringing a plant home.
Nursery plants are used to consistent watering schedules and ideal soil moisture. Once they move into your home, differences in temperature and humidity change how quickly their soil dries out.
Tips for Proper Watering During Adjustment:
- Check soil moisture before watering — use your finger or a moisture meter.
- Avoid overwatering. A stressed plant absorbs less water, so keep the soil slightly moist but not soggy.
- Use room-temperature water. Cold water can shock roots.
- Ensure drainage. Always keep plants in pots with drainage holes to prevent root rot.
If your plant’s leaves droop, it might not always mean thirst — sometimes it’s stress. Always check the soil first.

5. Step Four: Maintain the Right Temperature and Humidity
Temperature and humidity shifts are two of the biggest challenges for indoor plants adapting to new environments.
Most tropical houseplants thrive in temperatures between 65–80°F (18–27°C) and humidity levels around 50–60%.
Tips to Maintain Comfort:
- Keep plants away from air conditioners, heaters, and cold drafts.
- Use a humidifier or humidity tray (a shallow tray filled with pebbles and water) to increase moisture around your plants.
- Group plants together — they release moisture through transpiration, naturally boosting humidity.
- Mist leaves occasionally (only for non-fuzzy plants like pothos or philodendrons).
Plants like ferns, calatheas, and peace lilies are especially sensitive to dry indoor air, so extra humidity helps them adjust faster.
6. Step Five: Avoid Repotting Immediately
Many plant lovers make the mistake of repotting new plants right after purchase. However, repotting too soon can worsen stress.
Why You Should Wait:
When plants are shipped or moved, their roots get slightly disturbed. Repotting adds more pressure, as roots must readapt to new soil density, nutrients, and moisture retention.
When It’s Safe to Repot:
- Wait at least 4–6 weeks after bringing the plant home.
- Only repot if:
- The plant is severely root-bound.
- The nursery soil drains poorly or has pests.
When you do repot, use fresh, well-draining potting soil suited for your plant type (for example, orchid mix for orchids, cactus mix for succulents).
7. Step Six: Observe and Learn Your Plant’s Signals
Every plant species reacts differently to change. The best way to help your plant adapt is to observe and respond to its signals.
Common Signs and What They Mean:
- Yellow leaves: Overwatering or sudden light change.
- Brown tips: Low humidity or inconsistent watering.
- Drooping: Shock, or too much/little water.
- Slow growth: Natural adaptation phase — be patient.
Be Consistent
Plants thrive on routine. Try to water, mist, and feed on a schedule so they know what to “expect.” This consistency helps them stabilize faster.

8. Step Seven: Feed Gently (and Sparingly)
It might seem logical to give your new plant fertilizer for a growth boost — but resist the urge.
During the adjustment period, plants aren’t focused on growth; they’re trying to stabilize. Fertilizing too soon can overwhelm their delicate root system.
Fertilizer Guidelines:
- Wait 4–6 weeks before feeding a new plant.
- Use a diluted, balanced fertilizer (such as 10-10-10).
- Feed lightly once a month during active growth seasons (spring and summer).
- Avoid feeding during winter dormancy.
Think of fertilizer as a “reward” after your plant settles in, not a cure for stress.
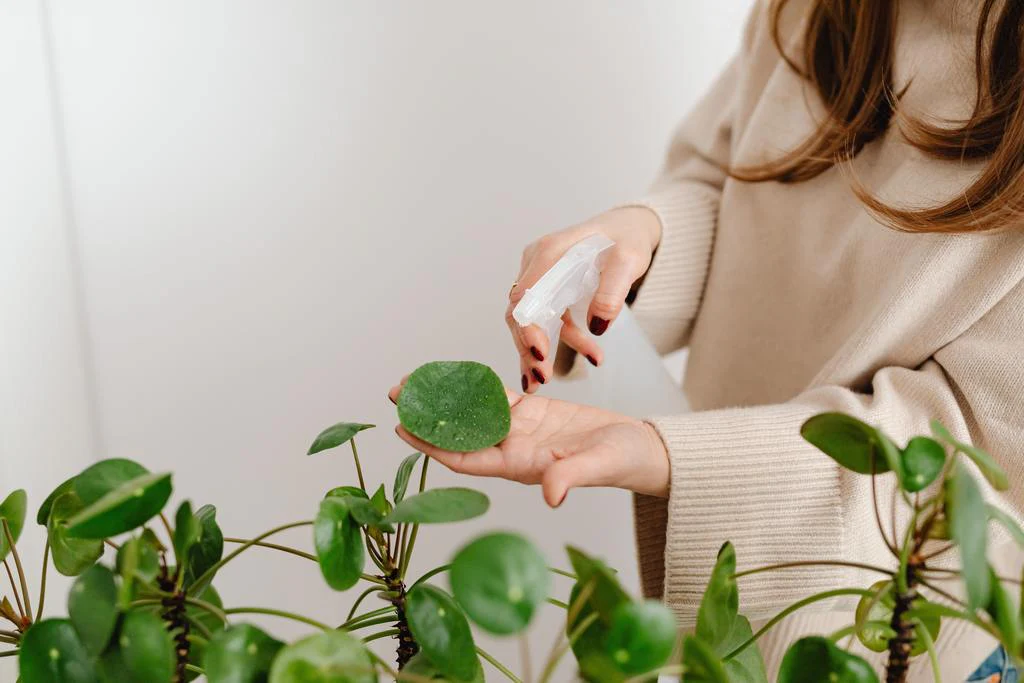
9. Step Eight: Clean and Care for Leaves
Dust and dirt on leaves can block light and reduce photosynthesis — which is vital for plants during adjustment.
How to Clean Leaves Naturally:
- Wipe broad leaves gently with a damp, soft cloth.
- Use room-temperature water with a drop of mild liquid soap if needed.
- For fuzzy leaves (like African violets), use a soft brush instead of water.
Clean leaves not only help plants absorb more light but also prevent pests like spider mites, which can attack stressed plants.
10. Step Nine: Reduce Stress Factors
Small environmental changes can make a big difference in helping plants feel “at home.”
Create a Calm Environment
- Avoid placing plants near loud appliances or doors that open frequently — vibrations and airflow changes can stress them.
- Keep them away from cigarette smoke, chemical sprays, or perfumes.
- Give them a consistent day-night cycle by placing them in naturally lit rooms.
Remember — plants thrive in stability. The fewer fluctuations they experience, the quicker they adapt.
11. Step Ten: Be Patient — Adaptation Takes Time
Even with the best care, it can take weeks or even months for some plants to fully adjust. Don’t rush the process.

Over time, you’ll start to see signs of recovery and new growth — small buds, firm leaves, or vibrant colors. These are all indications that your plant has successfully adjusted and is thriving in its new home.
Patience, observation, and gentle care are the key ingredients to a happy plant.
12. Bonus Tips for a Smooth Transition
- Quarantine new plants for 1–2 weeks before placing them near others. This prevents potential pest spread.
- Rotate plants occasionally so all sides receive equal light exposure.
- Talk to your plants — while this might sound funny, studies show that sound vibrations can positively influence growth!
- Use plant stands or shelves to keep them at eye level — making observation easier and improving décor appeal.
Conclusion
Helping indoor plants adjust to a new environment isn’t about doing more — it’s about doing the right things at the right pace.
Your plants aren’t just decorations; they’re living beings learning to adapt to a completely different climate, light level, and care routine. With patience, observation, and a nurturing touch, you can guide them through this transition successfully.
To recap:
- Give your plant time and stability.
- Gradually introduce light and adjust watering.
- Maintain humidity and temperature consistency.
- Avoid repotting and fertilizing too soon.
- Observe, learn, and respond to your plant’s needs.
Within a few weeks, you’ll start to see signs of recovery — fresh leaves, vibrant color, and strong new growth. That’s your plant’s way of saying: “I’m home.”
Leave A Comment