Indoor plants bring vibrancy and life to any space, but over time, they can quietly outgrow their containers. A common issue many houseplant lovers face is root binding — when the roots fill up the pot and start circling around themselves due to a lack of space. This condition can lead to stunted growth, yellowing leaves, and poor health. The tricky part? You don’t always need to pull the plant out to know it’s root bound. With the right observation and care, you can spot the signs early — and give your green friend the help it needs before it’s too late.
This article explores how to check if your plant is root bound without removing it from its pot, what causes the problem, how to fix it, and how to prevent it in the future.
What Does “Root Bound” Mean?
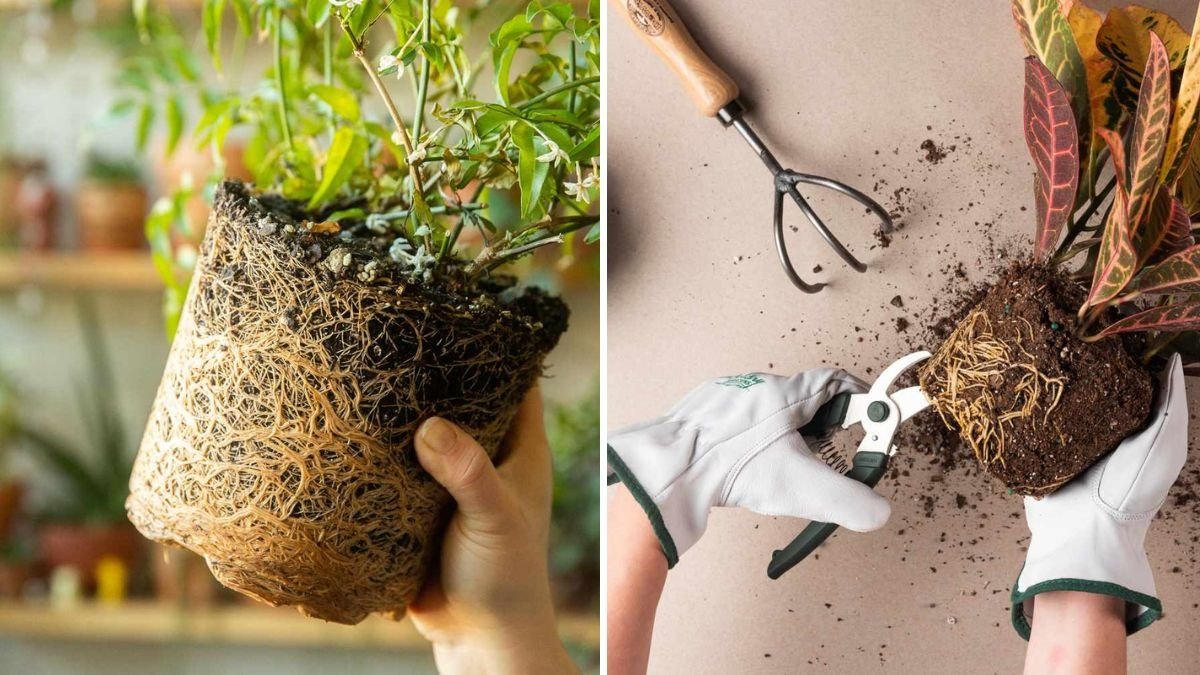
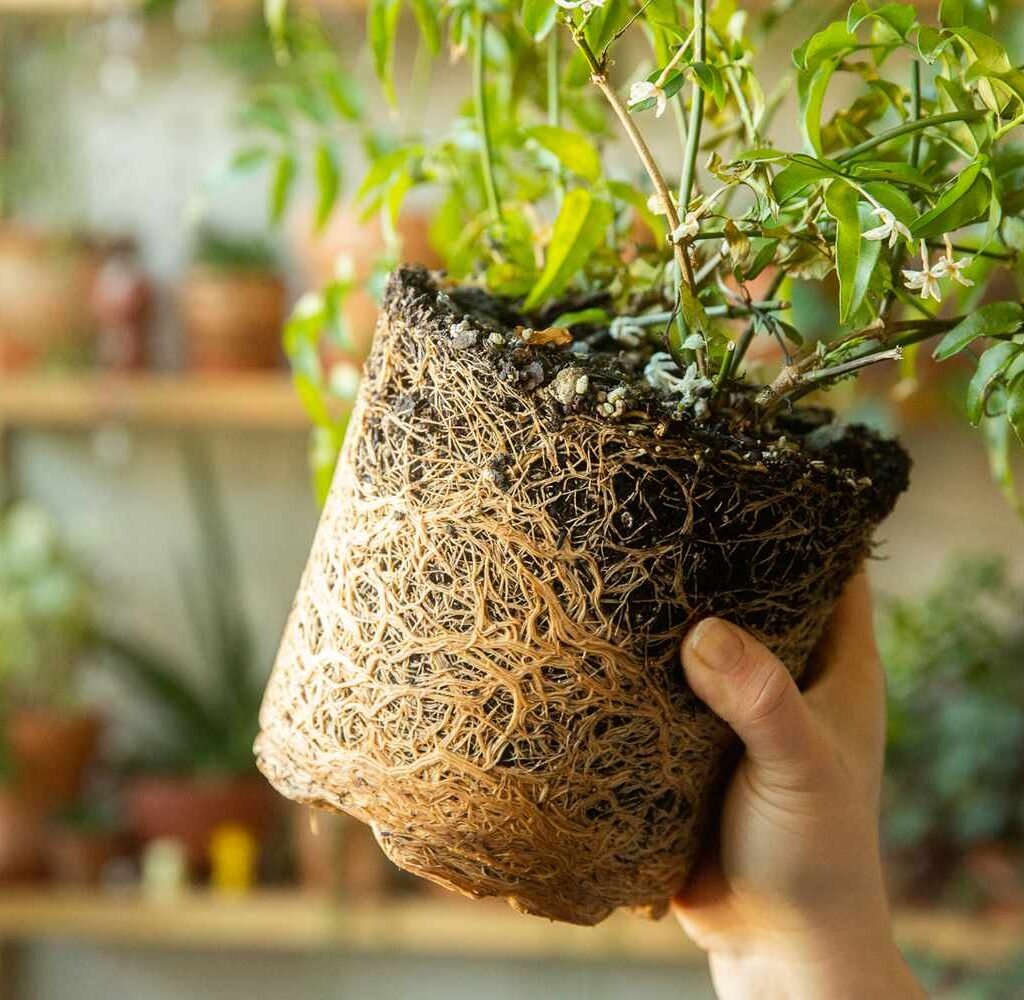
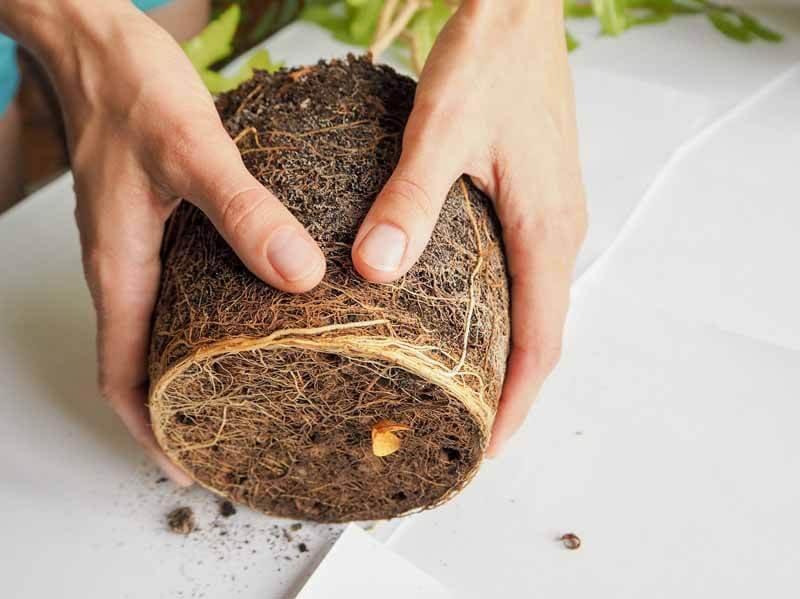
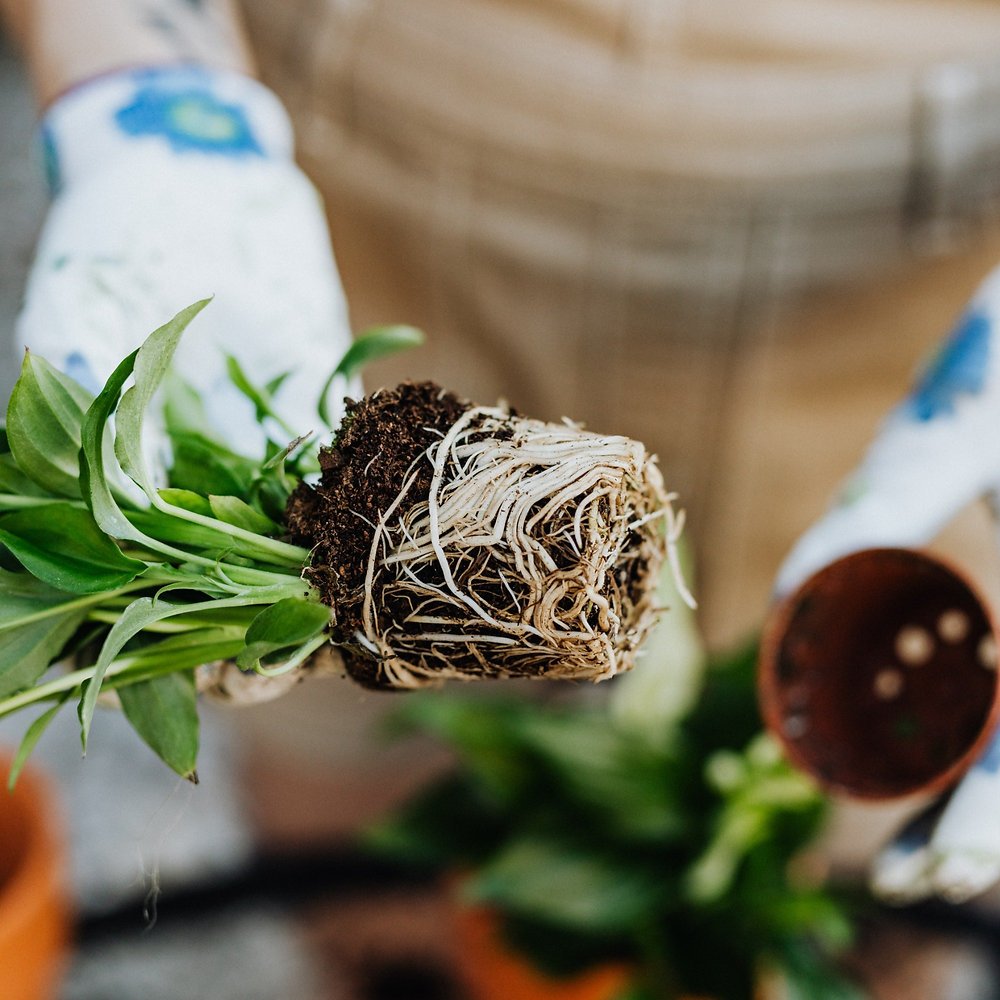
A plant becomes root bound when its roots outgrow the container they’re planted in. Instead of spreading naturally through soil, the roots start circling around the pot walls, forming dense, tangled mats. This limits the plant’s ability to absorb nutrients and water efficiently. Over time, the soil becomes compacted, airflow reduces, and the plant struggles to thrive.
Root binding is most common in fast-growing species like pothos, philodendron, spider plants, and peace lilies. However, any indoor plant can become root bound if left in the same pot for too long.
Why It’s Important to Spot Root Binding Early
If caught early, repotting or root pruning can restore your plant’s health quickly. However, when left too long, root-bound plants may:
- Stop growing new leaves.
- Become dehydrated even with regular watering.
- Develop nutrient deficiencies.
- Have poor resistance to pests or diseases.
- Eventually die due to stress and lack of resources.
Checking regularly for early signs helps you intervene before your plant’s root system becomes severely tangled or damaged.
1. Observe the Drainage Holes
One of the easiest ways to check for root binding without disturbing the plant is to inspect the pot’s drainage holes.

- Roots emerging from the bottom: If you see thick, white roots poking through, it’s a sign the roots have reached the edge of the container and are searching for more space.
- Compact root masses: In severe cases, the roots may even push the soil out or wrap tightly around the drainage hole.
If this happens, your plant likely needs repotting soon. You can trim any exposed roots temporarily to reduce stress while preparing a new pot.
2. Check the Water Absorption Rate
Another reliable clue is how your plant absorbs water.
- Water runs straight through: If water drains too quickly, it might not be soaking into the soil properly. This can happen because the root mass has replaced much of the soil, leaving little room for moisture retention.
- Water pools on top: On the other hand, if water takes a long time to absorb or just sits on the surface, the soil may be too compacted from dense roots below.
Both scenarios indicate that roots are crowding the pot and preventing proper water flow.
3. Look for Deformed or Cracked Pots
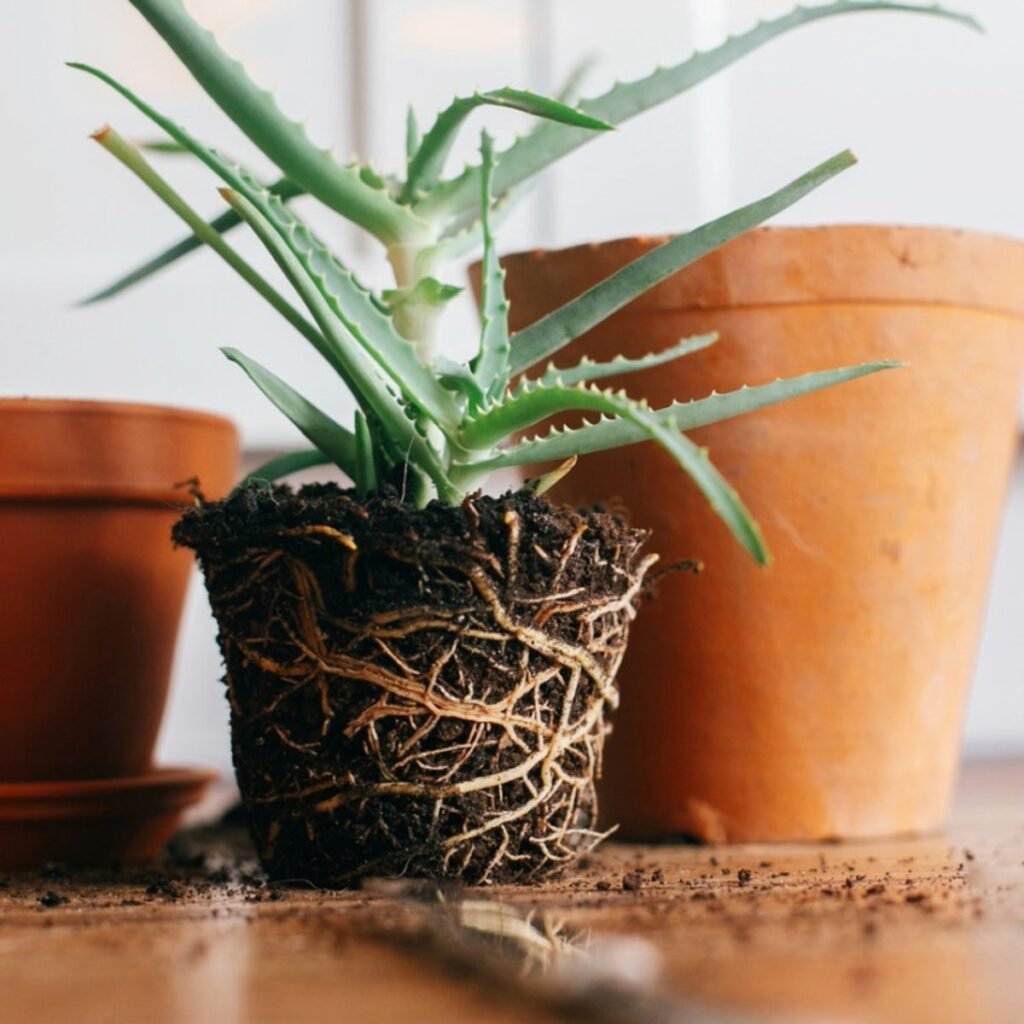
Roots are surprisingly strong — strong enough to warp plastic or even crack terracotta pots over time.
- Bulging sides: If the pot looks slightly misshapen, that’s a major red flag that roots are pressing against the container walls.
- Cracks forming: In clay or ceramic pots, cracks near the bottom or sides often mean the roots are pushing outward due to lack of space.
Inspect the pot periodically for subtle structural changes, especially with older, established plants.
4. Monitor Growth Patterns and Leaf Health
Root-bound plants often show stress above the soil as well. Watch for these visible symptoms:
- Stunted growth: The plant stops growing new leaves or produces much smaller ones.
- Yellowing or browning leaves: A sign that roots can’t take up enough water or nutrients.
- Drooping despite watering: When roots can’t absorb efficiently, the plant wilts quickly even in moist soil.
- Frequent drying out: The pot seems to dry out much faster than before, indicating limited soil volume.
If your plant used to be lush and fast-growing but suddenly slows down, the root system might be confined.

5. Examine the Soil Surface
The top layer of soil can reveal hidden clues about the condition beneath.
- Roots visible on the surface: When roots start breaking through the soil layer, it’s a clear sign they’ve filled up the lower space and are reaching upward for room.
- Soil pulling away from edges: Compact roots can shrink the soil mass, leaving visible gaps between the soil and the pot walls.
Gently press your finger into the soil. If it feels hard and compact instead of soft and crumbly, the plant may be root bound.
6. Note How Often You Need to Water
A sudden change in your plant’s watering schedule can also hint at root crowding.
If you find yourself watering much more frequently than before — yet the soil dries out within a day or two — it’s likely that roots have taken over most of the pot space. Since there’s less soil left to retain moisture, the plant becomes thirstier faster.
7. Use Gentle Pressure to Check Soil Firmness
You can also assess root density by lightly pressing the sides of a plastic pot.
- If the pot feels very firm or rigid and doesn’t compress at all, the roots inside are tightly packed.
- A slightly flexible feel usually indicates there’s still some loose soil and growing room left.
Avoid pressing too hard, as this could disturb delicate roots near the edges.
What to Do If Your Plant Is Root Bound
Once you’ve confirmed that your plant is likely root bound, here’s how to help it recover without causing shock:

1. Repot into a Slightly Larger Container
Choose a new pot that’s about 2 inches wider in diameter than the current one. Too large a pot can hold excess moisture, which may lead to root rot.
2. Loosen the Root Ball Gently
When you do repot, use your fingers to tease apart tangled roots at the bottom and sides. This helps them spread into the new soil and absorb nutrients efficiently.
3. Use Fresh, Well-Draining Soil
Old soil often loses nutrients and compacts over time. Use a high-quality potting mix with ingredients like perlite, coco coir, or bark to promote aeration.
4. Water Thoroughly After Repotting
This helps settle the soil around the roots and minimizes transplant shock.
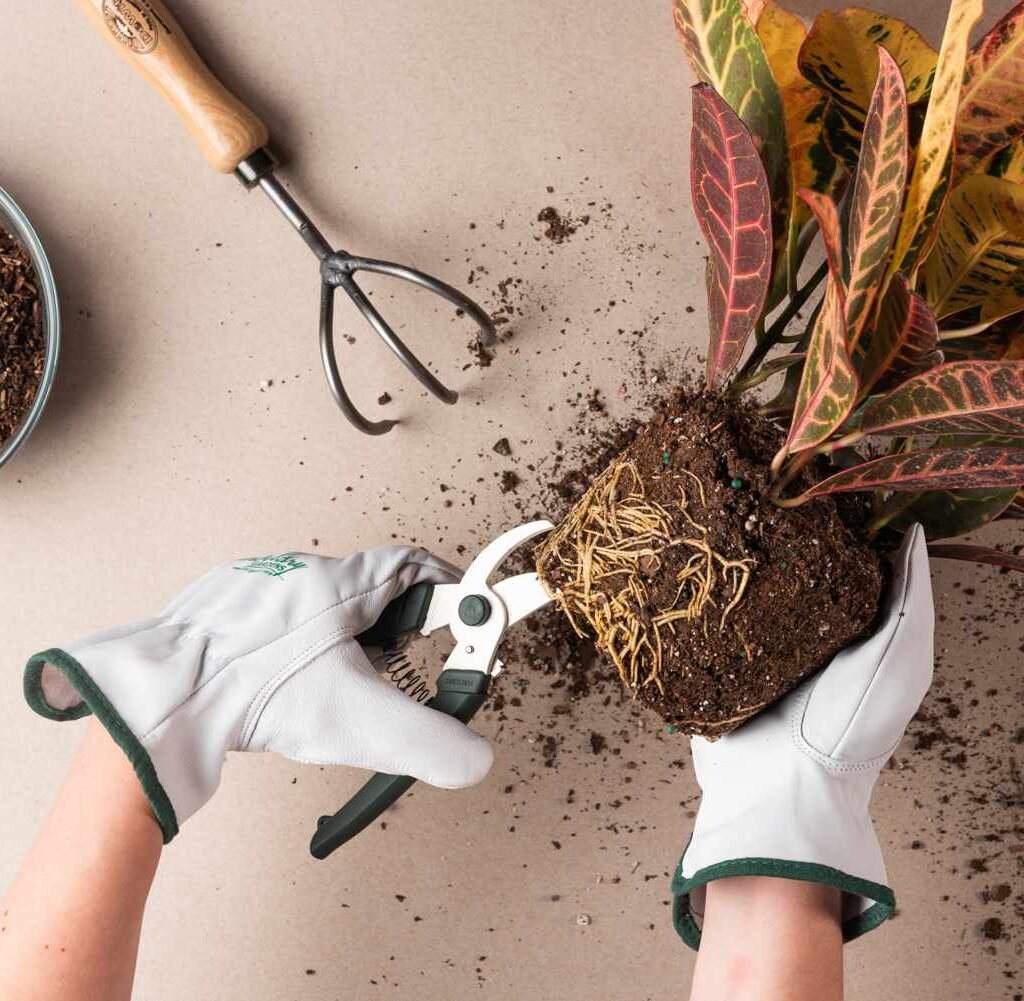
5. Trim Excess Roots (If Needed)
If you don’t want the plant to grow larger, gently prune away about one-third of the root mass before replanting in the same pot.
How to Prevent Future Root Binding
Prevention is always easier than cure. Here’s how to keep your indoor plants healthy and spacious:
- Repot every 1–2 years for fast-growing species.
- Refresh the top few inches of soil annually for slower growers.
- Choose pots with proper drainage holes to support healthy root growth.
- Rotate pots regularly to ensure even light and balanced development.
- Monitor growth patterns — if your plant suddenly slows down, it may be signaling root congestion.
Final Thoughts
You don’t need to pull a plant out of its pot to know if it’s root bound. By observing subtle clues — from water absorption to pot shape — you can understand your plant’s needs more deeply and take timely action.

Healthy roots are the foundation of thriving indoor plants. Learning to recognize and manage root binding not only prevents stunted growth but also helps your plants live longer, fuller, and more beautiful lives.
So next time your plant looks unhappy, skip the guesswork — and let its roots (and pot) tell you the story.
Leave A Comment