If you love fresh, homegrown food but have limited space or time, growing potatoes in soil bags is a simple, affordable, and surprisingly productive solution. Forget digging huge garden plots or spending money every month on store-bought potatoes—once you master this easy method, you can enjoy a continuous supply of delicious, chemical-free potatoes right at home.
In this guide, we’ll walk you through everything you need to know: from choosing the right seed potatoes and soil mix to bag selection, watering, and harvesting tips. Whether you live in an apartment with a balcony or have a small backyard, soil bag potato gardening will completely change the way you grow your food.
Why Grow Potatoes in Soil Bags?
Potatoes are one of the most rewarding crops to grow—and when grown in soil bags, they become even easier. Here’s why so many gardeners are switching to this method:
- Space-Saving: Soil bags fit perfectly in small spaces—balconies, patios, or even rooftops.
- No Digging Required: Say goodbye to back-breaking garden work. The soil bag method makes planting and harvesting clean and easy.
- Pest and Disease Control: Growing in bags reduces the risk of soil-borne diseases and pests that often attack potatoes in the ground.
- Better Drainage: Bags provide excellent drainage, preventing waterlogging and root rot.
- Reusable and Cost-Effective: Once you invest in a few soil bags, you can reuse them for years—saving money on both groceries and gardening supplies.
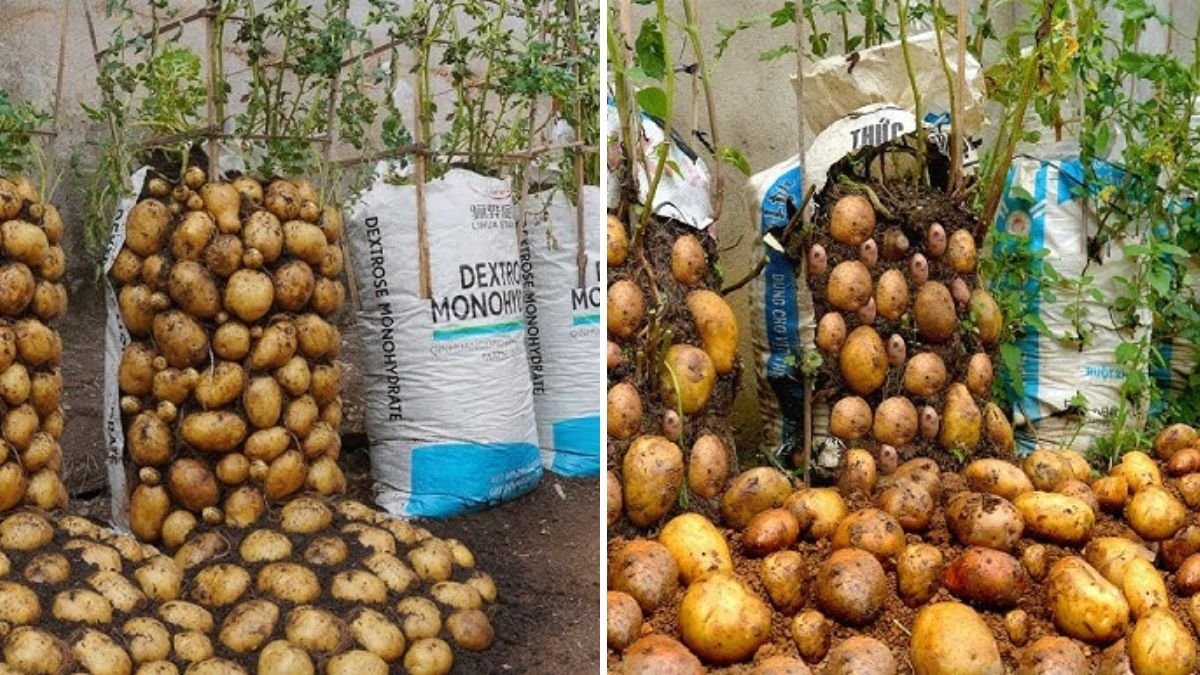
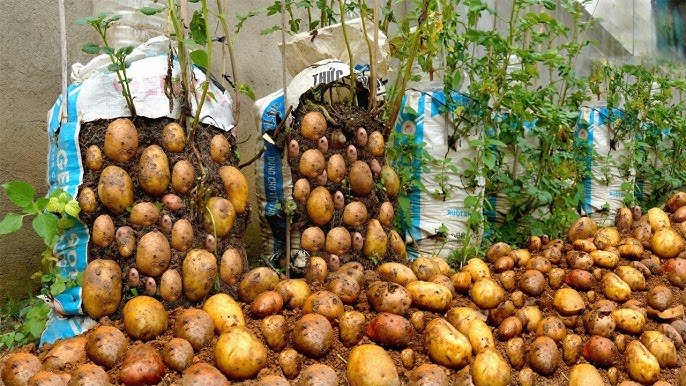
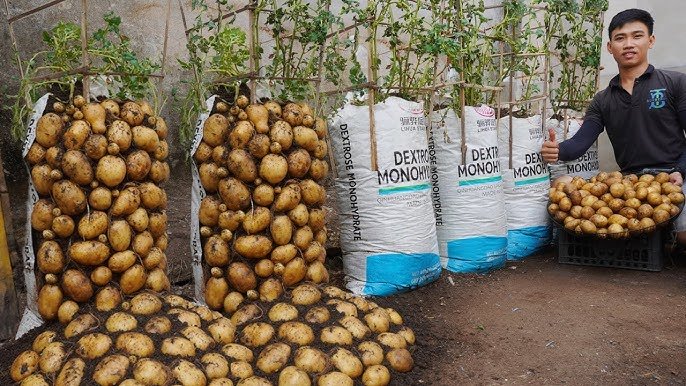
The best part? With just a little attention, you can harvest pounds of potatoes from a single bag!

What You’ll Need to Get Started
Before you start planting, gather these basic supplies:
- Seed Potatoes: Choose certified disease-free seed potatoes from a nursery or gardening store. Avoid using store-bought potatoes, as they’re often treated to prevent sprouting.
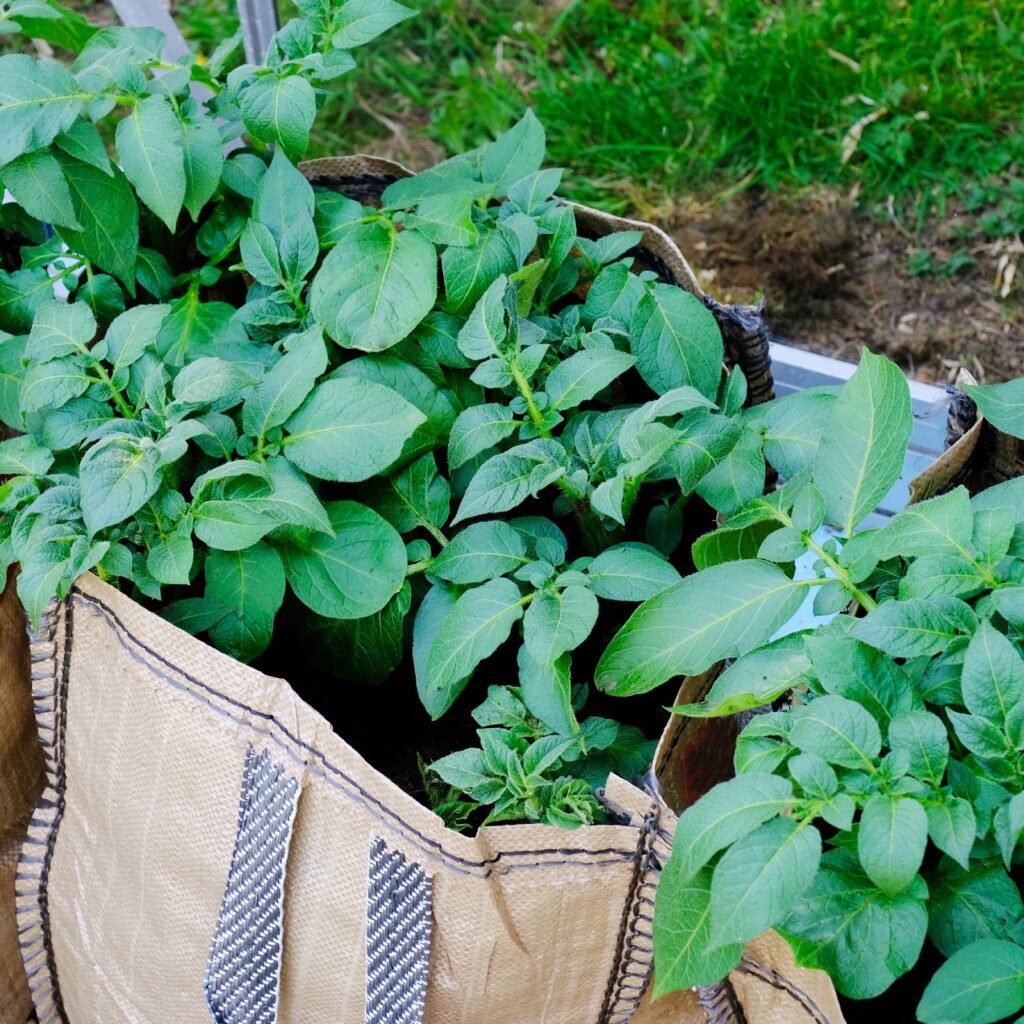
- Soil Bags or Grow Bags: Choose breathable fabric grow bags or thick plastic soil bags (10–15 gallons). These allow air circulation and prevent roots from rotting.
- Soil Mix: Use a loose, well-draining mix—half compost and half garden soil or potting mix. You can also add a bit of perlite or sand for aeration.
- Fertilizer: Organic compost or slow-release vegetable fertilizer works great for nutrient-rich soil.
- Watering Can or Hose: Consistent moisture is key to healthy growth.
Step-by-Step Guide to Growing Potatoes in Soil Bags
1. Prepare Your Seed Potatoes
- A few days before planting, place your seed potatoes in a warm, bright spot to encourage chitting—the process of sprouting small eyes.
- Once the sprouts are about 1 inch long, cut larger potatoes into chunks with at least 2–3 eyes per piece. Let them dry for a day before planting to prevent rot.
2. Fill the Bag with Soil
- Start by filling your grow bag one-third full with the prepared soil mix.
- Mix in a small amount of organic compost or fertilizer. This will provide an early nutrient boost for your potatoes.
3. Plant the Seed Potatoes
- Place 3–4 seed potatoes evenly on top of the soil, eyes facing upward.
- Cover them with another 3–4 inches of soil.
- Water lightly to moisten the soil but avoid overwatering.
4. Hill Up as They Grow
- When your potato plants reach about 6 inches tall, add more soil to cover the stems, leaving only the top leaves visible.
- Repeat this process every 2–3 weeks until the bag is full.
- This “hilling up” encourages the plants to grow more tubers along the buried stems—resulting in a bigger harvest.
5. Water and Feed Regularly
- Potatoes love consistent moisture. Water thoroughly whenever the top inch of soil feels dry.
- During the growing season, feed your plants with a liquid organic fertilizer or compost tea every 2–3 weeks to support healthy growth.
6. Monitor for Pests and Diseases
While growing in bags greatly reduces the risk, it’s still wise to check for:
- Aphids or Beetles: Spray with neem oil or use natural predators like ladybugs.
- Blight or Rot: Ensure proper airflow and avoid overwatering to prevent fungal problems.
When and How to Harvest Potatoes
Your plants will start flowering after about 8–10 weeks—this signals that small, “new” potatoes are ready to harvest.
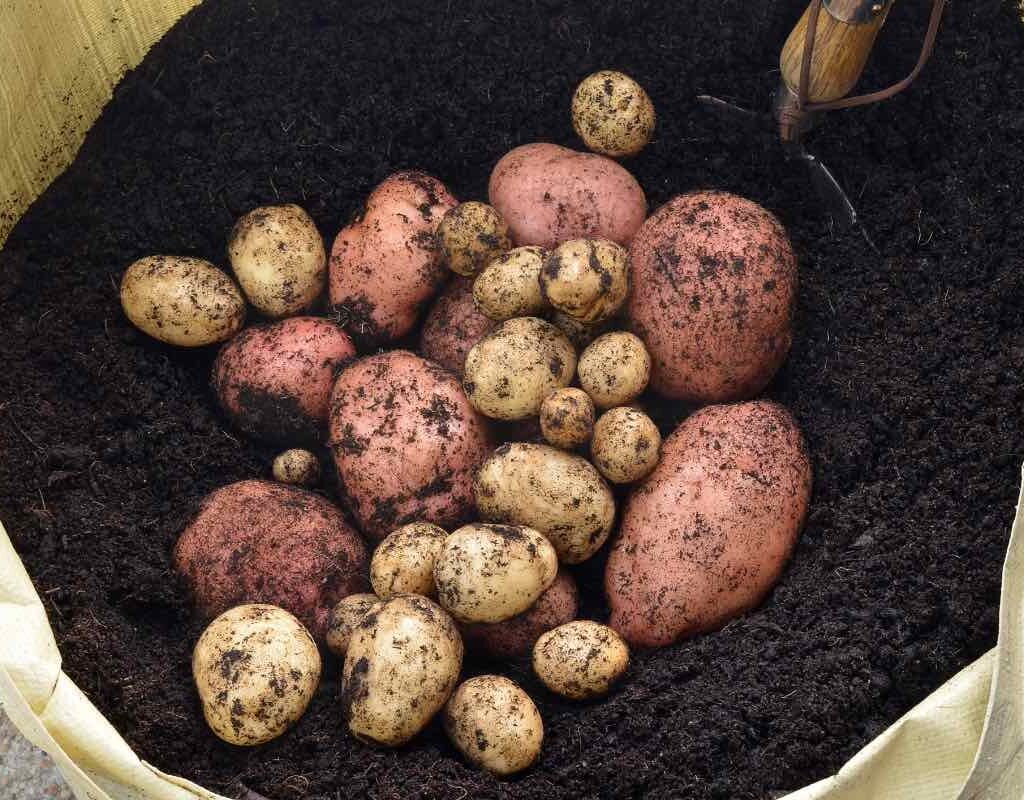
- For baby potatoes, gently dig into the soil with your hands and pull out a few tubers without disturbing the plant.
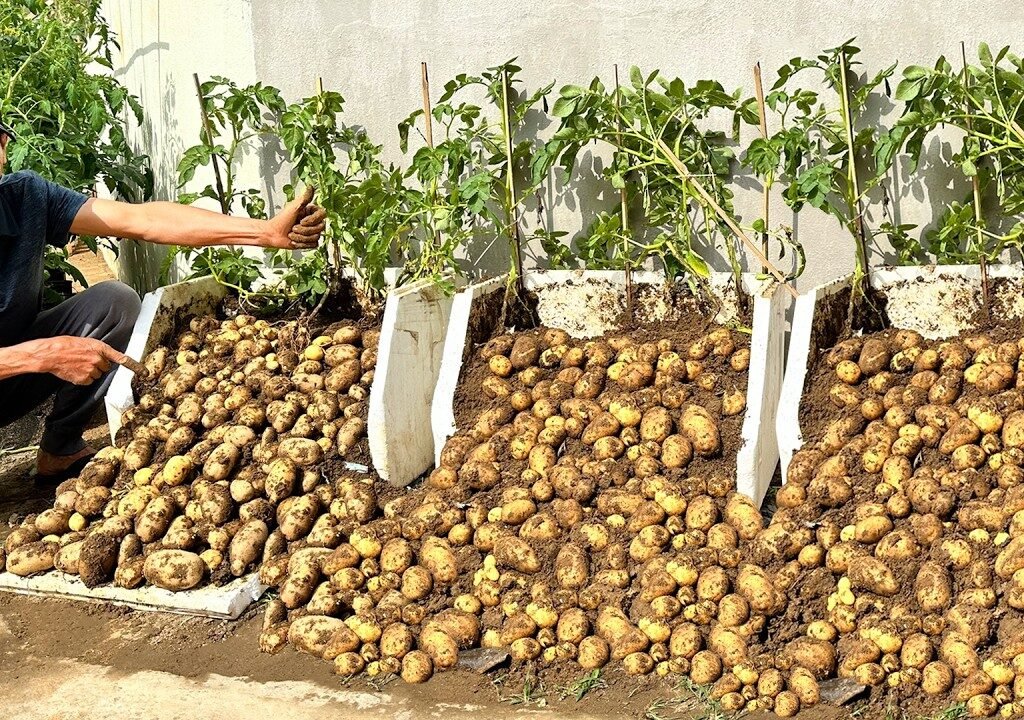
- For mature potatoes, wait until the foliage turns yellow and dies back. Then, dump the entire bag out onto a tarp and collect your harvest.
After harvesting, let the potatoes dry for a few hours in a cool, shaded area. Then store them in a dark, ventilated space—such as a pantry or basement—to extend their shelf life.

How to Keep Your Potato Supply Going Year-Round
One of the biggest advantages of growing in soil bags is that you can stagger your planting. Instead of planting all your potatoes at once, plant a new bag every 3–4 weeks.
This simple trick ensures a continuous harvest throughout the year. You’ll always have fresh potatoes on hand—without ever needing to buy them from the store again.
Common Mistakes to Avoid
Even though growing potatoes in soil bags is simple, a few common mistakes can reduce your yield. Avoid these pitfalls:
- Overwatering: Too much water leads to rot. Always check the soil moisture before watering.
- Poor Drainage: Make sure your bag has enough drainage holes to allow excess water to escape.
- Lack of Sunlight: Potatoes need at least 6 hours of full sun daily for best results.
- Skipping Fertilizer: Potatoes are heavy feeders—regular feeding ensures large, healthy tubers.
- Harvesting Too Early: Wait until foliage dies back to get the biggest and tastiest potatoes.
Advantages of Using Grow Bags Over Traditional Soil Beds
If you’re still wondering whether grow bags are worth it, here’s how they compare to traditional soil beds:

| Feature | Soil Bags | Ground Planting |
|---|---|---|
| Setup | Quick and portable | Requires digging and bed prep |
| Space | Ideal for small areas | Needs more space |
| Drainage | Excellent | Depends on soil type |
| Pest Control | Easier to manage | Higher risk of pests and rot |
| Harvesting | Simple and clean | Requires digging and sorting |
| Reusability | Reusable for years | Seasonal maintenance required |
Clearly, soil bags offer convenience, flexibility, and better results for urban gardeners and beginners alike.
Eco-Friendly and Budget Benefits
Growing potatoes in soil bags isn’t just convenient—it’s also environmentally friendly and budget-conscious.
- You’ll reduce food waste by harvesting only what you need.
- You’ll cut grocery expenses since each bag can yield up to 10–15 pounds of potatoes.
- You’ll recycle organic waste by turning compost and kitchen scraps into nutrient-rich soil.
- And you’ll reduce your carbon footprint, since your potatoes don’t need to travel from a farm to your kitchen.
It’s a sustainable cycle that helps both your wallet and the planet.
Final Thoughts: Grow Your Own Endless Potatoes
Growing potatoes in soil bags is one of the easiest and most satisfying ways to produce your own food—no matter how small your space is. It’s affordable, low-maintenance, and provides a steady supply of fresh, delicious potatoes all year long.

So next time you’re about to buy another bag of potatoes from the store, consider investing in a few soil bags instead. With just a little effort and patience, you can create a self-sufficient mini potato farm right at home—and never run out of potatoes again.
Keywords for SEO Optimization:
potatoes in soil bags, how to grow potatoes, grow bags for potatoes, container gardening, growing potatoes at home, urban gardening, potato growing tips, soil bag gardening, sustainable food growing.
Leave A Comment