Fresh, vibrant, and packed with nutrients — spinach is one of the easiest and most rewarding leafy greens to grow right at home. Whether you live in an apartment, have a small balcony, or a backyard garden, spinach thrives in containers and garden beds alike. It grows quickly, takes up very little space, and rewards you with a constant supply of tender, delicious leaves for salads, smoothies, and cooking.
In this detailed guide, we’ll take you through five easy steps to grow spinach at home, from choosing the right variety to harvesting your lush green crop — even if you’re a complete beginner!
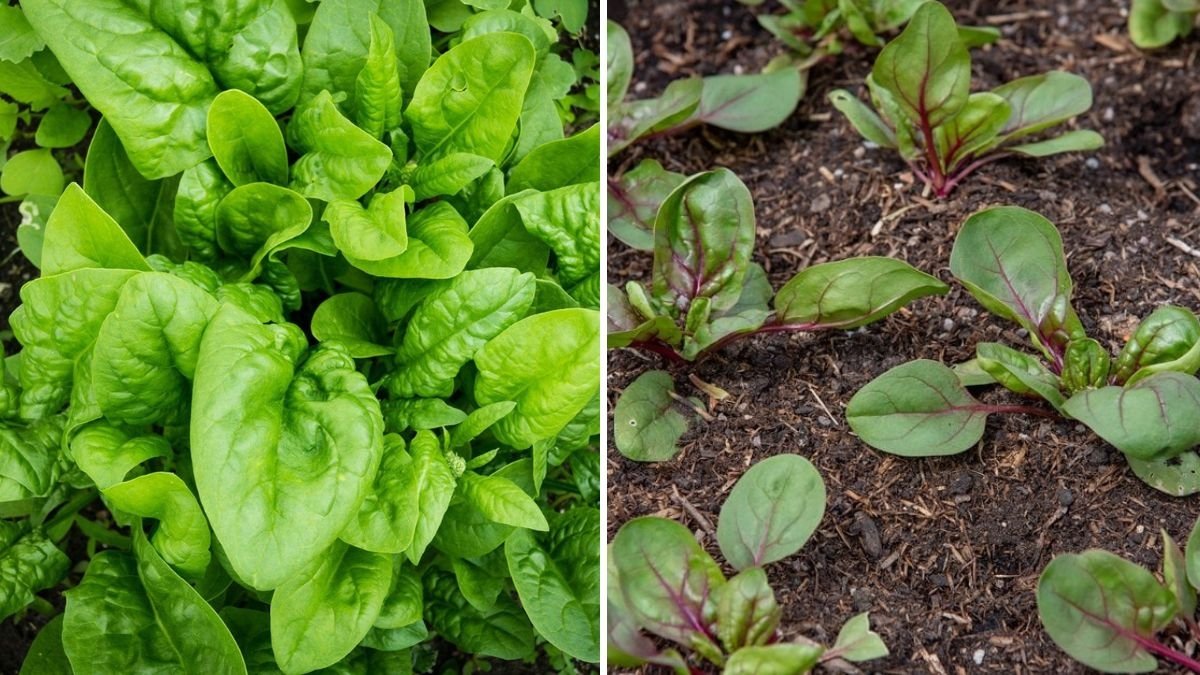
Step 1: Choose the Right Spinach Variety

The first step in growing healthy spinach is selecting the right variety for your climate and growing setup. Spinach comes in several types, each with unique characteristics that suit different conditions.
Main Types of Spinach
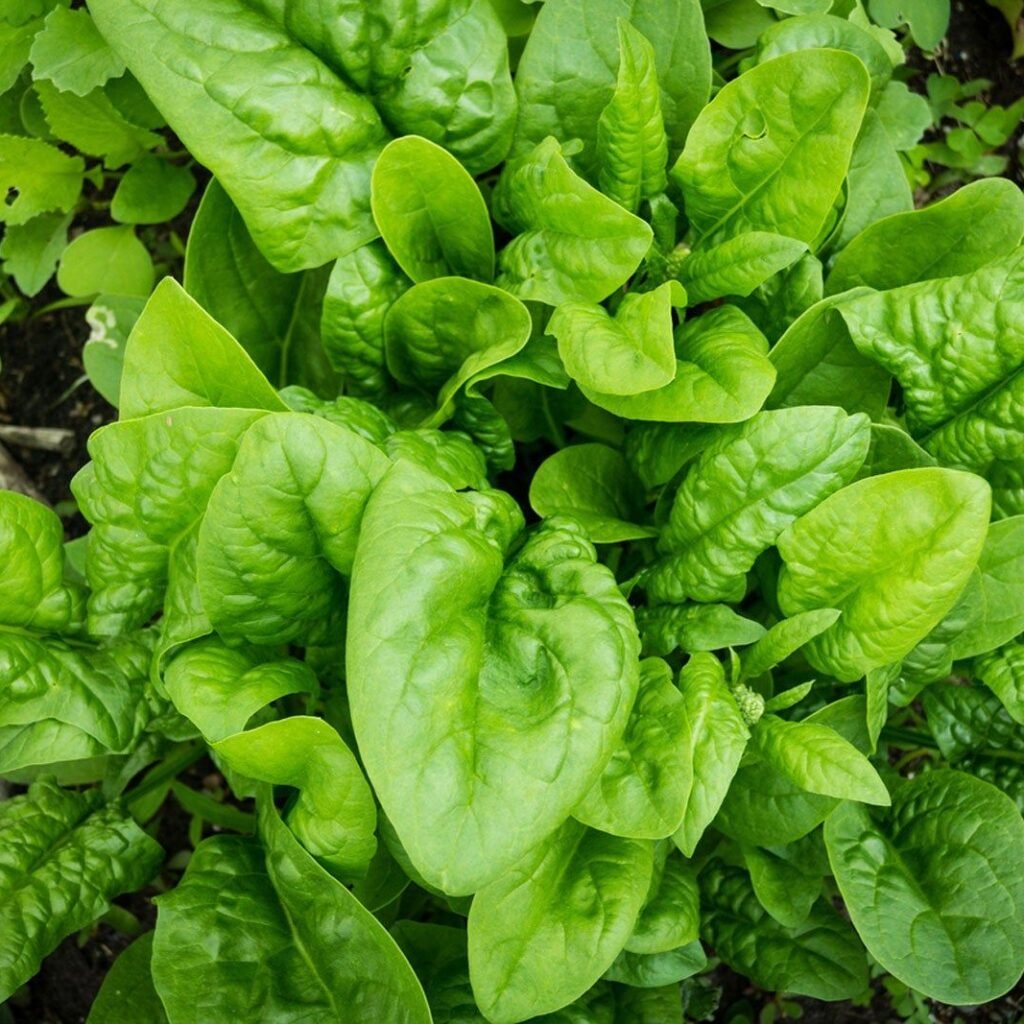
- Savoy Spinach
- Features curly, dark green leaves with a crisp texture.
- Best for cooler climates and outdoor gardens.
- Popular varieties: Bloomsdale Long Standing, Regiment.
- Semi-Savoy Spinach
- Slightly crinkled leaves that are easier to wash.
- Good resistance to diseases and bolting.
- Examples: Tyee, Indian Summer.
- Smooth-Leaf Spinach (Flat-leaf)
- Smooth, tender leaves perfect for salads and cooking.
- Grows well in containers and indoor setups.
- Examples: Space, Red Kitten.
- Baby Spinach
- Harvested early for delicate, young leaves.
- Ideal for small gardens or containers with quick turnaround.
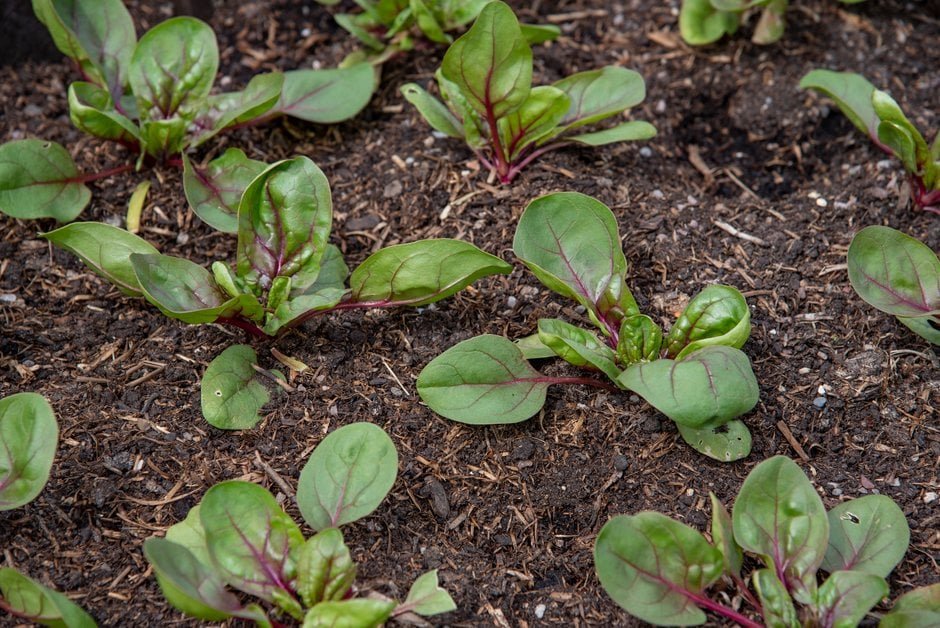
If you live in a warm region, look for heat-tolerant varieties like Malabar spinach (Basella alba) or New Zealand spinach, which thrive even when temperatures rise.

Step 2: Prepare the Ideal Growing Environment
Spinach prefers cool weather and rich, well-draining soil. It can be grown easily both in containers and garden beds, as long as the conditions are right.
Best Time to Plant
- Cool Season Crop: Spinach grows best in temperatures between 50°F–75°F (10°C–24°C).
- In cooler regions, plant in early spring or fall.
- In warm climates, grow during winter months to prevent bolting (premature flowering).
Soil Preparation
- Use loamy, fertile soil rich in organic matter.
- Ideal pH: 6.0–7.0 (slightly acidic to neutral).
- Mix in compost or well-rotted manure before planting to enrich the soil.
- Avoid heavy clay soil; it holds too much moisture and can cause root rot.
For containers:
- Use a pot that’s at least 8–10 inches deep.
- Ensure good drainage holes at the bottom.
- Fill with a potting mix that’s light and rich in nutrients — ideally, 60% soil, 30% compost, and 10% perlite or coco peat.
Step 3: Plant Your Spinach Seeds Correctly
Spinach is easy to start from seeds and germinates quickly under the right conditions.
How to Sow Spinach Seeds
- Soak the seeds in water overnight to speed up germination.
- Sow seeds ½ inch deep and about 2 inches apart in rows.
- Keep 10–12 inches between rows if planting multiple rows.
- Gently cover with soil and water lightly.
If growing in containers, sow 4–6 seeds per pot and thin them later once they sprout.

Germination
- Seeds typically germinate in 5–10 days, depending on temperature.
- Keep soil moist but not soggy during this period.
- Spinach prefers cool, moist conditions for sprouting, so avoid high heat during germination.
Thinning Seedlings
Once seedlings are about 2–3 inches tall, thin them to leave 4–6 inches between each plant. This gives them enough room to develop healthy leaves.
Tip: Don’t throw away the thinned seedlings — you can use them as baby spinach in salads!
Step 4: Watering, Feeding, and Care
Spinach grows fast and requires regular care to stay lush, tender, and flavorful.
Watering
- Spinach loves consistent moisture but dislikes soggy roots.
- Water deeply two to three times a week, depending on weather and soil type.
- Keep soil evenly moist, especially during dry or windy days.
- In containers, check soil daily — containers dry out faster than garden beds.
- Use mulch (like straw, dried leaves, or coco husk) around plants to retain moisture and keep the soil cool.
Fertilizing
Spinach is a heavy feeder, especially of nitrogen, which promotes leafy growth.

- Before planting, mix organic compost or well-rotted manure into the soil.
- Every 2–3 weeks, apply a liquid fertilizer high in nitrogen (like compost tea or fish emulsion).
- Avoid over-fertilizing, as it can make leaves taste bitter.
Sunlight and Temperature
- Spinach grows best in full sun (4–6 hours), but in hot climates, partial shade helps prevent bolting.
- For summer planting, provide shade nets or plant near taller crops for natural protection.
Weeding and Maintenance
- Remove weeds regularly — they compete for nutrients and water.
- Loosen soil around the plants occasionally to improve aeration.
- Keep an eye out for pests like aphids, leaf miners, and slugs. Use neem oil spray or natural predators like ladybugs to control infestations.
Step 5: Harvest and Enjoy Your Homegrown Spinach
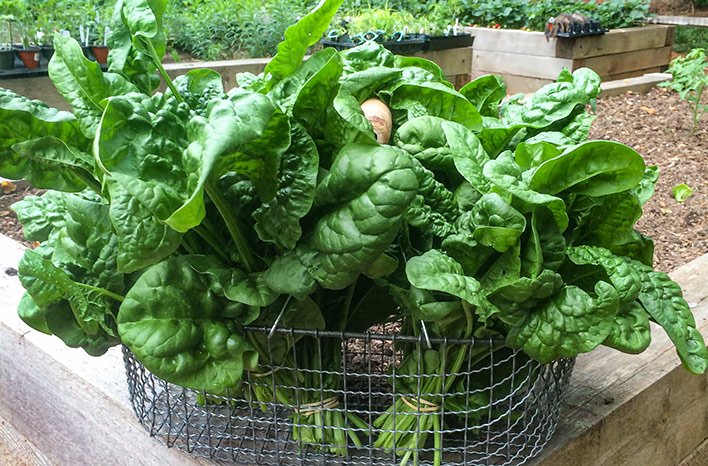
The best part of growing spinach at home is enjoying your harvest — fresh, tender, and free from chemicals.
When to Harvest
- Spinach is ready to harvest in 30–45 days after sowing.
- For baby spinach, start harvesting when leaves are 3–4 inches long.
- For mature spinach, wait until leaves reach 6–8 inches, but harvest before they turn tough or start to bolt.
How to Harvest
- Use scissors or a sharp knife to snip outer leaves about 1 inch above the base, leaving the inner leaves intact to regrow.
- Alternatively, cut the entire plant just above the crown if you want to replant soon after.
- Avoid pulling the plant out from the roots; this allows continuous regrowth.
Pro Tip:
Harvest in the early morning when leaves are crisp and full of moisture. Avoid harvesting during the heat of the day to prevent wilting.
Storage Tips
- Rinse leaves gently and pat dry.
- Store in a perforated bag or airtight container in the refrigerator for up to 5 days.
- For long-term storage, blanch and freeze the leaves for soups or smoothies later.
Bonus Tips for Thriving Spinach Plants

- Succession Planting: Sow a new batch every 2–3 weeks for a continuous harvest throughout the season.
- Companion Planting: Grow spinach alongside radishes, carrots, or strawberries — they help repel pests naturally.
- Avoid Heat Stress: During hot months, choose bolt-resistant varieties like Tyee or Bloomsdale Long Standing.
- Rejuvenate Soil: After every harvest, mix compost into the soil to keep it fertile.
- Use Raised Beds or Vertical Planters: Great for maximizing space in small homes or balconies.
Common Problems and Easy Fixes
| Problem | Cause | Solution |
|---|---|---|
| Leaves turning yellow | Overwatering or poor drainage | Check drainage holes; water less often |
| Bolting (flowering early) | Too much heat or long daylight | Provide shade; grow in cooler months |
| Pest damage (holes in leaves) | Leaf miners, aphids, slugs | Spray neem oil or use insecticidal soap |
| Poor growth | Nutrient deficiency | Add nitrogen-rich compost or organic fertilizer |
Health Benefits of Homegrown Spinach
Aside from being easy to grow, spinach is one of the healthiest greens you can add to your diet. It’s rich in iron, calcium, vitamins A, C, and K, and antioxidants that boost immunity and heart health. Eating freshly harvested spinach ensures maximum nutrient content, unlike store-bought greens that lose vitamins during transport.
Final Thoughts
Growing spinach at home is one of the most satisfying and practical gardening experiences you can try. With just a few seeds, some pots, and a little care, you can enjoy a steady supply of fresh, organic greens right from your kitchen garden.

By following these five easy steps — choosing the right variety, preparing ideal soil, planting correctly, watering and feeding well, and harvesting at the right time — you’ll soon have a thriving spinach patch that keeps giving you fresh leaves week after week.
So, whether you’re growing in a sunny backyard or a cozy apartment balcony, get your hands dirty, plant those seeds, and watch your spinach garden flourish. There’s nothing quite as rewarding as harvesting your own food — fresh, green, and full of life!
Leave A Comment