How to Prevent Powdery Mildew on Indoor Plants

How to Prevent Powdery Mildew on Indoor Plants

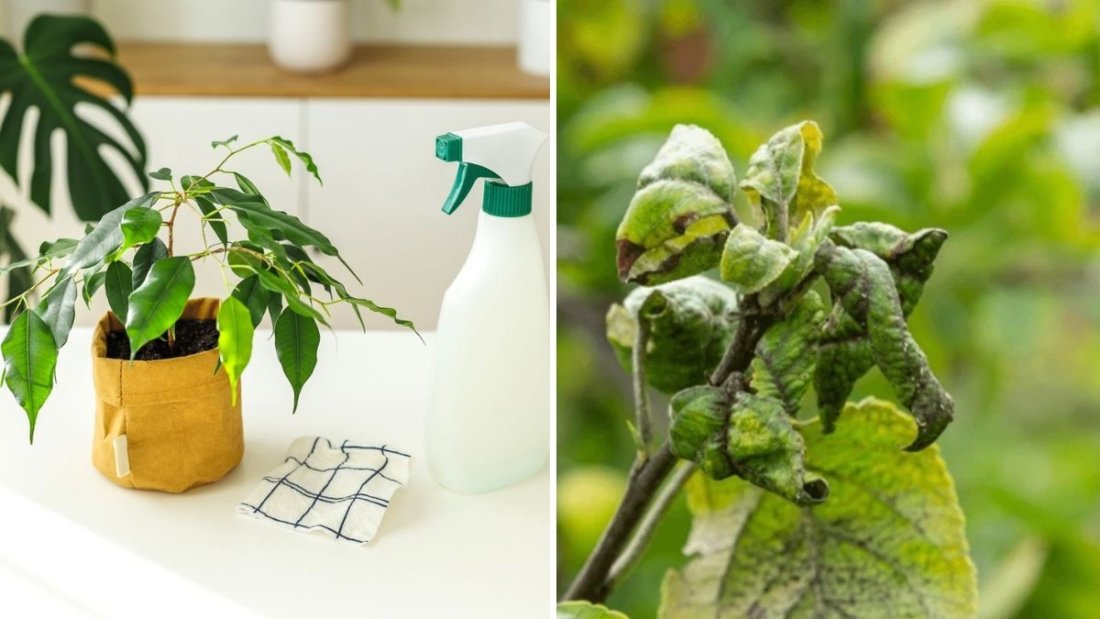
Indoor plants bring life, color, and fresh air into our homes. However, they can also fall victim to common plant diseases—one of the most notorious being powdery mildew. If you’ve ever noticed a white, powdery coating on your plants’ leaves, you’ve likely encountered this fungal invader. While it may look harmless at first, powdery mildew can weaken plants, distort growth, and reduce their ability to photosynthesize.

The good news? Powdery mildew is both preventable and manageable with the right care. In this article, we’ll cover what powdery mildew is, why it thrives indoors, early warning signs, and the best prevention strategies and remedies to keep your plants healthy and vibrant.


What Is Powdery Mildew?

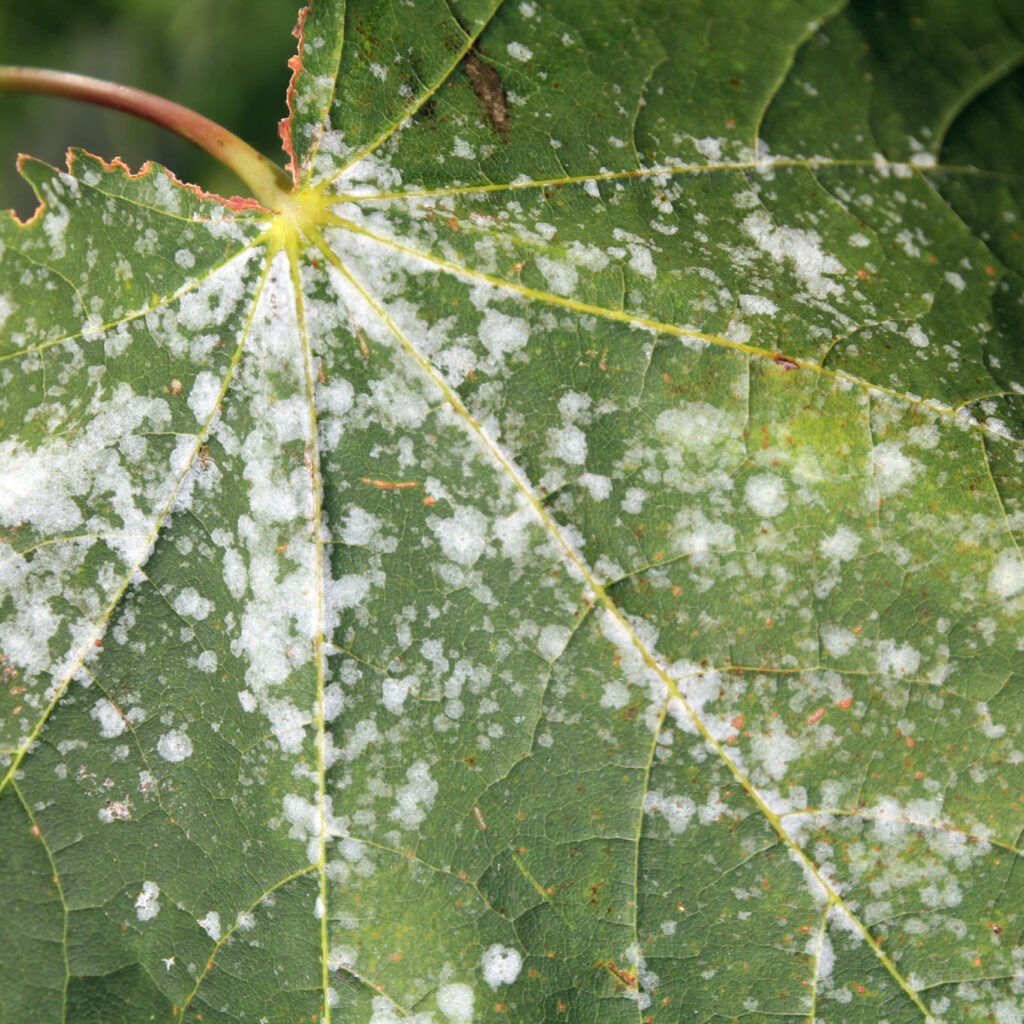
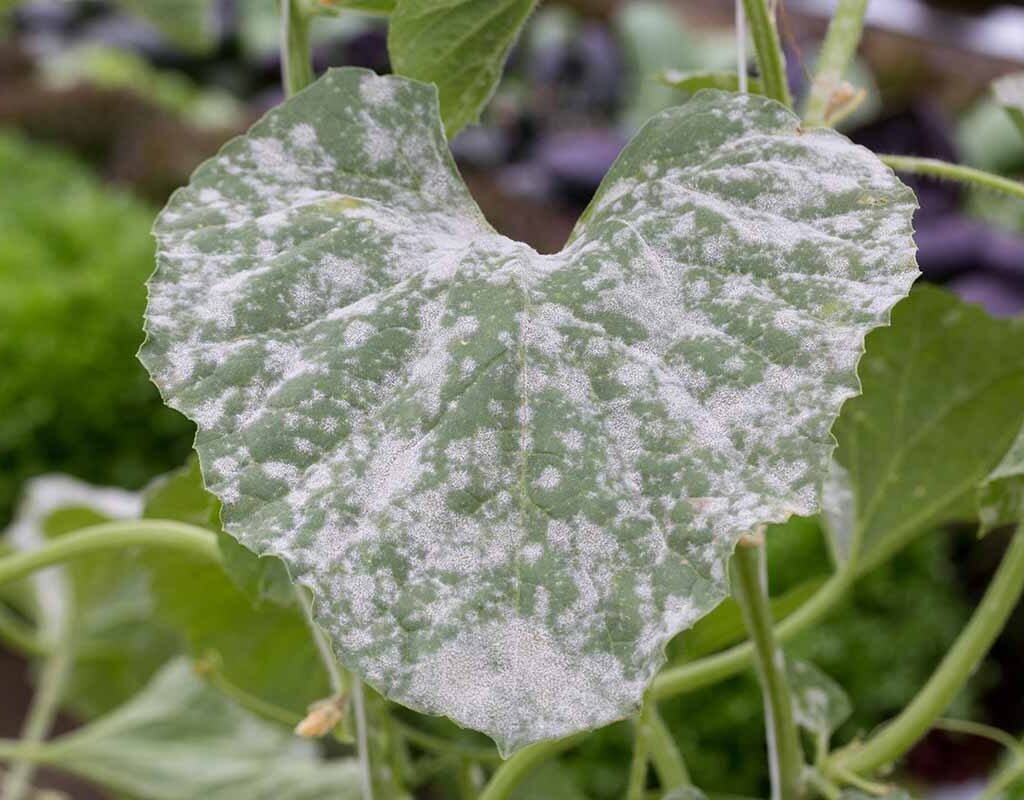
Powdery mildew is a fungal disease caused by several species of fungi, most commonly Erysiphales. It appears as a white or grayish powder that spreads across leaves, stems, and sometimes flowers. Unlike many fungal diseases, powdery mildew doesn’t require saturated soil to thrive. Instead, it flourishes in humid air combined with poor air circulation—making indoor environments a perfect breeding ground.


Why Indoor Plants Are at Risk

Indoor conditions often mimic the perfect environment for powdery mildew to thrive:

  • High humidity: Bathrooms, kitchens, and areas with humidifiers create moisture-rich air.
  • Poor air circulation: Stagnant air around clustered plants allows spores to settle and grow.
  • Moderate temperatures: Most powdery mildew fungi thrive between 65–80°F (18–27°C).
  • Shaded conditions: Plants kept in dim corners are more susceptible, as the fungus dislikes direct sunlight.

Since indoor plants are often packed closely together, spores can quickly spread from one plant to the next if not addressed.


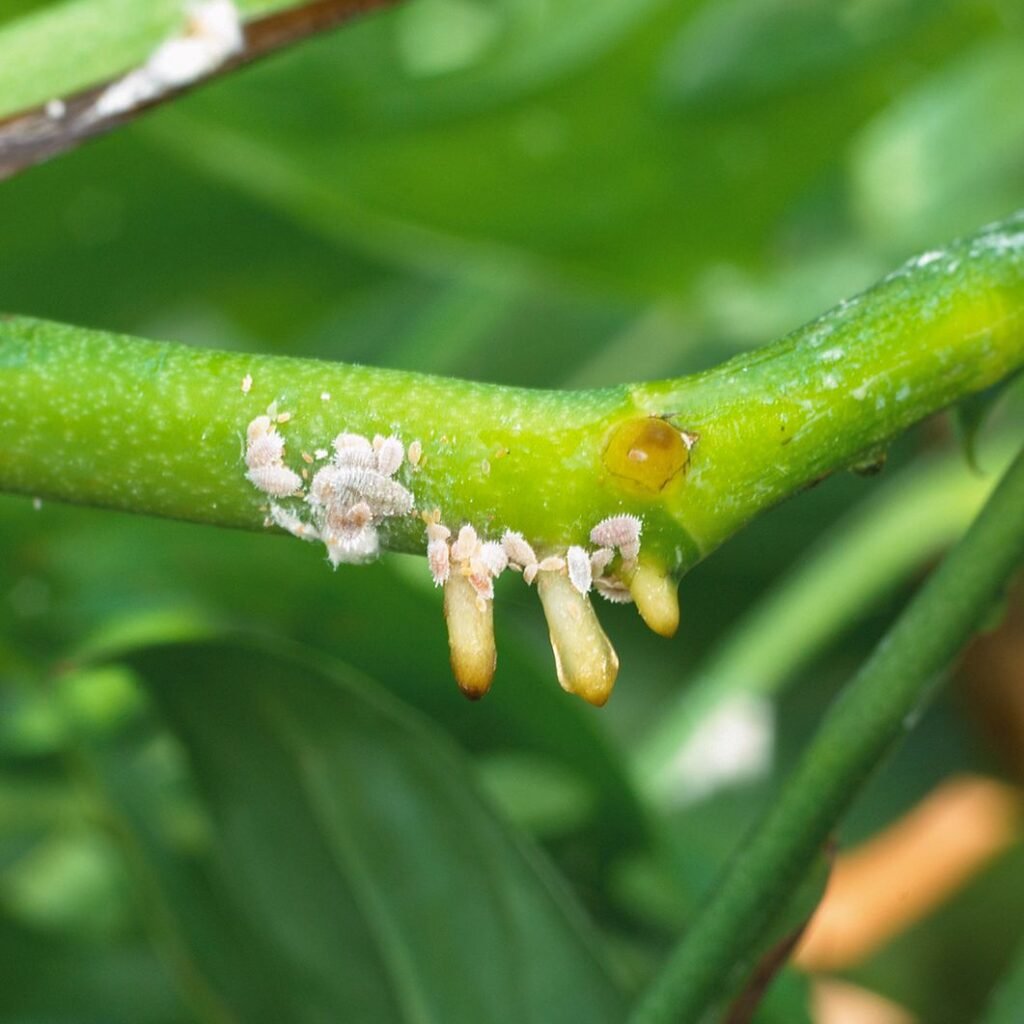
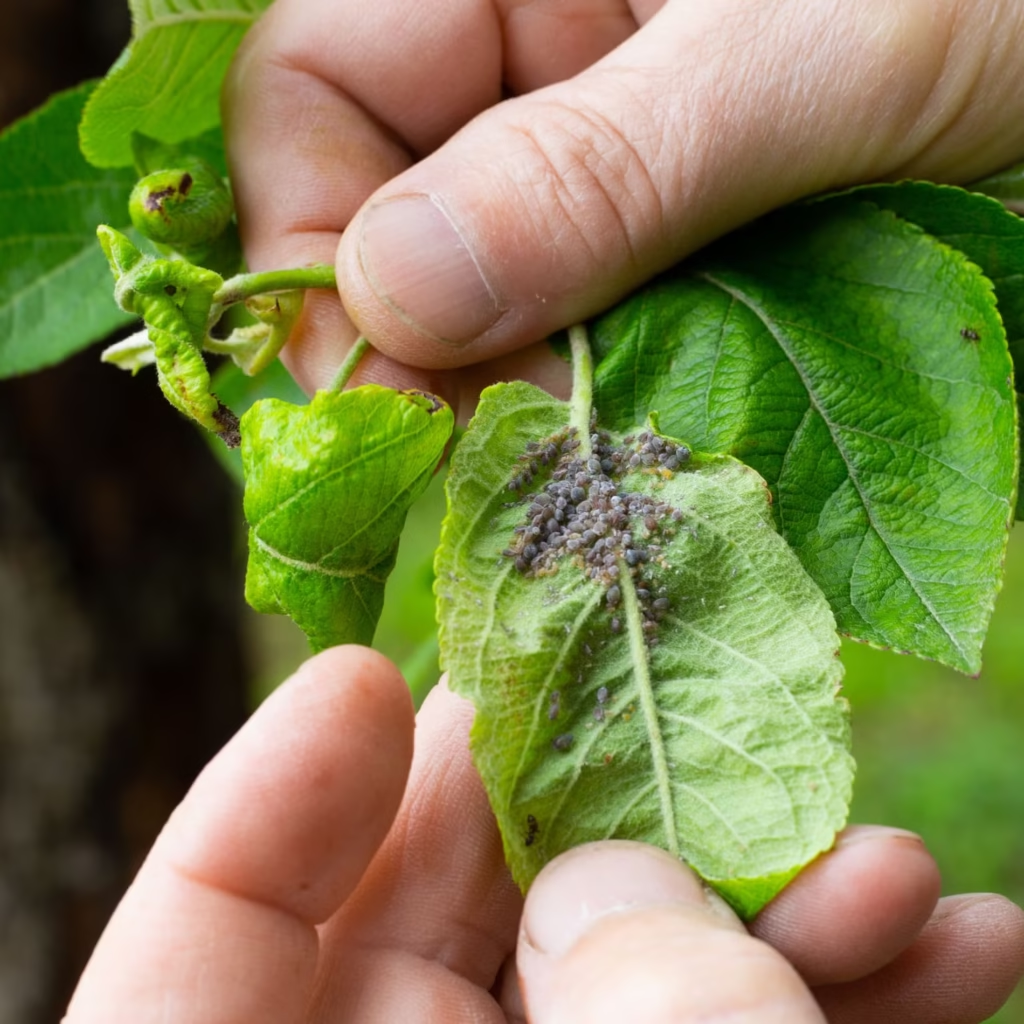
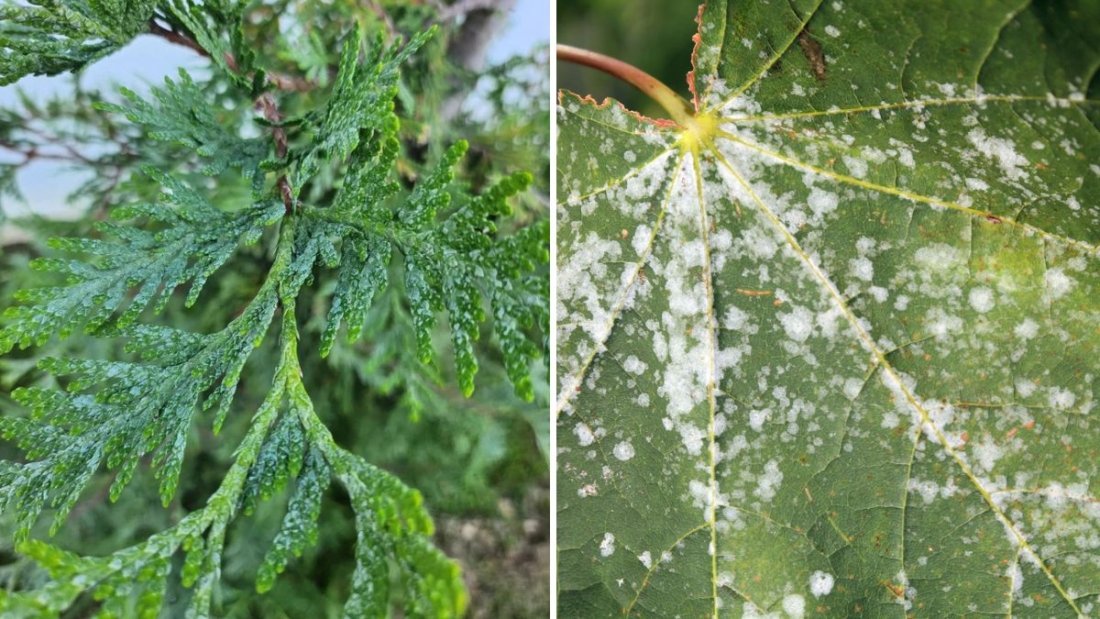
How to Spot Powdery Mildew Early

Early detection is key. Look for these warning signs:

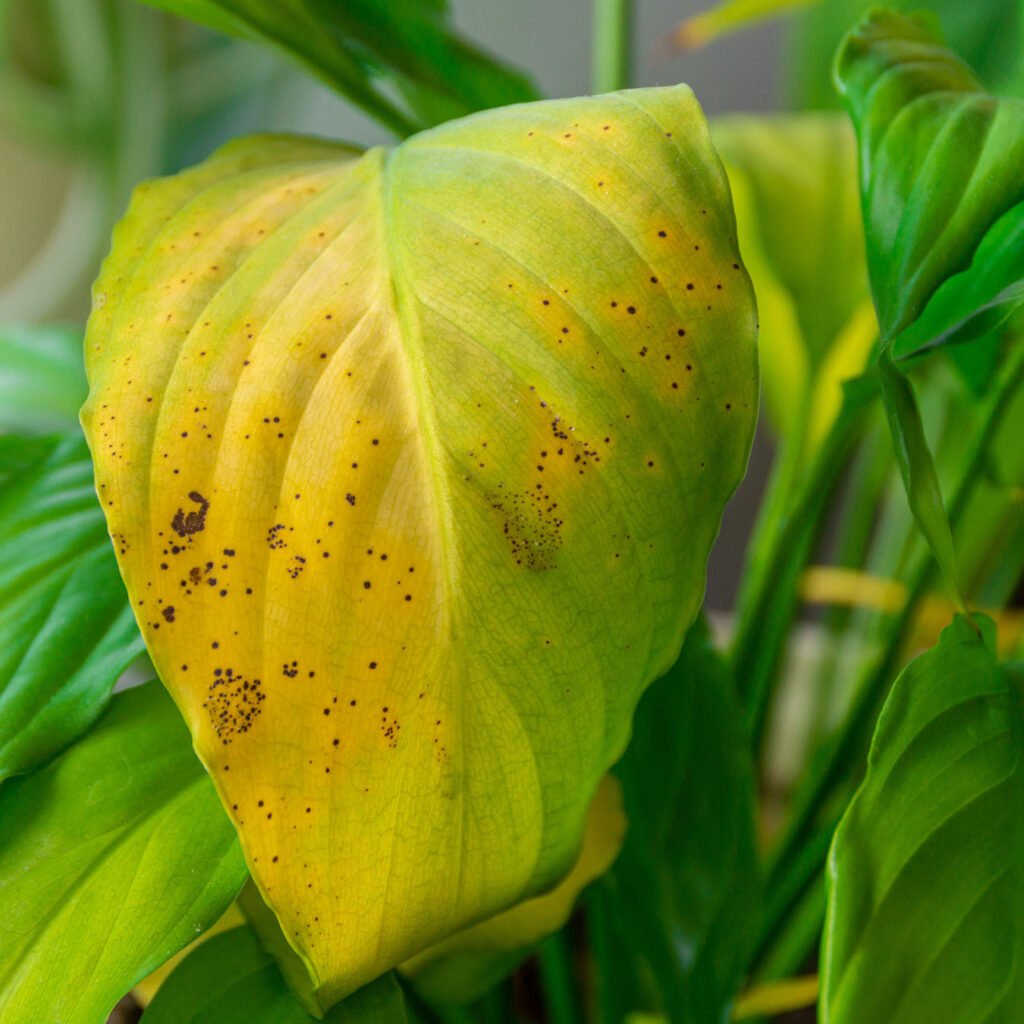
  • White or gray, powdery spots on the surface of leaves.
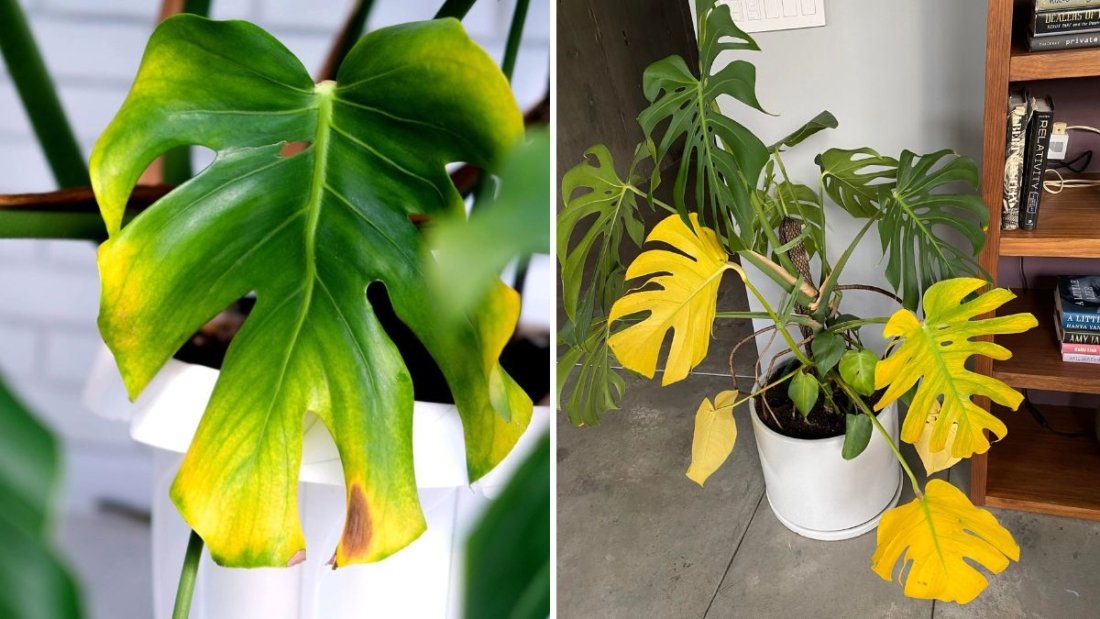
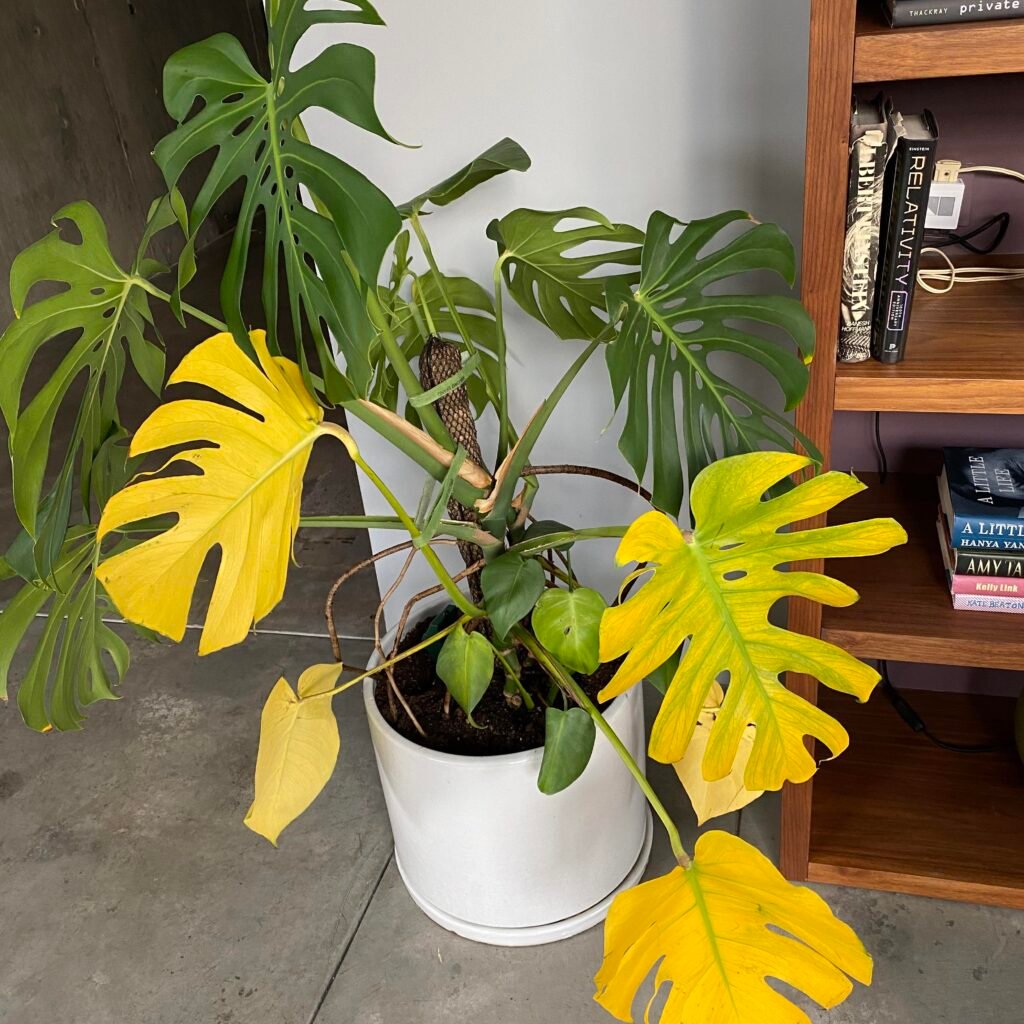
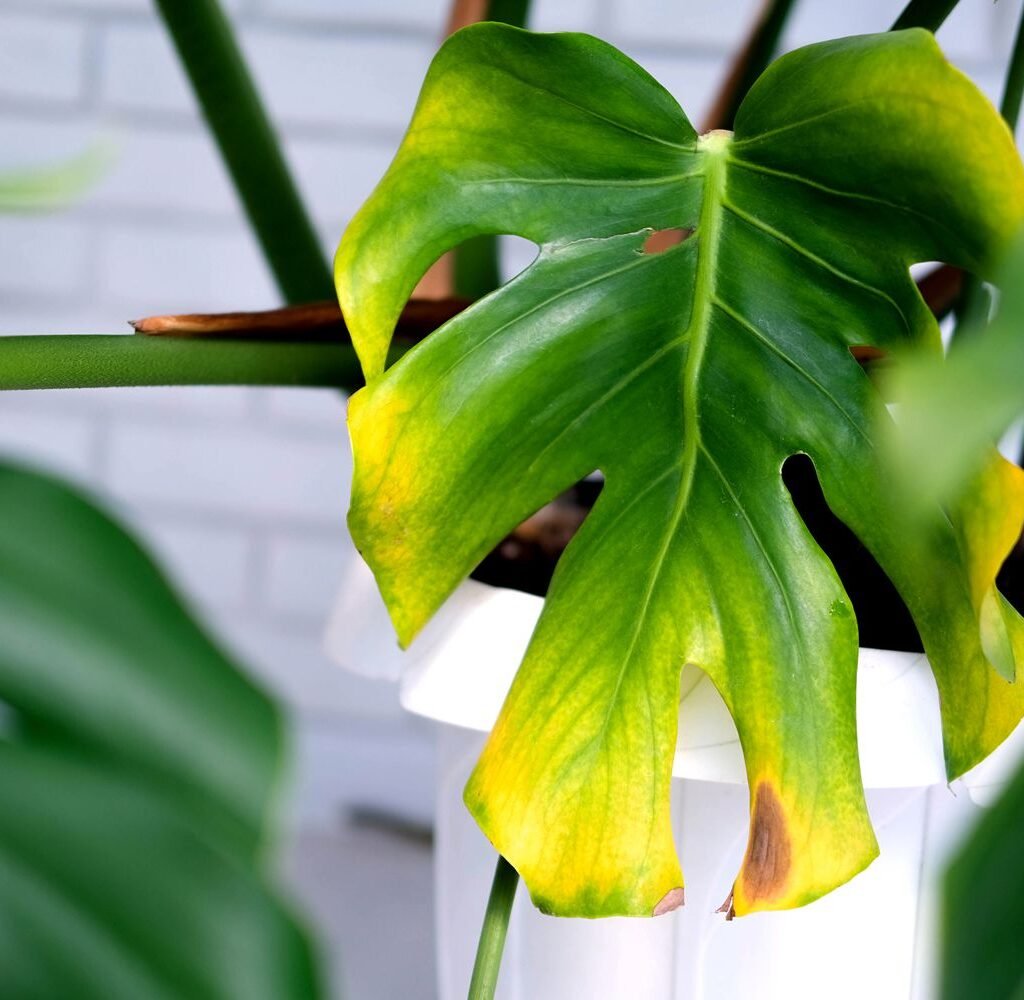
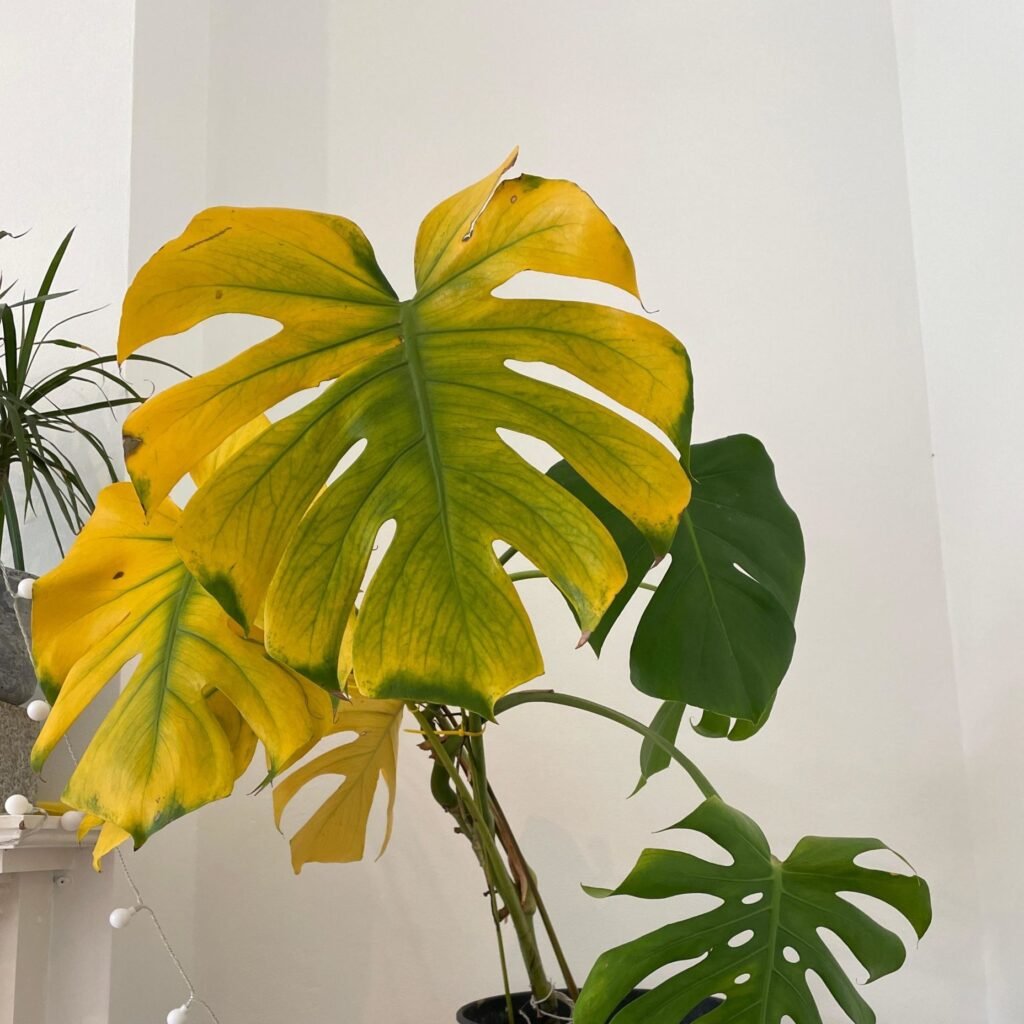
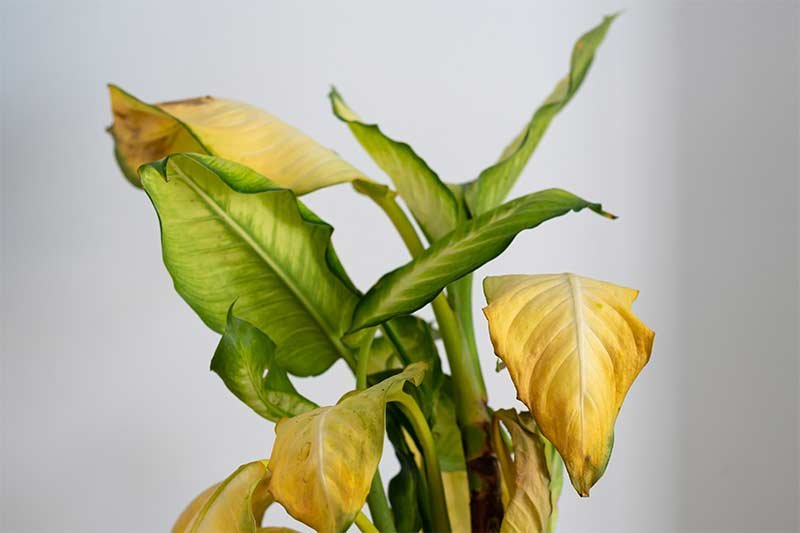
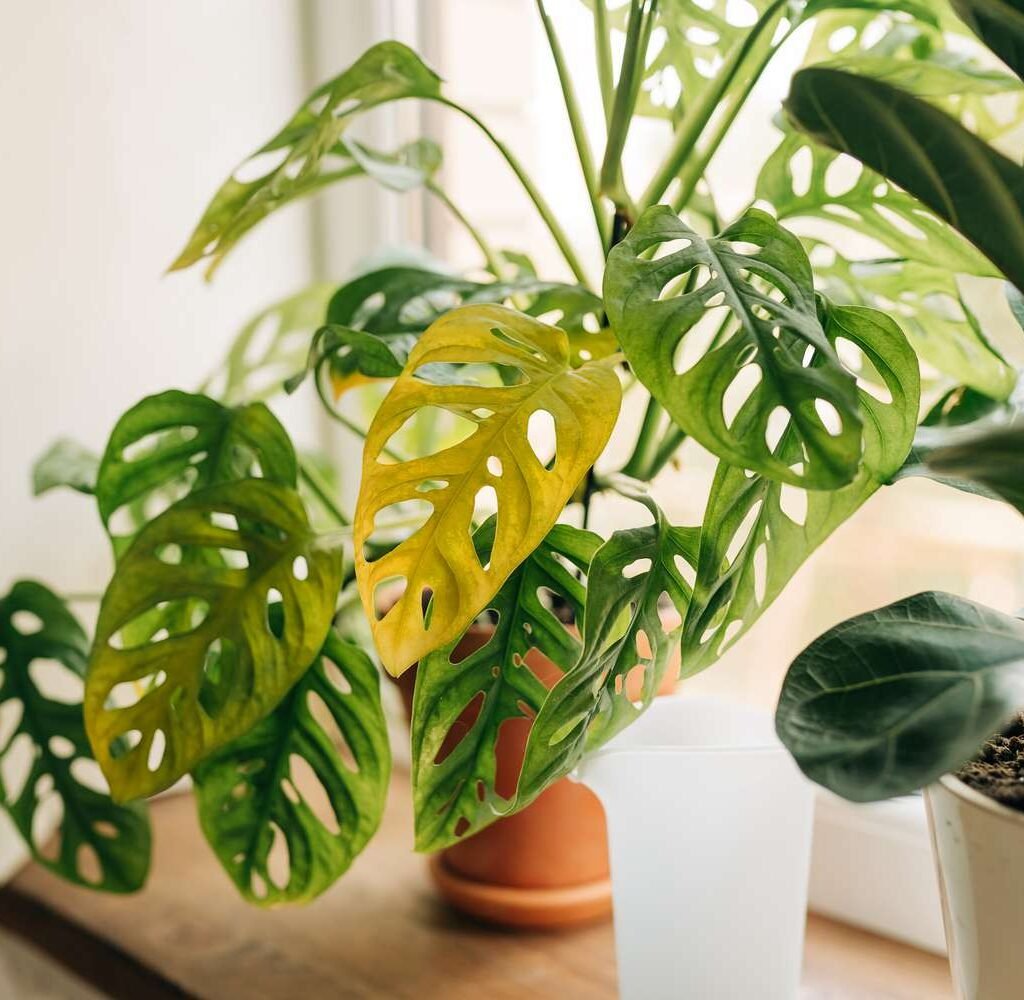
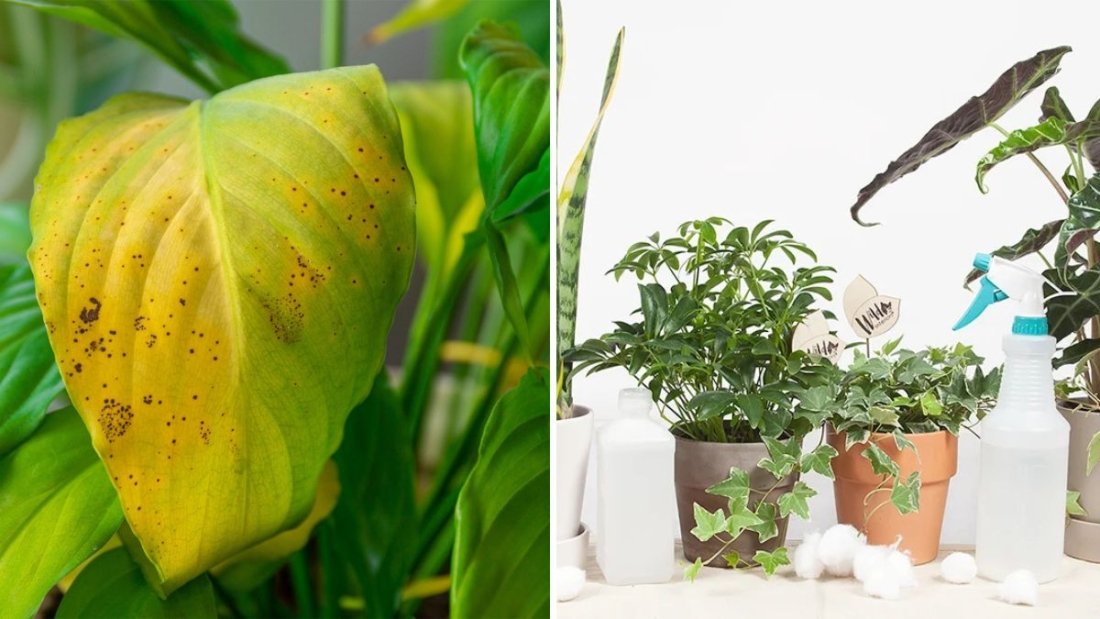
  • Leaves may curl, distort, or turn yellow over time.
  • New growth appears weak or stunted.
  • Flowers may drop prematurely in severe cases.

Unlike dust or hard-water deposits, powdery mildew wipes off easily with your fingers—but it quickly returns if untreated.


Why Prevention Matters

Treating powdery mildew after it spreads is possible, but prevention is always easier and less stressful for both you and your plants. Prevention keeps your indoor garden:

  • Healthier: Stronger plants resist pests and diseases better.
  • More attractive: No unsightly white residue covering your greenery.
  • Productive: For edible indoor plants like herbs, prevention ensures better harvests.

Proven Strategies to Prevent Powdery Mildew Indoors

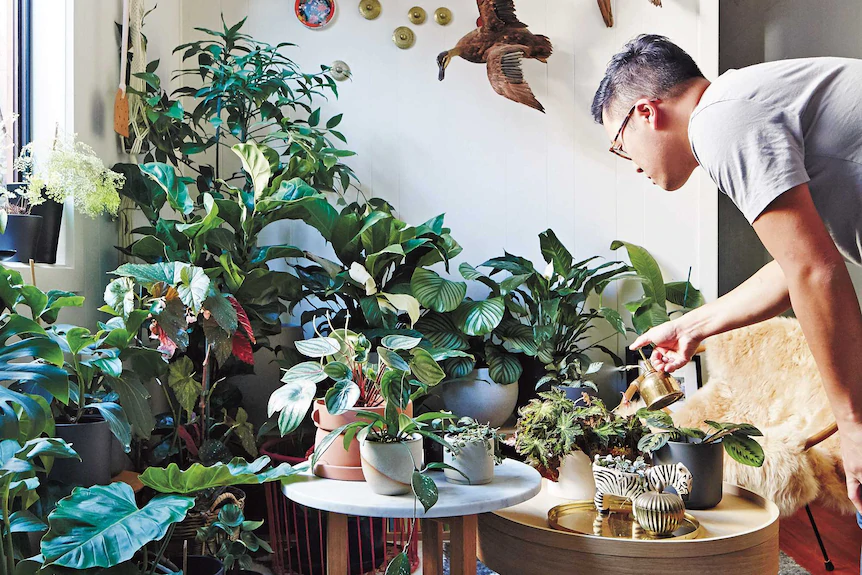
1. Improve Air Circulation

Powdery mildew thrives in stagnant air. To prevent it:

  • Space plants apart to allow airflow between leaves.
  • Use a small oscillating fan to keep air moving in stuffy rooms.
  • Avoid overcrowding windowsills or plant shelves.

Pro Tip: Even occasional air movement significantly reduces fungal growth.


2. Control Humidity Levels

Since mildew spores love humid air:

  • Keep humidity levels between 40–50%, which is healthy for most houseplants.
  • Use a dehumidifier in overly damp rooms.
  • Avoid misting leaves if your space is already humid.

Some humidity is beneficial, but moderation is key.


3. Provide Adequate Light

Fungal spores dislike bright, direct light. Give your plants:

  • A spot near a south- or west-facing window if possible.
  • Supplemental grow lights if natural light is insufficient.

Strong light not only prevents mildew but also boosts plant vigor.


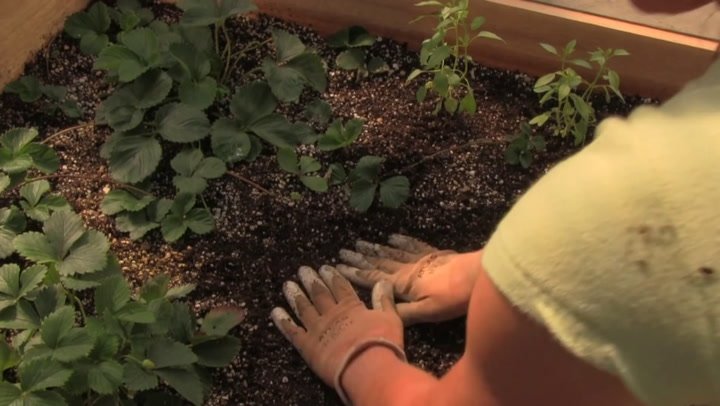
4. Water Plants Correctly

Overhead watering that splashes leaves creates a welcoming environment for mildew. Instead:

  • Water at the soil level, directly at the base of the plant.
  • Use self-watering pots or drip irrigation indoors if practical.
  • Water in the morning so leaves dry quickly if splashed.

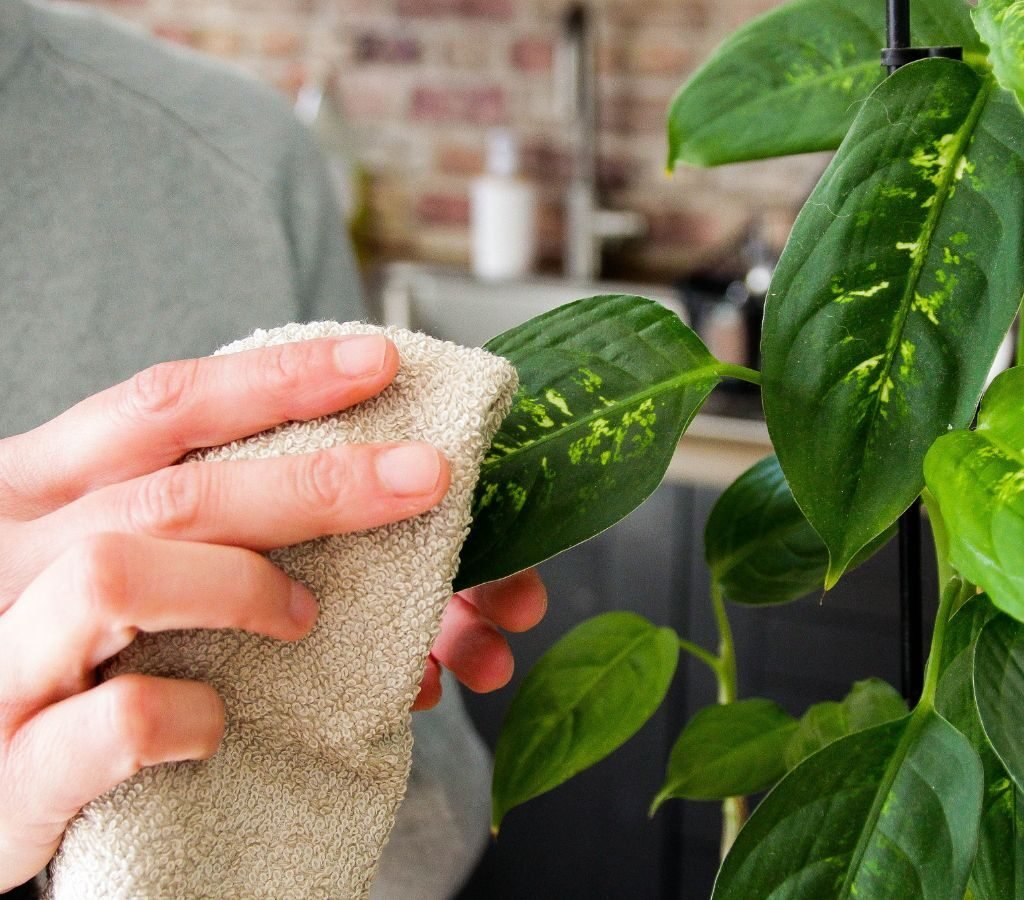
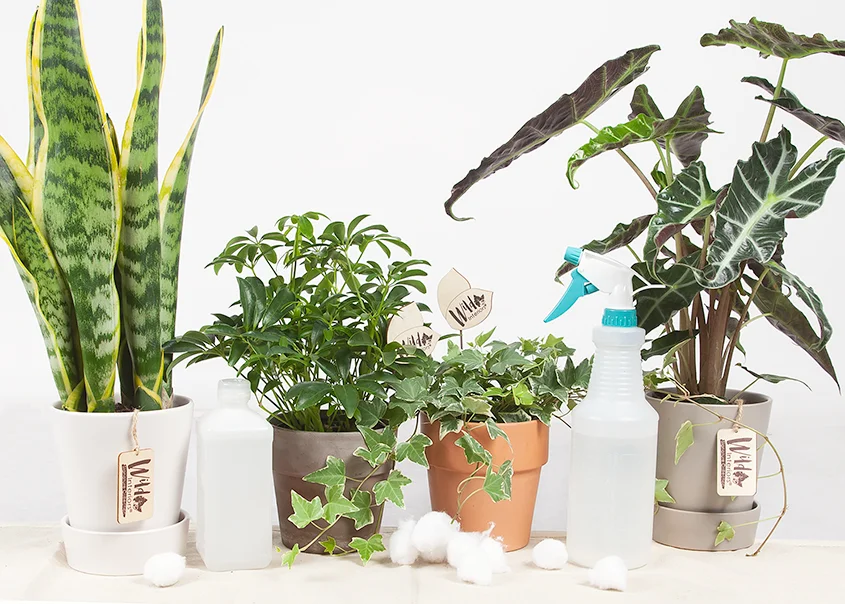
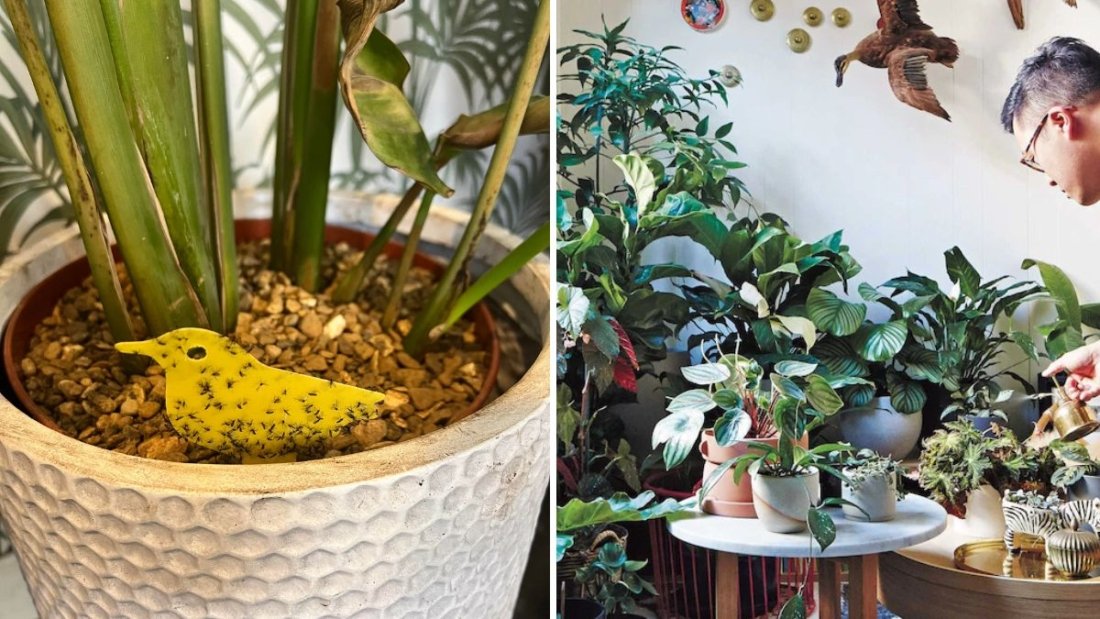
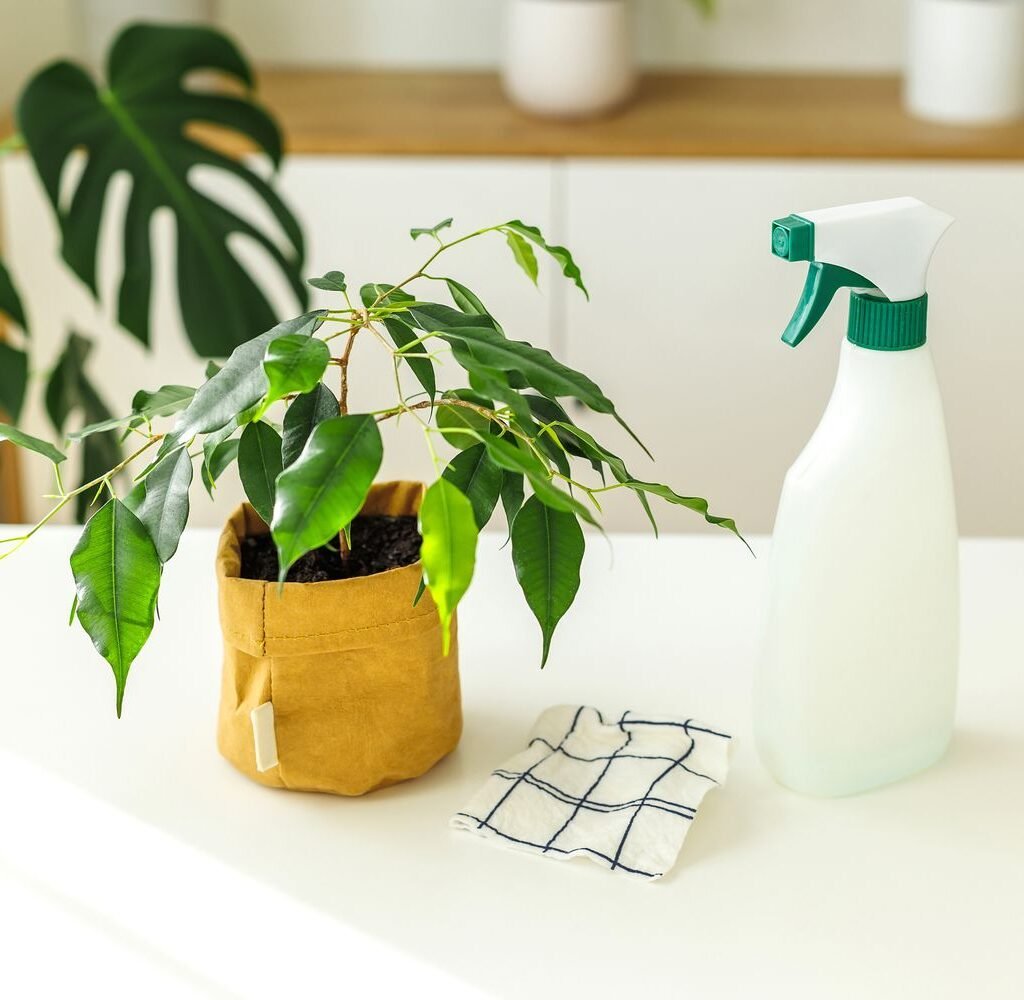
5. Regularly Inspect and Clean Plants

Routine care helps catch issues before they spread:

  • Wipe leaves gently with a damp cloth to remove dust and spores.
  • Inspect undersides of leaves, where mildew often starts.
  • Remove dead or yellowing foliage promptly.

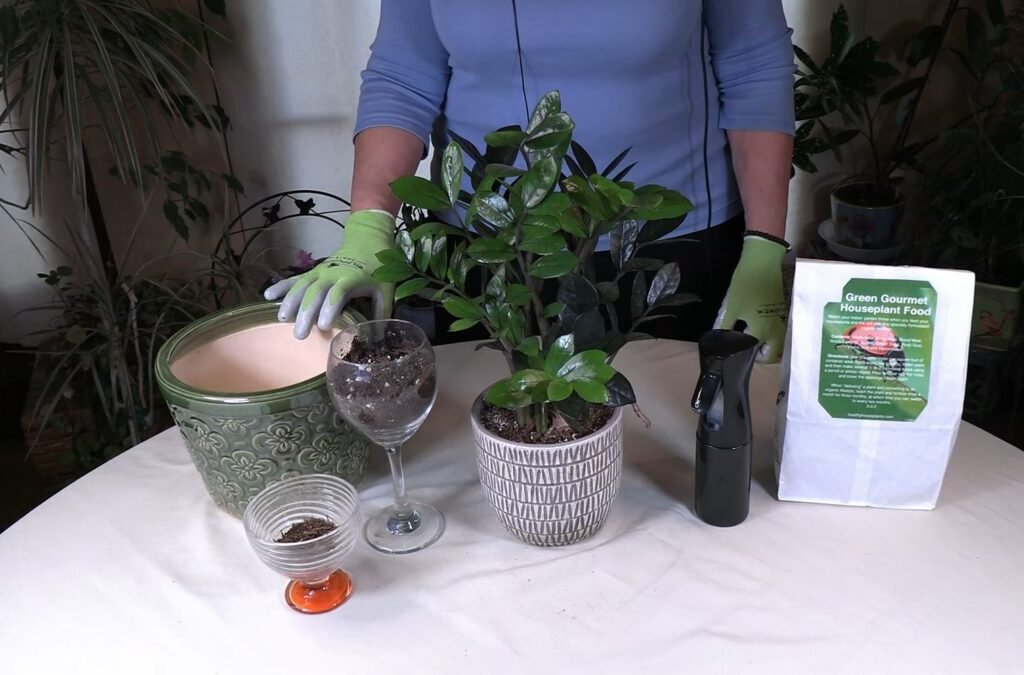
6. Choose Resistant Plant Varieties

If you’re prone to mildew issues, opt for indoor plants that are less susceptible, such as:

  • Snake plants (Sansevieria)
  • ZZ plants (Zamioculcas zamiifolia)
  • Pothos (Epipremnum aureum)
  • Succulents and cacti

Meanwhile, herbs like basil and chives are more prone to mildew, so they need extra monitoring.


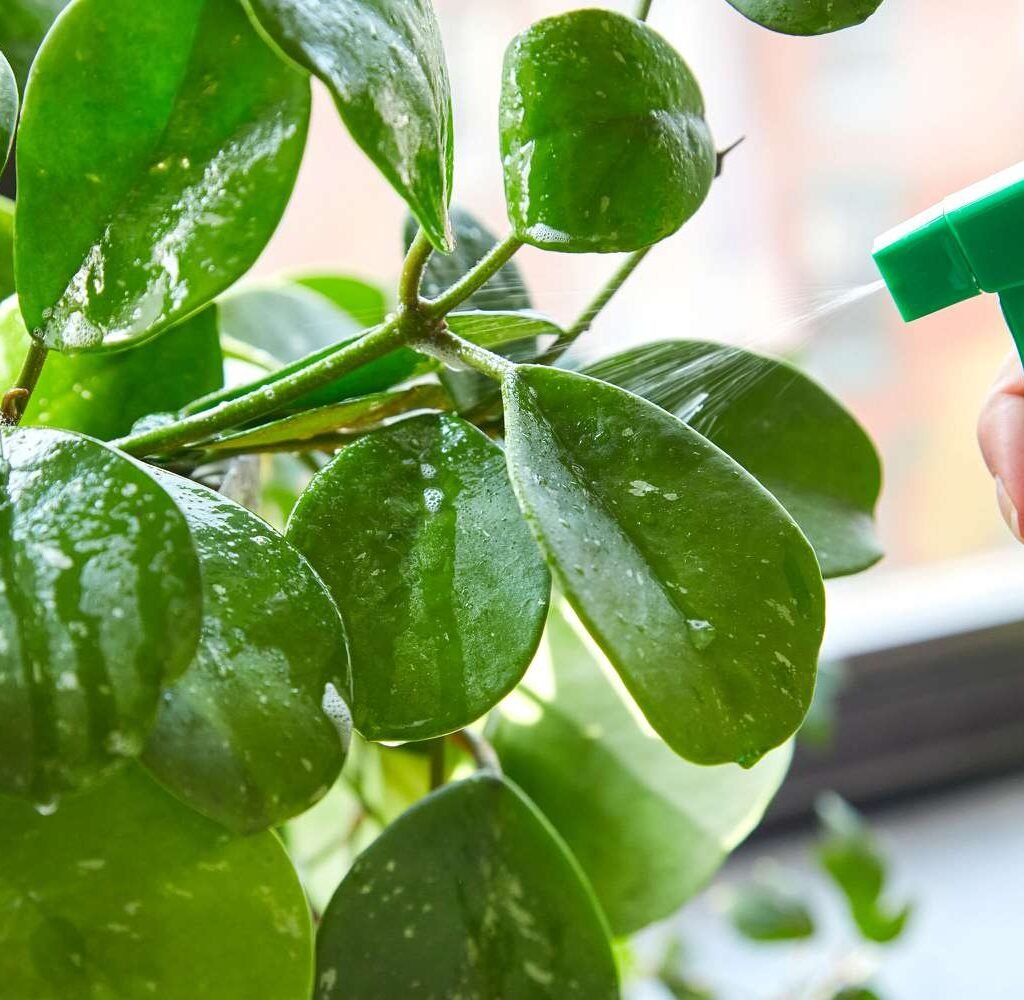
Natural and Organic Remedies for Prevention

Sometimes prevention means creating an inhospitable environment for spores. Here are safe, natural options:

1. Neem Oil

  • Acts as both a preventive and a mild treatment.
  • Mix 2 teaspoons of neem oil with 1 quart of water, add a few drops of dish soap, and spray on leaves.
  • Repeat every 1–2 weeks as a preventive measure.

2. Baking Soda Spray

  • Changes leaf surface pH, making it less friendly for mildew.
  • Mix 1 tablespoon baking soda, ½ teaspoon liquid soap, and 1 quart water.
  • Spray lightly on susceptible plants once a week.

3. Milk Spray

  • Surprisingly effective against powdery mildew due to natural enzymes.
  • Mix 1 part milk with 2 parts water and spray every 10 days.

4. Cinnamon or Garlic Extract

  • Both contain antifungal properties.
  • Garlic tea (crushed cloves steeped in water) or cinnamon water can be used as a mild preventive spray.

What to Do if Powdery Mildew Appears

Even with the best prevention, outbreaks can happen. Here’s what to do:

  1. Isolate the affected plant immediately to stop spores from spreading.
  2. Prune heavily infected leaves and dispose of them in the trash, not compost.
  3. Apply a natural fungicide like neem oil or potassium bicarbonate spray.
  4. Improve conditions (light, air circulation, humidity) to stop recurrence.

Consistency is key—one treatment won’t solve the problem overnight.


Long-Term Prevention Habits

To keep powdery mildew from becoming a recurring issue, adopt these long-term practices:

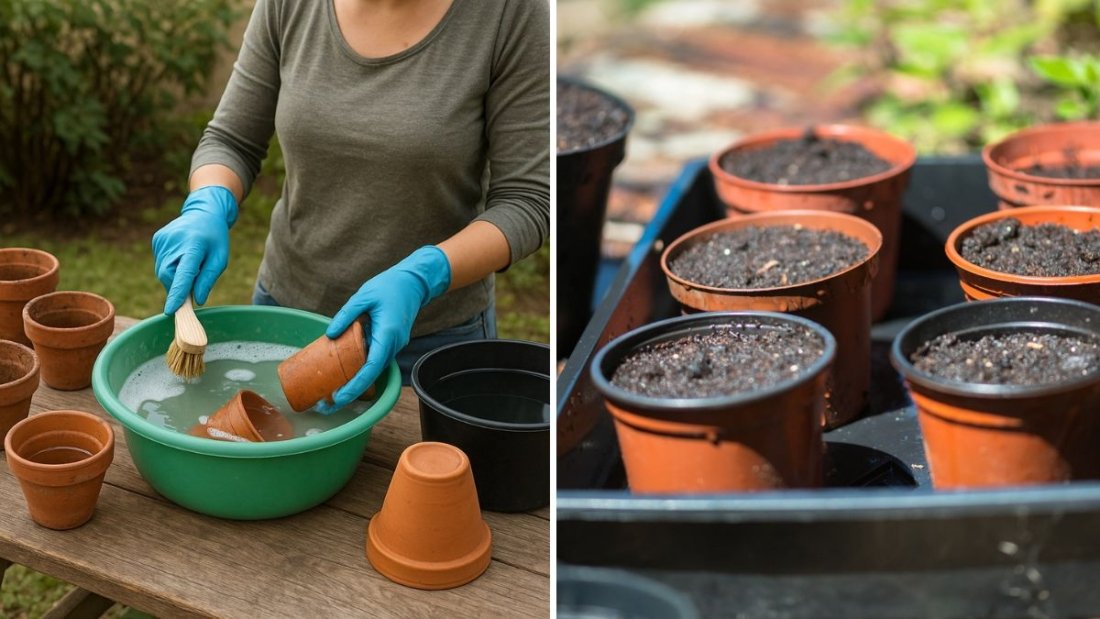
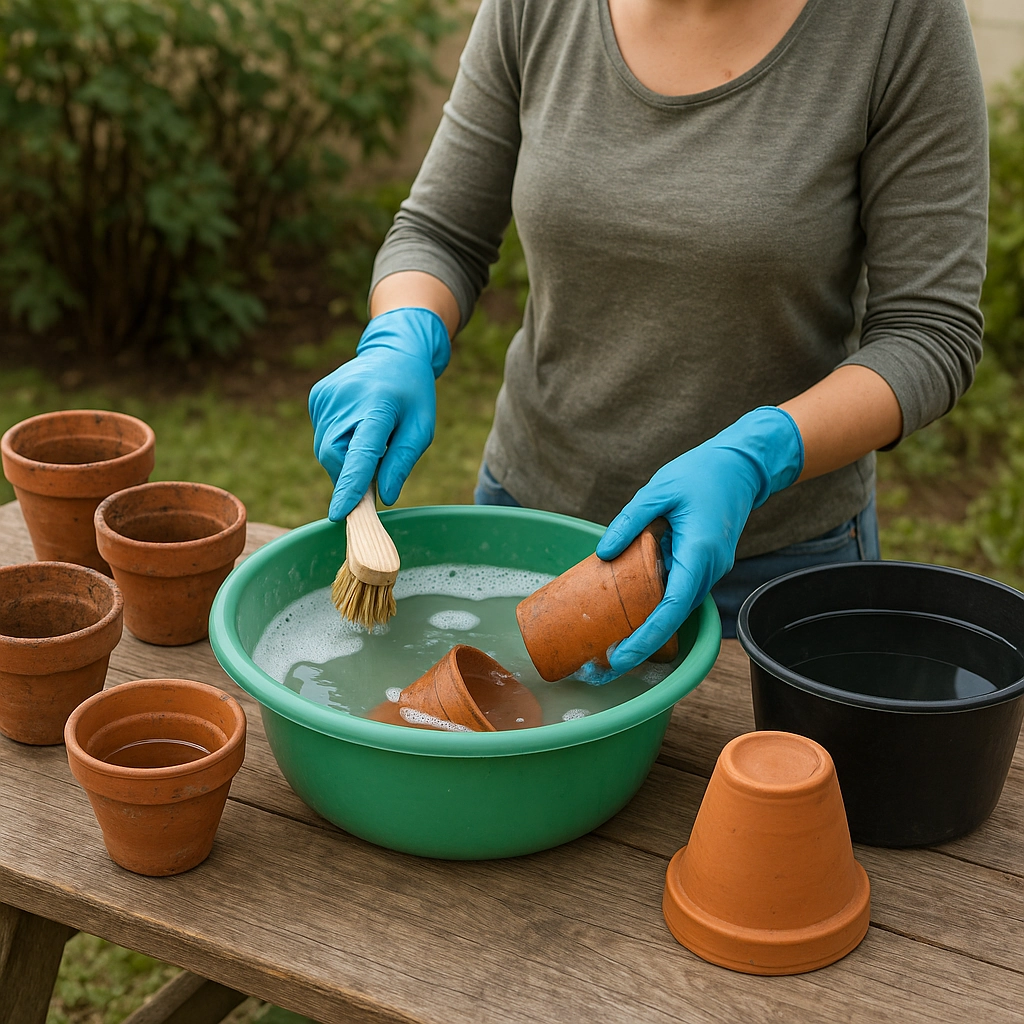
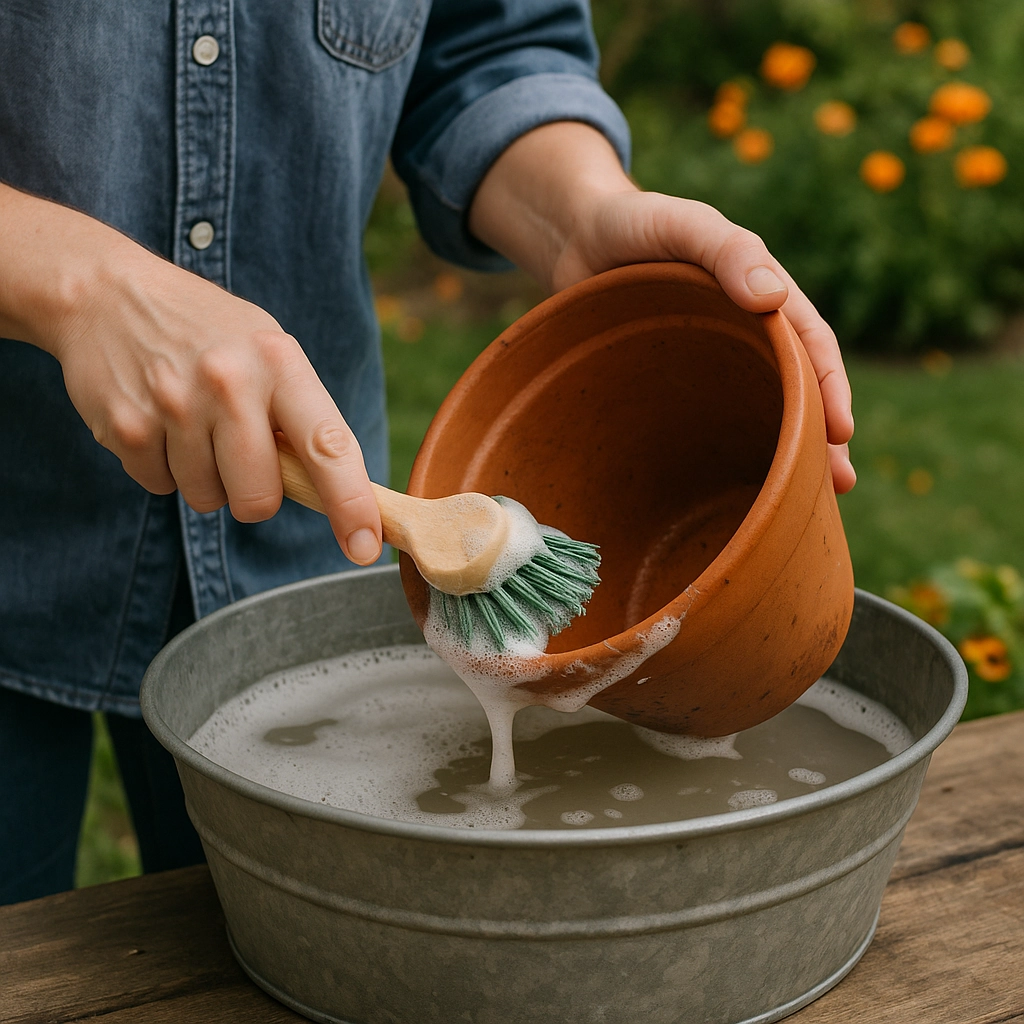
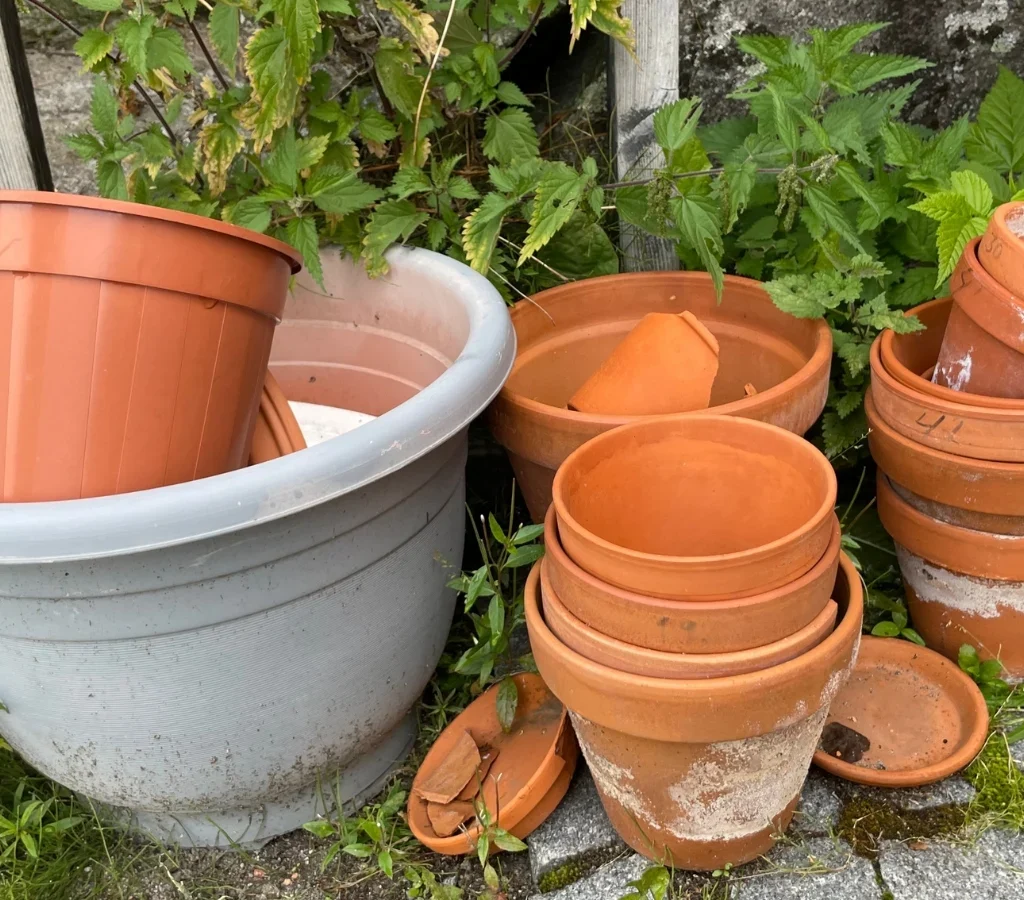
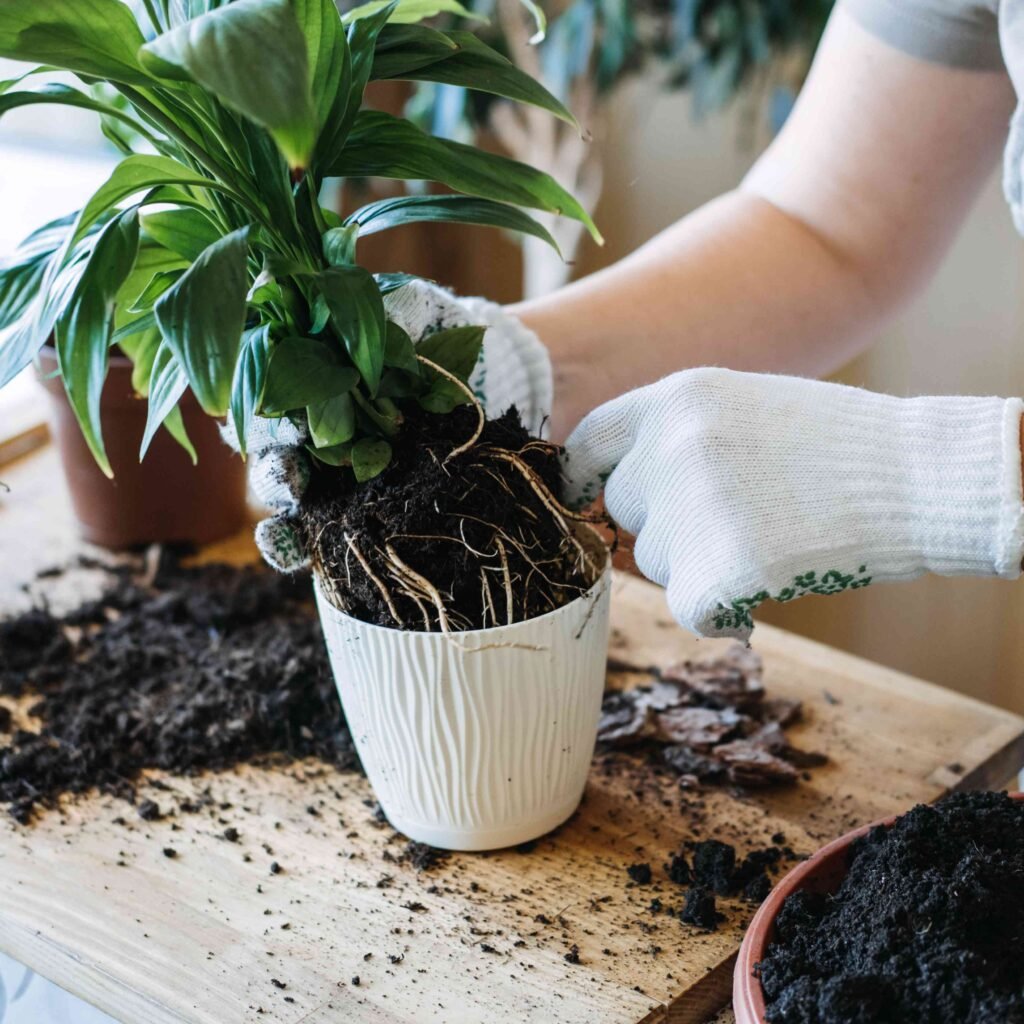
  • Clean pots before repotting (disinfect with vinegar or hydrogen peroxide).
  • Rotate plant positions to ensure even light exposure.
  • Fertilize appropriately—avoid excess nitrogen, which encourages soft, mildew-prone growth.
  • Keep leaves dry whenever possible.
  • Quarantine new plants before introducing them to your collection.

Quick Diagnostic Checklist

When you see suspicious white patches on leaves, ask yourself:

  • Is the air in my home humid and stagnant?
  • Are my plants too close together?
  • Am I watering from above, leaving leaves damp?
  • Does the plant get enough light?

Correcting these conditions is the fastest way to stop powdery mildew from gaining a foothold.


Conclusion

Powdery mildew may be a common houseplant enemy, but it doesn’t have to take over your indoor garden. With a focus on prevention—through proper air circulation, humidity control, correct watering, and regular inspections—you can drastically reduce the chances of infection. And if it does appear, natural remedies like neem oil, baking soda, or milk sprays can help you get it under control.

Think of prevention as a holistic approach: a combination of environmental adjustments, natural treatments, and mindful plant care. By understanding powdery mildew and its triggers, you’ll not only protect your plants from this powdery menace but also cultivate a healthier, more resilient indoor jungle.

Your plants deserve to thrive in a safe, disease-free space—and with these preventive steps, you’ll ensure they continue to reward you with lush, vibrant growth year-round.

How to Disinfect Pots to Prevent Plant Diseases

How to Disinfect Pots to Prevent Plant Diseases

Healthy plants start with healthy soil, water, and containers. While many plant lovers focus on watering schedules, sunlight, and fertilizers, they often overlook one critical factor: the cleanliness of their pots. Plant containers, whether clay, plastic, ceramic, or terracotta, can harbor harmful pathogens, fungi, bacteria, and even pest eggs. If not properly disinfected, these hidden dangers can transfer from one plant to another, spreading diseases that compromise your entire collection.

Disinfecting pots might sound like an extra chore, but it’s one of the most effective and simplest steps to safeguard your plants. In this article, we’ll explore why disinfecting pots matters, the common risks of dirty containers, different cleaning methods, step-by-step disinfection techniques, and practical prevention tips so you can maintain a disease-free indoor or outdoor garden.


Why Disinfecting Pots Is Essential

Plant diseases don’t just appear out of nowhere—they’re often carried by contaminated soil, water, tools, or pots. When a plant dies from fungal infection, bacterial wilt, or root rot, pathogens can linger in the pot’s pores, cracks, and surface. Reusing the same container without cleaning essentially gives these pathogens a second chance to attack your next plant.

Some key reasons to disinfect your pots include:

  • Preventing the spread of fungal infections like powdery mildew, root rot, and damping-off.
  • Eliminating pest eggs and larvae (fungus gnats, mealybugs, or aphids often hide in crevices).
  • Avoiding nutrient imbalances caused by leftover salts and fertilizer residues.
  • Protecting young or sensitive plants, which are especially vulnerable to pathogens.

Just like washing your hands reduces the spread of germs, disinfecting pots creates a safer growing environment.


Common Plant Diseases Spread by Dirty Pots

Understanding what you’re protecting your plants from makes the cleaning process feel more meaningful. Some diseases and pests often spread through contaminated containers include:

  • Pythium and Phytophthora (Root Rot): Thrive in moist soil and remain in pot surfaces even after old soil is discarded.
  • Fusarium Wilt: A stubborn fungus that clings to containers and spreads quickly.
  • Powdery Mildew: Spores can survive on surfaces and reinfect new plants.
  • Damping-Off Disease: Common in seedlings when grown in contaminated pots.
  • Fungus Gnat Larvae: Eggs can remain in soil particles stuck to pot walls.
  • Bacterial Leaf Spot & Blight: Bacteria can linger in water stains or residues.

By properly disinfecting, you cut off these pathogens’ chances of reappearing.


Materials You’ll Need for Pot Disinfection

Before starting, gather your cleaning and disinfecting supplies. Depending on the method, you may not need all of these, but having options helps:

  • A stiff brush or scrub pad
  • Dish soap (mild, unscented preferred)
  • Household bleach
  • White vinegar
  • Hydrogen peroxide (3% solution)
  • Baking soda (for scrubbing and odor removal)
  • A large tub, sink, or bucket for soaking
  • Rubber gloves for safety
  • Clean towels or racks for drying

Step 1: Remove Old Soil and Debris

  1. Start by knocking out as much old soil as possible.
  2. Use a brush or your hands to scrape off roots, dirt, and salt deposits around the rim and drainage holes.
  3. Rinse the pot with warm water to loosen stubborn debris.

Tip: If you’re dealing with terracotta or clay pots, soak them in water for about an hour before cleaning. Their porous surface holds onto soil particles, and pre-soaking softens residues.


Step 2: Wash with Soap and Water

Soap and water form the foundation of cleaning before actual disinfection. This step removes grime, salts, and organic matter that may shield pathogens.

  1. Fill a sink or tub with warm water.
  2. Add a few drops of mild dish soap.
  3. Scrub pots inside and out with a brush until visibly clean.
  4. Rinse thoroughly with clean water.

Remember, disinfection only works on a clean surface. Skipping this step reduces the effectiveness of disinfectants.


Step 3: Choose Your Disinfection Method

Here are the most effective natural and chemical methods for disinfecting plant pots:

1. Bleach Solution (Most Effective for Tough Pathogens)

  • Mix 1 part bleach to 9 parts water in a bucket.
  • Submerge pots for at least 10 minutes.
  • Rinse thoroughly with clean water to remove bleach residue.
  • Let pots air dry completely.

Pros: Kills a wide range of bacteria, fungi, and viruses.
Cons: Strong smell, may damage terracotta if used repeatedly.


2. Vinegar Solution (Gentle, Eco-Friendly Option)

  • Mix 1 part white vinegar to 1 part water.
  • Soak pots for 30–60 minutes.
  • Scrub and rinse well.

Pros: Removes mineral deposits and mild fungal spores.
Cons: Not as effective against aggressive pathogens like Fusarium.


3. Hydrogen Peroxide (3%)

  • Fill a spray bottle with undiluted hydrogen peroxide.
  • Spray pots generously and let them sit for 10 minutes.
  • Rinse and air dry.

Pros: Safe, non-toxic, leaves no residue.
Cons: May require multiple applications for heavily contaminated pots.


4. Baking Soda Paste (for Scrubbing Salt Deposits)

  • Mix baking soda with a little water to form a paste.
  • Scrub the inside of the pot to remove stubborn white salt buildup.
  • Rinse well before disinfecting with another method.

5. Sun Sterilization (Natural Method)

  • After washing, place pots in direct sunlight for 6–8 hours.
  • UV rays help kill pathogens naturally.

Pros: Free and natural.
Cons: Works best in sunny, dry climates; not effective for all pathogens.


Step 4: Dry Thoroughly

After disinfecting, pots must be completely dry before use. Moisture encourages the very fungal growth you’re trying to prevent.

  • Place pots upside down on a clean towel or drying rack.
  • For clay pots, allow at least 24 hours for complete drying, since they absorb water.

Special Considerations by Pot Material

  • Clay/Terracotta Pots: Very porous, so disinfect more often. Avoid repeated bleach soaking (use vinegar or hydrogen peroxide instead).
  • Plastic Pots: Easy to disinfect, but avoid hot water or prolonged sunlight, which can warp them.
  • Ceramic/Glazed Pots: Non-porous and easier to clean, though hairline cracks can hide pathogens.
  • Metal Pots: Resistant to pathogens but prone to rust; dry thoroughly after cleaning.

Preventing Diseases Beyond Cleaning Pots

While disinfecting pots is powerful, it’s not the only step in disease prevention. Consider these additional practices:

  1. Always use fresh, sterile potting soil—never reuse old soil without sterilizing it.
  2. Clean gardening tools regularly, as they also spread pathogens.
  3. Quarantine new plants for 1–2 weeks before placing them with your collection.
  4. Water correctly—overwatering encourages fungi and bacteria to thrive.
  5. Improve air circulation around plants to reduce fungal growth.

When to Disinfect Pots

Not every repotting requires a full disinfection. Here’s when it’s essential:

  • When a plant has died from disease.
  • Before using second-hand or thrifted pots.
  • At the start of each new growing season.
  • When moving plants between indoor and outdoor settings.

For healthy plants with routine repotting, a simple wash with soap and water may be enough.


Conclusion

Disinfecting pots is one of the simplest, most overlooked steps in plant care. A quick soak in bleach, vinegar, or hydrogen peroxide can mean the difference between thriving plants and repeated cycles of disease. By cleaning and sterilizing containers, you’re not just giving your plants a fresh start—you’re creating a healthier environment that reduces stress and maximizes growth potential.

The next time you prepare to repot, remember: a clean pot is just as important as good soil and proper watering. Taking the extra step to disinfect can save you months of frustration and ensure your plants flourish, disease-free.

Why Your Plants Have Yellow Leaves—and How to Fix It

Why Your Plants Have Yellow Leaves—and How to Fix It

Few things worry plant lovers more than seeing once-vibrant green leaves turn yellow. Yellowing leaves can signal anything from minor stress to serious underlying issues. While it’s natural for plants to shed older leaves as they grow, widespread yellowing is often a sign that your plant needs attention.

Understanding the causes of yellow leaves and knowing how to respond can mean the difference between a thriving indoor jungle and struggling, lackluster greenery. This article will guide you through the most common reasons plants develop yellow leaves, how to diagnose the issue, and practical fixes to restore your plants’ health.


1. Overwatering: The Number One Culprit

Why it happens:
Overwatering is the most common cause of yellow leaves in houseplants. When roots sit in soggy soil, they lose access to oxygen, leading to root suffocation and rot. As roots weaken, they can no longer absorb nutrients effectively, which results in yellowing leaves.

How to identify:

  • Soil feels constantly wet or soggy.
  • Leaves turn soft, limp, and yellow.
  • You may notice a foul odor from the soil (a sign of root rot).

How to fix it:

  • Check the pot’s drainage holes and ensure water isn’t pooling at the bottom.
  • Allow the soil to dry out between waterings. Insert your finger 1–2 inches into the soil; if it feels moist, wait before watering again.
  • Repot the plant in fresh, well-draining soil if root rot has already set in. Trim away mushy or blackened roots before replanting.

Prevention tip: Use pots with drainage holes and choose a potting mix suited to your plant type.


2. Underwatering: The Opposite Problem

Why it happens:
Just as too much water can harm plants, too little water causes stress as well. Dehydrated plants are unable to transport nutrients efficiently, which leads to yellow leaves, often accompanied by browning tips.

How to identify:

  • Soil feels dry and pulls away from the edges of the pot.
  • Leaves appear crispy, curling, or drooping along with yellowing.
  • Smaller, weaker new growth compared to normal.

How to fix it:

  • Give the plant a deep, thorough watering until water runs from the drainage holes.
  • For extremely dry soil, soak the entire pot in a basin of water for 15–20 minutes to rehydrate it.

Prevention tip: Stick to a consistent watering schedule based on your plant’s needs. Some plants, like succulents, need infrequent watering, while tropical plants require more regular moisture.


3. Nutrient Deficiencies

Why it happens:
Plants require essential nutrients to maintain their vibrant green color, primarily nitrogen, iron, and magnesium. A deficiency in these nutrients often results in chlorosis—the yellowing of leaves while veins sometimes remain green.

How to identify:

  • Nitrogen deficiency: Older leaves yellow first, while new growth remains green but small.
  • Iron deficiency: New leaves turn pale yellow with distinct green veins.
  • Magnesium deficiency: Yellowing begins at leaf edges while veins stay dark green.

How to fix it:

  • Use a balanced, water-soluble fertilizer for general deficiencies.
  • For specific issues, apply targeted supplements like iron chelates or Epsom salt (for magnesium).
  • Repotting in fresh soil may help replenish nutrients in long-neglected plants.

Prevention tip: Fertilize regularly during the active growing season (spring and summer), but avoid over-fertilizing, which can damage roots.


4. Improper Lighting Conditions

Why it happens:
Light is a plant’s energy source, and both too little and too much light can cause stress. Insufficient light reduces photosynthesis, while excessive direct sunlight scorches delicate leaves, both leading to yellowing.

How to identify:

  • Too little light: Leaves turn pale, thin, or uniformly yellow, often accompanied by leggy growth.
  • Too much light: Yellowing is patchy, with brown, crispy spots from sunburn.

How to fix it:

  • Move low-light plants (like pothos or snake plants) away from intense sunlight.
  • Place sun-loving plants (like succulents or cacti) closer to bright, south-facing windows.
  • If natural light is limited, supplement with a full-spectrum grow light.

Prevention tip: Research the specific light needs of your plant and adjust placement accordingly. Rotate plants regularly to ensure even light exposure.


5. Temperature Stress

Why it happens:
Plants are sensitive to temperature fluctuations. Sudden chills, hot drafts, or being placed too close to heating/cooling vents can shock plants, leading to yellowing.

How to identify:

  • Leaves may yellow suddenly after a temperature drop.
  • Curling, drooping, or scorched-looking leaves may also appear.
  • Cold-sensitive tropical plants (like philodendrons or calatheas) often suffer in winter.

How to fix it:

  • Move plants away from drafty windows, heaters, and air conditioners.
  • Maintain consistent indoor temperatures between 65–75°F (18–24°C) for most houseplants.

Prevention tip: Acclimate plants gradually when moving them between different environments (e.g., from outdoors to indoors).


6. Pests and Diseases

Why it happens:
Pests like spider mites, aphids, and mealybugs feed on plant sap, depriving leaves of nutrients and causing yellowing. Fungal or bacterial infections can also disrupt nutrient flow, resulting in discolored foliage.

How to identify:

  • Tiny insects, sticky residue, or webbing on leaves.
  • Yellowing combined with speckled or distorted leaves.
  • Black or brown spots accompanying yellow patches (a sign of disease).

How to fix it:

  • Wipe leaves with insecticidal soap, neem oil, or rubbing alcohol to remove pests.
  • Quarantine infected plants to prevent spreading.
  • Prune off diseased leaves and ensure proper airflow to discourage fungal growth.

Prevention tip: Inspect new plants before bringing them indoors and regularly check the undersides of leaves for early signs of pests.


7. Natural Aging of Leaves

Why it happens:
Not all yellow leaves are a cause for concern. As plants grow, older leaves naturally die off, making way for fresh growth. This is particularly common at the bottom of plants like pothos, rubber plants, or peace lilies.

How to identify:

  • Only a few older, lower leaves turn yellow at a time.
  • New growth remains healthy and green.

How to fix it:

  • Simply prune off yellow leaves to keep your plant looking tidy.
  • Focus on providing consistent care to encourage new growth.

Prevention tip: Accept this as part of your plant’s natural cycle—occasional yellowing is perfectly normal.


Quick Diagnostic Guide

When your plant’s leaves turn yellow, use this checklist to narrow down the cause:

  • Soil wet and soggy? Likely overwatering.
  • Soil dry and crumbly? Likely underwatering.
  • Yellowing starts on older leaves? Possible nitrogen deficiency.
  • Yellowing starts on new leaves with green veins? Likely iron deficiency.
  • Leaves pale and leggy? Insufficient light.
  • Sudden yellowing after drafts or temperature swings? Temperature stress.
  • Spots, sticky residue, or pests visible? Insects or disease.
  • Only a few lower leaves yellowing? Natural aging.

Conclusion

Yellow leaves are your plant’s way of signaling that something is off. By paying attention to the timing, location, and pattern of yellowing, you can accurately diagnose the problem—whether it’s water, nutrients, light, temperature, pests, or simply old age.

The key is to act promptly: adjust your watering routine, provide proper lighting, check for pests, and keep your plant in a stable environment. With attentive care, most plants can bounce back from yellowing leaves and return to their lush, green selves.

So the next time you spot a yellow leaf, don’t panic. Instead, see it as an opportunity to better understand and connect with your plant. After all, healthy plants don’t just happen—they thrive when we listen to what they’re trying to tell us.

5 Common Indoor Plant Pests and How to Treat Them

5 Common Indoor Plant Pests and How to Treat Them

Bringing plants indoors is one of the best ways to add greenery, purify the air, and create a calming atmosphere at home. But even in controlled environments, indoor plants are not immune to pests. Unlike outdoor gardens, where beneficial insects can naturally keep populations in check, houseplants rely entirely on you to defend them against infestations.

Indoor pests can multiply quickly, weakening your plants, spreading diseases, and sometimes leaving you feeling helpless. Fortunately, you don’t need harsh chemical pesticides to protect your houseplants. By learning how to recognize and treat the most common indoor pests, you can restore your plants’ health and keep them thriving.

In this guide, we’ll explore five of the most common indoor plant pests and provide natural, effective treatments for each.


1. Aphids

What they are:
Aphids are tiny, pear-shaped insects that come in green, black, yellow, or white. They usually cluster on the undersides of leaves, tender shoots, and new growth, where they feed by sucking plant sap.

Signs of aphid infestation:

  • Leaves curl, yellow, or become distorted.
  • Sticky residue (honeydew) on leaves or nearby surfaces.
  • Black sooty mold growing on honeydew.
  • Stunted plant growth.

How to treat aphids naturally:

  • Water spray: For small infestations, rinse aphids off plants with a stream of lukewarm water in the sink or shower.
  • Insecticidal soap: Mix 1 teaspoon mild liquid soap with 1 quart water and spray directly on aphids every 3–4 days until gone.
  • Neem oil: A natural pesticide that disrupts aphid reproduction; dilute and spray weekly.
  • Companion herbs: Place pots of basil or chives nearby—these naturally repel aphids.

2. Spider Mites

What they are:
Spider mites are not insects but tiny arachnids, often red, brown, or yellowish. Barely visible to the naked eye, they spin fine webs on leaves and stems. They thrive in warm, dry environments, making centrally heated homes ideal breeding grounds.

Signs of spider mite infestation:

  • Tiny white or yellow speckling on leaves.
  • Webbing on leaves, especially at the undersides or between stems.
  • Leaves become dry, brittle, and may drop prematurely.

How to treat spider mites naturally:

  • Increase humidity: Spider mites hate moist environments. Mist plants or place a humidifier nearby.
  • Water rinse: Wash the plant under a gentle spray to dislodge mites and webs.
  • Neem oil or horticultural oil: Coat leaves thoroughly to suffocate mites and interrupt their life cycle.
  • Predatory mites: If the infestation is severe and you’re open to biological control, introducing beneficial predatory mites like Phytoseiulus persimilis can help.

3. Mealybugs

What they are:
Mealybugs are small, soft-bodied insects covered in a white, cottony wax that protects them from predators. They hide in leaf axils, stems, and root zones.

Signs of mealybug infestation:

  • White, cotton-like clumps on stems and leaves.
  • Sticky honeydew residue.
  • Stunted or distorted growth.
  • Yellowing or wilting leaves.

How to treat mealybugs naturally:

  • Manual removal: Dip a cotton swab in rubbing alcohol (70% isopropyl) and dab directly on mealybugs to dissolve their waxy coating.
  • Soapy spray: Use the same mild soap solution as with aphids and spray the plant thoroughly.
  • Neem oil: Effective against mealybugs when applied weekly.
  • Systemic approach: If mealybugs infest roots, unpot the plant, wash roots, and repot in fresh soil.

4. Fungus Gnats

What they are:
Fungus gnats are small, black, mosquito-like flies that hover near soil. While adults are mostly harmless, their larvae live in damp soil and feed on fungi, decaying matter, and sometimes plant roots. They are particularly harmful to seedlings and delicate houseplants.

Signs of fungus gnat infestation:

  • Tiny flies hovering near soil surface.
  • Yellowing, stunted, or drooping plants.
  • Moist, soggy soil conditions.

How to treat fungus gnats naturally:

  • Dry the soil: Let the top 2 inches of soil dry out before watering again, which kills larvae.
  • Sticky traps: Place yellow sticky cards near pots to catch adult gnats.
  • Cinnamon powder: Sprinkle lightly on soil surface to reduce fungus larvae food sources.
  • Neem oil or hydrogen peroxide drench: Water soil with a diluted neem oil solution or hydrogen peroxide (1 part 3% peroxide to 4 parts water) to kill larvae.
  • BTI (Bacillus thuringiensis israelensis): Found in mosquito dunks, BTI kills larvae safely without harming plants.

5. Scale Insects

What they are:
Scale insects are small, immobile pests covered in a hard, shell-like coating. They attach themselves firmly to stems and leaves, where they feed on plant sap.

Signs of scale infestation:

  • Hard, oval bumps on stems and undersides of leaves.
  • Yellowing leaves and stunted growth.
  • Sticky honeydew and potential sooty mold.

How to treat scale naturally:

  • Manual scraping: Gently scrape off scale insects with a fingernail, cotton swab, or toothbrush.
  • Alcohol treatment: Dab with rubbing alcohol to dissolve protective shells.
  • Neem oil or horticultural oil: Spray thoroughly to suffocate scale insects.
  • Pruning: If infestation is severe, prune heavily affected stems and dispose of them.

General Prevention Tips for Indoor Plant Pests

Prevention is always better than cure when it comes to pest control. Here are some best practices to reduce the likelihood of infestations:

  1. Inspect new plants: Always check for hidden pests before introducing new plants indoors. Quarantine them for 1–2 weeks before mixing with your collection.
  2. Clean leaves regularly: Dust and debris make it easier for pests to thrive. Wipe leaves with a damp cloth or give them a gentle shower.
  3. Avoid overwatering: Many pests, especially fungus gnats, thrive in damp conditions. Let soil dry out between waterings.
  4. Provide good airflow: Keep plants spaced apart to avoid humid, stagnant conditions.
  5. Rotate plants: Turning pots regularly ensures even light and prevents weak spots that pests exploit.
  6. Healthy soil: Always use sterile, well-draining potting mix to avoid introducing pests and fungi.
  7. Monitor regularly: Check plants weekly for early signs of pests—catching problems early makes treatment easier and more effective.

When to Consider Professional Help

While most infestations can be handled naturally, in rare cases you may face recurring or severe outbreaks. If pests spread rapidly and multiple plants are affected:

  • Consider discarding heavily infested plants to protect others.
  • If you grow edible plants indoors, stick strictly to organic treatments.
  • For valuable or rare houseplants, you may consult a local plant specialist or extension service for tailored advice.

Conclusion

Indoor plants bring endless joy, but pests like aphids, spider mites, mealybugs, fungus gnats, and scale can test your patience. The key to managing them is early detection, consistent natural treatment, and preventive care.

By using simple organic solutions—like neem oil, soap sprays, sticky traps, alcohol swabs, and better watering practices—you can keep pests under control without harming your plants, your indoor air, or your health.

The Best Organic Remedies for Fungus Gnats

The Best Organic Remedies for Fungus Gnats

Indoor plants bring life, beauty, and cleaner air into our homes—but they can also invite unwelcome pests. Among the most common nuisances are fungus gnats, tiny mosquito-like insects that thrive in moist soil. While adult gnats are mostly harmless, their larvae feed on organic matter and delicate plant roots, which can weaken seedlings, stunt growth, and even kill sensitive houseplants.

Many gardeners turn to chemical pesticides out of frustration, but these often harm beneficial microbes, pollute indoor air, and put pets or children at risk. The good news? There are safe and highly effective organic remedies for fungus gnats that not only get rid of them but also improve your plant’s overall health.

In this article, we’ll explore the best natural solutions to prevent, manage, and eliminate fungus gnats from your indoor garden.


What Are Fungus Gnats?

Fungus gnats are small, dark-colored flies measuring about 1/8 inch (3 mm). They are attracted to damp soil rich in decaying organic matter.

  • Adult gnats: Harmless but annoying, often seen flying near soil or windows.
  • Larvae: The real problem. They live in the top 2–3 inches of soil, feeding on roots, fungi, and organic matter.

Signs of fungus gnat infestation:

  • Tiny flies hovering around soil or plant pots.
  • Yellowing, drooping, or stunted plants.
  • Seedlings suddenly collapsing due to root damage.
  • Moist soil that seems to attract gnats when watered.

Why Organic Remedies Are Better

Using chemical pesticides indoors poses risks to humans, pets, and beneficial microbes. Organic remedies, on the other hand:

  • Target fungus gnats without harming your living space.
  • Protect beneficial soil organisms that help plant growth.
  • Are safe for edible plants and herbs grown indoors.
  • Offer long-term, sustainable solutions rather than quick fixes.

1. Let the Soil Dry Out

Fungus gnats thrive in moist environments, so overwatering is the number one cause of infestations.

How it works:

  • Larvae need damp soil to survive. By letting the top 2 inches of soil dry out between waterings, you disrupt their life cycle.
  • Adults are less likely to lay eggs in drier soil.

Tips:

  • Use pots with drainage holes.
  • Water only when the soil feels dry to the touch.
  • Bottom-water plants (placing the pot in a tray of water) so the top layer remains dry.

This simple cultural adjustment is one of the most effective long-term solutions.


2. Sticky Traps for Adult Gnats

Yellow sticky traps are an affordable and organic way to catch adult fungus gnats.

How to use:

  • Place yellow sticky cards near the soil surface or hang them around infested plants.
  • Adult gnats are attracted to yellow and become stuck on the adhesive.
  • Replace traps every 1–2 weeks or when full.

While this doesn’t kill larvae, it helps reduce the adult population and slows down egg-laying.


3. Top-Dress Soil With Sand or Gravel

Covering the soil surface with a dry, inorganic layer creates a physical barrier.

Options include:

  • Horticultural sand
  • Fine gravel
  • Perlite
  • Diatomaceous earth

Why it works:

  • Prevents adult gnats from laying eggs in the soil.
  • Creates an environment that dries quickly, deterring larvae.

Sand and gravel are especially useful for long-term prevention.


4. Neem Oil Solution

Neem oil is one of the most effective organic remedies for fungus gnats. Extracted from the neem tree, it disrupts insect development and reduces fungal growth (a gnat food source).

How to use:

  • Mix 1 teaspoon neem oil with 1 quart warm water and a few drops of mild soap.
  • Water your plant with this solution to target larvae in the soil.
  • Spray the top of the soil and leaves to repel adult gnats.

Repeat weekly until the infestation is under control. Neem oil also helps prevent other pests like aphids and spider mites.


5. Hydrogen Peroxide Soil Drench

A mild hydrogen peroxide solution kills fungus gnat larvae instantly without harming plants when diluted correctly.

Recipe:

  • Mix 1 part 3% hydrogen peroxide with 4 parts water.
  • Slowly pour into the soil until it drains from the bottom.

You’ll often hear a fizzing sound—this is the peroxide reacting with organic matter and larvae. Use this treatment only occasionally to avoid disrupting beneficial microbes.


6. Cinnamon as a Natural Fungicide

Cinnamon isn’t just for baking—it’s also a natural antifungal that reduces the fungi fungus gnat larvae feed on.

How to use:

  • Sprinkle ground cinnamon evenly over the soil surface.
  • Alternatively, make a cinnamon tea by steeping 1–2 teaspoons in hot water, cooling, and watering the soil.

This creates a hostile environment for larvae while promoting healthier soil.


7. Beneficial Nematodes

For severe infestations, beneficial nematodes are one of the most powerful organic controls. These microscopic organisms parasitize and kill fungus gnat larvae without harming plants, pets, or people.

How they work:

  • Nematodes are mixed with water and applied to the soil.
  • They actively seek out larvae, penetrate them, and release bacteria that kill the pest.
  • Safe for indoor use and highly effective.

While more expensive than other remedies, they’re a great long-term biological control.


8. Bacillus thuringiensis israelensis (BTI)

BTI is a naturally occurring soil bacterium that specifically targets fungus gnat larvae.

Sources:

  • Available as mosquito dunks or granules (commonly sold for ponds).
  • Safe for houseplants when crushed and watered into soil.

How it works:

  • BTI spores produce toxins that disrupt the larvae’s digestive system, killing them.
  • Completely safe for humans, pets, and plants.

9. Apple Cider Vinegar Traps

While not as powerful as other methods, vinegar traps help reduce adult gnat populations.

How to make a trap:

  • Mix 2 tablespoons apple cider vinegar, a few drops of dish soap, and water in a shallow dish.
  • Place near infested plants.
  • Adult gnats are drawn to the vinegar, get trapped by the soap, and drown.

This is best used alongside soil treatments for maximum effectiveness.


10. Repotting With Fresh Soil

In cases of heavy infestation, repotting may be the best solution. Fungus gnat larvae often thrive in old, compacted soil.

Steps:

  1. Gently remove the plant from its pot.
  2. Wash off as much old soil as possible from the roots.
  3. Clean the pot with hot water and mild soap.
  4. Replant in fresh, sterile potting mix.

This resets the plant’s growing environment and eliminates most larvae.


Preventing Future Infestations

Once you’ve controlled fungus gnats, prevention is crucial.

Tips for long-term success:

  • Avoid overwatering.
  • Use well-draining, sterile potting soil.
  • Store extra potting mix in a sealed container.
  • Regularly monitor with sticky traps.
  • Remove fallen leaves and organic debris from the soil surface.

Conclusion

Fungus gnats can be frustrating, but they don’t have to ruin your indoor gardening experience. With a combination of organic remedies like drying soil, sticky traps, neem oil, cinnamon, beneficial nematodes, and BTI, you can safely eliminate both larvae and adults without resorting to harsh chemicals.

The key is consistency—treating both the soil and adult population while maintaining healthy watering practices. By understanding their life cycle and breaking it at multiple points, you’ll not only solve the problem but also build a more resilient indoor garden.

With these natural solutions, you can say goodbye to pesky fungus gnats and enjoy thriving, healthy houseplants all year long.


How to Naturally Keep Aphids Off Indoor Plants

How to Naturally Keep Aphids Off Indoor Plants

Indoor plants add beauty, fresh air, and a calming touch to your home. But nothing can be more frustrating than spotting tiny clusters of aphids feeding on your beloved greenery. These sap-sucking pests multiply rapidly and can weaken plants, stunt growth, and even spread diseases. While chemical pesticides may seem like a quick fix, they often harm beneficial insects, the environment, and even your indoor air quality. Fortunately, there are plenty of natural, safe, and effective methods to keep aphids at bay without resorting to harsh chemicals.

In this guide, we’ll explore how to naturally keep aphids off indoor plants with practical solutions that are easy to implement and environmentally friendly.


Understanding Aphids and Their Damage

Aphids are soft-bodied insects, usually green, black, yellow, or white, that cluster on plant stems, new growth, and the undersides of leaves. They reproduce quickly, often giving birth to live young without mating, which means an infestation can spread within days.

Signs of aphid infestation include:

  • Sticky honeydew (sugary residue) on leaves or surfaces below the plant.
  • Curling, yellowing, or distorted leaves.
  • Black sooty mold growing on honeydew.
  • Stunted growth or weakened plants.

Since aphids thrive in warm indoor environments and prefer tender new growth, houseplants are easy targets. The key to managing them is prevention and early intervention.


1. Inspect and Quarantine New Plants

Prevention is always better than cure. Aphids often hitch a ride indoors on new plants purchased from nurseries or gifted by friends.

What to do:

  • Before bringing new plants home, inspect them thoroughly, especially under leaves and along stems.
  • Quarantine new plants for at least 7–10 days away from your existing collection to monitor for hidden pests.
  • If you find aphids, treat the plant immediately before placing it with your other indoor greenery.

This simple step drastically reduces the chance of introducing aphids into your plant space.


2. Encourage Air Circulation

Aphids thrive in stagnant, humid conditions. By improving air circulation, you create an environment less favorable for their growth.

Tips to improve airflow:

  • Space plants apart instead of crowding them on windowsills.
  • Use a small indoor fan on a low setting to keep air moving around plants.
  • Rotate plants regularly so all sides receive light and airflow.

This doesn’t just deter aphids—it also helps prevent fungal diseases like powdery mildew.


3. Wash Aphids Off With Water

For small infestations, one of the easiest natural remedies is a good rinse. Aphids are delicate and can be dislodged by water pressure.

How to do it:

  • Take the plant to a sink, shower, or outdoors.
  • Use lukewarm water and gently spray the leaves and stems, focusing on undersides where aphids hide.
  • Repeat every few days until the problem subsides.

This method works best for sturdy plants like rubber plants, spider plants, or ficus, but avoid overwatering-sensitive species.


4. Use Homemade Soap Spray

A tried-and-true natural solution for aphids is insecticidal soap spray, which suffocates and dehydrates the pests without harming plants.

DIY soap spray recipe:

  • 1 teaspoon mild liquid soap (like Castile or unscented dish soap)
  • 1 quart (liter) of water
  • Mix and pour into a spray bottle.

How to use:

  • Spray directly onto aphids, covering both sides of leaves.
  • Repeat every 3–4 days until aphids are gone.
  • Always test on a small leaf first to ensure your plant isn’t sensitive.

Soap sprays are safe, effective, and won’t harm your indoor environment.


5. Neem Oil: A Natural Insect Deterrent

Neem oil, derived from the neem tree, is one of the most effective organic treatments for aphids. It disrupts their feeding and reproductive cycle while being safe for indoor use.

How to apply neem oil:

  • Mix 1 teaspoon neem oil with 1 quart of warm water and a few drops of liquid soap.
  • Spray thoroughly on leaves, stems, and soil surface.
  • Apply once a week until the infestation clears.

Neem oil also provides protection against other pests like spider mites, mealybugs, and fungus gnats.


6. Introduce Natural Predators Indoors

While ladybugs, lacewings, and parasitic wasps are classic outdoor aphid predators, they can also be used indoors in controlled environments like greenhouses. For most homes, however, this isn’t practical.

Instead, consider companion planting indoors. Herbs like basil, chives, and mint naturally repel aphids. Keeping small pots of these herbs near susceptible plants can act as a deterrent.


7. Essential Oil Sprays

Certain essential oils contain natural compounds that repel aphids without harming plants.

Effective oils include:

  • Peppermint oil
  • Rosemary oil
  • Clove oil
  • Thyme oil

DIY essential oil spray:

  • 5–10 drops essential oil
  • 1 quart water
  • A few drops of liquid soap as an emulsifier

Shake well and spray directly onto infested plants. The pleasant scent also makes your indoor space smell fresh.


8. Prune and Dispose of Infested Areas

Sometimes, aphids concentrate on just a few new shoots or leaves. Instead of treating the whole plant, you can simply prune and discard affected parts.

Steps:

  • Use clean, sharp scissors or pruning shears.
  • Place cuttings in a sealed bag and dispose of them outside (not in your compost).
  • Sanitize your tools afterward to avoid spreading pests.

Regular pruning keeps plants healthy and prevents aphids from spreading.


9. Maintain Healthy Plants

Aphids are more likely to attack weak, stressed, or over-fertilized plants. Keeping your plants in top health is one of the best long-term defenses.

Plant care tips:

  • Avoid overwatering, which stresses roots and attracts pests.
  • Fertilize sparingly—aphids love soft, nitrogen-rich new growth caused by excess fertilizer.
  • Provide adequate light for each species.
  • Repot plants when roots become overcrowded.

Healthy plants are more resilient and less attractive to pests.


10. Sticky Traps for Monitoring

Yellow sticky traps, commonly used for fungus gnats, can also help monitor and reduce flying aphid populations indoors. Place them near affected plants to catch winged aphids before they spread.


When to Take Stronger Action

If natural remedies fail and the infestation becomes severe, you may need to consider removing the plant entirely to protect the rest of your collection. Sometimes, sacrificing one plant saves many others.


Conclusion

Aphids may be small, but they can cause big problems for indoor gardeners if left unchecked. The good news is you don’t need harsh chemicals to control them. By combining prevention, natural sprays, physical removal, and good plant care, you can keep aphids away naturally while maintaining a healthy, thriving indoor garden.

Remember, consistency is key. Regularly inspecting plants and acting early at the first sign of pests will always make the battle against aphids easier. With these natural methods, your indoor plants will stay vibrant, pest-free, and a joy to nurture year-round.

The Top Mistakes to Avoid When Repotting Houseplants

The Top Mistakes to Avoid When Repotting Houseplants

Repotting is one of the most essential skills every plant parent needs to master. It gives houseplants a fresh environment, room to grow, and renewed energy. Yet, for many people, repotting can be intimidating—so much so that they either put it off for too long or make avoidable mistakes that harm their plants.

The truth is, repotting is not just about moving a plant into a bigger container. It’s about understanding the plant’s needs, creating the right conditions, and handling the process gently so your green companion thrives instead of struggles. Unfortunately, even well-meaning plant lovers make common mistakes that lead to root rot, stunted growth, or even plant death.

In this guide, we’ll explore the top mistakes to avoid when repotting houseplants, along with practical tips on how to do it right.


1. Repotting at the Wrong Time

The Mistake

Many people repot whenever they feel like it, without considering the plant’s natural growth cycle. Repotting at the wrong time—especially during dormancy—can stress the plant.

Why It’s a Problem

During dormancy (often fall and winter), plants slow down their growth and focus on conserving energy. Moving them to new soil or disturbing their roots during this time forces them to adjust when they’re least equipped to do so.

The Fix

  • Best time: Repot during the active growing season—spring or early summer. Plants recover faster, develop new roots, and adapt better to the fresh environment.
  • Exceptions: Emergency repotting (like root rot or pest infestations) should be done immediately, regardless of the season.

2. Choosing the Wrong Pot Size

The Mistake

Either going too big (“my plant will grow into it”) or too small (“just a little bigger than the old one”).

Why It’s a Problem

  • Too big: Soil in oversized pots retains too much water, leading to root rot.
  • Too small: The roots remain cramped, defeating the purpose of repotting.

The Fix

  • Go up only 1–2 inches larger in diameter than the old pot.
  • Choose depth wisely—shallow pots for shallow-rooted plants, deep pots for deep-rooted ones.

3. Ignoring Drainage

The Mistake

Using pots without drainage holes or forgetting to add drainage layers.

Why It’s a Problem

Without proper drainage, excess water accumulates in the pot, suffocating roots and inviting fungal infections.

The Fix

  • Always choose pots with drainage holes.
  • For decorative pots without holes, use them as cachepots (place a nursery pot with drainage inside).
  • Add a thin layer of perlite, gravel, or broken pottery at the bottom if needed.

4. Using the Wrong Soil Mix

The Mistake

Scooping garden soil or using a generic mix for all plants.

Why It’s a Problem

Not all plants thrive in the same type of soil. Heavy garden soil compacts easily indoors and doesn’t allow for proper aeration.

The Fix

  • Match soil to plant type:
    • Succulents & cacti: Sandy, well-draining mix.
    • Orchids: Chunky bark-based mix.
    • Tropical houseplants: Peat or coco coir mixed with perlite.
  • Always use fresh, sterile soil to avoid pests and diseases.

5. Disturbing Roots Too Much (or Too Little)

The Mistake

Some plant owners completely untangle or cut roots aggressively, while others don’t loosen them at all.

Why It’s a Problem

  • Over-handling: Damages delicate root hairs, delaying recovery.
  • Under-handling: Roots may continue to circle inside the pot, restricting growth.

The Fix

  • Gently tease out circling roots with your fingers.
  • Trim only dead, mushy, or excessively long roots.
  • For rootbound plants, make small vertical cuts to encourage outward growth.

6. Planting Too Deep or Too Shallow

The Mistake

Burying the plant crown below soil level or leaving roots exposed.

Why It’s a Problem

  • Too deep: Increases the risk of stem rot.
  • Too shallow: Roots dry out quickly and fail to anchor the plant.

The Fix

  • Keep the plant at the same soil level as before.
  • Add soil gradually, firming it gently without compacting too hard.

7. Overwatering Right After Repotting

The Mistake

Flooding the pot with water immediately after repotting.

Why It’s a Problem

Newly disturbed roots are fragile and easily damaged by soggy soil. Excess water encourages rot before roots can reestablish.

The Fix

  • Water lightly right after repotting—just enough to settle the soil around the roots.
  • Resume regular watering once the plant shows signs of new growth.

8. Neglecting Aftercare

The Mistake

Assuming the plant is “set and done” after repotting.

Why It’s a Problem

Repotted plants often go through transplant shock, where growth slows or leaves droop. Without proper aftercare, they may decline.

The Fix

  • Place in bright, indirect light (avoid direct sun until established).
  • Maintain consistent humidity and temperature.
  • Hold off on fertilizing for 4–6 weeks until roots recover.
  • Be patient—slowed growth is normal for a short period.

9. Repotting Too Frequently

The Mistake

Repotting every time you feel like refreshing the plant, even when unnecessary.

Why It’s a Problem

Frequent root disturbance stresses plants and prevents them from settling into growth.

The Fix

  • Repot only when necessary:
    • Roots circling the pot.
    • Soil drying out too quickly.
    • Poor drainage or compacted soil.
    • Visible root rot or pests.

10. Forgetting to Clean and Sterilize

The Mistake

Using dirty pots, tools, or soil.

Why It’s a Problem

Pathogens, pests, and bacteria can transfer easily, infecting your freshly repotted plant.

The Fix

  • Wash pots with soap and hot water before use.
  • Sterilize pruning shears with rubbing alcohol.
  • Use only fresh, sterile potting mix.

Bonus: Not Considering the Plant’s Unique Needs

Every plant species has specific requirements. For example:

  • Succulents prefer shallow pots and dry soil between waterings.
  • Ferns thrive in moisture-retentive mixes.
  • Orchids need airy, bark-based media.

Ignoring these differences leads to unnecessary stress or plant failure.


Conclusion

Repotting houseplants should be an exciting opportunity to help your plants thrive—not a stressful ordeal. By avoiding common mistakes like repotting at the wrong time, using poor soil, overwatering, or ignoring aftercare, you can ensure your plants transition smoothly and continue to grow happily.

Think of repotting as giving your plant a fresh start. With the right pot, soil, timing, and care, you’re not just moving a plant—you’re setting the stage for stronger roots, healthier growth, and years of enjoyment.

Remember: patience and gentleness go a long way when repotting. By learning from these mistakes, you’ll transform repotting into a positive, confidence-building part of your plant care routine.