How to Choose the Right Pot Size for Any Houseplant

How to Choose the Right Pot Size for Any Houseplant

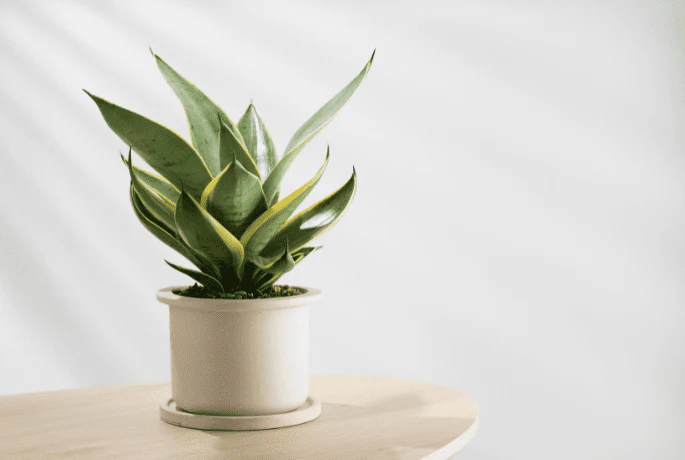
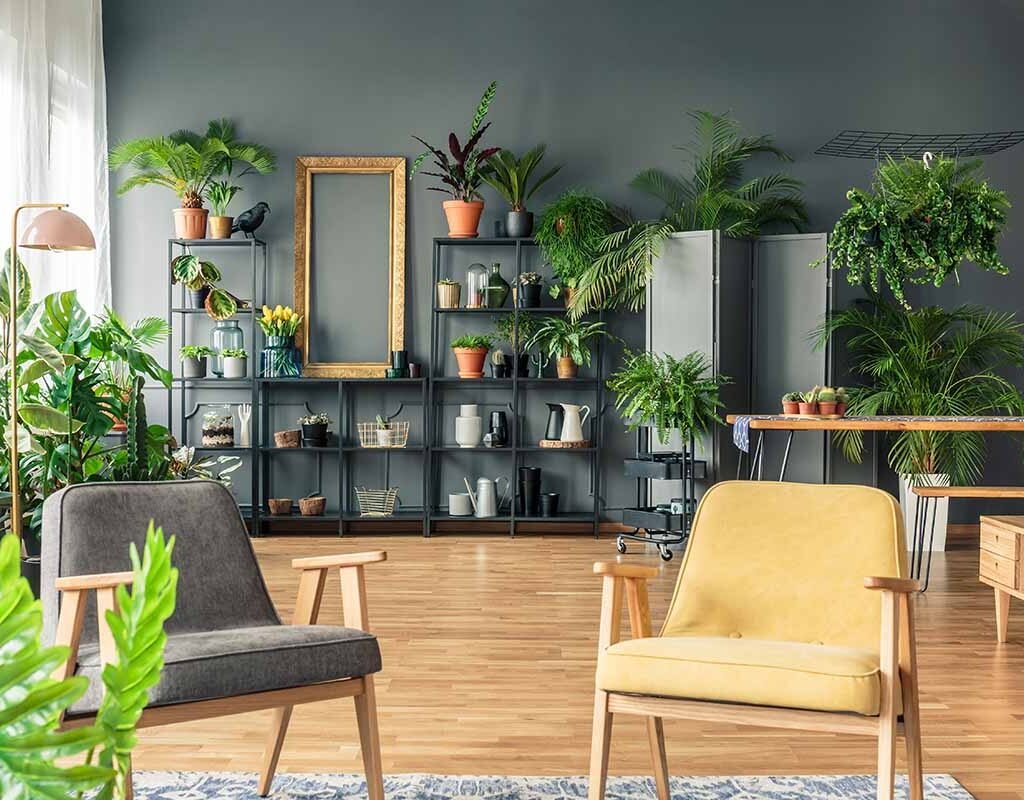
Houseplants are more than just a decorative touch—they bring life, color, and a sense of calm to any living space. However, for your indoor plants to thrive, one often-overlooked factor is pot size. Choosing the right pot is not simply about aesthetics; it directly impacts a plant’s root development, water retention, nutrient absorption, and overall growth. A pot that’s too small can stunt your plant’s progress, while one that’s too large can create root rot and wasted soil space.

In this article, we’ll explore the ins and outs of selecting the right pot size for houseplants, covering everything from beginner-friendly tips to expert advice.


Why Pot Size Matters

Pot size is about striking a balance between giving roots room to grow and ensuring the soil environment is healthy. Here are a few key reasons why choosing the correct pot size is essential:

  1. Root Health – Roots need adequate space to spread and anchor the plant. A small pot restricts root growth, leading to a “root-bound” situation where roots circle the pot and strangle themselves.
  2. Moisture Control – The volume of soil directly affects how long water stays in the pot. Too much soil around small roots can hold excess moisture, causing root rot. Too little soil dries out quickly.
  3. Nutrient Access – Roots absorb nutrients from soil. An appropriately sized pot ensures the plant has access to enough nutrients without overwhelming it.
  4. Stability – Larger plants in tiny pots may topple over. Pot size provides balance and stability for tall or heavy plants.

General Guidelines for Pot Size

While each plant has unique needs, these general guidelines can help you get started:

  • Go 1–2 inches larger than the root ball when repotting small to medium houseplants.
  • Go 2–4 inches larger for bigger plants or those in larger containers.
  • Do not oversize the pot. A plant shouldn’t be placed in a pot more than a few inches wider than its current one unless it’s a fast grower.

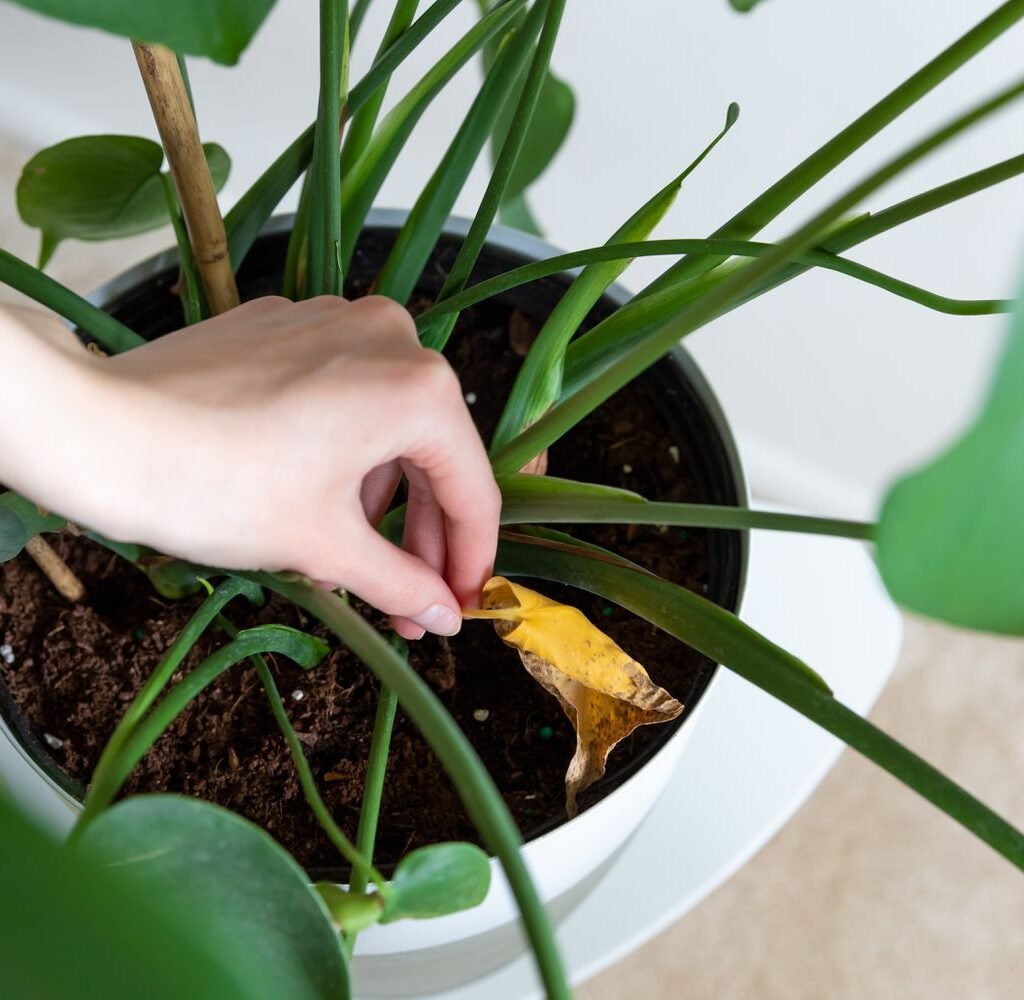
Signs You Need to Change Pot Size

You may wonder how to tell when it’s time to repot into a new container. Watch for these signs:

  • Roots are visible through drainage holes.
  • Soil dries out too quickly after watering.
  • Plant growth has slowed down despite proper care.
  • The plant looks top-heavy or unstable.
  • Roots circle tightly when you remove the plant from its pot.

Pot Sizes for Different Types of Plants

Different houseplants have different growth habits, so pot size must match their natural tendencies.

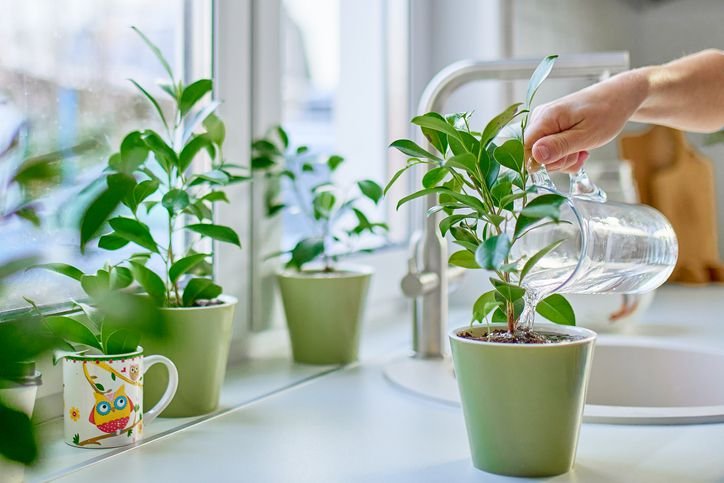
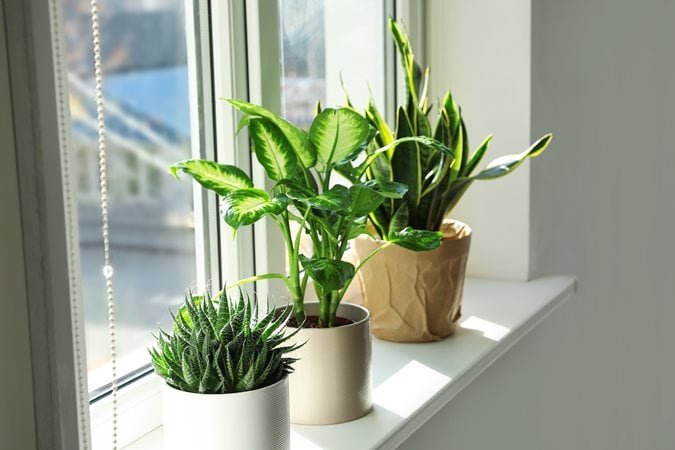
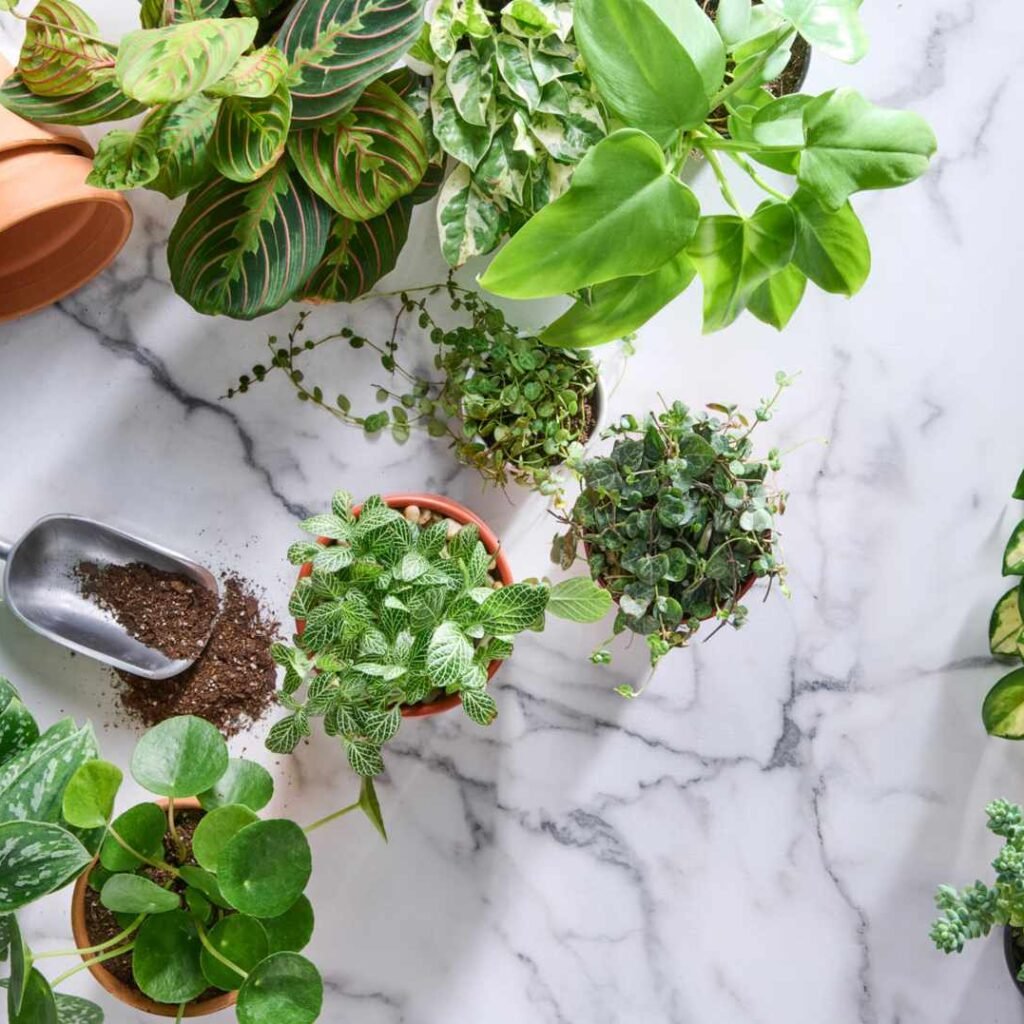
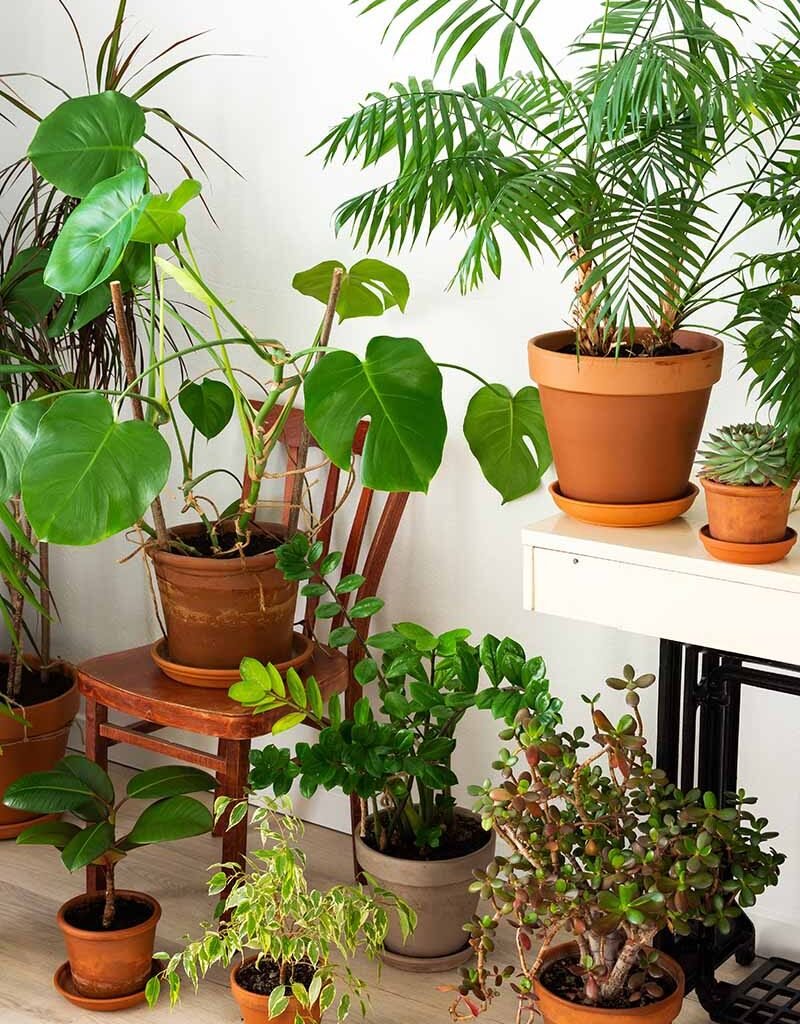
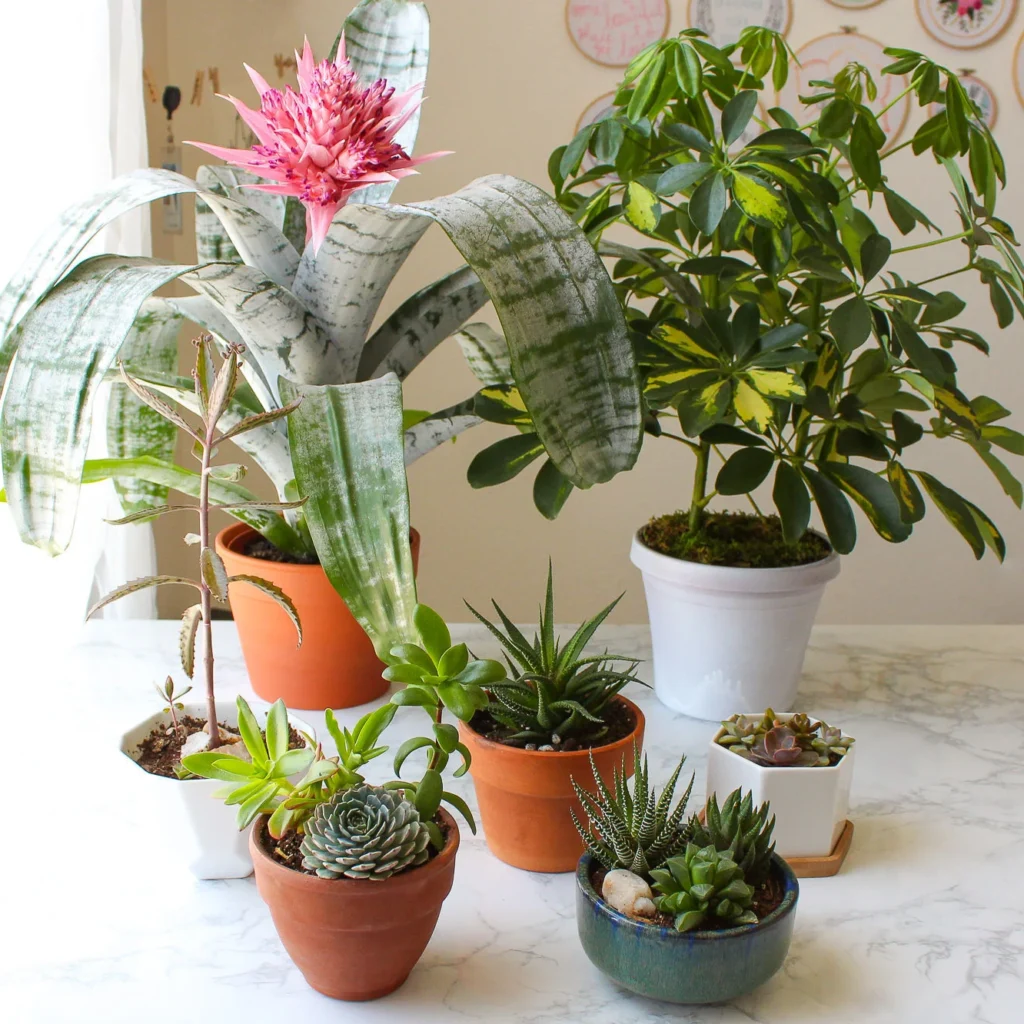
1. Small Herbs and Succulents

  • Best pot size: 4–6 inches.
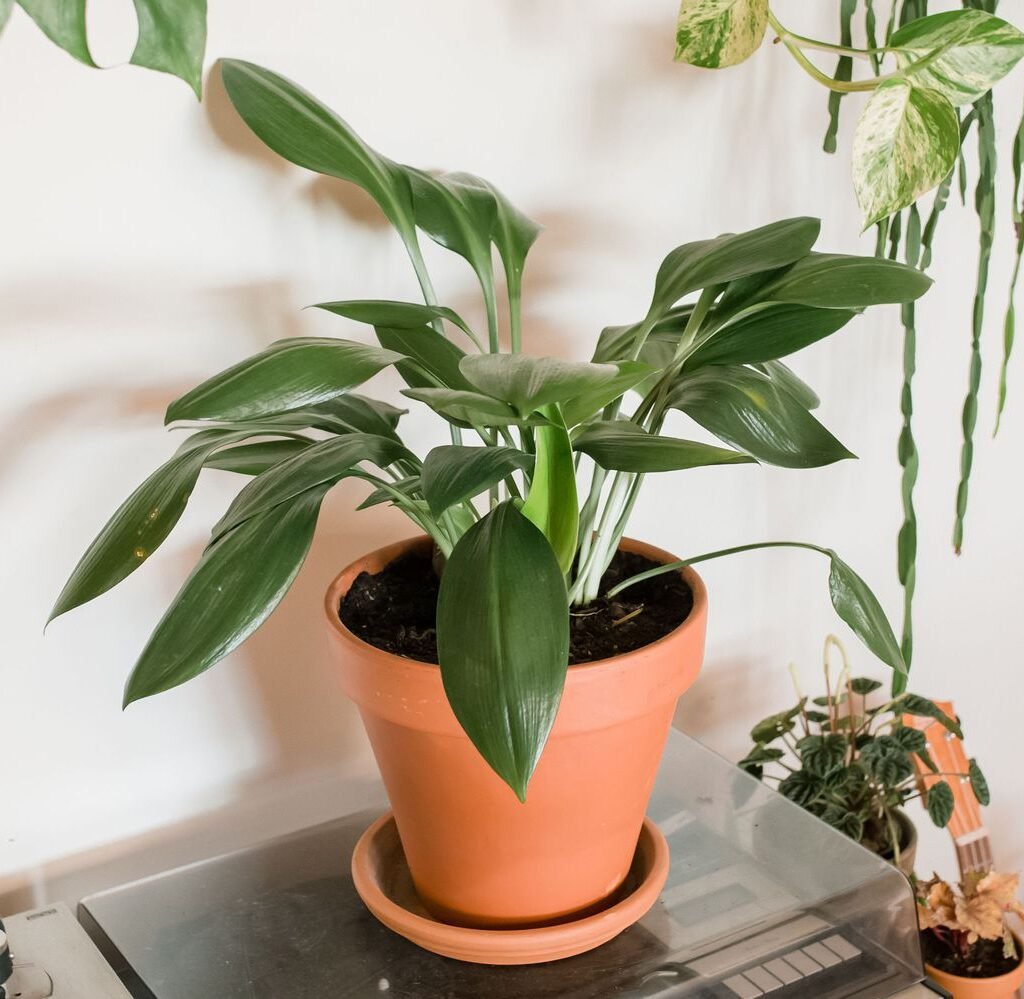
  • These plants have shallow roots and prefer snug spaces. Too much soil around them can cause waterlogging. Terra cotta pots are excellent for succulents, as they allow better evaporation.

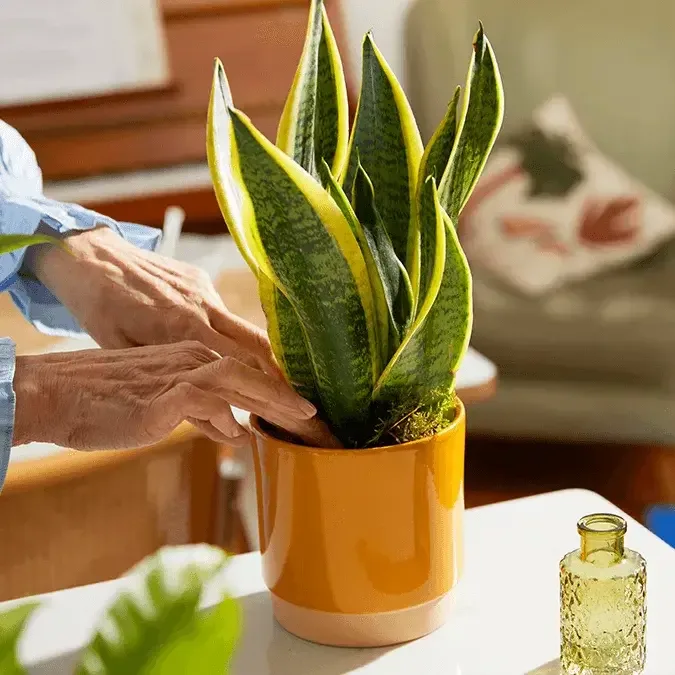
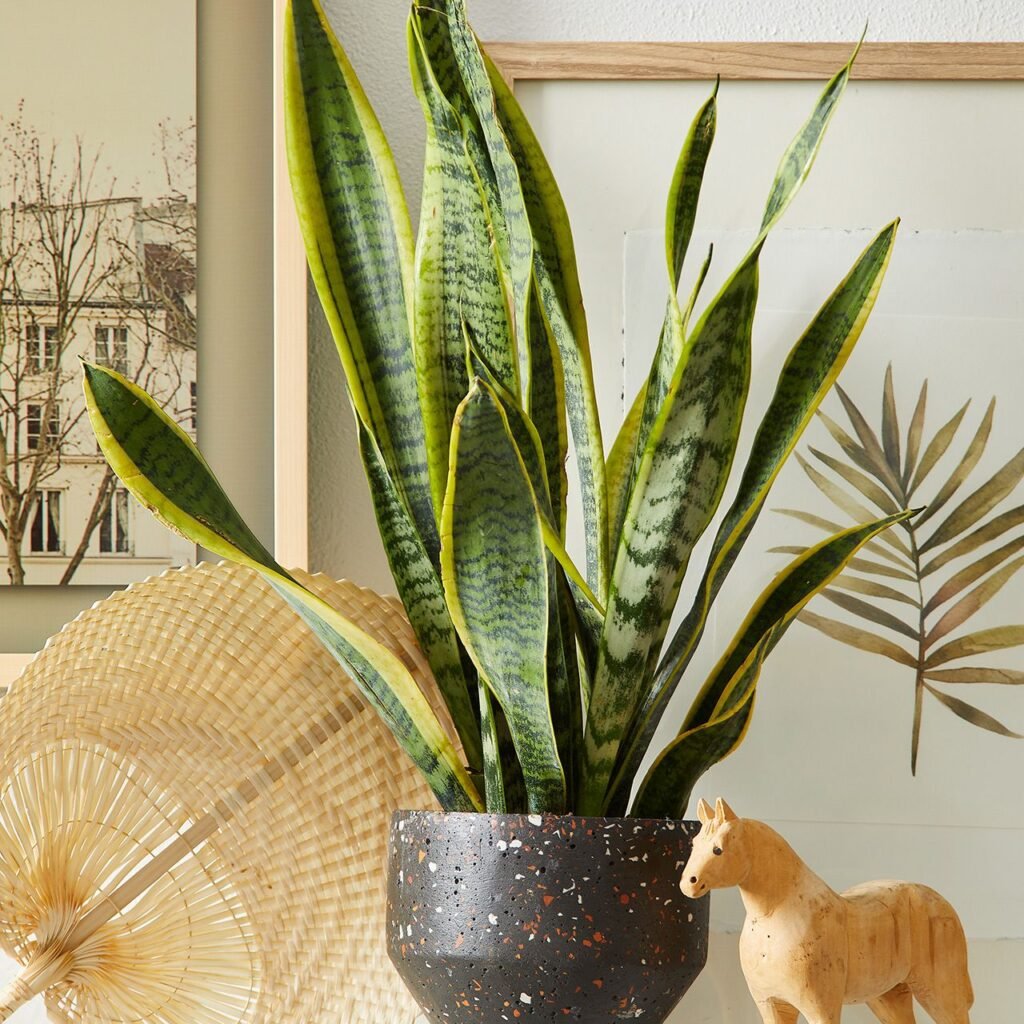
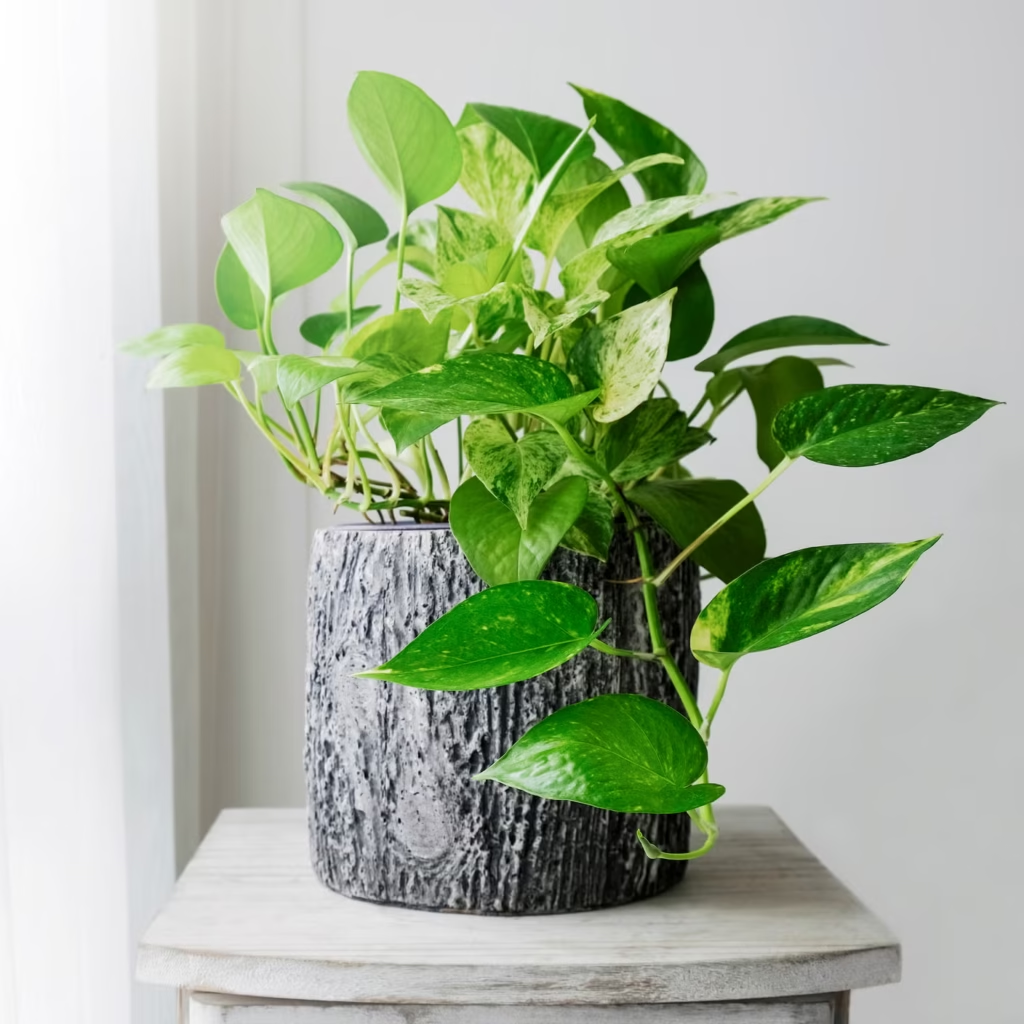
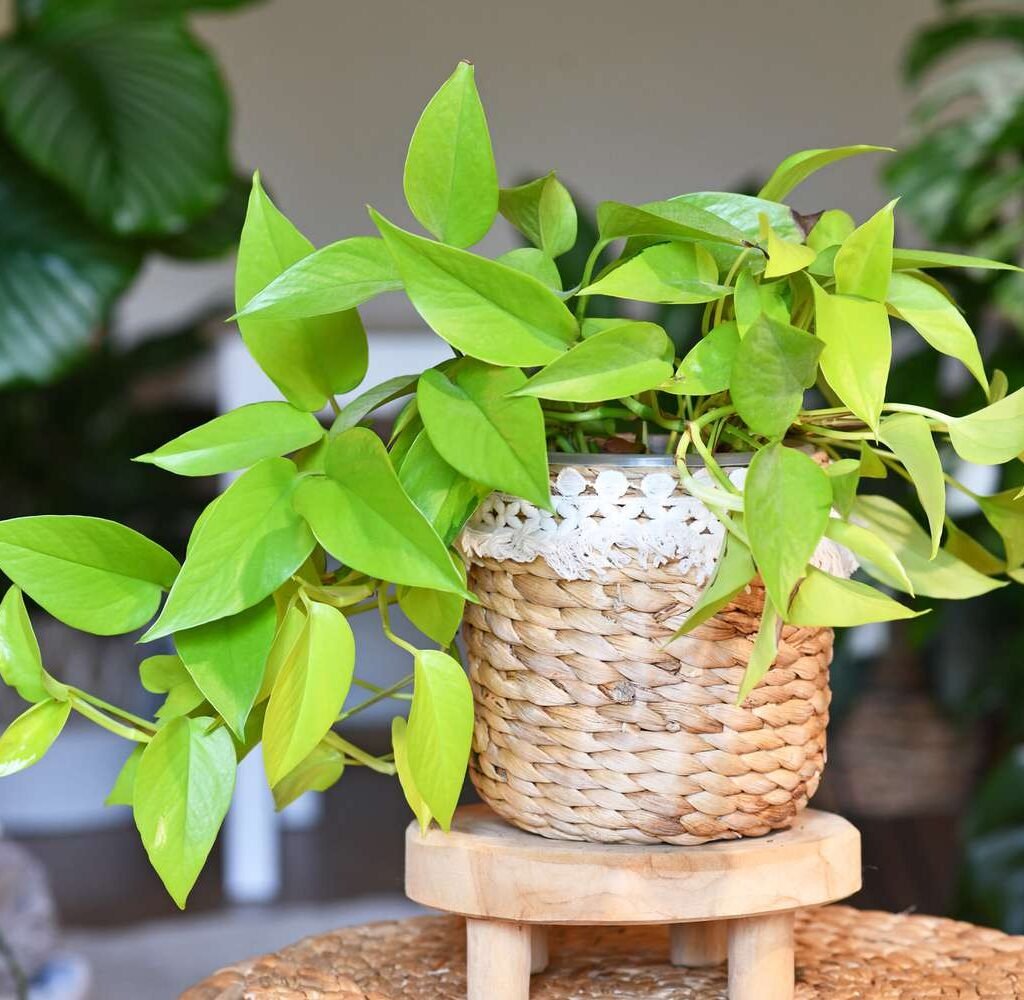
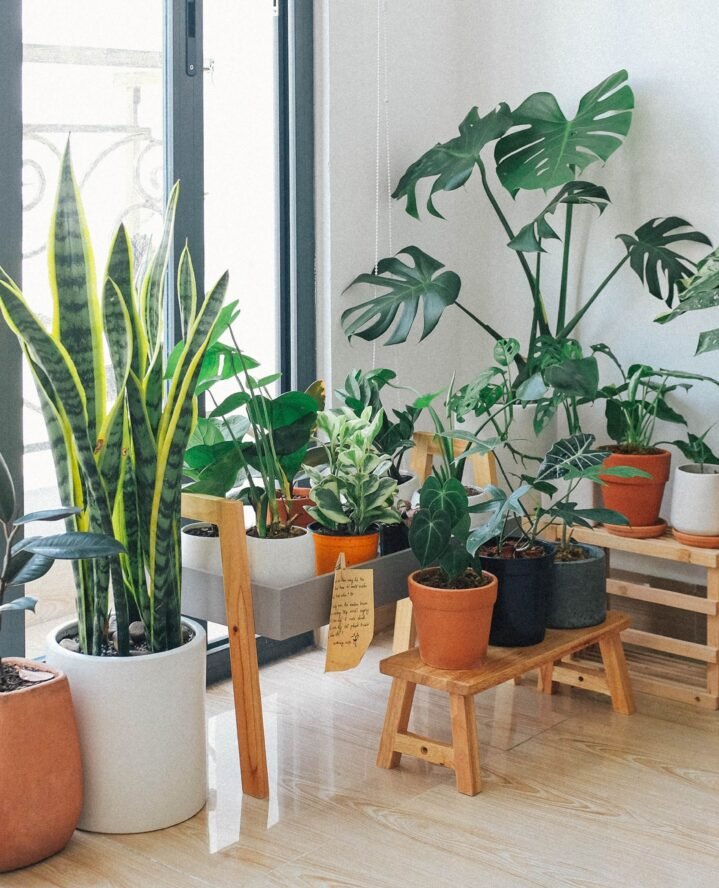
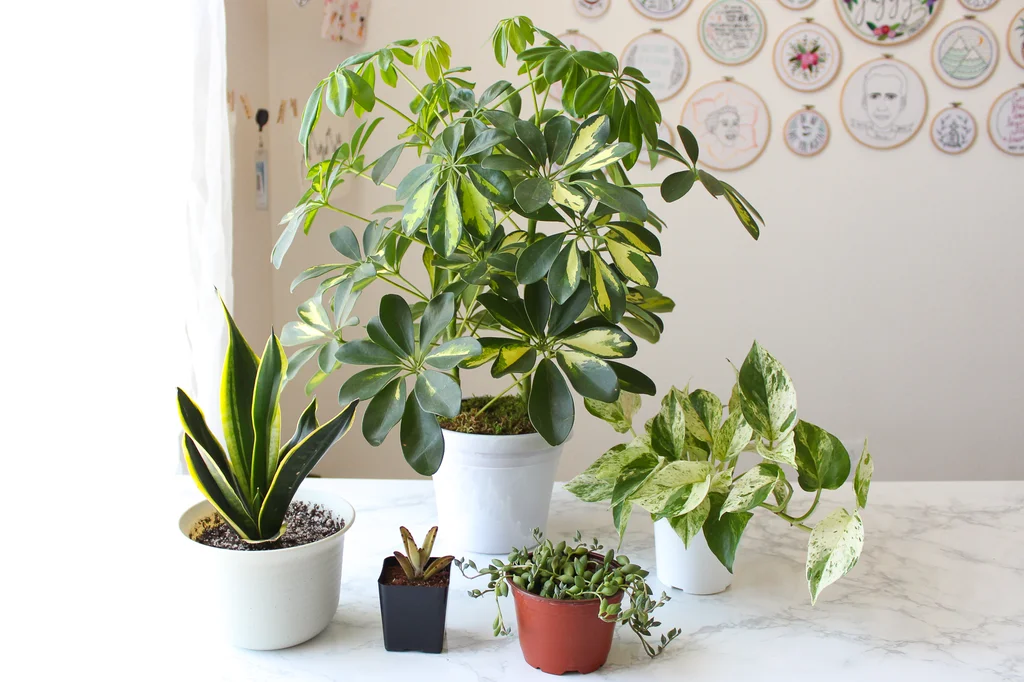
2. Medium-Sized Foliage Plants (e.g., Pothos, Spider Plant, Peace Lily)

  • Best pot size: 6–10 inches.
  • These plants have moderately spreading root systems and benefit from slightly larger pots to encourage steady growth.

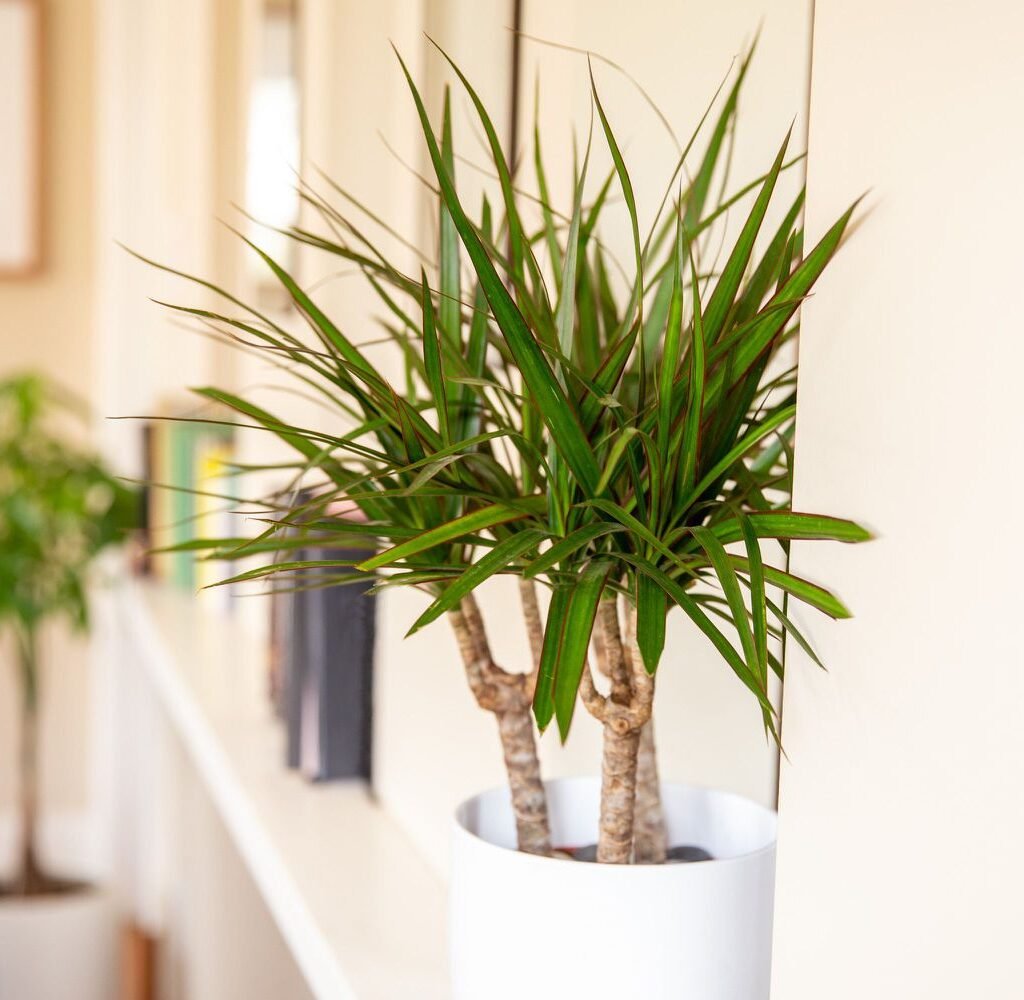
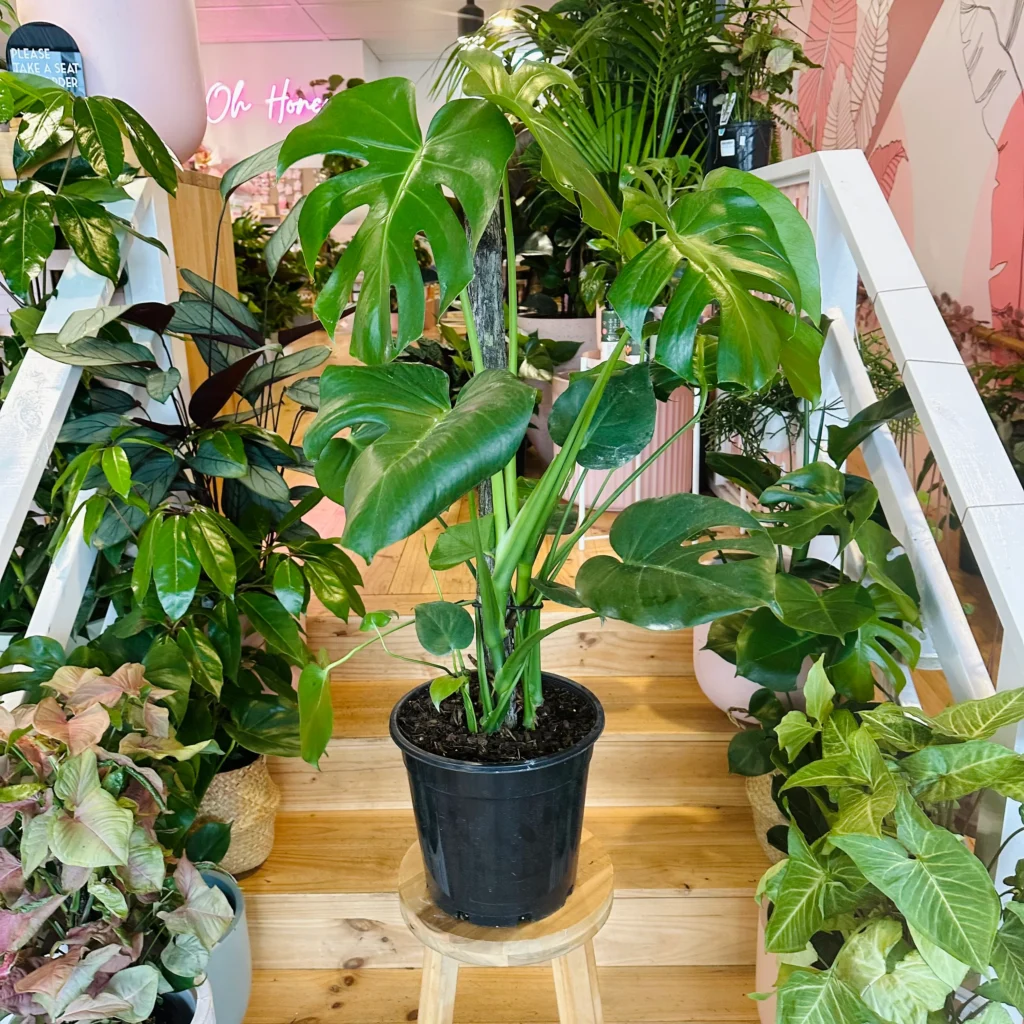
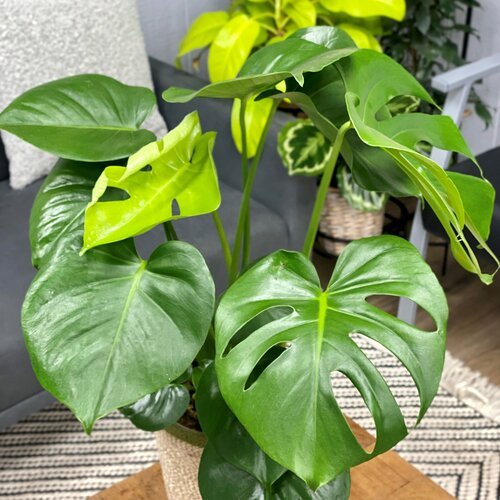
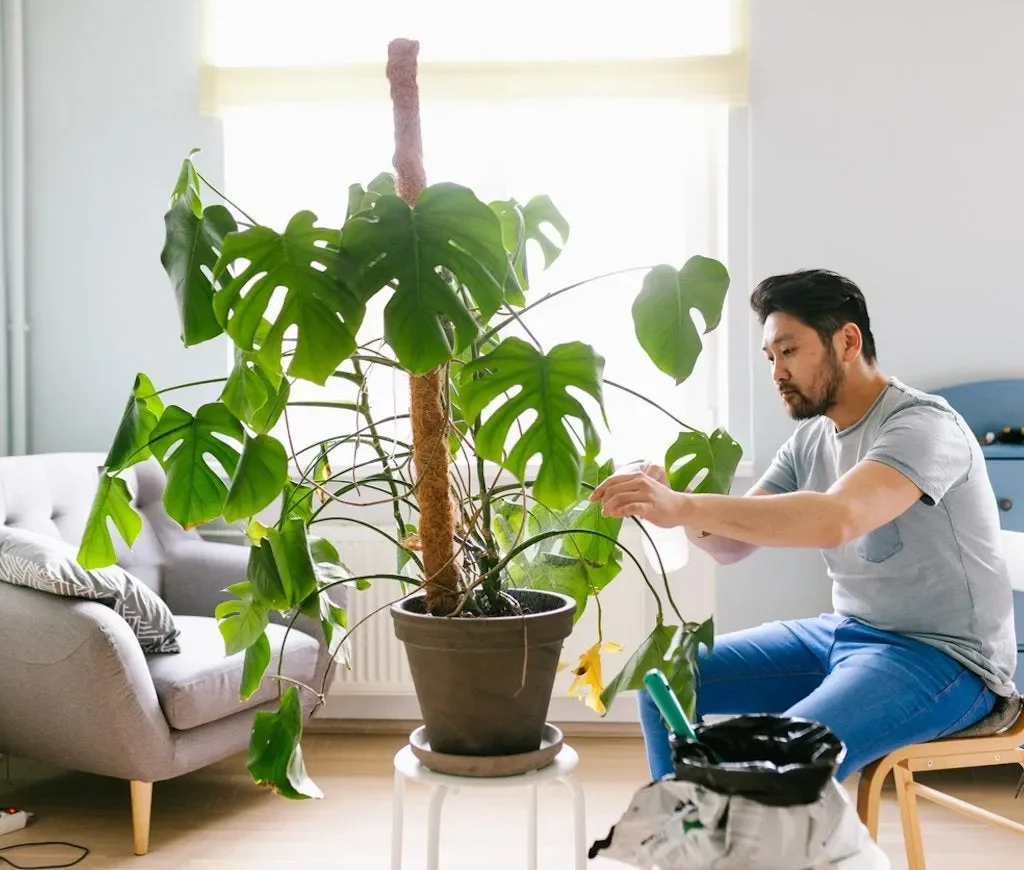
3. Large Houseplants (e.g., Rubber Plant, Fiddle Leaf Fig, Monstera)

  • Best pot size: 12–16 inches or larger.
  • These plants need bigger containers for stability and root spread. Always choose a heavy pot or add a weighted base to prevent tipping.

4. Cacti

  • Best pot size: Just slightly larger than the cactus itself.
  • Cacti thrive in snug conditions and don’t need extra soil space.
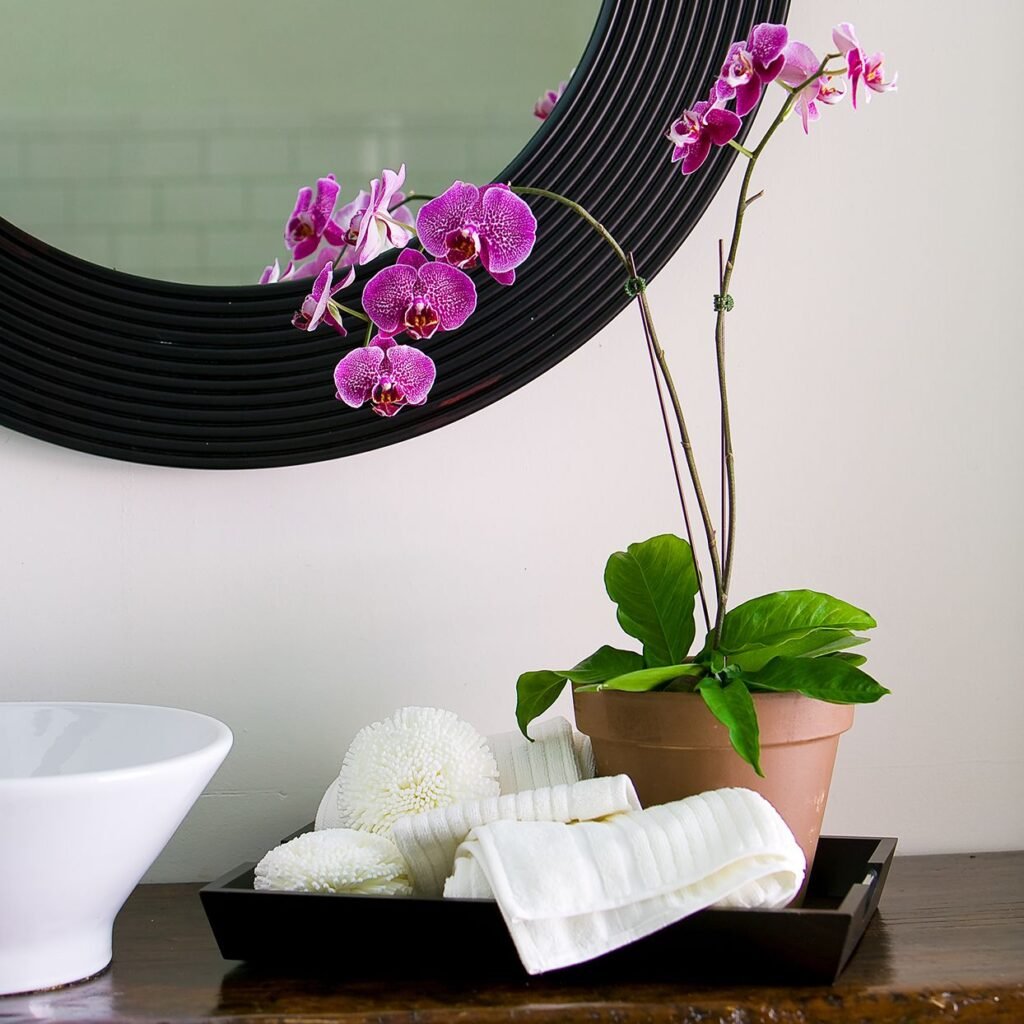
5. Orchids

  • Best pot size: Just a bit wider than their root ball.
  • Orchids prefer specialized orchid pots with slits or holes for airflow around the roots.

Depth vs. Width of Pots

Not all roots grow the same way—some spread wide, while others grow deep.

  • Shallow-rooted plants (like herbs or succulents) do best in wide, shallow pots.
  • Deep-rooted plants (like palms or rubber trees) need tall, deeper pots to support their growth.

Always research the root system of your specific plant before choosing pot depth.


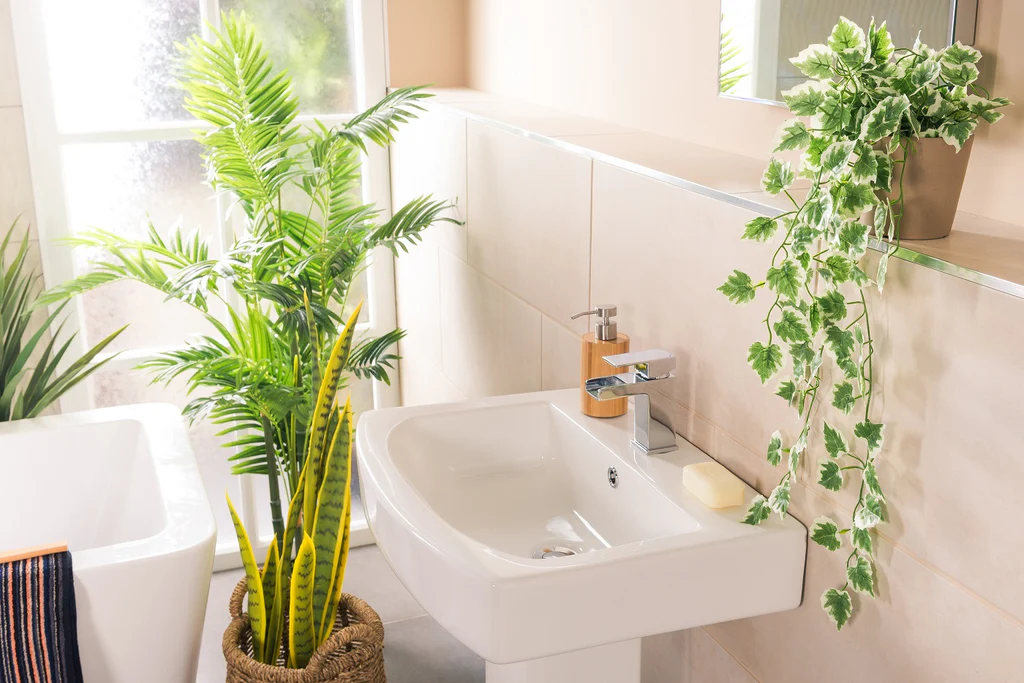
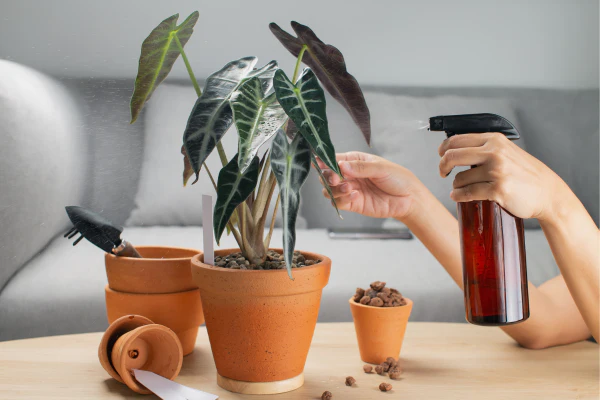
Drainage Is Just as Important

Regardless of size, pots must have drainage holes. Without proper drainage, excess water collects at the bottom, suffocating roots and inviting rot. If you fall in love with a decorative pot without holes, place your plant in a plastic nursery pot with drainage, then set it inside the decorative one.


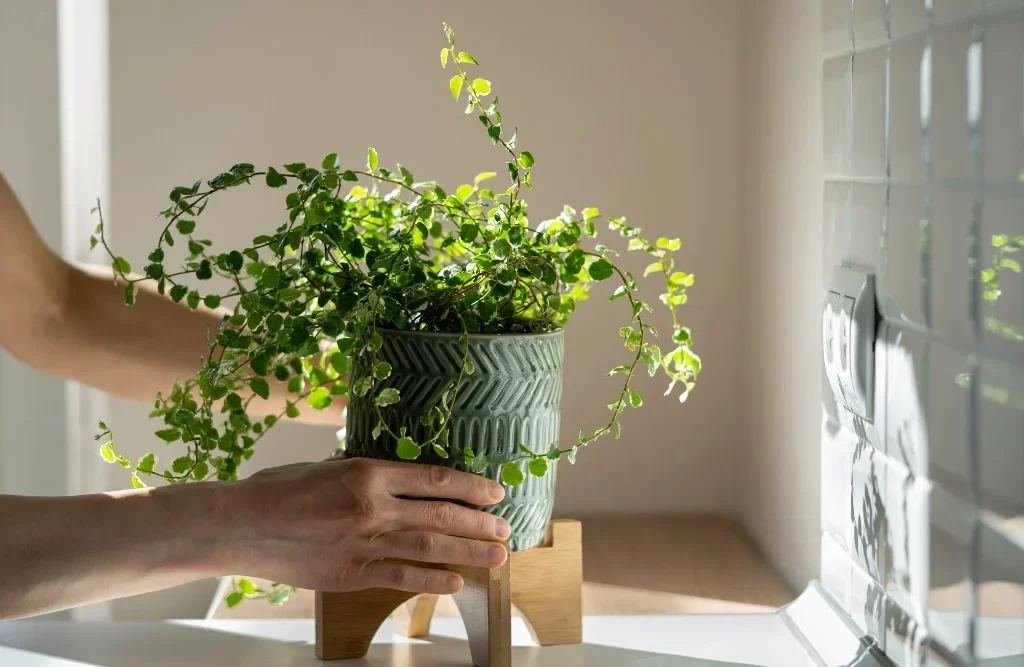
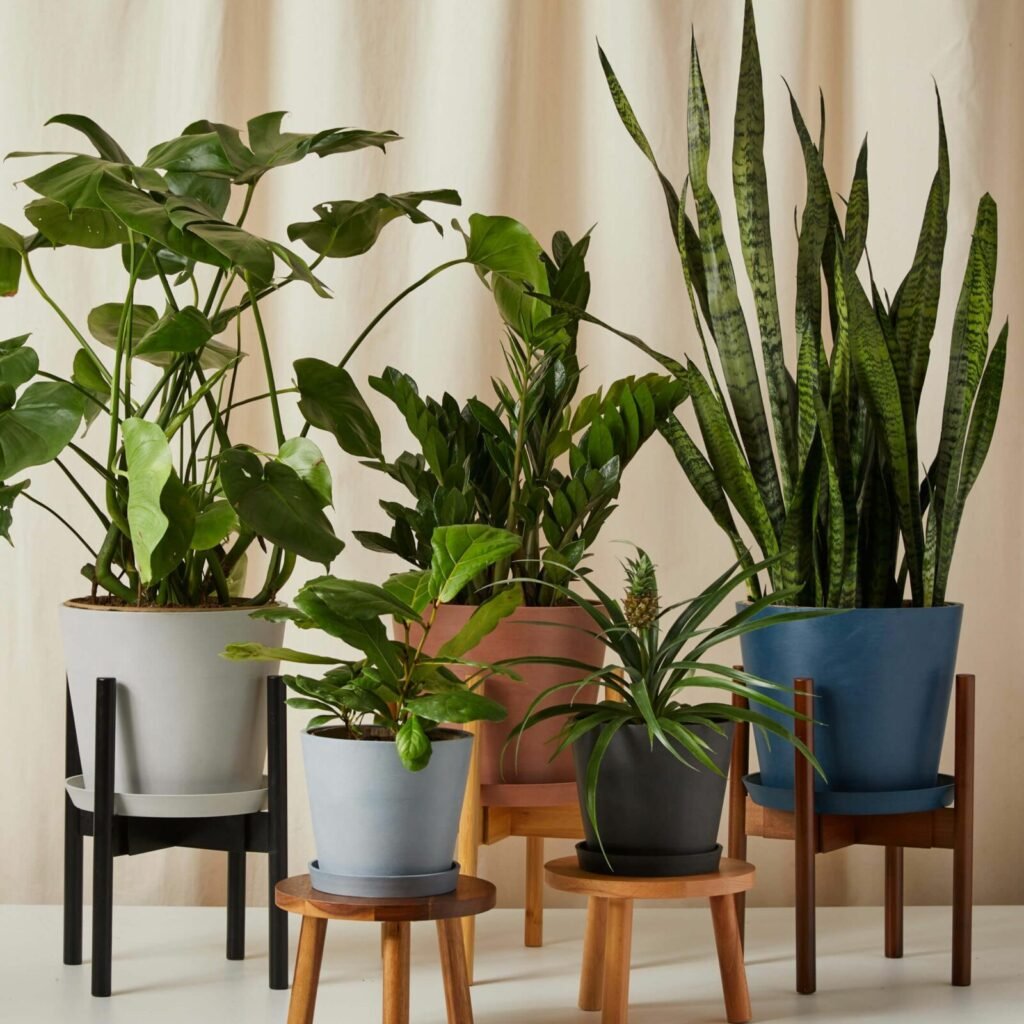
Choosing Materials Along with Size

The pot’s material also affects plant growth.

  • Terracotta: Breathable, prevents overwatering, but dries out quickly. Best for succulents and cacti.
  • Plastic: Lightweight, retains moisture longer, good for tropical plants.
  • Ceramic (glazed): Stylish and retains moisture, but heavier.
  • Fabric grow bags: Great for aeration but may need more frequent watering.

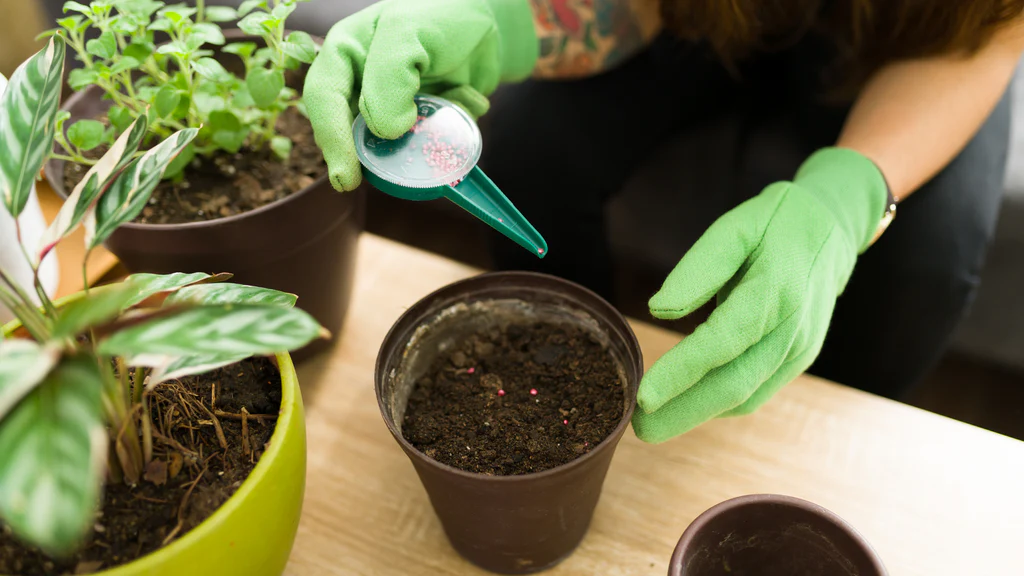
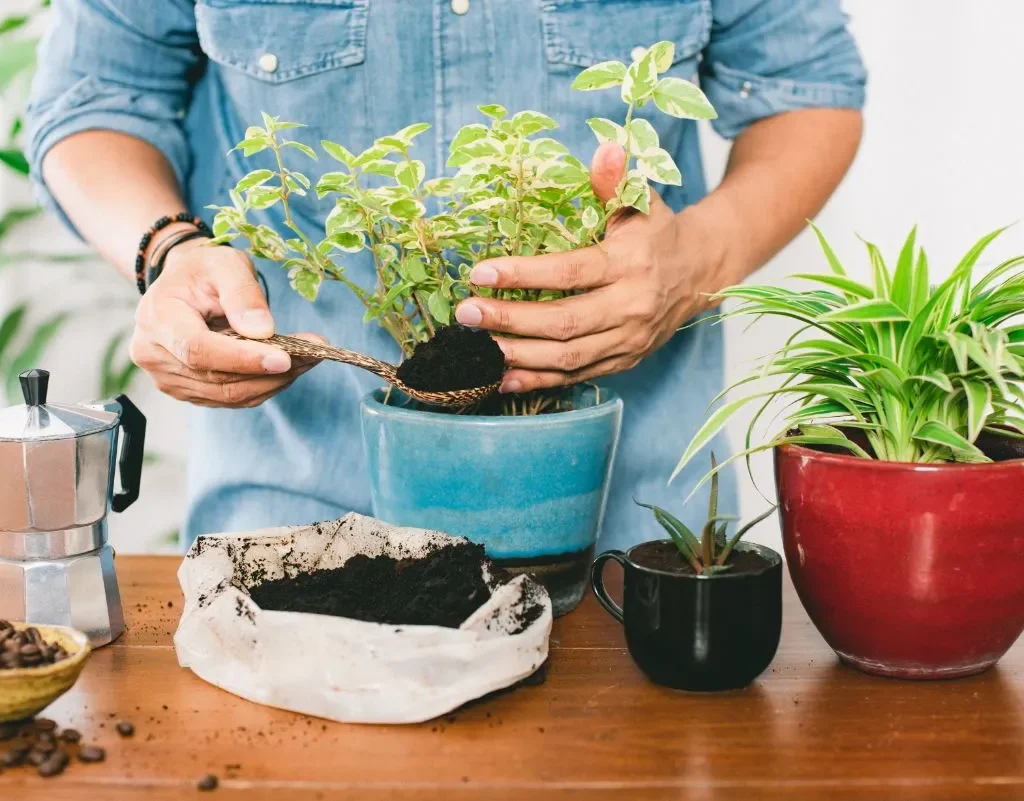
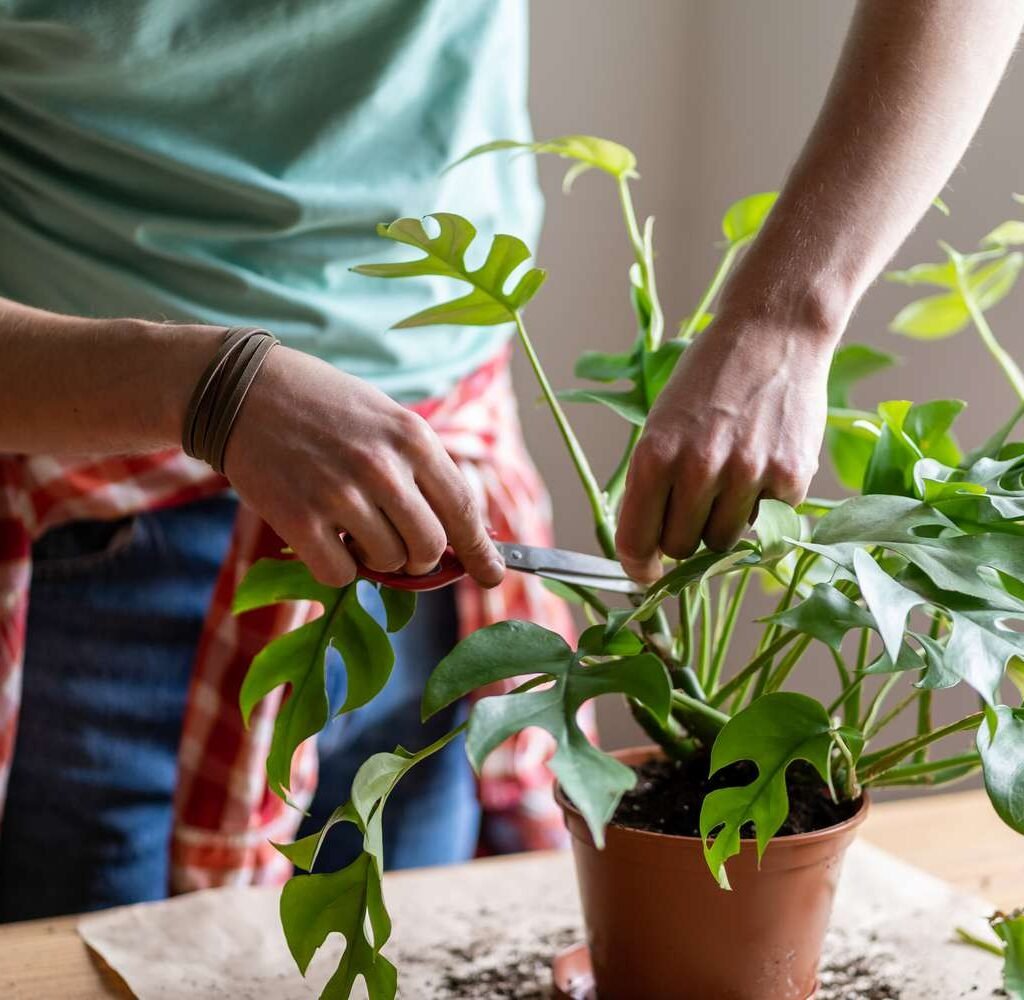
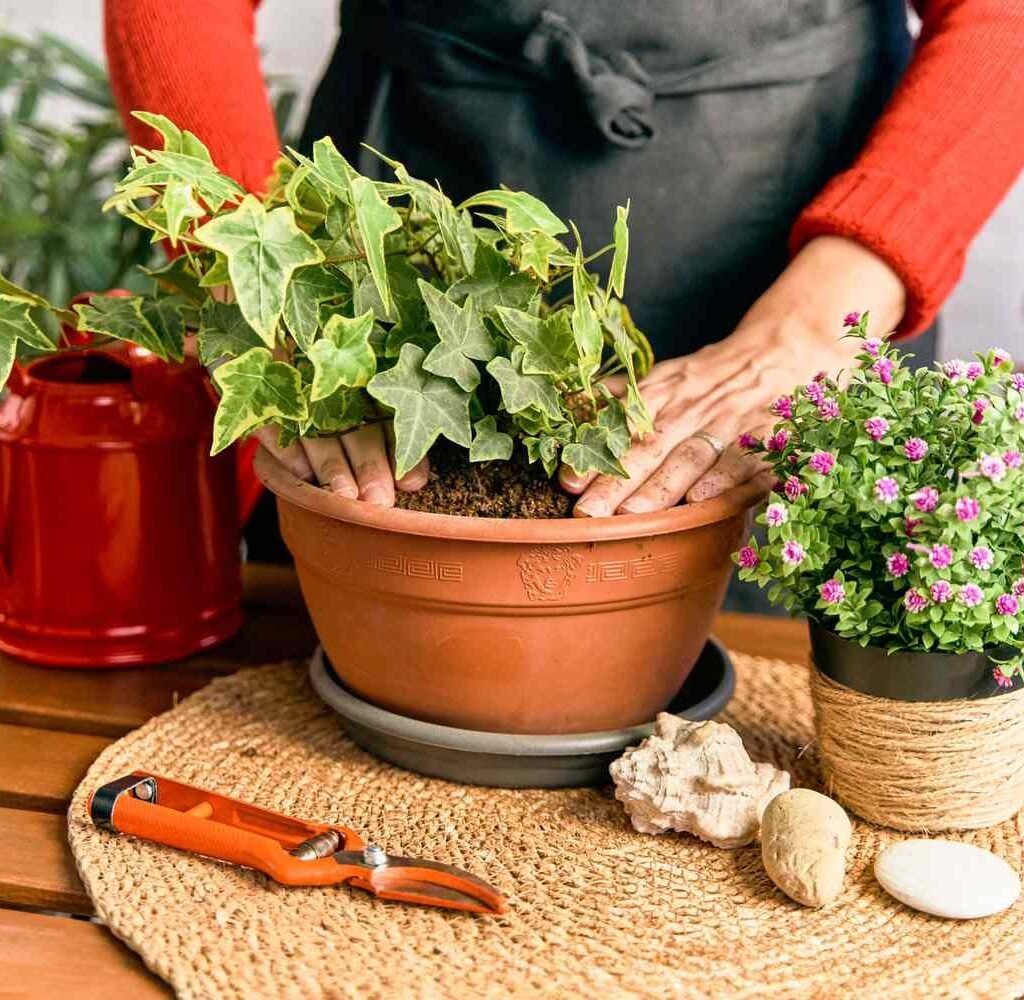
Step-by-Step Guide to Repotting into the Right Size

  1. Select the right pot – Choose a pot 1–2 inches larger than the current one.
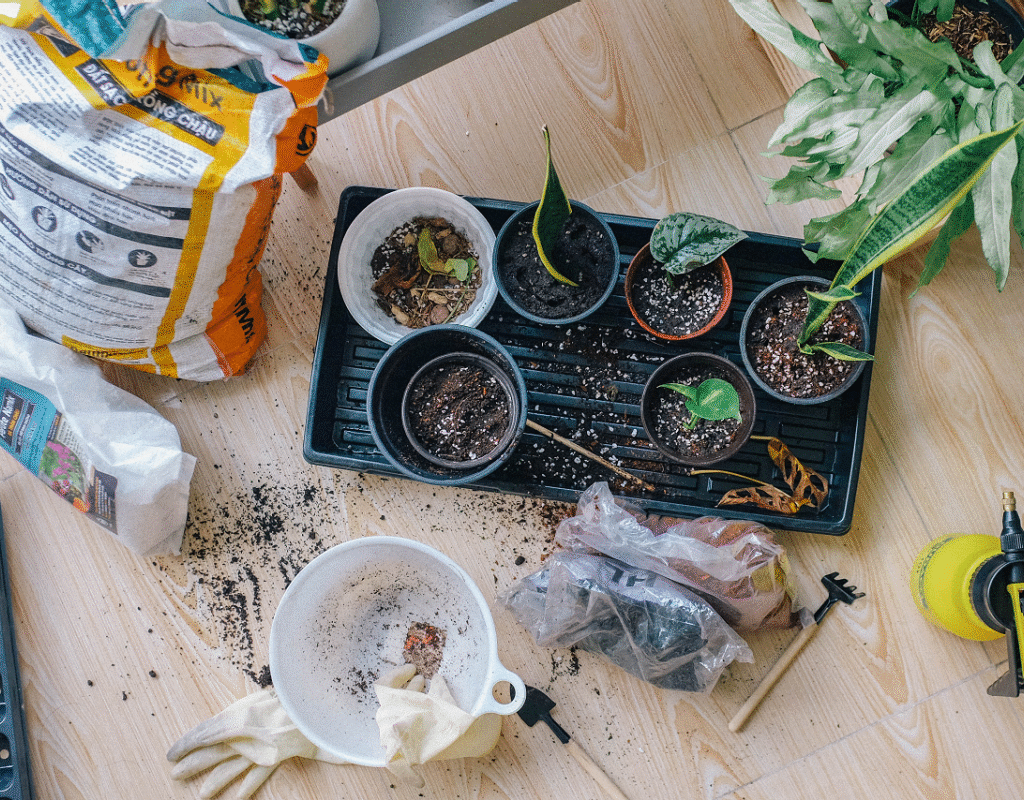
  2. Prepare soil mix – Match soil type to your plant’s needs (cactus mix, orchid bark, tropical potting soil, etc.).
  3. Remove the plant – Gently loosen it from its old pot, being careful with roots.
  4. Check roots – Trim any circling, dead, or mushy roots.
  5. Add soil – Place fresh soil at the bottom of the new pot.
  6. Position the plant – Center the plant and fill in soil around roots.
  7. Water thoroughly – Ensure soil settles evenly and roots get a good start.

Common Mistakes to Avoid

  • Using oversized pots – More soil equals more water retention, leading to root rot.
  • Skipping drainage holes – Always prioritize root health over pot style.
  • Repotting too frequently – Only repot when necessary; constant disturbance stresses plants.
  • Not considering plant maturity – A fast-growing plant may need frequent upgrades, while a slow grower can stay in the same pot for years.

Expert Tips for Success

  • Choose stability over size for tall plants; wide, heavy pots prevent tipping.
  • Use nursery pots inside decorative pots for flexibility.
  • Gradual upsizing is better than big jumps—plants adapt more easily.
  • Root pruning can be done if you want to keep a plant in the same pot for aesthetic reasons.

Conclusion

Choosing the right pot size may seem like a small detail, but it can make a huge difference in the health and beauty of your indoor plants. The correct container gives roots the space they need to thrive while ensuring water and nutrients are balanced. Whether you’re caring for a low-maintenance succulent, a lush peace lily, or a towering fiddle leaf fig, understanding pot size is the key to unlocking their full potential.

With the right approach, you won’t just be housing plants—you’ll be nurturing thriving, vibrant companions that will reward you with fresh air and natural beauty for years to come.

7 Indoor Plants That Thrive in Humid Bathrooms

7 Indoor Plants That Thrive in Humid Bathrooms

Bathrooms are often overlooked when it comes to decorating with greenery. Yet, they provide the perfect environment for many indoor plants. With their high humidity, low-to-moderate light, and warm temperatures, bathrooms mimic the tropical habitats where many houseplants naturally thrive. Adding plants to your bathroom doesn’t just elevate the design—it improves air quality, reduces mold buildup, and creates a spa-like sanctuary.

Not every plant can handle the unique conditions of a bathroom, but some species absolutely love it. Below, we’ll explore seven indoor plants that flourish in humid bathrooms, complete with care tips, placement ideas, and reasons why they’re the perfect match for this moisture-rich space.


1. Boston Fern (Nephrolepis exaltata)

Few plants love humidity as much as the Boston Fern. Its lush, feathery fronds thrive in moist, steamy environments, making bathrooms ideal homes.

  • Light Needs: Prefers bright, indirect light but can tolerate moderate light. Place near a bathroom window with filtered light.
  • Watering: Keep soil consistently moist but not soggy. Mist occasionally if the air dries out during cooler months.
  • Humidity Benefit: The fern absorbs and thrives in the excess bathroom moisture that would otherwise cause mildew.
  • Placement Idea: Hang it in a hanging basket above the shower or set it on a shelf to allow the fronds to cascade down.

Boston ferns not only soften the bathroom’s aesthetic but also help purify the air.


2. Peace Lily (Spathiphyllum spp.)

The Peace Lily is one of the most popular indoor plants, and it’s especially at home in a bathroom setting. Known for its glossy leaves and white “flowers” (modified leaves called spathes), this plant is both striking and easy to care for.

  • Light Needs: Low to medium indirect light. Perfect for bathrooms without direct sunlight.
  • Watering: Keep the soil slightly moist. It will droop dramatically when thirsty, giving you a clear reminder to water.
  • Humidity Benefit: The bathroom humidity prevents its leaves from developing dry, brown tips.
  • Placement Idea: Place it in a decorative pot beside the bathtub for a serene, spa-like touch.

Bonus: Peace lilies also filter out indoor toxins like formaldehyde and benzene.


3. Orchids (Phalaenopsis spp.)

Orchids might seem intimidating, but bathrooms provide the environment they crave. The high humidity and warm temperature help replicate their natural tropical climate.

  • Light Needs: Bright, indirect light. East- or south-facing bathroom windows are ideal.
  • Watering: Water once a week, allowing the orchid bark to dry slightly in between. Bathrooms prevent them from drying out too quickly.
  • Humidity Benefit: Orchid blooms last longer in humid spaces.
  • Placement Idea: Display on the bathroom vanity or windowsill where it can enjoy light without direct sun.

Their exotic flowers add instant luxury and elegance to any bathroom.


4. Snake Plant (Sansevieria trifasciata / Dracaena trifasciata)

If you want a low-maintenance plant that can tolerate both humidity and occasional neglect, the snake plant is unbeatable. Its upright, sword-like leaves bring modern elegance to bathroom décor.

  • Light Needs: Low to bright indirect light. Works even in windowless bathrooms with artificial lighting.
  • Watering: Extremely drought-tolerant. Water only when the soil is fully dry.
  • Humidity Benefit: While snake plants don’t require humidity, they tolerate it well, making them flexible bathroom companions.
  • Placement Idea: Place a tall snake plant in a sleek planter near the sink or bathtub for a bold statement.

Snake plants are also known for their air-purifying qualities, especially effective in enclosed bathroom spaces.


5. Spider Plant (Chlorophytum comosum)

The spider plant is a classic indoor favorite, loved for its cascading green-and-white striped leaves and little plantlets (baby spiders) that dangle like ornaments. Bathrooms give it the humidity it loves to thrive.

  • Light Needs: Prefers bright, indirect light but can survive in low light.
  • Watering: Keep soil slightly moist; water less in winter.
  • Humidity Benefit: Prevents leaf tips from browning, a common problem in dry indoor environments.
  • Placement Idea: Hang it in a macramé holder near a bathroom window or place it on a shelf where its runners can spill over.

Spider plants are especially beginner-friendly and adaptable, making them a perfect choice for bathroom greenery.


6. Aloe Vera (Aloe barbadensis miller)

Known for its healing gel, aloe vera is not only practical but also thrives in steamy bathrooms. It’s a succulent that benefits from humidity while enjoying bright conditions.

  • Light Needs: Needs bright, indirect to direct light. A sunny bathroom windowsill is perfect.
  • Watering: Water deeply but infrequently—every 2–3 weeks or when soil dries completely.
  • Humidity Benefit: Unlike other succulents, aloe vera tolerates higher humidity without rotting as long as the soil drains well.
  • Placement Idea: Keep it near the bathtub or on a bathroom shelf for both aesthetics and quick access to its healing gel.

It’s the ultimate multitasker—decorative, medicinal, and easy to care for.


7. Bamboo (Lucky Bamboo – Dracaena sanderiana)

Lucky Bamboo isn’t true bamboo but is a popular indoor plant that thrives in the damp, low-light conditions of bathrooms. Often grown in water-filled containers, it’s nearly foolproof.

  • Light Needs: Low to medium indirect light. Perfect for darker bathrooms.
  • Watering: Grows well in water; just change the water every 2–4 weeks to keep it fresh. If grown in soil, water when the top inch dries.
  • Humidity Benefit: High humidity keeps its stems vibrant and green.
  • Placement Idea: Place in a glass vase on the sink counter or in a corner for a Zen-inspired vibe.

Lucky bamboo adds both elegance and good feng shui to the bathroom.


Care Tips for Bathroom Plants

While bathrooms are plant-friendly, they come with unique challenges. Follow these tips to keep your bathroom greenery happy:

  1. Monitor Light Levels:
    • If your bathroom lacks windows, consider a grow light to supplement plant needs.
  2. Avoid Waterlogging:
    • Bathrooms are humid, but plants in soil still need proper drainage. Choose pots with holes.
  3. Clean the Leaves:
    • Dust and soap residue can build up. Wipe leaves gently with a damp cloth every few weeks.
  4. Rotate Plants:
    • Occasionally move them to brighter rooms to ensure balanced growth.
  5. Watch for Mold or Mildew:
    • Excess humidity can encourage mold in soil. Use well-draining mixes and avoid overwatering.

Conclusion

Bathrooms may not be the first place you think of for houseplants, but their naturally warm and humid environment makes them a hidden gem for plant lovers. From the lush fronds of the Boston Fern to the elegant blooms of orchids, the practical beauty of aloe vera, and the air-purifying power of snake plants and peace lilies, the seven plants listed above will not only thrive but also transform your bathroom into a refreshing green retreat.

By choosing the right species and following simple care routines, you can create a spa-like atmosphere where plants and people alike thrive. Next time you step into your bathroom, imagine the soothing presence of greenery enhancing both your space and your well-being.

How to Keep Indoor Plants Dust-Free and Breathing Better

How to Keep Indoor Plants Dust-Free and Breathing Better

Indoor plants do more than just beautify our homes—they clean the air, reduce stress, and create a calming atmosphere. But just like furniture, shelves, or electronics, indoor plants accumulate dust over time. That layer of dust may seem harmless, yet it can significantly impact your plant’s health. Dust blocks sunlight, clogs pores on leaves (called stomata), and interferes with photosynthesis and respiration. If left unattended, dusty plants may struggle to “breathe” properly, slowing their growth and making them vulnerable to pests and diseases.

Keeping your plants dust-free is not only about aesthetics—it’s about ensuring they thrive and contribute to a healthier living space. In this guide, we’ll explore why cleaning plant leaves matters, the best methods for dust removal, expert care tips, and how to prevent dust buildup for long-term plant health.


Why Dust Is a Problem for Indoor Plants

Dust on your TV or shelves may only affect appearance, but on plants, it affects survival. Here’s why:

  1. Blocks Photosynthesis
    Plants rely on sunlight to produce energy. When a layer of dust coats the leaves, it acts like a curtain, reducing the amount of light that reaches them. Less light means less energy for growth.
  2. Clogs Leaf Pores (Stomata)
    The tiny openings on leaves, known as stomata, are used for gas exchange—taking in carbon dioxide and releasing oxygen. Dust particles block these pores, making it harder for plants to “breathe.”
  3. Encourages Pests and Diseases
    Dusty leaves create a perfect hiding spot for pests like spider mites, mealybugs, and scale insects. A dirty surface can also trap moisture, increasing the risk of fungal growth.
  4. Reduces Indoor Air Quality
    Ironically, dusty plants cannot perform their air-purifying functions as effectively. Since one reason we keep plants indoors is for fresher air, it makes sense to keep them clean.

How Often Should You Clean Indoor Plants?

  • Every 1–2 weeks: Light dusting for plants in high-dust environments or near open windows.
  • Monthly: A more thorough cleaning, especially for plants with large leaves like fiddle leaf figs, monstera, or rubber plants.
  • Seasonal deep clean: At least once every 3–4 months, give your plants a “spa day” with a gentle wash, pruning, and pest inspection.

The frequency depends on your home environment. Urban homes near traffic, or spaces with pets and HVAC systems, often need more frequent plant cleaning.


Best Methods to Remove Dust from Indoor Plants

Not all plants are the same—some have broad glossy leaves, others have fuzzy or delicate textures. Here are safe and effective cleaning techniques:

1. Wiping with a Damp Cloth

  • Best for: Large-leafed plants (rubber plant, fiddle leaf fig, monstera).
  • Method: Use a soft, damp microfiber cloth to gently wipe each leaf, supporting it from underneath to avoid breakage.
  • Pro tip: Use lukewarm water. Cold water can shock plants, while hot water damages tissue.

2. Showering the Plants

  • Best for: Sturdy foliage plants like pothos, palms, or dracaenas.
  • Method: Place the plant in a shower or sink and rinse it with a gentle spray of lukewarm water. Let excess water drain completely.
  • Avoid: Plants with fuzzy leaves (African violets) that dislike water sitting on their surface.

3. Using a Soft Brush or Paintbrush

  • Best for: Plants with delicate or hairy leaves (African violets, ferns, succulents).
  • Method: Gently sweep away dust using a clean, soft brush or makeup brush. This avoids damaging sensitive leaf textures.

4. Compressed Air for Cacti and Succulents

  • Best for: Spiny or clustered plants where cloths cannot reach.
  • Method: Use canned air (the kind used for cleaning keyboards) to blow away dust from tricky areas.

5. Leaf Shine Alternatives

Commercial “leaf shine” sprays may look appealing but can clog stomata. Instead, try natural methods:

  • Banana peel: Gently rub the inside of a banana peel on broad leaves to clean and add natural shine.
  • Diluted milk solution (1:10 with water): Adds nutrients while giving leaves a subtle polish.

Special Considerations for Different Plant Types

  1. Succulents and Cacti
    • They collect dust easily but should not be overwatered. Use a soft brush or air blower instead of frequent rinsing.
  2. Ferns and Delicate Foliage
    • Their fronds are fragile. Mist them lightly and use a brush to remove dust rather than wiping.
  3. Orchids
    • Their leaves can be wiped with a damp cloth, but avoid water sitting in the crown (center), as it can cause rot.
  4. Large Indoor Trees (Fiddle Leaf Fig, Rubber Plant)
    • Need regular dusting because their broad leaves show dirt quickly. Wiping once a week helps maintain shine and health.

Preventing Dust Buildup on Indoor Plants

Prevention saves time and reduces stress for both you and your plants. Here are smart strategies:

  1. Improve Air Circulation
    Use fans or open windows occasionally to prevent stagnant air, which attracts dust.
  2. Keep Windows and Filters Clean
    Dirty window sills and HVAC filters spread dust that settles on plants. Regular cleaning reduces buildup.
  3. Place Plants Away from Heavy Dust Sources
    Avoid placing them near radiators, vents, or high-traffic corners where dust is stirred up.
  4. Use Regular Misting
    Lightly misting plants (for species that enjoy humidity) can help keep dust from sticking.
  5. Group Plants Together
    A cluster of plants creates a mini-humidity zone, which not only benefits plant health but also reduces static dust accumulation.

Additional Benefits of Cleaning Indoor Plants

Keeping plants dust-free goes beyond aesthetics. Regular cleaning offers several long-term benefits:

  • Early Pest Detection: While cleaning, you can spot pests like spider mites or aphids before they spread.
  • Improved Growth: Clean leaves capture more light, leading to stronger growth and brighter foliage.
  • Healthier Air Quality: Plants that photosynthesize efficiently filter indoor toxins better.
  • Stress Relief for You: Cleaning plants is a mindful, relaxing activity that strengthens your bond with them.

Step-by-Step Plant Cleaning Routine

Here’s a simple “plant spa day” checklist you can follow once a month:

  1. Inspect: Check leaves, stems, and soil for pests or signs of stress.
  2. Dust Removal: Use an appropriate cleaning method (cloth, brush, or shower).
  3. Prune Dead Leaves: Trim yellowed or dried foliage to encourage fresh growth.
  4. Refresh Soil Surface: Remove surface debris or crusty soil to improve aeration.
  5. Hydrate: Water thoroughly after cleaning, ensuring drainage is proper.
  6. Shine (Optional): Use natural shine methods if desired, but avoid heavy oils or sprays.

Common Mistakes to Avoid

  1. Using Harsh Chemicals
    Never use furniture polish, baby wipes, or soap with additives. These can harm the leaf surface.
  2. Over-Misting
    For plants sensitive to water on leaves, too much misting may cause fungal spots.
  3. Neglecting Undersides of Leaves
    Dust and pests often hide on the leaf undersides—clean them gently too.
  4. Cleaning Too Aggressively
    Scrubbing can tear delicate leaves. Always support leaves with one hand while wiping.

Conclusion

Indoor plants breathe life into our homes, but they need clean, dust-free leaves to thrive. A regular cleaning routine ensures they photosynthesize efficiently, resist pests, and maintain their beauty. Whether it’s a quick weekly dusting with a damp cloth or a monthly shower for your bigger houseplants, these small acts of care make a big difference.

Remember: a clean plant is a healthy plant—and a healthy plant, in turn, creates a cleaner, fresher environment for you. By keeping your indoor plants dust-free and breathing better, you not only enhance their growth but also improve your own living space, one leaf at a time.

Why Your Indoor Plants Need Fertilizer—and How to Use It Correctly

Why Your Indoor Plants Need Fertilizer—and How to Use It Correctly

Indoor plants are more than just decorative elements—they are living organisms that rely on us for their care. While sunlight, water, and good air circulation are often emphasized, one critical aspect of plant care is frequently overlooked: fertilization. Fertilizer is to plants what a balanced diet is to humans. Without it, plants may survive, but they will rarely thrive. If you’ve ever wondered why your houseplants seem to grow slowly, have pale leaves, or fail to flower, the answer may lie in nutrition.

In this article, we’ll explore why indoor plants need fertilizer, what nutrients they require, how to choose the right type, and the correct way to use it for healthy, flourishing growth.


Why Fertilizer Matters for Indoor Plants

Unlike outdoor plants, which benefit from natural cycles like decaying leaves, rain, and microorganisms enriching the soil, indoor plants live in a confined potting mix. Over time, watering flushes out nutrients, leaving the soil depleted. Unless we replenish those nutrients, plants can suffer from deficiencies that affect their growth and overall health.

Here’s why fertilizer is essential for indoor plants:

  1. Replaces Lost Nutrients
    Every time you water, small amounts of essential nutrients like nitrogen, phosphorus, and potassium leach out. Fertilizer restores these nutrients, ensuring plants stay well-fed.
  2. Boosts Growth
    Fertilizers provide the fuel plants need for new leaf, stem, and root growth. A properly fertilized plant grows faster, fuller, and healthier.
  3. Encourages Flowering and Fruiting
    Some indoor plants, like orchids, African violets, or citrus trees, need extra phosphorus and potassium to bloom and fruit successfully.
  4. Strengthens Plant Resilience
    Well-fed plants are better equipped to resist pests, diseases, and environmental stress like low light or dry indoor air.

Without fertilizer, even a plant with sufficient light and water may become weak, pale, and less vibrant over time.


The Essential Nutrients for Indoor Plants

Fertilizers contain different nutrients, often grouped into three main categories:

1. Macronutrients (Primary Nutrients)

These are needed in large amounts:

  • Nitrogen (N): Promotes lush, green leaf growth. Essential for foliage plants like pothos or monstera.
  • Phosphorus (P): Encourages root development and flower/fruit production. Crucial for flowering plants.
  • Potassium (K): Helps overall plant health, disease resistance, and strong stems.

2. Secondary Nutrients

Needed in moderate amounts:

  • Calcium: Strengthens cell walls, preventing leaf tip burn.
  • Magnesium: A key component of chlorophyll, supporting photosynthesis.
  • Sulfur: Helps in protein and enzyme development.

3. Micronutrients

Needed in tiny amounts but still vital:

  • Iron, zinc, manganese, copper, boron, molybdenum, and chlorine.
    A deficiency in any of these can lead to yellowing leaves, stunted growth, or poor flowering.

Think of it this way: macronutrients are the main course, secondary nutrients are the side dishes, and micronutrients are the seasonings—together, they create a balanced “meal” for your plant.


Choosing the Right Fertilizer for Indoor Plants

Not all fertilizers are created equal. Choosing the right one depends on your plant type and growth goals. Here are the main options:

1. Balanced Fertilizers

  • Ratio: 10-10-10 or 20-20-20 (N-P-K)
  • Great for general use and maintaining healthy growth in most indoor plants.

2. Specialized Fertilizers

  • Foliage Plants (e.g., snake plant, monstera): High nitrogen formulas.
  • Flowering Plants (e.g., orchids, African violets): Higher phosphorus content.
  • Succulents and Cacti: Lower nitrogen to prevent overly lush, weak growth.

3. Organic vs. Synthetic Fertilizers

  • Organic fertilizers (like worm castings, fish emulsion, or seaweed extract) release nutrients slowly and improve soil health. They are gentler but may smell and act slower.
  • Synthetic fertilizers deliver nutrients quickly and predictably but can build up salts in the soil if overused.

4. Form Types

  • Liquid fertilizers: Easy to dilute and apply during watering. Ideal for frequent, gentle feeding.
  • Slow-release pellets: Convenient, releasing nutrients over several months.
  • Granules or spikes: Easy but less customizable than liquid options.

How to Fertilize Indoor Plants Correctly

Applying fertilizer the wrong way can do more harm than good. Here’s a step-by-step guide:

1. Follow the Seasons

  • Spring and Summer: Plants are in their active growing phase. Fertilize every 2–4 weeks.
  • Fall and Winter: Growth slows down. Fertilize less often, or stop completely, unless growing under strong artificial lights.

2. Dilute, Don’t Overdo

More fertilizer doesn’t mean more growth—it can actually burn roots. Always start with half the recommended dose, especially for delicate plants.

3. Water Before Fertilizing

Applying fertilizer to dry soil can shock roots. Always water lightly first, then add fertilizer solution.

4. Watch for Signs of Overfertilization

  • Brown leaf tips
  • White crust on the soil surface
  • Sudden leaf drop

If this happens, flush the soil with plain water to wash away excess salts.

5. Tailor Fertilizer to Plant Needs

  • Orchids: Use a bloom booster with more phosphorus during flowering season.
  • Fiddle Leaf Fig: A balanced fertilizer with slightly higher nitrogen.
  • Succulents: Fertilize lightly, only during the growing season.

Common Fertilizing Mistakes to Avoid

  1. Overfertilizing: Causes salt buildup and root burn.
  2. Fertilizing in Dormancy: Wastes fertilizer and stresses plants.
  3. Using Garden Fertilizer Indoors: These are often too strong and not formulated for container plants.
  4. Ignoring pH Balance: Some fertilizers alter soil pH, affecting nutrient absorption.
  5. Forgetting Micronutrients: A plant can look unhealthy even if it has plenty of nitrogen, phosphorus, and potassium but lacks iron or magnesium.

Natural Fertilizer Alternatives

If you prefer a more eco-friendly or DIY approach, here are some natural fertilizer options:

  • Banana peel water: Provides potassium for blooming plants.
  • Coffee grounds: Add nitrogen, but use sparingly to avoid acidity.
  • Eggshells: Supply calcium when crushed and mixed into the soil.
  • Compost tea: Offers a nutrient-rich liquid boost.

These methods are less precise than commercial fertilizers but work well for supplementing nutrition.


Signs Your Indoor Plants Need Fertilizer

Not sure when to fertilize? Look for these signals:

  • Pale or yellowing leaves
  • Slow or stunted growth
  • Smaller new leaves than older ones
  • Lack of flowers or buds
  • Soil that looks exhausted (compact and lifeless)

These symptoms indicate your plant is hungry for nutrients.


Conclusion

Fertilizer is not just an optional extra—it’s a lifeline for your indoor plants. While water and light are essential, nutrients fuel every aspect of growth, from vibrant leaves to strong roots and beautiful flowers. By understanding what your plants need, choosing the right fertilizer, and applying it correctly, you can ensure your houseplants thrive year-round.

Remember: fertilizing is about balance. Too little, and your plants starve; too much, and they suffer. But with the right knowledge and care, you’ll unlock your indoor garden’s full potential, turning it into a lush, green sanctuary.

The Easiest Indoor Plants for Beginners to Start With

The Easiest Indoor Plants for Beginners to Start With

Bringing plants indoors is one of the simplest ways to brighten a room, improve air quality, and add a touch of nature to daily life. But for beginners, the idea of caring for houseplants can feel intimidating. The fear of overwatering, underwatering, or accidentally killing a plant often discourages many from even starting.

The good news? Not all plants are difficult to grow. Some species are hardy, forgiving, and practically designed for beginners. These plants tolerate irregular watering, lower light, and even the occasional neglect, making them perfect companions for first-time plant parents.

In this guide, we’ll explore the easiest indoor plants for beginners to start with, explain why they’re so beginner-friendly, and provide detailed care tips to help you build confidence and success with your indoor garden.


Why Beginners Should Choose Easy Indoor Plants

Choosing the right plants from the start is crucial for developing a rewarding plant care journey. Beginner-friendly plants:

  • Tolerate neglect: They can survive missed waterings or imperfect conditions.
  • Adapt well: Many thrive in a variety of lighting environments, including low-light rooms.
  • Grow steadily: Their visible progress motivates new plant owners.
  • Require minimal care: No need for complex pruning or specialized soil.

These qualities allow beginners to learn plant basics—like watering and light needs—without feeling overwhelmed.


The Best Beginner-Friendly Indoor Plants

1. Snake Plant (Sansevieria trifasciata)

  • Why it’s easy: Known as “Mother-in-Law’s Tongue,” the Snake Plant is almost indestructible. Its stiff, upright leaves can tolerate neglect, low light, and irregular watering.
  • Care tips:
    • Light: Low to bright indirect light.
    • Water: Once every 2–3 weeks; allow soil to dry completely.
    • Bonus: Excellent air purifier and stylish vertical growth habit.

2. ZZ Plant (Zamioculcas zamiifolia)

  • Why it’s easy: Called the “eternity plant” for a reason, the ZZ Plant is one of the most low-maintenance houseplants. Its waxy, deep-green leaves reflect light and add instant polish to any space.
  • Care tips:
    • Light: Low to medium indirect light; thrives in offices with artificial lighting.
    • Water: Every 3–4 weeks; drought tolerant.
    • Bonus: Virtually pest-free and one of the toughest plants for beginners.

3. Pothos (Epipremnum aureum)

  • Why it’s easy: Pothos is one of the most popular beginner plants due to its rapid growth and forgiving nature. It produces trailing vines that look beautiful in hanging baskets or on shelves.
  • Care tips:
    • Light: Low to bright indirect light.
    • Water: Every 1–2 weeks; check if the top inch of soil is dry.
    • Bonus: Easy to propagate—just cut a stem and place it in water to grow roots.

4. Spider Plant (Chlorophytum comosum)

  • Why it’s easy: Spider Plants are resilient, fast-growing, and produce “baby plants” (called spiderettes) that can be replanted easily.
  • Care tips:
    • Light: Prefers bright indirect light but tolerates low light.
    • Water: Once a week; allow soil to dry slightly between waterings.
    • Bonus: Natural air purifier and fun to multiply by propagating spiderettes.

5. Peace Lily (Spathiphyllum)

  • Why it’s easy: Peace Lilies are elegant plants with glossy leaves and occasional white blooms. They’re forgiving and visibly “tell you” when thirsty by drooping.
  • Care tips:
    • Light: Low to medium indirect light.
    • Water: Once a week or when leaves droop.
    • Bonus: Improves indoor air quality and adds a touch of sophistication.

6. Aloe Vera

  • Why it’s easy: Aloe is both ornamental and functional. Its spiky leaves store water, making it drought tolerant, and the gel inside has soothing properties for burns and cuts.
  • Care tips:
    • Light: Bright, indirect light; can tolerate some direct sunlight.
    • Water: Every 2–3 weeks; let soil dry fully.
    • Bonus: Minimal watering required, plus medicinal uses.

7. Cast Iron Plant (Aspidistra elatior)

  • Why it’s easy: True to its name, this plant is nearly indestructible. It can handle neglect, low light, and varying temperatures.
  • Care tips:
    • Light: Low to medium light; avoid direct sunlight.
    • Water: Every 2–3 weeks; drought tolerant.
    • Bonus: Perfect for darker corners of your home.

8. Rubber Plant (Ficus elastica)

  • Why it’s easy: A hardy, attractive plant with broad, shiny leaves. While it grows large over time, it is surprisingly forgiving for beginners.
  • Care tips:
    • Light: Medium to bright indirect light.
    • Water: Every 1–2 weeks; allow soil to dry slightly.
    • Bonus: Adds bold, architectural beauty to any room.

9. Jade Plant (Crassula ovata)

  • Why it’s easy: A succulent known as the “money plant” or “friendship tree,” Jade is tough and long-living, often passed down through generations.
  • Care tips:
    • Light: Bright indirect light or some direct sunlight.
    • Water: Every 2–3 weeks; water sparingly.
    • Bonus: Symbol of prosperity and good luck.

10. Philodendron (Heartleaf Philodendron)

  • Why it’s easy: Similar to Pothos, this plant is fast-growing and versatile. Its heart-shaped leaves trail beautifully and require little attention.
  • Care tips:
    • Light: Low to medium indirect light.
    • Water: Weekly, allowing the soil surface to dry between waterings.
    • Bonus: Easy to propagate and perfect for hanging planters.

General Care Tips for Beginners

No matter which beginner plant you choose, these universal care tips will help you succeed:

  1. Don’t overwater: Most plants die from too much water rather than too little. Always check soil moisture first.
  2. Choose the right pot: Make sure containers have drainage holes to prevent root rot.
  3. Place appropriately: Even low-light plants need some indirect light to survive.
  4. Dust leaves regularly: Clean leaves allow plants to absorb more light.
  5. Be patient: Growth takes time. Don’t expect dramatic changes overnight.

Common Mistakes Beginners Should Avoid

  • Overwatering: Leads to root rot, the most common cause of plant death.
  • Too much direct sunlight: Burns leaves, especially for shade-loving species.
  • Ignoring plant signals: Yellow leaves often mean overwatering; brown tips can mean low humidity.
  • Starting with difficult plants: Fiddly species like fiddle-leaf figs or orchids are not beginner-friendly.

Styling Ideas with Beginner Plants

  • Snake Plant + ZZ Plant duo: Great for hallways or offices with minimal light.
  • Hanging pothos or philodendron: Adds greenery to shelves or corners.
  • Spider Plant clusters: Place multiple spiderettes in colorful pots for a cheerful display.
  • Peace Lily centerpiece: Perfect for dining or coffee tables.
  • Aloe Vera in the kitchen: Functional and decorative.

Conclusion

Starting your plant journey doesn’t have to be complicated. With beginner-friendly houseplants like Snake Plant, ZZ Plant, Pothos, Spider Plant, and Peace Lily, you can build confidence while enjoying the beauty of greenery indoors. These resilient plants forgive common mistakes and adapt to a variety of home environments, making them ideal for first-time plant owners.

As you care for these easy houseplants, you’ll naturally develop the skills and confidence to try more challenging species in the future. For now, start simple, enjoy the process, and let your indoor plants grow alongside your journey as a plant parent.

How to Make Your Houseplants Grow Faster, According to Experts

How to Make Your Houseplants Grow Faster, According to Experts

Houseplants bring energy, beauty, and life to indoor spaces, but many plant lovers often feel frustrated when their plants seem to grow slowly or stagnate. While some houseplants are naturally slow growers, there are proven strategies to encourage faster, healthier growth. According to plant care experts, the secret lies in providing the right balance of light, water, nutrients, and environmental conditions tailored to each plant’s needs.

In this article, we’ll explore expert-backed tips to make your houseplants grow faster, common mistakes to avoid, and ways to create an environment where plants thrive year-round.


Why Some Houseplants Grow Slowly

Not all slow growth is a sign of poor care. Many species, such as succulents, ZZ plants, and certain palms, naturally have slower growth cycles. However, growth can also be hindered by:

  • Insufficient light – Plants rely on photosynthesis to create energy. Low light slows this process dramatically.
  • Poor soil quality – Compacted or nutrient-deficient soil prevents roots from accessing water and food.
  • Improper watering – Both overwatering and underwatering stress plants, leading to stunted growth.
  • Lack of nutrients – Plants require a steady supply of essential minerals for active growth.
  • Environmental stress – Factors like low humidity, drafts, or temperature fluctuations can weaken plants.

Understanding these growth inhibitors helps you adjust conditions to accelerate growth effectively.


Expert-Backed Strategies for Faster Houseplant Growth

1. Provide Optimal Lighting

Light is the single most important factor for plant growth. Without sufficient light, plants cannot photosynthesize efficiently.

  • Maximize natural light: Place plants near bright, indirect light sources, such as east- or south-facing windows.
  • Supplement with grow lights: For darker rooms, LED grow lights provide the full spectrum of light plants need. Experts recommend 12–16 hours of light per day for optimal growth.
  • Rotate plants: Turning plants every week ensures even light exposure and balanced growth.

Pro Tip: If leaves start stretching toward the light (a sign of legginess), it means the plant needs more brightness.


2. Use the Right Soil Mix

Soil is more than just a medium—it’s the foundation for root health and nutrient delivery.

  • Choose well-draining mixes: Most houseplants thrive in soil with a balance of organic matter (for nutrition) and drainage materials like perlite or sand.
  • Tailor soil to the plant:
    • Succulents and cacti need sandy, fast-draining soil.
    • Tropical plants prefer rich, moisture-retentive soil.
    • Orchids do best in bark-based mixes that allow airflow around roots.
  • Refresh soil annually: Repotting with fresh mix prevents compaction and replenishes nutrients.

3. Master the Art of Watering

Improper watering is the most common cause of stunted houseplants.

  • Follow the “soak and dry” rule: Water thoroughly until excess drains out, then wait until the top inch of soil dries before watering again.
  • Use room-temperature water: Cold water can shock roots, while warm water promotes better absorption.
  • Adjust with the seasons: Plants need more water in spring and summer (active growth) and less in fall and winter (dormancy).

Expert Insight: Overwatering suffocates roots, leading to rot. Always check soil moisture before watering.


4. Fertilize Regularly and Wisely

Fertilizers act like plant food, providing essential nutrients that fuel faster growth.

  • Use balanced fertilizers: A 10-10-10 (nitrogen-phosphorus-potassium) liquid fertilizer works well for most houseplants.
  • Apply during growing season: Fertilize every 2–4 weeks in spring and summer, but reduce or stop in winter.
  • Avoid overfertilizing: Too much fertilizer can burn roots and damage plants. Always dilute liquid fertilizers to half the recommended strength.

Nutrient Roles:

  • Nitrogen promotes leafy growth.
  • Phosphorus aids root development and blooming.
  • Potassium boosts overall strength and disease resistance.

5. Ensure Proper Humidity and Temperature

Many houseplants originate from tropical environments where humidity is high and temperatures are stable.

  • Maintain ideal humidity: Aim for 40–60%. Use a humidifier, mist leaves lightly, or place pebble trays under pots.
  • Avoid drafts and extremes: Keep plants away from heaters, air conditioners, or drafty windows.
  • Keep consistent temperatures: Most plants thrive between 65–75°F (18–24°C).

Pro Tip: Brown leaf tips often signal low humidity, while sudden leaf drop may indicate temperature stress.


6. Prune and Propagate for Growth

Pruning helps plants focus their energy on new shoots instead of sustaining old or damaged leaves.

  • Trim yellow or dead leaves: This improves airflow and encourages new growth.
  • Pinch back leggy stems: This stimulates bushier, fuller growth.
  • Propagate cuttings: Many plants, like pothos or philodendron, grow faster when regularly trimmed and propagated.

7. Repot When Needed

A plant that has outgrown its pot may become root-bound, limiting growth.

  • Check for root binding: If roots circle the pot or poke through drainage holes, it’s time to repot.
  • Choose the right pot size: Go up only one size larger—too big a pot increases the risk of overwatering.
  • Refresh soil with nutrients: Repotting not only frees roots but also gives plants access to fresh minerals.

8. Use Plant Boosters (Safely)

Some gardeners use natural boosters to encourage faster growth:

  • Compost tea – Adds beneficial microbes and nutrients.
  • Diluted seaweed extract – Provides trace minerals and stimulates root development.
  • Epsom salt solution – Supplies magnesium, which helps chlorophyll production.

Always use sparingly and test on one plant before applying widely.


9. Keep Plants Clean

Dusty leaves block light absorption, slowing photosynthesis.

  • Wipe leaves gently with a damp cloth every few weeks.
  • Use soft brushes for fuzzy-leaved plants like African violets.
  • Shower plants occasionally with lukewarm water to remove dust and pests.

10. Watch for Pests and Diseases

Pests like spider mites, aphids, and fungus gnats can drastically slow growth.

  • Inspect leaves regularly (especially undersides).
  • Isolate new plants before introducing them to your collection.
  • Use natural remedies such as neem oil, insecticidal soap, or sticky traps.

Healthy plants resist pests better, so prevention is key.


Common Mistakes That Slow Growth

Experts highlight several common errors that plant owners make:

  1. Overwatering or underwatering – The #1 killer of houseplants.
  2. Using the wrong soil – Garden soil compacts and suffocates roots indoors.
  3. Neglecting seasonal changes – Plants need more care in spring/summer than in fall/winter.
  4. Ignoring light requirements – Even low-light plants need some brightness.
  5. Overcrowding plants – Too many plants close together can compete for resources and airflow.

Fastest-Growing Houseplants for Beginners

If you’re eager to see results quickly, experts recommend these species:

  • Pothos – Vigorous vines that grow several feet per year.
  • Spider Plant – Produces long arching leaves and baby “spiderettes.”
  • Philodendron – Fast-growing climbers perfect for hanging baskets.
  • Snake Plant – Grows steadily with minimal care.
  • ZZ Plant – Resilient and grows new shoots even in low light.

Conclusion

Making houseplants grow faster isn’t about shortcuts—it’s about creating the ideal environment for them to thrive. Experts agree that the key factors are proper light, soil, water, nutrients, and a stable environment. By fine-tuning each of these elements, you’ll notice your plants producing stronger roots, fuller leaves, and faster new growth.

Whether you’re nurturing a single pothos or curating a lush indoor jungle, consistent care and attention will transform your plants from slow growers into thriving, vibrant companions. With these expert-backed strategies, your houseplants won’t just survive—they’ll flourish.

The Best Low-Light Plants to Brighten Dark Rooms

The Best Low-Light Plants to Brighten Dark Rooms

Not every home or office is blessed with abundant natural light. Some rooms face north, others have small windows, and many are shaded by surrounding buildings or trees. Yet, even in these dim spaces, you can still enjoy the beauty and benefits of houseplants. The key is choosing species that naturally thrive in low-light conditions.

This guide explores the best low-light plants to brighten dark rooms, with detailed care tips, benefits, and ways to style them in your living spaces.


Why Low-Light Plants Are Essential

Low-light plants are perfect for apartments, basements, bathrooms, or offices where natural sunlight is scarce. Unlike sun-loving plants, these species adapt to indirect light, artificial light, or shaded corners. Beyond aesthetics, they also:

  • Purify the air by removing toxins such as benzene and formaldehyde.
  • Improve mood and reduce stress, even in workspaces.
  • Add natural décor, making dull corners feel lively and inviting.
  • Require minimal maintenance, which makes them ideal for beginners or busy lifestyles.

Factors to Consider When Choosing Low-Light Plants

Before selecting your greenery, keep these factors in mind:

  1. Light Tolerance
    • “Low-light” doesn’t mean “no light.” These plants still need some indirect or artificial light to survive.
  2. Humidity Needs
    • Bathrooms and kitchens provide higher humidity, while bedrooms and offices may be drier. Choose plants accordingly.
  3. Growth Habits
    • Some grow tall and upright, while others trail beautifully from shelves. Select based on the space you want to brighten.
  4. Maintenance Level
    • If you’re new to plants, start with hardy species like Snake Plant or ZZ Plant that require minimal care.

Top Low-Light Plants for Dark Rooms

1. Snake Plant (Sansevieria trifasciata)

  • Why it’s great: One of the toughest houseplants, the Snake Plant tolerates low light, irregular watering, and neglect. Its tall, sword-like leaves add vertical drama to any space.
  • Care tips:
    • Water only when soil is completely dry.
    • Tolerates fluorescent lighting, making it perfect for offices.
    • Avoid overwatering to prevent root rot.
  • Bonus: It’s one of NASA’s top-rated air-purifying plants.

2. ZZ Plant (Zamioculcas zamiifolia)

  • Why it’s great: Known as the “plant of steel,” the ZZ Plant survives in dim corners where most others fail. Its glossy, deep-green leaves reflect light beautifully, instantly brightening dark spaces.
  • Care tips:
    • Requires very little water—every 2–3 weeks is enough.
    • Thrives in artificial light but avoid direct sun.
    • Use a well-draining potting mix.
  • Bonus: Virtually pest-free and long-living.

3. Pothos (Epipremnum aureum)

  • Why it’s great: A trailing beauty, Pothos can brighten shelves, desks, or hanging baskets with its cascading vines. Its variegated leaves (green, white, yellow, or neon) add brightness even in shaded areas.
  • Care tips:
    • Tolerates both low light and artificial light.
    • Water when the top inch of soil dries out.
    • Easy to propagate from cuttings.
  • Bonus: Excellent for purifying indoor air.

4. Peace Lily (Spathiphyllum)

  • Why it’s great: Peace Lilies are elegant plants with glossy leaves and white blooms that thrive in low light. They’re known to brighten gloomy corners with their striking contrast.
  • Care tips:
    • Keep soil consistently moist but not soggy.
    • Prefers higher humidity—great for bathrooms.
    • Wipe leaves regularly to prevent dust buildup.
  • Bonus: Excellent at filtering toxins like ammonia and formaldehyde.

5. Cast Iron Plant (Aspidistra elatior)

  • Why it’s great: True to its name, this plant is almost indestructible. It thrives in dark rooms, low humidity, and even irregular care.
  • Care tips:
    • Water only when the soil dries out.
    • Avoid overfertilizing—once every 2–3 months is enough.
    • Can handle cooler temperatures.
  • Bonus: Perfect for beginners who want a zero-fuss plant.

6. Chinese Evergreen (Aglaonema)

  • Why it’s great: A colorful low-light option, Chinese Evergreen offers patterned leaves in shades of green, silver, pink, or red. Even in dim rooms, its foliage pops with vibrancy.
  • Care tips:
    • Prefers indirect or low light but avoid cold drafts.
    • Water moderately, allowing the topsoil to dry before watering again.
    • Ideal for bedrooms or hallways.
  • Bonus: Adds color variety without needing sunlight.

7. Philodendron (Heartleaf Philodendron)

  • Why it’s great: With heart-shaped trailing leaves, this plant is excellent for hanging baskets or bookshelves in low-light areas.
  • Care tips:
    • Tolerates artificial lighting well.
    • Water sparingly; too much moisture can cause root rot.
    • Trim vines to encourage fuller growth.
  • Bonus: Easy to propagate for more plants.

8. Dracaena

  • Why it’s great: Dracaena species, especially Dracaena fragrans (Corn Plant), can thrive in dim rooms while adding height and structure. Their long, striped leaves create a tropical feel.
  • Care tips:
    • Keep soil slightly moist.
    • Avoid direct sunlight, which can scorch leaves.
    • Works well in offices with fluorescent lights.
  • Bonus: Known for filtering toxins like benzene and trichloroethylene.

9. Maidenhair Fern (Adiantum)

  • Why it’s great: Delicate and airy, this fern thrives in shady, humid spots. Its feathery foliage adds softness to darker areas.
  • Care tips:
    • Needs consistently moist soil.
    • Prefers high humidity—perfect for bathrooms.
    • Keep away from drafts or dry heaters.
  • Bonus: Adds a refreshing, elegant texture to dark corners.

10. Calathea (Prayer Plant)

  • Why it’s great: Known for its striking leaf patterns and unique “prayer-like” movement at night, Calathea brings vibrancy to dim rooms.
  • Care tips:
    • Thrives in medium to low indirect light.
    • Loves humidity, so mist regularly or use a humidifier.
    • Keep soil moist but not soggy.
  • Bonus: A non-toxic plant, safe for homes with pets.

Styling Ideas to Brighten Dark Rooms

  • Use reflective surfaces: Place plants near mirrors to amplify both light and greenery.
  • Group plants together: A cluster of different textures and heights creates a lush, bright effect.
  • Hanging displays: Pothos, Philodendrons, or ferns look stunning in hanging planters in dark corners.
  • Colorful pots: Bright ceramic or metallic pots add extra cheer to shaded areas.
  • Plant stands and shelves: Elevate plants to catch more ambient or artificial light.

Tips for Success with Low-Light Plants

  1. Rotate plants regularly so all sides receive light evenly.
  2. Dust leaves to allow maximum light absorption.
  3. Supplement with grow lights if natural light is extremely limited.
  4. Avoid overwatering, the most common cause of death in low-light plants.
  5. Observe signs—yellowing leaves may indicate overwatering, while leggy growth means the plant needs more light.

Conclusion

Dark rooms don’t have to feel lifeless. With the right low-light plants, you can bring vibrancy, texture, and freshness into any space. From the hardy Snake Plant and ZZ Plant to the elegant Peace Lily and colorful Calathea, these species thrive where sunlight is scarce.

By combining thoughtful selection, proper care, and creative styling, you can transform even the gloomiest corners into lush, inviting spaces. Low-light plants prove that with a little greenery, every room can feel brighter, healthier, and more alive.