7 Signs Your Garden Beds Need Fresh Soil

7 Signs Your Garden Beds Need Fresh Soil

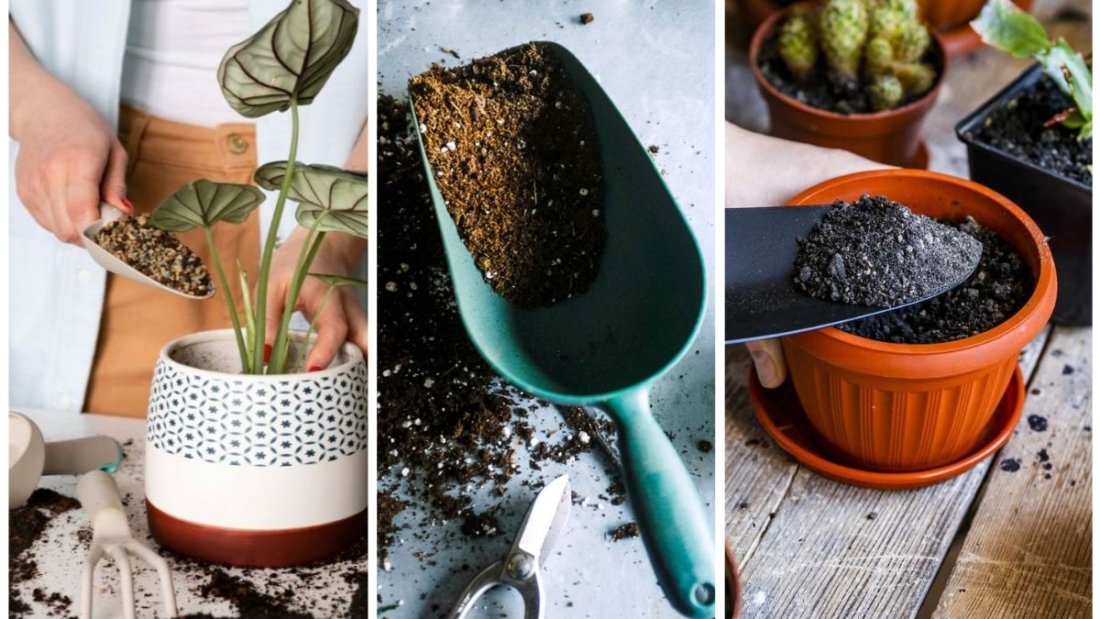
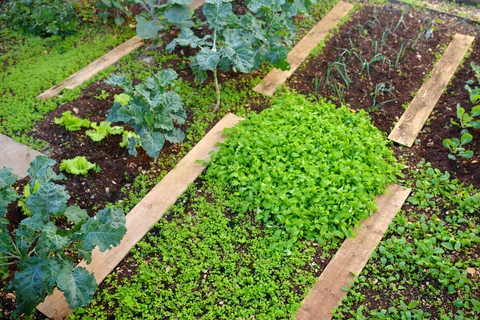
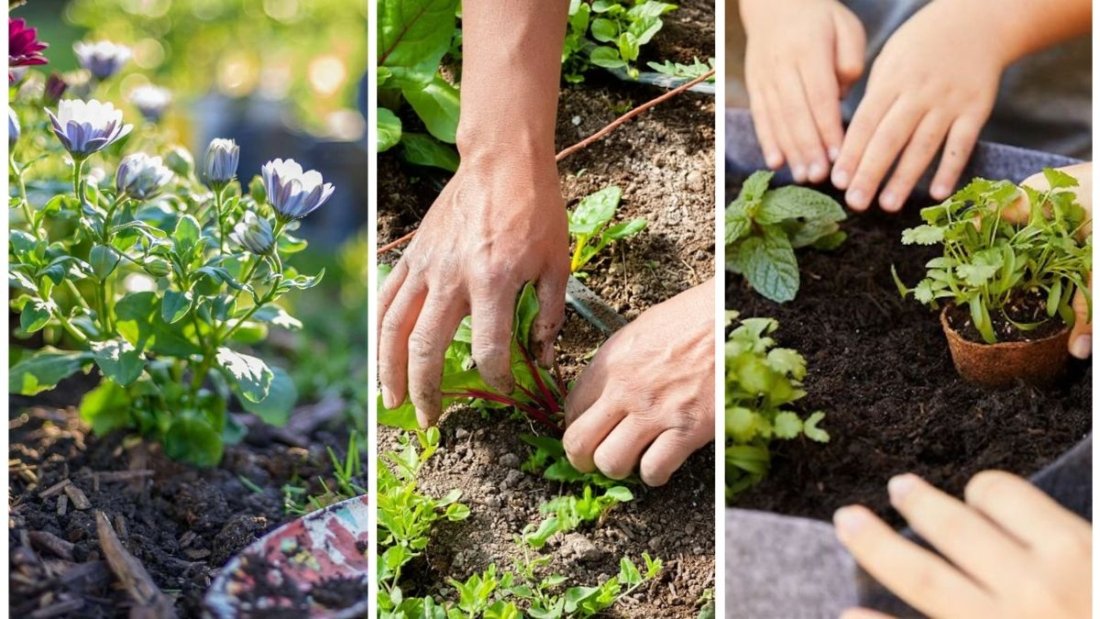
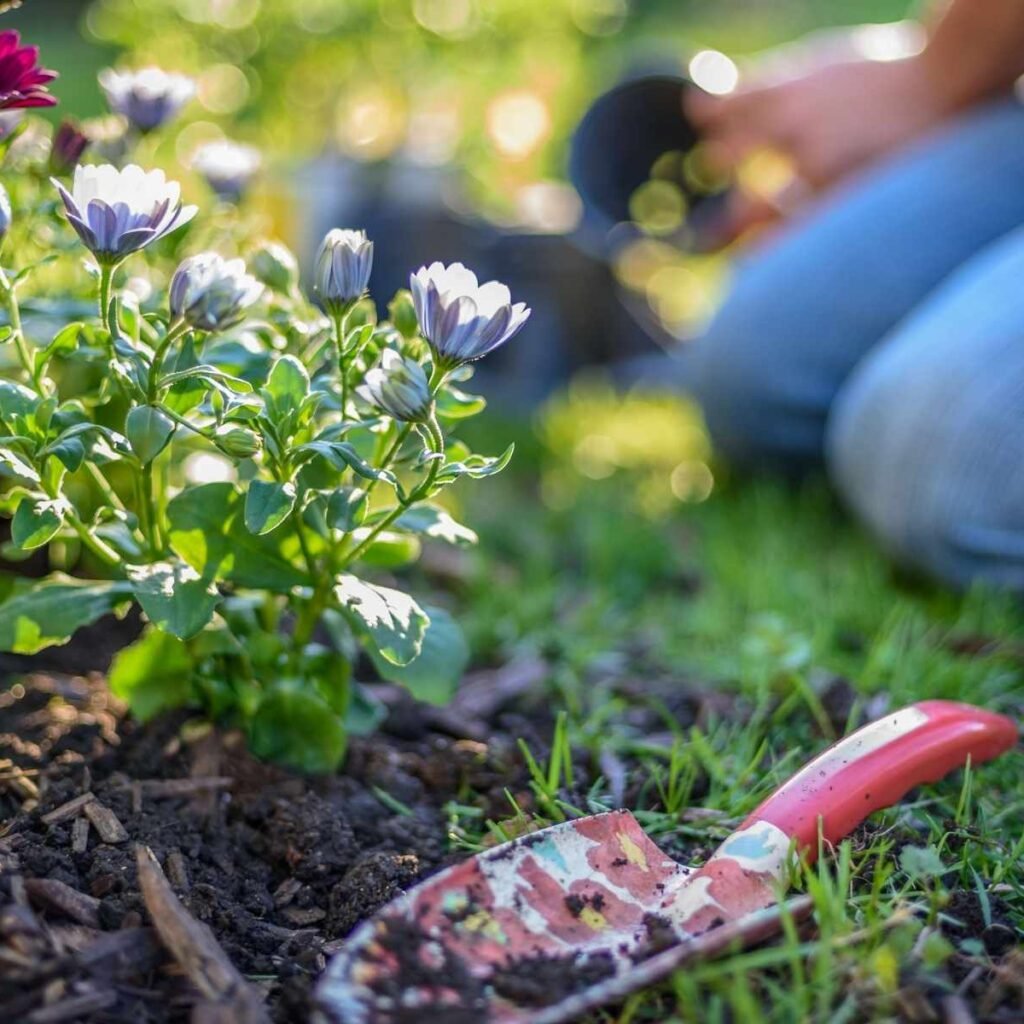
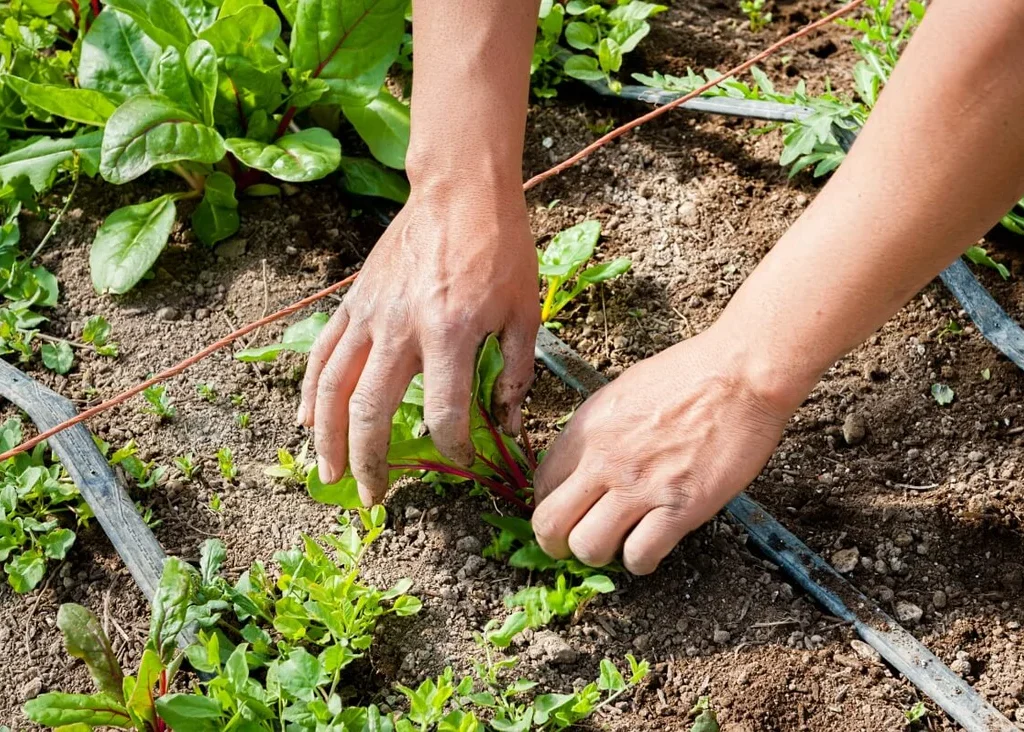
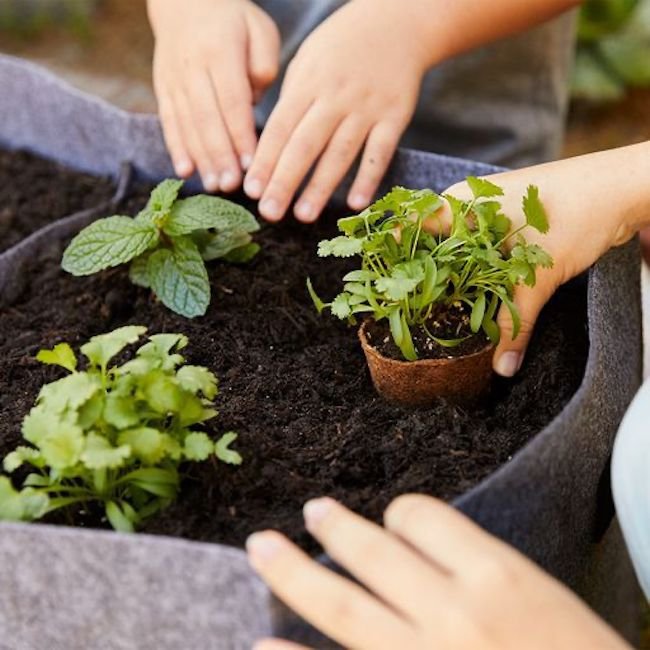
A healthy garden starts with healthy soil. Whether you’re cultivating a vibrant flower bed or growing your own vegetables, the quality of your soil plays a crucial role in plant health, yield, and overall garden vitality. Over time, even the most fertile garden beds can lose their strength and structure, leading to diminished results and frustrated gardeners. But how can you tell when it’s time to rejuvenate your garden soil?

In this article, we explore 7 clear signs that your garden beds need fresh soil, backed by scientific insights and practical gardening experience.


1. Poor Plant Growth Despite Adequate Care

You’ve followed all the rules—watering regularly, feeding your plants, ensuring they get the right sunlight—yet your plants are still stunted, yellowing, or sparse. This is often the first and most noticeable sign that your soil is exhausted.

Why It Happens:

  • Nutrient depletion: Plants continuously extract nutrients like nitrogen (N), phosphorus (P), and potassium (K) from the soil. Without replenishment, these essential elements diminish.
  • Soil fatigue: Continuous cropping of the same plants (especially heavy feeders like tomatoes and corn) leads to specific nutrient exhaustion and microbial imbalance.

What to Do:

  • Perform a soil test to check for NPK levels and pH.
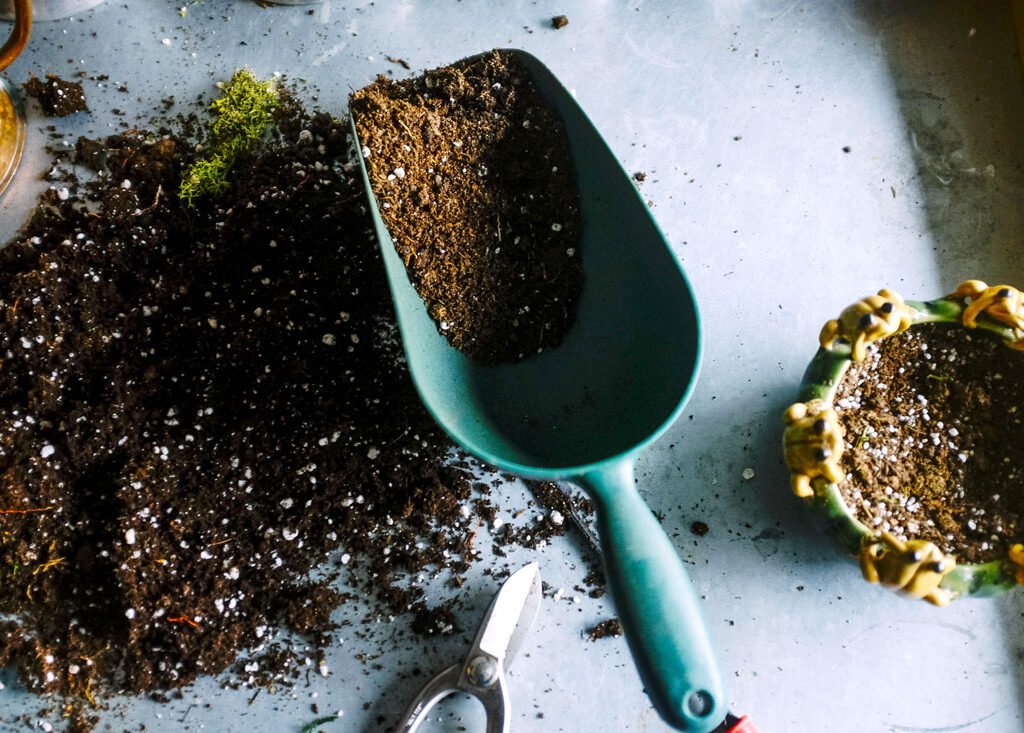
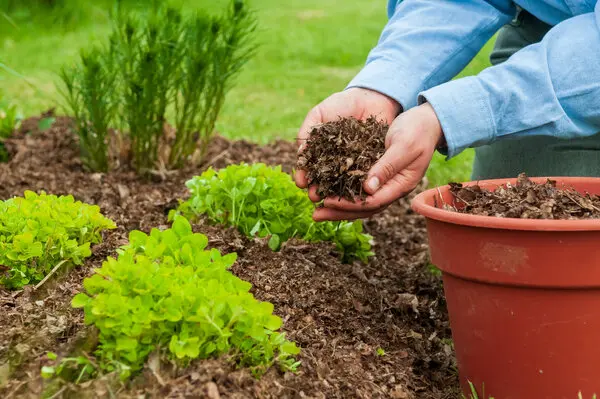
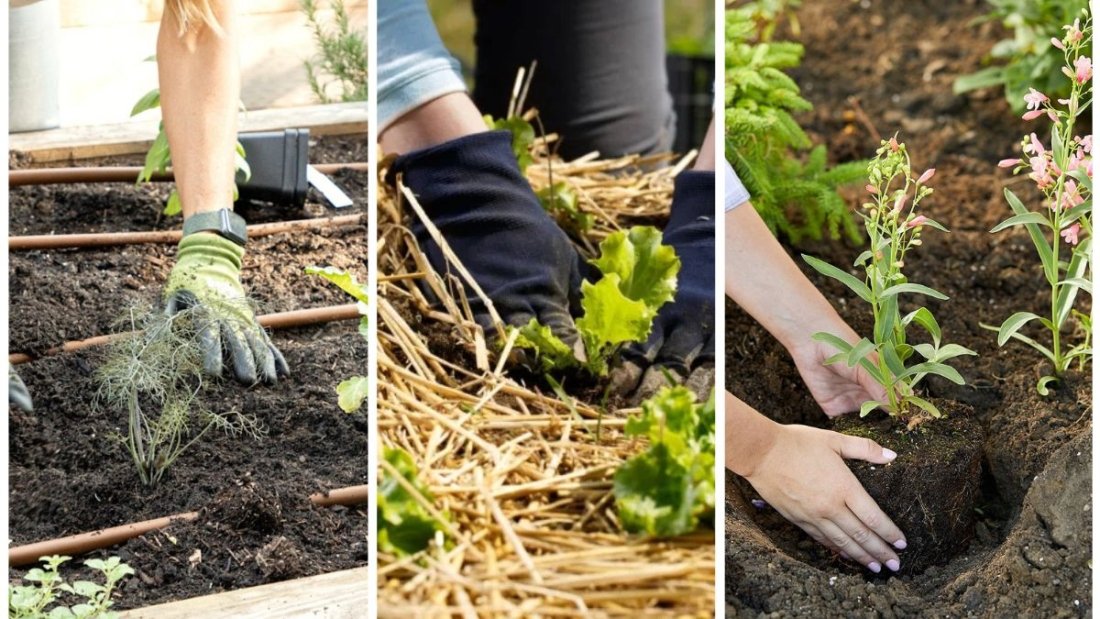
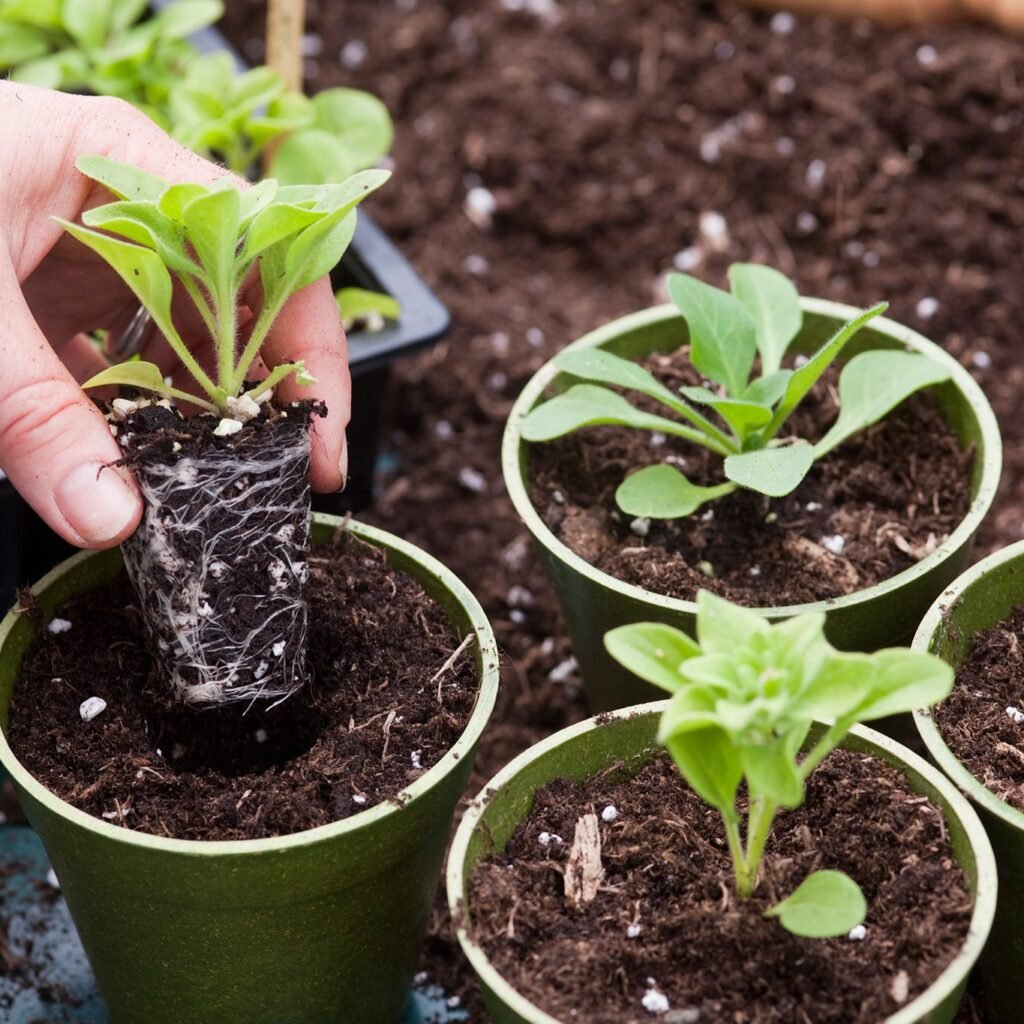
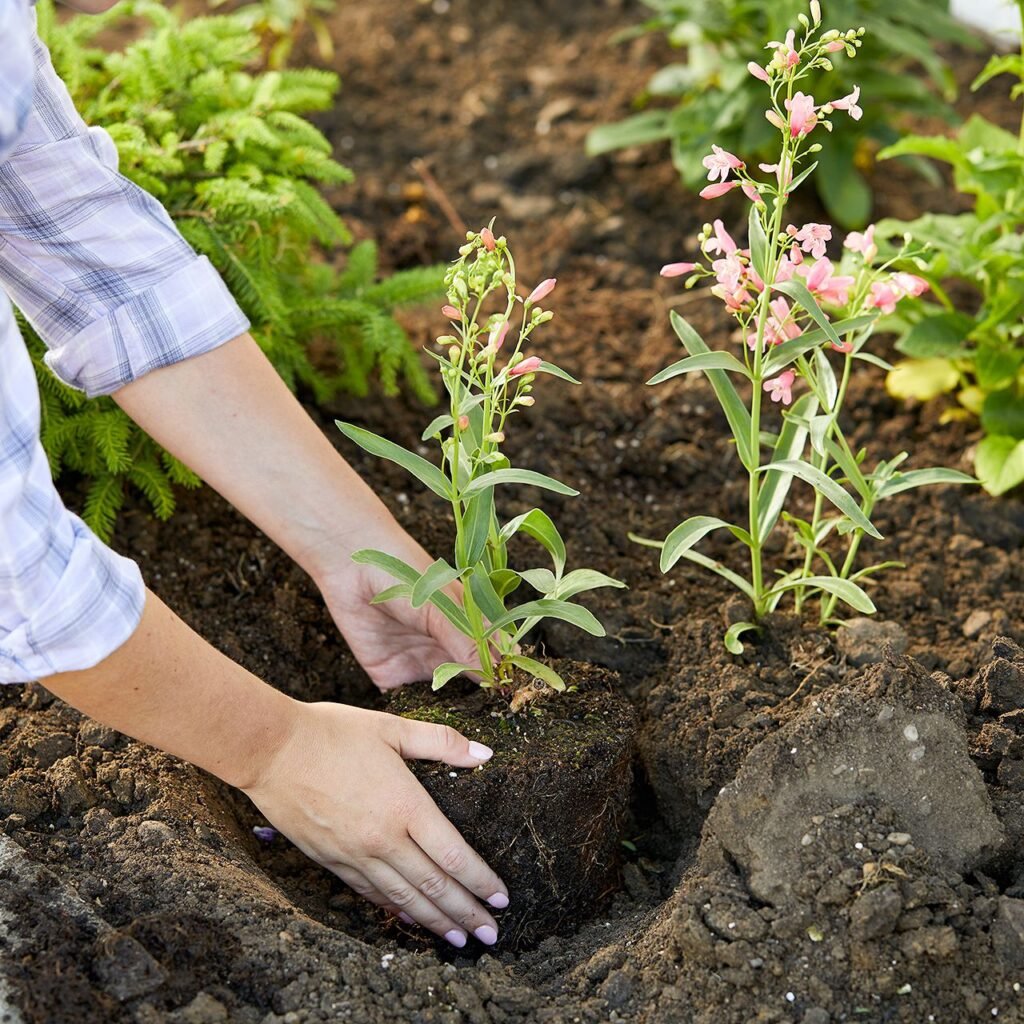
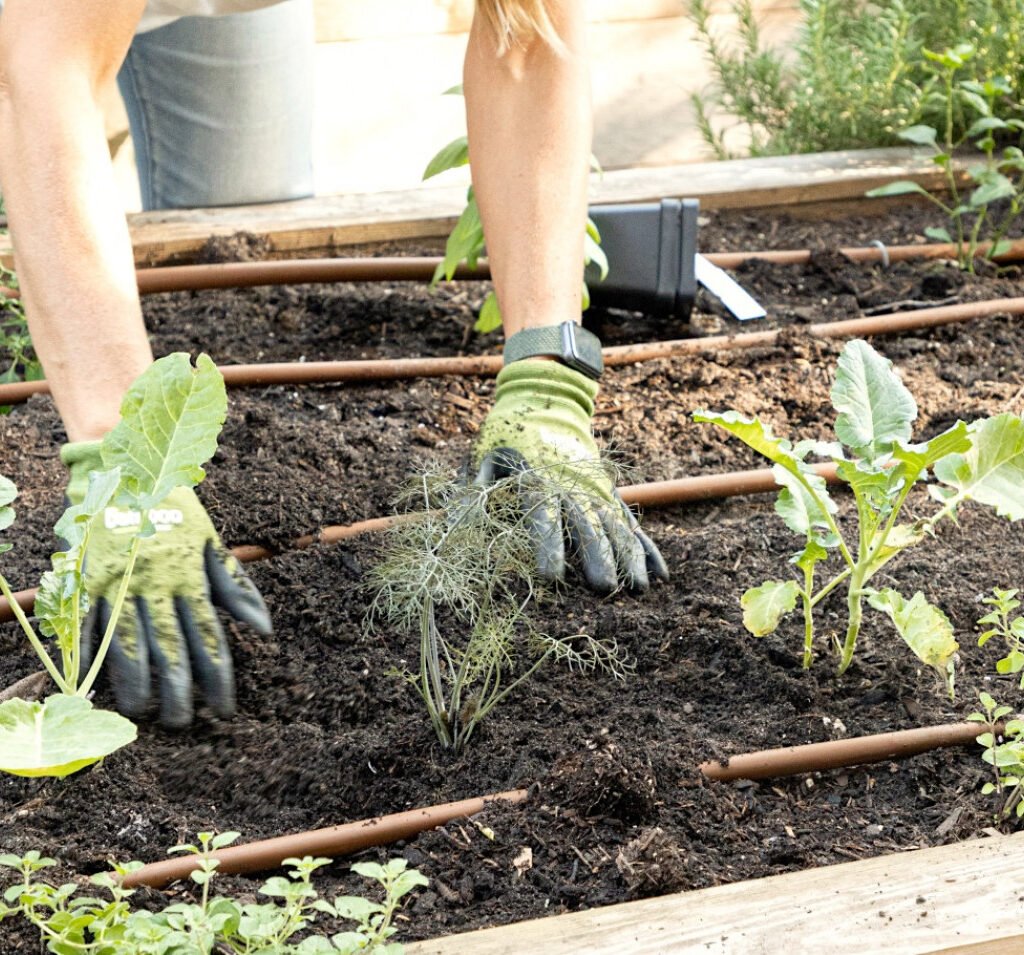
  • Consider adding a fresh layer of rich, organic soil or compost.
  • Practice crop rotation or interplanting with legumes to naturally replenish nitrogen.

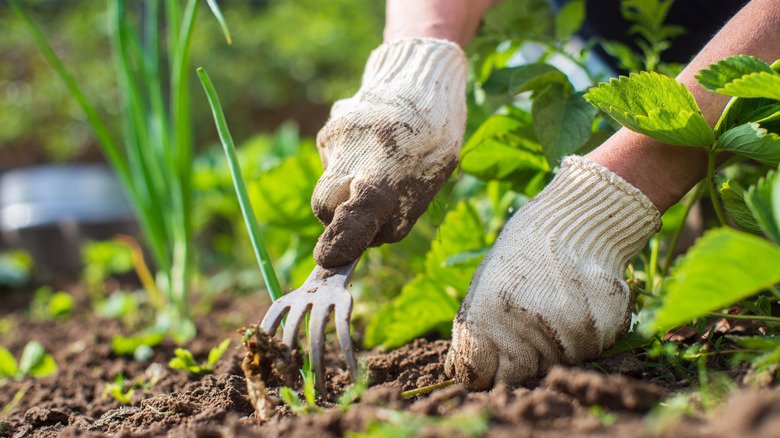
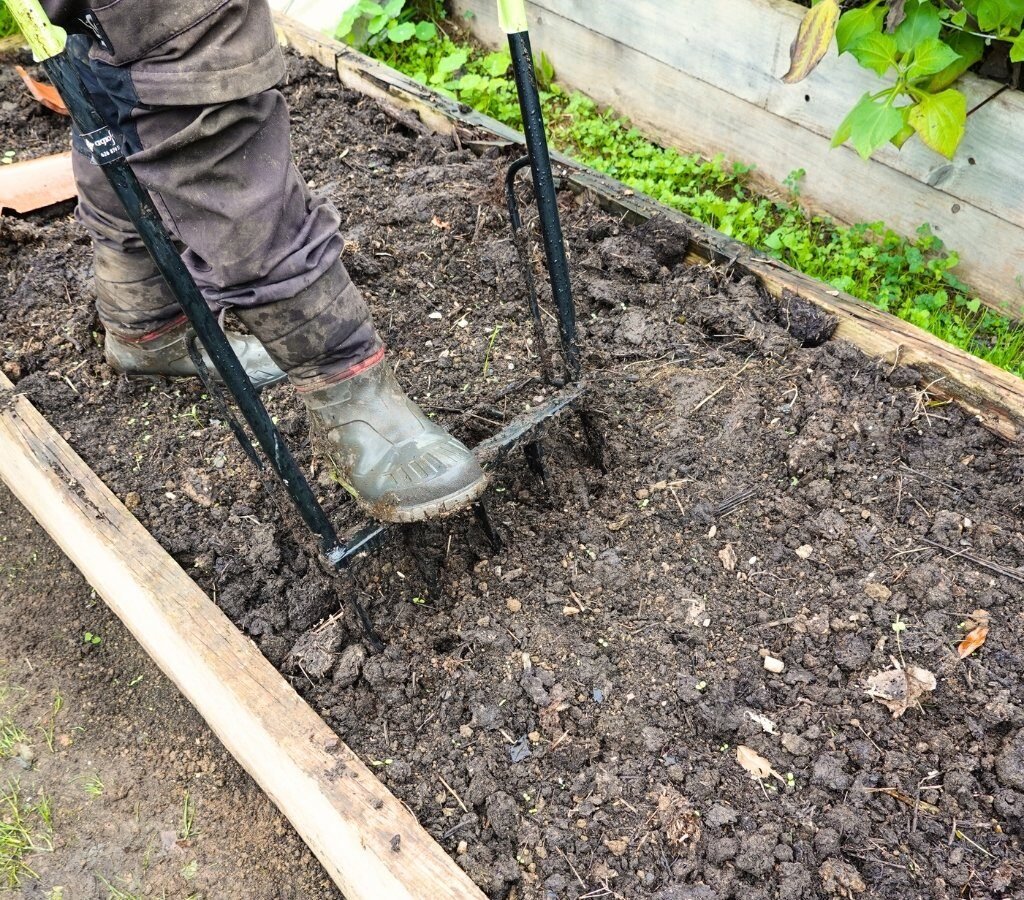
2. Compacted and Hard Soil Structure

Healthy garden soil should be loose, crumbly, and well-aerated. If your soil has become hard, dense, or compacted, it’s time to take action.

Why It Happens:

  • Frequent foot traffic, heavy rainfall, or over-tilling can lead to soil compaction.
  • Over time, organic matter breaks down and the soil loses its structure.

Problems It Causes:

  • Poor root development
  • Limited oxygen availability for roots
  • Increased water runoff instead of absorption

Solution:

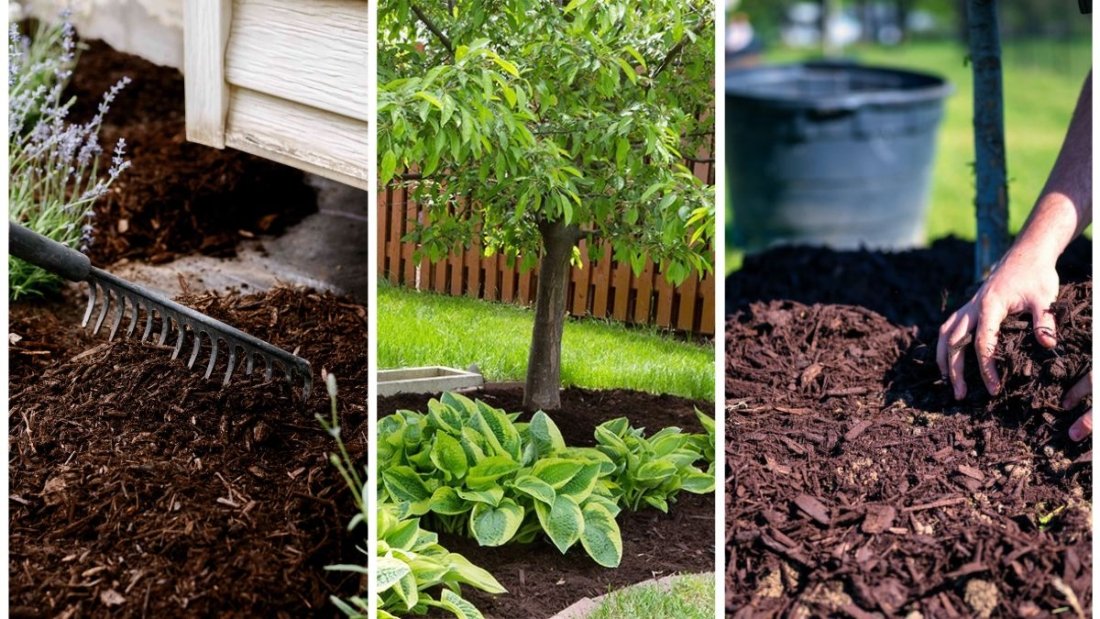
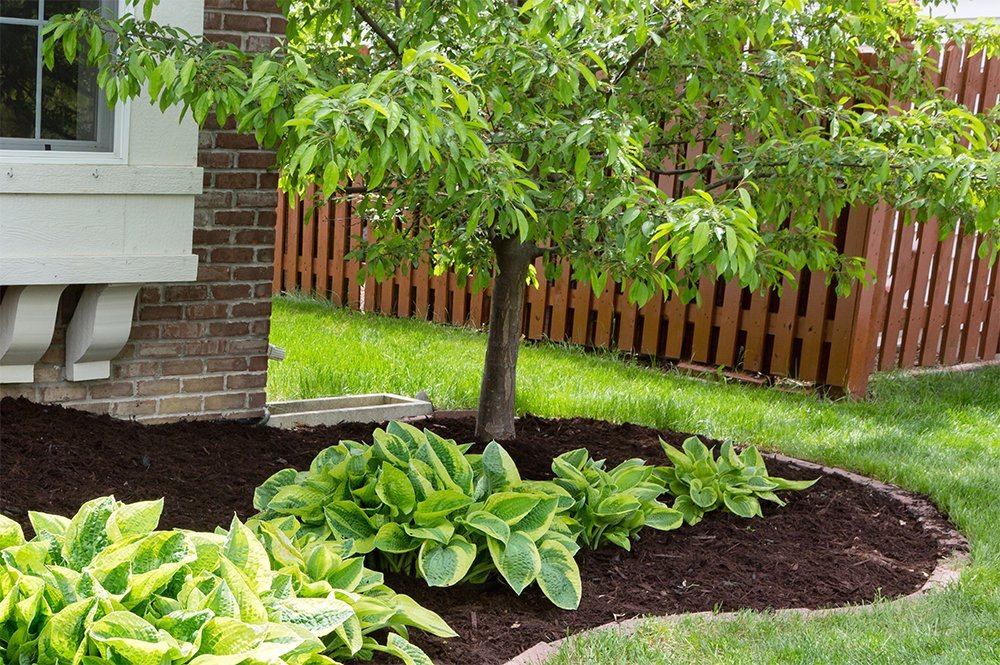
  • Add fresh, aerated soil mixed with compost or peat moss.
  • Use a broadfork or garden fork to gently loosen compacted layers.
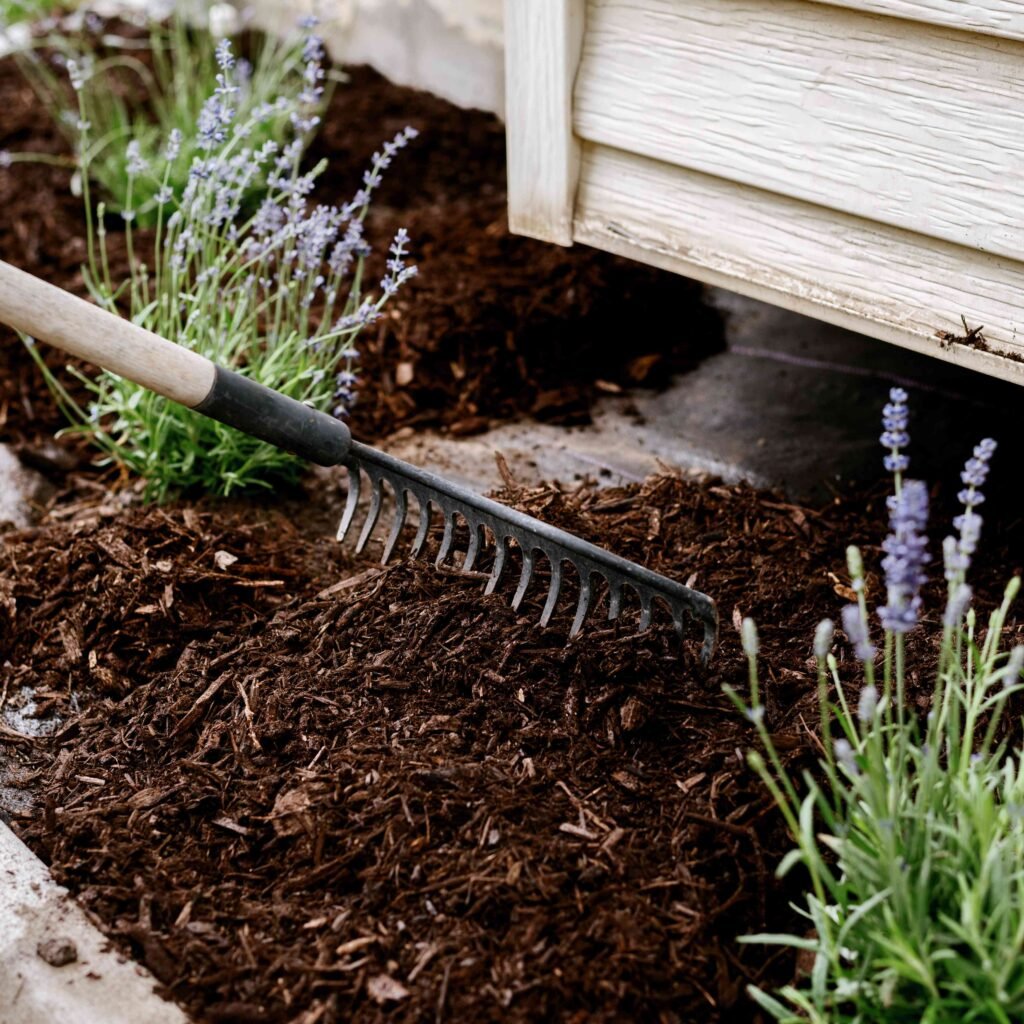
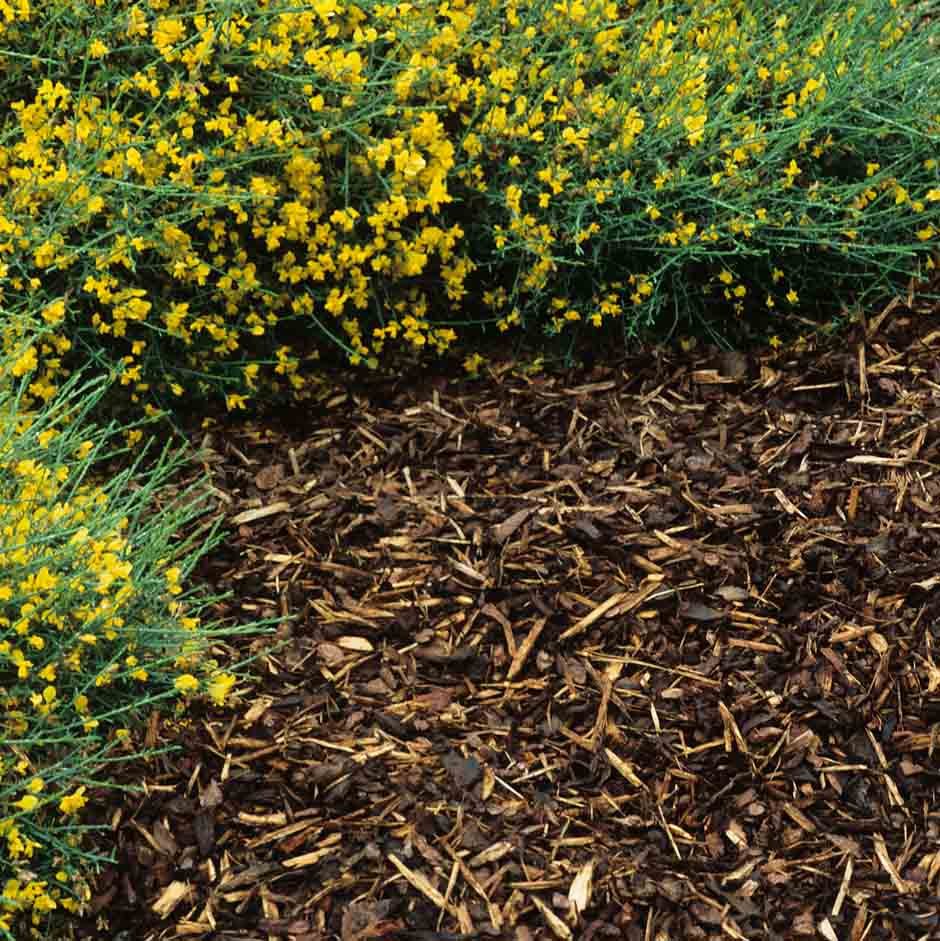
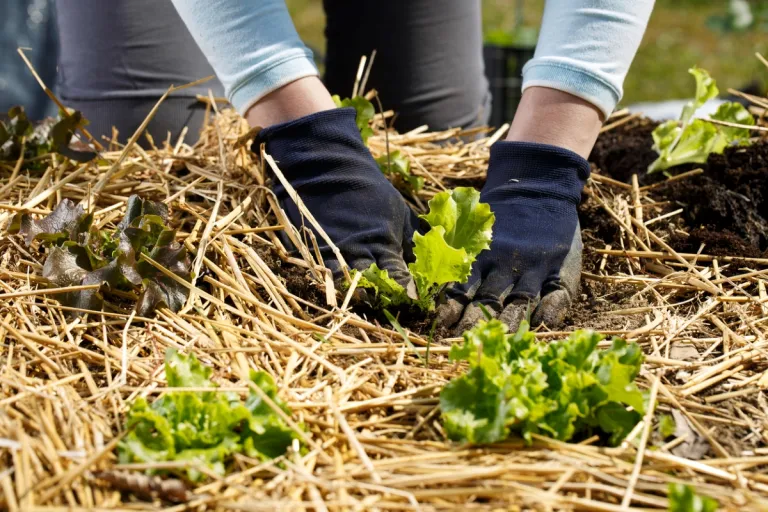
  • Apply mulch to reduce compaction from rain impact.

3. Water Doesn’t Drain Properly

Whether your garden bed is waterlogged or dries out too quickly, drainage problems indicate an imbalance in soil texture and composition.

Signs:

  • Puddles remain long after watering or rain.
  • Soil feels soggy or stays too dry no matter how much you water.
  • Plant roots rot or dry up inconsistently.

Why It Happens:

  • Clay-heavy soil retains water and reduces drainage.
  • Sandy soil drains too fast and lacks moisture retention.
  • Decomposed organic matter shrinks over time, reducing water-holding capacity.

What to Do:

  • Add fresh, well-balanced soil mix with equal parts sand, silt, and clay (loam).
  • Mix in perlite, vermiculite, or compost to enhance drainage and water retention.

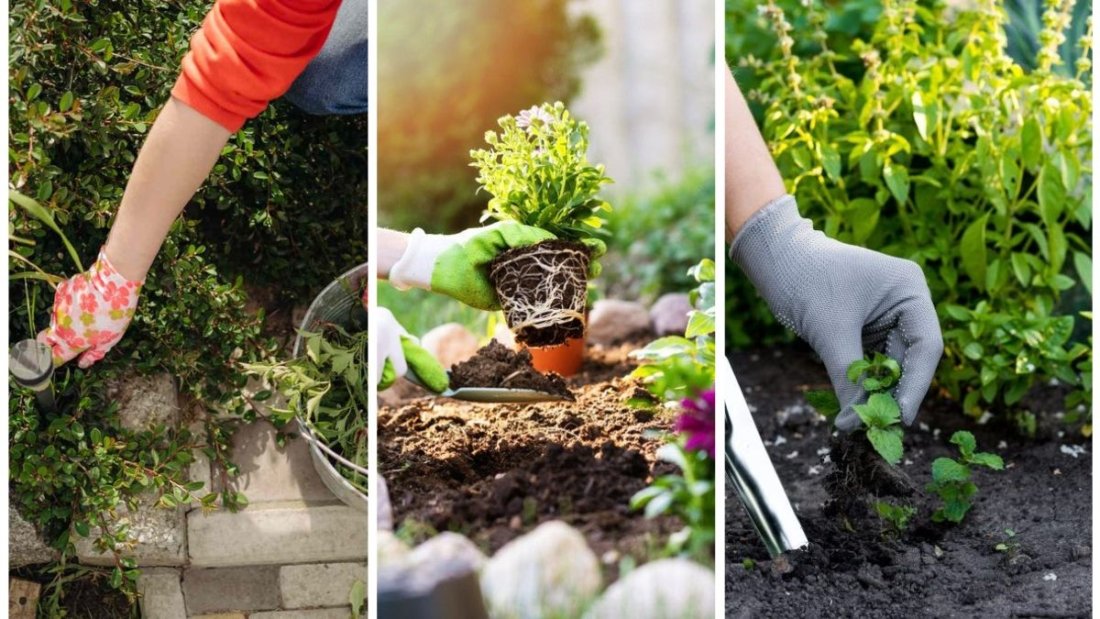
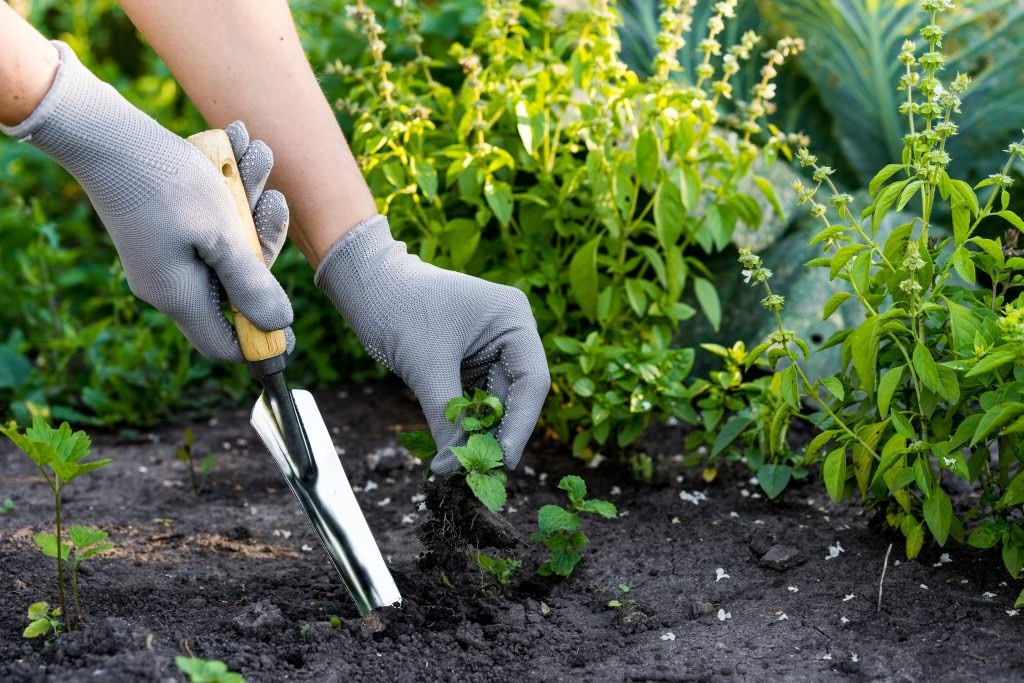
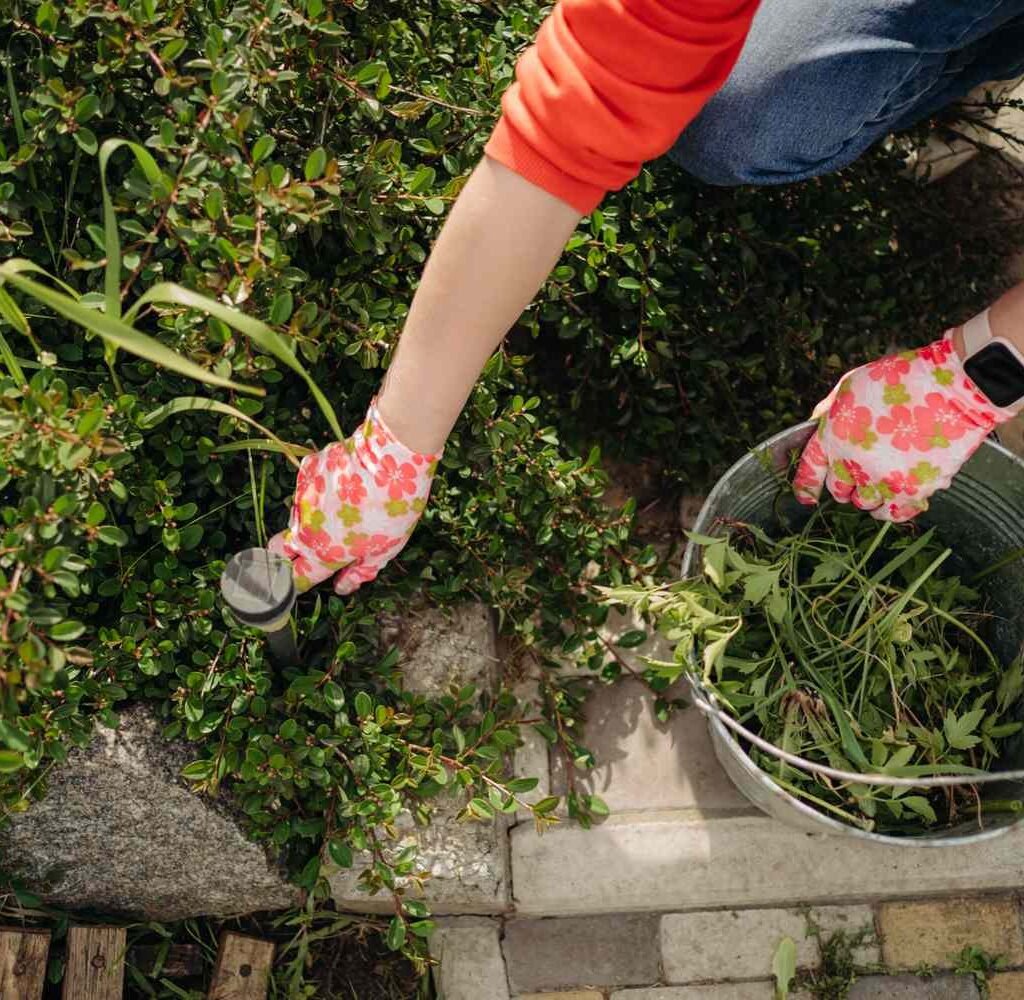
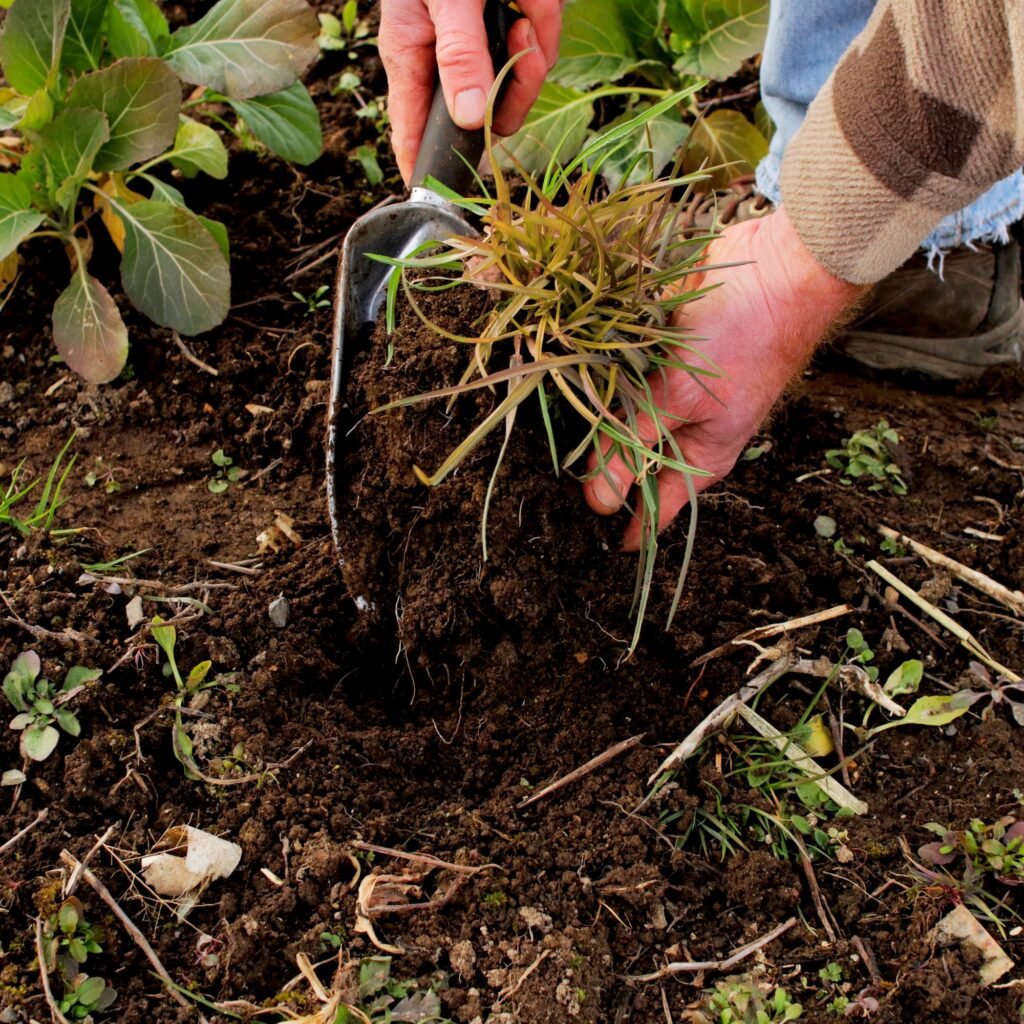
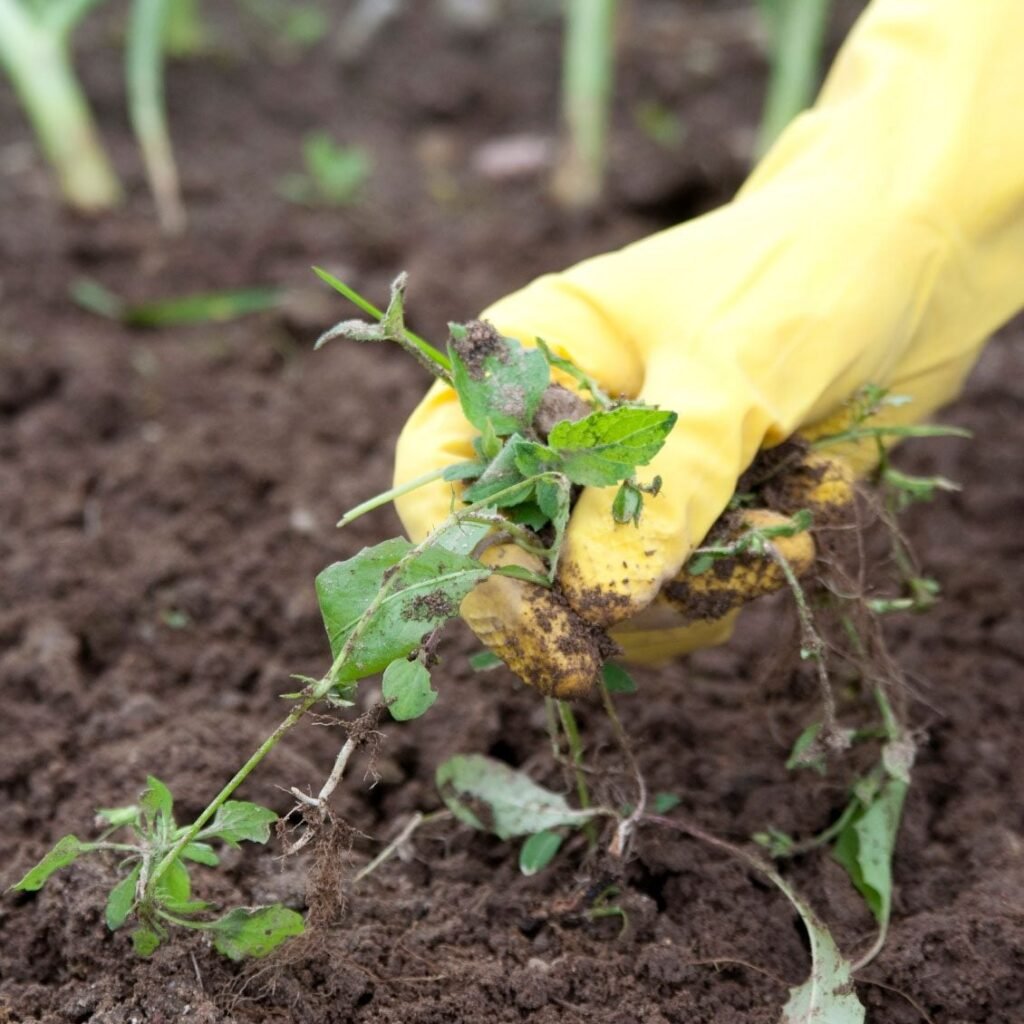
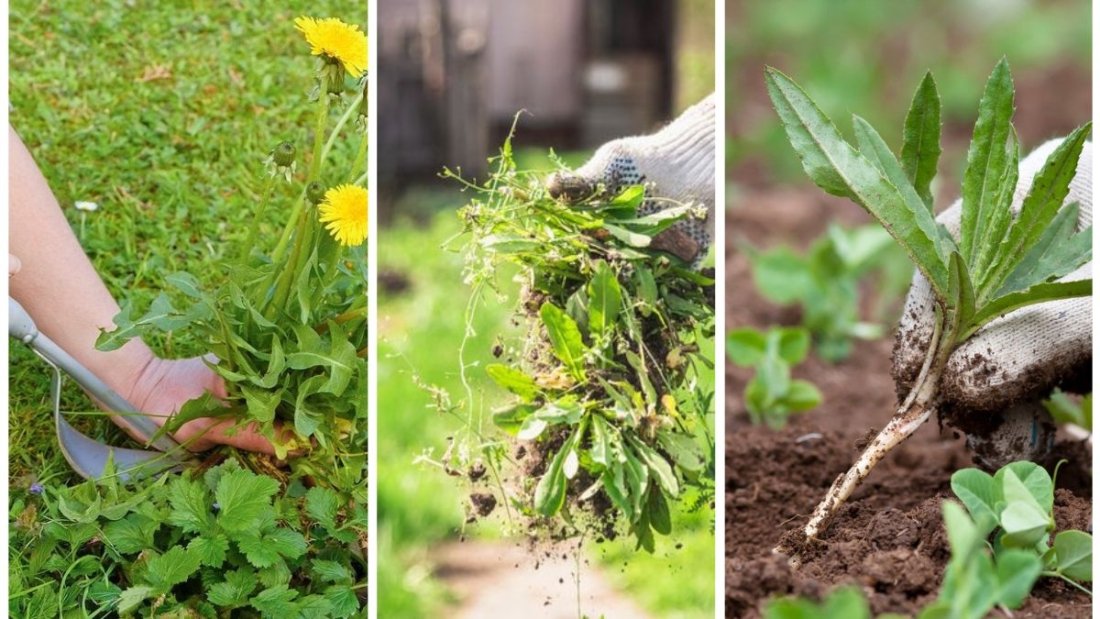
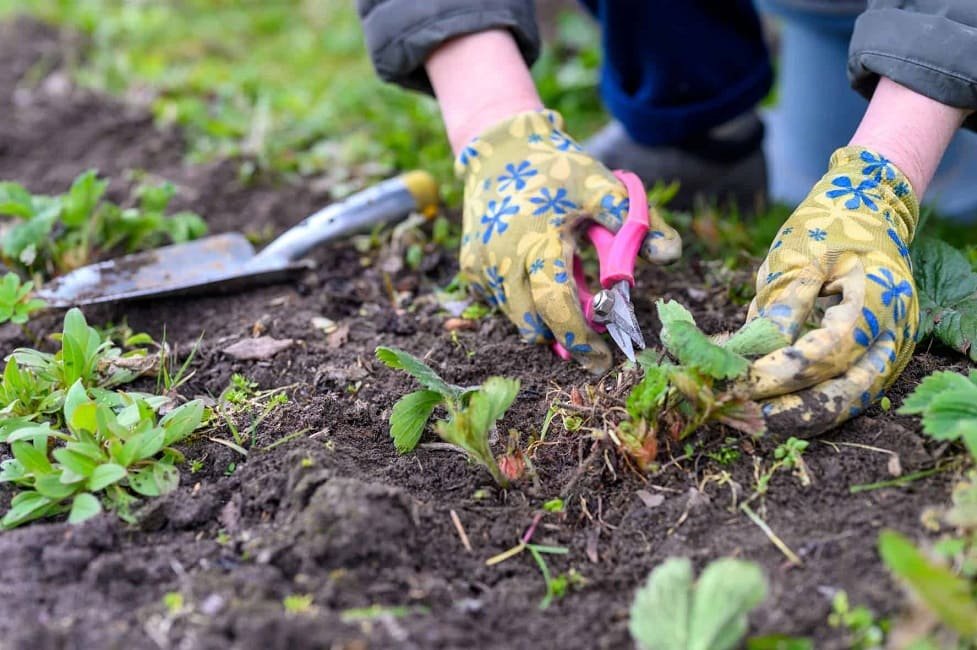
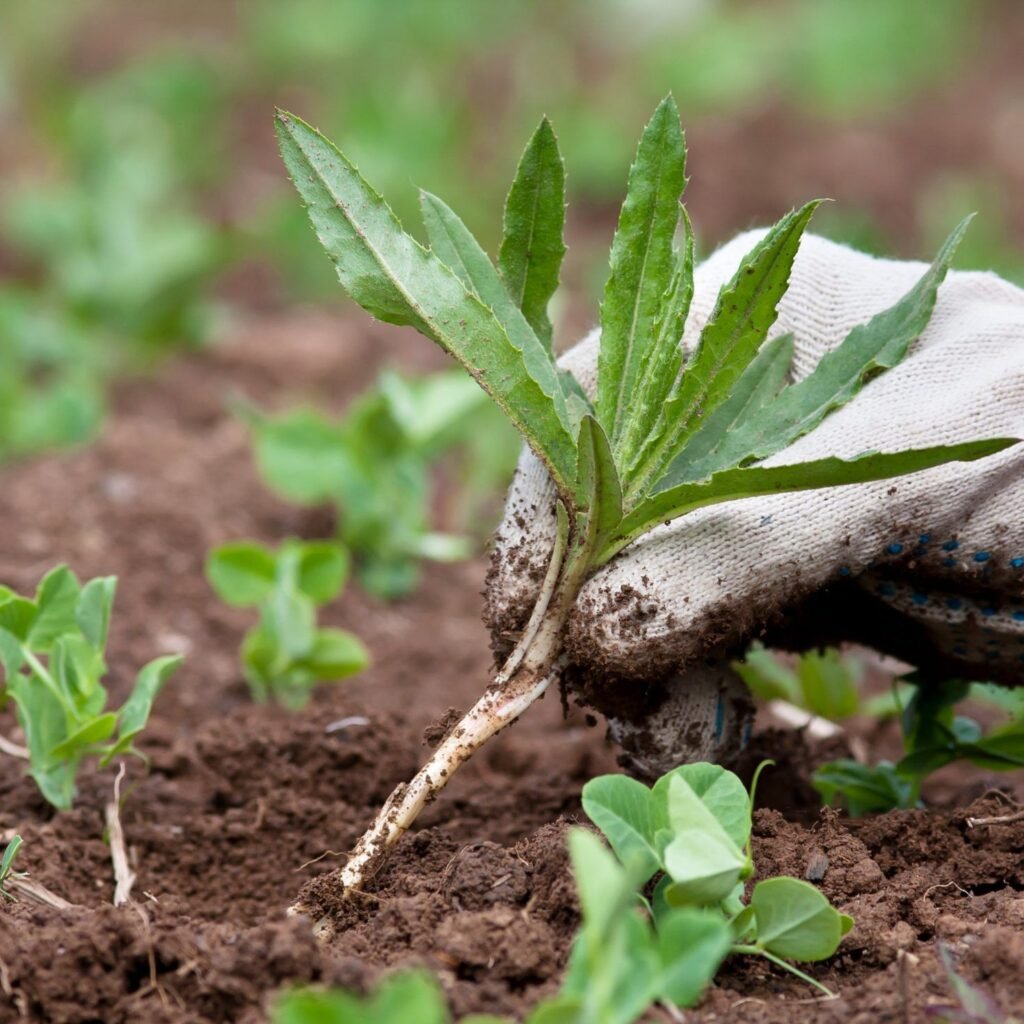
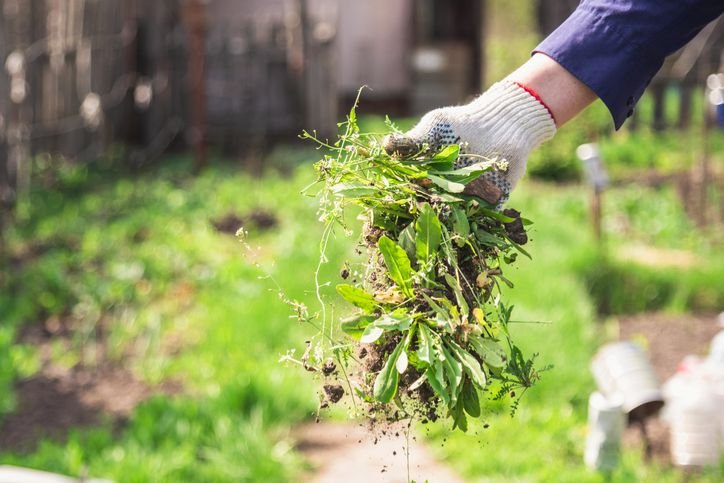
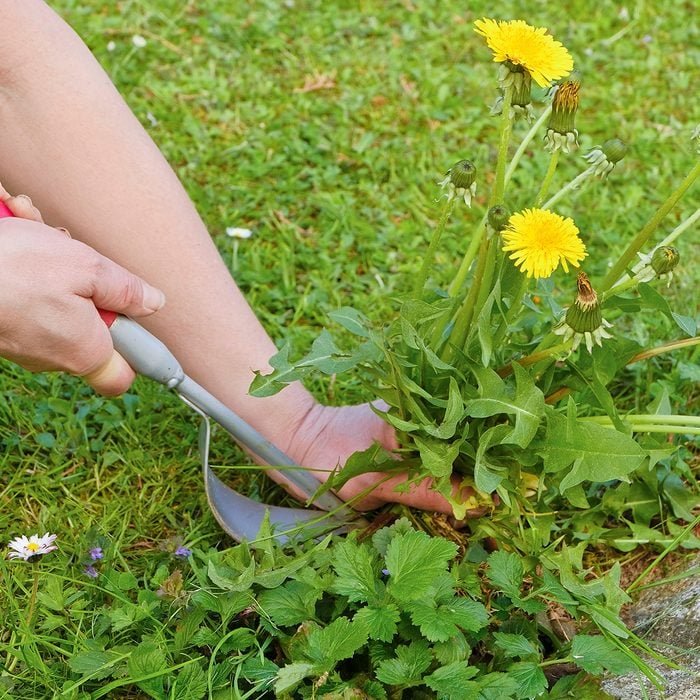
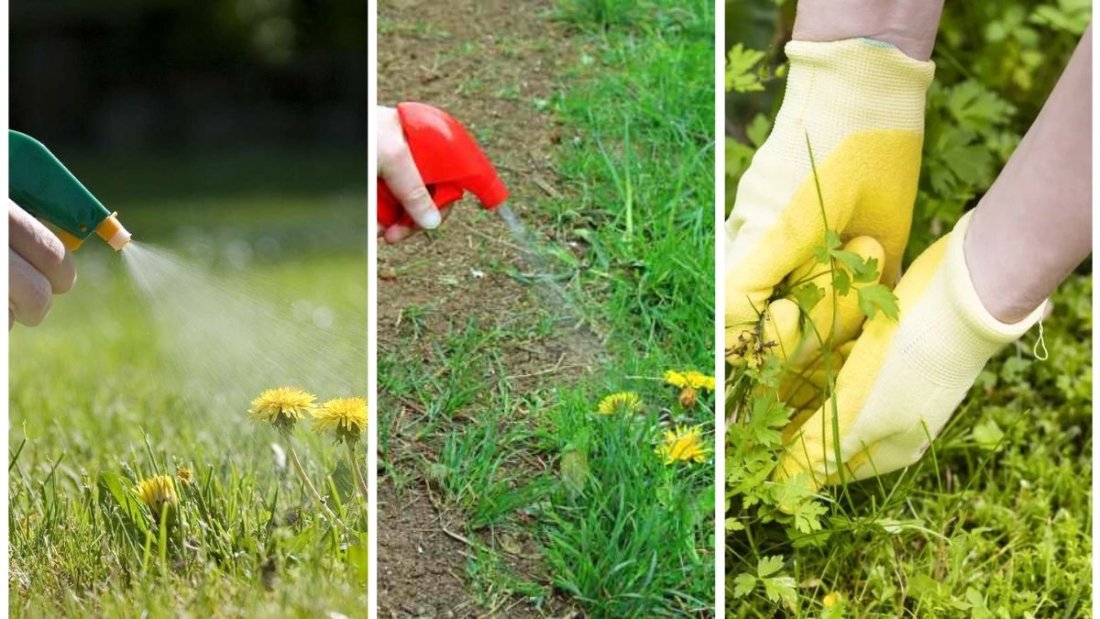
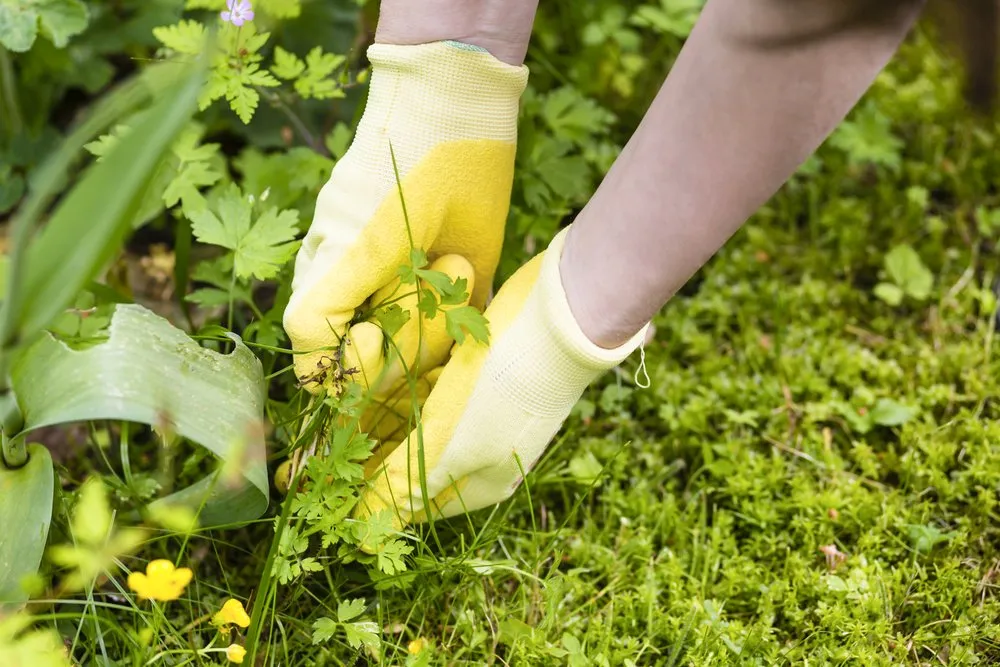
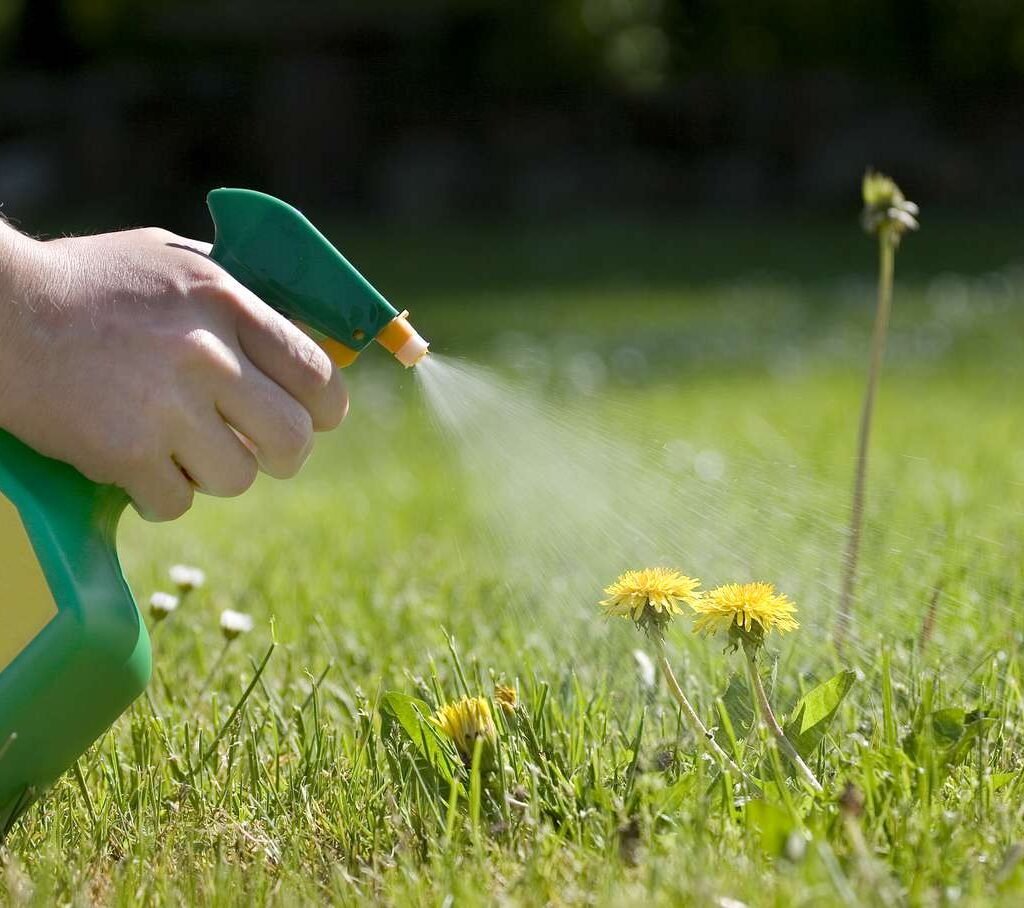
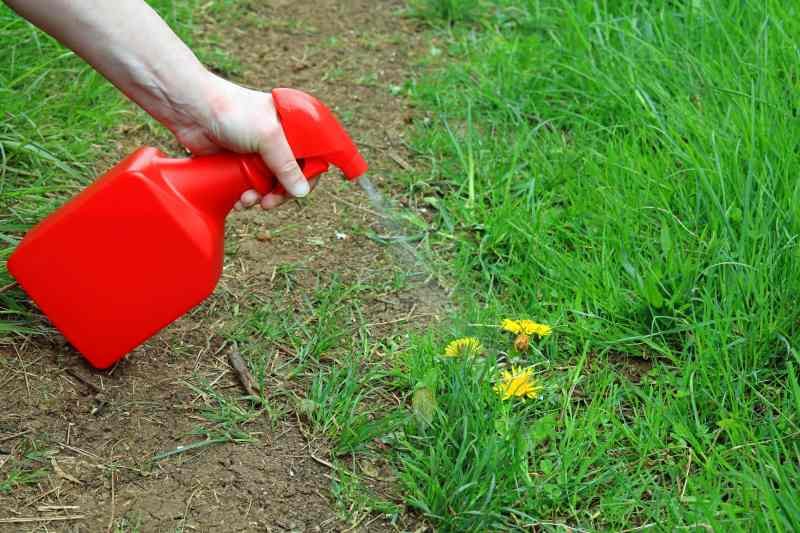
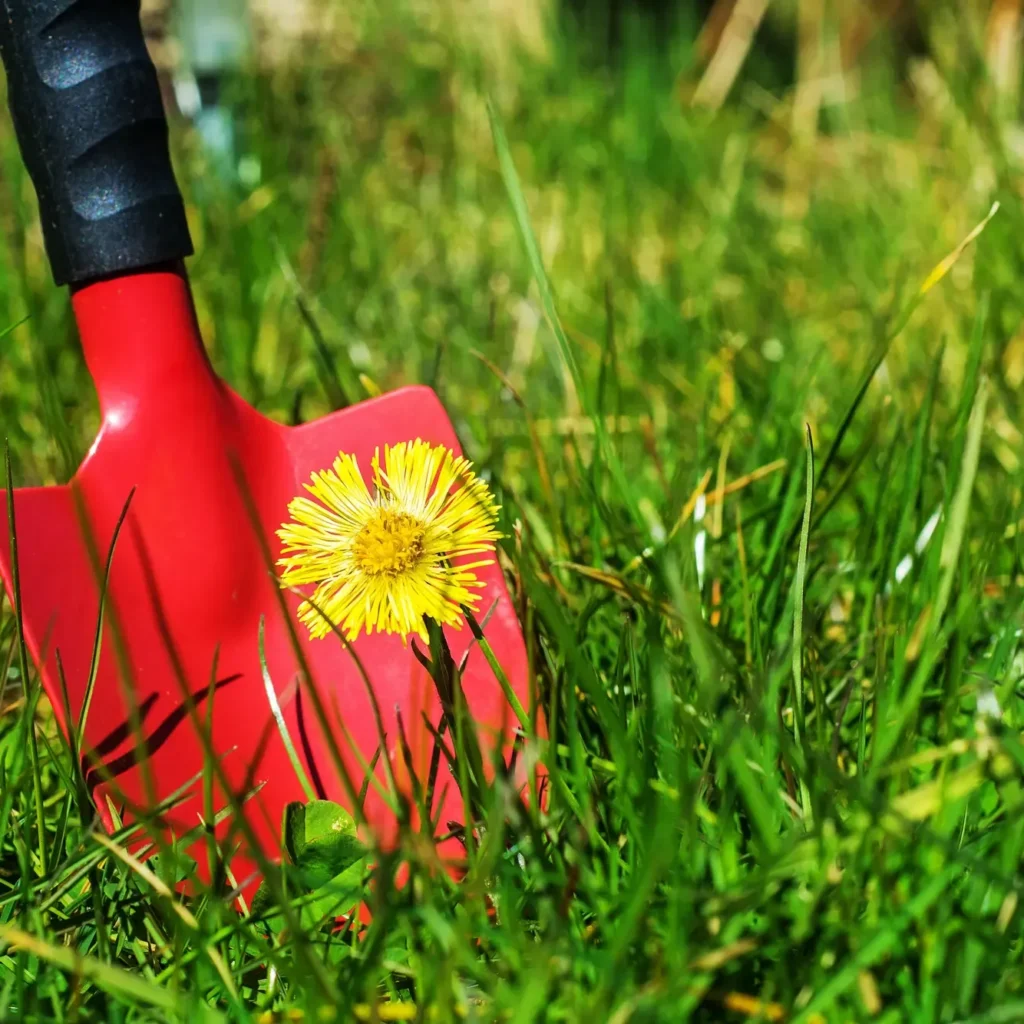
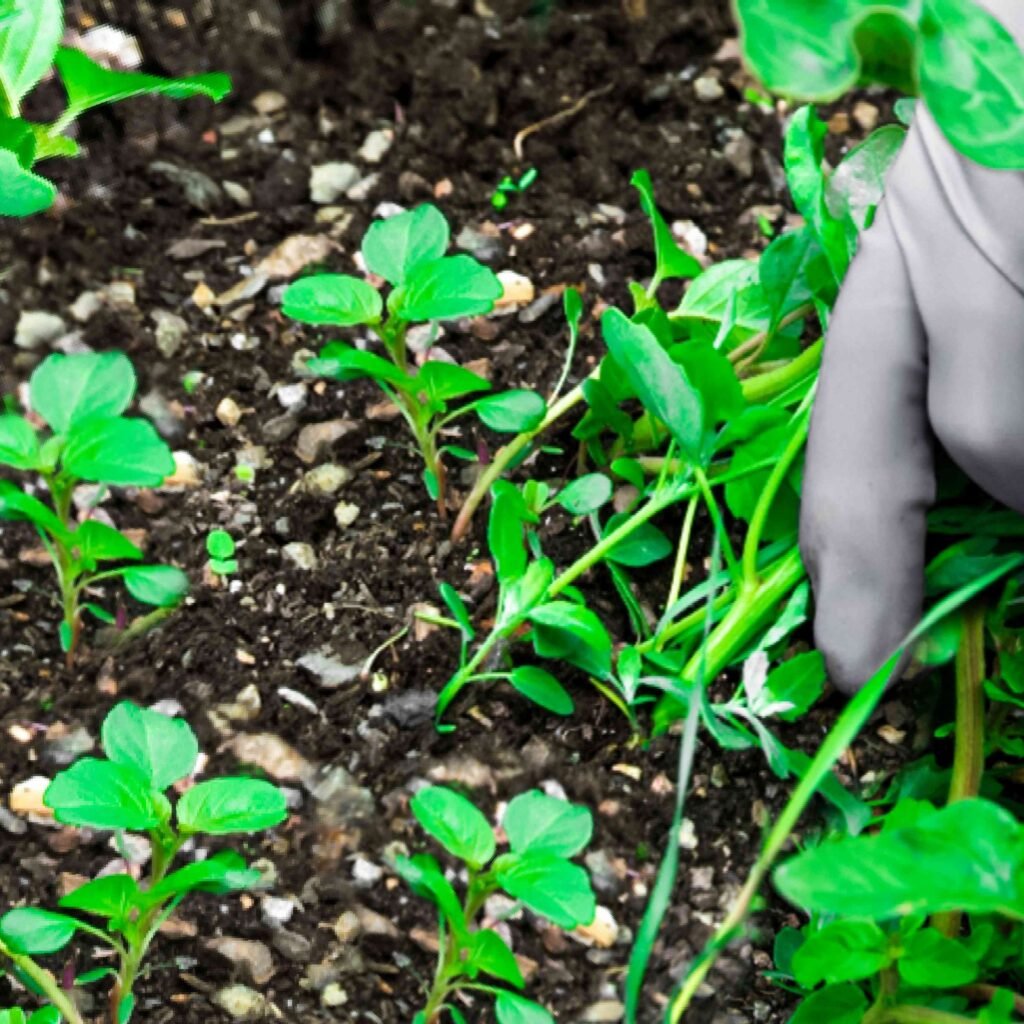
4. Unusual Increase in Weeds or Soil-Borne Pests

A sudden explosion of weeds or recurring soil-borne pests (like grubs, nematodes, or fungal pathogens) is a red flag.

Why It Happens:

  • Poor soil health creates a weedy environment, especially when native plants are stressed.
  • Old or contaminated soil harbors pathogens that affect future crops.

Common Symptoms:

  • Frequent reappearance of the same weeds
  • Mushy plant stems, wilting, or root rot
  • Stunted or chewed seedlings

Solution:

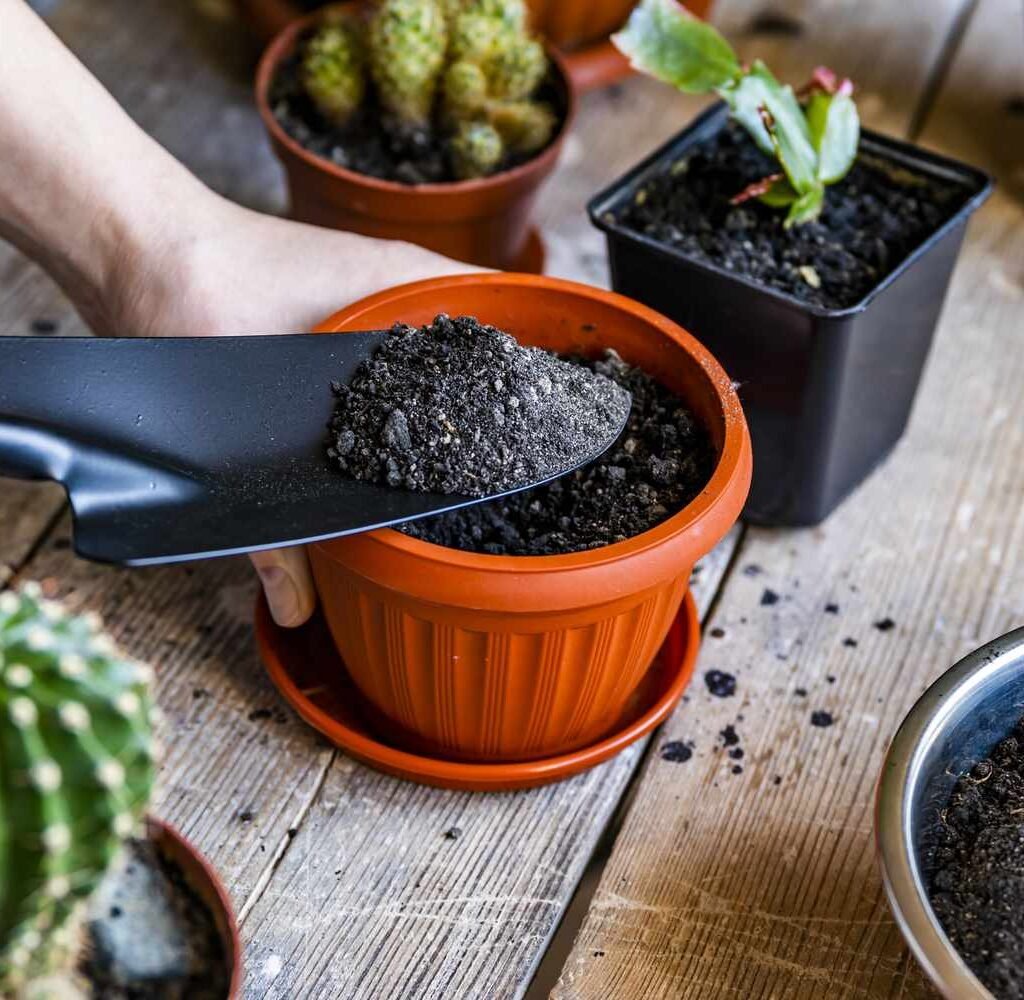
  • Remove the old soil layer (especially if disease is present).
  • Add fresh, sterilized soil or topsoil mixed with compost.
  • Use crop rotation, companion planting, and solarization to manage pests naturally.

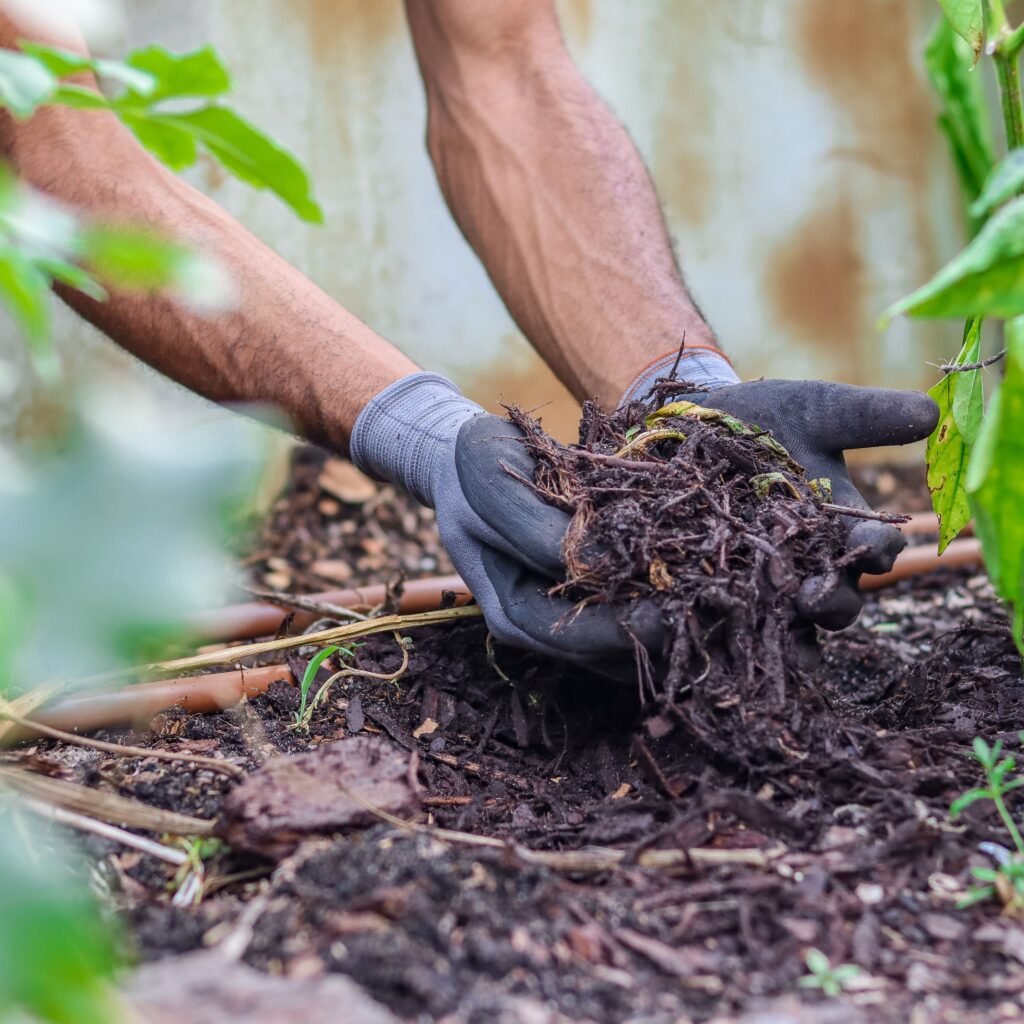
5. Decline in Earthworm and Microbial Activity

Healthy garden soil teems with life—earthworms, fungi, bacteria, and other microorganisms that break down organic matter and enrich the soil.

Warning Signs:

  • Lack of visible worms when digging
  • Soil smells sour or rotten rather than earthy
  • Decomposition of organic material is slow or absent

Why It Happens:

  • Overuse of chemical fertilizers or pesticides
  • Lack of organic material to support the soil food web
  • Poor aeration and drainage

Fix:

  • Add fresh compost-rich soil to boost microbial diversity.
  • Avoid synthetic chemicals and feed the soil with natural amendments (e.g., worm castings, leaf mold, aged manure).

6. Noticeable Salt or Fertilizer Buildup

White, crusty residue on the soil surface can indicate a buildup of salts—often caused by over-fertilizing or using hard tap water.

Consequences:

  • Salt toxicity in plants
  • Disrupted nutrient uptake
  • Altered pH levels

How to Identify:

  • Leaf tips turn brown or dry.
  • Plants wilt despite moist soil.
  • Soil feels crusty on top.

Remedy:

  • Scrape off the top layer and replace with fresh, clean soil.
  • Water deeply to flush salts out of the root zone.
  • Use rainwater or distilled water if possible.

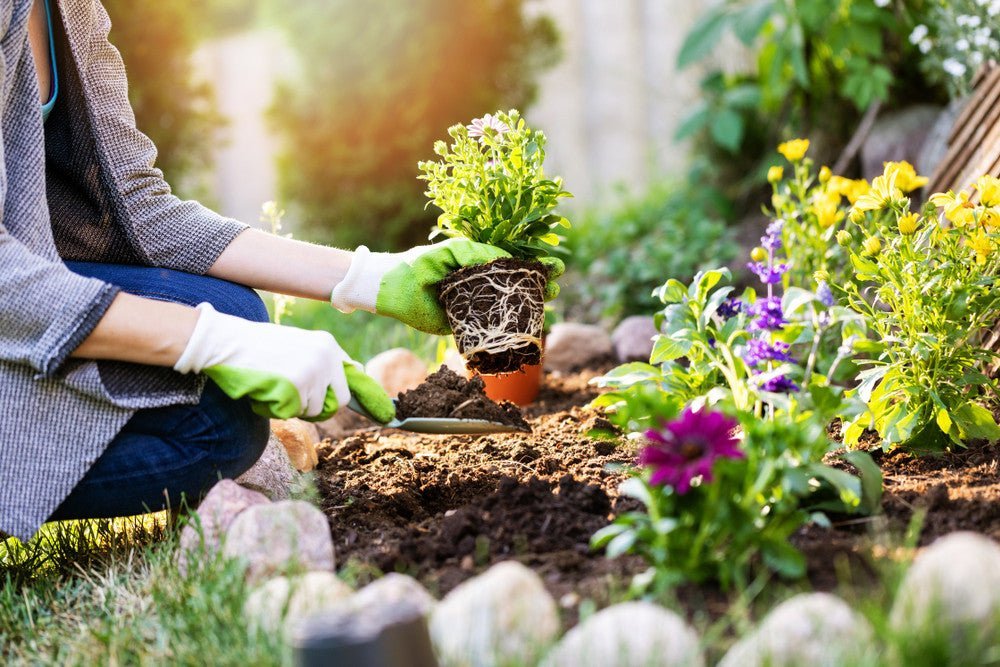
7. Soil Has Lost Volume or Appears Sunken

Over time, organic material in your garden beds naturally decomposes, which can result in a noticeable drop in soil level. If your once-raised beds now appear sunken or the soil volume has visibly reduced, it’s a sign the soil structure needs rebuilding.

Why It Happens:

  • Breakdown of compost and organic matter
  • Compaction from watering and time
  • Erosion or wind carrying soil away

What to Do:

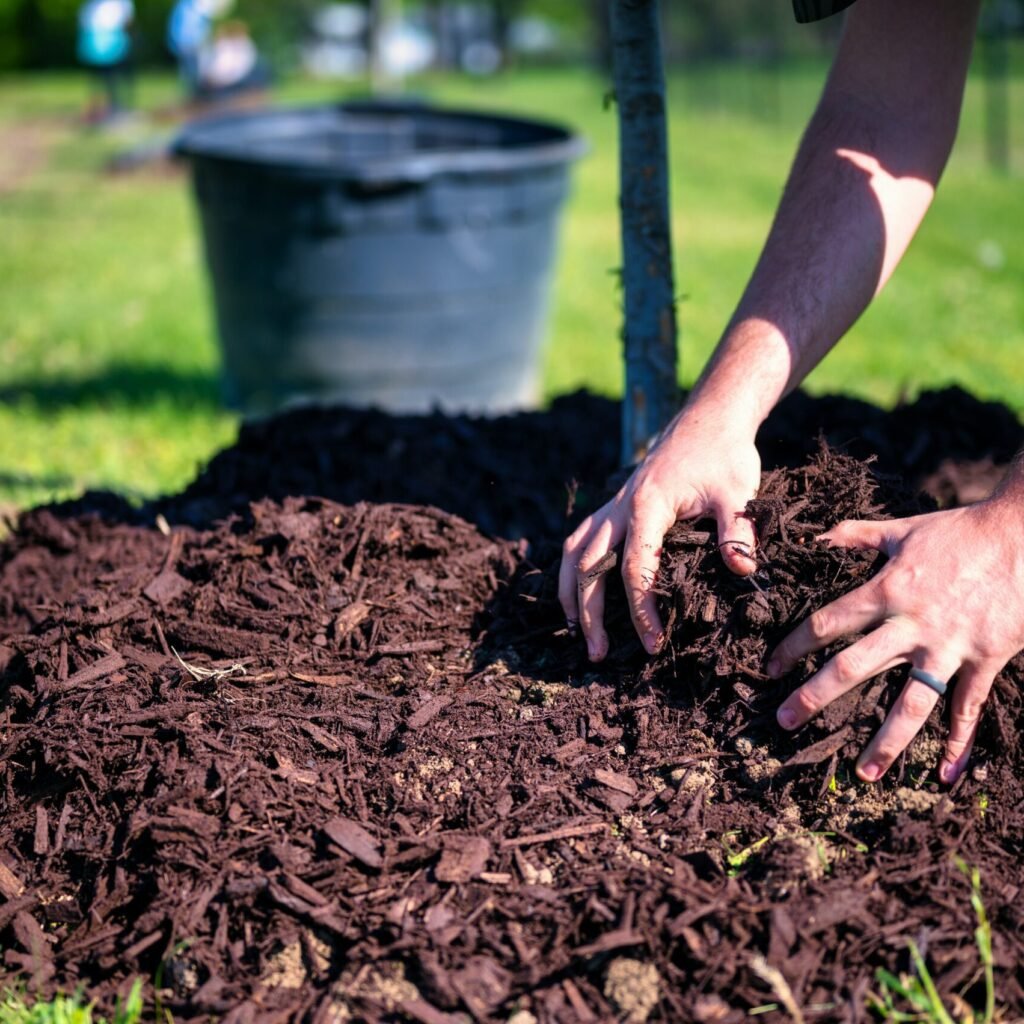
  • Top up garden beds with fresh organic soil and compost.
  • Add a layer of mulch to reduce erosion and protect new soil.
  • Regularly incorporate new organic matter to keep levels stable.

When Should You Replace the Soil Completely?

In some cases, topping off or amending the soil may not be enough. You may need to replace the soil entirely if:

  • The soil is infected with persistent pests or diseases.
  • Drainage and compaction are severe and ongoing.
  • Previous efforts to amend have had minimal results.
  • You’re growing new crops that require specific soil conditions.

Best Time to Replace Garden Soil:

  • Early spring: Prepares the bed before planting.
  • Late fall: After harvesting and clearing dead plants.
  • Replace 6–12 inches of topsoil for best results.

Sustainable Soil Management Tips

To extend the life of your garden beds and minimize the need for frequent replacement:

  • Compost regularly to add organic matter.
  • Use cover crops like clover or rye in the off-season.
  • Rotate crops annually to prevent nutrient depletion.
  • Mulch to protect soil structure and moisture levels.
  • Test soil every 1–2 years to guide amendments.

Conclusion: Listen to What Your Soil Is Telling You

Your garden soil is alive—and like any living system, it needs care and attention. Ignoring the signs of declining soil health can lead to weak plants, wasted time, and poor harvests. But with regular monitoring and timely action, you can rejuvenate your garden beds and keep them fertile for seasons to come.

To summarize, if you notice:

  • Stunted plant growth
  • Compacted soil
  • Drainage issues
  • Pest or weed problems
  • Poor microbial activity
  • Salt build-up
  • Shrinking soil levels

…it’s time to refresh your soil.

Whether you choose to replace it fully or simply amend it with rich compost and nutrients, revitalizing your soil is the first step toward a thriving, beautiful garden.

How Often Should You Replace Soil in Containers?

How Often Should You Replace Soil in Containers?

Container gardening offers flexibility, accessibility, and the ability to grow plants in limited spaces. From ornamental flowers to vegetables and herbs, containers are an excellent option for both beginners and experienced gardeners. However, many container gardeners overlook one critical factor—the condition of the soil. Over time, soil in containers deteriorates in structure and nutrient content, directly affecting plant health and productivity. This raises the important question: How often should you replace soil in containers?

Understanding Container Soil Dynamics

Potted hyacinths blooming in balcony garden

Unlike garden beds, container soil is confined to a limited space and does not benefit from natural processes such as earthworm activity, deep root systems, and microbial biodiversity that refresh soil health over time. In containers:

  • Nutrients are quickly depleted due to plant uptake and frequent watering.
  • Watering washes away soluble nutrients (leaching).
  • Organic matter decomposes and shrinks, reducing the soil volume.
  • Soil compacts and loses aeration, affecting root respiration.

This means that over time, even the best potting soil becomes less supportive of plant life.

Signs Your Container Soil Needs Replacing

Before deciding how often to replace soil, it’s important to recognize the signs that your soil may be past its prime. Key indicators include:

  • Poor drainage: Water pools on the surface or takes too long to drain.
  • Soil compaction: The soil becomes dense and hard, making root penetration difficult.
  • Yellowing or stunted plants: A sign of nutrient deficiency or poor root health.
  • Fungal growth or mold: Indicates decaying organic matter or poor air circulation.
  • Salt buildup: White crust on the surface due to fertilizer residue.

How Often Should You Replace Soil in Containers?

General Recommendation: Every 1–2 Years

As a rule of thumb, you should replace container soil every one to two years. However, this can vary depending on the type of plant, container size, and how intensively the soil is used.

Yearly Replacement for Heavy Feeders

If you’re growing nutrient-demanding plants like tomatoes, peppers, or annual flowers, it’s ideal to refresh or replace soil annually. These plants rapidly deplete nutrients and often suffer if grown in tired soil.

Every 2 Years for Perennials or Light Feeders

For perennials, houseplants, or herbs, replacing soil every 2 years may be sufficient. These plants typically grow slower and do not consume as many nutrients. However, regular monitoring is still essential.

Full vs. Partial Soil Replacement

In many cases, a full soil replacement isn’t always necessary or practical—especially with large containers. Here are the options:

Full Soil Replacement

This involves removing all the old soil, cleaning the pot, and starting fresh with new potting mix. Use this method when:

  • The soil is heavily compacted.
  • There’s evidence of disease, pests, or mold.
  • You’re growing new crops that require different soil conditions.

Partial Soil Refreshing

This approach is less labor-intensive and involves:

  • Removing the top 1/3 to 1/2 of the old soil.
  • Adding fresh potting mix or compost.
  • Mixing in slow-release fertilizers or organic amendments.

This method maintains some of the existing soil structure while replenishing nutrients and improving aeration.

Top-Dressing

For indoor plants or long-term perennials, a simple top-dress once or twice a year can suffice. This involves:

  • Removing 1–2 inches of topsoil.
  • Replacing it with fresh compost, worm castings, or potting mix.

This minimally disruptive method rejuvenates the upper soil layer, where most root activity occurs.

Best Practices for Replacing Container Soil

1. Sterilize Containers

Before adding new soil, always wash and sterilize the container with a mild bleach solution (1 part bleach to 9 parts water) to kill pathogens and pests.

2. Choose High-Quality Potting Mix

Use a mix specifically designed for container gardening. Avoid using garden soil, which can compact easily and harbor pests. Look for mixes containing:

  • Peat moss or coco coir (for moisture retention)
  • Perlite or vermiculite (for aeration)
  • Compost or aged bark (for nutrients)

3. Enhance with Amendments

You can boost soil quality with:

  • Compost: Adds organic matter and beneficial microbes.
  • Worm castings: Improve structure and nutrient content.
  • Slow-release fertilizers: Ensure ongoing nutrient supply.
  • Biochar or mycorrhizae: Improve nutrient uptake and microbial diversity.

4. Improve Drainage

Ensure pots have adequate drainage holes. You can also add a layer of coarse gravel or perlite at the bottom to prevent waterlogging.

Environmental Considerations

Completely replacing soil every year can be wasteful. Here’s how to make the process more sustainable:

Reusing Old Soil

You can reuse old potting mix if it’s not diseased. Refresh it by:

  • Removing plant debris and roots.
  • Mixing it with fresh compost and perlite.
  • Letting it sit in the sun (solarization) for 1–2 weeks to kill pathogens.

Composting Used Soil

Blend old soil with kitchen scraps, leaves, and grass clippings in a compost pile. Over time, it will break down into rich compost that can be used again.

Soil Rotation

Use the same soil for different plant types across seasons. For example, after growing tomatoes (heavy feeders), follow with lettuce or herbs (light feeders).

Special Cases: Indoor vs. Outdoor Containers

Indoor Plants

Indoor soil tends to last longer because it isn’t exposed to heavy rain or fluctuating temperatures. However, indoor soils can accumulate salts and toxins from fertilizers. Consider a partial replacement every 12–18 months.

Outdoor Containers

Outdoor container soils degrade faster due to:

  • UV exposure
  • Temperature swings
  • Rainwater leaching nutrients

Hence, outdoor soil should be replaced or refreshed more frequently, typically annually.

Conclusion: It Depends, but Don’t Ignore It

The frequency of replacing soil in containers depends on several factors—plant type, soil condition, environmental exposure, and container size. But a good general practice is:

  • Annual replacement or refresh for high-demand plants
  • Every 2 years for slower-growing or low-demand plants
  • Partial soil refreshes or top-dressing between full changes

Maintaining healthy soil in your containers is not just about replacing it—it’s about caring for it. Feed it, observe it, and replenish it as needed. Healthy soil equals healthy plants. And in container gardening, your plants are entirely reliant on the soil you provide—so make it count.

How To Keep Weeds Out Of Garden Beds Naturally

How To Keep Weeds Out Of Garden Beds Naturally

Weeds are every gardener’s nemesis. They pop up uninvited, compete with your plants for water, nutrients, and sunlight, and can quickly overrun even the most carefully tended garden beds. While chemical herbicides offer a quick fix, many gardeners seek safer, natural ways to control weeds—methods that protect both the environment and the health of soil, plants, pets, and people.

The good news is that it’s entirely possible to keep weeds out of your garden beds naturally with a combination of smart practices, timing, and materials. This article explores the most effective natural weed prevention strategies, backed by science and practical experience.


Understanding Weeds: Why They Grow

Before diving into weed control methods, it’s important to understand why weeds appear in the first place. Weeds are opportunistic plants that thrive in disturbed or exposed soil. Their seeds are carried by wind, water, animals, and human activity—and they germinate rapidly when conditions are favorable.

Most weed seeds require:

  • Light
  • Warmth
  • Moisture
  • Bare soil

By altering these conditions naturally, you can make your garden beds much less welcoming to weeds.


1. Start with Healthy Soil

Healthy soil filled with beneficial microbes, fungi, and organic matter helps plants outcompete weeds. A vibrant soil ecosystem naturally suppresses weed growth by:

  • Outcompeting weed roots
  • Breaking down weed seeds
  • Encouraging dense root systems in desirable plants

How to build healthy soil:

  • Add compost regularly
  • Use organic fertilizers instead of chemical ones
  • Avoid over-tilling, which disrupts soil structure and brings buried weed seeds to the surface

2. Mulch, Mulch, Mulch

Mulching is one of the most effective natural strategies to prevent weed growth. A thick layer of mulch blocks sunlight from reaching the soil, which:

  • Prevents weed seed germination
  • Smothers small existing weeds
  • Helps retain moisture and improve soil structure

Types of organic mulch:

  • Wood chips or bark
  • Straw or hay (weed-free)
  • Grass clippings (dried before applying)
  • Shredded leaves
  • Compost

How to apply:

  • Clear existing weeds first
  • Apply 2–4 inches of mulch
  • Keep mulch a few inches away from plant stems and tree trunks to prevent rot

Pro tip: Lay cardboard or newspaper underneath mulch in particularly weedy areas for extra weed suppression. These biodegradable layers form a barrier that blocks light and slowly decomposes into the soil.


3. Use Cover Crops

Also known as “green manure,” cover crops are fast-growing plants that fill bare garden spaces. They crowd out weeds by occupying space, taking up nutrients, and blocking sunlight.

Popular cover crops include:

  • Clover
  • Rye
  • Vetch
  • Buckwheat

Benefits:

  • Prevent weeds from gaining a foothold
  • Improve soil fertility and texture
  • Add organic matter when tilled under

Cover crops are ideal for off-seasons or between crop rotations in vegetable gardens.


4. Plant Densely and Strategically

One of the best ways to keep weeds at bay is by not giving them room to grow. When garden beds are densely planted, there’s less light and space available for weeds to establish.

Tips for dense planting:

  • Use ground covers (like creeping thyme or sweet alyssum) between taller plants
  • Plant leafy vegetables close together (like lettuce and spinach)
  • Use vertical gardening (like trellises) to layer plants and shade the soil below

Strategic interplanting not only reduces weed pressure but also improves biodiversity, which supports pest control and pollination.


5. Water Smartly

Most weeds thrive in moist, disturbed areas. So watering your garden properly can discourage weed growth.

Use drip irrigation or soaker hoses:

  • Delivers water directly to plant roots
  • Keeps the surrounding soil dry, making it harder for weeds to thrive
  • Conserves water compared to overhead sprinklers

Avoid frequent, shallow watering, which encourages both weed growth and shallow root development in your crops.


6. Hand Weed Regularly (But the Smart Way)

While not glamorous, manual weeding remains a key part of natural weed control. The trick is to weed early and often, before plants go to seed or develop deep roots.

Tips for efficient weeding:

  • Weed after rain or watering, when soil is soft
  • Use tools like a hoe, fork, or hand weeder to extract roots
  • Focus on tap-rooted weeds (like dandelions) before they become established
  • Always remove weeds before they flower and drop seeds

Make it a routine: a few minutes of weeding a day is far more manageable than waiting until the garden is overrun.


7. Solarize Weedy Beds Before Planting

If you’re preparing a new bed or dealing with a seriously weedy area, solarization is a powerful organic method.

How it works:

  • Cover the soil with clear plastic sheeting
  • Leave it in place for 4–6 weeks during summer
  • The sun heats the soil beneath to temperatures that kill weed seeds, roots, and pathogens

Solarization works best in sunny climates and is a great way to prepare beds for planting without chemicals.


8. Use Natural Weed Barriers

Instead of synthetic landscape fabric (which can degrade over time and create plastic waste), use natural weed barriers that biodegrade and feed the soil.

Examples:

  • Cardboard: Great for smothering large areas of weeds; best when wet and topped with mulch
  • Newspaper: Use several layers, overlapping, and cover with mulch
  • Jute matting or burlap: Breathable and biodegradable, good for slope stabilization

These materials block weeds while slowly breaking down, enriching the soil as they decompose.


9. Avoid Bringing in Weed Seeds

Prevention is always easier than removal. Be cautious about introducing weed seeds unknowingly into your garden.

Tips to avoid contamination:

  • Only use certified weed-free compost, straw, and manure
  • Clean tools and boots after working in weedy areas
  • Don’t compost invasive weeds or seeds unless you have a hot compost system (130°F or higher)
  • Avoid letting garden weeds go to seed

10. Choose the Right Plants for Your Zone

Some weeds outcompete plants because the garden isn’t planted with the best-suited species. Native and well-adapted plants establish faster and create canopies that suppress weeds.

Visit your local extension office or native plant society for recommendations on low-maintenance, weed-resistant plants.


Conclusion: A Natural Balance

Controlling weeds without chemicals isn’t just possible—it’s preferable. By adopting natural strategies like mulching, dense planting, and soil building, you can create a healthy, balanced garden ecosystem where weeds have little opportunity to take over.

While no method is 100% weed-proof, the key is prevention, consistency, and working with nature rather than against it. A garden that is actively growing, covered with mulch or crops, and tended with intention is naturally resistant to weed invasion.

By choosing organic, sustainable methods, you’re not only keeping your garden beds beautiful and productive—you’re also protecting pollinators, improving soil health, and contributing to a healthier environment.

Why Mulching Helps Stop Weed Growth

Why Mulching Helps Stop Weed Growth

Weeds are among the most persistent and frustrating problems in gardening and agriculture. Competing with desired plants for water, nutrients, sunlight, and space, weeds can severely impact crop yields, garden aesthetics, and soil health. While there are numerous methods for controlling weeds—ranging from chemical herbicides to manual removal—mulching has emerged as a highly effective, sustainable, and environmentally friendly solution. This article delves into the science and practicality behind using mulch as a weed suppression tool and explains why it remains a cornerstone practice in modern horticulture and agriculture.


What Is Mulching?

Mulching refers to the practice of applying a layer of material over the surface of the soil. This material can be organic, such as wood chips, straw, grass clippings, shredded bark, compost, or leaves; or inorganic, such as plastic sheeting, rubber mulch, gravel, or landscape fabric. While mulching offers many benefits—including soil moisture retention, temperature regulation, and erosion control—one of its most valuable roles is weed suppression.


How Mulch Suppresses Weed Growth

1. Blocking Sunlight

Weeds, like all plants, need sunlight to photosynthesize and grow. When a thick layer of mulch is applied, it blocks sunlight from reaching the soil, thereby inhibiting the germination of weed seeds. Without light, many weed seeds fail to sprout, and those that do germinate often lack the energy to penetrate the mulch layer.

Organic mulches like bark or straw are particularly effective because they create a dense, light-blocking barrier. Black plastic mulch is even more impenetrable, making it popular in large-scale agricultural operations.


2. Smothering Existing Weeds

In addition to preventing new weed growth, mulch can smother existing weeds. Weeds that are already growing may be cut off from air and light, weakening or killing them over time. This is especially true with thicker mulches or those that are layered strategically, such as using wet newspaper or cardboard beneath wood chips.

This process reduces the need for constant weeding and can be an effective way to reclaim overgrown garden beds or prepare a new growing area.


3. Creating Physical Barriers

Mulch acts as a physical barrier between the soil and the environment. Many weed seeds are wind-borne or spread by animals and humans. A well-mulched bed prevents weed seeds from reaching the soil surface, where they would typically germinate.

Additionally, certain types of mulch like landscape fabric or woven ground covers are designed specifically to block weed root penetration while allowing water and air to circulate. These are often used under gravel or bark chips for more permanent weed control in landscaping.


4. Improving Soil Conditions Unfavorable to Weeds

Organic mulches gradually decompose over time, enriching the soil with organic matter. This improves soil structure, promotes beneficial microbial activity, and can slightly lower the soil’s pH—changes that may favor desired plants over certain weeds.

Some mulches also produce natural chemical inhibitors. For example, pine needles can acidify the soil, deterring the growth of certain weeds. Similarly, walnut hulls contain juglone, a natural compound that is toxic to many plant species.


Types of Mulch and Their Effectiveness Against Weeds

1. Organic Mulch

  • Wood Chips and Bark: Long-lasting and aesthetically pleasing, these are ideal for perennial beds and pathways. They decompose slowly and provide excellent weed suppression.
  • Straw or Hay: Common in vegetable gardens, straw is lightweight and decomposes faster, enriching the soil. Caution is needed to ensure it’s weed-free or sterilized before use.
  • Grass Clippings: Easily available and nutrient-rich, though they compact quickly and may smell if not layered properly.
  • Compost: While great for soil health, compost may contain viable weed seeds if not fully decomposed.

2. Inorganic Mulch

  • Plastic Mulch: Used extensively in commercial agriculture, plastic sheeting is excellent for blocking weeds, conserving water, and warming the soil. However, it requires proper installation and disposal.
  • Landscape Fabric: Durable and reusable, this synthetic barrier is often topped with decorative mulch in garden beds.
  • Rubber Mulch: Made from recycled tires, rubber mulch is long-lasting and effective but does not improve soil fertility.

Best Practices for Weed Control with Mulch

To maximize the weed-suppressing benefits of mulch, consider the following guidelines:

1. Apply Sufficient Thickness

A common mistake is using too little mulch. For organic mulch, a layer of 2 to 4 inches is generally recommended. Thinner layers may allow light to penetrate, encouraging weed growth. For finer mulches like grass clippings or compost, use slightly thinner layers (1–2 inches) to avoid compaction.

2. Prepare the Ground First

Before mulching, remove existing weeds manually or with a hoe. Applying mulch over weeds may smother some, but vigorous weeds may push through. For areas with heavy weed infestations, consider laying down newspaper, cardboard, or landscape fabric beneath the mulch.

3. Replenish Mulch Periodically

Organic mulch decomposes over time and may be disturbed by wind, water, or animals. Check your mulch layer regularly and top up as needed to maintain effective coverage.

4. Mulch at the Right Time

Apply mulch in late spring, after the soil has warmed and most weed seeds have begun germinating. This timing traps the seeds before they grow. Avoid mulching too early, as it may slow soil warming and plant development.


Environmental and Economic Benefits

Mulching provides more than just weed control—it also offers environmental and cost-saving advantages:

  • Reduces Herbicide Use: By controlling weeds naturally, mulch minimizes the need for chemical herbicides, which can contaminate soil and waterways.
  • Saves Water: Mulch conserves soil moisture by reducing evaporation, lowering the frequency of irrigation.
  • Improves Soil Health: Organic mulches contribute nutrients, enhance microbial activity, and improve soil texture.
  • Reduces Labor: Less time spent weeding means more time for planting, harvesting, or enjoying your garden.

These combined benefits make mulching a smart investment for home gardeners and commercial growers alike.


Limitations and Considerations

While mulching is highly effective, it is not a cure-all. Some challenges include:

  • Mulch Can Harbor Pests: Thick mulch may provide cover for slugs, rodents, or insects.
  • Incorrect Mulching Can Harm Plants: “Volcano mulching”—piling mulch around tree trunks—can lead to rot and disease.
  • Plastic Mulches Are Not Biodegradable: Disposal and environmental impact should be considered.
  • Some Weed Seeds Survive: Aggressive perennial weeds with strong root systems may still break through, requiring manual intervention.

Conclusion

Mulching is a powerful and versatile technique for controlling weed growth in gardens, landscapes, and agricultural settings. By creating a physical and environmental barrier, mulch deprives weeds of the light, space, and conditions they need to thrive. When applied correctly and maintained, mulch not only suppresses weeds but also improves soil health, conserves water, and reduces the need for herbicides and labor.

As sustainable gardening practices continue to gain importance in an era of environmental awareness, mulching stands out as a simple, cost-effective, and eco-friendly strategy. Whether you’re a home gardener or a commercial farmer, understanding and utilizing mulch can transform your soil into a weed-resistant, productive, and healthy ecosystem.

5 Common Weeding Mistakes Gardeners Make

5 Common Weeding Mistakes Gardeners Make

Every gardener dreams of a thriving, weed-free garden. But no matter how experienced you are, weeds always seem to find a way back. The truth is, weeding isn’t just about pulling unwanted plants out of the ground—it’s about doing it the right way, at the right time, with the right strategy. Surprisingly, many of the weeds that return again and again do so because of common but preventable mistakes made during weeding.

This article explores the 5 most common weeding mistakes gardeners make and offers detailed, practical solutions to help you achieve lasting weed control. Whether you’re a beginner or a seasoned green thumb, recognizing and correcting these missteps can make a huge difference in your garden’s health and appearance.


1. Weeding at the Wrong Time

The Mistake: Pulling weeds whenever you find them—especially during dry, hard-soil conditions.

Many gardeners pull weeds at random times without considering environmental conditions. Unfortunately, this often leads to breaking the weed above ground, while leaving the root system intact—which allows regrowth within days.

The Solution: Weed when the soil is moist, ideally after rainfall or light watering.

Moist soil allows for easier extraction of the entire root system, especially for stubborn weeds like dandelions and dock. Morning is typically best, as temperatures are cooler and soil is still damp from overnight dew. For perennial weeds, target them in early spring when energy is still stored in the roots, or in fall before they go dormant.

Pro Tip: Avoid weeding in the middle of a sunny, dry day—roots break more easily and are harder to remove cleanly.


2. Ignoring Weed Roots

The Mistake: Pulling weeds from the surface without removing the entire root system.

This is especially common with deep-rooted or spreading weeds like bindweed, plantain, and creeping charlie. If even a small piece of root is left behind, the plant can regenerate. Worse, some weeds spread more aggressively when partially pulled and disturbed.

The Solution: Use proper tools to dig out the entire root.

Instead of just tugging with your fingers, use tools designed for deep weeding:

  • Hori-hori knife or dandelion puller for taproots
  • Weeding fork or trowel for spreading roots
  • Hoe or stirrup hoe for surface-level weeds

Ensure you’re going deep enough to remove the full root system, particularly for perennials and rhizomatous weeds that spread underground.

Warning: For invasive spreaders like Bermuda grass, even small root fragments can create new plants. Be thorough and precise.


3. Letting Weeds Go to Seed

The Mistake: Waiting too long to remove weeds, allowing them to flower or seed.

A single mature weed can produce thousands of seeds, which can remain viable in the soil for years. Once a weed flowers and goes to seed, pulling it may not stop the spread—it might already be too late. Seeds can drop into your garden beds, lawn, and even compost piles.

The Solution: Pull weeds before they flower or produce seeds.

Adopt a weekly walk-through habit in your garden. Early detection and removal is the easiest way to control weed populations. If a plant has already gone to seed:

  • Cut off the seed heads first and dispose of them (do not compost!)
  • Then pull or dig out the remaining plant
  • Apply mulch to prevent seed germination

Pro Tip: Keep a garden journal to track the time when certain weeds typically flower in your region. Use this to plan proactive weeding sessions.


4. Poor Use of Mulch or No Mulch at All

The Mistake: Leaving soil bare or applying mulch incorrectly.

Uncovered soil is an open invitation for weeds. Sunlight and rain create perfect conditions for dormant seeds to germinate. Even when mulch is used, applying too thin a layer, or using the wrong type, can allow weeds to push through.

The Solution: Apply the right mulch, at the right depth, in the right place.

  • Use organic mulch like straw, wood chips, shredded bark, or composted leaves.
  • Apply mulch 2–4 inches deep—enough to block sunlight but not suffocate soil.
  • Keep mulch away from the base of plants to prevent rot.

Mulch not only suppresses weed growth but also retains moisture, regulates temperature, and adds nutrients to the soil as it decomposes.

Bonus Tip: For extra weed protection, lay down cardboard or newspaper underneath your mulch as a biodegradable weed barrier.


5. Inconsistent or Reactive Weeding Habits

The Mistake: Only weeding when weeds become a major problem.

Many gardeners treat weeding as an occasional chore rather than a consistent part of garden maintenance. Waiting until weeds are large and visible allows them to establish stronger roots and crowd out desirable plants. This reactive approach leads to more effort, not less.

The Solution: Make weeding a regular, preventive practice.

  • Dedicate 15–30 minutes a week to weeding—especially in peak seasons (spring and early summer).
  • Focus on small sections of your garden at a time for manageable tasks.
  • Weed while doing other tasks (watering, harvesting, inspecting plants).

Creating a consistent routine reduces overall weed pressure and makes weeding less overwhelming. Plus, you’ll catch weeds before they become unmanageable.

Quote to Remember:
“Weed early, weed often. It’s easier to keep a clean house than to clean a messy one.”


Bonus Mistake: Composting Weeds Improperly

The Mistake: Composting pulled weeds that contain seeds or live roots.

Throwing freshly pulled weeds—especially those that have flowered or seeded—into your compost pile can spread them back into your garden if the pile doesn’t reach a high enough temperature.

The Solution: Hot compost or dispose of invasive weeds properly.

  • For general weeds: Hot compost (135°F/57°C+) will kill most seeds and roots.
  • For invasive or seeding weeds: Discard in a sealed bag, burn (if permitted), or place in “weed tea” barrels for liquid compost.

Avoid cold composting invasive species like nutsedge, bindweed, or quackgrass.


Conclusion

Weeding is more than just a battle against unwanted plants—it’s a battle against time, knowledge gaps, and habits. The good news is that every gardener, regardless of experience level, can drastically improve their weed control strategy by recognizing and correcting these five common mistakes:

  1. Weeding at the wrong time
  2. Ignoring the root systems
  3. Letting weeds go to seed
  4. Misusing or neglecting mulch
  5. Being inconsistent or reactive

By understanding the science of weed behavior and adopting smarter practices, you’ll not only reduce your workload over time but also build a healthier, more productive garden.


Final Thoughts:

Weeding doesn’t have to be a constant chore. With the right timing, techniques, and a little planning, your garden can become a space of beauty and productivity—with far fewer weeds. Remember, every time you weed with intention, you’re not just removing a plant—you’re investing in your garden’s future.

The Best Time To Pull Weeds For Lasting Results

The Best Time To Pull Weeds For Lasting Results

Weeding is one of the oldest and most common gardening and farming tasks—and yet, it remains one of the most misunderstood. Most people know they need to pull weeds, but few realize how crucial timing is to its long-term effectiveness. When done right and at the proper time, pulling weeds can drastically reduce their recurrence, limit seed spread, and help maintain healthy soil and crops. But when done at the wrong time, it can actually encourage more growth or simply become an endless, frustrating cycle.

This article explores the science and strategy behind the best time to pull weeds—how timing impacts root systems, seed dispersion, and regrowth—and provides evidence-backed methods for achieving lasting results without chemicals.


Understanding Weeds and Their Life Cycles

Before determining the best time to remove weeds, it’s important to understand their life cycles. There are three major types of weeds:

1. Annual Weeds

  • Complete their life cycle in a single season (e.g., crabgrass, chickweed)
  • Rely on seed production for reproduction
  • Key control strategy: Pull before they flower or go to seed

2. Biennial Weeds

  • Take two years to complete their life cycle (e.g., bull thistle)
  • Form a rosette in the first year and flower in the second
  • Key control strategy: Remove in the first year before flower stalks develop

3. Perennial Weeds

  • Come back year after year from the same root system (e.g., dandelions, bindweed, creeping charlie)
  • Can regrow from root fragments, making them harder to eliminate
  • Key control strategy: Pull when roots are most vulnerable

Understanding these patterns helps determine not just how, but when to weed.


The Best Times to Pull Weeds – Season by Season

Spring: Prime Time for Prevention

Spring is one of the most effective seasons to attack weeds—especially annuals and young perennials.

Why spring?

  • Moist soil from spring rains makes it easier to pull weeds, roots and all.
  • Weeds are young and haven’t yet developed deep root systems.
  • Pre-flowering stage ensures you remove them before they go to seed.

Ideal conditions:

  • A day or two after rain or early morning dew when the ground is moist
  • When the weather is cool, preventing immediate regrowth

Pro Tip: If you’re using mulch, apply it after pulling weeds in spring. It will suppress new growth.


Summer: Stay Consistent, But Be Cautious

Weeds grow rapidly in summer due to warm temperatures and increased sunlight.

Key considerations:

  • Soil dries out, making weed-pulling more difficult.
  • Annual weeds may already be seeding, so timing is critical.
  • Perennial weeds like bindweed or quackgrass are in full growth mode.

Best time to pull:

  • Early morning or late evening, when it’s cooler
  • After light watering or a rainstorm, to loosen soil
  • Pull weeds before they set seed, or use scissors to snip off seed heads if pulling isn’t possible

Caution:

  • Pulling deep-rooted weeds from dry, hard soil can break roots, leading to regrowth.
  • Use a weeding fork or digging tool to remove the full root system.

Fall: Strategic Weeding for Next Season

Fall weeding is often overlooked, but it plays a vital role in long-term weed control.

Why fall matters:

  • Weeds prepare for winter dormancy, storing energy in their roots.
  • Disturbing them now can prevent strong regrowth in spring.
  • Seedlings that germinated in late summer can be pulled before they establish.

Focus on:

  • Perennial weeds: Fall is your last chance to weaken their root systems before winter.
  • Young biennials: Remove first-year rosettes before they overwinter and bolt in spring.

Pro Tip: After fall weeding, apply mulch or plant a cover crop to suppress overwintering weeds.


Winter: Observation and Planning

While active weeding is generally not feasible in winter (especially in cold climates), this season still plays a role.

What you can do:

  • Plan crop rotation and mulching strategies
  • Spot and map areas with chronic weed issues
  • Sterilize tools to prevent disease and weed seed spread

Bonus Tip: In mild climates, some weeding is possible on warm winter days when the ground isn’t frozen.


Timing Based on Weed Type

Beyond seasonal timing, weed type also plays a role in determining when to pull.

Flowering Weeds

  • Pull before flowers bloom to prevent seed production.
  • Once seeds drop, pulling becomes less effective.

Seed-Head Weeds

  • If a weed has gone to seed, carefully cut off the seed head before pulling to avoid scattering.

Tap-rooted Weeds (e.g., dandelions)

  • Best pulled when soil is moist and before flowering
  • Use a narrow weeding tool to avoid snapping the root

Spreading Rhizome Weeds (e.g., Bermuda grass, creeping charlie)

  • Pull early and often—repetition weakens the root system
  • Avoid disturbing them in dry conditions, which encourages fragmentation and spread

Weather and Soil Conditions: Timing Enhancers

Even within a season, daily weather and soil moisture dramatically affect weeding success.

Ideal conditions:

  • Moist soil: Makes pulling easier and more complete
  • Cloudy or overcast days: Less plant stress, reduced regrowth
  • Cool temperatures: Slows weed recovery and regrowth

Avoid:

  • Dry, compact soil: Leads to root breakage
  • Windy days: May spread seeds unintentionally
  • Midday heat: Causes wilting, making it harder to grip and remove weeds

Tools That Improve Timing Efficiency

Using the right tool at the right time can improve efficiency and reduce strain:

  • Hand weeder: Best for tap-root weeds in moist soil
  • Hori-hori knife: Excellent for digging out deep roots
  • Hoe or stirrup hoe: Great for surface-level weeding, especially in spring and fall
  • Flame weeder: Effective during dry summer periods (non-flammable areas only)

Tips for Long-Term Weed Control

  1. Mulch immediately after weeding to prevent new growth.
  2. Pull a little every week rather than letting weeds get out of control.
  3. Never let weeds flower—even one seed can create thousands of offspring.
  4. Keep tools clean to avoid spreading seeds between areas.
  5. Maintain healthy soil: Fertile, well-mulched soil reduces weed pressure naturally.

Conclusion: Timing is the Secret Weapon

Pulling weeds may seem like a simple task, but doing it at the right time transforms it from a short-term fix to a long-term solution. By understanding plant life cycles, soil conditions, and seasonal patterns, you can maximize your weeding efforts and reduce the overall time and energy spent battling weeds.

Whether you’re managing a home garden, community plot, or a small farm, the secret to lasting results isn’t just how you weed—but when.

How To Get Rid Of Weeds Without Chemicals

How To Get Rid Of Weeds Without Chemicals

Weeds are the uninvited guests of every garden and farm. While some may appear harmless, their aggressive growth patterns, competition for nutrients, and ability to host pests and diseases make them a significant problem for gardeners and farmers alike. Traditionally, chemical herbicides have been the go-to solution for weed control. However, growing concerns about environmental health, human safety, and soil degradation have led many to seek alternative, chemical-free methods. This article explores how to effectively get rid of weeds without chemicals, offering practical strategies rooted in science and sustainability.


Why Avoid Chemical Herbicides?

Before delving into chemical-free weed control methods, it’s crucial to understand why the shift away from herbicides is gaining momentum.

1. Environmental Impact

Chemical herbicides often leach into the soil and waterways, harming aquatic ecosystems and reducing soil biodiversity. Non-target plants and beneficial insects, such as pollinators, can also be affected.

2. Health Risks

Many herbicides contain compounds suspected of being carcinogenic or endocrine disruptors. Long-term exposure, particularly among agricultural workers, has been linked to serious health conditions.

3. Resistance

Over time, repeated herbicide use can lead to the evolution of “superweeds”—weed species that are resistant to common chemicals, making them even harder to control.


Understanding Weeds: The First Step in Control

Weeds are simply plants growing where they are not wanted. Some are annuals (completing their life cycle in one year), while others are perennials (regrowing year after year). Understanding the type of weed you’re dealing with is essential to choosing the right control method.

  • Annual weeds (e.g., crabgrass, chickweed): Easy to manage by preventing seed spread.
  • Perennial weeds (e.g., dandelions, bindweed): Require removal of the entire root system.

Non-Chemical Weed Control Methods

1. Manual Removal (Hand Pulling and Hoeing)

One of the most straightforward methods, hand pulling or hoeing, is best done when weeds are small and the soil is moist.

  • Best for: Garden beds, small areas, and weeds with shallow roots.
  • Tip: Use a forked weeding tool or dandelion puller to get deep roots without disturbing nearby plants.
  • Limitations: Labor-intensive; requires persistence.

2. Mulching

Mulching involves covering the soil with a layer of organic or inorganic material to block light and suppress weed germination.

  • Materials: Wood chips, straw, leaves, cardboard, or landscape fabric.
  • Benefits: Retains soil moisture, improves fertility (organic mulch), and provides a clean appearance.
  • Application: Apply 2–4 inches around plants and reapply seasonally.

3. Solarization

Solarization uses the sun’s heat to kill weed seeds and roots in the upper soil layers. It’s particularly effective in warm climates.

  • How to do it:
    • Clear the area of vegetation.
    • Water the soil thoroughly.
    • Cover with clear plastic sheeting for 4–6 weeks during the hottest months.
  • Pros: Also kills soil-borne pests and diseases.
  • Cons: Not suitable for areas with cooler climates or large-scale farms.

4. Flame Weeding

This method involves using a flame torch to expose weeds to high temperatures, effectively “boiling” their cells.

  • Best for: Driveways, sidewalks, gravel paths, and areas away from flammable material.
  • Equipment: Propane flame weeder.
  • Caution: Should be used with extreme care, especially during dry seasons.

5. Boiling Water and Natural Solutions

Pouring boiling water directly onto weeds can scald them, damaging their cell structure.

  • Works best on: Sidewalk cracks, patios, and non-planted areas.
  • Other natural solutions:
    • Vinegar (5% acetic acid): Acts as a desiccant, killing top growth.
    • Salt (sparingly): Disrupts water uptake in plants.
    • Caution: These can harm desirable plants and alter soil health if overused.

6. Ground Covers and Dense Planting

Dense planting of ground covers like clover, creeping thyme, or periwinkle can crowd out weeds.

  • Advantage: Prevents sunlight from reaching weed seeds.
  • Eco-friendly: Reduces soil erosion and adds aesthetic value.
  • Tip: Choose species suitable for your climate and sunlight conditions.

7. Crop Rotation and Cover Crops (for Farms and Large Gardens)

Rotating crops each season and planting cover crops like rye or buckwheat can reduce the weed seed bank in soil.

  • How it works:
    • Different crops discourage the dominance of specific weeds.
    • Cover crops outcompete weeds for nutrients and space.
  • Bonus: Improves soil structure and fertility.

Prevention Is Better Than Cure

An ounce of prevention is worth a pound of cure—especially in weed management. Here’s how to stay ahead:

1. Inspect Regularly

Walk through your garden or field weekly. Early detection allows for easier removal before seeds spread.

2. Avoid Tilling Too Often

While tilling aerates soil, it also brings buried weed seeds to the surface. Consider no-till or minimal-till methods.

3. Use Sterile Compost

Ensure that compost is hot enough (above 130°F or 55°C) to kill weed seeds before application.

4. Edge Control

Install physical barriers or edging around garden beds to prevent weed creep from lawns or untended areas.


Integrated Weed Management (IWM): A Holistic Strategy

IWM combines multiple non-chemical methods tailored to specific environments and weed types. Rather than relying on a single approach, it integrates prevention, mechanical control, biological understanding, and ecological principles.

Example IWM Plan:

  • Spring: Hand pull emerging weeds, apply mulch.
  • Summer: Monitor growth, use flame weeder on driveways, reapply mulch.
  • Fall: Plant cover crops, solarize unused beds.
  • Winter: Plan crop rotation, inspect tools and barriers.

Challenges of Non-Chemical Weed Control

While sustainable and safe, these methods are not without challenges:

  • Time-Intensive: Manual and mechanical methods require more labor.
  • Persistence Required: Weeds can return; long-term management is essential.
  • Effectiveness Varies: Not all methods work equally for all weed types or climates.

Despite these challenges, the environmental and health benefits of going chemical-free are significant. With proper planning and consistent effort, natural weed control can be highly effective.


Conclusion

Getting rid of weeds without chemicals is entirely achievable through a combination of knowledge, consistency, and eco-friendly practices. Whether you’re a home gardener, urban landscaper, or small-scale farmer, embracing chemical-free weed management not only protects the environment and human health but also promotes a more resilient and balanced ecosystem. By understanding weed behavior, implementing preventive strategies, and using practical non-chemical tools, we can create thriving gardens and farms—naturally.


Final Note:

Chemical-free weed control is not about finding a single miracle solution; it’s about combining the right strategies for your space, climate, and weed type. Like most sustainable practices, it rewards patience, observation, and a commitment to long-term soil and plant health.