For plant lovers, keeping up with watering schedules can sometimes be a challenge—especially for those with busy lifestyles or frequent travel plans. Too much or too little water can quickly stress plants, leading to yellowing leaves, root rot, or dehydration. Fortunately, there’s a clever, low-maintenance solution: the self-watering pot system.
This smart setup allows your plants to absorb just the right amount of water whenever they need it. Not only does it reduce the risk of overwatering and underwatering, but it also ensures consistent moisture for healthy growth. Even better, you can easily create your own self-watering system at home with minimal tools and inexpensive materials.
In this detailed guide, we’ll explore how self-watering pots work, their benefits, and step-by-step instructions to build one yourself—plus expert tips to keep your plants thriving year-round.
What Is a Self-Watering Pot System?
A self-watering pot is a container designed with a built-in water reservoir that automatically supplies moisture to your plant’s roots through capillary action or a wicking mechanism.
Instead of watering from the top, water is stored in a lower chamber, and the soil or wick gradually pulls up moisture as the plant needs it. This creates a consistent water supply without the risk of waterlogging or drought stress.
Essentially, the system allows the plant to “drink” on its own schedule, just like it would in nature—drawing water from moist soil below.
Why Choose a Self-Watering Pot System?

Self-watering pots are ideal for anyone who wants healthier plants with less maintenance. Here are some of the key benefits:
1. Consistent Moisture Levels
Unlike traditional watering, where soil often fluctuates between too dry and too wet, a self-watering system provides steady, balanced hydration. This promotes stronger root development and steady growth.

2. Saves Time and Effort
No more daily watering routines! You only need to refill the reservoir once every few days—or even once a week, depending on plant size and environment.
3. Prevents Overwatering and Root Rot
Since plants absorb water only as needed, there’s less risk of overwatering—a common cause of fungal infections and root rot.
4. Water Efficiency
Self-watering pots reduce water waste because there’s minimal runoff or evaporation. Every drop counts, making them eco-friendly and ideal for dry climates.
5. Perfect for Busy or Forgetful Gardeners
Whether you’re away for a few days or simply forgetful, self-watering systems provide a reliable safety net to keep plants hydrated in your absence.
How a Self-Watering Pot Works
To understand how to build one, it helps to know the basic mechanics. A self-watering system has three essential parts:
- Water Reservoir: A lower compartment or chamber that holds water.
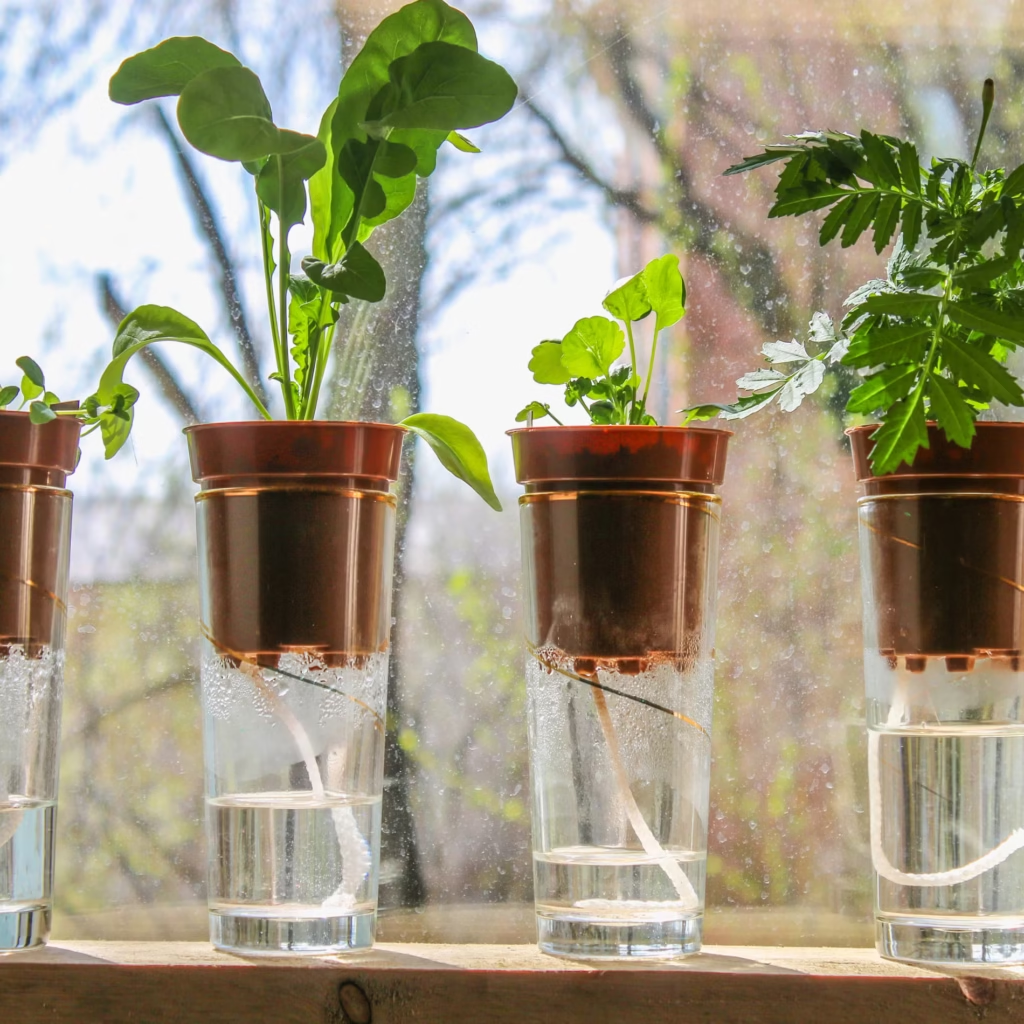
- Wicking System or Capillary Channel: A material (like cotton rope, felt strip, or soil bridge) that draws water upward from the reservoir to the plant’s roots.
- Overflow Hole: Prevents excess water from flooding the root zone by draining surplus water when the reservoir is full.
This simple yet effective design keeps soil moisture perfectly balanced.
Materials You’ll Need
Building a DIY self-watering pot doesn’t require expensive tools. Most materials are easy to find at home or in any local store.
For one self-watering pot, you’ll need:

- Two plastic containers (one slightly smaller than the other)
- A sharp knife or drill
- Cotton rope, nylon cord, or old T-shirt strips (for wicking)
- Potting mix suitable for your plant
- Your favorite plant or seedling
- Water
- Optional: small plastic tubing or a watering spout for easy refilling
Step-by-Step Guide: How to Build a Self-Watering Pot System
Follow these steps to create a reliable self-watering setup at home:
Step 1: Prepare the Containers
You’ll need one container to act as the main pot (for soil and the plant) and another as the reservoir (to hold water).
- Choose containers that fit snugly together—such as two buckets, or a large plastic bottle cut in half.
- The top container should nest slightly inside the bottom one but leave enough space below (2–3 inches) for the water reservoir.
Step 2: Create a Wicking Mechanism
Cut 2–3 holes at the bottom of the upper container. These will serve as openings for the wicks.
- Thread cotton rope, nylon cord, or fabric strips through each hole, leaving a few inches hanging down into the water reservoir and several inches above the bottom inside the soil chamber.
- Alternatively, leave one large hole and fill it with a column of soil extending into the reservoir—this soil acts as a natural wick.
The wicking system is what delivers water gradually from the lower container to the root zone.
Step 3: Add the Overflow Hole
Drill or cut a small overflow hole near the top of the water reservoir (around 1 inch below the soil container’s base).
This prevents overfilling and ensures your plant roots don’t sit directly in water, which could cause root rot.
Step 4: Assemble the System
Place the upper container (with soil holes and wicks) into the lower container (the water reservoir). Ensure the wicks dangle properly into the water space.
Step 5: Add Potting Mix and Plant
- Fill the upper container with a light, well-draining potting mix—avoid dense garden soil.
- Position your plant in the center and gently pat down the soil around it.
- Ensure the wicks are evenly distributed to deliver moisture across the pot.
Step 6: Fill the Reservoir
Pour water into the bottom chamber through a gap between the two containers, or create a small refill hole using a tube or funnel.

Fill until water reaches just below the soil base or until it begins to drip out of the overflow hole.
Step 7: Monitor and Maintain
Your self-watering pot is now ready! The plant will draw moisture as needed through the wicks.
- Check the water level every few days, especially in warm weather.
- Refill as needed when the reservoir runs low.
- Clean the reservoir every few weeks to prevent algae or mineral buildup.
Alternative DIY Ideas for Self-Watering Pots
If you prefer something simpler or more creative, here are some alternative DIY approaches:
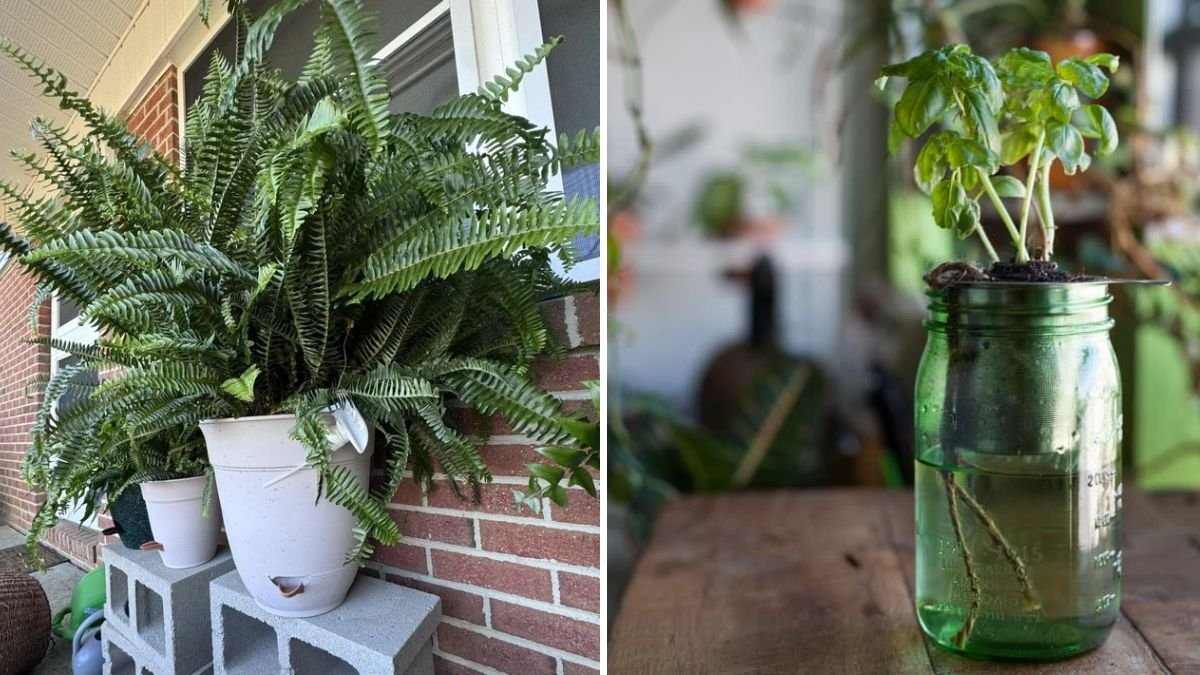
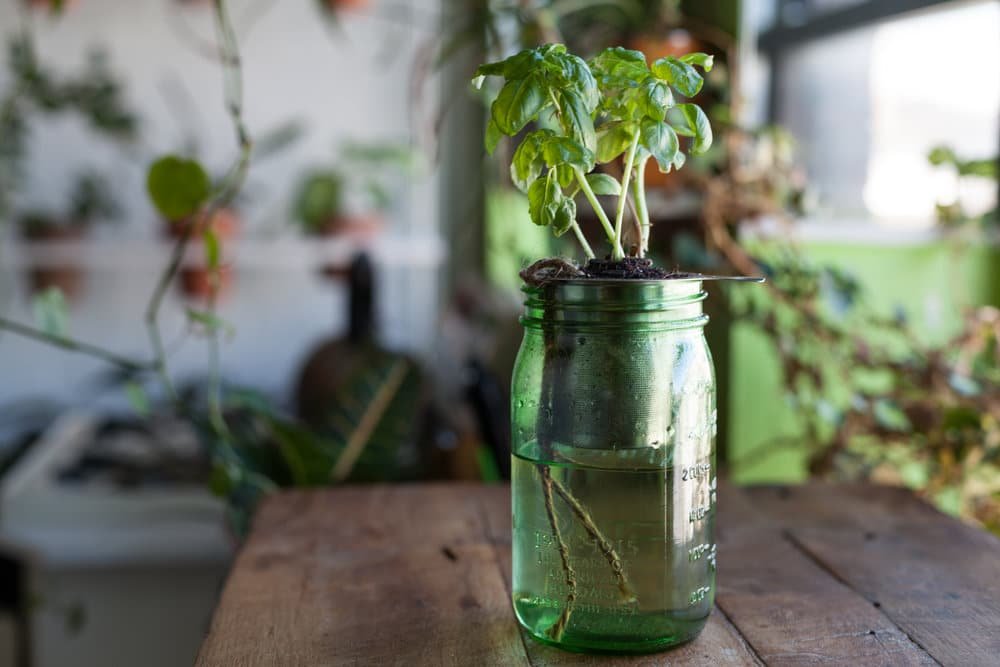
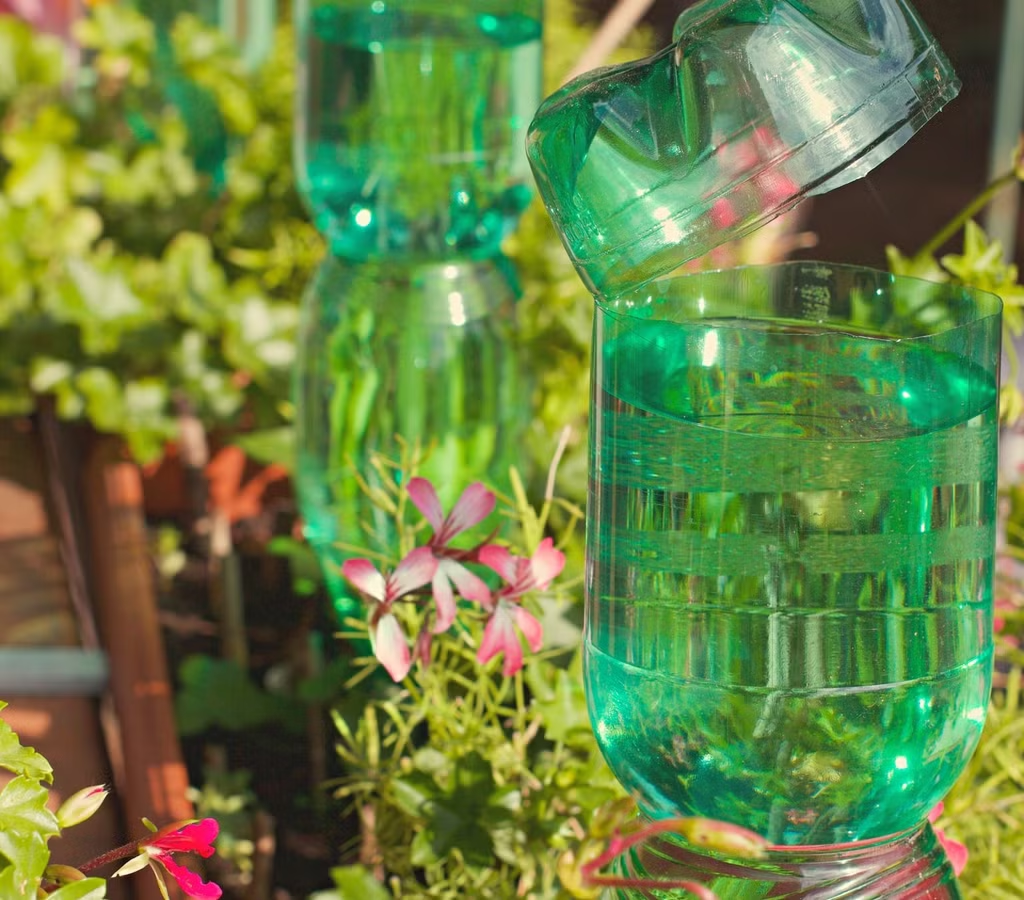
1. Plastic Bottle Wick System
- Cut a plastic bottle in half.
- Place the top half (with the cap removed or pierced) upside-down into the bottom half.
- Thread a cotton rope through the neck of the bottle to act as a wick.
- Fill the bottom half with water and add soil and plant to the top half.
This small, efficient setup works well for herbs or small indoor plants.
2. Capillary Mat System
- Use a capillary mat (a thick felt or absorbent fabric) placed under several pots.
- The mat sits on top of a water tray and absorbs moisture, which then moves into each pot through drainage holes.
This method is ideal for multiple small pots or seed trays.
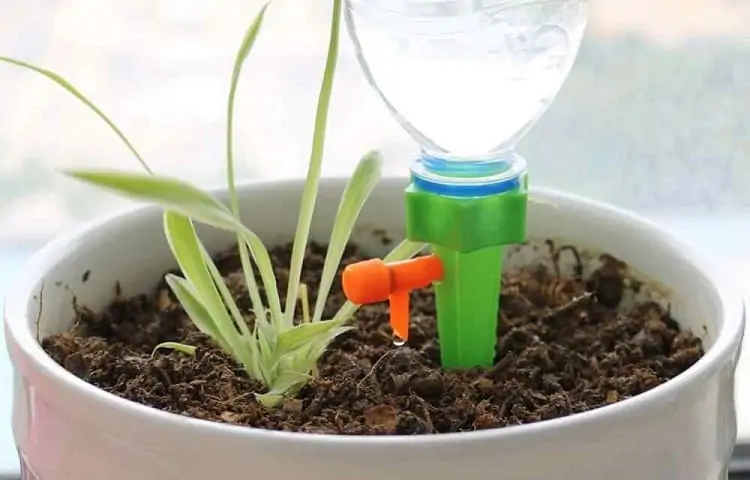
3. Self-Watering Insert Cups
If you don’t want to build an entirely new pot, insert a small water cup with a wick into your existing planter. It’s a quick and budget-friendly solution.
Tips for Successful Self-Watering Plant Care
To make sure your plants thrive with a self-watering system, keep these practical tips in mind:
- Choose the Right Soil: Use a light, well-aerated potting mix. Dense soil blocks capillary movement.
- Avoid Overfertilizing: Nutrient salts can accumulate since the soil remains consistently moist. Use diluted fertilizer occasionally.
- Use Clean Water: If your area has hard water, use filtered or rainwater to reduce mineral deposits.
- Flush the Soil Monthly: Pour water from the top occasionally to prevent salt buildup.
- Monitor Light and Temperature: Even with perfect watering, inadequate light can hinder growth. Keep plants near windows or under grow lights.
Ideal Plants for Self-Watering Pots
While most houseplants benefit from self-watering systems, some thrive especially well in consistent moisture conditions. Great options include:

- Herbs: Basil, mint, parsley, and chives.
- Leafy greens: Lettuce, spinach, and kale.
- Tropical plants: Peace lily, pothos, ferns, and calathea.
- Flowering plants: African violets and begonias.
Avoid using self-watering pots for succulents and cacti, as they prefer dry soil and are prone to root rot with constant moisture.
Advantages of Building Your Own System
Creating your own self-watering pot system at home has multiple benefits:
- Budget-friendly: Most setups cost less than a few dollars to make.
- Customizable: Adjust size and design based on plant needs.
- Eco-friendly: Reuse old bottles, jars, and containers.
- Satisfying DIY project: It’s creative, educational, and rewarding.
Final Thoughts
Building a self-watering pot system at home is a smart, sustainable, and convenient way to keep your indoor or outdoor plants thriving. This simple DIY solution ensures your plants get consistent hydration, saves time, and promotes healthy growth—all while reducing water waste.
Whether you’re nurturing herbs in the kitchen, tending to tropical foliage in your living room, or managing a balcony garden, a self-watering setup will make your gardening life easier and your plants happier.
So gather your tools, pick your containers, and start building! With just a little effort, you’ll create a system that works like nature itself—efficient, balanced, and full of life.
Leave A Comment