Have you ever wished you could grow your own vegetables year-round without worrying about soil, weeds, or messy gardening tools? The good news is—you can! With a simple DIY hydroponic system, you can grow fresh, healthy greens, herbs, and vegetables right in your kitchen, balcony, or backyard.
Hydroponics is a modern, soil-free gardening method that’s gaining popularity worldwide. It uses a nutrient-rich water solution to feed plants directly, resulting in faster growth and higher yields. The best part? You don’t need to be a scientist or a professional gardener to start—just a few basic materials and a bit of enthusiasm.
In this step-by-step guide, you’ll learn how to make a hydroponic system at home, what materials you need, how it works, and how to grow your favorite crops efficiently and sustainably.
What Is a Hydroponic System?
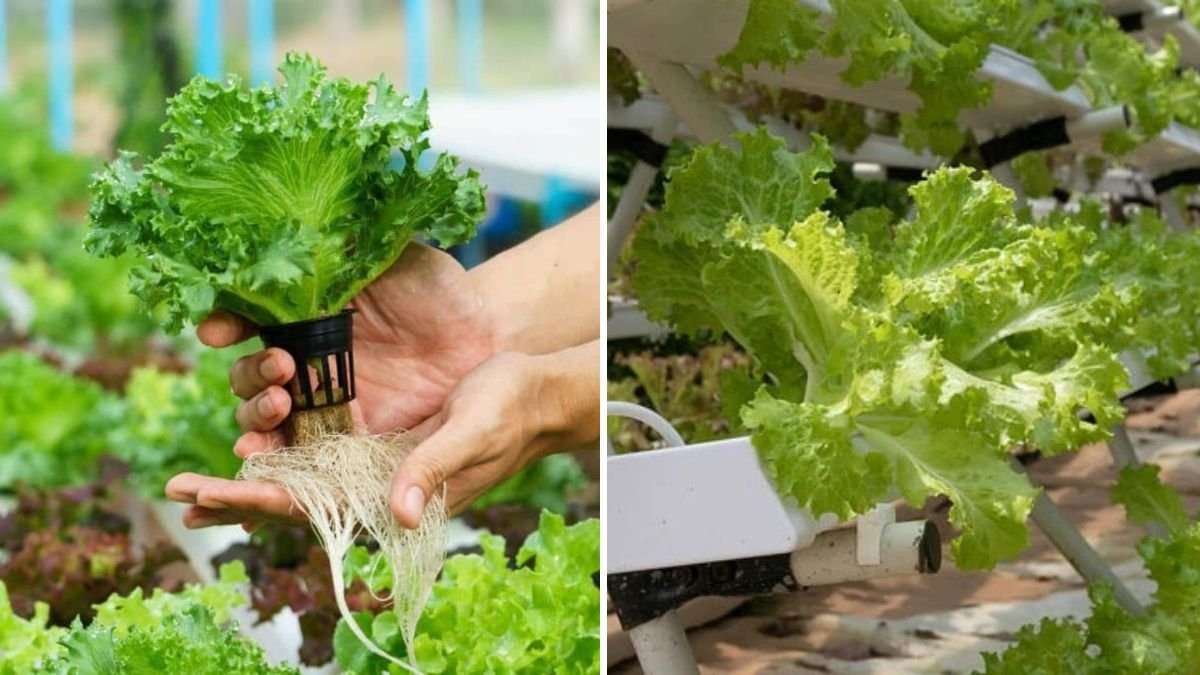
Hydroponics is a method of growing plants without soil, where roots are suspended in water that’s enriched with essential nutrients. The plants receive everything they need directly through this nutrient solution—water, oxygen, and minerals—resulting in faster, cleaner, and more efficient growth.
Instead of depending on the soil for nutrients, hydroponic systems allow you to control everything—from pH levels to nutrient strength—giving you perfect conditions for your plants all year long.
Why Choose Hydroponics at Home?
Before we dive into the building process, let’s understand why so many home gardeners are switching to hydroponics:
- No Soil Needed: Say goodbye to dirt, pests, and weeds.
- Faster Growth: Plants grow up to 50% faster than in traditional soil.
- Saves Water: Hydroponics uses up to 90% less water than soil gardening.
- Space Efficient: Perfect for apartments, balconies, or small homes.
- Year-Round Gardening: You can grow your favorite vegetables regardless of season.
- Cleaner and Healthier Produce: No soil means no chemicals, pesticides, or mud.
Hydroponics is not only fun—it’s a sustainable way to grow your own food right where you live.
Materials You’ll Need to Build a Home Hydroponic System
The great thing about hydroponics is that it doesn’t require expensive tools. You can easily build a simple setup using household items or materials from a hardware store.

Here’s what you’ll need:
- Container or Reservoir: A plastic tub, storage bin, or bucket to hold the water and nutrients.
- Net Pots or Plastic Cups: Small containers to hold your plants.
- Growing Medium: Such as coco coir, perlite, or rockwool to support the plant roots.
- Air Pump with Air Stone: (Like those used in aquariums) to provide oxygen to the roots.
- Hydroponic Nutrient Solution: A liquid fertilizer formulated specifically for hydroponic systems.
- Seedlings or Seeds: Choose easy-to-grow crops like lettuce, spinach, basil, or tomatoes.
- pH Testing Kit: To monitor and balance the nutrient solution.
- Drill or Cutter: To make holes in your lid or container.
Optional:
- Grow Lights: If you’re growing indoors or don’t get enough sunlight.
- Timer: To automate lighting or watering cycles.
Step-by-Step: How to Make a Simple Hydroponic System at Home
Let’s build your hydroponic system step by step. We’ll use the Deep Water Culture (DWC) method—one of the easiest and most popular hydroponic setups for beginners.
1. Prepare the Container or Reservoir
Choose a large plastic container with a lid—something between 10–20 liters in capacity. This will serve as your main water and nutrient reservoir.
- Clean the container thoroughly.
- Cut or drill holes in the lid big enough to fit your net pots or plastic cups.
- Space them evenly so each plant has enough room to grow.
Pro Tip: Use dark-colored containers or paint the outside black to prevent algae growth (since algae thrive in light).
2. Add the Air Pump and Air Stone
Place your air stone inside the reservoir at the bottom. Connect it to the air pump using a rubber tube and place the pump outside the container (so it stays dry).
The air pump ensures your plants’ roots get enough oxygen—without it, roots can suffocate in stagnant water.
3. Mix the Nutrient Solution
Fill the container about three-quarters full with clean, room-temperature water. Then, add the hydroponic nutrients as directed on the packaging.

Hydroponic fertilizers contain all essential macro- and micronutrients like nitrogen (N), phosphorus (P), potassium (K), calcium, and magnesium.
Once mixed, check the pH level of the solution—it should be between 5.5 and 6.5 for most plants. Adjust it if needed using pH up/down solutions (available at gardening stores).
4. Prepare the Plants
If you’re starting from seeds, germinate them first in a damp paper towel or small seedling tray until they sprout tiny roots.
If you already have seedlings, rinse off any soil from the roots before placing them in your growing medium (such as coco coir or perlite).
Gently place your seedlings into the net pots or plastic cups, ensuring the roots extend slightly out of the bottom. The goal is for the roots to reach into the nutrient solution once placed in the lid holes.
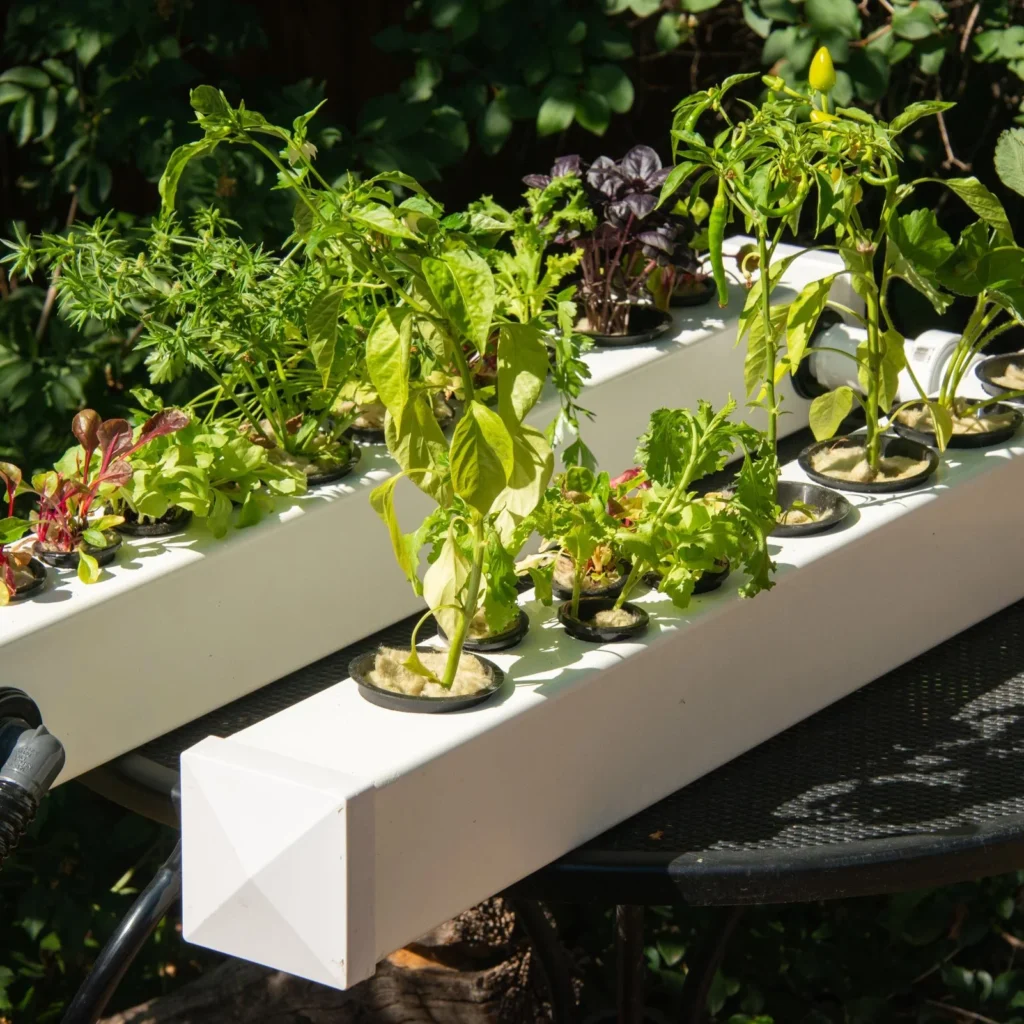
5. Assemble the System
Now, place the lid with the plants on top of your nutrient-filled container.
Make sure the roots are touching the water lightly—this ensures they’ll start absorbing nutrients and oxygen immediately.
Turn on your air pump to begin the oxygenation process. You should see small bubbles forming in the water, which means oxygen is circulating effectively.

6. Provide Light
Plants need light to perform photosynthesis and grow strong.
- If growing indoors, use LED grow lights and position them about 12–18 inches above the plants.
- If outdoors, make sure your setup gets at least 6 hours of direct sunlight daily.
Maintain a light schedule of 14–16 hours per day for best growth.
How the Hydroponic System Works
Here’s the beauty of hydroponics: once set up, it’s mostly self-sustaining.
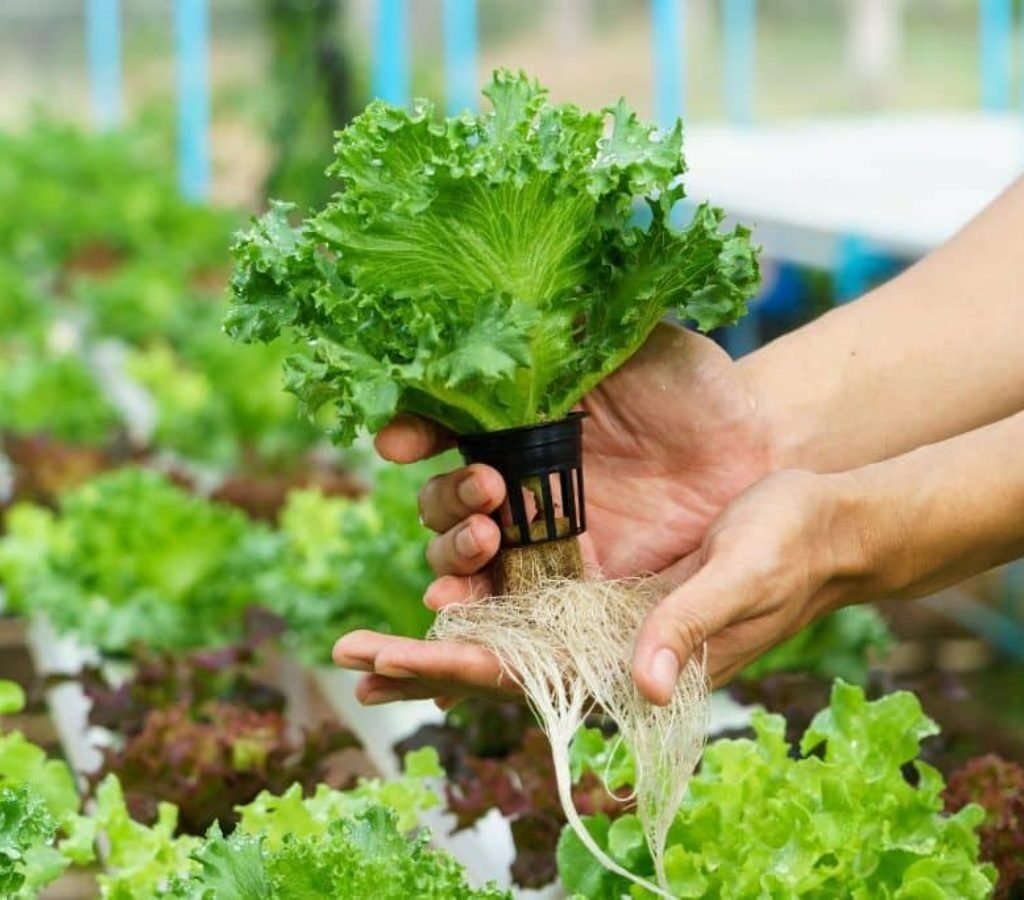
The air pump oxygenates the water, preventing the roots from drowning. The roots absorb nutrients directly from the water, allowing the plant to grow quickly without expending energy searching for food in soil.
Because everything the plant needs—light, air, water, and nutrients—is perfectly balanced, it grows faster, healthier, and more efficiently.
Maintenance Tips for Your Home Hydroponic System
While hydroponic gardening is low-maintenance, a few simple habits will keep your system running smoothly:
- Check Water Levels: Refill your reservoir as water evaporates.
- Change Nutrient Solution: Replace every 2–3 weeks to prevent salt buildup.
- Monitor pH: Keep it between 5.5 and 6.5 for optimal nutrient absorption.
- Clean System Monthly: Rinse with mild hydrogen peroxide or vinegar solution to prevent algae or bacteria.
- Inspect Roots: Healthy roots are white and firm. Brown or slimy roots indicate a problem with oxygenation or nutrients.
By following these steps, your plants will thrive all season long.
Best Plants to Grow in a Home Hydroponic System
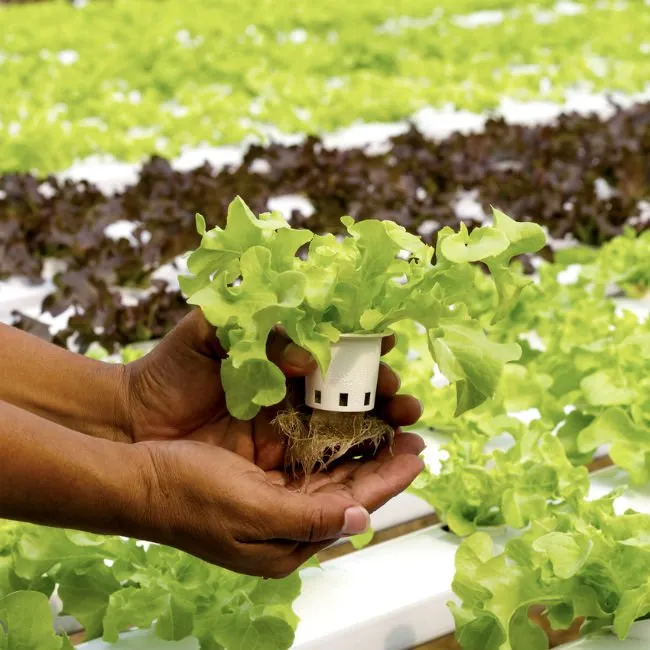
Not all plants are equally suited to hydroponics, but many common vegetables and herbs grow beautifully. Here are some great choices for beginners:

- Lettuce and leafy greens (spinach, kale, Swiss chard)
- Herbs (basil, mint, cilantro, parsley, oregano)
- Tomatoes and cherry tomatoes
- Cucumbers
- Strawberries
- Peppers
Start with fast-growing greens and herbs before experimenting with larger fruiting plants.
Advantages of Making a Hydroponic System at Home
Building your own hydroponic setup offers incredible benefits:
- Fresh food all year round: Enjoy homegrown vegetables even in winter.
- Saves space: Grow vertically or on small balconies.
- Water efficient: Perfect for regions with limited water supply.
- No weeding or tilling: Maintenance is simple and clean.
- Eco-friendly: Reduces carbon footprint and eliminates chemical pesticides.
Plus, it’s an exciting and educational project for both kids and adults—an easy way to learn about plant science, sustainability, and self-sufficiency.
Common Problems and How to Fix Them
Here are a few common beginner issues and quick solutions:
- Yellowing leaves: Usually a sign of nutrient deficiency—add more fertilizer or check pH.
- Slimy roots: Caused by lack of oxygen or algae—clean the system and improve aeration.
- Slow growth: Ensure your plants are getting enough light and that nutrient concentration isn’t too weak.
- Algae growth: Use opaque containers or cover exposed water to block sunlight.
Final Thoughts: Your Hydroponic Garden Starts Now
Making a hydroponic system at home is one of the smartest and most rewarding ways to grow your own food. With a few affordable materials and simple setup, you can enjoy pesticide-free, nutrient-rich vegetables and herbs right from your kitchen or balcony.
It’s clean, sustainable, and surprisingly easy to maintain—even if you’re new to gardening. So why wait? Gather your supplies, follow these steps, and start your hydroponic journey today. You’ll be amazed at how fast your plants grow—and how delicious your homegrown produce tastes!
SEO Keywords:
how to make hydroponic system at home, DIY hydroponics setup, home hydroponics guide, hydroponic gardening for beginners, grow vegetables without soil, indoor hydroponic system, hydroponic nutrient solution, hydroponic plants, sustainable gardening, hydroponics at home.
Leave A Comment