As autumn’s colors fade and the chill of winter begins to settle in, most gardeners start packing away their tools and waiting for spring. But the secret to a lush, thriving garden next year actually begins right now—in the fall. Properly preparing your garden beds for winter is one of the most valuable investments you can make for your plants and soil.
If you skip this step, winter’s freeze-thaw cycles, nutrient depletion, and pest buildup can leave your garden weak and unproductive come spring. However, with the right late-season care, your soil will stay rich, your perennials will stay protected, and your entire garden will wake up healthier, stronger, and ready to grow.
Here’s a complete expert guide on how to prepare garden beds for winter for a strong spring start—from cleaning up spent plants to enriching the soil and protecting roots from frost.
1. Clear Out Dead and Diseased Plants
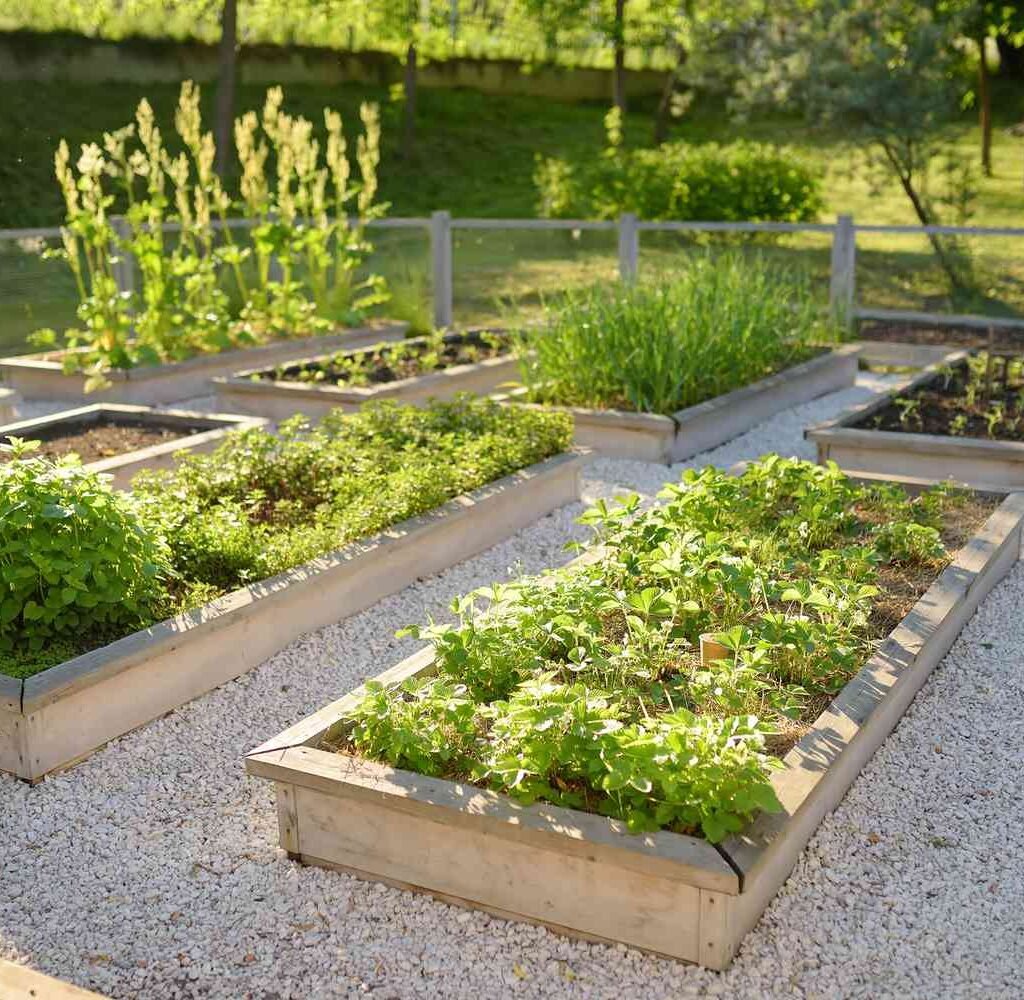
The first step in winter preparation is a thorough cleanup. While some plant material can stay for structure and wildlife, dead or diseased plants are a major risk for next year’s growth.
Spent annuals, vegetable vines, and flowers that have finished blooming often harbor fungal spores, pest eggs, and bacteria that survive winter and reemerge stronger in spring.
How to Do It:
- Pull out all annuals and vegetables that are past their prime.
- Check for disease—leaves with spots, blackened stems, or powdery mildew should go straight into the trash, not the compost.
- Leave healthy organic matter, such as the roots of nitrogen-fixing plants (beans or peas), which naturally enrich the soil as they break down.
Expert Tip:
If you’re unsure whether a plant is diseased, err on the side of caution and discard it. Even a few contaminated leaves can infect new seedlings next year.
A clean garden bed ensures pests and diseases don’t overwinter in your soil and guarantees a healthy start in spring.
2. Remove Weeds Before They Go Dormant
Weeds are tougher than most garden plants. If you let them stay through winter, they’ll drop seeds and spread rapidly once the soil warms up. Taking time to remove them now saves hours of back-breaking work next spring.
How to Do It:
- Pull weeds out by the root to prevent regrowth.
- For deep-rooted perennials (like dandelions or dock), use a hand weeder or trowel.
- If you have time, spread a layer of mulch or cardboard to suppress any late-sprouting weeds.
Bonus Tip:
Add compost or leaf mold right after weeding. This helps replenish nutrients that weeds may have stolen from your soil.
3. Add Compost or Organic Matter to Replenish the Soil
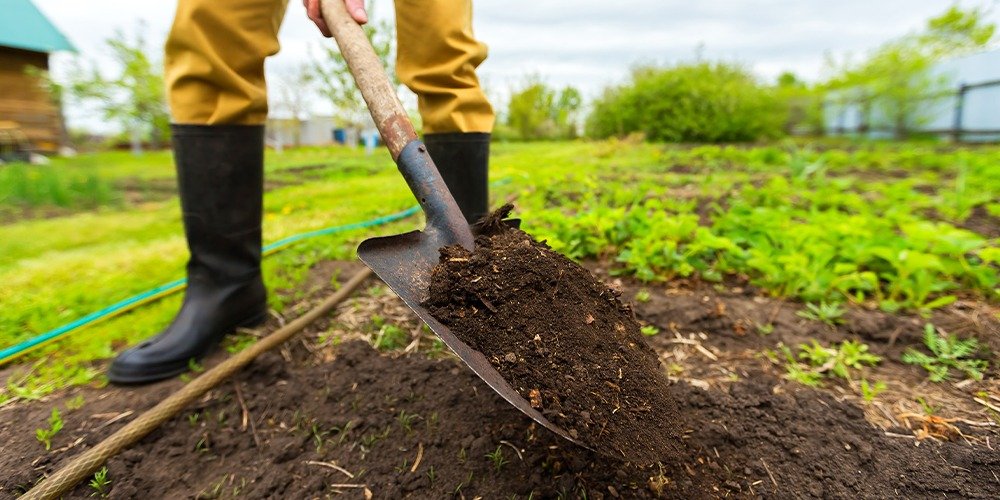
After a season of heavy growth, your soil is often depleted of nutrients. Before winter, feed it with rich organic matter to restore fertility and improve structure.
How to Do It:
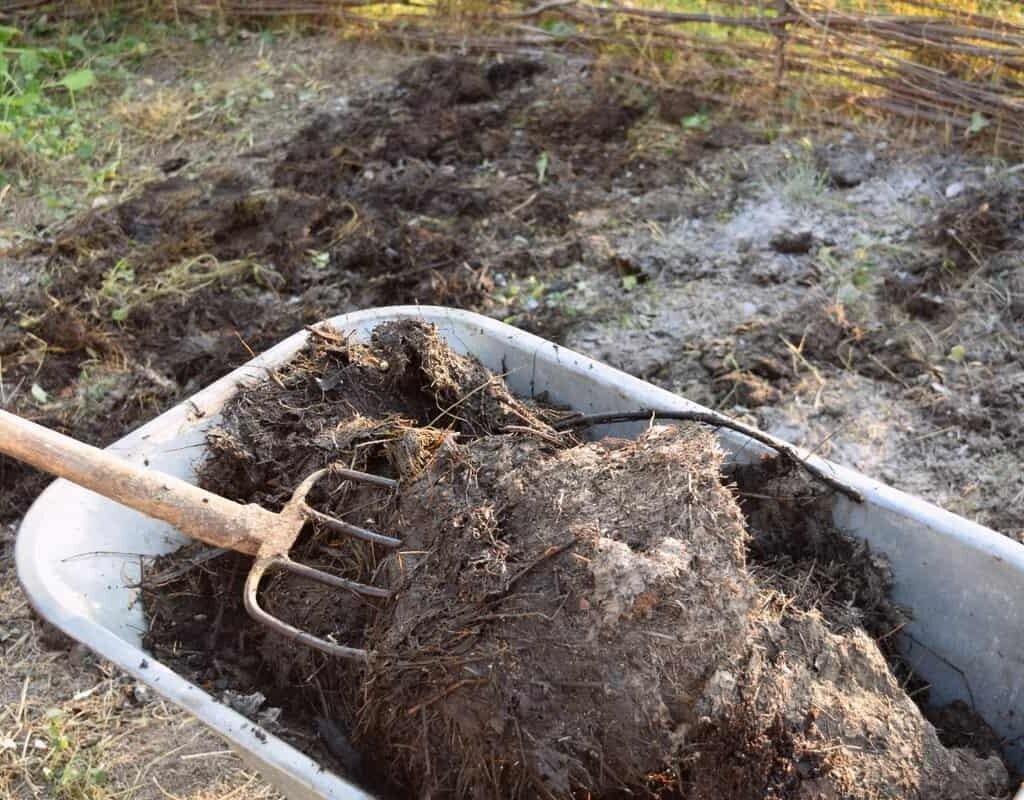
- Spread 2–3 inches of compost, aged manure, or leaf mold over the surface of your beds.
- Lightly turn the soil or rake it in so it mixes with the top few inches of dirt.
- Water thoroughly to help nutrients seep deeper into the ground.
As winter’s freeze-thaw cycles break down the organic material, your soil will become more fertile and crumbly by spring.
Expert Tip:
If you use animal manure, make sure it’s well-aged (at least six months old)—fresh manure can burn roots and introduce harmful bacteria.
4. Protect Soil With Mulch or Cover Crops
One of the best ways to protect your garden over winter is to cover the soil—either with mulch or a living cover crop. Bare soil is vulnerable to erosion, nutrient loss, and compaction from heavy rain and snow.
Option 1: Mulch
Mulch acts as a natural blanket, insulating roots and preventing weeds from sprouting.
- Use organic materials like shredded leaves, straw, wood chips, or pine needles.
- Spread 2–4 inches over the surface, keeping mulch a few inches away from plant crowns to prevent rot.
Option 2: Cover Crops
If you prefer a living cover, plant green manures such as clover, rye, vetch, or winter peas. These protect the soil while also adding nitrogen when tilled in spring.
Why It Matters:
Both methods prevent erosion and enrich the soil with organic matter, ensuring that when you start planting again, your beds are nutrient-rich and well-structured.
5. Cut Back Perennials—But Not Too Much

Perennial plants benefit from a gentle trim before winter, but cutting too early or too low can damage them. You want to strike the right balance—removing dead growth while leaving enough foliage to protect crowns and provide wildlife habitat.
How to Do It:
- Wait until after the first frost to cut back perennials.
- Trim stems to 2–3 inches above the soil.
- Leave ornamental grasses, sedums, and coneflowers standing; they add winter beauty and feed birds with their seeds.
- For tender perennials (like dahlias or cannas), dig up the bulbs or tubers, dry them, and store them in a cool, dry place until spring.
Expert Tip:
Apply a layer of mulch around perennial crowns to insulate them from extreme cold and temperature fluctuations.
6. Test and Amend Your Soil
Late fall is the perfect time to test your soil’s pH and nutrient levels. This allows you to correct imbalances now so that nutrients are available as soon as plants start growing in spring.
How to Do It:
- Use a soil testing kit or send a sample to your local extension office.
- Based on the results:
- Add lime if your soil is too acidic (below pH 6.0).
- Add sulfur or peat moss if it’s too alkaline (above pH 7.5).
- Mix in compost or specific nutrients like bone meal or wood ash as needed.
By adjusting your soil before winter, you give amendments time to integrate naturally, setting up an ideal environment for new growth.
7. Cover Tender and Bare Areas
Some areas of your garden—especially those with young plants or exposed soil—need extra protection to survive the cold.
How to Do It:
- Cover delicate plants with burlap, straw, frost blankets, or old bedsheets during severe cold snaps.
- Secure coverings with rocks or stakes to prevent wind from blowing them away.
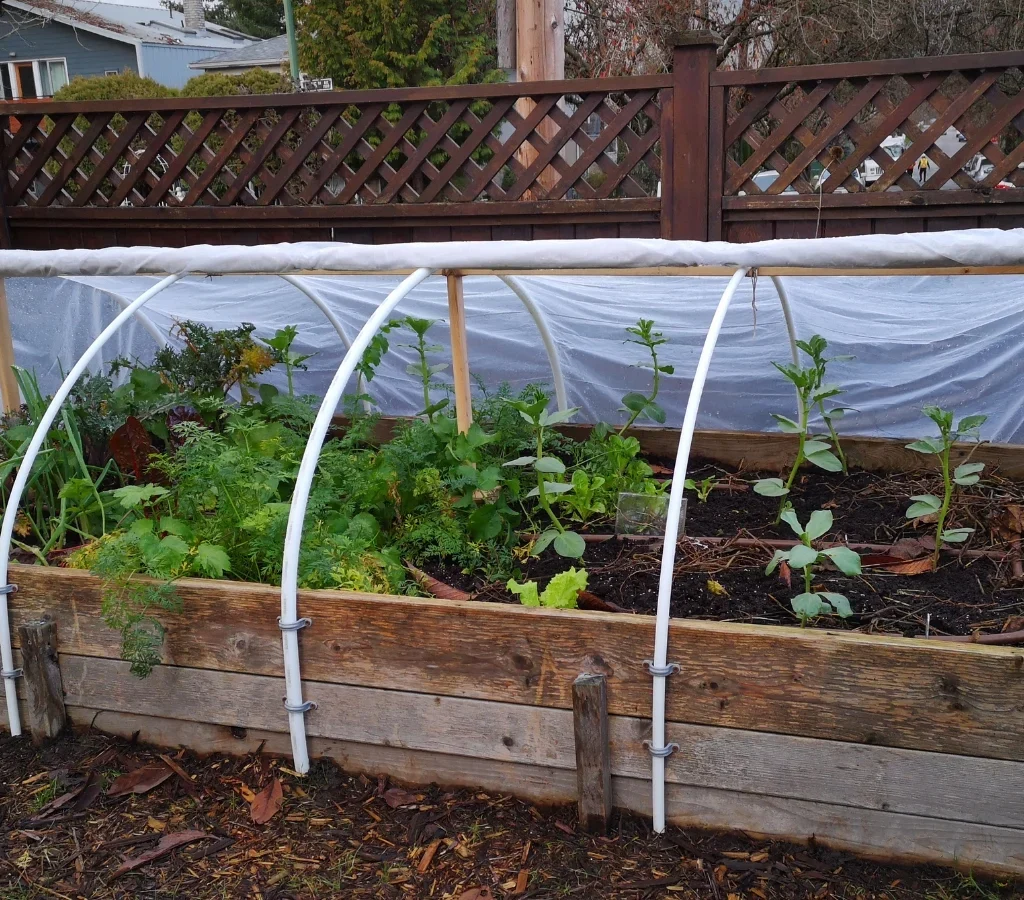
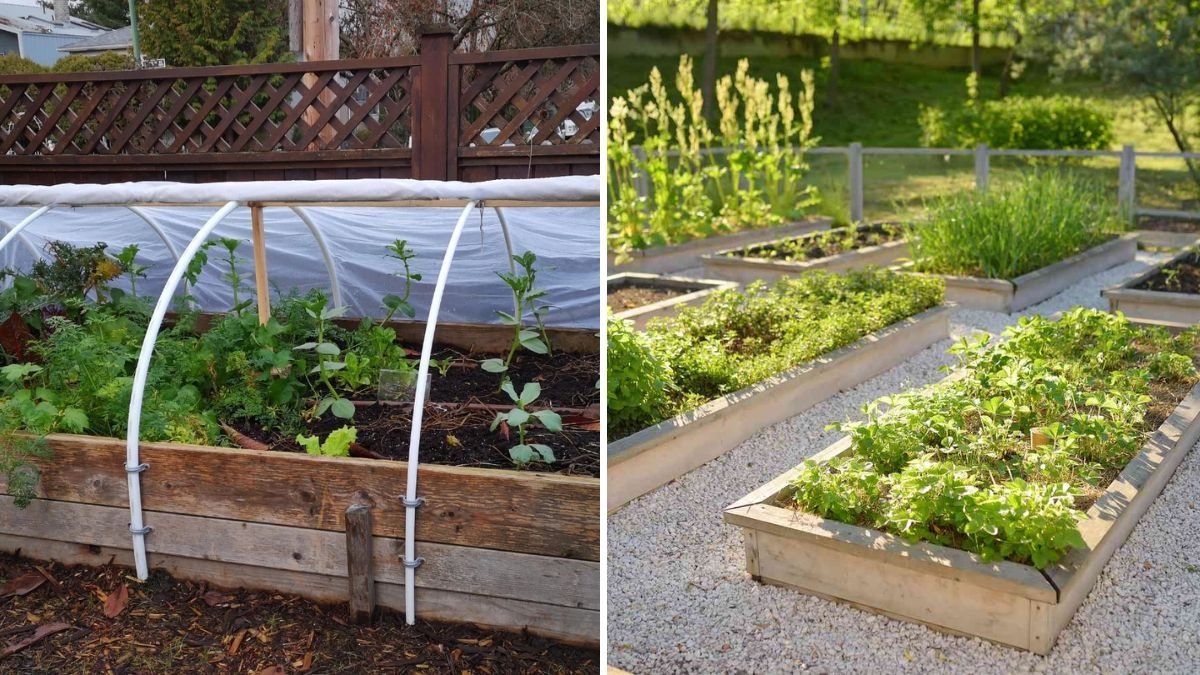
- For raised beds, consider using cold frames or mini hoop houses to extend the growing season or shield overwintering crops like kale, spinach, and carrots.
Budget Tip:
You don’t need to buy fancy materials—recycled cardboard, shredded leaves, or old towels can serve as effective frost barriers in a pinch.
8. Edge and Define Garden Beds
Winter winds and melting snow can blur the boundaries of your garden beds. Taking time to edge them neatly in fall creates a clean appearance and prevents grass or weeds from creeping in come spring.
How to Do It:
- Use a sharp spade or edging tool to create clean lines between the garden bed and lawn.
- Add a border of stones, bricks, or wood for definition.
- Top off raised beds with compost or fresh soil to replace any lost during the growing season.
This not only improves your garden’s appearance but also keeps soil from washing out during heavy rains.
9. Plan for Spring (and Take Notes)
Preparing for winter is also the perfect opportunity to evaluate your garden’s performance and plan improvements for next year.
What to Record:
- Which plants thrived and which struggled
- Areas that received too much or too little sunlight
- Soil or pest issues you noticed
- Where perennials or vegetables are planted (for crop rotation)
By keeping a simple garden journal, you’ll have a clear strategy when spring planting season arrives.
10. Clean and Store Tools Properly
Your plants aren’t the only part of the garden that needs attention before winter—your tools do too. Rust, sap, and soil left on tools over winter can shorten their lifespan.
How to Do It:
- Wash tools with soapy water and dry thoroughly.
- Disinfect with a solution of 1 part bleach to 9 parts water.
- Sharpen blades and apply a light coat of oil to prevent rust.
- Drain hoses and irrigation lines, then store them indoors.
Expert Tip:
Hang tools or store them upright to prevent handles from warping or cracking in damp environments.
Why Winter Preparation Pays Off
Taking a few hours now to prepare your garden beds can lead to dramatic improvements in the spring:
- Healthier soil: Compost and mulch build structure and fertility.
- Fewer weeds: Clean, covered beds discourage unwanted growth.
- Reduced pests and disease: Removing debris cuts off overwintering habitats.
- Better moisture retention: Mulch helps soil hold water through dry winter air.
- Faster spring planting: When the ground thaws, your beds will already be ready.
Your garden will reward your efforts with stronger plants, earlier blooms, and a smoother start to the growing season.
Final Thoughts
Winter is not the end of your gardening year—it’s the beginning of next season’s success. By clearing debris, enriching the soil, protecting roots, and covering exposed areas, you create a stable environment where your plants can rest and recharge.
Remember:
A garden that sleeps well in winter wakes beautifully in spring.
So before you hang up your gloves, spend a little time preparing your garden beds for winter. You’ll be amazed at how much healthier, richer, and more productive your garden will be when the snow melts and the first green shoots appear once again.


Leave A Comment