
Repotting is a natural part of plant care, much like giving your leafy friend a bigger home as it grows. Yet, for many plant lovers—especially beginners—the idea of repotting feels intimidating. Concerns about damaging roots, transplant shock, or even losing the plant altogether often create unnecessary worry. The good news is that with the right approach, you can repot your plants safely while minimizing stress.
This guide will walk you step by step through why repotting matters, how to prepare, and the best techniques to reduce transplant shock, so your plants thrive in their new home.
Why Repotting Is Important
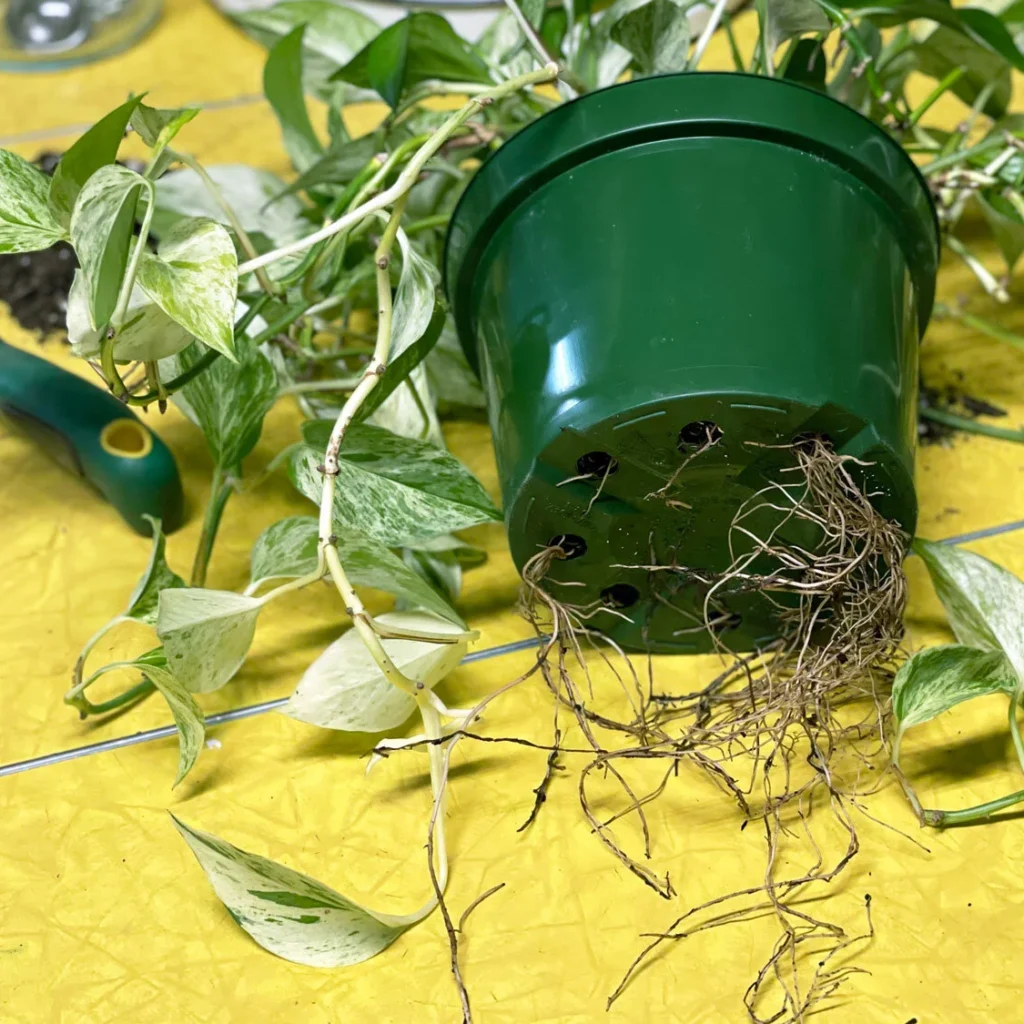
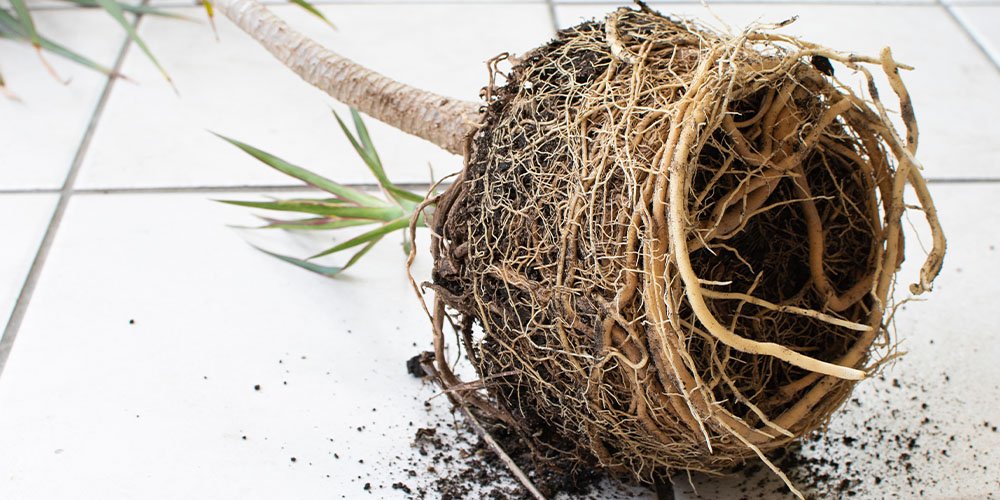
Plants grow continuously, and over time, their roots expand until the pot can no longer accommodate them. Without intervention, the plant becomes “root-bound”—where roots circle around the container, strangling themselves and limiting access to water and nutrients.
Signs it’s time to repot:

- Roots growing out of the drainage holes.
- Soil drying out much faster than usual.
- Stunted growth or yellowing leaves despite proper care.
- The plant feels “top-heavy” and tips easily.
- Soil looks compacted, crusty, or depleted.
Repotting not only gives plants more room to grow but also refreshes the soil, improves aeration, and prevents disease. Done correctly, it sets your plant up for stronger, healthier growth.
Choosing the Right Time to Repot
Timing is crucial for stress-free repotting. Plants, like people, have active and resting phases. Repotting during a dormant period can shock the plant, while doing it at peak growth ensures faster recovery.
Best times to repot:
- Spring and early summer: Most plants are actively growing, making this the ideal window.
- After blooming: For flowering plants, wait until the blooming cycle ends.
- Every 1–2 years: As a general rule for most houseplants.
Avoid repotting:

- In the middle of winter (growth is slow).
- When the plant is flowering (energy is directed toward blooms).
- If the plant is already stressed by pests, disease, or poor conditions.
Preparing to Repot: Reducing Plant Stress
Preparation is half the battle in successful repotting. A little planning goes a long way.
1. Select the Right Pot
- Size matters: Choose a pot 1–2 inches larger in diameter than the current one. Too big a jump can overwhelm the roots with excess soil, leading to root rot.
- Material: Terracotta pots allow better airflow, while plastic pots retain more moisture. Choose based on your plant’s water needs.
- Drainage holes: Always ensure proper drainage to prevent soggy roots.
2. Prepare Fresh Soil Mix
Use a high-quality potting mix suited to your plant’s needs:
- Cacti and succulents → sandy, well-draining mix.
- Orchids → bark-based, airy medium.
- Houseplants → peat-free, balanced soil with perlite for drainage.
3. Water the Plant Ahead of Time
Water your plant a day before repotting. Moist soil holds together better, reducing root breakage. At the same time, it keeps roots hydrated during the transition.
4. Gather Your Tools
You’ll need:

- New pot and fresh soil.
- Gloves (optional).
- A trowel or spoon.
- Scissors or pruners (sterilized).
- Newspaper or tarp to keep the area clean.
Step-by-Step Guide to Repotting Without Stress
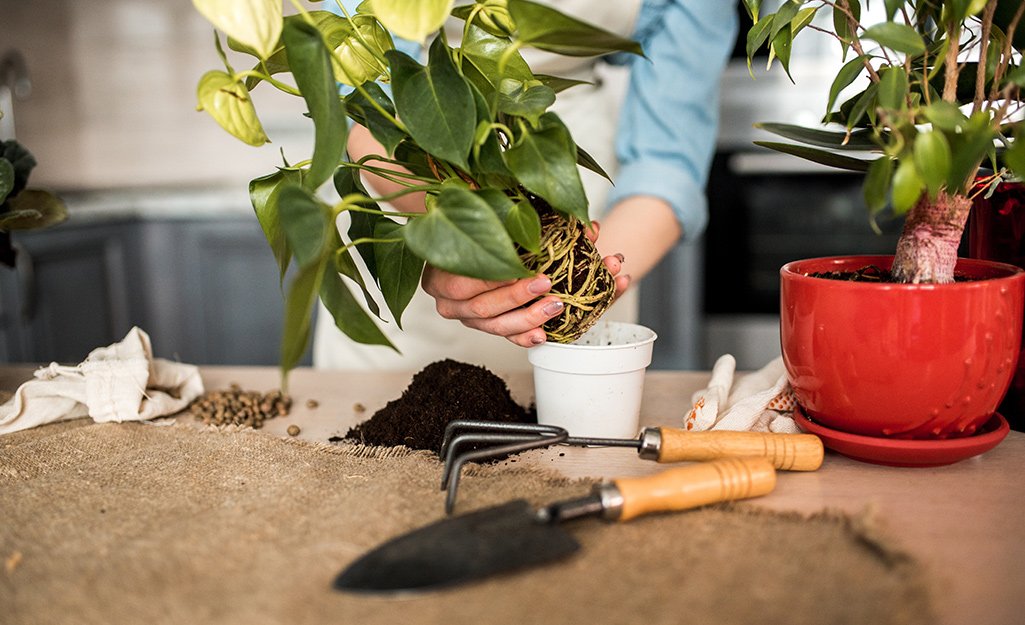
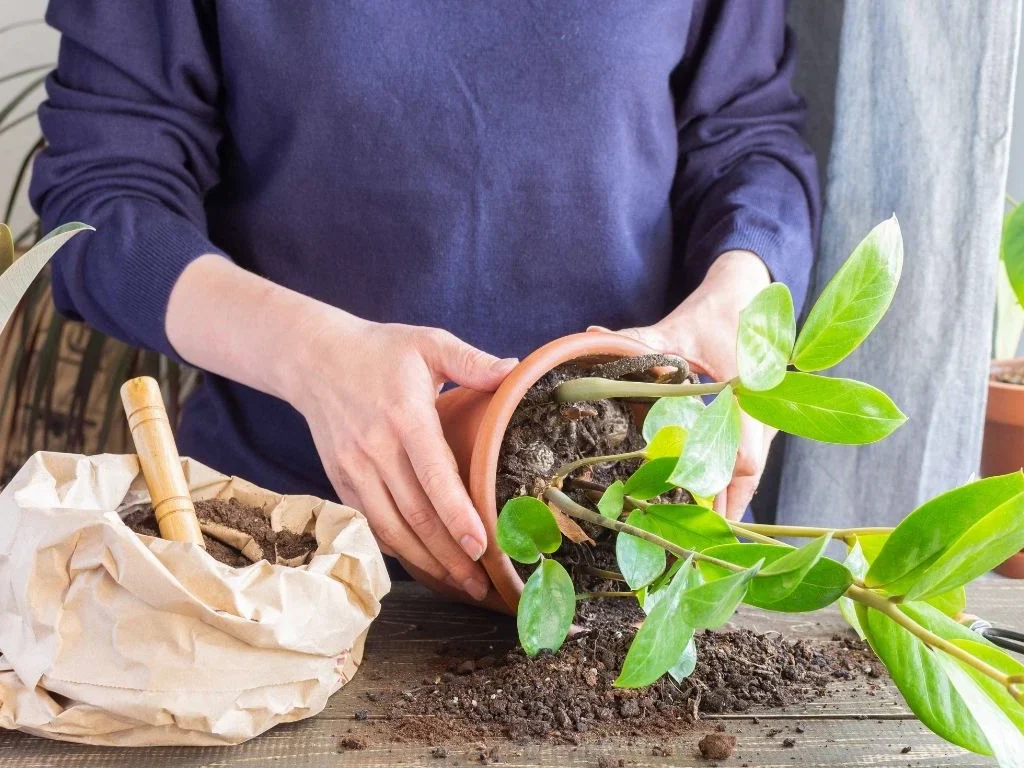
Step 1: Loosen and Remove the Plant
- Gently tilt the pot and tap the sides to loosen the soil.
- Support the base of the plant and carefully slide it out.
- If roots are stuck, run a knife or spatula along the pot’s edge to release it.
- Avoid yanking—it can tear delicate roots and stems.
Step 2: Examine the Roots
Check for signs of health:
- Healthy roots: White, firm, and pliable.
- Unhealthy roots: Brown, mushy, or foul-smelling (signs of rot).
Prune away dead or damaged roots with sterilized scissors. If the plant is root-bound, gently tease apart the circling roots to encourage outward growth.
Step 3: Add Soil to the New Pot
- Place a thin layer of fresh soil at the bottom.
- Position the plant in the center, ensuring it sits at the same depth as before (never bury the stem).
Step 4: Backfill with Soil
- Add soil around the roots gradually, pressing lightly to eliminate air pockets.
- Leave about an inch of space below the rim for watering.
- Be gentle—don’t compact the soil too much, as roots need air.
Step 5: Water Thoroughly
After repotting, give your plant a good soak until water drains from the bottom. This helps settle the soil around the roots.
How to Minimize Transplant Shock

Even with care, plants can go through a recovery phase after repotting. Signs of transplant shock include drooping, yellowing, or slowed growth. Here’s how to ease the transition:

- Give it time: Minor wilting is normal for a few days. Avoid fertilizing immediately—wait 4–6 weeks before feeding.
- Provide the right environment: Keep the plant in indirect light (not harsh sun) until it settles.
- Maintain consistent watering: Don’t overwater in an attempt to “help.” Stick to the plant’s usual watering routine.
- Avoid pruning leaves: Let the plant use its energy to recover. Only remove yellow or dead leaves.
- Use root stimulants (optional): Some gardeners add diluted seaweed extract or rooting hormones to encourage faster recovery.
Special Tips for Different Types of Plants
For Succulents and Cacti
- Handle gently to avoid breaking fleshy leaves.
- Use a gritty soil mix and let them dry for a day after repotting before watering.
For Large Houseplants
- Repot in stages if the plant is huge—sometimes just refreshing the top few inches of soil helps.
- Support stems with stakes if the plant droops post-repotting.
For Orchids
- Remove all old bark medium before repotting.
- Place roots loosely in fresh orchid bark for maximum air circulation.
Common Repotting Mistakes to Avoid
- Choosing a pot that’s too big: This traps moisture and risks root rot.
- Burying the plant too deep: Leads to stem rot.
- Skipping drainage holes: Causes waterlogging.
- Fertilizing immediately: Roots are delicate post-repotting; wait a month before feeding.
- Neglecting aftercare: Repotting is not the end—monitor your plant closely for the next few weeks.
Aftercare: Helping Your Plant Thrive in Its New Home
Repotting is only successful when the plant adapts well to its environment afterward. Follow these care tips:
- Light: Provide gentle, indirect light for 1–2 weeks. Gradually transition to brighter conditions if the plant prefers it.
- Humidity: For tropical plants, keep humidity levels stable to reduce stress.
- Observation: Watch for signs of stress like yellowing leaves. Often, this is temporary, but persistent issues may mean the plant is overwatered or sitting in too much direct light.
- Patience: Growth may pause for a while. Don’t worry—once roots adjust, new leaves and shoots will appear.
Conclusion
Repotting doesn’t have to be stressful—for you or your plant. By choosing the right time, preparing carefully, and handling roots with patience, you can give your plant a smooth transition into its new home. Remember, plants are more resilient than we think. With fresh soil, the right-sized pot, and attentive aftercare, your plant will not only survive but thrive after repotting.
So, the next time you notice roots peeking out of the pot or sluggish growth, don’t panic. With these techniques, you’ll repot like a pro—and your leafy companion will thank you with lush, vibrant growth.
Leave A Comment