
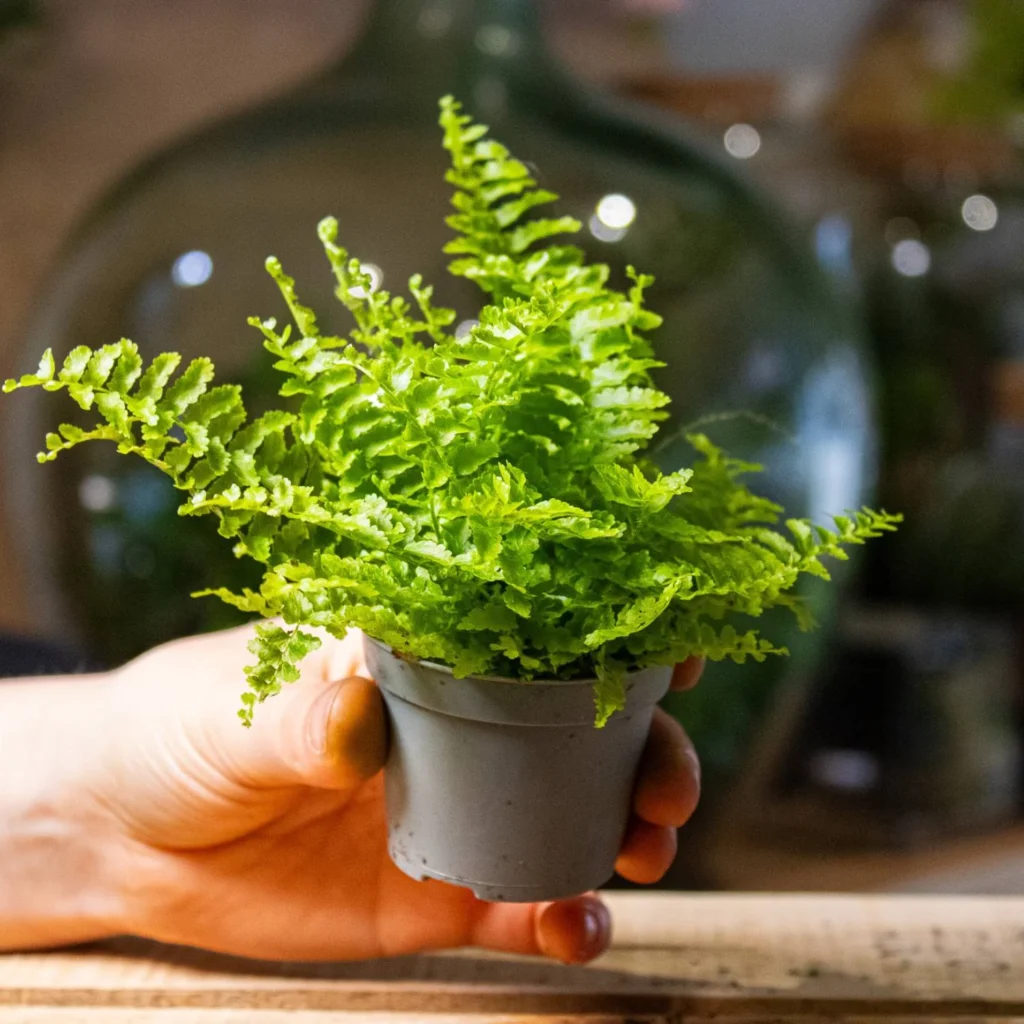
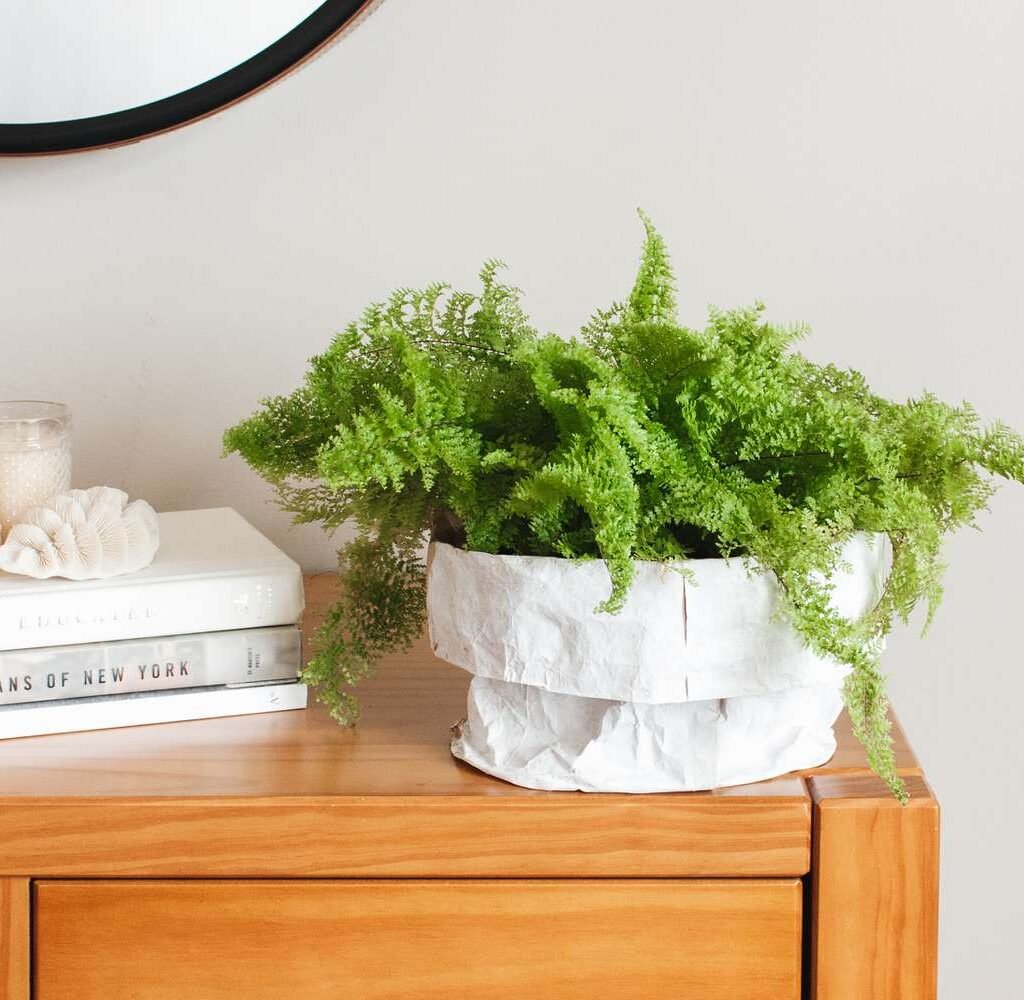
Ferns are some of the most beautiful indoor plants you can grow — their soft, feathery fronds and lush green color add instant freshness and elegance to any room. But these tropical beauties can also be a bit sensitive. A slight change in humidity, light, or watering routine can make them look droopy, brown, or even close to death. If your fern is looking wilted, dry, or lifeless, don’t give up hope yet! With the right care and a few natural remedies, you can bring your dying indoor fern back to life.
This comprehensive guide explains how to identify the cause of decline, revive your fern naturally, and keep it thriving long-term.
1. Understanding Why Ferns Die Indoors

Before you can rescue your fern, it’s essential to understand what caused it to decline in the first place. Indoor ferns are usually affected by one or more of these common problems:
- Low Humidity: Ferns naturally grow in moist, shaded forests. Dry indoor air—especially during winter—can cause the fronds to crisp up.
- Overwatering or Underwatering: Ferns love moist soil, but not soggy roots. Overwatering leads to root rot, while underwatering dries out the leaves.
- Too Much Direct Sunlight: Bright sun can scorch delicate fronds, leading to brown edges and leaf drop.
- Poor Soil Drainage: Ferns hate sitting in waterlogged soil. Compacted or heavy soil suffocates roots.
- Lack of Nutrients: Without adequate organic matter, ferns can lose their lush green color.
- Cold Drafts or Heat Exposure: Sudden temperature changes can shock your fern.
- Neglect or Stress: Moving the plant, changing pots, or inconsistent care can weaken its system.
Once you’ve pinpointed the cause, you can take the right steps to restore your fern naturally.
2. Assess the Damage: Is Your Fern Still Alive?
The first thing to do is determine if your fern still has a chance. Don’t panic if most of the leaves look brown — the key is checking the roots.
How to check:
- Gently remove the fern from its pot.
- Examine the roots — healthy roots should be firm, light tan, or white.
- If the roots are dark, mushy, or smell foul, those parts are dead.
- Trim off the damaged roots with clean scissors, keeping only the healthy ones.
If some fronds are still green or soft at the base, your fern can recover with care.
3. Step-by-Step Guide to Reviving a Dying Fern Naturally
Let’s walk through the process of bringing your fern back to life — the natural way, without chemicals or synthetic fertilizers.

Step 1: Trim Away Dead or Damaged Fronds
Start by removing all brown, crispy, or yellow fronds. Use sterilized scissors to avoid spreading disease.
This helps redirect the plant’s energy to new, healthy growth instead of trying to save dying leaves.
After trimming, your fern may look sparse — don’t worry! New fronds will emerge once it begins recovering.
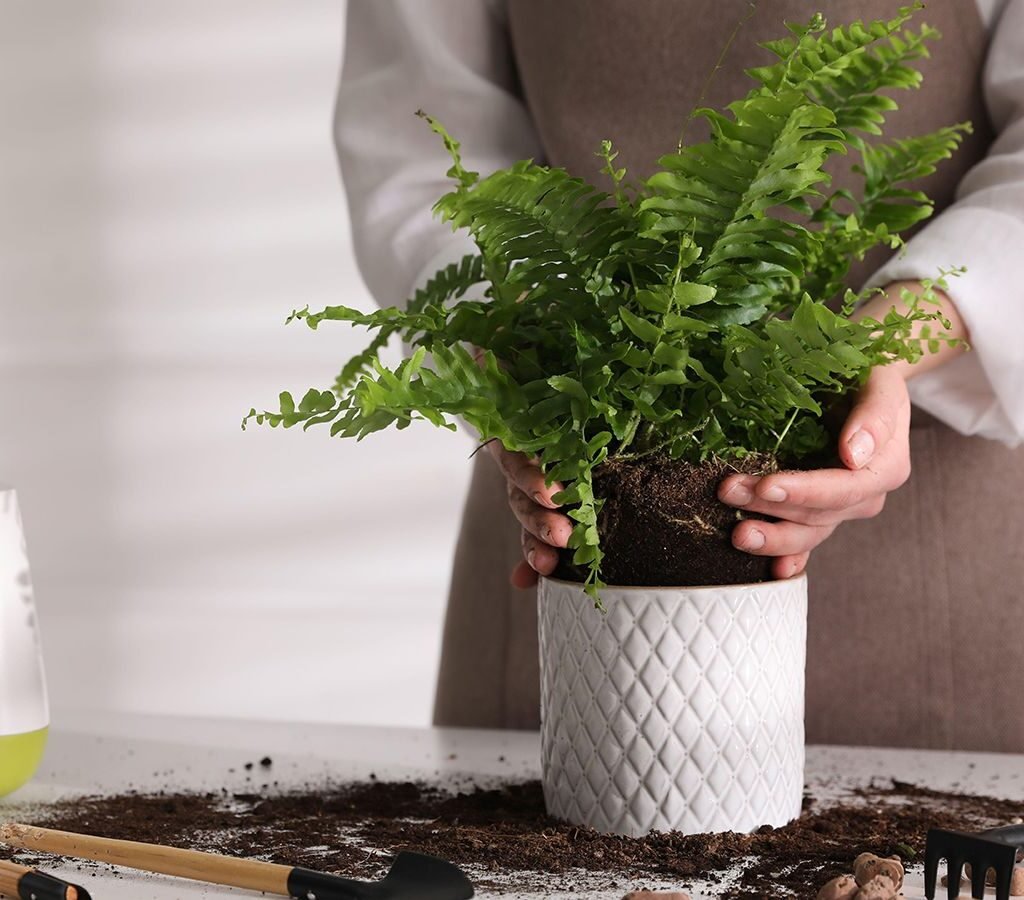
Step 2: Refresh the Soil
Old, compacted, or soggy soil can suffocate roots. Replant your fern in fresh, well-draining soil rich in organic matter.
Natural soil mix for ferns:
- 1 part peat moss or coco coir (for moisture retention)
- 1 part compost or leaf mold (for nutrients)
- 1 part perlite or sand (for drainage)
Make sure the pot has proper drainage holes to prevent waterlogging.
Step 3: Rehydrate the Roots
If your fern has dried out, it needs a deep soak to rehydrate its roots.
Here’s how:
- Fill a bowl or basin with room-temperature water.
- Submerge the pot until air bubbles stop rising (about 15–20 minutes).
- Let it drain thoroughly before putting it back in its spot.
This gentle soaking mimics rainfall in nature and helps revive wilting ferns without shocking the roots.

Step 4: Create the Right Humidity Environment
Ferns love humid air — ideally between 50% and 80% humidity. In dry indoor conditions, humidity is often the missing ingredient.
Natural ways to boost humidity:
- Misting: Lightly mist your fern once or twice a day using distilled or rainwater. Avoid drenching the fronds.
- Pebble Tray: Place a tray with pebbles and water under your plant’s pot. As water evaporates, it creates a humid microclimate.
- Group Plants Together: Plants release moisture through transpiration; clustering them increases humidity naturally.
- Bathroom Placement: If your bathroom has a window, it can be the perfect humid haven for a recovering fern.
Step 5: Adjust Light Levels
Too much light can burn ferns, while too little can weaken them.
Ideal lighting:
- Place the fern near an east- or north-facing window for bright but indirect light.
- Avoid placing it under harsh sunlight or directly next to a window where rays hit the leaves.
- If light is insufficient, use a low-intensity LED grow light for 6–8 hours daily.
This balanced lighting helps your fern photosynthesize without drying out.
Step 6: Follow a Gentle Watering Routine
Proper watering is key to your fern’s revival. Ferns like consistently moist soil — not bone dry or soggy.
Natural watering tips:
- Water only when the top inch of soil feels slightly dry.
- Use filtered, rain, or dechlorinated water, as tap water may contain chemicals harmful to ferns.
- Water from the bottom once a month to encourage deep root growth.
- Reduce watering in winter when growth slows.
Consistency is more important than frequency. Avoid cycles of overwatering and underwatering.

Step 7: Feed with Natural Fertilizers
Avoid synthetic fertilizers, which can burn fragile roots. Instead, nourish your fern with gentle, natural options once it starts showing new growth.
Natural fertilizers for ferns:
- Compost tea: Steep compost in water for 2–3 days, strain, and use it as a liquid fertilizer.
- Banana peel water: Soak banana peels in water for 48 hours — rich in potassium and magnesium.
- Diluted seaweed solution: Provides trace minerals for healthy fronds.
Feed lightly once every 4–6 weeks during the growing season (spring and summer).
Step 8: Maintain a Stable Temperature
Ferns are sensitive to temperature changes. Keep them in a room with consistent warmth between 65–75°F (18–24°C).
Avoid:
- Cold drafts near windows or doors
- Hot air from heaters or vents
- Sudden temperature shifts
If your home is very dry in winter, place the fern away from direct heat sources and use a humidifier if necessary.
4. Natural Remedies for Specific Fern Problems
Here are quick, natural fixes for some common fern issues:
- Brown Leaf Tips: Caused by dry air or fluoride in water. Use rainwater and increase humidity.
- Yellow Leaves: Often due to overwatering — allow the soil to dry slightly before watering again.
- Wilting or Drooping Fronds: Check for root rot and trim dead roots. Replant in fresh, airy soil.
- Pest Infestation (like spider mites or mealybugs): Spray with a neem oil and water mixture (1 teaspoon neem oil + a few drops of mild soap in a liter of water).
- Slow Growth: Give it time — most ferns bounce back slowly. Ensure proper humidity and indirect light.
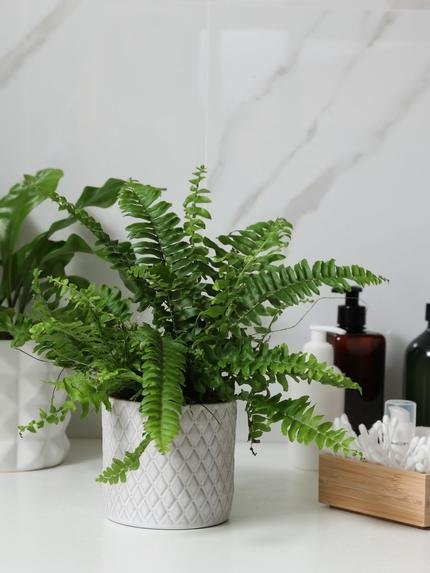
5. Ongoing Care Tips to Keep Your Fern Thriving
Once your fern has recovered, maintaining its health naturally is key to long-term success.

- Dust the Fronds Regularly: Dust blocks light and hinders photosynthesis. Gently wipe leaves with a soft, damp cloth.
- Prune Old Fronds: Cutting away aging fronds stimulates new growth.
- Repot Every 2 Years: Refresh the soil to keep nutrients flowing and prevent compaction.
- Rotate Your Plant: Turn it occasionally so all sides receive even light exposure.
- Stay Consistent: Ferns love routine. Try to keep their environment stable without frequent moves or changes.
6. Patience: The Secret Ingredient
Reviving a dying fern is not an overnight process. It can take several weeks to months before you see strong, healthy new fronds. During this period, patience is your best tool. Continue giving it steady care and monitor small signs of recovery, like tiny green shoots emerging from the crown.
The good news is, once a fern’s roots start regenerating, it can quickly return to its lush, vibrant state — often even fuller than before.
Conclusion
A dying fern doesn’t have to be the end of your indoor garden story. With natural remedies, gentle care, and a bit of patience, you can restore your fern’s beauty and vitality. By maintaining proper humidity, light, water, and nourishment, you’re creating the same peaceful, moist environment that ferns love in the wild.
Remember, every plant has resilience built into its nature. All it needs is your attention, consistency, and a nurturing touch. Once your fern bounces back, it will reward you with lush green fronds that bring life, calm, and freshness to your indoor space — all year round.
Leave A Comment