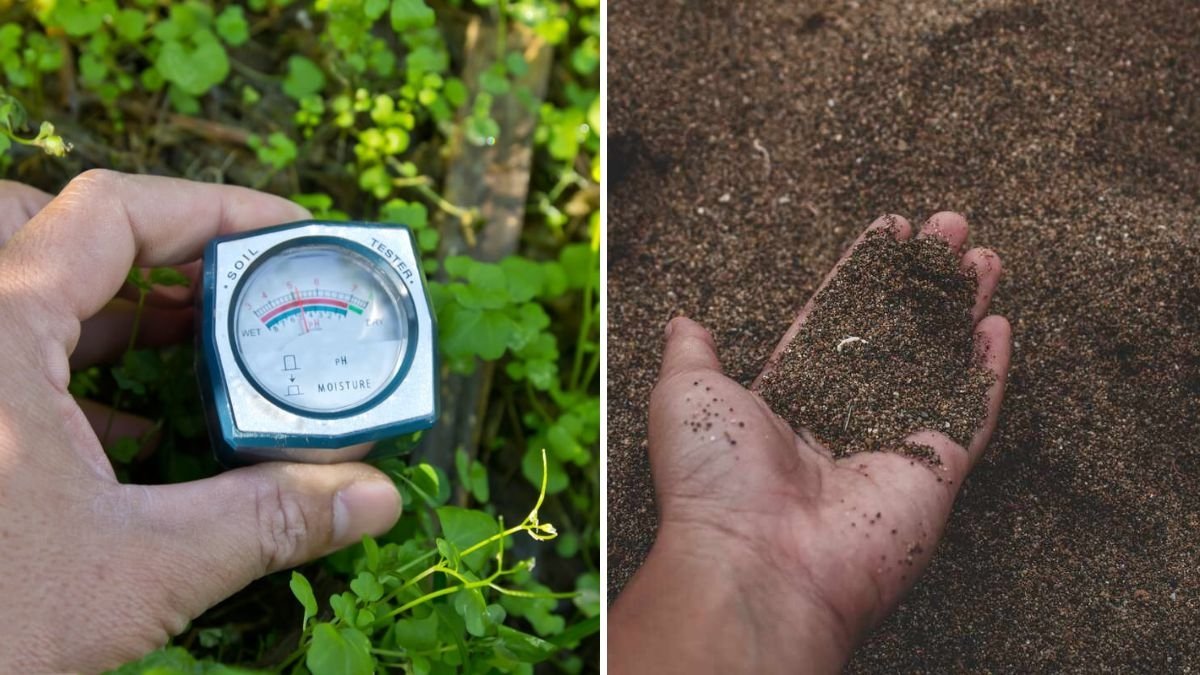
Keeping indoor and outdoor plants healthy largely depends on one simple but often misunderstood factor: soil moisture. Water is essential for plant growth, but too much or too little can quickly lead to problems like root rot, wilting, stunted growth, and even plant death. Many gardeners rely on fancy gadgets like digital moisture meters to monitor soil conditions—but you don’t need special tools to figure out whether your plants are thirsty.
Garden experts emphasize that observation and simple, hands-on techniques are more than enough to check soil moisture accurately. In fact, gardeners for centuries have been assessing soil hydration with their senses—sight, touch, and even smell. With practice, you can master these techniques and give your plants just the right amount of water they need.
This article explores practical, tool-free methods to test soil moisture, explains why soil moisture matters, and provides guidance on how to interpret your findings for different types of plants.
Why Soil Moisture Matters
Before learning how to test soil moisture, it’s important to understand why it plays such a critical role:
- Root health: Roots need both water and oxygen. Overly wet soil suffocates them, while dry soil deprives them of hydration.
- Nutrient absorption: Water dissolves nutrients in soil, making them accessible for roots. Without moisture, plants starve.
- Growth and photosynthesis: Adequate hydration keeps leaves firm, supports photosynthesis, and fuels overall growth.
- Pest and disease prevention: Overly damp soil encourages mold, fungus, and pests like fungus gnats. Balanced moisture discourages infestations.
The right soil moisture is about balance: neither soggy nor bone dry. Now let’s explore how to check it without any special devices.
1. The Finger Test
The finger test is the most popular, foolproof way to gauge soil moisture.

How to Do It
- Insert your index finger into the soil about 1–2 inches deep (up to the second knuckle).
- If the soil feels dry, it’s time to water.
- If it feels slightly damp, wait another day or two before checking again.
- If it feels wet, hold off on watering until it dries out a bit.
Why It Works
Soil at the top may dry quickly due to air exposure, but deeper layers retain moisture longer. This method gives you a sense of what’s happening closer to the root zone.
Best For
Most indoor houseplants, vegetables in containers, and potted flowers.
2. The Stick or Chopstick Method
If you don’t want to get your hands dirty, a wooden stick or chopstick is an excellent alternative.
How to Do It
- Insert a clean wooden stick, skewer, or chopstick into the soil, at least halfway down the pot.
- Pull it out after a few seconds.
- If it comes out darkened with soil clinging, the soil is still moist.
- If it comes out clean and dry, your plant is ready for watering.
Why It Works
Wood naturally absorbs moisture, acting like a basic moisture meter. It also allows you to test deeper soil layers.
Best For
Succulents, cacti, and deep containers where moisture levels may differ between surface and root depth.
3. Lifting the Pot
Plants in containers can give away their soil moisture status through their weight.

How to Do It
- After watering, lift the pot and notice how heavy it feels.
- A few days later, lift the pot again. If it feels much lighter, the soil has dried and it’s time to water.
Why It Works
Soil holds a significant amount of water. As it evaporates, the pot becomes noticeably lighter, especially in plastic containers.
Best For
Small to medium potted plants, especially those in lightweight pots.
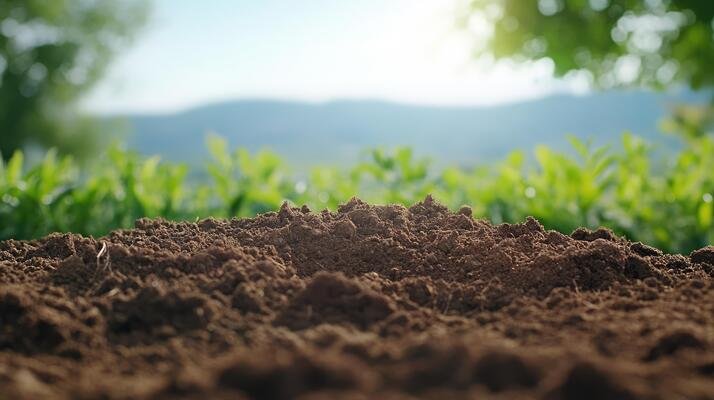
4. Observing Soil Color and Texture
Your eyes can be surprisingly good indicators of soil moisture.
How to Do It
- Look at the surface of the soil:
- Dry soil looks lighter in color (often pale brown or gray).
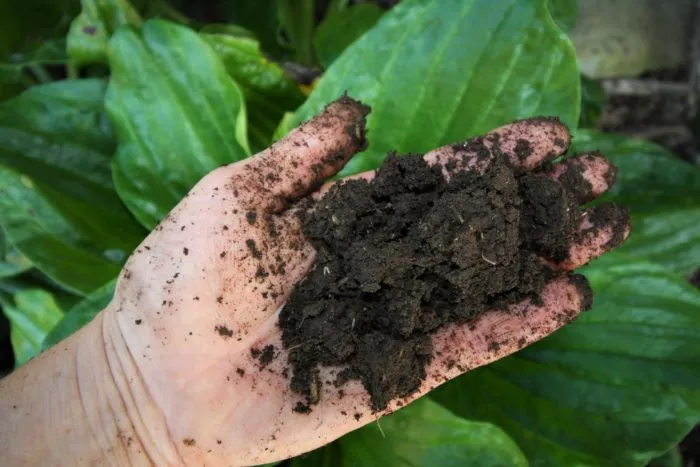
- Moist soil looks darker and richer in tone.
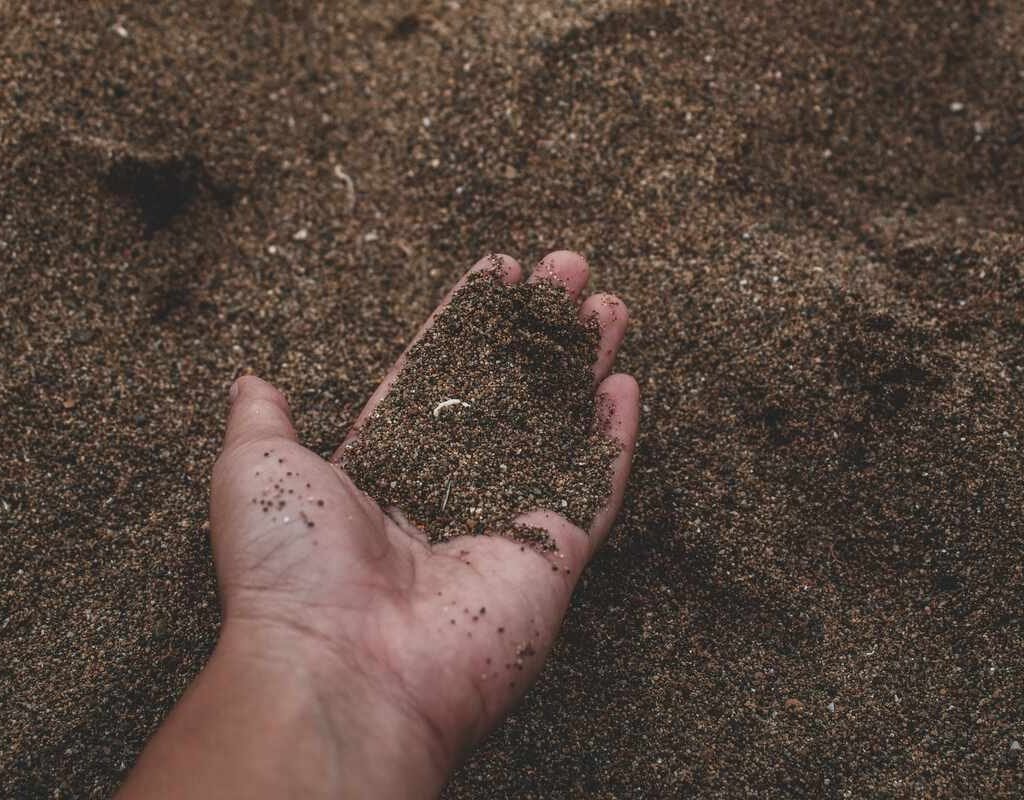
- Gently touch the top layer:
- If it feels crumbly and dusty, it’s dry.
- If it feels cool and compact, it’s moist.
Why It Works
Moisture darkens soil and changes its texture. With practice, you’ll quickly recognize these visual and tactile cues.
Best For
Large outdoor garden beds, raised beds, and lawns.
5. Checking for Soil Pulling Away from Pot Edges
When soil becomes very dry, it shrinks and pulls away from the sides of the pot, leaving visible gaps.

How to Do It
- Inspect the edges of the pot.
- If you see gaps or cracks between the soil and container walls, it means the soil is too dry.
- Water slowly to rehydrate and allow soil to expand back into place.
Why It Works
Dry soil contracts, creating air pockets that roots struggle to reach. This is a clear visual indicator of underwatering.
Best For
Container plants, particularly those in terracotta or clay pots, which dry out faster.
6. Observing Plant Behavior
Sometimes, the best indicator isn’t the soil—it’s the plant itself.
What to Look For
- Wilting: Can signal both underwatering and overwatering. Always check soil before assuming.
- Crispy leaf tips or curling leaves: Usually a sign of dryness.
- Yellowing leaves: May point to too much water.
- Drooping that recovers quickly after watering: Classic underwatering signal.
Best For
All plants, especially houseplants with expressive foliage like pothos, peace lilies, or ferns.
Additional Natural Clues
Beyond the main methods, here are smaller but useful signs of soil moisture levels:
- Temperature check: Stick your finger into the soil. Damp soil feels cool, while dry soil feels warm.
- Sound test: Tap on the side of a pot. A hollow sound often indicates dryness, while a dull thud suggests the soil is moist.
- Smell: Wet soil often has an earthy aroma. If it smells sour, it may be waterlogged.
Adjusting for Different Plant Needs
Testing soil moisture is only half the battle—you also need to know how your plants prefer to be watered.

- Succulents and Cacti: Allow soil to dry out completely between waterings. Test deeper layers to avoid premature watering.
- Tropical Houseplants: Keep soil evenly moist but never soggy. The finger test is the most reliable here.
- Ferns: Prefer consistently damp soil. Check daily in warmer months.
- Orchids: Many grow in bark, so moisture is harder to gauge. Use the chopstick method or watch root color (green = hydrated, silver = dry).
- Outdoor Vegetables: Top layers may dry quickly, but roots need deeper hydration. Always test 2–3 inches down before watering.
Common Mistakes When Testing Soil Moisture
- Judging only by the surface: The topsoil dries faster, but roots live deeper. Always test at least 1–2 inches down.
- Watering on a schedule: Plants need water based on conditions, not the calendar.
- Ignoring seasonal changes: In winter, indoor plants use less water due to slower growth and reduced light.
- Overcompensating: After noticing dryness, don’t flood the plant at once—rehydrate gradually to avoid stress.
Tips for Accurate Soil Moisture Monitoring
- Check multiple spots: Soil doesn’t dry evenly; test in different areas around the plant.
- Consider pot size and material: Large pots retain water longer; terracotta pots dry out faster.
- Adjust for environment: Plants near heaters, windows, or air vents may need more frequent checks.
- Combine methods: Use at least two techniques (e.g., finger test + pot weight) for accuracy.
Final Thoughts
Testing soil moisture doesn’t require gadgets or expensive meters. By using simple, time-tested methods like the finger test, chopstick method, pot weight, and visual cues, you can confidently determine when your plants need water.
Remember, the key to success is observation and adjustment. Each plant species, pot type, and environment has its own rhythm. With practice, you’ll develop an intuitive sense for your plants’ hydration needs.
So before reaching for your watering can, pause and check—because a little attention goes a long way in preventing root rot, wilting, and plant stress. With these simple techniques, you’ll not only save your plants but also cultivate a deeper connection to the living things you nurture every day.
Leave A Comment