Propagating plants in water is one of the most rewarding experiences for plant lovers. There’s nothing quite like watching roots develop through a clear glass jar—it feels like magic in slow motion. However, the real challenge begins when it’s time to move those fragile water roots into soil. This transition phase is where many plant parents lose their new cuttings, as the sudden shift from a water-based environment to a soil-based one can shock the plant.
The good news? With the right knowledge and techniques, you can successfully transition your water propagations into soil and grow healthy, thriving plants. In this article, we’ll cover why the transition is tricky, when to move your cuttings, step-by-step instructions, and tips to reduce transplant shock.
Why Transitioning Water Propagations Can Be Tricky
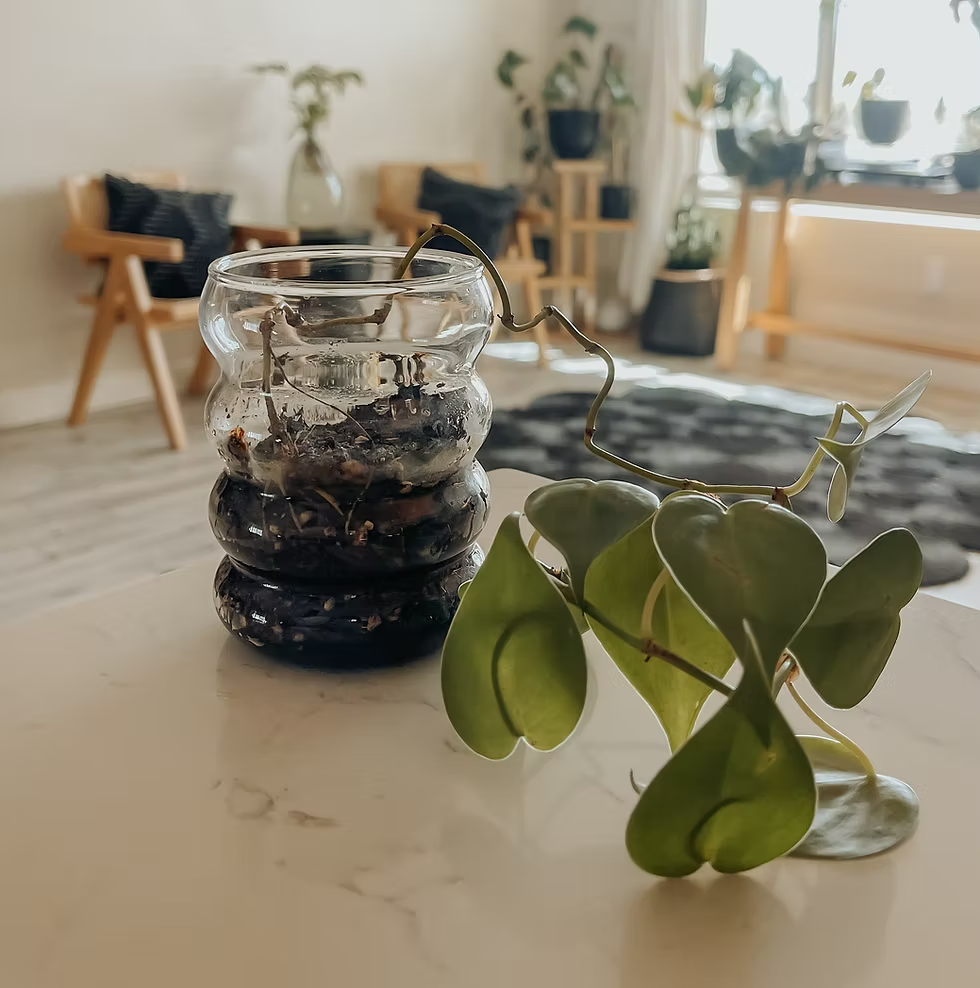
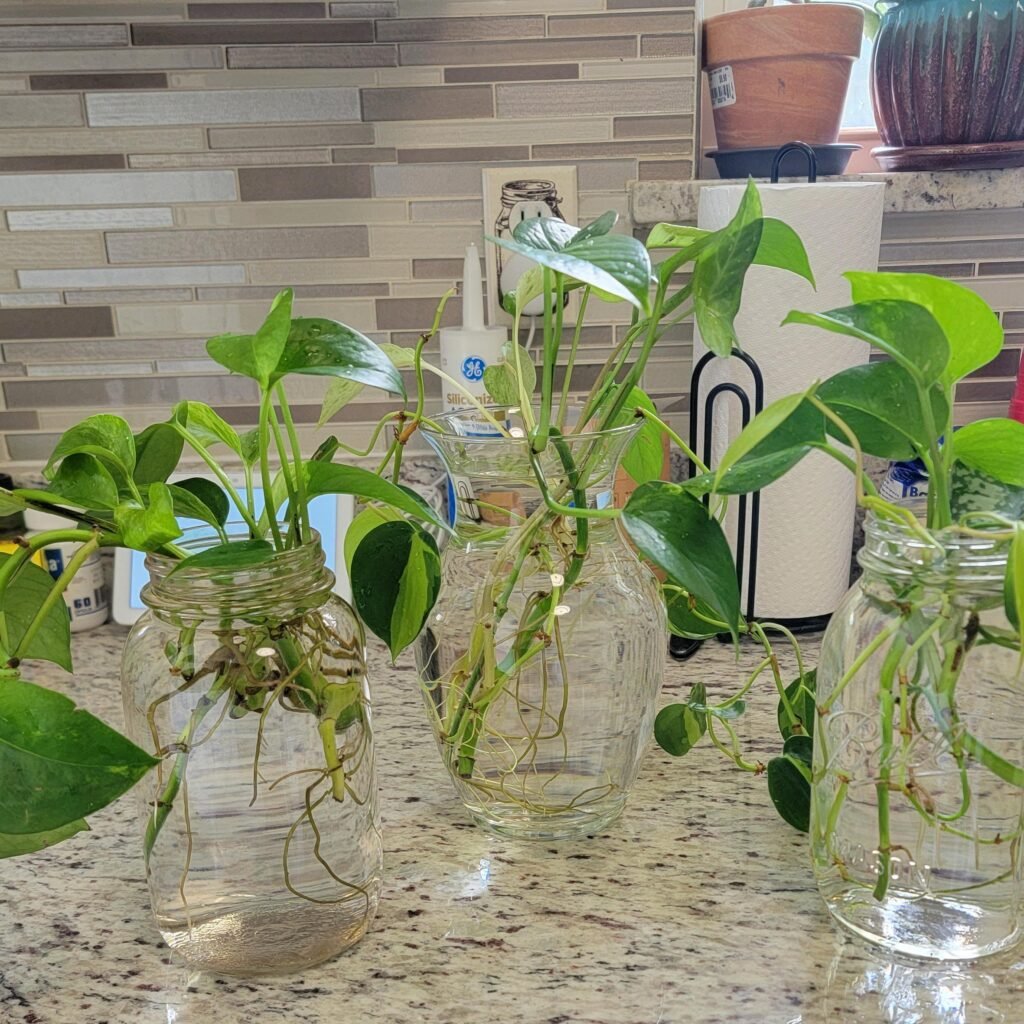
When roots develop in water, they adapt to a very different environment compared to soil:
- Water roots are delicate and thin. They’re designed to absorb oxygen and nutrients directly from liquid.
- Soil requires tougher roots. These must push through particles and access water in pockets between soil grains.
- Sudden change = stress. If the shift is too abrupt, the plant may wilt, stop growing, or even die.
This is why transitioning cuttings carefully is crucial. It gives the plant time to adjust and encourages the development of stronger, soil-ready roots.
When Is the Right Time to Transfer?
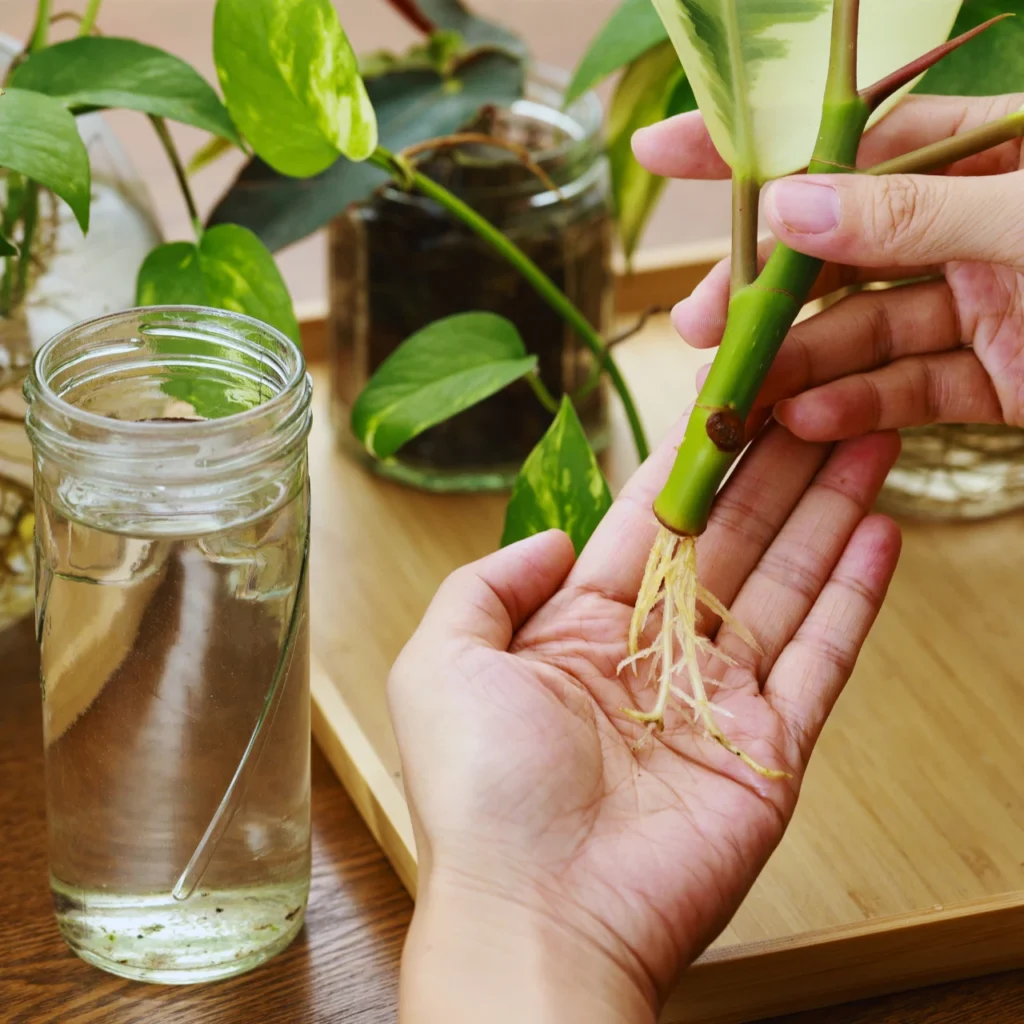
Timing is everything. Moving cuttings too soon can set them back, while waiting too long can make them overly dependent on water.
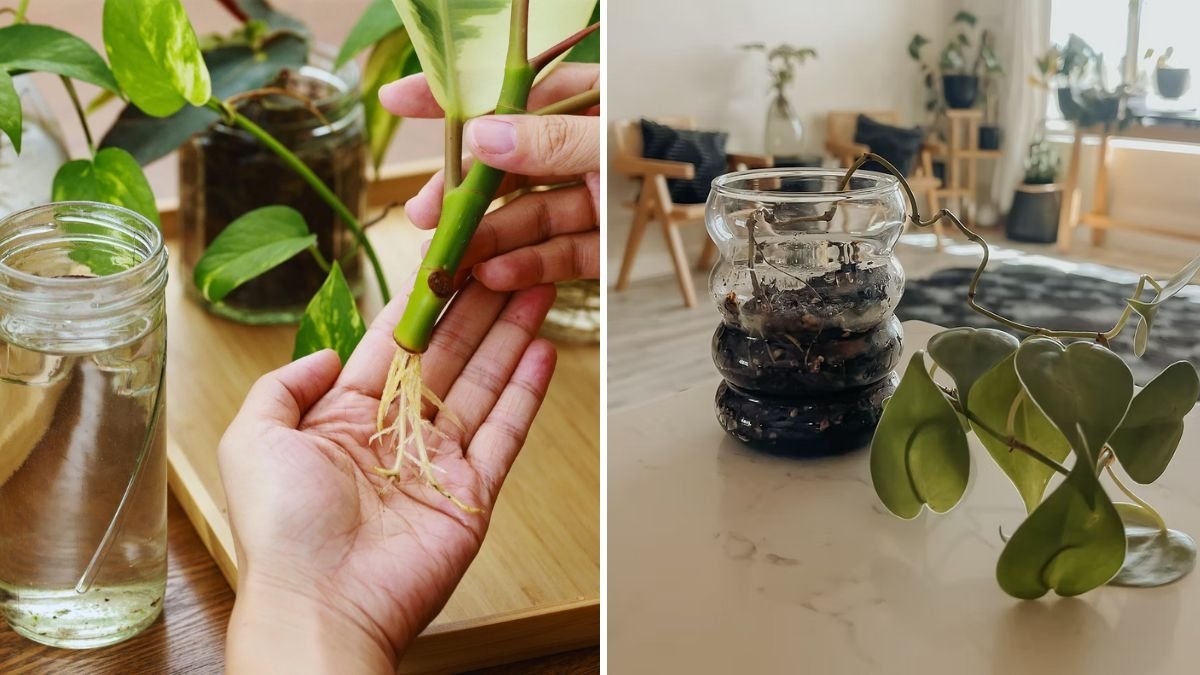
Signs Your Cutting Is Ready for Soil:
- Roots are at least 2–3 inches long. Short roots struggle to anchor in soil.
- Multiple roots are present, not just a single strand.
- Roots look white, healthy, and firm, not mushy or brown.
- The cutting has started developing new leaves or growth, showing it’s strong enough to handle change.
As a rule of thumb, transfer cuttings once they’ve developed a healthy root system that looks capable of surviving in soil.
Step-by-Step Guide: Moving Water Propagations Into Soil
Step 1: Prepare the Right Pot and Soil
- Choose a small pot with drainage holes. Large pots retain excess water, increasing rot risk.
- Use a light, well-draining mix such as potting soil blended with perlite or coco coir.
- Avoid heavy garden soil, which compacts easily and suffocates new roots.
Step 2: Acclimate the Roots
Before planting directly, consider a gentle acclimation method:
- Mix 50% water + 50% soil in the pot to create a mud-like texture.
- Plant the cutting in this mix for 1–2 weeks.
- Gradually reduce watering so roots adjust to extracting moisture from soil rather than sitting in water.
This “halfway house” makes the transition smoother.
Step 3: Plant the Cutting Carefully
- Make a small hole in the soil using your finger or a stick.
- Place the cutting’s roots inside gently, avoiding bending or breaking them.
- Fill in soil lightly around the stem without compacting it too tightly.
Step 4: Water Thoroughly
- After planting, water generously to help the soil settle around the roots.
- Allow excess water to drain completely.
- Keep soil consistently moist (but not soggy) for the first 2–3 weeks to ease adaptation.
Step 5: Create a Humid Environment
- Cover the plant with a clear plastic bag or place it inside a propagation dome.
- Humidity reduces water stress while roots adjust.
- Remove the cover daily for airflow to prevent mold.
Step 6: Provide Gentle Light
- Place the pot in bright, indirect light.
- Avoid harsh direct sunlight, which can scorch fragile leaves and dry out the soil too quickly.
Step 7: Monitor and Adjust
- Watch for signs of stress like drooping, yellowing, or leaf drop.
- New leaf growth is the best indicator that the plant is settling well.
Common Mistakes to Avoid
- Transferring too early. Small, weak roots may not survive the transition.
- Using dense soil. This suffocates delicate roots and increases rot risk.
- Overwatering. New roots are prone to rot in soggy conditions.
- Neglecting humidity. Without enough moisture in the air, the plant may wilt.
- Skipping acclimation. Directly moving from water to dry soil shocks the roots.
Plants That Transition Easily vs. Plants That Struggle
Easy-to-Transfer Plants:
- Pothos
- Philodendron
- Spider Plant
- Coleus
- Tradescantia (Wandering Dude)
These plants root quickly in water and adapt to soil with minimal fuss.
Plants That Need Extra Care:
- Fiddle Leaf Fig
- String of Pearls
- African Violet
- Hibiscus
- Rosemary
These may require longer acclimation or a rooting hormone boost for better survival.
Tips to Reduce Transplant Shock
- Use Rooting Hormone: Dip cuttings before planting to encourage stronger soil roots.
- Trim Excess Leaves: Reduces water loss through transpiration while roots adjust.
- Start Small: Move cuttings into small pots first, then repot as they outgrow.
- Be Patient: Some plants take weeks before showing new growth after the move.
Alternative Transition Methods
If you’ve struggled with direct transfers, try these methods:
- Soil-Water Mix Method – As mentioned earlier, use a half-water, half-soil mix for smoother adaptation.
- Semi-Hydroponics – Transition plants to a medium like LECA (lightweight expanded clay aggregate) instead of traditional soil. This bridges the gap between water and soil growth.
- Perlite Propagation – Root cuttings in moist perlite, then move them to soil once stronger roots form.
Long-Term Care After Transition
Once your plant has settled in soil, adjust your care routine:
- Water less frequently than during water propagation. Check soil moisture before watering.
- Fertilize lightly after 4–6 weeks to support new growth.
- Repot only when needed—avoid disturbing the roots too soon.
Conclusion
Transitioning water propagations into soil is often the most nerve-wracking stage of plant propagation, but it doesn’t have to be. By recognizing the right time to transfer, preparing well-draining soil, acclimating roots gradually, and maintaining proper moisture and light, you can dramatically improve your success rate.
Think of this process as guiding your plant through a new chapter—moving from the safety of water to the independence of soil. With patience and care, your cuttings will not only survive but thrive, eventually growing into strong, lush houseplants that bring life to your home.



Leave A Comment