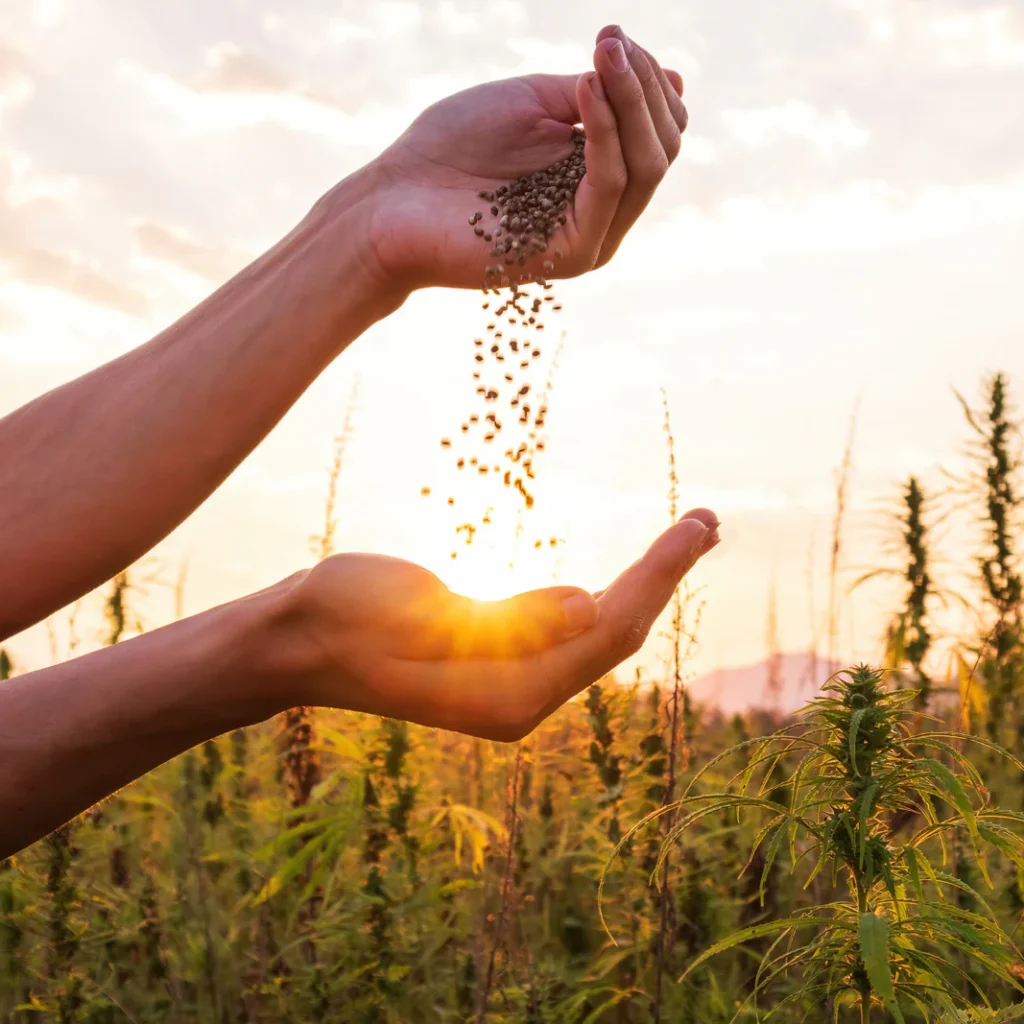
Saving seeds is one of the most empowering and sustainable practices a gardener can adopt. Not only does it reduce reliance on commercial seed companies, but it also helps preserve heirloom varieties, adapt plants to local growing conditions, and ensure a self-sufficient food supply. For centuries, farmers and home gardeners alike have been practicing seed saving, passing down varieties that are uniquely suited to their region and taste. Today, with rising interest in sustainability and food security, seed saving has regained popularity as an essential gardening skill.
This ultimate guide walks you through the benefits of seed saving, techniques for collecting and storing seeds, and the best practices for ensuring strong, viable plants in future generations. Whether you are new to gardening or an experienced grower, learning these techniques will give you greater control over your garden’s future.
Why Seed Saving Matters
Before diving into the techniques, it’s important to understand why seed saving is valuable:

- Preservation of Biodiversity – By saving seeds, gardeners help maintain plant diversity, protecting heirloom and rare varieties from extinction.
- Cost-Effectiveness – Instead of buying seeds every year, saving your own reduces annual expenses.
- Adaptation to Local Climate – Seeds saved from your garden gradually adapt to your soil, weather, and pests, creating more resilient crops.
- Food Security – Maintaining your own seed bank means independence from market fluctuations and supply chain disruptions.
- Cultural Heritage – Many seeds are tied to traditions, family recipes, and regional farming practices, making them a living piece of history.
Understanding Plant Types for Seed Saving
Not all plants are equally easy to save seeds from. Understanding plant reproduction helps determine the right technique.
- Open-Pollinated Plants
These reproduce naturally through wind, insects, or self-pollination. When you save seeds from these plants, the offspring will closely resemble the parent, making them ideal for seed saving. - Heirloom Varieties
These are open-pollinated plants passed down for generations. They are genetically stable and produce reliable results, making them perfect for seed saving. - Hybrid Plants (F1)
Created by cross-breeding two different parent plants, hybrids often have desirable traits like higher yields or disease resistance. However, seeds from hybrids usually don’t produce consistent results, making them less reliable for seed saving. - Self-Pollinating Plants
Plants like tomatoes, beans, peas, and peppers are self-pollinating, meaning they fertilize themselves. These are the easiest for beginners to save seeds from. - Cross-Pollinating Plants
Plants like squash, corn, and cucumbers often cross-pollinate with other varieties nearby. Special care, such as hand-pollination or isolation, is needed to maintain purity.
Step-by-Step Seed-Saving Techniques
1. Selecting the Right Plants
- Always choose the healthiest, most vigorous plants for seed saving.
- Avoid plants that are diseased, weak, or have undesirable traits.
- Look for plants with good yields, strong growth, and resistance to pests.
2. Harvesting Seeds by Plant Type
a) Dry-Seeded Crops (Beans, Peas, Lettuce, Grains)
- Allow seeds to dry on the plant until pods turn brown and brittle.
- Harvest on a dry day to avoid mold.
- Remove seeds from pods and further dry indoors before storage.
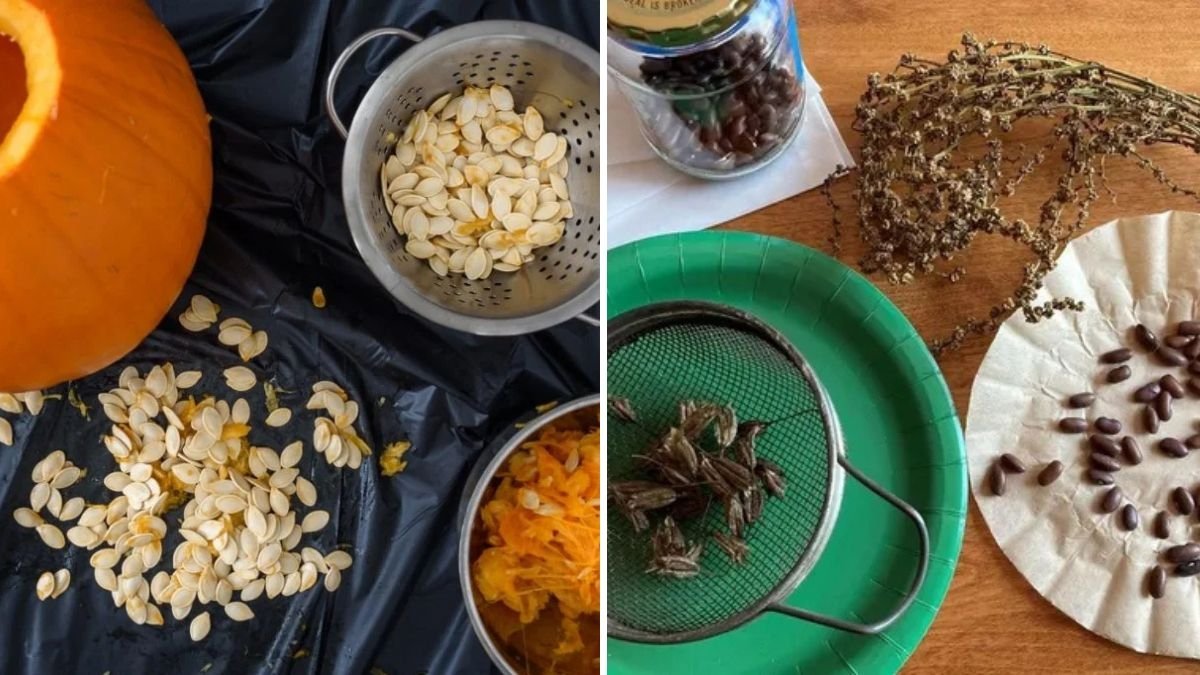
b) Wet-Seeded Crops (Tomatoes, Cucumbers, Squash, Melons)
- Scoop seeds from ripe fruits.
- For tomatoes and cucumbers, use fermentation: place seeds in a jar with water for 2–3 days until a moldy layer forms. This process removes the gelatinous coating that inhibits germination.
- Rinse seeds thoroughly and dry them on a screen or paper towel.
c) Biennial Crops (Carrots, Onions, Beets, Kale)
- These require two growing seasons to produce seeds.
- Harvest roots in the first season, store them over winter, and replant in spring to allow seed stalks to form.
- Collect seeds once flower heads dry out.
d) Large Crops (Corn, Sunflowers, Pumpkins)
- For corn, allow ears to fully mature and dry on the stalk. Select seeds from the center of the cob for best vigor.
- For sunflowers, wait until heads turn brown and seeds loosen easily.
- For pumpkins and squash, scoop seeds from ripe fruit, rinse, and dry thoroughly.
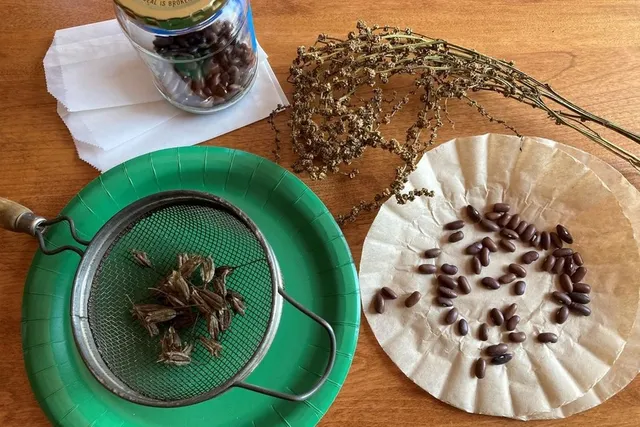
3. Cleaning and Drying Seeds
- Cleaning removes debris, pulp, and chaff. Methods include winnowing (blowing air to separate lighter materials) and screening.
- Drying is crucial for seed longevity. Spread seeds in a single layer on a breathable surface like a screen or paper. Keep them in a cool, well-ventilated area out of direct sunlight.
- Seeds are dry enough for storage when they break, not bend, under pressure.
4. Proper Storage Techniques
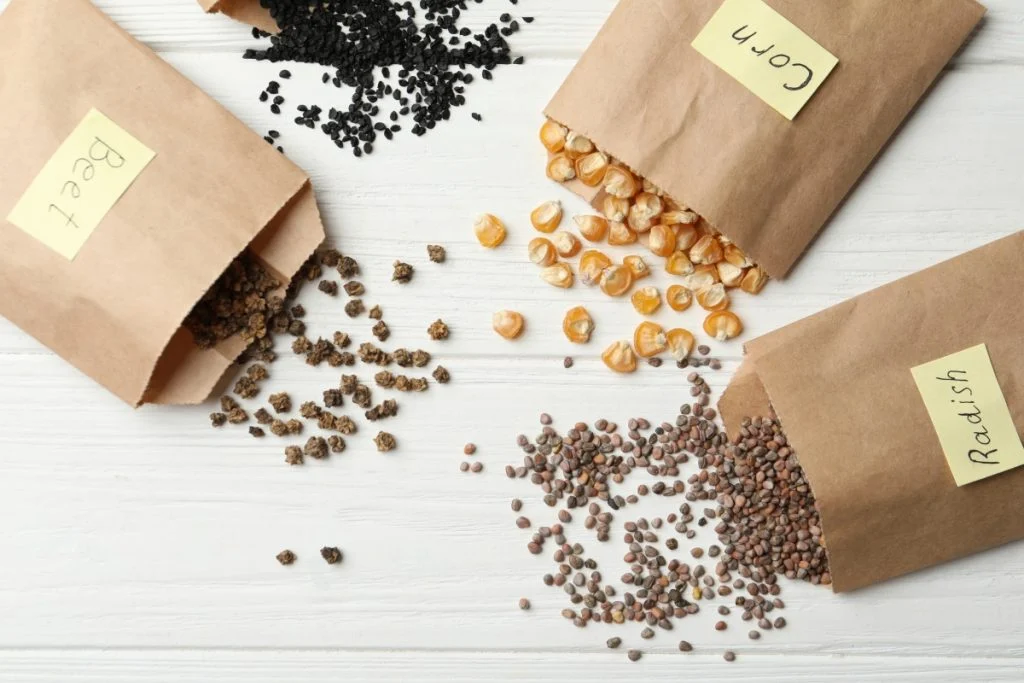
- Store seeds in airtight containers like glass jars, envelopes, or seed packets.
- Label each container with plant name, variety, and date of collection.
- Keep seeds in a cool, dark, and dry place. Ideal conditions are below 50°F with low humidity.
- For long-term storage, refrigerate or freeze seeds in airtight containers with a desiccant (like silica gel) to prevent moisture damage.
5. Testing Seed Viability
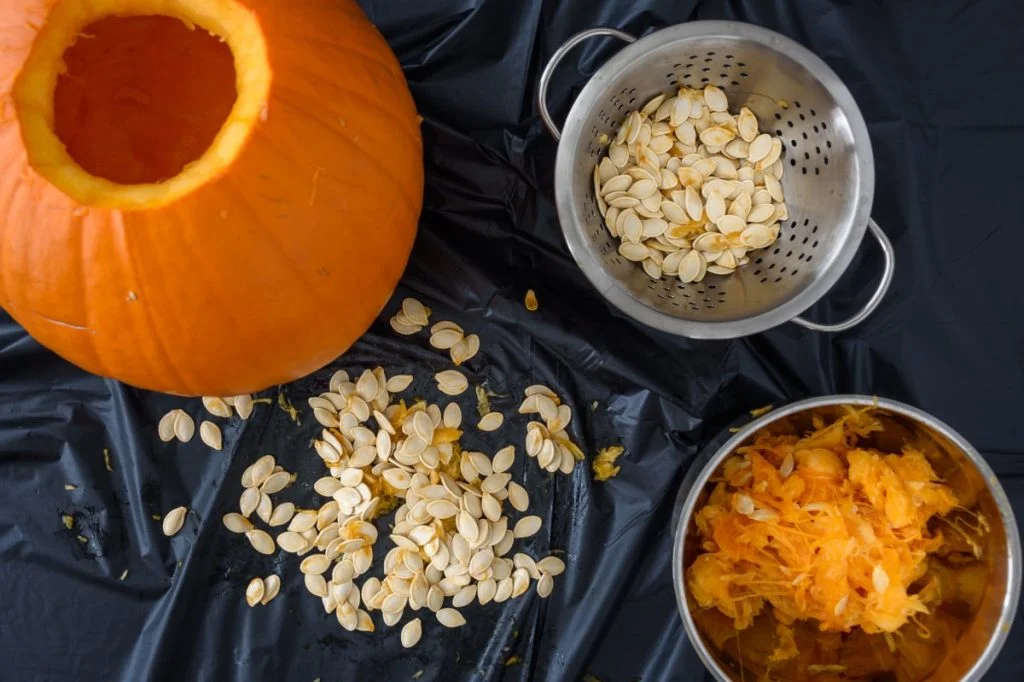
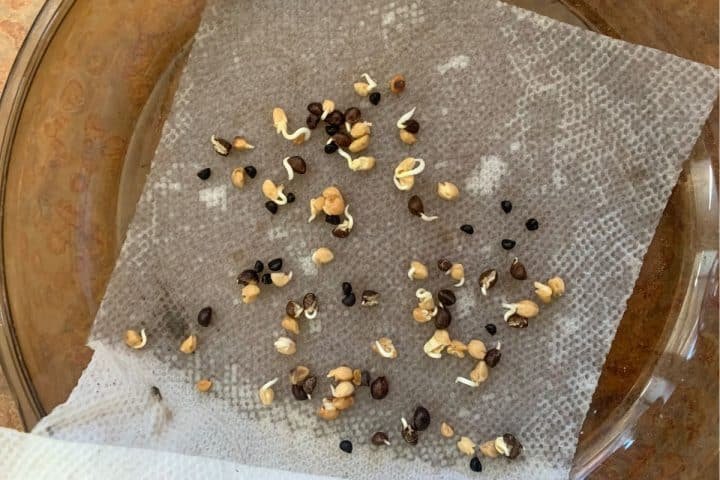
Even properly stored seeds lose viability over time. To test germination:
- Place 10 seeds on a damp paper towel.
- Roll it up and seal in a plastic bag.
- Keep in a warm spot for the recommended germination period.
- Count how many seeds sprout to determine the germination rate.
If fewer than 70% sprout, plant more seeds than usual or replace with fresh ones.

Tips for Successful Seed Saving
- Isolate Cross-Pollinators: Separate varieties by distance or use physical barriers like row covers to prevent unwanted cross-pollination.
- Save from Many Plants: To maintain genetic diversity, save seeds from at least 20–30 plants when possible.
- Avoid Moisture at All Costs: Moisture is the biggest enemy of stored seeds, leading to mold or rot.
- Rotate Seed Stock: Use older seeds first and replenish your supply each year.
- Document Your Seeds: Keep a seed-saving journal with notes on performance, adaptations, and any challenges.
Common Mistakes to Avoid
- Saving seeds from hybrid plants expecting identical results.
- Harvesting seeds too early, leading to immature and non-viable seeds.
- Storing seeds in plastic bags without ventilation, causing mold.
- Forgetting to label seeds—leading to confusion the next planting season.
- Ignoring cross-pollination risks, which can alter desired plant traits.
Building a Personal Seed Bank
Creating a seed bank is an excellent long-term strategy. You can:
- Save multiple generations of seeds to improve resilience in your garden.
- Exchange seeds with local gardeners to diversify your collection.
- Join seed libraries or cooperatives to access rare heirloom varieties.
- Organize seeds by plant families and storage dates for easy rotation.
A well-maintained seed bank ensures a steady supply of high-quality seeds tailored to your unique growing conditions.
Final Thoughts
Seed saving is more than just a gardening practice—it’s a way of connecting with nature, history, and future sustainability. By learning the art of selecting, cleaning, and storing seeds, you not only save money and secure your food supply but also contribute to preserving biodiversity for generations to come.

The first step may feel small—saving tomato seeds from a single plant—but each effort builds toward self-sufficiency and resilience. With practice, patience, and attention to detail, you can create your own living legacy of plants that thrive year after year.
Seed saving is truly the gardener’s gift to tomorrow.

Leave A Comment