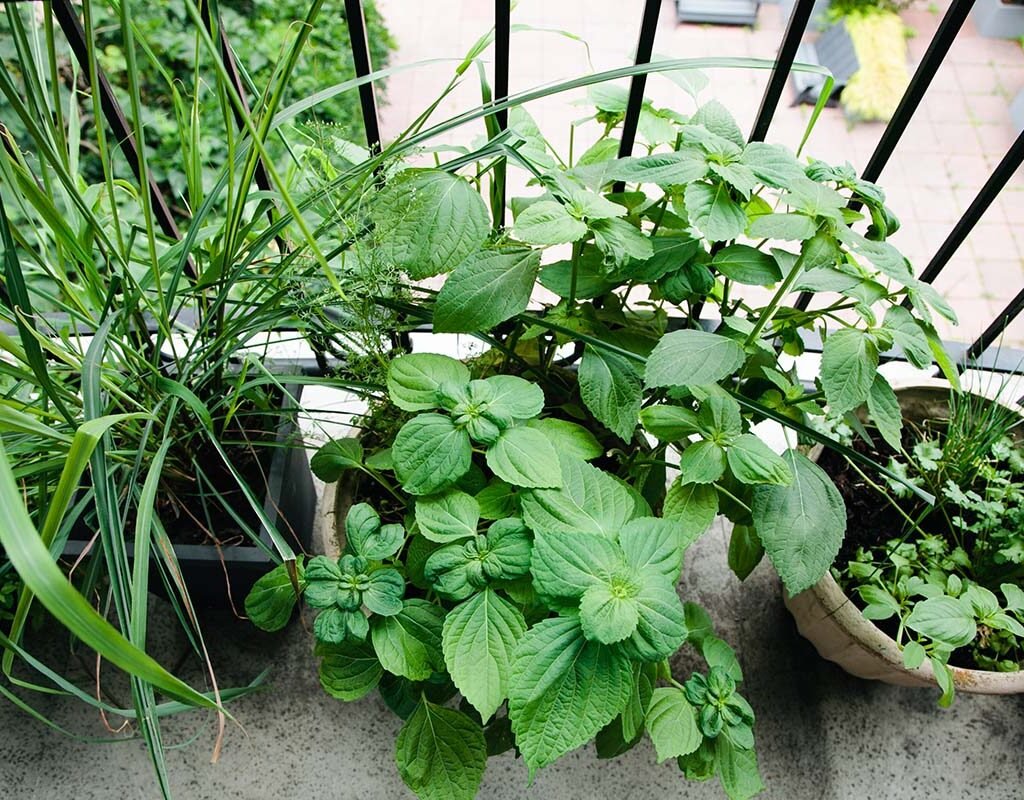
Imagine stepping out onto your balcony to snip fresh basil for your pasta, mint for your tea, or rosemary for your roasted vegetables. Sounds wonderful, right? The good news is — you don’t need a big backyard or fancy greenhouse to make it happen. With just a few pots, some sunlight, and a bit of care, you can grow a lush, fragrant balcony herb garden that provides fresh ingredients all year long.
Whether you’re a gardening beginner or an urban dweller looking to add greenery to your small space, this guide will walk you through seven easy steps to start your very own balcony herb garden — from choosing the right herbs to harvesting your flavorful bounty.
Step 1: Assess Your Balcony’s Sunlight and Space
Before you start planting, take a few days to observe your balcony. Herbs are sun lovers, and knowing how much sunlight your space gets is key to success.
Understand Your Light Conditions
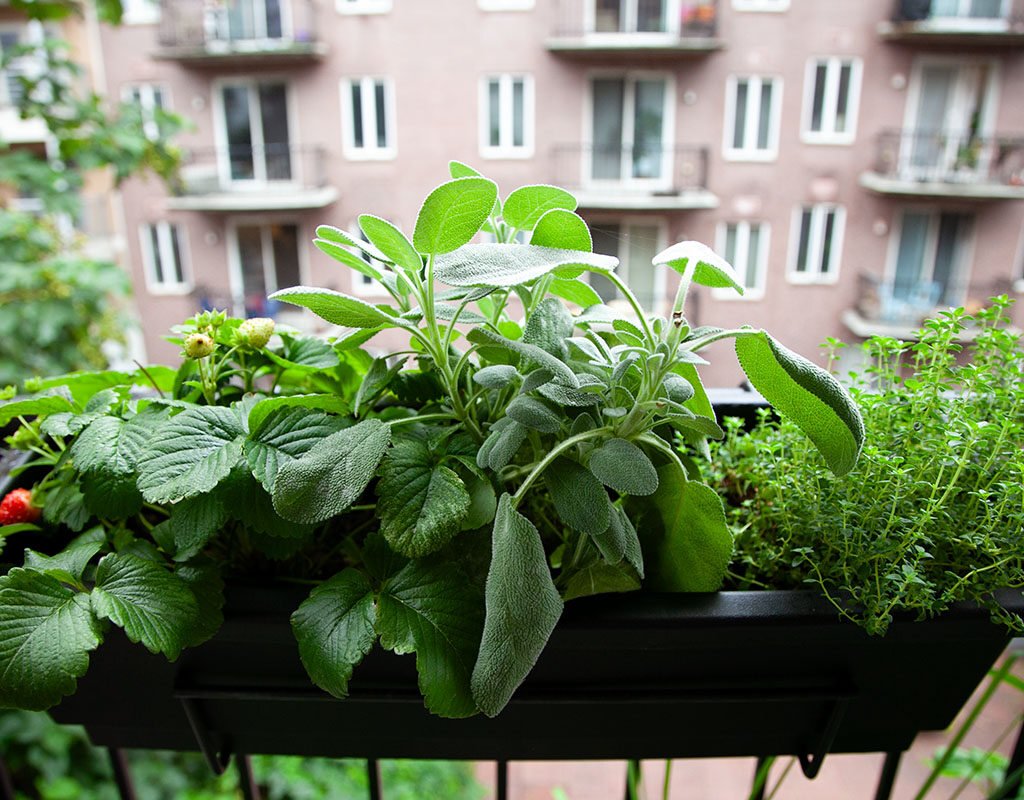
- Full sun (6-8 hours): Perfect for Mediterranean herbs like basil, thyme, rosemary, oregano, and sage.
- Partial sun (4-6 hours): Ideal for parsley, cilantro, chives, mint, and lemon balm.
- Low light (less than 4 hours): Choose shade-tolerant herbs such as mint, chervil, and certain varieties of parsley.
If your balcony faces north or gets limited sunlight, don’t worry — reflective surfaces like white walls or mirrors can help bounce extra light onto your plants. You can also use LED grow lights to supplement natural sunlight during cloudy or winter days.
Evaluate Your Space
- Even a small balcony or railing can hold several herbs if you get creative with vertical or hanging planters.
- Railing planters, tiered stands, or wall-mounted pots help maximize space while keeping your balcony organized and stylish.
Step 2: Choose the Right Herbs to Grow
When starting out, it’s best to pick herbs that are easy to grow, low-maintenance, and useful in your kitchen.

Best Herbs for Balcony Gardens
- Basil: Loves warmth and sunshine; perfect for pasta, salads, and pesto.
- Mint: Grows vigorously even in partial shade; great for teas and desserts.
- Rosemary: Hardy and aromatic; thrives in sunny, well-drained conditions.
- Parsley: Tolerates moderate sunlight and grows well in containers.
- Cilantro (Coriander): Prefers cooler weather and partial sun.
- Thyme: Drought-tolerant and ideal for sunny balconies.
- Chives: Adds mild onion flavor to dishes; perfect for borders or small pots.
Tip: Start with 4–6 types of herbs you use frequently. Mixing too many varieties in limited space can make watering and light management tricky.
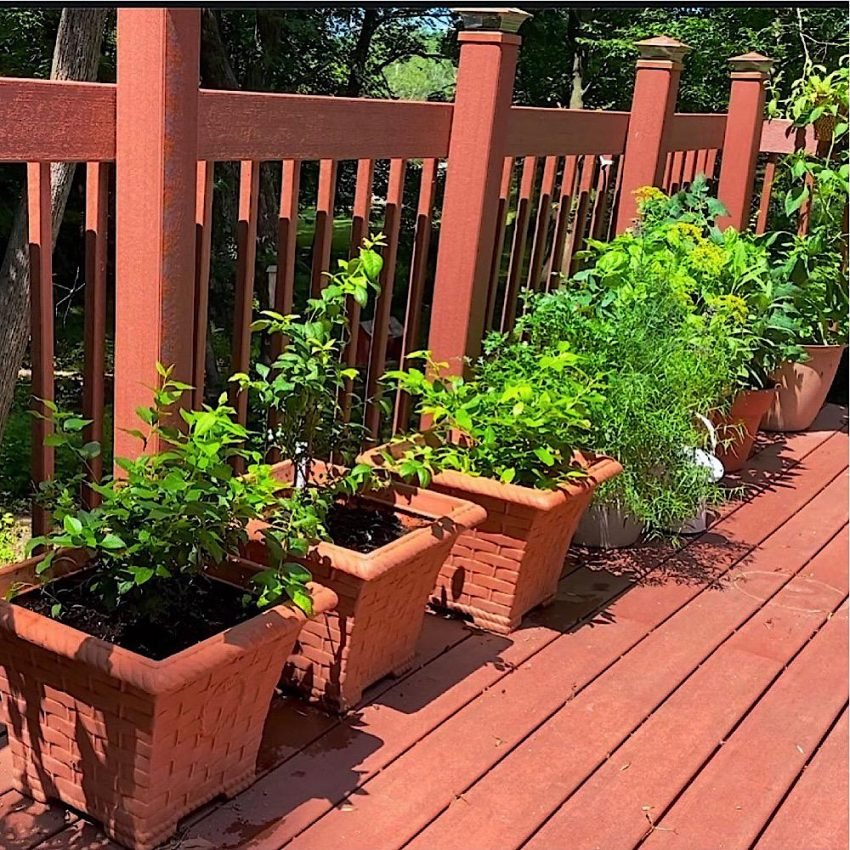
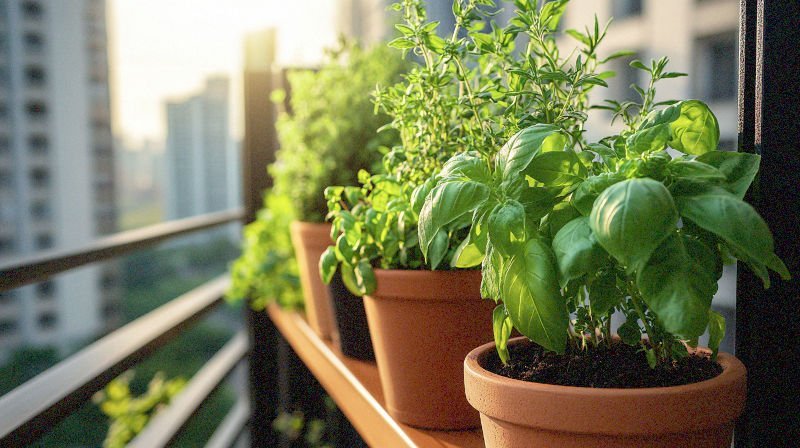
Step 3: Select the Right Containers and Soil
Container choice can make or break your herb garden. The key is good drainage and the right soil mix to keep roots healthy.
Choosing Containers
- Herbs don’t need huge pots, but they do need adequate depth for roots — around 6–12 inches.
- Use clay, ceramic, plastic, or fabric pots with drainage holes.
- For tight spaces, try:
- Tiered plant stands
- Hanging baskets
- Vertical planters
- Recycled containers like old buckets or tins (ensure proper drainage holes).
Soil Mix
Herbs prefer light, well-draining soil that isn’t too rich in nutrients. You can create a perfect mix with:
- 50% good-quality potting soil
- 30% coco peat or perlite (for aeration)
- 20% compost or organic matter (for nutrients)
Avoid using garden soil alone — it compacts easily in pots and can suffocate roots.
Tip: Add a thin layer of pebbles at the bottom of each pot to improve drainage and prevent waterlogging.

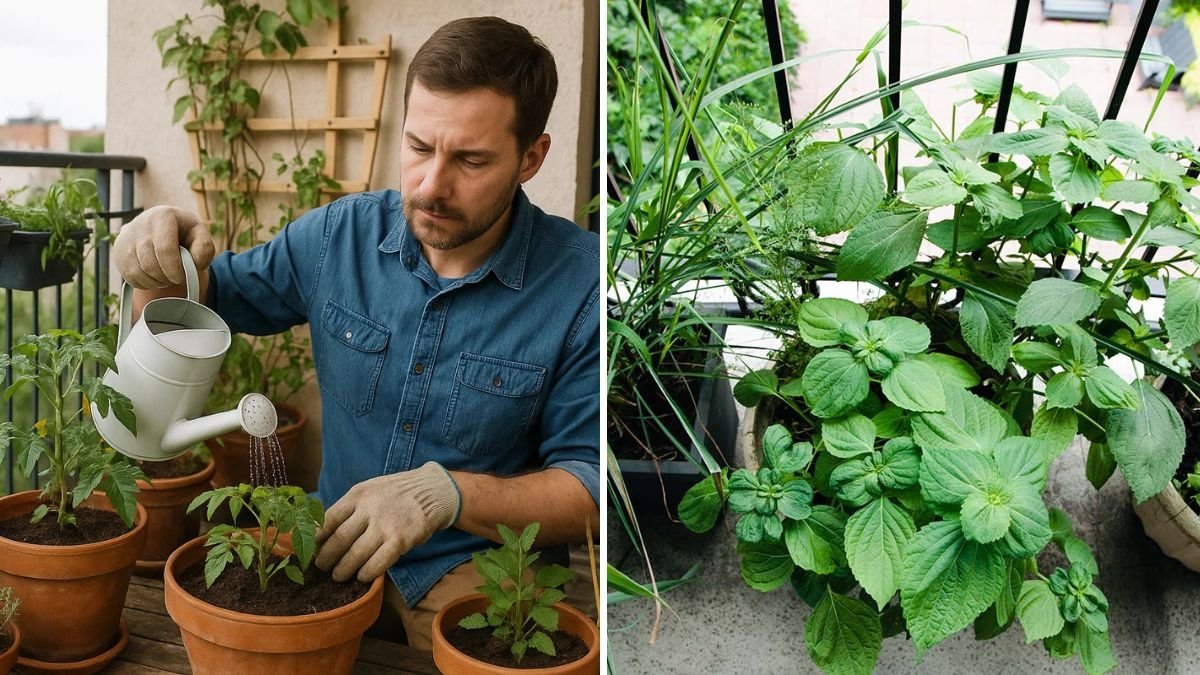
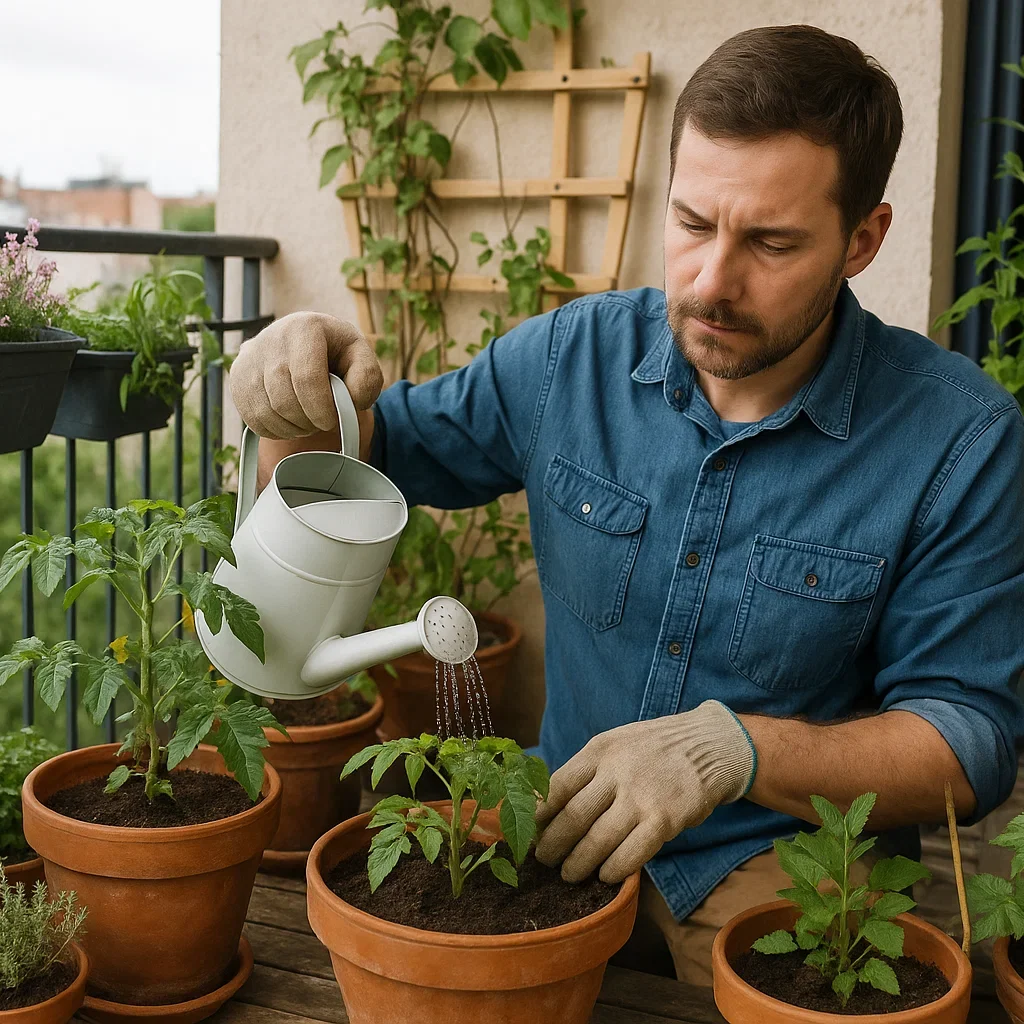
Step 4: Planting Your Herbs
Now comes the fun part — planting! You can start from seeds or small nursery plants depending on your patience and experience.
Starting from Seeds
- Fill your pot with the prepared soil mix.
- Moisten the soil lightly before sowing.
- Sprinkle seeds evenly and cover them with a thin layer (¼ inch) of soil.
- Keep the soil moist but not soggy until seeds germinate.
- Place the pot in a sunny spot and mist regularly.
Using Transplants
If you want a quicker start, buy young herb plants from a nursery:
- Gently remove the plant from its container.
- Loosen the roots slightly before planting.
- Place it in the new pot and press soil around it firmly.
- Water thoroughly after planting.
Spacing Tip: If growing multiple herbs in one container, ensure at least 6 inches between plants to avoid overcrowding.
Step 5: Watering and Feeding Your Herbs
Proper watering is crucial in container gardening. Since pots dry out faster than garden beds, you need to strike a balance between not too dry and not too soggy.
Watering Tips
- Water when the top inch of soil feels dry to the touch.
- Early morning is the best time to water, allowing plants to absorb moisture before the heat of the day.
- Herbs like rosemary and thyme prefer drier soil, while mint and basil enjoy slightly moist conditions.
- Use self-watering containers or drip trays to maintain consistent moisture levels.
Feeding Your Herbs
Herbs don’t need heavy fertilization — too much fertilizer can make them lose their aroma and flavor.

- Every 3–4 weeks, feed with a diluted organic liquid fertilizer or compost tea.
- Alternatively, mix a small amount of slow-release organic fertilizer into the soil every two months.
Tip: Once your herbs are established, pinch off growing tips occasionally. This encourages bushier growth and prevents early flowering, which can make herbs taste bitter.
Step 6: Maintain, Prune, and Protect Your Herbs
Regular maintenance keeps your balcony garden healthy, productive, and visually appealing.
Pruning and Harvesting
- Pinch back herbs like basil, mint, and parsley regularly to promote fuller growth.
- Harvest early in the morning when essential oils are most concentrated.
- Always leave at least one-third of the plant intact to ensure continuous growth.
Pest and Disease Control
Even balcony gardens can attract pests like aphids or whiteflies.
- Use neem oil spray or homemade insecticidal soap as natural deterrents.
- Check the underside of leaves weekly and remove any damaged parts.
- Good air circulation and proper spacing help prevent fungal diseases.
Seasonal Care
- Bring pots indoors during heavy rain or extreme cold.
- Rotate pots occasionally for even sunlight exposure.
- Replace tired soil annually and prune back perennials like thyme or rosemary to encourage new growth.
Step 7: Harvest and Enjoy Your Balcony Bounty
The best part of growing herbs is harvesting and using them fresh in your cooking.
Harvesting Guidelines
- Start harvesting when the plant is about 6 inches tall.
- Use sharp scissors to snip leaves or stems cleanly.
- Avoid overharvesting; always leave enough foliage for the plant to regrow.
- Regular harvesting actually stimulates growth, keeping your herbs productive for months.
Storing Herbs
- Short-term: Keep fresh herbs in a glass of water like a bouquet, or wrap them in a damp paper towel and refrigerate.
- Long-term: Air-dry or oven-dry herbs and store them in airtight containers.
- You can also freeze herbs in ice cube trays with a bit of water or olive oil — perfect for cooking later.
Creative Ways to Use Your Herbs
- Add fresh basil to salads, sandwiches, or pasta dishes.
- Brew mint leaves in tea for a refreshing drink.
- Use rosemary sprigs for roasted potatoes or meats.
- Blend parsley and garlic for a quick herb sauce or dip.
Soon, your balcony will not only look and smell amazing but also become your personal kitchen companion!

Bonus Tips for Balcony Herb Gardening Success
- Label each pot with the herb’s name and planting date.
- Group herbs by sunlight needs — sun-loving ones together, shade-lovers in another corner.
- Avoid overwatering — it’s the most common mistake for container herbs.
- Rotate plants every few days for even growth.
- Keep pruning regularly to prevent leggy growth and encourage lush foliage.
- Try companion planting — herbs like basil and parsley grow well together, but avoid pairing mint with other herbs (it tends to take over).
Final Thoughts
Starting a balcony herb garden is one of the easiest and most rewarding ways to bring freshness, flavor, and beauty into your home. With just a little sunlight, care, and creativity, you can transform even the smallest balcony into a green oasis filled with aromatic herbs.
Whether you’re growing basil for Italian nights, mint for refreshing drinks, or rosemary for hearty dishes, these seven easy steps will guide you from setup to harvest. Beyond the culinary benefits, tending to your herbs brings calm, satisfaction, and a daily dose of nature — right outside your door.
So grab some pots, pick your favorite herbs, and let your balcony garden bloom with life, fragrance, and flavor all year long!
Leave A Comment