How to Start a Collection of Rare and Unusual Houseplants

How to Start a Collection of Rare and Unusual Houseplants

In recent years, houseplants have evolved from simple home décor to treasured collectibles. Beyond their aesthetic appeal and air-purifying qualities, rare and unusual houseplants have captured the attention of plant enthusiasts worldwide. Collectors are drawn to their exotic foliage, unique growth habits, and the thrill of owning something extraordinary that few others possess.

If you’ve ever admired a striking variegated Monstera or a jewel-toned Calathea and wondered how to start your own collection, this guide is for you. Here’s everything you need to know to start, grow, and care for a rare and unusual houseplant collection — right from choosing the right plants to maintaining their beauty for years.


1. Why Collect Rare and Unusual Houseplants?

Building a collection of rare plants isn’t just a hobby — it’s a creative, rewarding pursuit that connects you to nature in a deeply personal way. Here’s why so many people are embracing plant collecting:

  • Aesthetic diversity: Rare plants feature unique colors, shapes, and patterns that elevate home décor.
  • Sense of accomplishment: Caring for delicate species brings a fulfilling sense of achievement.
  • Conservation value: Many collectors help preserve endangered species by propagating and sharing them.
  • Mindful relaxation: Tending to plants provides stress relief and promotes mindfulness.
  • Community connection: Plant collectors often exchange cuttings, tips, and knowledge with others, creating a vibrant community.

Collecting rare plants is more than owning beautiful foliage — it’s about cultivating patience, skill, and appreciation for nature’s incredible diversity.


2. Understanding What Makes a Plant Rare or Unusual

Before you start collecting, it’s essential to know what qualifies a plant as rare or unusual. Not all unique-looking plants are truly rare — some are simply uncommon in local nurseries. Here are the main factors that contribute to rarity:

  • Limited natural habitat: Some species grow only in specific geographic regions or climates.
  • Difficult propagation: Plants that don’t reproduce easily or take years to mature are harder to find.
  • Variegation: Natural mutations that create white, pink, or yellow patterns on leaves are highly prized.
  • Slow growth rate: Slow-growing species are produced in smaller quantities.
  • Market demand: Certain plants become “rare” due to collector hype or limited availability.

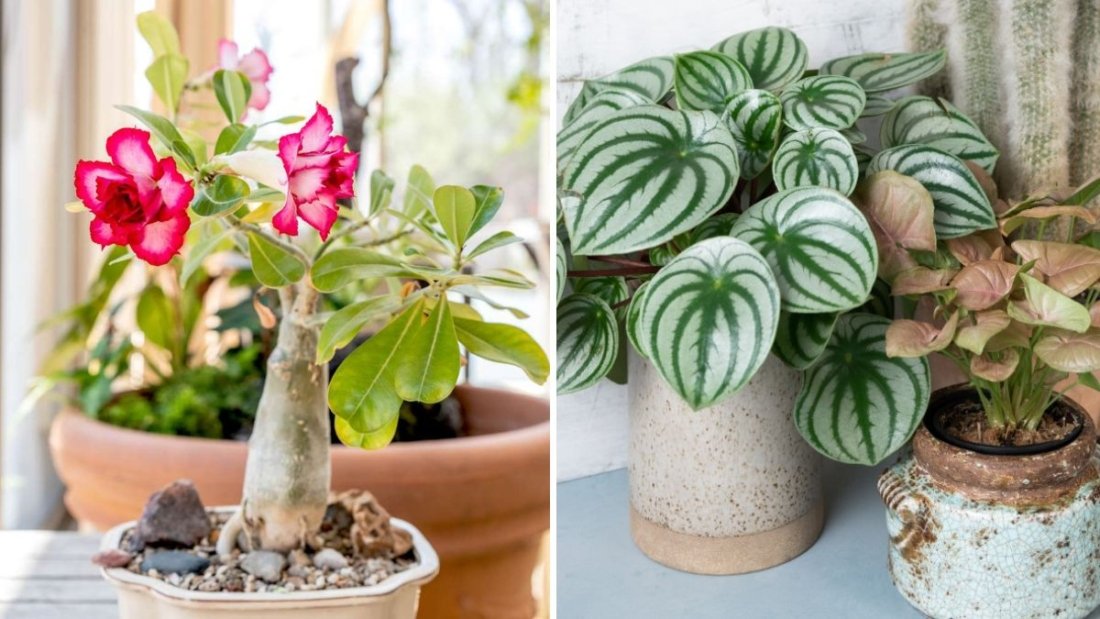
Examples include the Monstera deliciosa ‘Albo Variegata’, Philodendron Pink Princess, Anthurium clarinervium, and Jewel Orchids (Ludisia discolor) — all admired for their stunning appearances and relative scarcity.


3. Research Before You Buy

When beginning your collection, research is your best friend. Understanding a plant’s needs and rarity level prevents costly mistakes and ensures long-term success.

Here’s how to start:

  • Identify reputable sources: Buy from trusted nurseries, online plant shops, or experienced collectors.
  • Join plant communities: Social media groups and plant clubs often have reliable information and trading opportunities.
  • Read plant care guides: Each rare species has specific light, humidity, and watering requirements.
  • Check authenticity: Be cautious of mislabeled or artificially variegated plants sold at inflated prices.

Tip: Always verify plant names (scientific names, not just common names) before purchasing to avoid confusion.


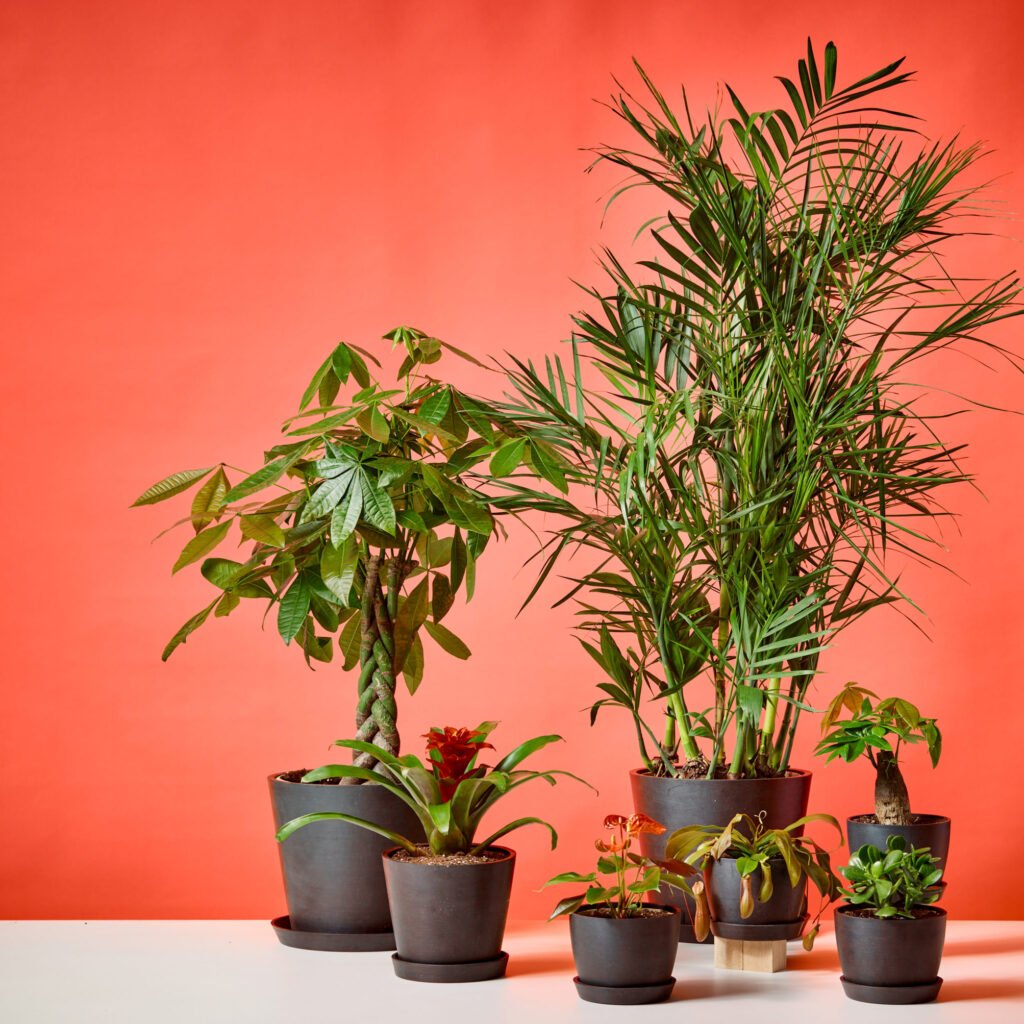
4. Choosing the Right Starter Plants

As a beginner collector, start with plants that are unique yet manageable. This helps you gain confidence before moving on to delicate or expensive species.

Recommended Starter Rare Plants:

  1. Philodendron Pink Princess: Known for its pink-and-green variegation and moderate care level.
  2. Monstera adansonii (Swiss Cheese Plant): Its perforated leaves are eye-catching and easy to maintain.
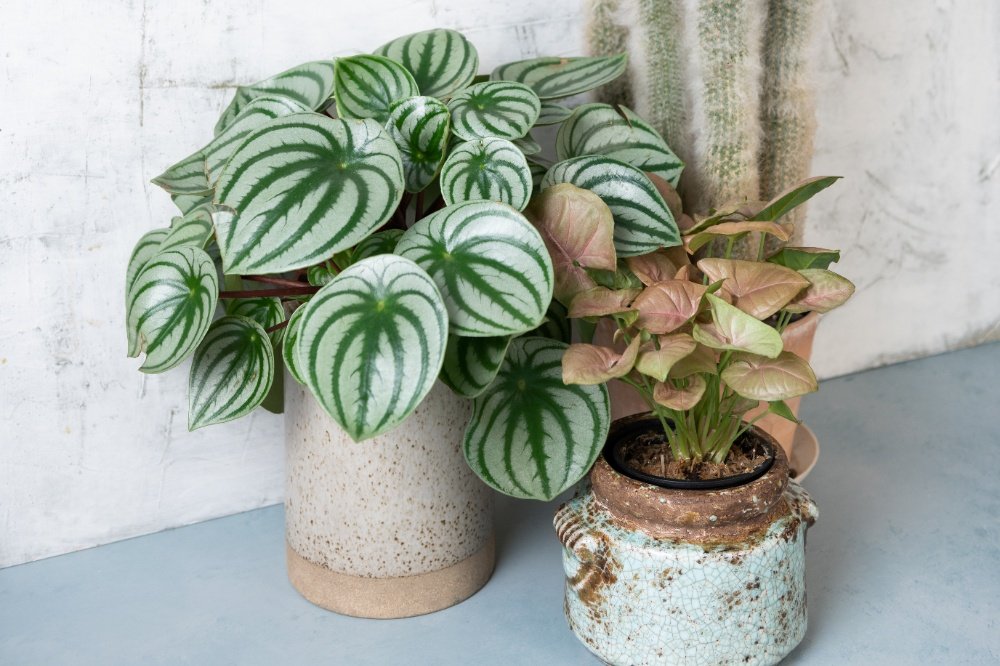
  3. Calathea orbifolia: Striking striped leaves; requires consistent humidity.
  4. Hoya kerrii (Sweetheart Plant): Heart-shaped leaves and low maintenance.
  5. Alocasia ‘Polly’ (African Mask Plant): Bold, glossy leaves with white veins; needs bright, indirect light.
  6. Anthurium clarinervium: Velvet-like leaves with silvery veins, perfect for collectors seeking elegance.
  7. Jewel Orchid (Ludisia discolor): Grown more for its shimmering foliage than flowers.

These plants offer both aesthetic appeal and a manageable learning curve, helping you build experience in plant care.


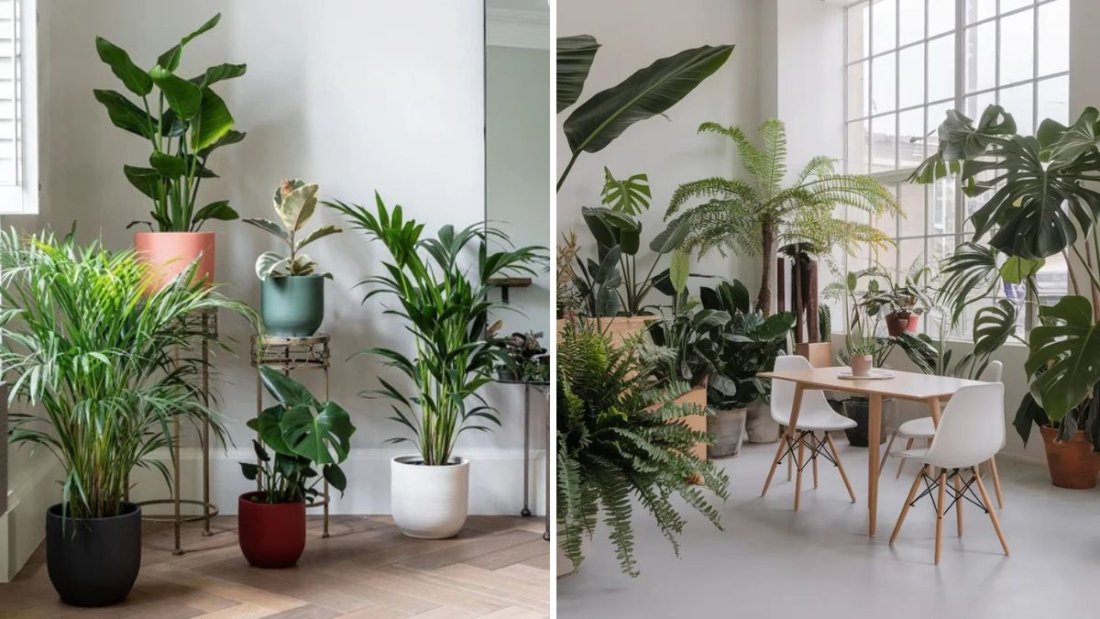
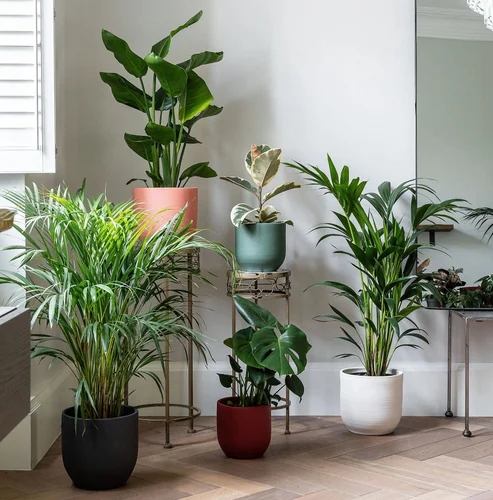
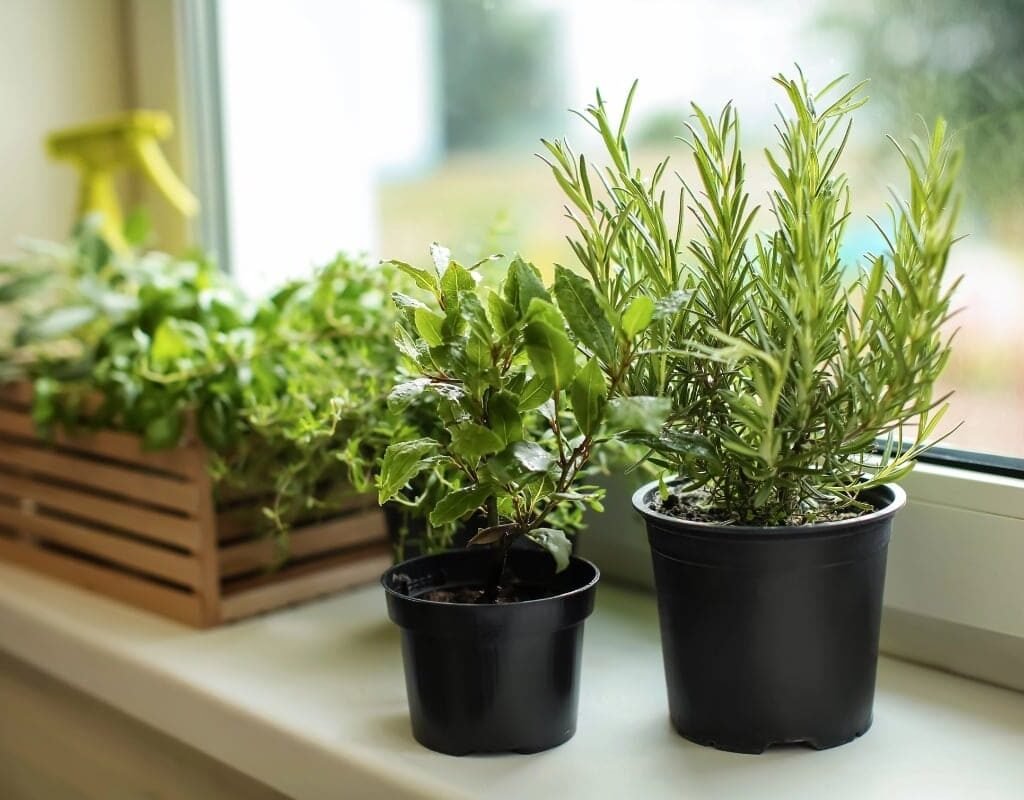
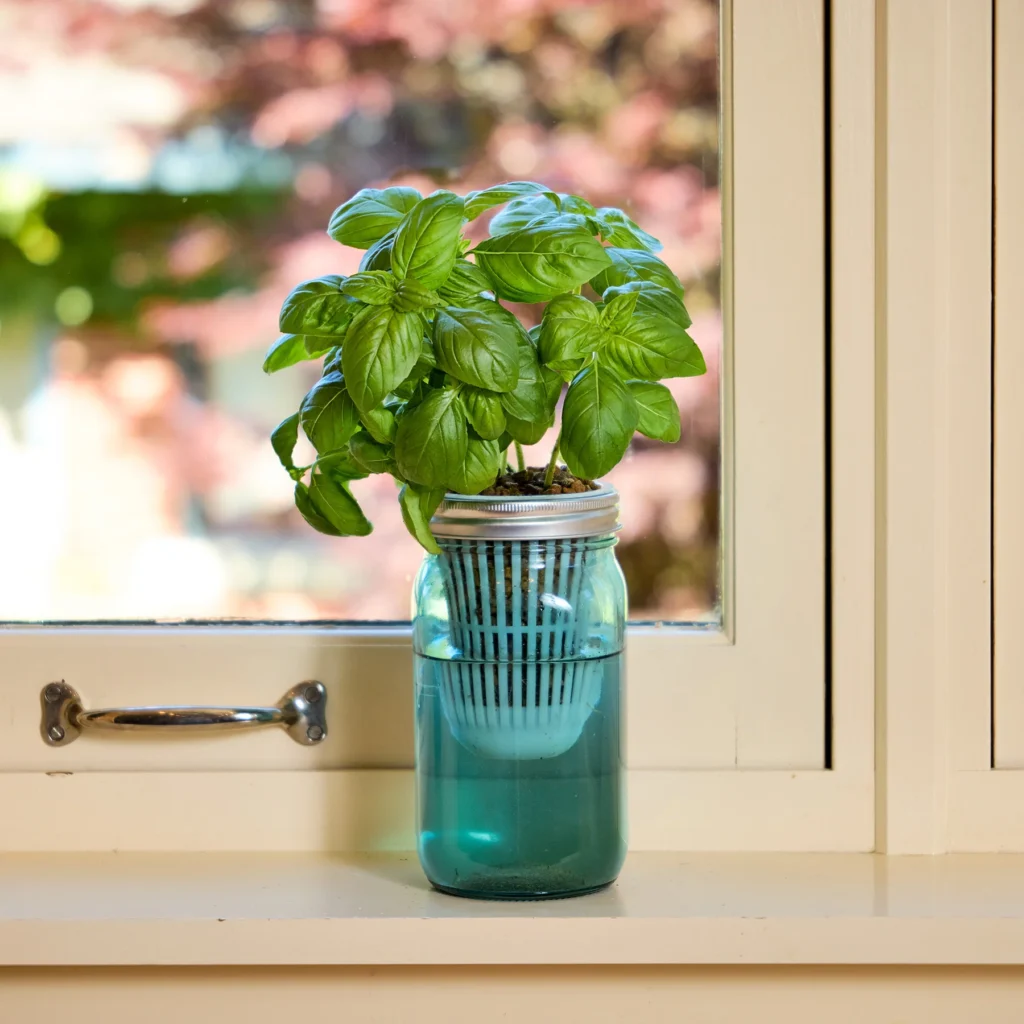
5. Setting Up the Perfect Growing Environment

Rare houseplants thrive best when their environment mimics their natural habitats. Most tropical and exotic plants prefer warm temperatures, bright indirect light, and high humidity.

Lighting:

  • Place your plants near east or north-facing windows for gentle sunlight.
  • Avoid harsh afternoon sun which can scorch variegated leaves.
  • Use LED grow lights during low-light months for consistent growth.

Humidity:

  • Maintain 50–70% humidity using a humidifier or pebble tray.
  • Group plants together to create a microclimate that retains moisture.

Temperature:

  • Keep between 18–27°C (65–80°F) for tropical plants.
  • Avoid placing them near heaters, air conditioners, or drafty windows.

Soil and Drainage:

Use a well-draining mix suited for the specific plant type. A general tropical mix might include:

  • 40% coco peat or peat moss
  • 30% perlite
  • 20% orchid bark
  • 10% charcoal or compost

Proper drainage is essential — most rare plants are sensitive to root rot.


6. Watering and Feeding: Mastering the Balance

Watering mistakes are a common reason rare plants fail. Unlike common houseplants, many rare species are sensitive to overwatering.

  • Water only when the top inch of soil feels dry.
  • Use filtered or rainwater to avoid mineral build-up on leaves.
  • Ensure pots have drainage holes.

Fertilizing:
Use a balanced liquid fertilizer (NPK 10-10-10 or 20-20-20) at half strength once every 2–4 weeks during the growing season (spring and summer). Avoid fertilizing during dormancy (usually winter).

Tip: Always research your specific plant’s nutrient preferences — some, like orchids and anthuriums, prefer specialized fertilizers.


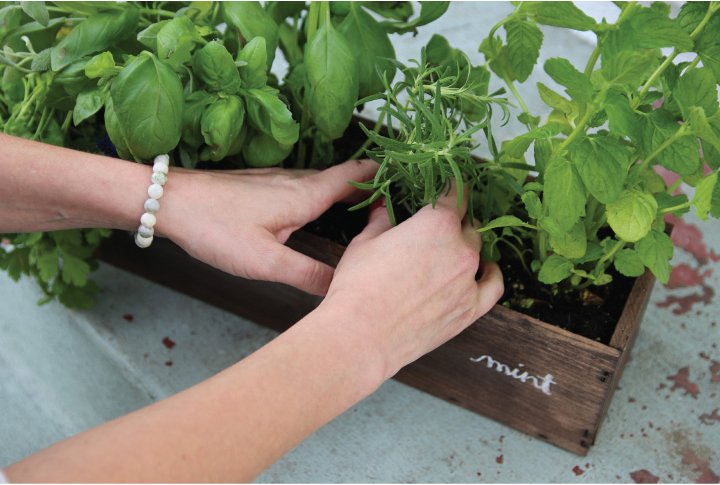
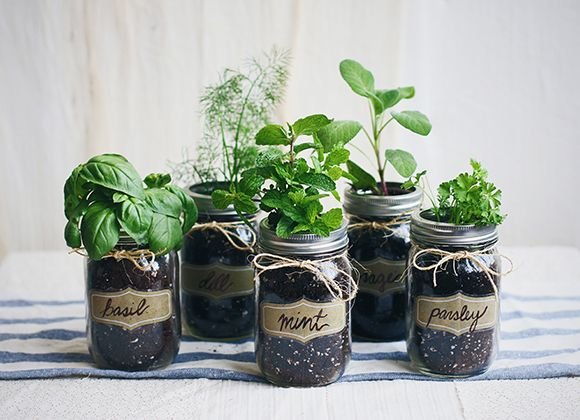
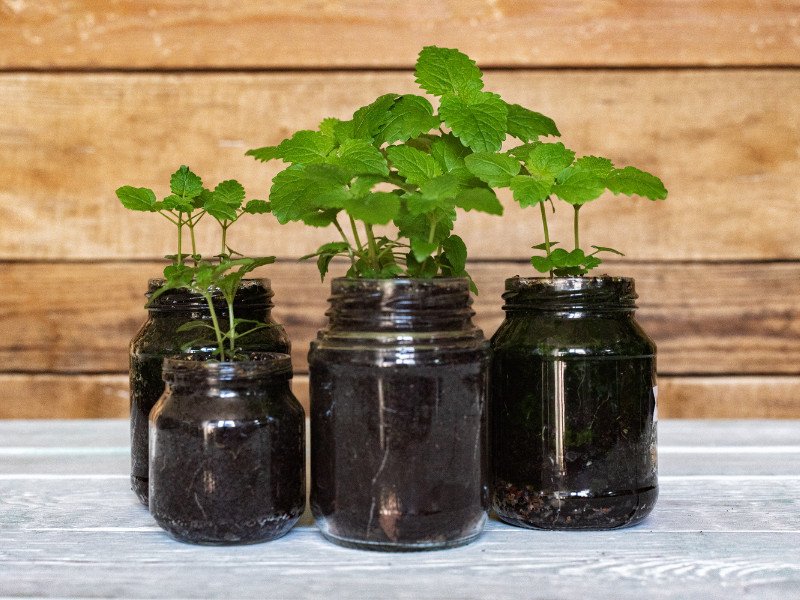
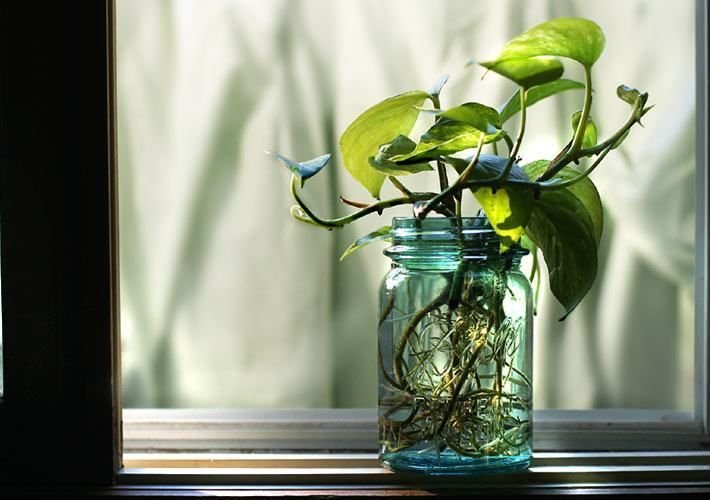
7. Propagating and Expanding Your Collection

One of the joys of collecting rare plants is learning to propagate them. Propagation not only helps expand your collection but also allows you to share or trade with other enthusiasts.

Common Propagation Methods:

  • Stem cuttings: Best for vining plants like Pothos, Monstera, and Philodendron.
  • Leaf cuttings: Effective for succulents or Peperomia varieties.
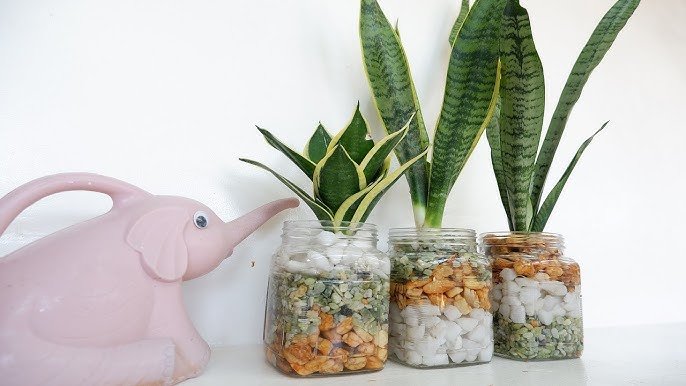
  • Division: Works well for Calatheas, Alocasias, and Snake Plants.
  • Offsets or pups: Remove baby plants from parent plants like Hoyas or Haworthias.

Use sterilized tools, keep humidity high, and provide gentle light during propagation. Patience is key — rare plants may take weeks or months to root successfully.


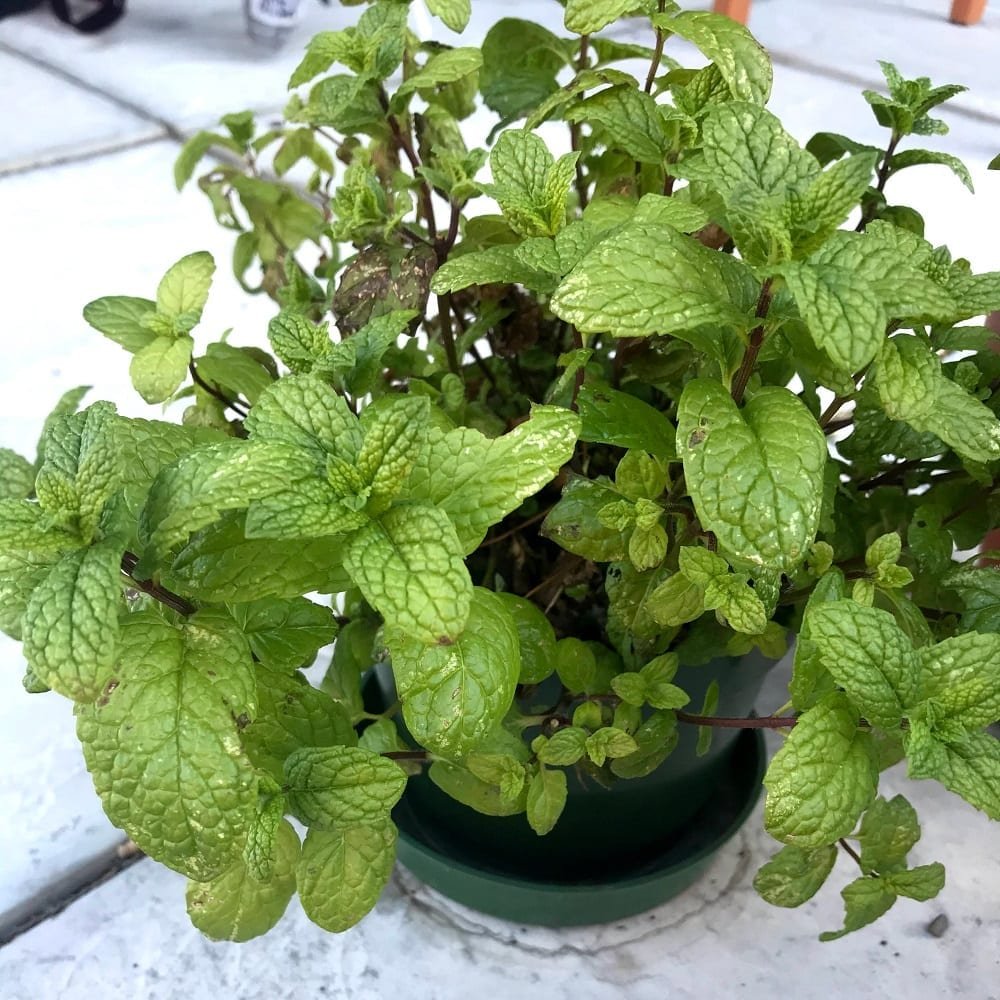
8. Preventing Pests and Diseases

Rare plants are valuable, so protecting them from pests is essential. Common invaders include spider mites, mealybugs, aphids, and fungus gnats.

Prevention Tips:

  • Inspect new plants before introducing them to your collection.
  • Wipe leaves regularly with a damp cloth.
  • Maintain airflow around plants to reduce fungal growth.
  • Use neem oil or insecticidal soap as a natural defense.

If you notice wilting, yellowing, or sticky residue, isolate the affected plant immediately and treat it before reintegrating it into your collection.


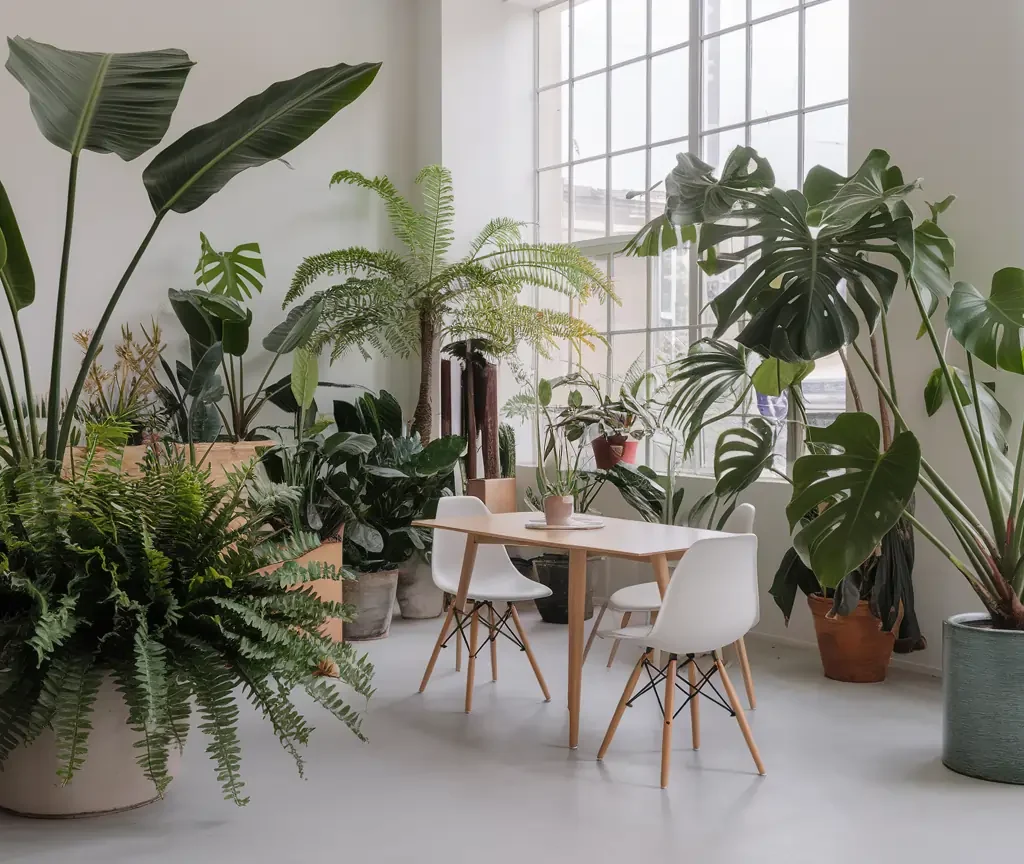
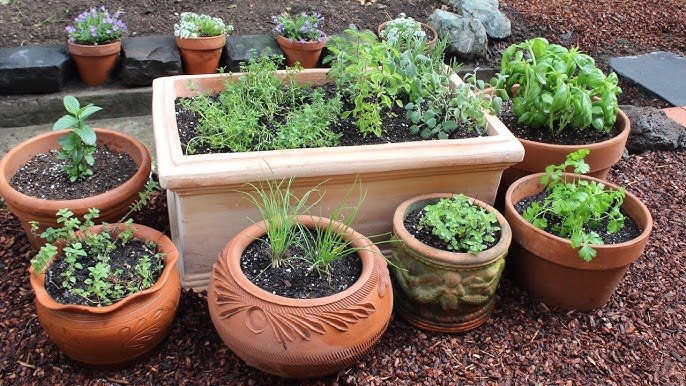
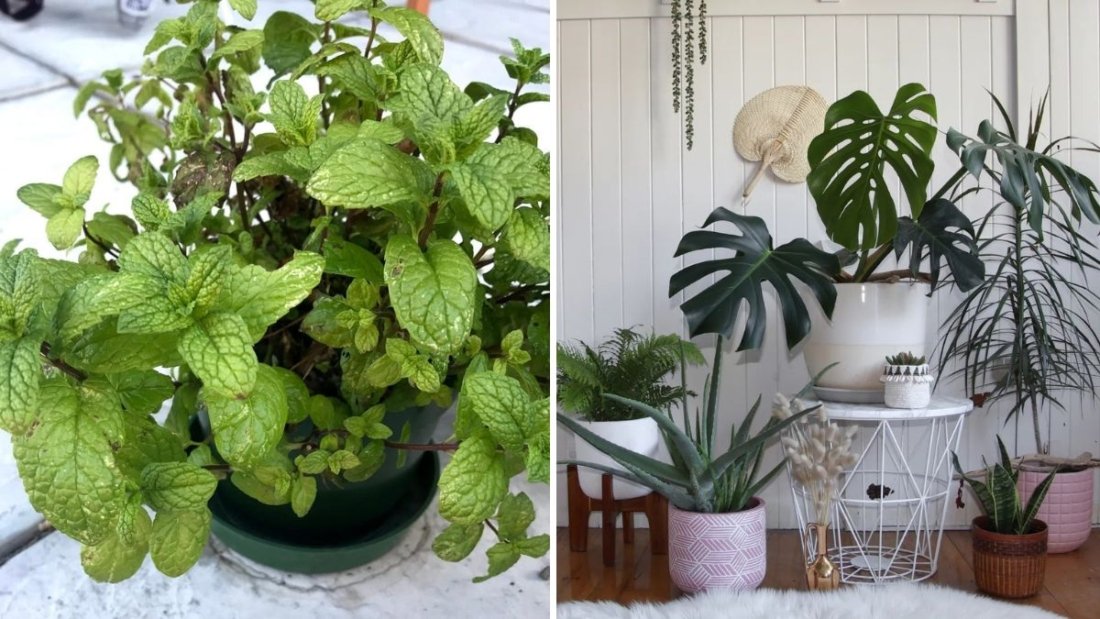
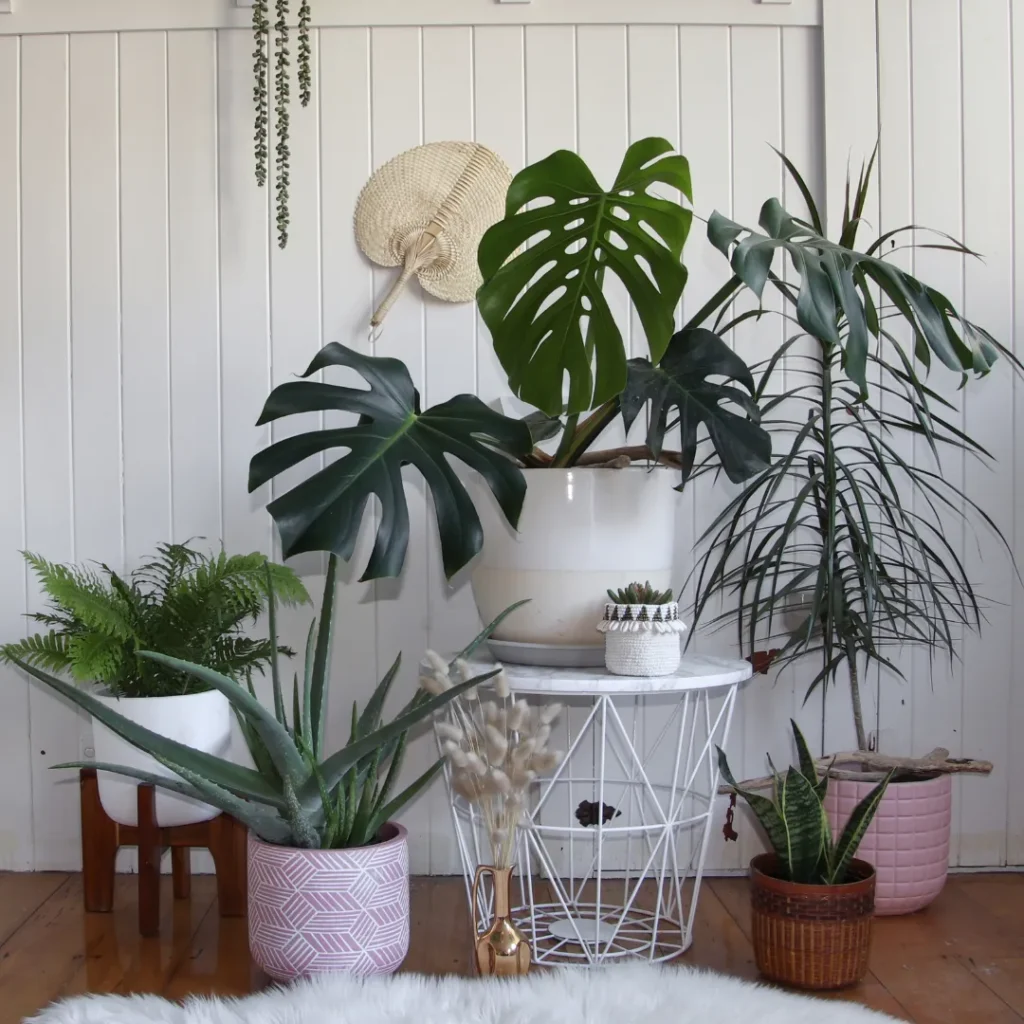
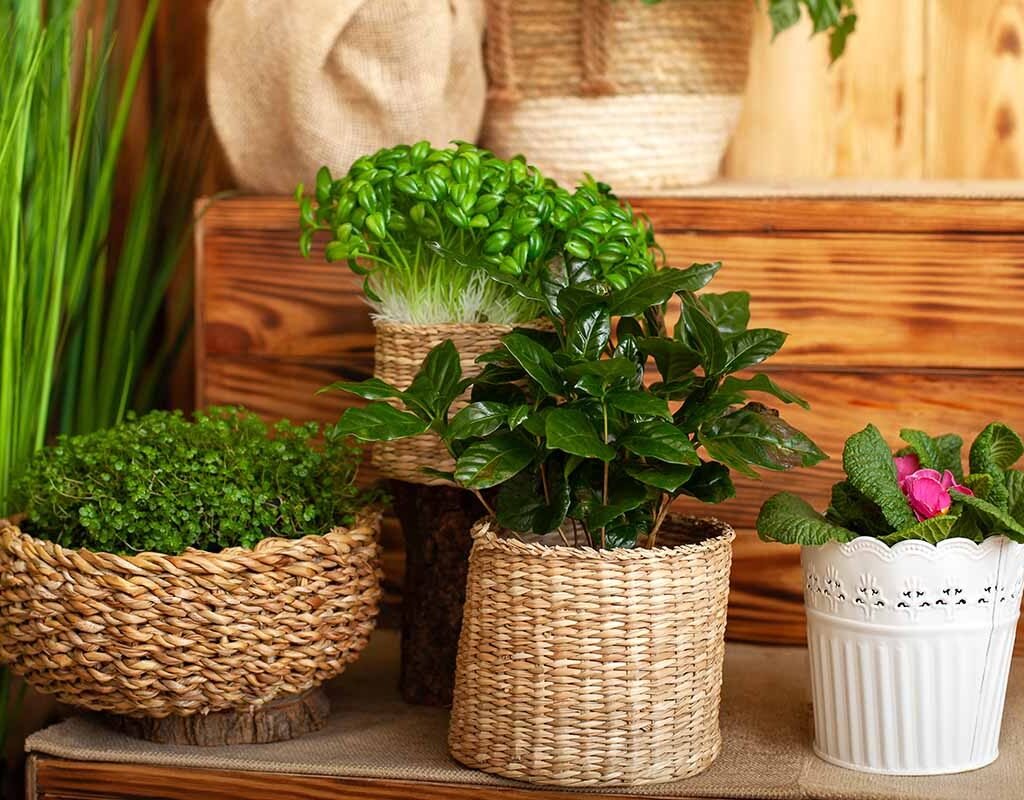
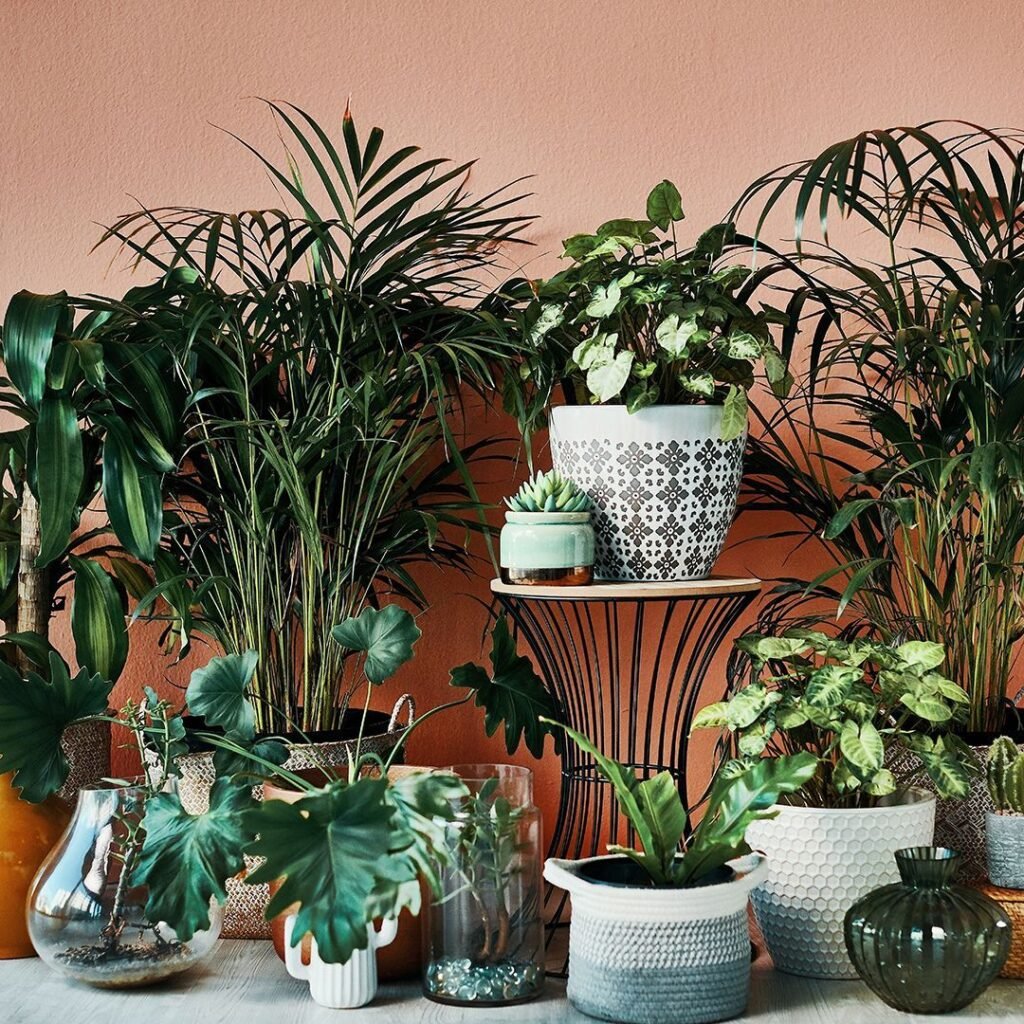
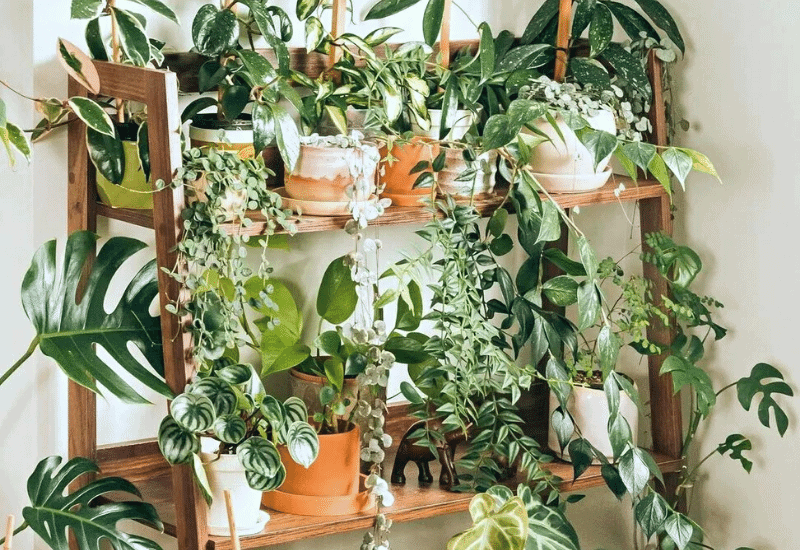
9. Displaying Your Collection Beautifully

Your rare plants deserve a showcase that highlights their uniqueness. Create a display area that’s both functional and aesthetically pleasing.

Ideas for Display:

  • Shelving units: Multi-tier shelves maximize light and visibility.
  • Glass cabinets (IKEA greenhouse trend): Great for maintaining humidity for tropical species.
  • Hanging planters: Perfect for trailing plants like Hoyas or Monstera adansonii.
  • Plant stands: Elevate statement plants for visual impact.
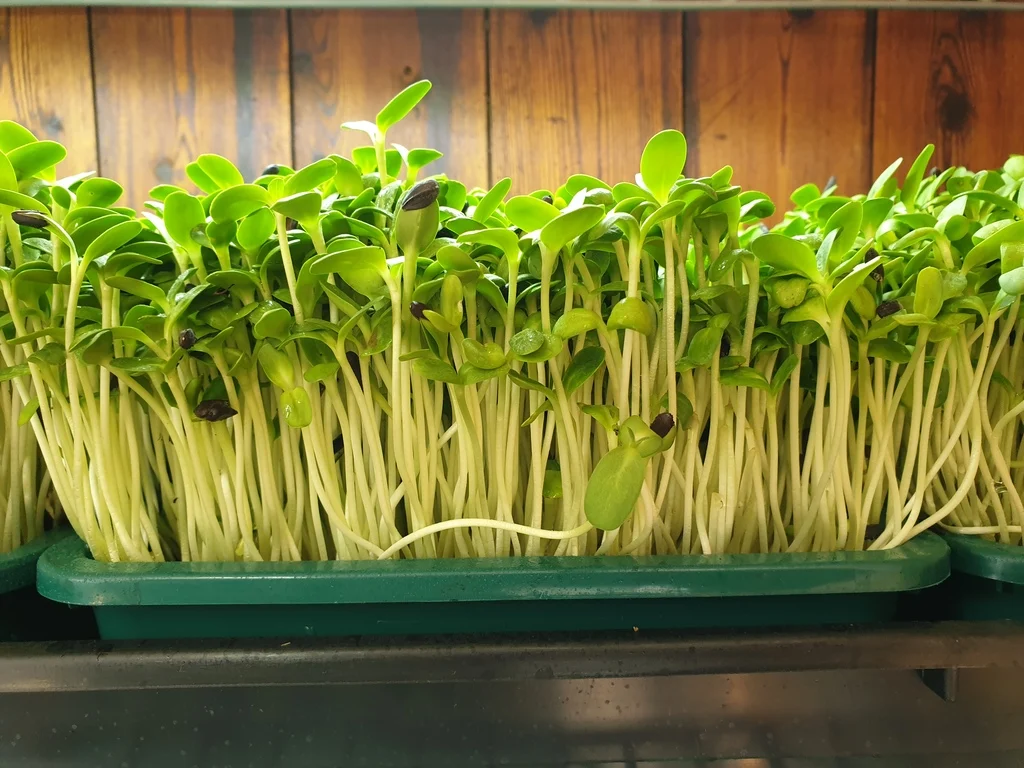
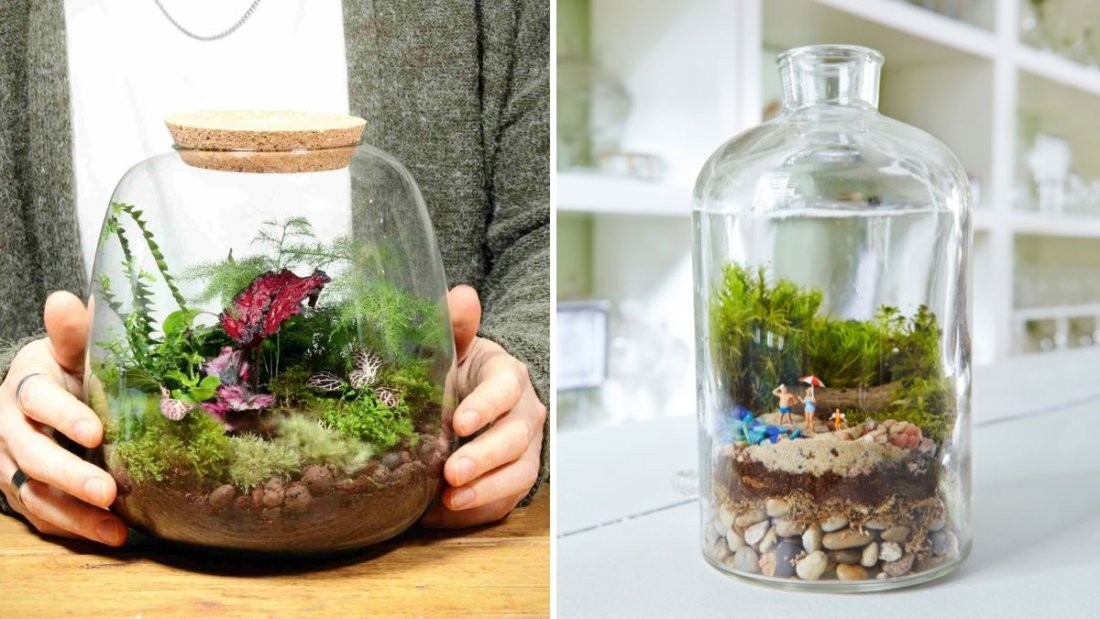
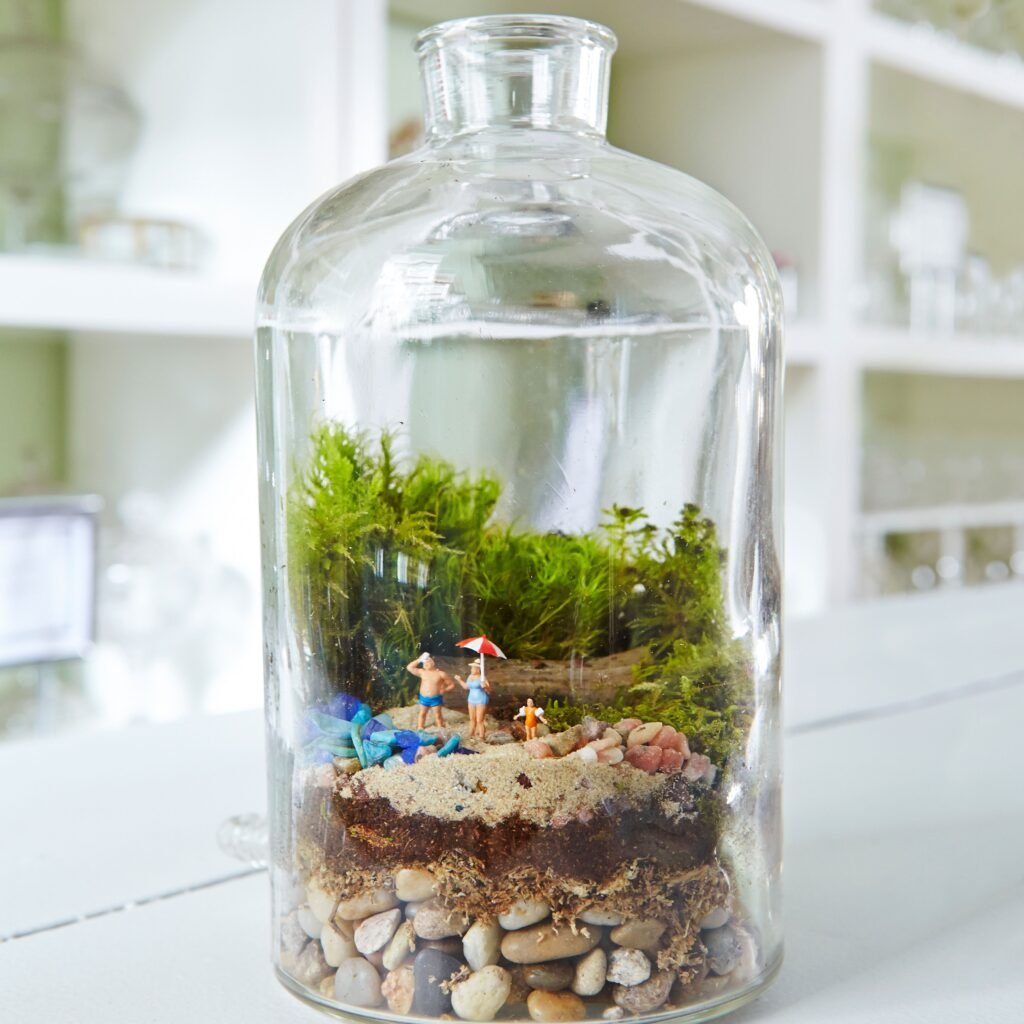
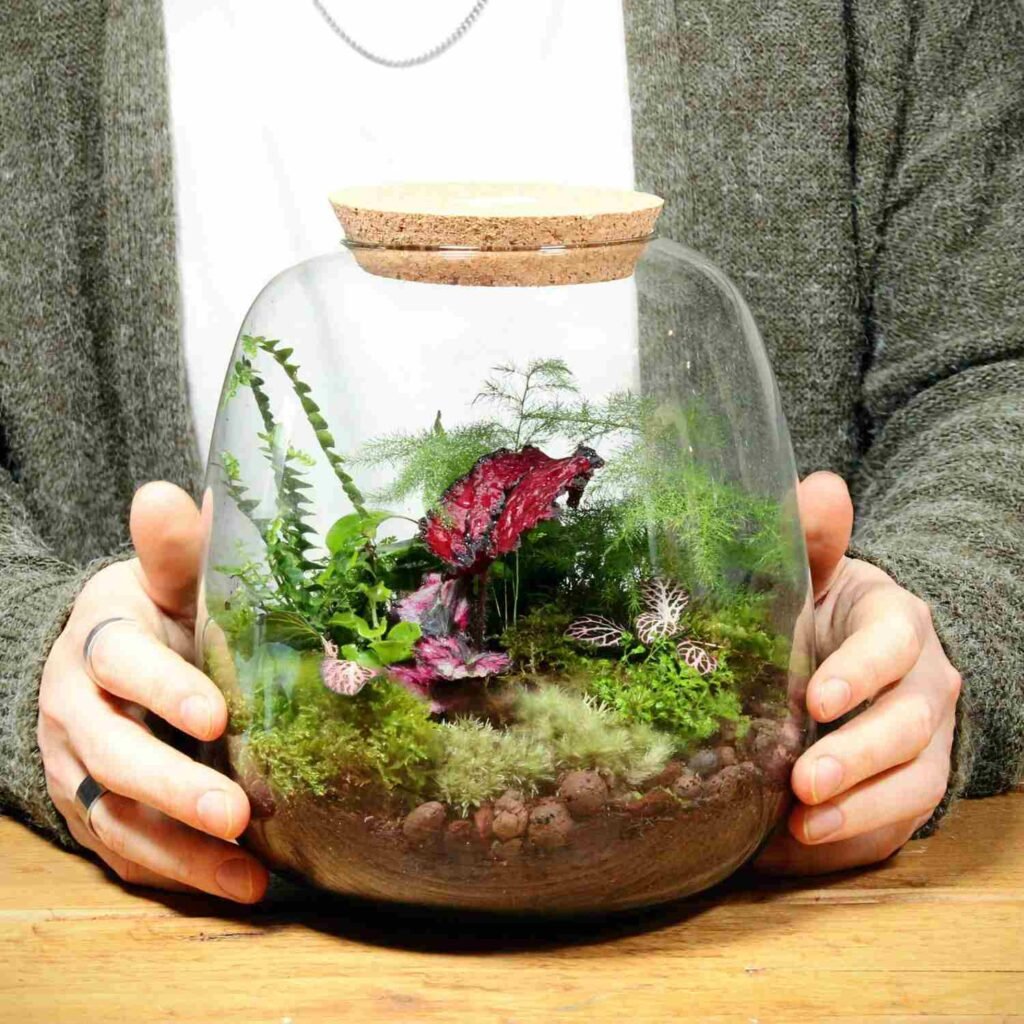
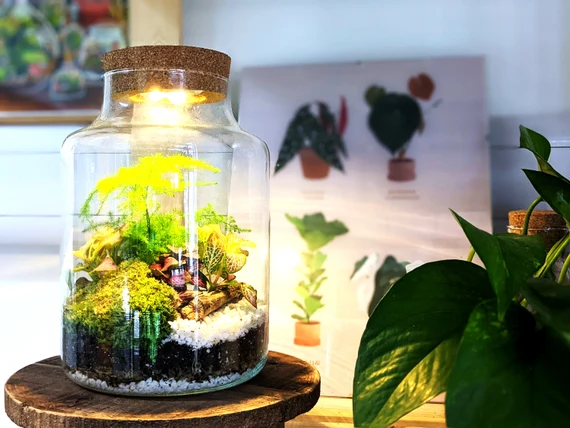
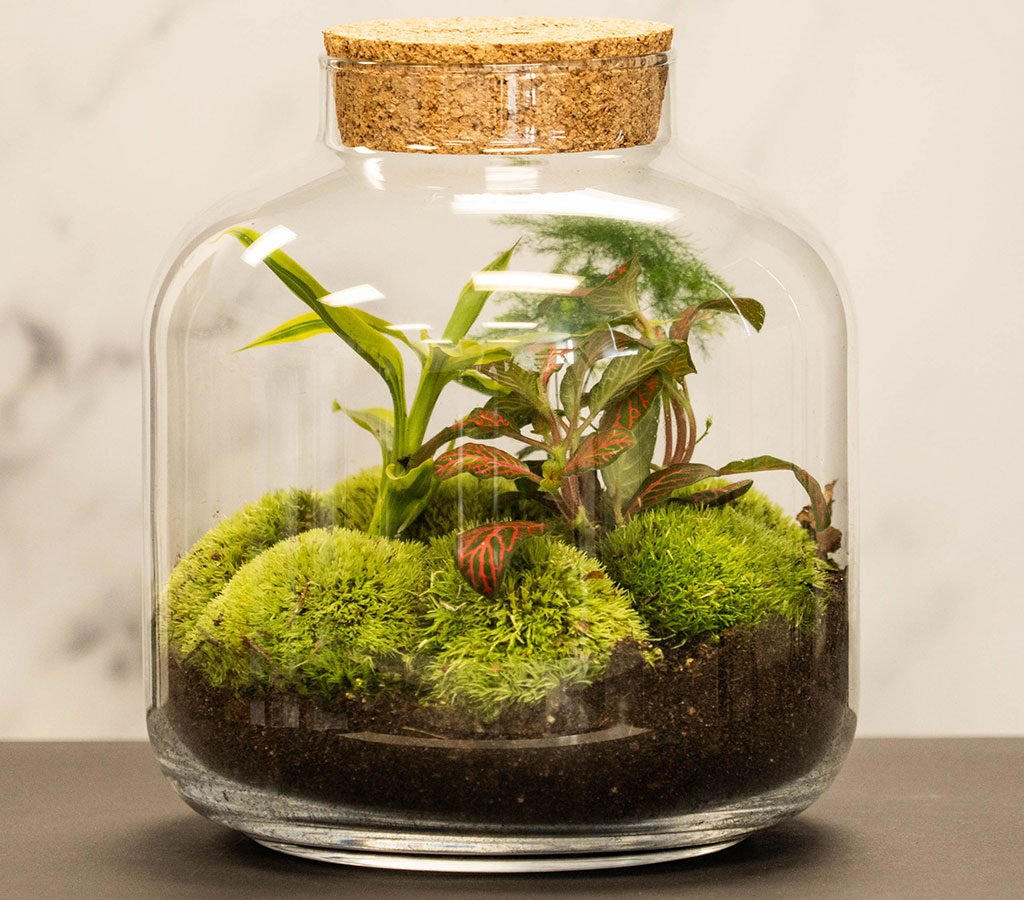
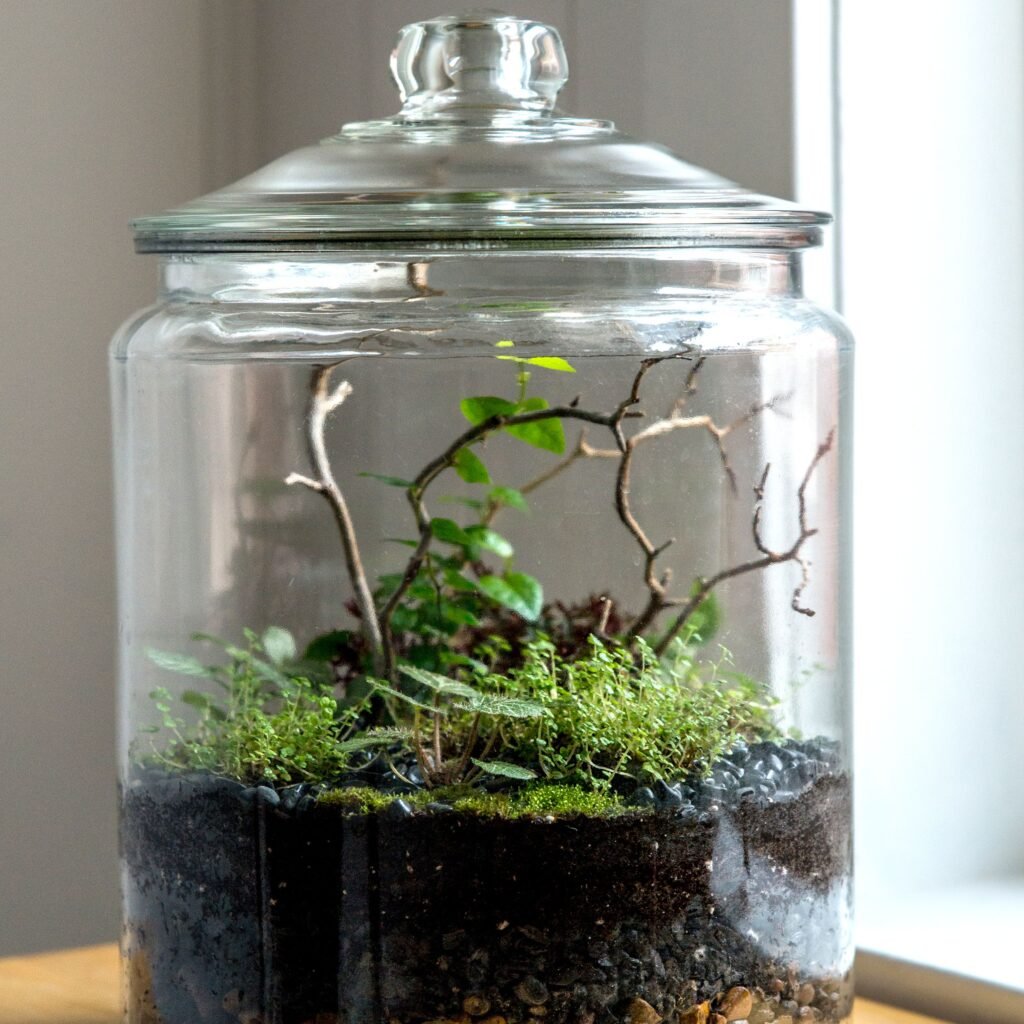
  • Terrariums: Ideal for moisture-loving miniatures or ferns.

Arrange plants by light and humidity needs while maintaining an artistic balance of heights, textures, and colors.


10. Building a Network and Trading with Other Collectors

Joining plant enthusiast groups or online communities helps you exchange cuttings, learn care tips, and discover new rare species. Popular platforms include:

  • Facebook plant swap groups
  • Reddit’s r/houseplants and r/rareplants
  • Instagram plant collectors’ pages
  • Local plant clubs or botanical society events

Networking not only helps you grow your collection affordably but also deepens your knowledge and passion for rare species.


11. Ethical Collecting: Protecting Nature’s Rarity

As interest in rare plants grows, ethical collecting becomes increasingly important. Avoid contributing to illegal plant poaching or overharvesting from natural habitats.

Ethical guidelines:

  • Buy from verified nurseries or licensed sellers.
  • Support conservation programs and cultivated sources.
  • Share cuttings instead of buying wild-sourced plants.

Responsible collecting ensures the survival of endangered plants and keeps your hobby environmentally sustainable.


Conclusion: Cultivating Beauty, Patience, and Purpose

Starting a collection of rare and unusual houseplants is both a journey and a joy. It teaches patience, discipline, and care — qualities that extend beyond gardening into everyday life. As your collection grows, so does your understanding of nature’s artistry and resilience.

From the soft velvet leaves of an Anthurium clarinervium to the pink tones of a Philodendron Pink Princess, every rare plant tells a story — one of survival, adaptation, and beauty.

Nurture them with consistency, respect their uniqueness, and your home will soon become a living gallery of rare botanical treasures — each leaf a symbol of growth, prosperity, and passion.

7 Indoor Plants That Bring Good Luck and Prosperity

7 Indoor Plants That Bring Good Luck and Prosperity

For centuries, plants have been symbols of life, renewal, and abundance. In many cultures, certain plants are believed to attract good luck, prosperity, and positive energy into homes. Beyond their beauty and air-purifying qualities, these plants are cherished for the sense of calm and fortune they bring to their surroundings.

Whether you follow Feng Shui, Vastu Shastra, or simply believe in the power of nature’s energy, decorating your home with the right indoor plants can help create a space filled with harmony, balance, and success. In this guide, we’ll explore seven indoor plants that are said to bring good luck and prosperity, along with care tips to keep them thriving.


1. Lucky Bamboo (Dracaena sanderiana)

Symbolism: Wealth, health, and happiness

Lucky Bamboo is perhaps the most well-known plant associated with good fortune. Despite its name, it’s not a true bamboo but a type of Dracaena. In Feng Shui, Lucky Bamboo is considered a symbol of resilience and prosperity. The number of stalks carries specific meanings:

  • 2 stalks: Love and harmony
  • 3 stalks: Happiness, wealth, and longevity
  • 5 stalks: Health
  • 8 stalks: Growth and abundance
  • 9 stalks: Great luck

Care Tips:

  • Light: Bright, indirect sunlight
  • Water: Keep roots submerged in clean, filtered water; change water every week.
  • Temperature: Prefers warmth (18–32°C). Avoid cold drafts.

Place your Lucky Bamboo in the southeast corner of your home, the Feng Shui “wealth area,” to attract financial prosperity.


2. Money Plant (Epipremnum aureum or Pothos)

Symbolism: Financial growth, luck, and positive energy

The Money Plant, also known as Golden Pothos or Devil’s Ivy, is a household favorite for its heart-shaped green leaves and easy-going nature. According to Feng Shui and Vastu, it attracts financial stability and prosperity when placed correctly in the home.

The Money Plant is believed to reduce negative energy, encourage peace, and promote good fortune in business and relationships.

Care Tips:

  • Light: Thrives in indirect light but tolerates low light.
  • Water: Water when the top inch of soil feels dry; don’t overwater.
  • Placement: South-east or north entrance areas are best for attracting wealth.

It’s also an excellent air purifier, removing toxins like formaldehyde and carbon monoxide from indoor air — another reason this lucky plant is a must-have.


3. Jade Plant (Crassula ovata)

Symbolism: Prosperity, friendship, and financial success

Known as the “Money Tree” or “Friendship Plant,” the Jade Plant is a classic symbol of growth and wealth. In Feng Shui, its thick, round leaves represent success, good fortune, and prosperity. Many people place Jade Plants near the entrance or in offices to invite financial abundance and new opportunities.

This succulent is easy to care for and long-lasting, making it a perfect choice for beginners and seasoned plant lovers alike.

Care Tips:

  • Light: Prefers bright, indirect light or direct morning sun.
  • Water: Water moderately; allow the soil to dry between watering.
  • Temperature: Best in moderate indoor temperatures (15–25°C).

Placement Tip: Keep a healthy Jade Plant near your home or office entrance to symbolize continuous growth and wealth flow.


4. Peace Lily (Spathiphyllum wallisii)

Symbolism: Harmony, peace, and spiritual well-being

The Peace Lily is famous for its elegant white blooms and lush green leaves. Beyond its visual charm, it’s known to attract positive energy and emotional balance. Feng Shui experts believe Peace Lily absorbs negative vibes and purifies stagnant energy in a room.

It’s also one of NASA’s top-rated air-purifying plants, removing toxins like benzene and ammonia, which makes it a perfect addition to homes or workplaces.

Care Tips:

  • Light: Prefers medium to low indirect light.
  • Water: Keep soil consistently moist but not soggy.
  • Humidity: Loves high humidity; mist occasionally.
  • Placement: Ideal for bedrooms and living areas to promote calm and peace.

When the Peace Lily blooms, it’s believed to bring new beginnings, inner balance, and a peaceful atmosphere — making it not only beautiful but also spiritually uplifting.


5. Rubber Plant (Ficus elastica)

Symbolism: Wealth, strength, and prosperity

With its broad, shiny leaves and bold presence, the Rubber Plant represents abundance, endurance, and financial stability. According to Feng Shui, its rounded leaves symbolize wealth and good fortune, while its strong upward growth promotes personal and professional progress.

Rubber Plants are also powerful air purifiers, making them beneficial both energetically and physically.

Care Tips:

  • Light: Bright, filtered light
  • Water: Allow top soil to dry before watering again
  • Temperature: Warm, stable environments between 18–28°C

Placement Tip: Place your Rubber Plant in the wealth or prosperity corner (southeast) of your living room or office for maximum luck and growth energy.


6. Snake Plant (Sansevieria trifasciata)

Symbolism: Protection, strength, and resilience

The Snake Plant, also known as Mother-in-Law’s Tongue, is one of the easiest houseplants to grow and maintain. While its sharp, upright leaves may look fierce, they are said to ward off negative energies and bring strong protective vibes to the home.

In Feng Shui, it’s a symbol of stability and perseverance, helping individuals overcome obstacles in life and business. The Snake Plant also releases oxygen at night, improving indoor air quality and sleep.

Care Tips:

  • Light: Tolerates low to bright light
  • Water: Water sparingly; allow soil to dry completely between watering
  • Placement: Ideal for entrances or corners to block bad energy and attract success

A healthy Snake Plant in your workspace or home is believed to create a shield of protection and enduring good luck.


7. Areca Palm (Dypsis lutescens)

Symbolism: Prosperity, positive energy, and vibrant health

The Areca Palm, also known as the Butterfly Palm, brings tropical elegance indoors while symbolizing wealth, vitality, and optimism. Its feathery fronds create a refreshing and lively atmosphere, which promotes good vibes, peace, and prosperity in the home.

In Vastu Shastra, Areca Palm is known to improve relationships and emotional balance by circulating positive energy throughout a space.

Care Tips:

  • Light: Bright, indirect light; avoid direct harsh sunlight
  • Water: Keep soil slightly moist, but not soggy
  • Humidity: Appreciates higher humidity levels
  • Placement: Living rooms or near entrances are ideal to welcome abundance

A well-cared-for Areca Palm not only enhances aesthetics but also symbolizes growth, harmony, and financial well-being.


Bonus Tip: Combine Plants for Balanced Energy

You don’t have to limit yourself to one plant. Combining lucky plants strategically can amplify their effects:

  • Lucky Bamboo + Money Plant: For overall wealth and harmony.
  • Peace Lily + Snake Plant: For purification and protection.
  • Jade Plant + Rubber Plant: For business growth and stability.

Keep your plants healthy and vibrant, as wilted or dying plants can reverse their positive effects according to Feng Shui principles.


How to Maintain the Energy of Your Lucky Plants

To keep the flow of good energy active, follow these essential maintenance practices:

  1. Clean leaves regularly: Dust can block a plant’s energy flow and photosynthesis.
  2. Trim dead leaves: Removes stagnation and invites fresh growth.
  3. Avoid overwatering: Too much water symbolizes blocked prosperity.
  4. Refresh placement occasionally: Moving plants helps energy circulate better.
  5. Express gratitude: Caring for your plants with intention strengthens their positive vibrations.

A little attention and appreciation can go a long way in keeping your good luck garden flourishing.


Conclusion: Invite Prosperity Naturally

Indoor plants do more than just beautify your home — they bring life, positivity, and a touch of spiritual abundance. From the graceful Lucky Bamboo to the strong Rubber Plant and the serene Peace Lily, each of these seven plants carries a unique energy that enhances your living space.

When cared for properly, they create a home environment filled with balance, protection, and prosperity — a daily reminder that good fortune thrives where nature is respected and nurtured.

So, start small. Add one or two of these plants to your home, tend to them with love, and watch as both your surroundings and your life bloom with vitality and good luck.

How to Build a Windowsill Herb Garden for Cooking

How to Build a Windowsill Herb Garden for Cooking

Fresh herbs are every cook’s secret weapon — they elevate dishes with fragrance, flavor, and color that dried herbs simply can’t match. Imagine reaching over your kitchen windowsill and plucking fresh basil, thyme, or cilantro to add to your meals. A windowsill herb garden makes this dream a reality — even if you live in a small apartment or have no outdoor space.

This guide will walk you through how to build, plant, and care for a thriving windowsill herb garden, step-by-step, so you can enjoy fresh, homegrown herbs all year long.


1. Why a Windowsill Herb Garden Is Perfect for Every Home

A windowsill herb garden is not just a decorative feature — it’s a practical and sustainable way to grow your own food. Here’s why it’s a great choice:

  • Convenience: Having fresh herbs within arm’s reach makes cooking faster and easier.
  • Low Maintenance: Most herbs require minimal care and adapt well to indoor conditions.
  • Space-Saving: Even a small sunny window can host several pots of thriving herbs.
  • Cost-Effective: A one-time setup saves you from buying expensive packets of herbs.
  • Eco-Friendly: Growing your own herbs reduces plastic packaging and food waste.

Whether you’re a beginner gardener or an experienced cook, your windowsill can become a miniature green oasis.


2. Choosing the Right Location

The key to success is light. Most culinary herbs love sunshine, so pick a windowsill that gets at least 5–6 hours of direct sunlight daily.

  • South-facing windows are ideal in most regions, offering bright, consistent light.
  • East or west-facing windows work too, but you may need supplemental lighting in winter.
  • North-facing windows receive limited light, so you’ll need a grow light to help your herbs thrive.

If drafts are an issue, seal gaps near the window to protect delicate herbs from sudden temperature changes.


3. Selecting Herbs for Your Kitchen Garden

Not all herbs grow equally well indoors. The best choices are compact, fast-growing herbs that adapt well to container life.

Best Herbs to Grow Indoors:

  1. Basil: Loves warmth and sunlight. Perfect for pasta, pizza, and salads.
  2. Mint: Hardy and aromatic. Great for teas, desserts, and chutneys.
  3. Thyme: Thrives with little care and enhances roasted dishes and soups.
  4. Parsley: Easy to grow and perfect for garnishing or sauces.
  5. Chives: Adds a mild onion flavor to soups, eggs, and dips.
  6. Cilantro (Coriander): Quick to grow and essential in many cuisines.
  7. Oregano: A Mediterranean favorite for pizzas and pasta sauces.
  8. Rosemary: Woody and fragrant, perfect for roasted meats and breads.

You can start with three to five herbs based on what you use most in cooking.


4. Picking the Right Containers

For a windowsill garden, you don’t need fancy pots — any container with good drainage will do. However, choosing the right container ensures your herbs stay healthy.

Container Options:

  • Terracotta pots: Classic look, good air circulation, but dry out faster.
  • Ceramic or glazed pots: Retain moisture longer but ensure there’s a drainage hole.
  • Recycled jars or tins: Great for a rustic look; add pebbles at the bottom for drainage.
  • Long planter boxes: Perfect if you want to grow multiple herbs side by side.

Tip: Avoid pots without drainage holes unless you create a layered system with pebbles or charcoal to prevent root rot.


5. Choosing the Right Soil Mix

Herbs need light, well-draining soil to prevent soggy roots. Regular garden soil is too heavy for containers.

Use a potting mix designed for indoor plants or make your own:

  • 2 parts potting soil
  • 1 part perlite or coarse sand (for drainage)
  • 1 part compost or coco peat (for nutrients and moisture retention)

You can also mix in a small amount of organic fertilizer like worm castings to boost growth naturally.


6. Planting Your Herbs

You can start your herb garden either from seeds or young transplants:

  • Seeds: Cost-effective and satisfying, though slower to grow.
  • Transplants: Easier and faster — available at local nurseries or garden centers.

Steps for Planting:

  1. Fill your container with moist potting mix, leaving about 1 inch from the rim.
  2. Sprinkle seeds evenly or plant transplants gently, covering roots with soil.
  3. Water lightly — the soil should be damp, not soaked.
  4. Label each pot to avoid mixing herbs as they grow.

Tip: If growing from seeds, place a clear plastic cover over the pot to create a mini greenhouse until sprouts appear.


7. Watering and Feeding Your Herbs

Indoor herbs need consistent moisture, but overwatering is a common mistake.

  • Check soil moisture by touching the surface; water only when the top inch feels dry.
  • Always pour off excess water collected in saucers.
  • Mist herbs occasionally to maintain humidity, especially in dry rooms.

Feed your herbs with a diluted liquid fertilizer (half strength) every 3–4 weeks. Organic fertilizers or compost tea work best for edible plants.


8. Pruning and Harvesting for Healthy Growth

Regular pruning encourages herbs to grow fuller and more productive.

  • Pinch off top leaves when the plant reaches 6–8 inches tall.
  • Avoid removing more than one-third of the plant at a time.
  • Harvest in the morning when essential oils are most concentrated.

Frequent harvesting not only gives you fresh herbs for cooking but also prevents plants from becoming leggy or flowering too soon.


9. Managing Light and Temperature

Indoor herbs thrive in warm temperatures (18–25°C or 65–77°F). Avoid placing them near cold drafts or heat sources.

If your window doesn’t get enough light, use LED grow lights placed about 6–8 inches above the plants for 12–14 hours daily. This mimics natural sunlight and keeps herbs lush through the darker months.


10. Common Problems and Solutions

Even healthy herbs can face challenges indoors. Here’s how to handle the most common issues:

ProblemCauseSolution
Yellow leavesOverwatering or poor drainageLet soil dry, ensure pots drain properly
Weak growthLack of lightMove to brighter window or add grow light
Pests (aphids, gnats)Poor airflow or humiditySpray with neem oil or insecticidal soap
Mold on soilOverwatering or poor ventilationAllow soil to dry; improve airflow

11. Creative Styling Ideas

Your windowsill herb garden can also enhance your kitchen décor. Try these ideas:

  • Matching pots: Use uniform white or clay pots for a neat, minimalist look.
  • Hanging jars: Attach small glass jars with hooks or a metal rod above the sill.
  • Chalkboard labels: Write herb names stylishly on pots or markers.
  • Vertical shelves: Stack herbs in tiers if space is tight.

With a little creativity, your indoor garden becomes both functional and visually appealing.


12. Year-Round Herb Care

Most herbs can thrive indoors year-round with proper care:

  • Rotate pots occasionally for even light exposure.
  • Re-pot annually to refresh soil and encourage new root growth.
  • Trim flowering buds to extend harvest life.
  • In winter, reduce watering and feeding frequency.

With the right attention, your windowsill herb garden can supply fresh, aromatic herbs 365 days a year.


Conclusion: A Small Garden, Big Flavor

Building a windowsill herb garden is one of the easiest and most rewarding ways to bring nature into your home. With a few containers, sunlight, and consistent care, you can enjoy fresh, organic herbs straight from your window whenever you cook.

From basil for your pasta to mint for your tea, every leaf you grow adds a burst of freshness to your meals — and a touch of green beauty to your kitchen. Start small, stay consistent, and soon your windowsill will become your favorite corner — fragrant, flavorful, and full of life.

How to Grow Microgreens Indoors for Fresh Nutrition

How to Grow Microgreens Indoors for Fresh Nutrition

In recent years, microgreens have taken the world of healthy eating and home gardening by storm—and for good reason. These tiny plants pack intense flavor, vibrant color, and up to 40 times more nutrients than their mature counterparts. Growing microgreens indoors is not only easy and space-efficient but also a fun, rewarding way to enjoy fresh, organic greens year-round.

Whether you live in a small apartment or a house with limited outdoor space, you can create your own mini farm of nutritious greens right on your windowsill or countertop. This guide will walk you through how to grow microgreens indoors, from choosing the best seeds and containers to harvesting your own nutrient-rich greens in just a few weeks.


1. What Are Microgreens?

Microgreens are young seedlings of vegetables, herbs, or grains harvested when they are about 1 to 3 inches tall—usually within 7 to 21 days after germination. They are not sprouts (which are grown in water without soil) but are more mature, with tiny leaves and stems full of flavor and nutrients.

Common Microgreens Include:

  • Broccoli
  • Radish
  • Kale
  • Arugula
  • Beet greens
  • Basil
  • Sunflower shoots
  • Pea shoots
  • Mustard greens
  • Cilantro

Each type offers a unique taste—ranging from spicy to sweet—and can enhance salads, sandwiches, smoothies, or even garnishes for gourmet dishes.


2. Why Grow Microgreens Indoors?

Growing microgreens indoors offers numerous advantages, especially for health-conscious individuals or urban gardeners:

  • Fast Growth: Harvest-ready in just 1–3 weeks.
  • Low Maintenance: Requires minimal water and care.
  • Space-Saving: Perfect for small apartments, kitchen counters, or window sills.
  • Nutrient-Dense: Contains high levels of vitamins A, C, E, and K, along with antioxidants and minerals.
  • Cost-Effective: A single packet of seeds can yield multiple trays of greens.
  • Year-Round Freshness: No need to depend on store-bought produce.

In short, it’s an easy, sustainable way to grow your own superfoods at home.


3. Best Microgreens to Start With

If you’re a beginner, it’s best to start with easy and fast-growing varieties that have consistent germination rates.

Easy MicrogreensDays to HarvestFlavor Profile
Radish7–10Peppery and spicy
Broccoli10–14Mild and earthy
Pea shoots10–14Sweet and tender
Sunflower10–12Nutty and crisp
Kale12–15Mildly bitter, rich
Mustard8–12Spicy and tangy

Once you’re comfortable, you can experiment with mixes like “spicy salad blend” or “rainbow mix” for variety.


4. What You’ll Need to Get Started

The beauty of microgreens is that they don’t require fancy tools or a garden. You only need a few basic materials:

Supplies Checklist:

  1. Seeds: Organic, untreated seeds specifically labeled for microgreens.
  2. Containers or Trays: Shallow trays (1–2 inches deep) with drainage holes. Recycled food containers work fine.
  3. Growing Medium: Options include potting mix, coco coir, peat moss, or hemp mats.
  4. Spray Bottle: For misting the seeds and soil.
  5. Light Source: Bright window or LED grow light.
  6. Plastic Lid or Cover: Helps retain moisture during germination.
  7. Scissors: For clean harvesting.

That’s all you need to start your indoor microgreen garden!


5. Step-by-Step Guide to Growing Microgreens Indoors

Step 1: Prepare the Container

Choose a shallow tray (about 1–2 inches deep).

  • If it doesn’t have holes, poke a few small drainage holes at the bottom.
  • Place it on a waterproof tray to catch any excess water.

Step 2: Add Growing Medium

Fill the container with your chosen medium—about 1 inch deep—and level it out.
Lightly press down to create a flat surface but don’t compact it too much, as roots need airflow.

Step 3: Moisten the Soil

Use a spray bottle to mist the soil until it’s evenly moist but not soggy. This creates the perfect environment for seed germination.

Step 4: Sow the Seeds

Evenly sprinkle the seeds across the surface—almost like seasoning food. You can sow them densely since they’ll be harvested young.
Gently press them into the soil with your palm or the back of a spoon but don’t bury them deeply.

Step 5: Cover for Germination

Cover the tray with a plastic lid or another tray to maintain humidity and darkness.
Keep it in a warm place (around 70°F / 21°C).

  • Germination Time: 2–4 days depending on the variety.
  • Once most seeds have sprouted, remove the cover and expose them to light.

Step 6: Provide Light and Air

Move the tray to a bright windowsill or under a grow light.
Microgreens need about 12–16 hours of light daily for strong growth.
Rotate the tray every few days for even light exposure.

Step 7: Water Gently

Use a spray bottle to mist the plants once or twice a day.
Avoid overwatering—too much moisture can lead to mold.
Alternatively, you can bottom-water by adding water to the tray underneath so the soil absorbs it without wetting the leaves.

Step 8: Watch Them Grow

In 7–14 days, you’ll see your microgreens flourish with vibrant color and tender stems.
Once they develop their first true leaves, they’re ready to harvest!


6. How to Harvest Microgreens

Harvesting is the most exciting part—it’s when your indoor garden turns into food!

  1. Use clean, sharp scissors or a knife.
  2. Cut the microgreens just above the soil line.
  3. Rinse gently with cool water and dry with paper towels or a salad spinner.
  4. Store in an airtight container in the refrigerator for up to a week.

Tip: Harvest in the morning for the freshest flavor and highest nutrient content.


7. Nutrition and Health Benefits

Microgreens are a true nutritional powerhouse. According to research by the USDA, many varieties contain 4 to 40 times more vitamins and antioxidants than mature plants.

Key Nutrients Found in Microgreens:

  • Vitamin C: Boosts immunity and collagen production.
  • Vitamin K: Supports bone health.
  • Vitamin E: Powerful antioxidant that protects cells.
  • Beta-Carotene: Enhances vision and skin health.
  • Iron and Magnesium: Improve energy levels.
  • Polyphenols: Help reduce inflammation.

They’re an excellent addition to smoothies, soups, sandwiches, or as garnishes that add both flavor and nutrition.


8. Common Problems and Solutions

Even though microgreens are simple to grow, a few issues can occur if conditions aren’t right.

ProblemCauseSolution
Mold growthToo much moisture, poor air circulationWater less; increase airflow or add a small fan.
Uneven growthUneven seeding or lightingDistribute seeds evenly; rotate tray under light.
Yellow seedlingsLack of lightMove to a brighter spot or use grow lights.
Weak stemsOvercrowding or insufficient lightThin out seeds; provide 12+ hours of light.

With slight adjustments, your next batch will grow perfectly.


9. Reusing and Sustainability Tips

One of the best things about growing microgreens is that it’s eco-friendly and sustainable.

  • Reuse containers: Wash and disinfect between uses.
  • Compost old soil: Spent soil makes great compost or can be added to garden beds.
  • Rotate seed types: Helps maintain nutrient balance and adds variety to your diet.
  • Use organic seeds: Avoid those treated with chemicals or fungicides.

You can even experiment with hydroponic mats like hemp or coconut fiber for a soil-free setup.


10. Creating a Continuous Harvest

To ensure a steady supply of microgreens, start new trays every 7–10 days.
This overlapping cycle keeps you stocked with fresh greens throughout the year.

Example rotation:

  • Week 1: Start radish and broccoli seeds.
  • Week 2: Start sunflower and pea shoots.
  • Week 3: Start kale and mustard greens.

By the time your first tray is harvested, your second will be halfway grown—creating a sustainable system of endless fresh nutrition.


11. Light and Temperature Requirements

Microgreens grow best in:

  • Temperature: 18–24°C (65–75°F)
  • Light: Bright, indirect sunlight or artificial grow lights (LED full-spectrum).
  • Humidity: Moderate (40–60%)

Avoid placing them near AC vents or direct sun that could dry them out quickly. A consistent environment ensures uniform growth and nutrient density.


12. Why Homegrown Microgreens Beat Store-Bought

Homegrown microgreens are:

  • Fresher: You harvest minutes before eating.
  • Safer: No pesticides or chemicals.
  • Cheaper: A handful of seeds yields multiple trays.
  • Customizable: Mix your favorite flavors and colors.

Plus, growing them yourself is deeply satisfying—it reconnects you with your food and promotes healthy, mindful eating.


Conclusion

Learning how to grow microgreens indoors is one of the simplest and most rewarding gardening experiences. In just a few weeks, you can turn a handful of seeds into a bowl of nutrient-rich, flavorful greens that boost your meals and your health.

All you need is a small tray, a bit of light, and a few minutes each day. Whether you’re growing broccoli microgreens for their detoxifying power, radish for its spicy kick, or sunflower shoots for their nutty crunch, you’ll enjoy a continuous supply of fresh, organic nutrition at your fingertips.

So, start your indoor microgreen garden today—you’ll not only transform your meals but also cultivate a greener, healthier lifestyle right in your home.

How to Make a Terrarium That Lasts for Years

How to Make a Terrarium That Lasts for Years

A terrarium is more than just a decorative piece—it’s a miniature living world that brings nature into your home. Imagine a lush, self-sustaining ecosystem thriving inside glass, needing little maintenance yet adding endless charm to your space. Creating a terrarium that lasts for years isn’t just about placing plants in a container—it’s about designing balance between soil, water, plants, and light.

This article will guide you through every step of building a long-lasting terrarium, from choosing the right materials and plants to ensuring its health and longevity.


1. What is a Terrarium?

A terrarium is a small, enclosed or partially enclosed garden—usually made in a glass container—that houses plants and sometimes decorative elements like stones, moss, or miniature figurines.

There are two main types:

  • Closed Terrariums: Sealed containers that recycle moisture, ideal for tropical or humidity-loving plants like ferns and mosses.
  • Open Terrariums: Containers with wide openings that allow airflow, suitable for cacti, succulents, and air plants.

Both types can last for years when built and maintained properly. Some closed terrariums have even survived for decades—creating their own mini-ecosystems.


2. Why Build a Long-Lasting Terrarium?

A long-living terrarium offers both aesthetic and practical benefits:

  • Low Maintenance: Once balanced, it needs minimal watering or pruning.
  • Eco-Friendly Décor: Made with recycled glass containers and living plants.
  • Educational: Demonstrates natural cycles like condensation and photosynthesis.
  • Therapeutic: Watching your terrarium thrive reduces stress and boosts mood.
  • Longevity: A well-constructed terrarium can last 5 to 10 years or more with care.

Creating one that lasts means focusing on balance—right materials, correct layering, suitable plants, and controlled conditions.


3. Materials You’ll Need

To make a terrarium that lasts, start with quality materials that promote drainage, prevent mold, and sustain healthy growth.

Essential Materials:

  • Glass container: Choose a jar, bowl, or aquarium (clear and clean).
  • Pebbles or gravel: For drainage and root aeration.
  • Activated charcoal: Prevents odor, mold, and bacterial buildup.
  • Moss (optional): Acts as a barrier to keep soil from mixing into gravel.
  • Potting soil: Choose based on your plant type (succulent mix for cacti, rich organic mix for ferns).
  • Plants: Slow-growing species suited for terrarium life.
  • Decorations: Stones, figurines, or shells (optional).
  • Spray bottle: For misting and watering.

Tip: Use sterile, chemical-free materials to prevent unwanted mold or pests from forming inside.


4. Choosing the Right Container

Your container plays a key role in determining the microclimate of your terrarium.

Closed Terrarium (for humidity-loving plants):

  • Examples: Glass jars with lids, large bottles, or bell jars.
  • Ideal for: Ferns, moss, ivy, fittonia, and small tropical plants.
  • Advantage: Self-watering and visually captivating.

Open Terrarium (for dry plants):

  • Examples: Bowls, fish tanks, or geometric glass planters.
  • Ideal for: Succulents, air plants, and cacti.
  • Advantage: Prevents mold and rot due to airflow.

Pro tip: Avoid containers that are too small—plants need breathing room for roots and air circulation.


5. Selecting the Right Plants

The secret to a long-lasting terrarium lies in choosing slow-growing, hardy plants that thrive in low to moderate light.

For Closed Terrariums:

  • Ferns (Asparagus, Maidenhair, Button fern)
  • Moss (Sheet or Cushion moss)
  • Fittonia (Nerve Plant)
  • Pilea
  • Peperomia
  • Miniature ivy

For Open Terrariums:

  • Echeveria
  • Haworthia
  • Sedum
  • Aloe (small varieties)
  • Air Plants (Tillandsia)

Avoid plants that grow too quickly or require frequent pruning, as they will disrupt the balance over time.


6. Step-by-Step: How to Build a Long-Lasting Terrarium

Step 1: Clean the Container

Wash the container thoroughly with warm, soapy water and dry completely. Any residue can lead to mold or bacterial growth later.

Step 2: Create the Drainage Layer

Add a 1–2 inch layer of pebbles or small gravel at the bottom. This prevents roots from sitting in stagnant water, reducing the risk of rot.

Step 3: Add Activated Charcoal

Sprinkle a thin layer (about half an inch) of activated charcoal over the gravel. It absorbs odors and toxins, keeping the environment clean.

Step 4: Insert Moss (Optional but Recommended)

Place a thin layer of sheet moss over the charcoal. It acts as a barrier that stops soil from filtering down into the gravel, preserving your terrarium’s layers.

Step 5: Add Potting Soil

Add enough soil for your plants to take root—typically 2–3 inches deep.

  • For ferns and tropicals: Use rich, well-draining potting mix.
  • For succulents: Use cactus mix or blend potting soil with sand and perlite.

Step 6: Plant Carefully

Create small holes in the soil and insert each plant gently. Arrange taller plants in the back and smaller ones toward the front for visual balance. Compact the soil lightly to secure roots.

Step 7: Add Decorative Touches

Enhance beauty with mini stones, driftwood, moss patches, or figurines. Avoid overcrowding; leave space for plant growth and airflow.

Step 8: Water Sparingly

Use a spray bottle to lightly mist the plants. Do not soak the soil—especially for closed terrariums, where water recycles naturally.

Step 9: Seal or Leave Open

  • Close the lid for a humid, self-sustaining environment.
  • Leave open for air-loving species like succulents.

After setup, place the terrarium in indirect light and allow it to settle for a week.


7. Light and Placement

Light is essential, but direct sunlight can cause heat buildup and condensation, harming the plants.

Lighting Tips:

  • Indirect or filtered light is best for most terrariums.
  • Place near a north- or east-facing window.
  • For low-light areas, use LED grow lights for a few hours daily.
  • Avoid hot window sills or areas with strong afternoon sunlight—it can “cook” your terrarium.

Stable light ensures even plant growth and prevents moss or roots from drying out.


8. Watering and Humidity Control

Terrariums create their own water cycle—moisture evaporates, condenses on glass, and drips back down.
However, overwatering is the most common reason terrariums fail.

Closed Terrariums:

  • Water sparingly, just once every 4–6 weeks.
  • If condensation forms heavily, open the lid for a few hours to let excess moisture escape.
  • If soil looks dry and condensation disappears, mist lightly.

Open Terrariums:

  • Water more often, about once a week for succulents or when soil feels dry.
  • Avoid water pooling at the bottom.

Tip: Always use a spray bottle or dropper for better control.


9. Long-Term Maintenance

To ensure your terrarium lasts for years, consistent but minimal care is key.

  • Prune regularly: Trim dead leaves and overgrown stems.
  • Clean the glass: Wipe off condensation or algae buildup with a soft cloth.
  • Rotate periodically: Turn the terrarium occasionally to ensure even light exposure.
  • Replace or refresh soil every few years to renew nutrients.
  • Watch for pests: If you notice fungus gnats or mold, open the lid and let it dry for a few days.

10. Common Problems and How to Fix Them

ProblemCauseSolution
Mold growthToo much humidity, poor air circulationOpen lid occasionally, add more charcoal.
Yellow leavesOverwatering or lack of lightReduce watering, move to brighter spot.
Wilting plantsRoot rot or underwateringAdjust watering, check soil layers.
Foggy glassExcess condensationRemove lid temporarily to balance humidity.
Algae buildupExcess light and moistureClean glass gently, reduce watering.

Maintaining balance is the secret—observe your terrarium regularly, but avoid frequent interference.


11. How to Help Your Terrarium Thrive for Years

A terrarium that lasts for years mimics nature’s balance. Here are some expert tips:

  1. Choose slow-growing plants that won’t outgrow their space.
  2. Avoid fertilizers—they encourage rapid growth that can crowd the container.
  3. Maintain airflow by opening closed terrariums occasionally.
  4. Monitor condensation—it’s a sign of proper humidity but should not be excessive.
  5. Add moss—it helps stabilize humidity and keeps the terrarium visually lush.
  6. Refresh periodically—remove dying plants or replace topsoil if needed.

With this steady balance, your terrarium can truly become a miniature world that thrives for many years.


12. Decorating Ideas for Long-Lasting Beauty

  • Layered landscapes: Create mountain or valley-like effects using soil mounds.
  • Mini ecosystems: Mix moss, stones, and ferns for a forest floor look.
  • Fantasy terrariums: Add tiny houses, fairies, or pathways for charm.
  • Zen terrariums: Use sand, pebbles, and air plants for a minimalist look.

Designing your terrarium as a visual story ensures it stays interesting even as plants mature.


Conclusion

Making a terrarium that lasts for years is about crafting balance and harmony between all its elements—light, moisture, soil, and plant life. With the right setup and minimal care, your terrarium will become a living piece of art that keeps evolving and thriving with time.

Whether you choose a lush, humid jungle in a jar or a sunny, open desert landscape, your terrarium can remind you of nature’s resilience and beauty—right on your tabletop.

So gather your glass jars, a few pebbles, and some green friends, and start creating your own long-lasting miniature ecosystem—a timeless reminder that even the smallest worlds can flourish beautifully when balanced with care.

How to Grow Indoor Plants in Mason Jars and Glass Containers

How to Grow Indoor Plants in Mason Jars and Glass Containers

Growing indoor plants in mason jars and glass containers has become one of the most stylish and sustainable trends in home gardening. Whether you live in a small apartment or just want to add a touch of greenery to your windowsill, this creative method allows you to bring life indoors without the need for bulky pots or garden beds. Mason jars and glass containers not only save space but also let you admire the roots and soil layers, turning your plants into living art pieces.

In this article, we’ll explore how to successfully grow indoor plants in glass jars, from choosing the right plants and containers to ensuring they thrive with proper care and creativity.


1. Why Choose Mason Jars and Glass Containers for Indoor Plants?

Mason jars and glass containers are perfect for modern plant enthusiasts because they combine function, beauty, and sustainability. Here’s why they make excellent plant homes:

  • Aesthetic Appeal: Glass jars add a sleek, minimalist look to any room. You can easily match them with rustic, vintage, or modern interiors.
  • Recycling Advantage: Repurposing old jars reduces waste and gives household items a new life.
  • Root Visibility: Watching roots grow through clear glass helps monitor plant health and moisture levels.
  • Compact Size: Ideal for small spaces like kitchen counters, office desks, and window ledges.
  • Creative Flexibility: They can be used for terrariums, herb gardens, succulents, or decorative arrangements with stones and moss.

However, while these containers are beautiful, they lack drainage holes, so proper setup and care are crucial for healthy plants.


2. Choosing the Right Plants for Mason Jars

Not all plants thrive in glass containers. You’ll want species that don’t need deep roots, can handle moderate moisture, and grow slowly. Here are some excellent options:

A. Herbs

Perfect for kitchens and bright windowsills.

  • Mint: Grows quickly and adds a refreshing aroma.
  • Basil: Needs good sunlight; great for culinary use.
  • Thyme: Compact and drought-tolerant.
  • Parsley: Grows well in moderate light.

B. Succulents and Cacti

If you prefer low-maintenance plants.

  • Echeveria
  • Haworthia
  • Aloe Vera (small varieties)
    These plants need less water, making them ideal for glass containers with limited drainage.

C. Air Plants (Tillandsia)

Require no soil at all—just moisture and air circulation. Perfect for decorative glass orbs or open jars.

D. Small Houseplants

For a more lush, green effect:

  • Pothos (Epipremnum aureum) – Grows easily and can root in water.
  • Spider Plant (Chlorophytum comosum) – Excellent for jars and very adaptable.
  • Lucky Bamboo (Dracaena sanderiana) – Thrives in water-filled containers.
  • Fittonia (Nerve Plant) – Beautiful foliage for humid glass containers.

3. Preparing the Mason Jars or Glass Containers

Before planting, proper preparation ensures your plants have the right environment to grow healthy roots and avoid rot.

Step 1: Clean and Sterilize

Wash jars thoroughly with soap and warm water. Any leftover residues can cause mold or bacterial growth.

Step 2: Create a Drainage Layer

Since jars don’t have holes, you’ll need to mimic natural drainage:

  • Add a 1-2 inch layer of small pebbles or gravel at the bottom.
  • For better water control, add a thin layer of activated charcoal on top of the gravel to prevent odors and mold.

Step 3: Add Potting Mix

Choose soil according to the type of plant:

  • Succulents and cacti: Fast-draining cactus mix.
  • Herbs and leafy plants: Organic potting mix with perlite or sand.
  • Air plants: No soil needed—just decorative sand, moss, or stones for support.

Step 4: Plant Carefully

Gently loosen roots and place the plant in the jar. Fill in soil around it without pressing too tightly—roots need air circulation.

Step 5: Decorate (Optional)

Add decorative stones, moss, or colored sand on top for a finished look. It adds charm and helps retain moisture.


4. Growing Plants in Water (Hydroponic Style)

Some plants grow wonderfully in just water, making mason jars a perfect container. This is known as semi-hydroponic growing.

Best Plants for Water Growth:

  • Pothos
  • Lucky Bamboo
  • Philodendron
  • Coleus
  • Sweet Potato Vine

How to Grow:

  1. Fill the jar halfway with filtered or distilled water (avoid tap water if it’s high in chlorine).
  2. Add a few drops of liquid fertilizer monthly for nutrients.
  3. Place the plant cutting so the roots are submerged but leaves remain above the waterline.
  4. Change the water every 1–2 weeks to keep it clean and oxygenated.

This method is low-maintenance and keeps your space mess-free—perfect for desktops and small apartments.


5. Light and Temperature Needs

Glass containers can heat up quickly under direct sunlight, so understanding your plant’s light tolerance is key.

Light Guidelines:

  • Herbs and succulents: Need bright, indirect light near a south or west-facing window.
  • Pothos, spider plants, and nerve plants: Prefer medium to low light conditions.
  • Air plants: Like bright, filtered light but no direct sun.

If natural light is limited, use LED grow lights to simulate sunlight and encourage healthy growth.

Temperature:

Most indoor plants prefer temperatures between 18°C and 26°C (65°F–80°F). Avoid placing jars near heating vents, AC units, or cold drafts.


6. Watering and Maintenance Tips

Since jars don’t drain excess water, overwatering is the most common mistake. To keep plants healthy:

  • Check Moisture Before Watering: Stick your finger 1 inch into the soil. If it’s still damp, wait before watering.
  • Use a Spray Bottle: For small jars, mist the soil to avoid flooding.
  • Remove Standing Water: Empty any excess that collects at the bottom.
  • Clean the Glass Regularly: Wipe away water stains and algae buildup to keep it looking fresh.
  • Trim Roots and Foliage: Keeps plants compact and prevents root rot.

For succulents, water only when soil is completely dry. For herbs, water more frequently but ensure the top layer dries between watering sessions.


7. Fertilizing Your Jar Plants

Plants in small containers need occasional nutrients since the soil volume is limited.

  • Use diluted liquid fertilizer (¼ strength) every 4–6 weeks.
  • Avoid over-fertilizing; salts can build up in glass containers.
  • For hydroponic setups, use water-soluble fertilizer drops monthly.

Organic options like compost tea or seaweed extract work wonderfully for herbs and leafy greens.


8. Creative Display Ideas

Part of the joy of growing plants in glass jars is the freedom to design them beautifully. Here are a few ideas:

  • Hanging Jars: Use macramé holders or wire hangers for vertical gardens.
  • Window Herb Garden: Line up different herbs in jars on your kitchen windowsill.
  • Terrarium Layers: Create small ecosystems with pebbles, soil, moss, and tiny ferns.
  • Colored Sand or Pebble Layers: Add visual appeal to transparent containers.
  • Label Your Jars: Use chalk labels or tags to identify plant types or dates planted.

These setups don’t just green your space—they double as elegant, handmade décor.


9. Common Problems and Solutions

ProblemCauseSolution
Yellow leavesOverwatering or poor drainageReduce watering; add more pebbles or charcoal.
Mold on soilHigh humidity or lack of airflowImprove ventilation; scrape off top layer and replace soil.
Algae in glassToo much light and moistureMove jar to lower light; clean glass regularly.
Slow growthNutrient deficiencyUse diluted fertilizer monthly.
WiltingRoot rot or underwateringCheck roots; adjust watering frequency.

10. Benefits of Growing Plants in Glass Containers

Aside from being beautiful, this gardening method offers several benefits:

  • Improves Air Quality: Even small plants help purify indoor air.
  • Saves Space: Perfect for apartments, dorms, or offices.
  • Encourages Mindfulness: Watching roots grow and caring for plants can be relaxing.
  • Eco-Friendly: Encourages recycling and reduces waste.
  • Customizable Decor: You can match jars with any interior style—rustic, modern, or bohemian.

Conclusion

Growing indoor plants in mason jars and glass containers blends creativity, sustainability, and simplicity. With the right plant choices, careful watering, and a touch of imagination, you can transform simple glass vessels into thriving mini-gardens.

Whether you’re nurturing aromatic herbs in your kitchen, displaying cascading vines on your windowsill, or crafting artistic terrariums, this approach lets you bring nature closer while adding personality to your home.

So, grab those unused jars, pick your favorite green companions, and start your mason jar garden journey today—because even the smallest glass container can hold a world of beauty and life.

The Best Scented Houseplants for Fresh Indoor Air

The Best Scented Houseplants for Fresh Indoor Air

Imagine walking into your home and being greeted by a refreshing wave of natural fragrance — not from synthetic air fresheners or candles, but from living plants that purify the air and fill your rooms with their delightful aroma. Scented houseplants do exactly that. They not only uplift your mood with their fragrance but also improve indoor air quality by filtering out toxins and releasing oxygen.

Whether you’re looking to create a calming, spa-like atmosphere or simply want your home to smell as good as it looks, growing scented houseplants is one of the best ways to bring freshness indoors. In this article, we’ll explore the best fragrant indoor plants, their unique benefits, and practical care tips to help you enjoy a healthy, naturally aromatic home.


1. Why Choose Scented Houseplants?

Scented houseplants do much more than just smell nice. They play multiple roles in improving both your physical environment and mental well-being.

Benefits of Scented Indoor Plants:

  • Natural Air Fresheners: They release pleasant fragrances continuously, unlike artificial sprays that fade quickly.
  • Air Purification: Many aromatic plants remove toxins such as formaldehyde, benzene, and xylene from indoor air.
  • Stress Relief: Studies show that natural plant scents, such as lavender or jasmine, can reduce anxiety and promote better sleep.
  • Decorative Appeal: These plants enhance home décor with their lush greenery and beautiful blooms.
  • Better Focus and Relaxation: Certain fragrances like rosemary and mint help boost concentration and reduce mental fatigue.

By adding scented plants to your home, you create an environment that’s visually soothing, mentally calming, and physically healthier.


2. The Best Scented Houseplants for a Fresh Home

Here are some of the top scented houseplants you can grow indoors — each with its own charm, fragrance, and care requirements.


1. Jasmine (Jasminum sambac or Jasminum polyanthum)

Fragrance: Sweet, floral, and exotic.
Best for: Bedrooms and living rooms.
Light: Bright, indirect sunlight.
Water: Keep soil evenly moist.

Jasmine is one of the most beloved fragrant plants in the world. Indoors, Arabian Jasmine (Jasminum sambac) or Pink Jasmine (Jasminum polyanthum) are excellent choices. Their small white flowers release a luxurious perfume, especially in the evening.

Jasmine thrives in bright light and high humidity — perfect near sunny windows. The scent is calming and is known to help reduce stress and improve sleep quality.


2. Gardenia (Gardenia jasminoides)

Fragrance: Rich, creamy, and intoxicating.
Best for: Bedrooms or reading corners.
Light: Bright, indirect light.
Water: Keep soil moist but not soggy.

Gardenias are famous for their glossy green leaves and white blooms that fill the air with a luxurious perfume. Though slightly fussy to grow, their beauty and scent are worth the effort. Keep the plant in humid conditions and feed it regularly with acidic fertilizer.

Gardenia’s fragrance evokes peace and nostalgia — ideal for relaxation zones or bedrooms.


3. Lavender (Lavandula angustifolia)

Fragrance: Herbal, sweet, and calming.
Best for: Bedrooms, bathrooms, or workspaces.
Light: At least 6 hours of direct sunlight.
Water: Allow soil to dry between watering.

Lavender is a timeless favorite for its soothing scent. It helps promote better sleep, reduce anxiety, and even repel insects. English Lavender (Lavandula angustifolia) grows well indoors with sufficient light.

Place it on a sunny windowsill and prune regularly to encourage bushy growth. Its subtle purple blooms will brighten up your home while keeping the air fresh and clean.


4. Eucalyptus (Eucalyptus gunnii or Eucalyptus cinerea)

Fragrance: Fresh, minty, and invigorating.
Best for: Bathrooms or home offices.
Light: Bright light with good airflow.
Water: Moderate watering; avoid waterlogging.

Eucalyptus releases a refreshing, medicinal aroma known for clearing sinuses and improving focus. The silvery-green foliage adds a modern, minimalist look to interiors.

Though it can grow tall outdoors, small potted eucalyptus plants can thrive indoors when pruned regularly. The scent is excellent for cold relief and keeping your air feeling crisp.


5. Mint (Mentha species)

Fragrance: Cool, sharp, and energizing.
Best for: Kitchens and balconies.
Light: Bright light with partial shade.
Water: Keep soil consistently moist.

Mint isn’t just for tea — it’s also one of the most refreshing houseplants to grow indoors. Its crisp, cool aroma instantly brightens up your kitchen or dining area.

Growing mint indoors is simple — it thrives in moist soil and indirect light. Trim it regularly to keep it from spreading too much. Plus, you’ll have fresh leaves for cooking and drinks!


6. Lemon Balm (Melissa officinalis)

Fragrance: Sweet lemon with a hint of mint.
Best for: Living rooms or sunny kitchens.
Light: Bright, indirect sunlight.
Water: Moderate; don’t let soil dry completely.

Lemon balm is both aromatic and edible, known for its uplifting citrus scent and calming properties. Its leaves can be used for herbal teas or homemade infusions.

This easy-to-grow herb not only smells wonderful but also helps improve air freshness and mood naturally.


7. Hoya (Hoya carnosa or Wax Plant)

Fragrance: Honey-like, floral, and slightly spicy.
Best for: Bedrooms or hallways.
Light: Bright, indirect light.
Water: Water when top soil dries.

Hoyas, often called Wax Plants, produce clusters of star-shaped flowers that smell strongest in the evening. The scent is a mix of honey and vanilla with a tropical touch.

They’re low-maintenance and ideal for hanging baskets or shelves, adding both fragrance and visual elegance to your home.


8. Citrus Plants (Lemon, Lime, or Calamondin Orange)

Fragrance: Fresh, zesty, and energizing.
Best for: Sunny living rooms or patios.
Light: 6–8 hours of direct sunlight.
Water: Regularly, allowing soil to dry slightly between waterings.

Miniature citrus plants, such as Calamondin Orange or Dwarf Lemon, are excellent indoor options. The glossy leaves and small, fragrant blossoms fill your home with a tangy, invigorating scent.

Beyond fragrance, these plants occasionally bear small fruits, adding a decorative and edible bonus to your indoor garden.


9. Rosemary (Rosmarinus officinalis)

Fragrance: Earthy, pine-like, and uplifting.
Best for: Kitchens and study areas.
Light: Full sun (at least 6 hours).
Water: Let soil dry slightly between watering.

Rosemary is both aromatic and practical. Its crisp, woody scent improves alertness and memory, making it perfect for study areas or kitchens.

It prefers a bright, warm location and well-draining soil. Occasional pruning helps it stay compact and bushy — and you can use the trimmings for cooking!


10. Scented Geranium (Pelargonium graveolens)

Fragrance: Varieties smell like rose, lemon, or mint.
Best for: Sunny living rooms or patios.
Light: Full sunlight or bright indirect light.
Water: Moderate watering; avoid soggy soil.

Scented geraniums are charming and versatile, available in many varieties — each with its unique aroma. Their fragrant leaves release scent when brushed, filling your home with freshness.

They’re also easy to propagate, making them ideal for expanding your indoor plant collection.


3. How to Care for Scented Houseplants

To keep your aromatic plants thriving and fragrant, follow these simple care guidelines:

Provide Adequate Light

Most scented plants need bright, indirect light to produce oils responsible for their aroma. Place them near sunny windows or under grow lights if natural light is limited.

Water Wisely

Overwatering is a common mistake. Always check the soil’s top layer before watering. Herbs like mint and lemon balm love moist soil, while lavender and rosemary prefer drier conditions.

Maintain Good Airflow

Proper ventilation prevents fungal growth and keeps scents circulating. Open windows or use small fans to mimic natural airflow.

Control Temperature and Humidity

Keep your home between 60–75°F (15–24°C). Avoid placing plants near air vents, heaters, or cold drafts.

Prune Regularly

Trimming promotes new growth and keeps your plants bushy. For herbs, pruning also helps release more fragrance.

Use Well-Draining Soil

Most fragrant plants dislike standing water. Use a light potting mix with perlite or sand for good drainage.


4. Creating a Fragrant Indoor Oasis

You can combine several of these plants to create a layered, aromatic indoor garden. For example:

  • Place lavender and rosemary in sunny spots.
  • Keep jasmine or hoya near windows.
  • Add mint or lemon balm in the kitchen for instant freshness.
  • Place gardenia or citrus plants in the living room for elegance and scent.

Mixing different fragrances creates a balanced, dynamic aroma that evolves throughout the day — floral in the morning, citrusy at noon, and soothing at night.


5. The Emotional Power of Plant Scents

Scents have a profound impact on emotions and memory. The fragrance from houseplants like lavender, jasmine, and rosemary can:

  • Reduce anxiety and promote calmness.
  • Enhance focus and creativity.
  • Trigger positive memories and feelings of comfort.

By incorporating these plants into your home, you’re not only decorating your space but also improving your overall well-being.


Conclusion

The best scented houseplants do more than make your home smell good — they create a healthier, more peaceful, and joyful environment. From the soothing aroma of lavender to the refreshing scent of citrus blossoms, each plant brings its own touch of nature’s magic indoors.

With just a few pots and some care, you can transform your living space into a natural perfume garden that purifies your air and uplifts your spirit every day.

So skip the artificial sprays — let your home bloom with the pure fragrance of living, breathing plants.