How to Create the Perfect Potting Mix for Houseplants

How to Create the Perfect Potting Mix for Houseplants

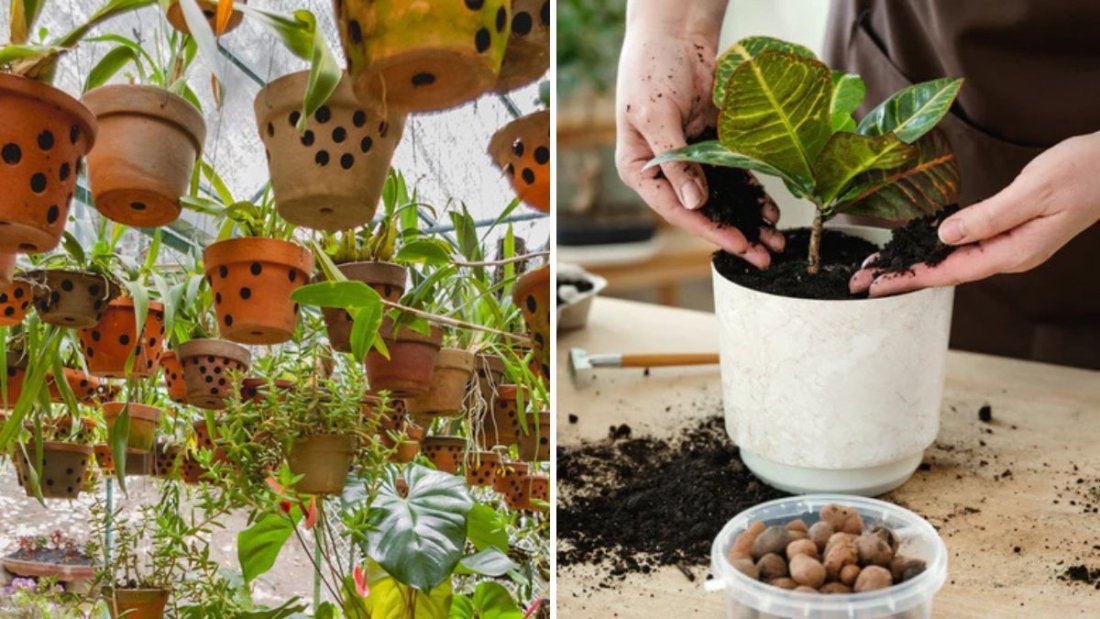
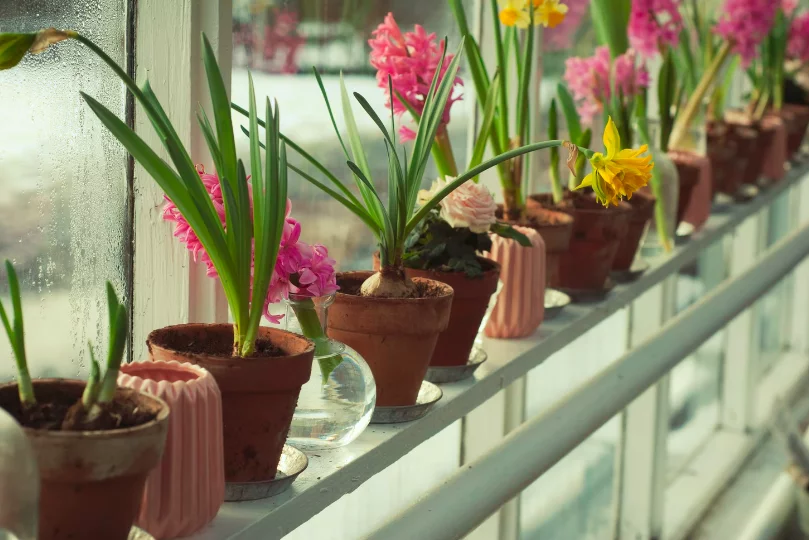
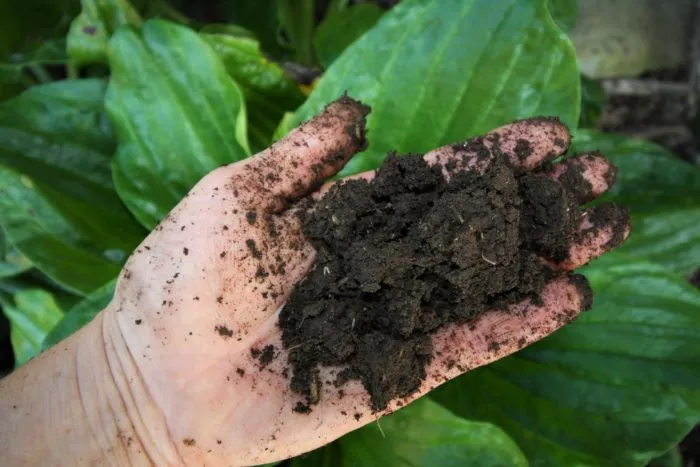
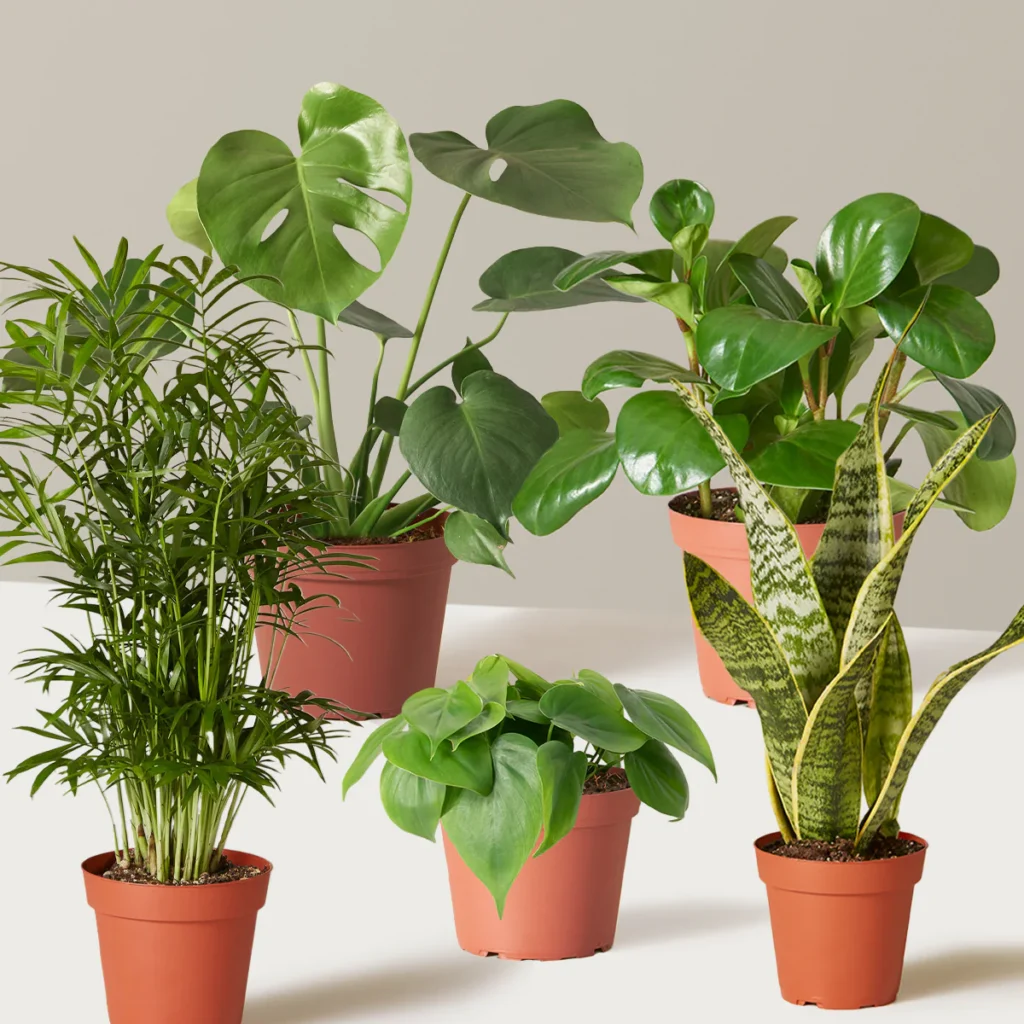
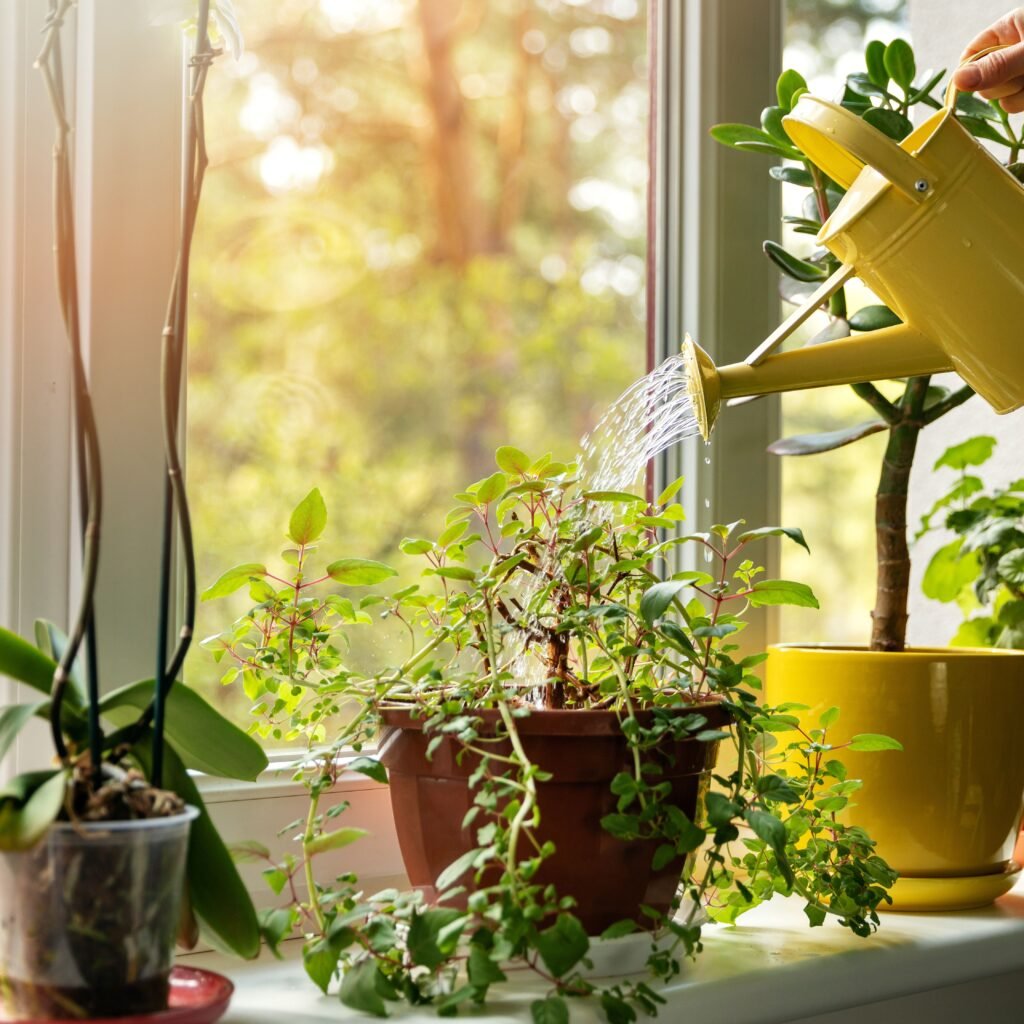
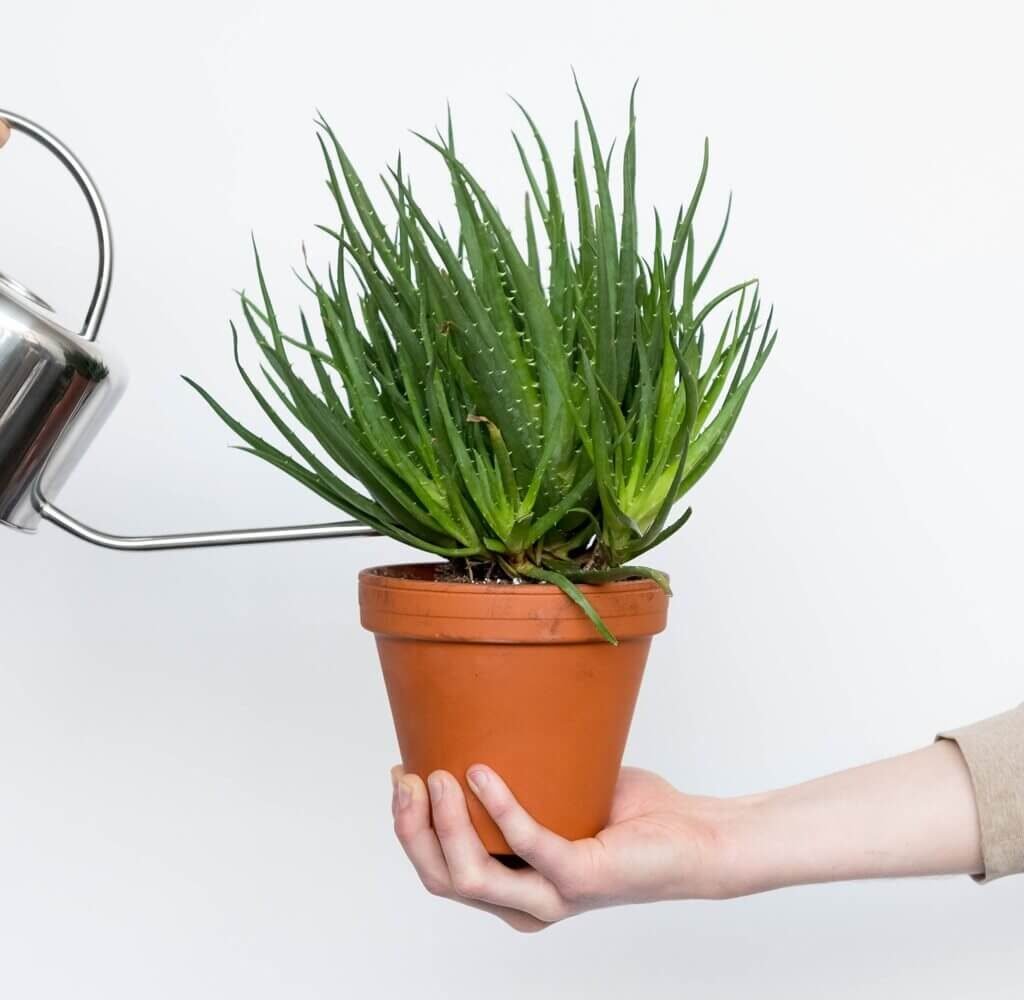
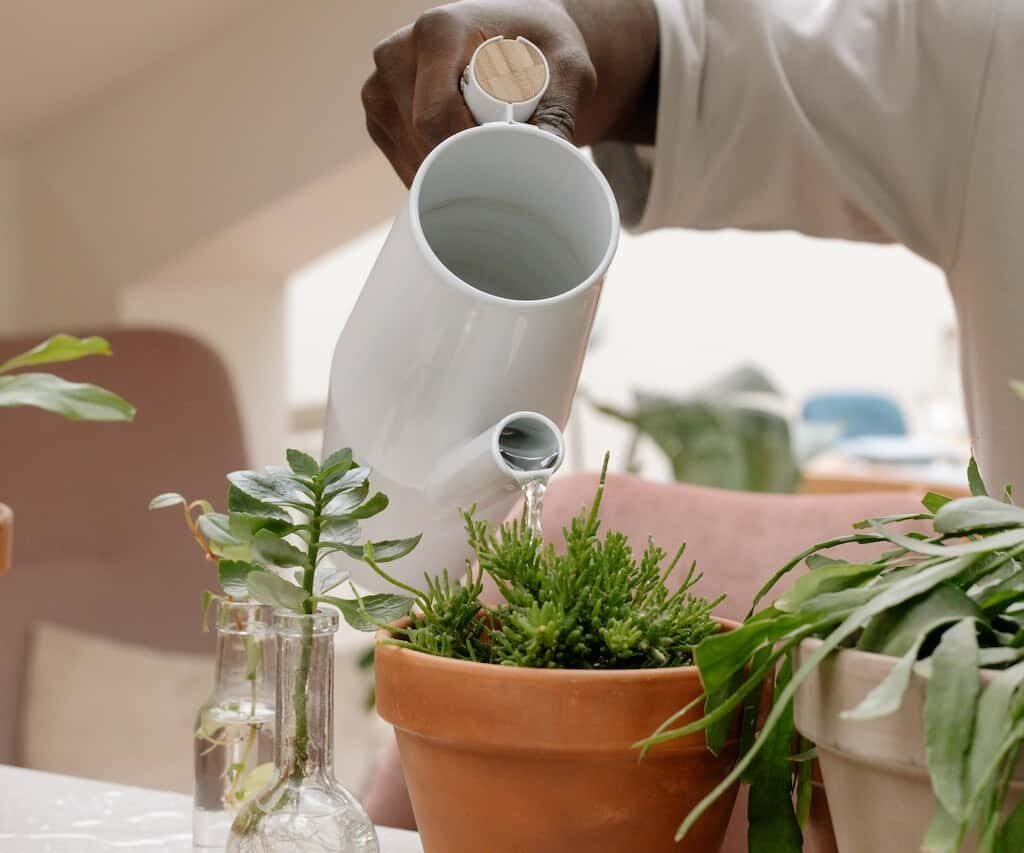
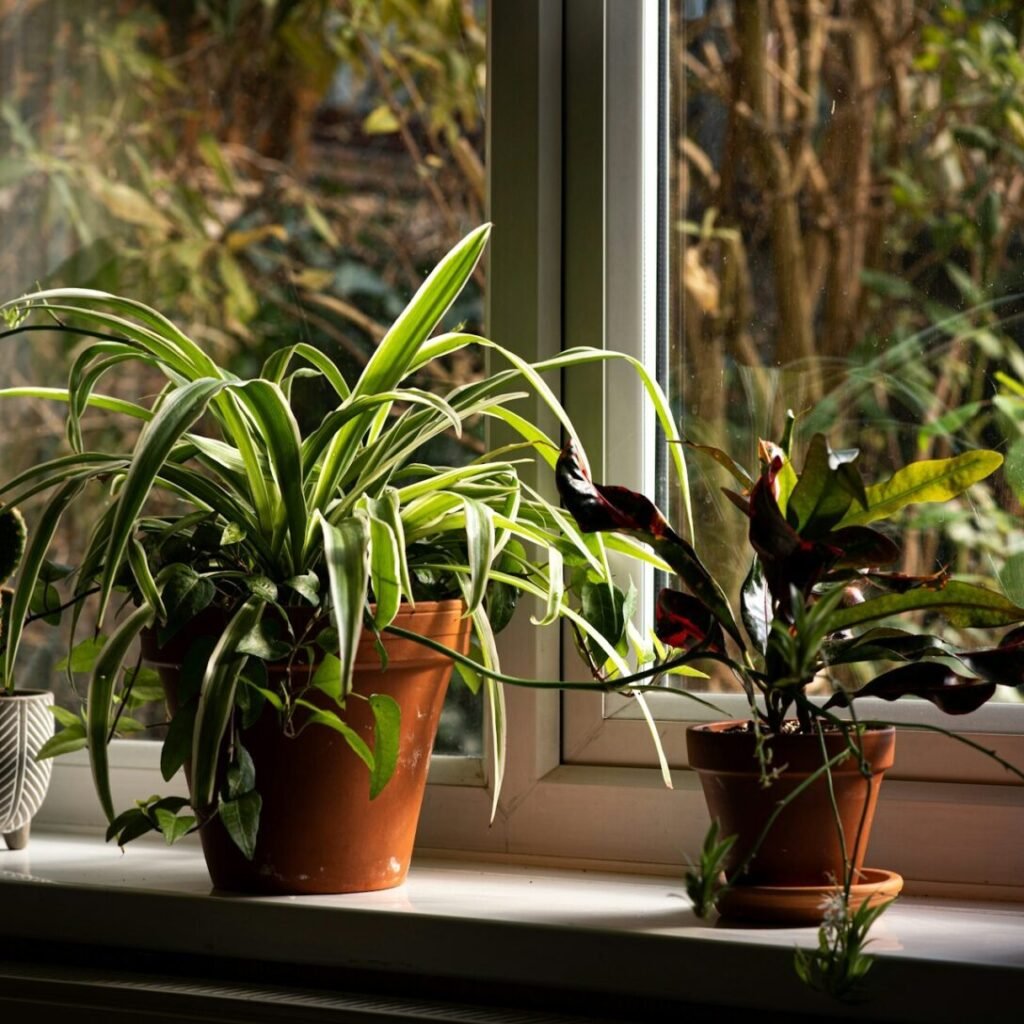
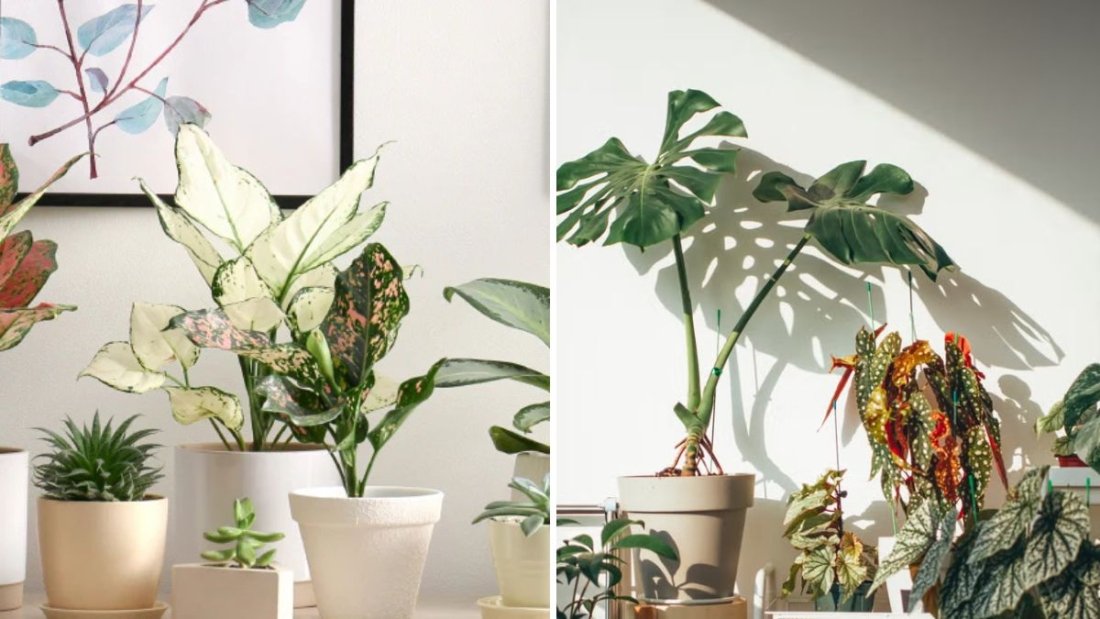
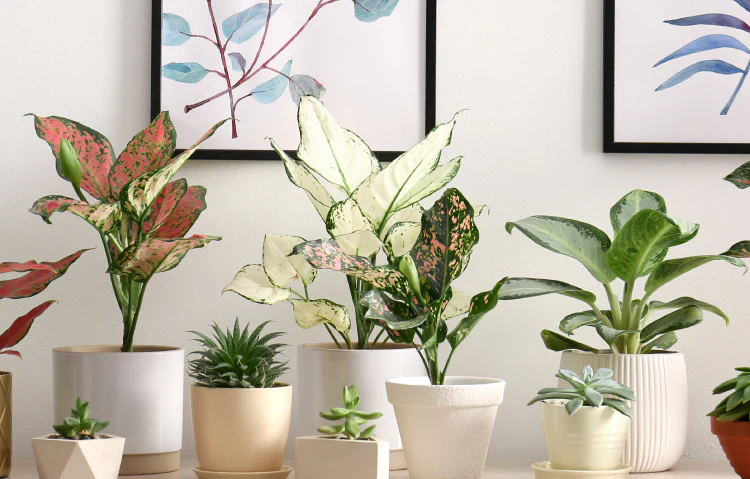
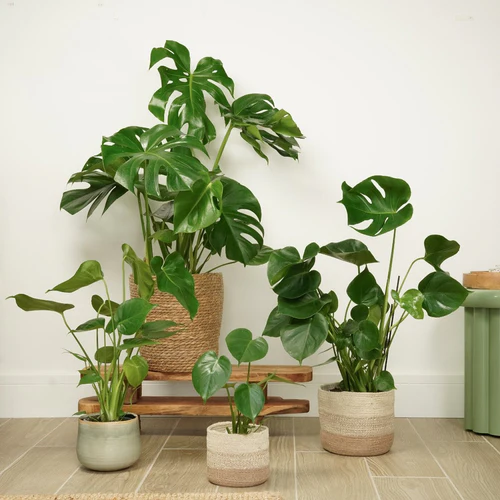
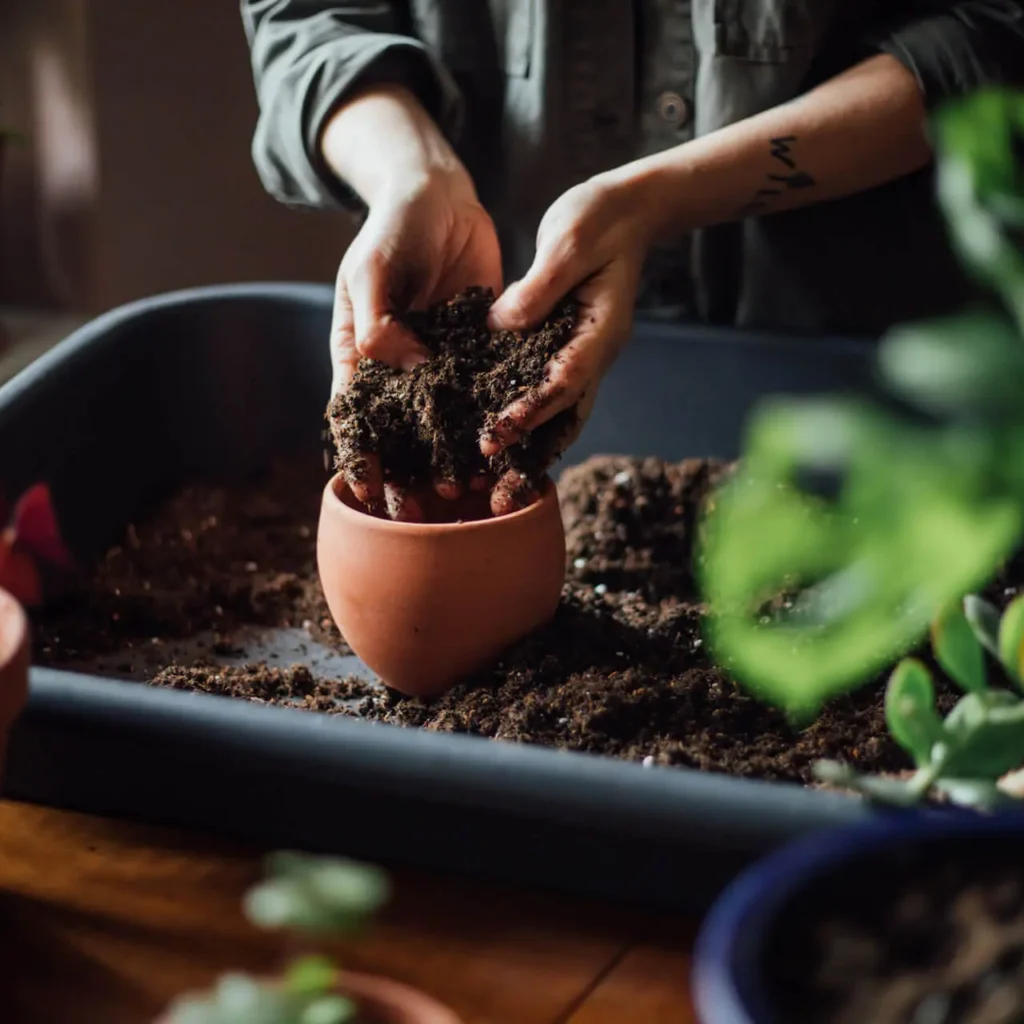
Caring for houseplants isn’t just about watering them on time or placing them near a sunny window. One of the most important yet often overlooked factors in plant health is the potting mix. Unlike garden soil, which varies in composition and may not suit indoor plants, a carefully crafted potting mix provides the right balance of air, water retention, and nutrients. If your houseplants are struggling despite proper care, chances are the issue lies beneath the surface—in the soil.

In this detailed guide, we’ll explore why potting mix matters, the essential components of a perfect blend, DIY recipes for different types of plants, and pro tips for maintaining it over time. By the end, you’ll be equipped to mix your own soil like a pro and give your indoor plants the thriving environment they deserve.


Why Potting Mix Matters for Houseplants

Indoor plants grow in containers, which limits their access to natural soil ecosystems. Garden soil is often too heavy, prone to compaction, and may contain pests or pathogens. A well-made potting mix:

  • Provides aeration: Roots need oxygen as much as they need water. A fluffy, well-draining mix prevents suffocation.
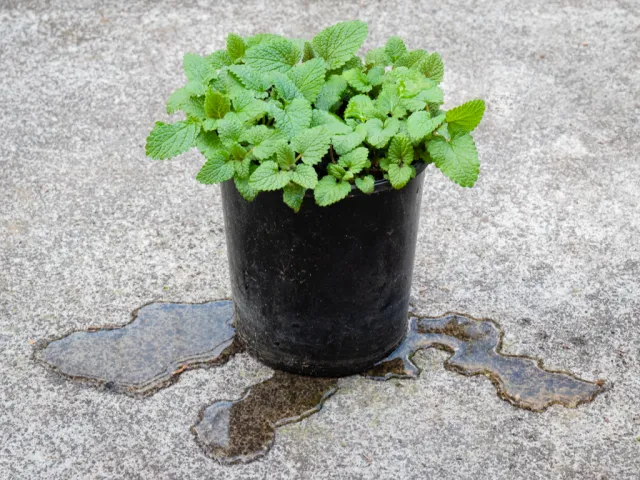
  • Ensures proper drainage: Prevents root rot by allowing excess water to flow out.
  • Retains moisture: Holds just enough water so roots don’t dry out between watering.
  • Delivers nutrients: Supplies essential minerals plants need for growth.
  • Reduces pests & diseases: Sterile ingredients minimize infestations and fungal issues.

In short, the potting mix serves as the plant’s foundation. Without the right one, even low-maintenance houseplants can decline.


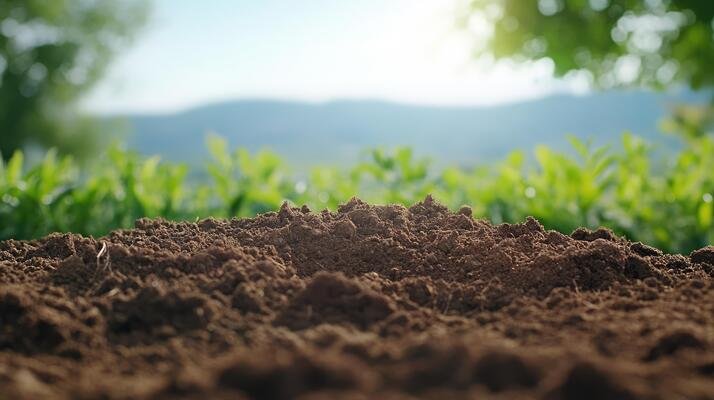
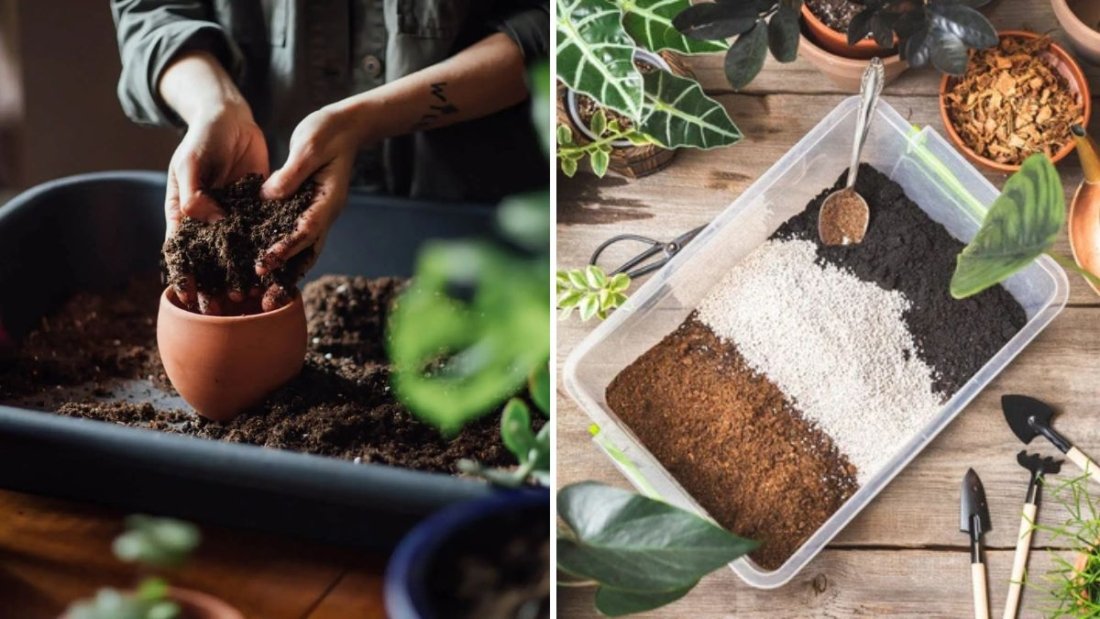
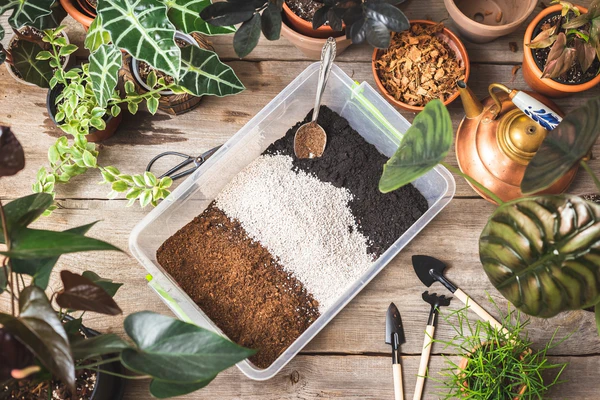
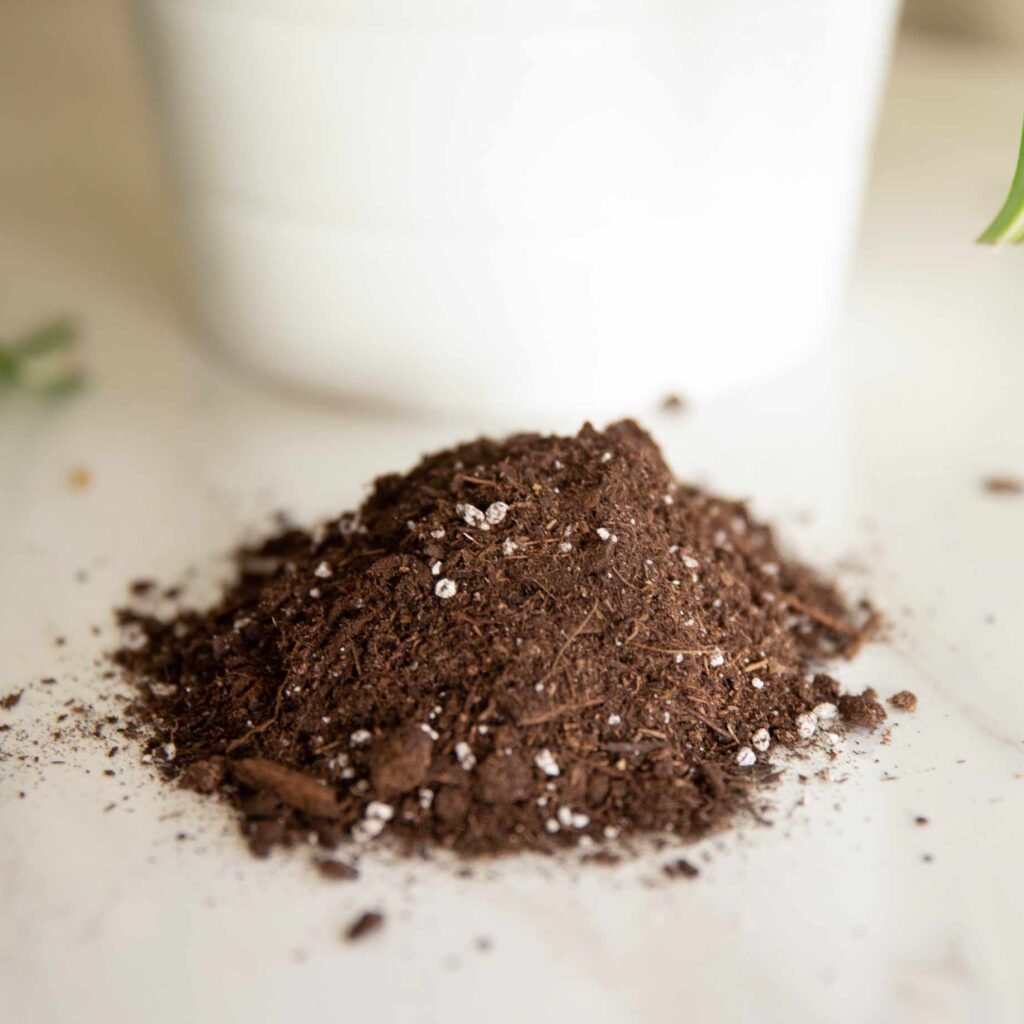
Key Components of a Perfect Potting Mix

The ideal mix isn’t a single substance but a blend of materials that together balance drainage, aeration, and nutrition. Here are the most common ingredients and their functions:
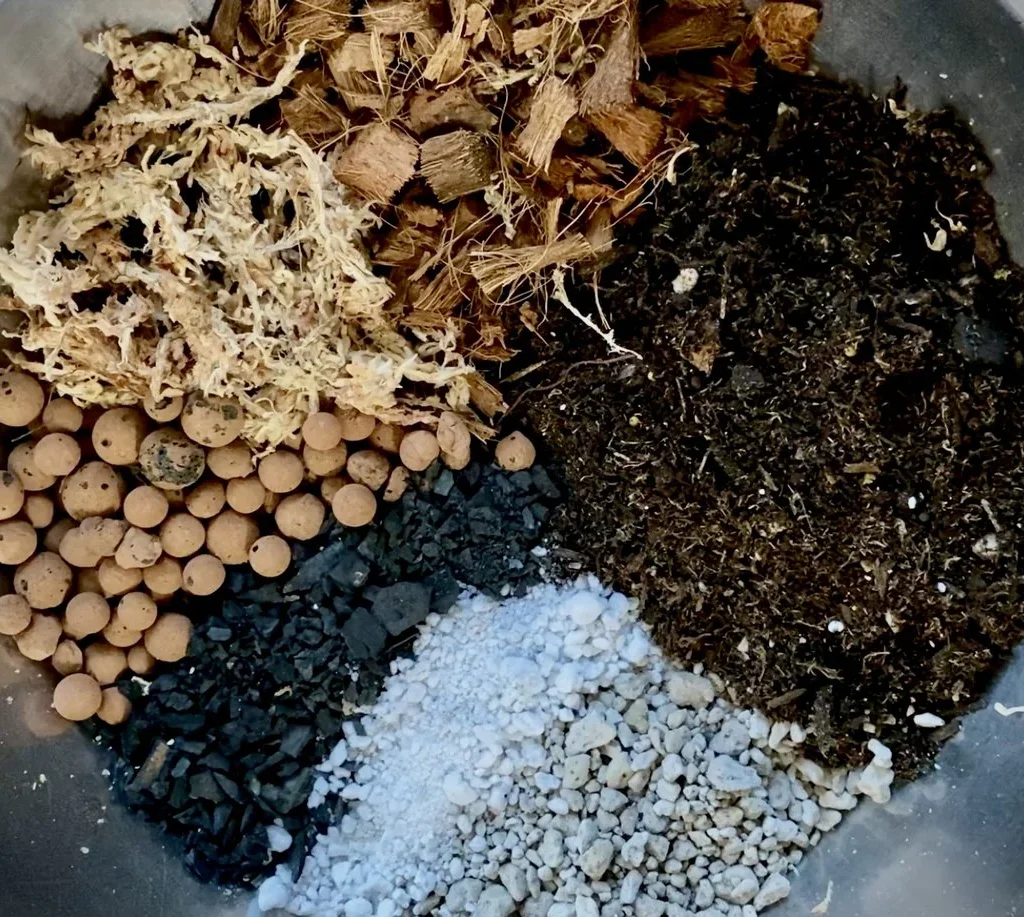
1. Base Materials

These provide bulk and water retention.

  • Coco coir: A sustainable alternative to peat moss, excellent for retaining moisture while staying airy.
  • Peat moss: Traditional choice for moisture retention, though less eco-friendly.
  • Compost: Adds organic matter and nutrients but should be used sparingly to avoid compaction.

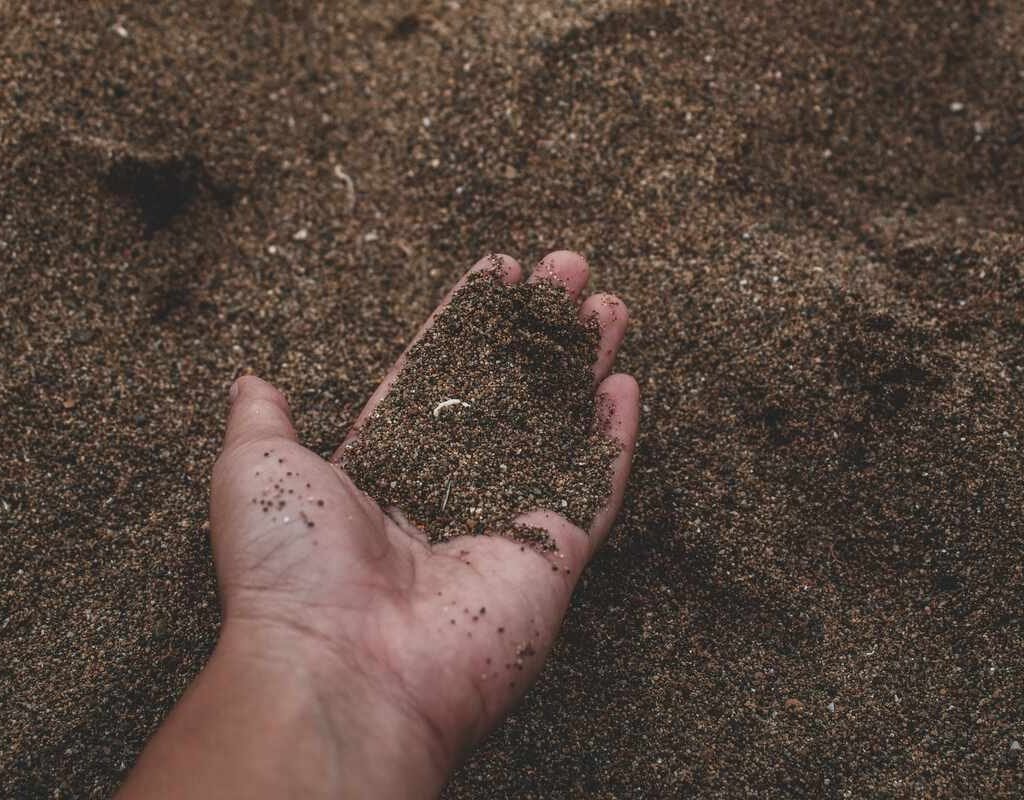
2. Drainage & Aeration Agents

These keep soil light and well-drained.

  • Perlite: White, lightweight volcanic glass that improves aeration and prevents soggy soil.
  • Pumice: Heavier than perlite, also great for drainage and long-term stability.
  • Sand (horticultural): Increases drainage but should be coarse, not fine.

3. Organic Amendments

These boost fertility and support healthy roots.

  • Worm castings: Rich in nutrients and beneficial microbes.
  • Composted bark: Improves structure, especially for orchids and large houseplants.
  • Biochar: Enhances nutrient retention and microbial health.

4. pH Adjusters

Most houseplants prefer slightly acidic to neutral soil (pH 6–7).

  • Garden lime: Used to raise pH if too acidic.
  • Sulfur: Used to lower pH if too alkaline.

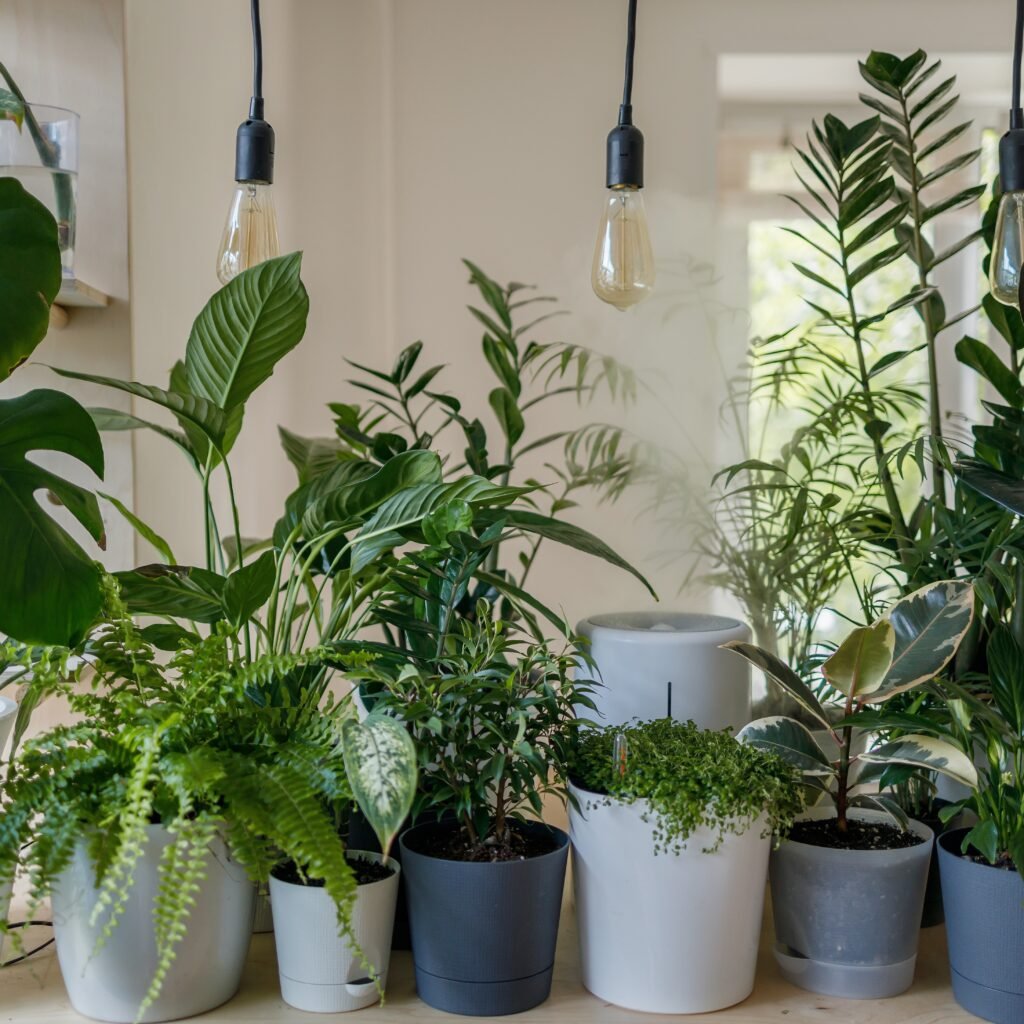
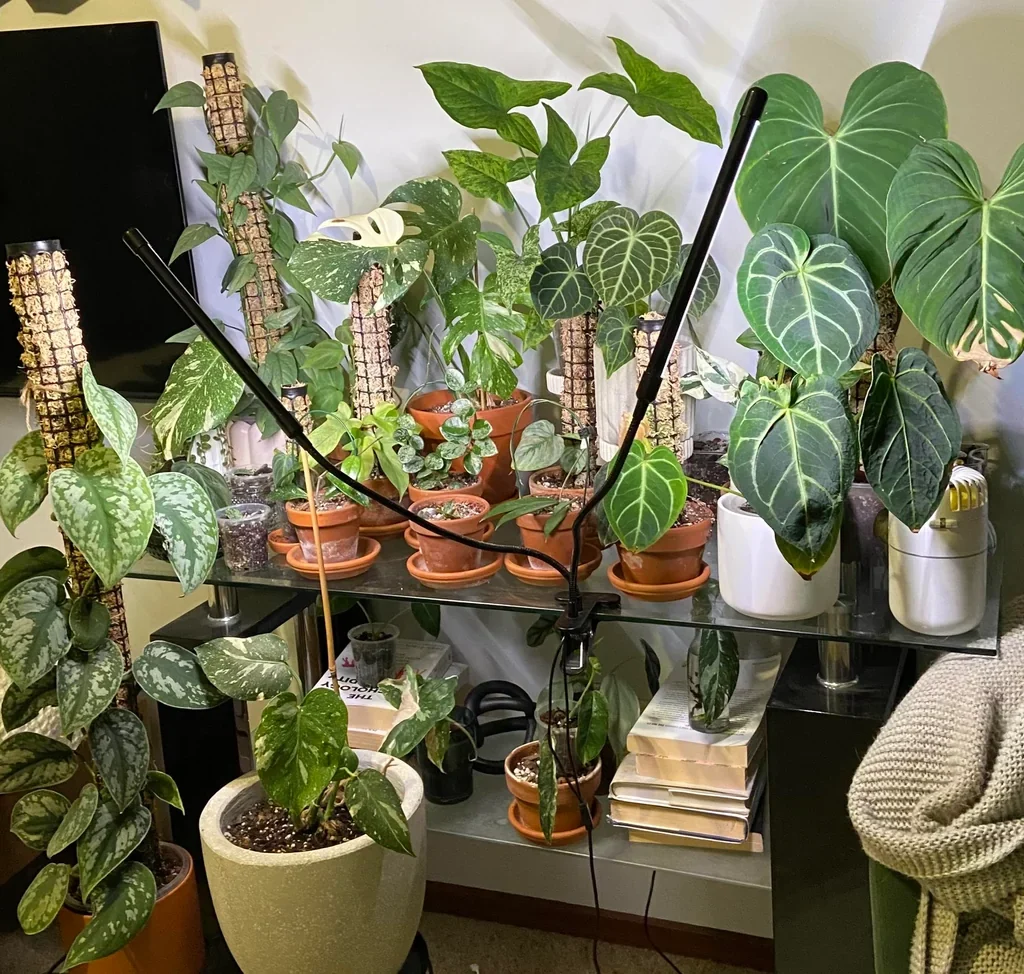
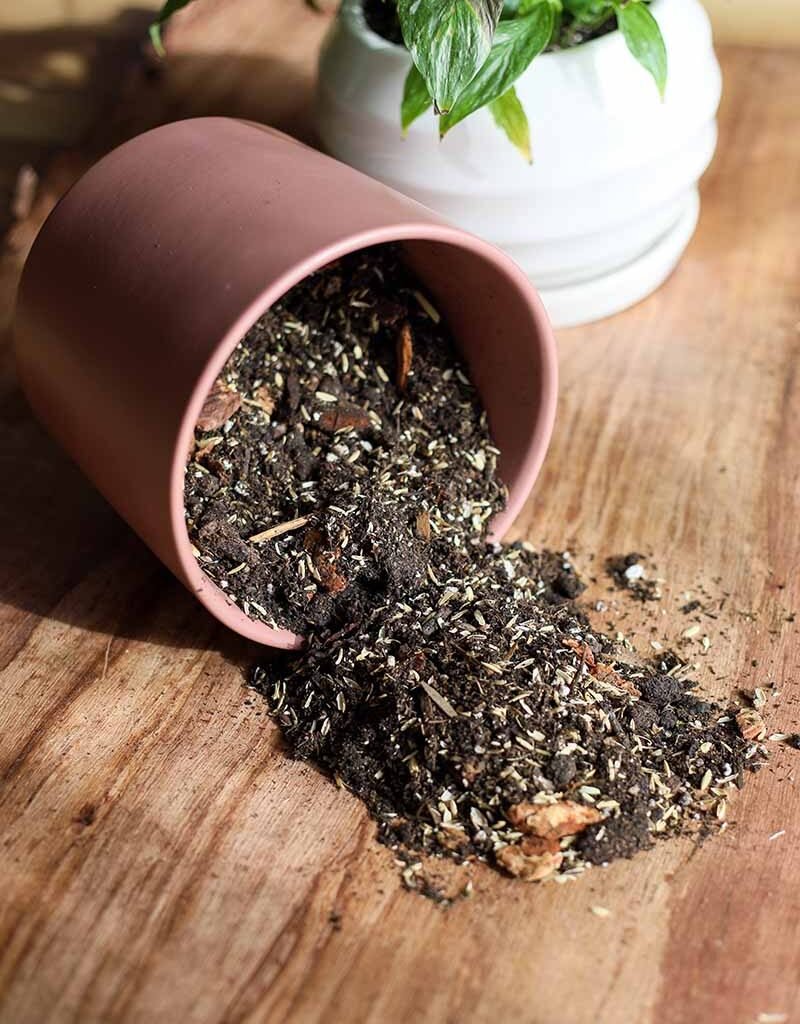
DIY Potting Mix Recipes for Houseplants

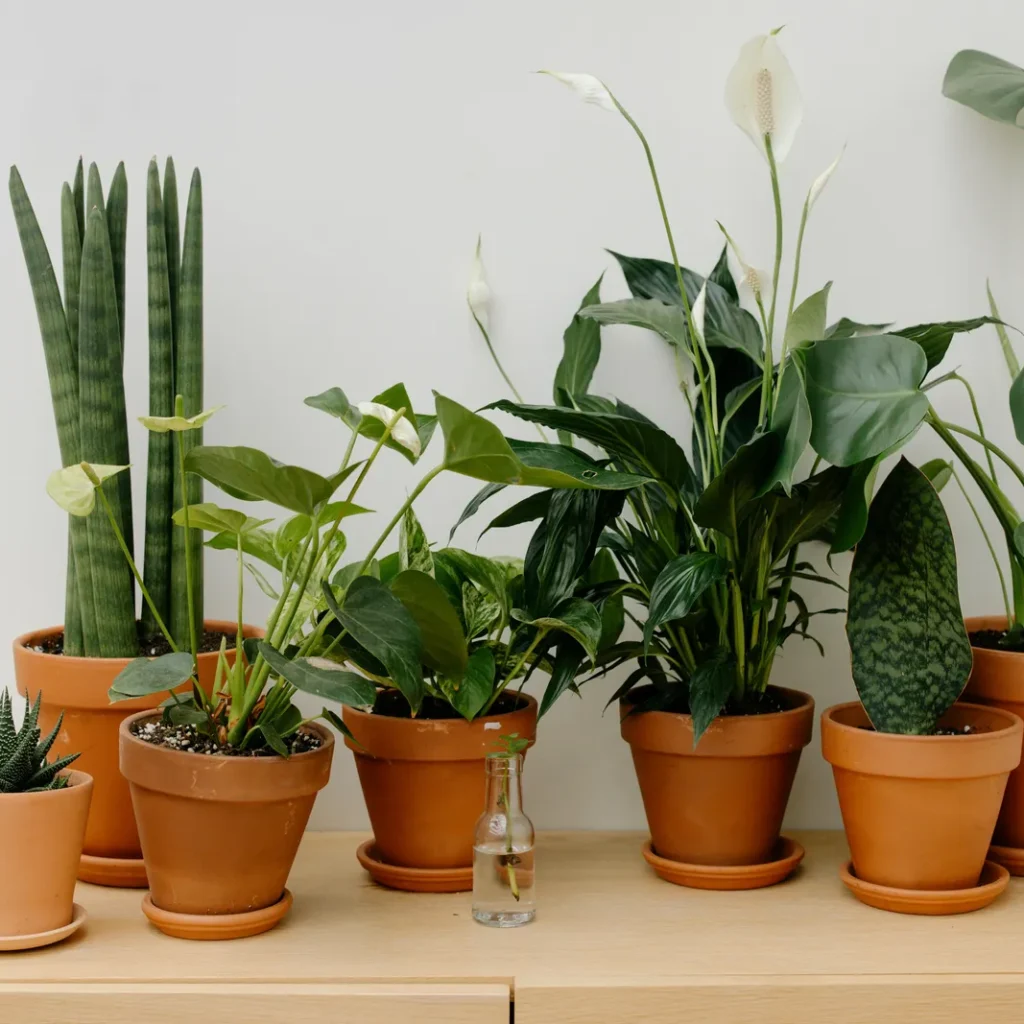
Not all plants thrive in the same type of soil. Tropical foliage plants, succulents, and orchids all require slightly different blends. Here are custom recipes you can try:

1. General All-Purpose Mix

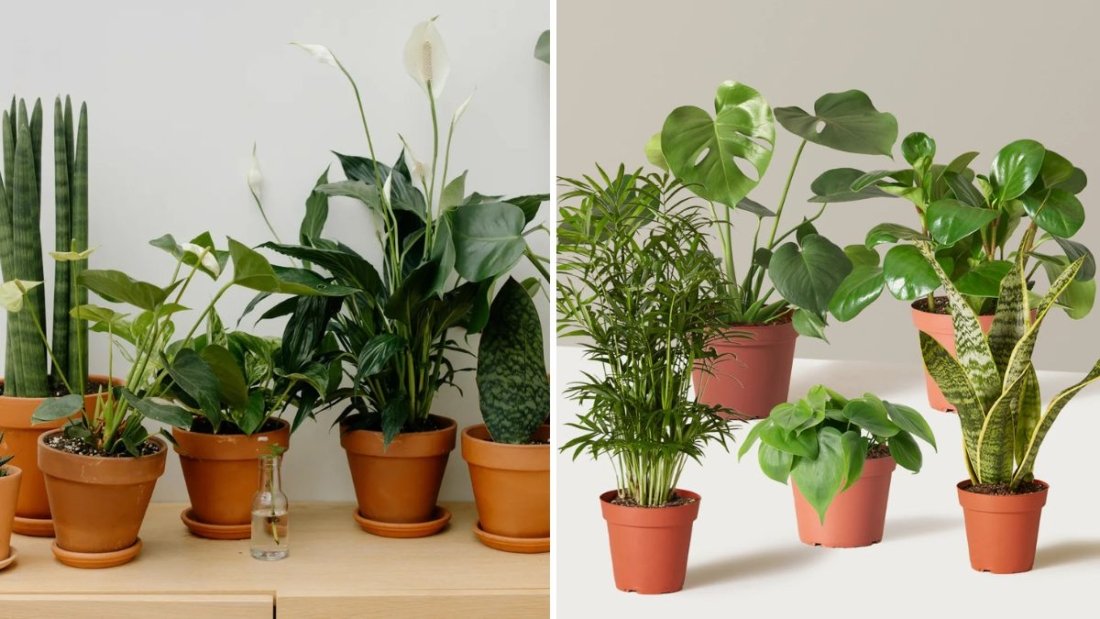
Perfect for most indoor foliage plants like pothos, philodendrons, and spider plants.

  • 2 parts coco coir or peat moss
  • 1 part perlite
  • 1 part compost or worm castings

This mix balances moisture retention with airflow, making it suitable for beginners.

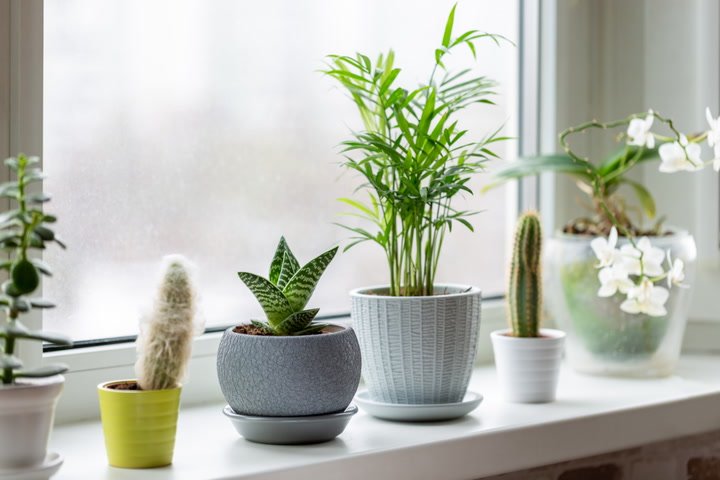
2. Cactus & Succulent Mix

Succulents and cacti need excellent drainage to prevent root rot.

  • 2 parts coarse sand or pumice
  • 1 part coco coir or peat moss
  • 1 part perlite
  • Optional: A handful of crushed charcoal to absorb excess moisture

3. Orchid Mix

Orchids are epiphytes, meaning they grow on trees rather than in soil. They need a chunky, airy medium.

  • 3 parts orchid bark
  • 1 part perlite or pumice
  • 1 part charcoal

4. African Violet Mix

These delicate flowering plants prefer rich, airy soil.

  • 2 parts peat moss or coco coir
  • 1 part vermiculite (for moisture retention)
  • 1 part perlite

5. Indoor Edibles Mix (Herbs, Small Veggies)

If you’re growing basil, mint, or chili indoors:

  • 2 parts compost
  • 1 part coco coir
  • 1 part perlite
  • A pinch of slow-release organic fertilizer

Tips for Mixing and Storing Potting Soil

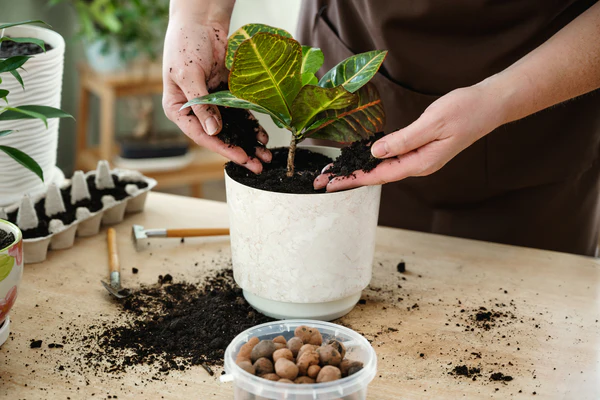
  • Sterilize before use: To kill pathogens, you can bake soil ingredients (except perlite) in the oven at 180°F (82°C) for 30 minutes.
  • Mix in batches: Use a large bucket or wheelbarrow for even distribution.
  • Store properly: Keep extra mix in an airtight container or sealed bag to prevent moisture, pests, and mold.
  • Label recipes: If you’re making multiple mixes, label them by plant type to avoid confusion.

Common Mistakes to Avoid

Even with the right ingredients, mistakes in potting soil preparation can harm plants. Watch out for:

  1. Using garden soil indoors: It compacts easily, drains poorly, and may introduce pests.
  2. Overloading with compost: Too much can make the mix heavy and waterlogged.
  3. Skipping drainage holes: Even the best mix won’t help if the pot can’t release water.
  4. Reusing old soil without refreshing: Over time, nutrients deplete and pests build up. Always refresh with new ingredients.
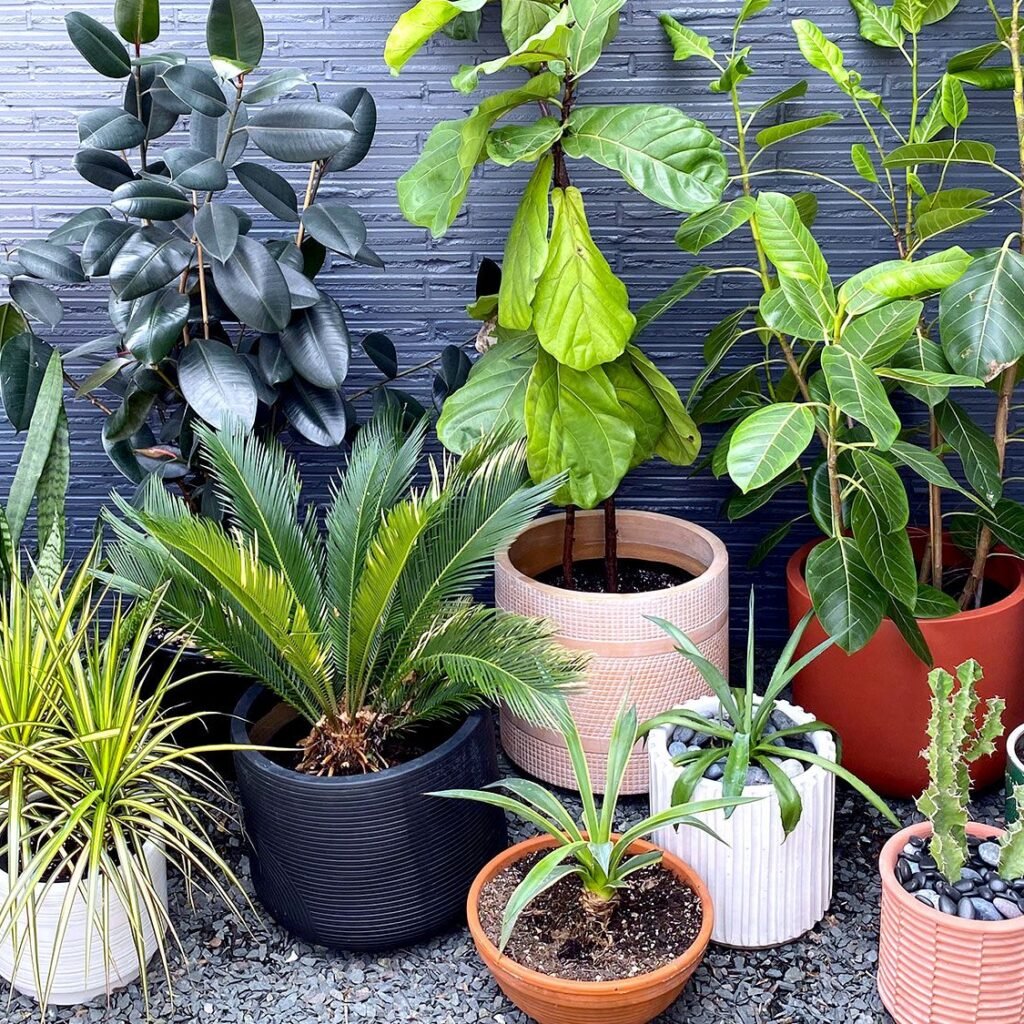
  5. Ignoring plant-specific needs: One mix doesn’t fit all—tailor recipes to each plant.

Maintaining the Potting Mix Over Time

Your potting mix won’t last forever. Here’s how to keep it healthy:

  • Repot every 1–2 years: Roots outgrow containers, and soil breaks down. Fresh mix restores structure and nutrients.
  • Top-dress between repots: Add a thin layer of worm castings or compost to replenish nutrients.
  • Flush occasionally: Water heavily once every few months to wash out built-up salts from fertilizers.
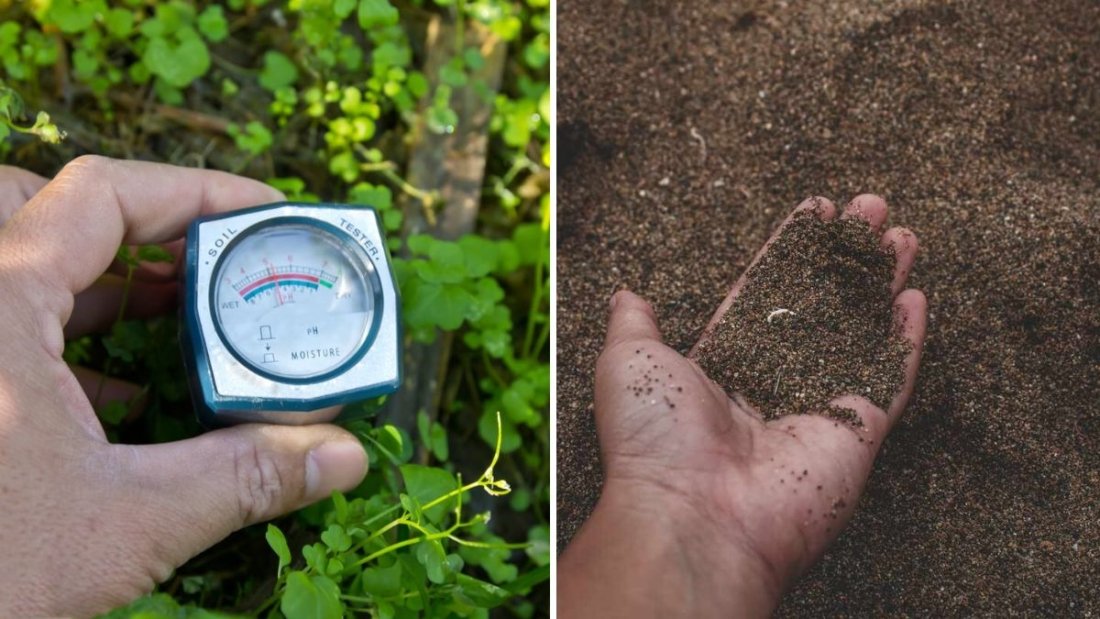
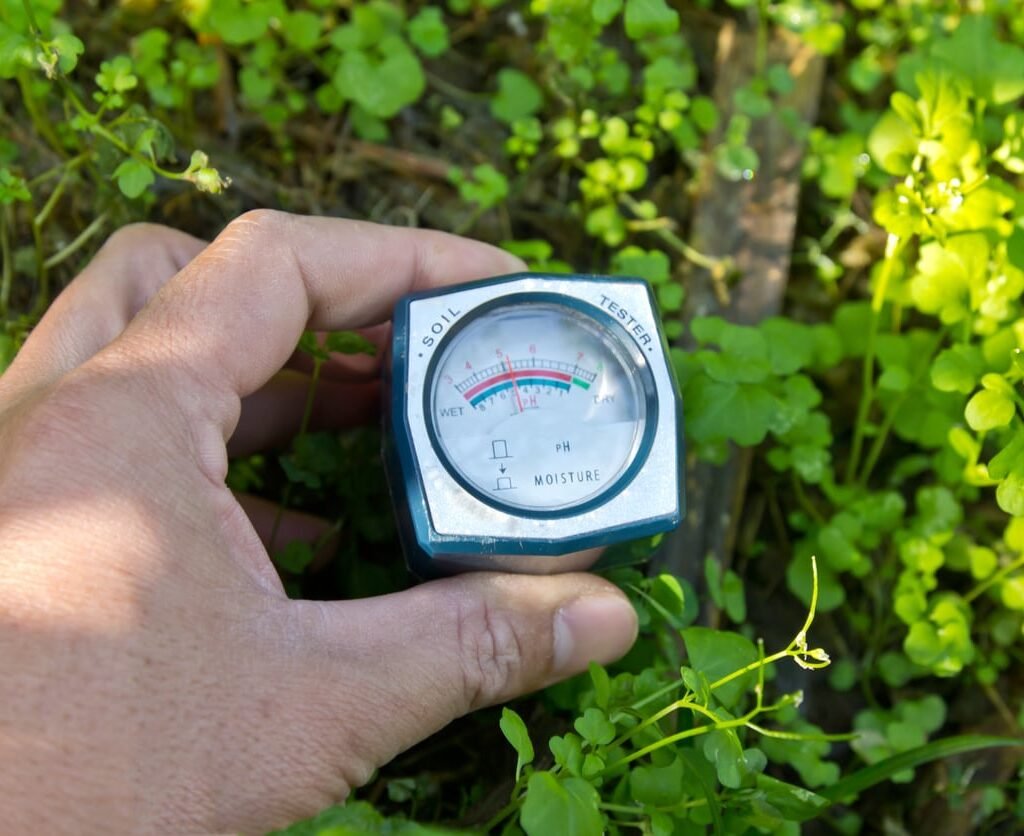
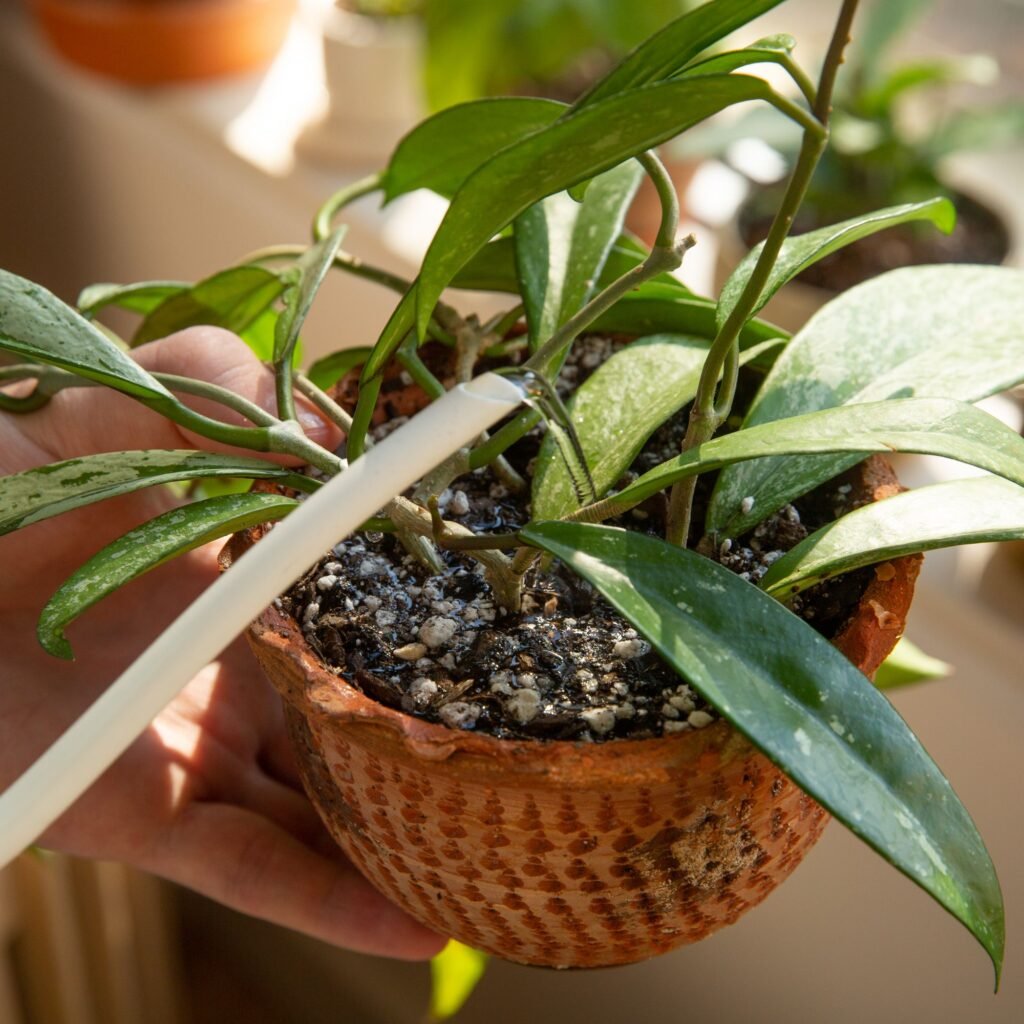
  • Monitor moisture: Use the finger test—stick your finger an inch into the soil. If dry, it’s time to water.

Eco-Friendly Alternatives to Traditional Ingredients

Sustainability is becoming increasingly important in gardening. Some eco-friendly swaps include:

  • Coco coir instead of peat moss (peat extraction damages ecosystems).
  • Homemade compost instead of store-bought.
  • Rice hulls instead of perlite (biodegradable and renewable).
  • Leaf mold for organic matter and microbial life.

These options reduce environmental impact without sacrificing plant health.


Final Thoughts

Creating the perfect potting mix for houseplants is both a science and an art. By understanding your plants’ needs and tailoring the soil blend accordingly, you can dramatically improve their health, growth, and lifespan. Remember that no single recipe fits all—succulents crave sharp drainage, orchids thrive in chunky bark, and tropical plants love moisture-retentive mixes.

Investing time in mixing your own soil not only saves money but also gives you complete control over the environment your plants live in. With the right potting mix beneath them, your houseplants will reward you with lush foliage, vibrant blooms, and long-lasting vitality.

Why Your Plants Need the Right Drainage—And How to Ensure It

Why Your Plants Need the Right Drainage—And How to Ensure It

Water is the lifeblood of plants, but too much of it can be just as harmful as too little. For many gardeners and houseplant enthusiasts, the silent killer of plants is not neglect—it’s poor drainage. Without proper drainage, water lingers in the soil, suffocating roots, causing rot, and creating the perfect breeding ground for pests and diseases. On the other hand, well-draining soil and containers keep roots healthy, supply oxygen, and allow plants to thrive.

Experts agree: getting drainage right is one of the most important, yet often overlooked, aspects of plant care. This article explains why drainage matters, the consequences of neglecting it, and practical steps you can take to ensure your plants always have the right environment for growth.


Why Drainage Is Essential for Healthy Plants

Drainage refers to how efficiently water moves through soil and out of the container or ground. It’s not just about avoiding puddles—it’s about creating the right balance of moisture and oxygen in the root zone.

Here’s why proper drainage is so crucial:

  1. Prevents Root Rot
    Roots need oxygen to function. In waterlogged soil, air pockets disappear, suffocating roots and making them vulnerable to rot.
  2. Avoids Nutrient Imbalance
    Excess water can leach essential nutrients like nitrogen and potassium, leaving plants undernourished even in fertile soil.
  3. Discourages Pests and Diseases
    Damp, stagnant soil creates a breeding ground for fungus gnats, mold, and harmful fungi.
  4. Supports Strong Growth
    With the right balance of water and oxygen, roots grow deeper and stronger, anchoring the plant and fueling robust growth above ground.
  5. Mimics Natural Conditions
    In nature, rain drains through soil layers, allowing roots to absorb just what they need. Replicating this balance indoors or in garden beds keeps plants closer to their natural rhythm.

What Happens When Plants Lack Drainage

Improper drainage leads to a cascade of problems that weaken or kill plants over time:

  • Yellowing leaves: A classic sign of too much moisture around the roots.
  • Wilting despite wet soil: Overwatered plants often look just as droopy as underwatered ones.
  • Mushy stems or roots: Indicators of advanced root rot.
  • Slow or stunted growth: Roots can’t spread properly when suffocated.
  • Fungus gnats and mold growth: Clear signs of persistently soggy soil.

Without intervention, plants in poorly drained soil rarely recover, making drainage a non-negotiable factor for success.


How to Ensure Proper Drainage for Your Plants

The good news is that creating the right drainage system is simple once you know what to look for. Here are expert-approved strategies:

1. Choose the Right Pot

  • Drainage holes are essential. Always select pots with at least one hole at the bottom. These allow excess water to escape and prevent pooling.
  • Pot material matters. Terracotta and unglazed clay pots allow water to evaporate faster than plastic or ceramic ones. This is especially helpful for plants prone to overwatering.
  • Size appropriately. Pots that are too large hold more water than roots can use, increasing the risk of soggy soil.

Tip: If you fall in love with a decorative pot that doesn’t have holes, use it as a cachepot—keep your plant in a plastic grow pot with holes and place it inside the decorative container.


2. Use Well-Draining Soil

Soil type makes a huge difference in how water moves.

  • For succulents and cacti: Use sandy, gritty mixes with perlite, pumice, or coarse sand to allow quick drainage.
  • For tropical plants: Use a mix with peat moss or coco coir for moisture retention, balanced with perlite or bark for aeration.
  • For orchids: Use chunky bark or specialized orchid mixes to keep roots airy.

DIY well-draining mix: Combine equal parts potting soil, perlite, and coarse sand. This works for most houseplants.


3. Layer Correctly (Skip the Pebble Myth)

A common misconception is that adding a layer of rocks or pebbles at the bottom of a pot improves drainage. In reality, it can trap water above the layer, making the soil stay wetter longer. Instead:

  • Focus on using well-draining soil throughout the pot.
  • Ensure the drainage hole is unobstructed. A piece of mesh or coffee filter over the hole is enough to keep soil from spilling out.

4. Water the Right Way

Even with good drainage, watering habits matter.

  • Water thoroughly, then let it drain. Pour water until it flows out of the bottom holes, then empty the saucer.
  • Avoid frequent “sips.” Shallow watering keeps roots near the surface and increases the risk of soggy upper soil.
  • Check before watering. Use the finger test, chopstick method, or pot weight method to gauge soil moisture first.

5. Elevate Your Pots

Keeping pots slightly elevated allows air to circulate underneath and prevents water from collecting at the base.

  • Use pot feet, plant stands, or small blocks to lift containers.
  • This technique is especially helpful outdoors, where rain may saturate pots.

6. Improve Garden Bed Drainage

For outdoor gardens, poor drainage can be a bigger challenge, especially in clay-heavy soils.

  • Add organic matter: Compost improves soil structure and increases both drainage and water retention.
  • Use raised beds: Lifting soil above ground level improves runoff.
  • Amend clay soil: Mix in coarse sand, perlite, or bark to break up compaction.
  • Create slopes: Slightly sloping garden beds direct excess water away from plant roots.

7. Watch Environmental Conditions

Drainage needs also depend on external factors:

  • Light levels: Plants in low light use less water, so soil drains more slowly.
  • Humidity: High humidity slows evaporation, requiring less frequent watering.
  • Temperature: Warm, bright conditions dry soil faster, so ensure pots can handle the increased watering needs.

How to Tell If Drainage Is Working

Testing whether your drainage setup is effective is just as important as setting it up. Here’s how to check:

  • Water test: Pour water until it starts to flow from the drainage hole. If it takes more than a few seconds, the soil may be too compact.
  • Root health check: Gently slide the plant out of its pot. Healthy roots should be firm and white. If they’re brown and mushy, drainage needs improvement.
  • Monitor recovery: After watering, soil should feel moist but not soggy. Within a few days, the top inch should begin to dry out.

Special Considerations for Different Plants

  • Succulents and cacti: Absolute drainage champions—never tolerate standing water. Use pots with large holes and gritty soil.
  • Tropical houseplants: Prefer balanced drainage—moist soil without waterlogging. A mix of coco coir and perlite works best.
  • Ferns: Like consistent moisture, but still need loose soil that drains excess water quickly.
  • Orchids and air plants: Require near-constant airflow around roots. Drainage is more about aeration than soil.

Common Mistakes to Avoid

  1. Using pots without holes – Even the most careful watering can lead to rot if excess water has nowhere to go.
  2. Adding pebbles as a drainage layer – This creates a perched water table, making soil stay wetter longer.
  3. Ignoring saucers – Water that collects at the bottom must be emptied; otherwise, roots still sit in stagnant water.
  4. Using garden soil in pots – Dense and compact, garden soil holds too much water for containers.
  5. Overwatering despite good drainage – Even the best setup can’t save a plant if it’s constantly flooded.

Final Thoughts

Proper drainage is the unsung hero of plant care. While it may not be as exciting as picking new leaves or blooms, it is the foundation of healthy growth. Without it, even the most attentive watering and fertilizing won’t save your plants.

By choosing pots with drainage holes, using well-aerated soil mixes, avoiding common myths like pebble layers, and monitoring your watering habits, you can create the perfect environment where roots thrive.

Remember: drainage doesn’t mean drying your plants out—it means giving them a healthy balance of water and air. Once you master this, you’ll notice stronger roots, healthier leaves, and fewer pest and disease problems.

Your plants depend on their roots for life. Give those roots the right conditions, and they’ll reward you with vibrant, thriving growth season after season.

How to Test Soil Moisture Without Special Tools

How to Test Soil Moisture Without Special Tools

Keeping indoor and outdoor plants healthy largely depends on one simple but often misunderstood factor: soil moisture. Water is essential for plant growth, but too much or too little can quickly lead to problems like root rot, wilting, stunted growth, and even plant death. Many gardeners rely on fancy gadgets like digital moisture meters to monitor soil conditions—but you don’t need special tools to figure out whether your plants are thirsty.

Garden experts emphasize that observation and simple, hands-on techniques are more than enough to check soil moisture accurately. In fact, gardeners for centuries have been assessing soil hydration with their senses—sight, touch, and even smell. With practice, you can master these techniques and give your plants just the right amount of water they need.

This article explores practical, tool-free methods to test soil moisture, explains why soil moisture matters, and provides guidance on how to interpret your findings for different types of plants.


Why Soil Moisture Matters

Before learning how to test soil moisture, it’s important to understand why it plays such a critical role:

  • Root health: Roots need both water and oxygen. Overly wet soil suffocates them, while dry soil deprives them of hydration.
  • Nutrient absorption: Water dissolves nutrients in soil, making them accessible for roots. Without moisture, plants starve.
  • Growth and photosynthesis: Adequate hydration keeps leaves firm, supports photosynthesis, and fuels overall growth.
  • Pest and disease prevention: Overly damp soil encourages mold, fungus, and pests like fungus gnats. Balanced moisture discourages infestations.

The right soil moisture is about balance: neither soggy nor bone dry. Now let’s explore how to check it without any special devices.


1. The Finger Test

The finger test is the most popular, foolproof way to gauge soil moisture.

How to Do It

  • Insert your index finger into the soil about 1–2 inches deep (up to the second knuckle).
  • If the soil feels dry, it’s time to water.
  • If it feels slightly damp, wait another day or two before checking again.
  • If it feels wet, hold off on watering until it dries out a bit.

Why It Works

Soil at the top may dry quickly due to air exposure, but deeper layers retain moisture longer. This method gives you a sense of what’s happening closer to the root zone.

Best For

Most indoor houseplants, vegetables in containers, and potted flowers.


2. The Stick or Chopstick Method

If you don’t want to get your hands dirty, a wooden stick or chopstick is an excellent alternative.

How to Do It

  • Insert a clean wooden stick, skewer, or chopstick into the soil, at least halfway down the pot.
  • Pull it out after a few seconds.
  • If it comes out darkened with soil clinging, the soil is still moist.
  • If it comes out clean and dry, your plant is ready for watering.

Why It Works

Wood naturally absorbs moisture, acting like a basic moisture meter. It also allows you to test deeper soil layers.

Best For

Succulents, cacti, and deep containers where moisture levels may differ between surface and root depth.


3. Lifting the Pot

Plants in containers can give away their soil moisture status through their weight.

How to Do It

  • After watering, lift the pot and notice how heavy it feels.
  • A few days later, lift the pot again. If it feels much lighter, the soil has dried and it’s time to water.

Why It Works

Soil holds a significant amount of water. As it evaporates, the pot becomes noticeably lighter, especially in plastic containers.

Best For

Small to medium potted plants, especially those in lightweight pots.


4. Observing Soil Color and Texture

Your eyes can be surprisingly good indicators of soil moisture.

How to Do It

  • Look at the surface of the soil:
    • Dry soil looks lighter in color (often pale brown or gray).
    • Moist soil looks darker and richer in tone.
  • Gently touch the top layer:
    • If it feels crumbly and dusty, it’s dry.
    • If it feels cool and compact, it’s moist.

Why It Works

Moisture darkens soil and changes its texture. With practice, you’ll quickly recognize these visual and tactile cues.

Best For

Large outdoor garden beds, raised beds, and lawns.


5. Checking for Soil Pulling Away from Pot Edges

When soil becomes very dry, it shrinks and pulls away from the sides of the pot, leaving visible gaps.

How to Do It

  • Inspect the edges of the pot.
  • If you see gaps or cracks between the soil and container walls, it means the soil is too dry.
  • Water slowly to rehydrate and allow soil to expand back into place.

Why It Works

Dry soil contracts, creating air pockets that roots struggle to reach. This is a clear visual indicator of underwatering.

Best For

Container plants, particularly those in terracotta or clay pots, which dry out faster.


6. Observing Plant Behavior

Sometimes, the best indicator isn’t the soil—it’s the plant itself.

What to Look For

  • Wilting: Can signal both underwatering and overwatering. Always check soil before assuming.
  • Crispy leaf tips or curling leaves: Usually a sign of dryness.
  • Yellowing leaves: May point to too much water.
  • Drooping that recovers quickly after watering: Classic underwatering signal.

Best For

All plants, especially houseplants with expressive foliage like pothos, peace lilies, or ferns.


Additional Natural Clues

Beyond the main methods, here are smaller but useful signs of soil moisture levels:

  • Temperature check: Stick your finger into the soil. Damp soil feels cool, while dry soil feels warm.
  • Sound test: Tap on the side of a pot. A hollow sound often indicates dryness, while a dull thud suggests the soil is moist.
  • Smell: Wet soil often has an earthy aroma. If it smells sour, it may be waterlogged.

Adjusting for Different Plant Needs

Testing soil moisture is only half the battle—you also need to know how your plants prefer to be watered.

  • Succulents and Cacti: Allow soil to dry out completely between waterings. Test deeper layers to avoid premature watering.
  • Tropical Houseplants: Keep soil evenly moist but never soggy. The finger test is the most reliable here.
  • Ferns: Prefer consistently damp soil. Check daily in warmer months.
  • Orchids: Many grow in bark, so moisture is harder to gauge. Use the chopstick method or watch root color (green = hydrated, silver = dry).
  • Outdoor Vegetables: Top layers may dry quickly, but roots need deeper hydration. Always test 2–3 inches down before watering.

Common Mistakes When Testing Soil Moisture

  1. Judging only by the surface: The topsoil dries faster, but roots live deeper. Always test at least 1–2 inches down.
  2. Watering on a schedule: Plants need water based on conditions, not the calendar.
  3. Ignoring seasonal changes: In winter, indoor plants use less water due to slower growth and reduced light.
  4. Overcompensating: After noticing dryness, don’t flood the plant at once—rehydrate gradually to avoid stress.

Tips for Accurate Soil Moisture Monitoring

  • Check multiple spots: Soil doesn’t dry evenly; test in different areas around the plant.
  • Consider pot size and material: Large pots retain water longer; terracotta pots dry out faster.
  • Adjust for environment: Plants near heaters, windows, or air vents may need more frequent checks.
  • Combine methods: Use at least two techniques (e.g., finger test + pot weight) for accuracy.

Final Thoughts

Testing soil moisture doesn’t require gadgets or expensive meters. By using simple, time-tested methods like the finger test, chopstick method, pot weight, and visual cues, you can confidently determine when your plants need water.

Remember, the key to success is observation and adjustment. Each plant species, pot type, and environment has its own rhythm. With practice, you’ll develop an intuitive sense for your plants’ hydration needs.

So before reaching for your watering can, pause and check—because a little attention goes a long way in preventing root rot, wilting, and plant stress. With these simple techniques, you’ll not only save your plants but also cultivate a deeper connection to the living things you nurture every day.

5 Signs You’re Overwatering Your Houseplants—and How to Fix It

5 Signs You’re Overwatering Your Houseplants—and How to Fix It

Houseplants bring nature’s beauty indoors, purify the air, and create a calming environment. But for many plant enthusiasts, overwatering is the number one killer. While we water our plants with love, too much of it can actually suffocate their roots, invite disease, and shorten their lifespan.

Experts say that most people kill houseplants with kindness—not neglect. If you’ve ever wondered why your “green babies” look sad despite your regular watering, the culprit is likely too much moisture. The good news? Overwatering is preventable and often fixable if caught early.

This article explores five clear signs of overwatering and provides practical solutions to get your plants back on track.


Why Overwatering Is a Problem

Plants need water for nutrient transport, photosynthesis, and cellular structure, but roots also require oxygen. When soil stays soggy for too long, it fills with water and pushes out air pockets, suffocating roots. Without oxygen, roots weaken and decay—a condition known as root rot, which is one of the deadliest plant problems.

Overwatered soil also creates the perfect environment for fungus, mold, and pests like fungus gnats. In short, water is essential, but balance is everything.


1. Yellowing Leaves

What It Means

One of the most common and earliest signs of overwatering is yellowing leaves. While yellow leaves can sometimes indicate nutrient deficiency or lack of sunlight, they are frequently caused by roots drowning in excess water.

When roots can’t breathe, they can’t deliver nutrients to the plant, causing leaves to lose their rich green color.

Expert Fix

  • Check the soil: Stick your finger 1–2 inches deep. If it feels wet, stop watering until it dries.
  • Improve drainage: Make sure your pot has drainage holes and use well-draining soil. Mix in perlite, pumice, or sand to help water flow freely.
  • Trim damaged leaves: Removing yellow leaves helps the plant redirect energy to healthy growth.

2. Wilting Despite Wet Soil

What It Means

Wilting is usually associated with dryness, but a plant can also wilt from overwatering. In fact, soggy soil suffocates roots so badly that they cannot take up water—even though it’s all around them.

If your plant looks limp or droopy but the soil is still wet, overwatering is the likely cause.

Expert Fix

  • Pause watering: Allow soil to dry before adding more water. For many plants, this means waiting several days to a week.
  • Repot if necessary: If roots are mushy, repot the plant into fresh, dry soil. Cut away black or slimy roots before replanting.
  • Balance water and light: Place the plant in bright, indirect light to help soil dry out faster without stressing it.

3. Root Rot and Mushy Stems

What It Means

Root rot is the most serious consequence of chronic overwatering. You may not see the damage immediately, but signs include mushy stems, foul-smelling soil, and blackened roots when you remove the plant from its pot.

At this stage, the plant is struggling to survive because its foundation—the root system—is collapsing.

Expert Fix

  • Inspect roots: Gently remove the plant from its pot. Healthy roots are firm and white. Rotting roots look brown, black, or mushy.
  • Prune affected roots: Use sterilized scissors to cut away damaged portions.
  • Repot carefully: Place the plant in a clean pot with fresh, airy soil. Avoid watering for a few days to allow roots to adjust.
  • Prevent future rot: Always empty saucers after watering so roots aren’t sitting in stagnant water.

4. Fungus Gnats and Moldy Soil

What It Means

Do you notice tiny black flies hovering around your plants? These are fungus gnats, pests that thrive in consistently damp soil. Their larvae feed on decaying organic matter and sometimes roots, further stressing your plant.

Another common issue is white mold or algae on the soil surface, which develops when moisture doesn’t evaporate quickly. Both are red flags for overwatering.

Expert Fix

  • Let soil dry out: Fungus gnat larvae can’t survive in dry conditions. Adjust your watering schedule to break their life cycle.
  • Add sand or gravel: A thin layer of sand or decorative pebbles on top of the soil discourages pests from laying eggs.
  • Use sticky traps: Yellow sticky cards catch adult gnats and reduce population.
  • Improve airflow: Place plants where they get better ventilation to help soil dry faster.

5. Edema (Blisters or Bumps on Leaves)

What It Means

When plants absorb more water than they can use, cells in the leaves may burst, leaving behind blisters, bumps, or corky patches. This condition is known as edema. While it doesn’t always kill the plant, it signals that your watering habits need adjustment.

Expert Fix

  • Reduce watering frequency: Only water when the topsoil feels dry.
  • Provide proper light: Ensure the plant receives adequate light so it can process water efficiently.
  • Improve humidity balance: If humidity is high, water less often to prevent excess moisture buildup.

How to Prevent Overwatering in the Future

1. Use the Finger Test

Stick your finger into the soil up to 2 inches deep. If it feels dry at that depth, it’s time to water. If still moist, wait a few days.

2. Learn Your Plant’s Needs

Different plants have different preferences:

  • Succulents and cacti like soil to dry completely between waterings.
  • Tropical plants prefer evenly moist (but not soggy) soil.
  • Ferns thrive in consistent moisture and higher humidity.

3. Choose the Right Pot and Soil

  • Always use pots with drainage holes.
  • Opt for soil mixes designed for your plant type (succulent mix, orchid bark, tropical blend, etc.).

4. Adjust Seasonally

  • Spring and summer: Plants grow actively and need more water.
  • Fall and winter: Growth slows, so reduce watering to avoid soggy soil.

5. Watch for Environmental Changes

Plants in bright light or warm spots dry out faster, while those in cooler, dim corners need less frequent watering. Adjust accordingly.


Expert Tips for Fixing an Overwatered Plant

  • Be patient: Recovery takes time. Don’t expect overnight improvements.
  • Cut back fertilizer: Overwatered plants are stressed, so avoid adding fertilizer until they stabilize.
  • Prune damaged parts: Removing rotting roots or leaves helps the plant conserve energy.
  • Increase drainage support: Add perlite, pumice, or charcoal to soil to prevent future waterlogging.
  • Elevate pots: Place pots on risers or mesh trays so air can circulate under the soil.

Final Thoughts

Overwatering is the most common mistake plant owners make—but it’s also the easiest to correct with awareness and a few simple changes. Yellowing leaves, wilting despite wet soil, mushy stems, pest infestations, and edema are all warning signs your plant is drowning.

The best solution? Pay attention to your plant’s cues, feel the soil before watering, and create an environment where water flows freely rather than stagnates. With a little observation and adjustment, your houseplants will bounce back to health, rewarding you with vibrant growth and long-lasting beauty.

So next time you reach for your watering can, pause and ask: Does my plant really need it today? That one thoughtful step can make all the difference between a struggling plant and a thriving indoor jungle.

How to Water Indoor Plants the Right Way, According to Experts

How to Water Indoor Plants the Right Way, According to Experts

Indoor plants are more than just pretty decorations; they bring life, fresh air, and calm energy into our living spaces. But for many plant lovers, watering can be one of the trickiest aspects of plant care. Too little water, and leaves droop or turn crispy. Too much, and roots suffocate, leading to deadly rot. Finding the “just right” watering balance is essential, but it can feel confusing because every plant has unique needs.

To help you master this skill, plant experts emphasize that the key to watering success lies in understanding your plants’ biology, environment, and soil. This article explores expert-recommended techniques, signs of overwatering and underwatering, the best tools to use, and how to tailor watering habits to different indoor plants. By the end, you’ll have a confident strategy for keeping your green companions thriving.


Why Proper Watering Matters

Water plays several essential roles in plant health:

  • Nutrient transport: Moisture carries minerals from the soil to the roots and up through the plant.
  • Photosynthesis support: Without water, plants cannot produce energy efficiently.
  • Temperature regulation: Evaporation through leaves helps plants maintain proper internal temperatures.
  • Turgor pressure: Adequate water keeps plant cells firm, giving stems and leaves their structure.

When watering is mismanaged, plants quickly show stress. Overwatering suffocates roots, creates a breeding ground for fungi, and often leads to yellowing leaves. Underwatering causes wilting, crispy leaf edges, and stunted growth. Experts agree: learning to water correctly is the single most important factor in long-term plant survival indoors.


Factors That Affect Indoor Plant Watering Needs

Not all plants or environments are the same, so there’s no universal “once a week” rule. Here are the main factors to consider before reaching for your watering can:

1. Plant Type

  • Tropical plants like peace lilies, ferns, and calatheas thrive in consistently moist (but not soggy) soil.
  • Succulents and cacti store water in their leaves and stems, so they need less frequent watering.
  • Flowering plants often require more water during blooming periods.

2. Soil Type

  • Well-draining soil with sand, perlite, or bark allows water to move freely and prevents root rot.
  • Dense or compact soil holds water longer, increasing the risk of overwatering.

3. Pot and Drainage

  • Drainage holes are non-negotiable. Without them, water pools at the bottom and rots roots.
  • Pot material matters: clay or terracotta dries soil faster, while plastic retains moisture longer.

4. Environmental Conditions

  • Humidity: Plants in drier climates or heated indoor spaces dry out faster.
  • Light levels: Plants in bright light need more water than those in low light because they photosynthesize and transpire more.
  • Temperature: Warm environments increase evaporation and root activity, while cooler rooms slow it down.

5. Plant Size and Growth Stage

  • Younger, actively growing plants require more frequent watering than dormant or mature ones.
  • Large leafy plants lose more moisture through transpiration than smaller, slow-growing varieties.

Expert-Approved Watering Techniques

1. The Finger Test

Instead of relying on a schedule, insert your finger about 1–2 inches into the soil. If it feels dry, it’s time to water. If it’s still damp, wait a few days.

2. Bottom Watering

Fill a tray with water and place your plant’s pot inside for 15–30 minutes. The soil absorbs moisture through the drainage holes, ensuring roots get evenly hydrated. This method reduces the risk of surface-level overwatering.

3. Top Watering Correctly

When pouring water from above, do it slowly and evenly until water drains from the bottom. Empty the saucer afterward to prevent standing water.

4. Right Water Temperature

Experts recommend room-temperature water. Cold water can shock roots, while very hot water damages them.

5. Consistency Over Frequency

Plants prefer deep, thorough watering rather than small, frequent sips. Allow the soil to dry slightly between waterings, depending on the species.


Signs You’re Overwatering or Underwatering

Overwatering Symptoms

  • Yellowing or translucent leaves
  • Mushy stems or roots
  • Mold or fungus gnats near the soil surface
  • Soil smells sour or musty

Underwatering Symptoms

  • Wilting leaves that perk up after watering
  • Brown, crispy leaf tips or edges
  • Soil pulling away from the pot’s edges
  • Stunted growth and dropping leaves

Experts note that it’s easier to revive an underwatered plant than an overwatered one, since root rot is often irreversible.


Seasonal Watering Adjustments

Plants’ water needs change throughout the year:

  • Spring and Summer (Active Growth): Increase watering frequency as plants grow and transpire more. Fertilizer is often added during this time, so water helps distribute nutrients.
  • Autumn: Begin reducing watering as light and temperature decrease.
  • Winter (Dormancy): Most plants need significantly less water during dormancy. Succulents, in particular, may only need watering once every 3–4 weeks.

Watering Tools Experts Recommend

The right tools can make watering easier and more precise:

  • Narrow-spout watering can: Allows you to direct water at the soil without splashing leaves.
  • Moisture meter: Provides accurate readings of soil moisture, especially useful for beginners.
  • Self-watering planters: Great for busy individuals; they supply consistent moisture without overwatering.
  • Spray bottle: Helps maintain humidity for tropical plants but should not replace root watering.

Special Considerations for Different Plant Types

Succulents and Cacti

  • Use the “soak and dry” method: water thoroughly, then let the soil dry out completely before watering again.
  • Place in well-draining pots with sandy soil.

Tropical Plants

  • Prefer evenly moist soil, but avoid soggy conditions.
  • Benefit from regular misting or a humidifier to prevent leaf browning.

Orchids

  • Require specialized watering: soak roots once a week, then let them drain fully.
  • Avoid letting water sit in the crown of the plant to prevent rot.

Ferns

  • Love consistently moist soil and high humidity.
  • Should never dry out completely.

Common Watering Mistakes to Avoid

  1. Watering on a rigid schedule – Every plant has different needs; always check soil moisture first.
  2. Using hard tap water – Minerals and chlorine can damage sensitive plants. Experts suggest using filtered, rain, or distilled water when possible.
  3. Letting water sit in saucers – Standing water suffocates roots. Always empty saucers after watering.
  4. Watering leaves instead of soil – Wet leaves increase the risk of fungal diseases. Direct water at the soil.
  5. Overcompensating after forgetting – Giving a parched plant too much water at once can shock it. Instead, rehydrate slowly.

Expert Tips for Long-Term Success

  • Group plants with similar watering needs together to avoid confusion.
  • Adjust to your home’s microclimates—plants near radiators, vents, or windows dry out faster.
  • Rotate plants regularly so all sides receive equal light and don’t develop uneven moisture needs.
  • Keep a watering journal to track frequency and notice patterns in your plants’ needs.
  • Observe, don’t assume—your plants will always show you what they need through their leaves, stems, and soil.

Final Thoughts

Watering indoor plants the right way is less about following a strict routine and more about paying attention. Experts agree that observation, patience, and flexibility are the keys to success. By understanding your plants’ individual requirements, checking soil before watering, and adjusting based on seasonal and environmental conditions, you’ll cultivate a thriving indoor jungle.

Remember: it’s better to underwater slightly than to overwater. With time, you’ll develop an intuitive rhythm, and your plants will reward you with lush growth, vibrant leaves, and blooms that brighten your home year-round.

How to Protect Indoor Plants From Drafts and Temperature Swings

How to Protect Indoor Plants From Drafts and Temperature Swings

Indoor plants are a wonderful way to bring life, color, and a sense of calm to your home. They purify the air, enhance décor, and can even boost mental well-being. However, maintaining healthy indoor plants involves more than watering and sunlight—it also requires protecting them from environmental stressors such as drafts and temperature swings. Sudden changes in temperature or exposure to cold or hot drafts can shock plants, causing leaf drop, stunted growth, and even death.

In this article, we’ll explore why drafts and temperature fluctuations affect indoor plants, how to identify signs of stress, and practical strategies to safeguard your greenery.


Why Indoor Plants Are Sensitive to Drafts and Temperature Swings

Plants evolved in stable environments, often with gradual temperature changes. Unlike outdoor conditions where plants adapt to natural fluctuations, indoor environments can expose them to sudden and extreme changes caused by heating, cooling, or ventilation systems.

Key impacts of drafts and temperature swings on indoor plants include:

  1. Leaf Damage – Cold drafts can cause browning, curling, or dropping of leaves. Hot air drafts from vents can scorch foliage.
  2. Stunted Growth – Sudden temperature shifts slow down photosynthesis, impacting the plant’s energy production.
  3. Increased Susceptibility to Pests and Disease – Stressed plants are more prone to fungal infections, mites, and other pests.
  4. Flowering Disruption – Some flowering plants are highly sensitive to temperature changes, which can cause buds to drop prematurely.

Common Sources of Drafts and Temperature Fluctuations

To protect your plants, you first need to identify where drafts and temperature swings may occur:

  • Air Conditioning Vents – Cool air directly on plants can lower their leaf temperature rapidly.
  • Heating Vents or Radiators – Hot air or dry heat can dehydrate plants and scorch leaves.
  • Windows and Doors – Opening windows in winter or summer can expose plants to cold or hot drafts.
  • Ceiling Fans – Strong airflow can dry out leaves and soil quickly.
  • Exterior Walls – Rooms with poor insulation may fluctuate in temperature with the weather outside.

Signs Your Plants Are Affected by Drafts

Knowing how to recognize stress early helps prevent long-term damage. Common signs include:

  • Yellowing or browning leaf edges
  • Drooping or wilting leaves despite proper watering
  • Leaf drop or bud drop
  • Curling leaves or scorched tips
  • Stunted or uneven growth

If you notice these symptoms, it’s important to check for environmental causes before assuming it’s a watering or nutrient problem.


How to Protect Indoor Plants From Drafts

1. Strategic Placement

  • Avoid placing plants directly in front of air vents, fans, or drafty windows.
  • Use interior walls or corners to shield plants from direct exposure.
  • Move sensitive plants away from doors that are frequently opened to the outdoors.

2. Use Barriers and Shields

  • Decorative screens, sheer curtains, or room dividers can buffer plants from drafts while still allowing light in.
  • Glass or plastic cloches can protect smaller plants or seedlings from sudden temperature changes.

3. Monitor Indoor Climate

  • Use a thermometer or hygrometer to track room temperature and humidity.
  • Aim for stable temperatures appropriate for your plant type, usually 65–75°F (18–24°C) for most tropical houseplants.

4. Adjust Heating and Cooling Systems

  • Direct air from vents away from plants.
  • Consider using diffusers or vent extenders to disperse airflow gently.
  • During winter, keep plants at least a few feet away from radiators or baseboard heaters.

5. Create Microclimates

  • Group plants together; they create a humid microclimate that stabilizes temperature and moisture.
  • Place plants on pebble trays with water to maintain humidity without sitting in water.

How to Protect Indoor Plants From Temperature Swings

1. Gradual Acclimation

  • Avoid moving plants suddenly between hot and cold rooms. Gradually acclimate them over several days if relocation is necessary.

2. Seasonal Adjustments

  • During winter, keep sensitive plants away from drafty windows and doors.
  • In summer, shield plants from hot afternoon sun through windows that intensify heat.

3. Insulate Pots

  • Use double-layered pots or wrap pots with bubble wrap in winter to prevent roots from freezing.
  • Raised pots or plant stands help prevent cold drafts from the floor from affecting the root zone.

4. Use Temperature-Stable Rooms

  • Identify rooms with the most consistent temperature and minimal exposure to vents or exterior walls.
  • Bathrooms and kitchens can sometimes be ideal due to consistent warmth and humidity.

Special Considerations for Different Types of Indoor Plants

  1. Tropical Foliage Plants (Monstera, Philodendron, Rubber Plant)
    • Highly sensitive to cold drafts; keep them in warmer, stable areas.
  2. Succulents and Cacti
    • Sensitive to cold and moisture. Avoid drafty windows during winter and ensure pots drain well.
  3. Orchids
    • Sensitive to sudden temperature shifts, especially during flowering. Keep in stable, humid environments.
  4. Ferns and Humidity-Loving Plants
    • Sensitive to dry heating drafts. Keep near pebble trays or group with other plants to maintain humidity.

Additional Tips for Healthy, Stable Indoor Plants

  • Regular Observation – Check plants daily for signs of stress, especially during seasonal transitions.
  • Maintain Consistent Watering – Temperature fluctuations can affect soil moisture. Adjust watering based on environmental conditions.
  • Use Smart Plant Stands – Elevate plants to avoid cold floors or hot air pooling near vents.
  • Rotate Plants – Even light exposure helps reduce stress caused by drafts hitting one side repeatedly.
  • Consider Humidifiers – For dry winter air, a small humidifier can prevent foliage from drying out near heat sources.

Common Mistakes to Avoid

  • Placing plants directly in front of vents, radiators, or drafty windows.
  • Moving plants abruptly between rooms with large temperature differences.
  • Ignoring signs of stress until leaf drop or wilting occurs.
  • Overwatering plants stressed by temperature swings, which can lead to root rot.

Conclusion

Protecting indoor plants from drafts and temperature swings is essential for their health, growth, and longevity. By strategically placing plants, using barriers, monitoring indoor climate, and creating stable microclimates, you can minimize stress and encourage lush, vibrant growth.

Remember, even small adjustments—like moving a plant away from a cold window or shielding it from direct vent air—can make a significant difference. When you take the time to protect your indoor plants, they reward you with thriving foliage, healthy blooms, and a more beautiful, calming indoor environment.

Your plants aren’t just décor—they’re living beings that respond to their environment. Keeping them safe from drafts and temperature swings ensures they remain your vibrant, green companions year-round.

How to Rotate Houseplants for Even Growth and Health

How to Rotate Houseplants for Even Growth and Health

Houseplants bring life, color, and a sense of calm into our homes. However, many indoor gardeners notice that their plants start growing unevenly—leaning toward a window, one side fuller than the other, or leaves turning pale. This is often caused by inconsistent light exposure. Unlike outdoor plants that can turn freely toward the sun, indoor plants are typically stationary, receiving light primarily from one direction.

Rotating your houseplants is a simple yet powerful practice that promotes even growth, healthier foliage, and a stronger root system. In this article, we’ll explore why rotation matters, how often to rotate, the correct technique, and additional tips to maximize your plant’s health and aesthetics.


Why Rotating Houseplants Matters

Rotating houseplants may seem trivial, but it directly affects the plant’s well-being. Here’s why it’s essential:

  1. Promotes Even Light Exposure
    Plants naturally grow toward the light in a process called phototropism. If left unrotated, one side becomes elongated while the other side remains underdeveloped. Rotating ensures all leaves get equal sunlight, encouraging balanced growth.
  2. Prevents Leaning and Uneven Stems
    Without rotation, plants may grow crooked or lean heavily in one direction, making them prone to tipping over or breaking.
  3. Supports Overall Health
    Even light distribution strengthens all parts of the plant, improving photosynthesis, nutrient absorption, and air circulation around leaves.
  4. Reduces Pest and Disease Risk
    Uneven growth creates shaded areas with poor air circulation, ideal for pests or fungal growth. Rotating prevents stagnant, shaded areas.

How Often Should You Rotate Houseplants?

Frequency depends on the plant type, light source, and growth rate:

  • Slow-growing plants (e.g., succulents, snake plants): Rotate every 3–4 weeks.
  • Fast-growing plants (e.g., pothos, monstera, fiddle leaf fig): Rotate weekly to biweekly.
  • Flowering plants (e.g., peace lilies, orchids): Rotate at least weekly during bloom periods to ensure even flower development.

Observation is key: if you notice leaves leaning heavily toward the light or uneven color distribution, it’s time to rotate, even if your schedule isn’t strict.


How to Rotate Plants Correctly

Proper rotation is more than just turning the pot 180 degrees. Here’s a step-by-step guide:

Step 1: Assess Your Plant

  • Observe which side is leaning toward the light.
  • Check for underdeveloped or yellowing leaves.
  • Identify the most exposed parts of the plant.

Step 2: Determine Rotation Direction

  • 180-degree rotation: Common for small to medium plants, especially those near a single light source.
  • Quarter-turn rotations (90 degrees): Works well for larger plants or those with many branches.
  • Multiple rotations: For very large or irregularly shaped plants, rotate a bit at a time over several days to prevent shock.

Step 3: Handle Gently

  • Support the plant at the base while turning.
  • Avoid forcing branches or leaves into a new position.

Step 4: Monitor After Rotation

  • Watch for leaf droop or stress for the first 2–3 days.
  • Adjust light exposure if necessary—some plants may need gradual adaptation to prevent sunburn.

Special Considerations for Different Types of Houseplants

Different plant types respond differently to rotation, so adjust accordingly:

1. Tropical Foliage Plants (Monstera, Philodendron, Rubber Plant)

  • Rotation: Weekly to biweekly.
  • Tip: Rotate only a portion of the plant if it’s very large, then gradually turn the rest to avoid tipping.

2. Succulents and Cacti

  • Rotation: Every 3–4 weeks.
  • Tip: These plants are sensitive to intense light. Rotate gradually to prevent sunburn on previously shaded sides.

3. Flowering Plants (Peace Lily, Orchid, Anthurium)

  • Rotation: Weekly during active growth and bloom.
  • Tip: Ensure flowers face outward evenly for a balanced display.

4. Small Herbs (Basil, Mint, Rosemary)

  • Rotation: Every few days if near a single window.
  • Tip: Rotate frequently to maintain compact growth and maximize leaf production.

Tips for Optimizing Light Along with Rotation

Rotation works best in combination with proper light placement:

  1. Use Supplemental Light
    If a room has uneven lighting, consider grow lights to reduce leaning and promote uniform growth.
  2. Move Plants Occasionally
    In addition to rotation, shift plants to slightly different positions in the room to expose all sides to light.
  3. Avoid Excessive Direct Sun
    Gradual rotation helps prevent leaf scorch. For sensitive plants, rotate only 45–90 degrees at a time until fully adjusted.
  4. Monitor Leaf Orientation
    Leaves naturally follow light. Keep an eye on leaves that may still lean after rotation; adjust the light source or angle if necessary.

Rotating Without Removing Plants

For large or heavy houseplants, frequent lifting can be cumbersome. Here are practical solutions:

  • Lazy Susans / Rotating Plant Stands: Place your plant on a spinning platform for easy rotation.
  • Plant Caddies with Casters: Allows smooth rotation and relocation without lifting.
  • Adjustable Shelves: Rotate plants by moving them to new positions on staggered shelving to vary light exposure.

Common Mistakes to Avoid

  1. Rotating Too Rarely
    Leads to uneven growth and leaning. Observe your plants and adjust rotation schedule accordingly.
  2. Rotating Too Frequently
    Some plants may experience stress if rotated constantly, especially flowering or sensitive species.
  3. Ignoring Light Intensity
    Rotation alone won’t solve uneven growth if the light source is too weak or too strong. Adjust placement accordingly.
  4. Forcing the Plant
    Avoid bending stems or leaves while rotating; always support the base and handle gently.
  5. Neglecting Root Stability
    Large plants with heavy foliage may need staking to prevent tipping when rotated.

Benefits of Regular Plant Rotation

  • Balanced Growth: Ensures even leaf and stem development.
  • Healthier Roots: Properly oriented leaves support photosynthesis, which promotes strong roots.
  • Improved Flowering: Rotating flowering plants ensures blooms are evenly distributed.
  • Aesthetic Appeal: Plants look fuller, more symmetrical, and visually balanced.
  • Enhanced Air Circulation: Rotation encourages airflow around all sides, reducing pest risk.

Conclusion

Rotating houseplants is a simple yet essential practice for maintaining even growth, aesthetic appeal, and overall health. By understanding the specific needs of your plants, observing their growth patterns, and rotating them correctly and consistently, you can prevent leaning, encourage balanced foliage, and even enhance flowering.

Rotation, combined with proper light placement, watering, and care, ensures that your indoor garden flourishes year-round. With a little attention and regular rotation, your houseplants will thrive as healthy, vibrant companions that enhance your living space both visually and atmospherically.