When To Apply Fall Fertilizer for Maximum Growth

When To Apply Fall Fertilizer for Maximum Growth

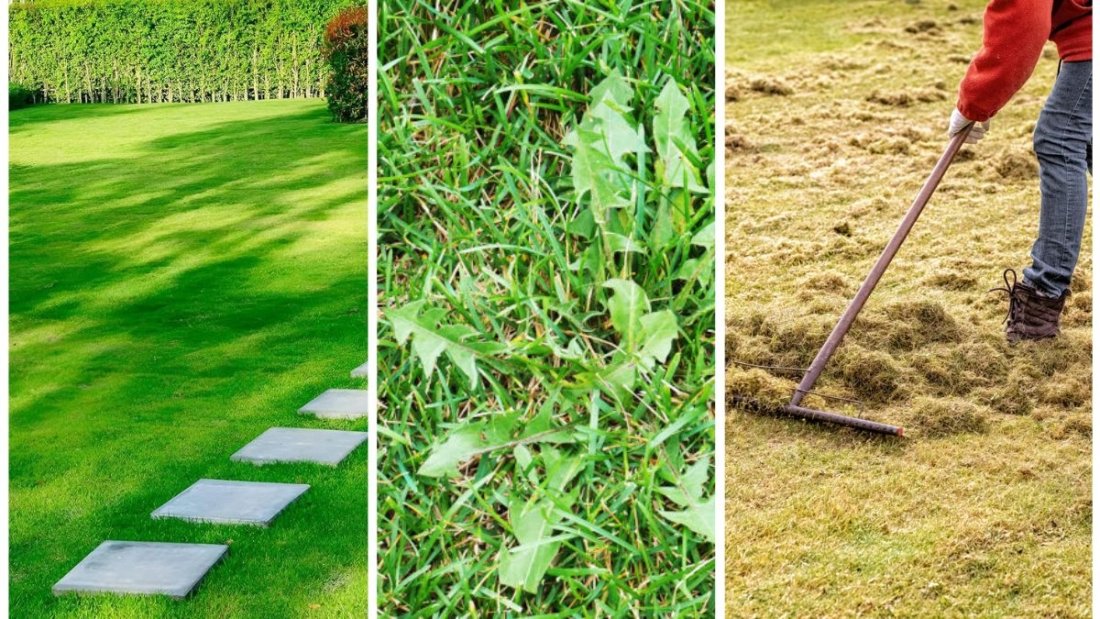
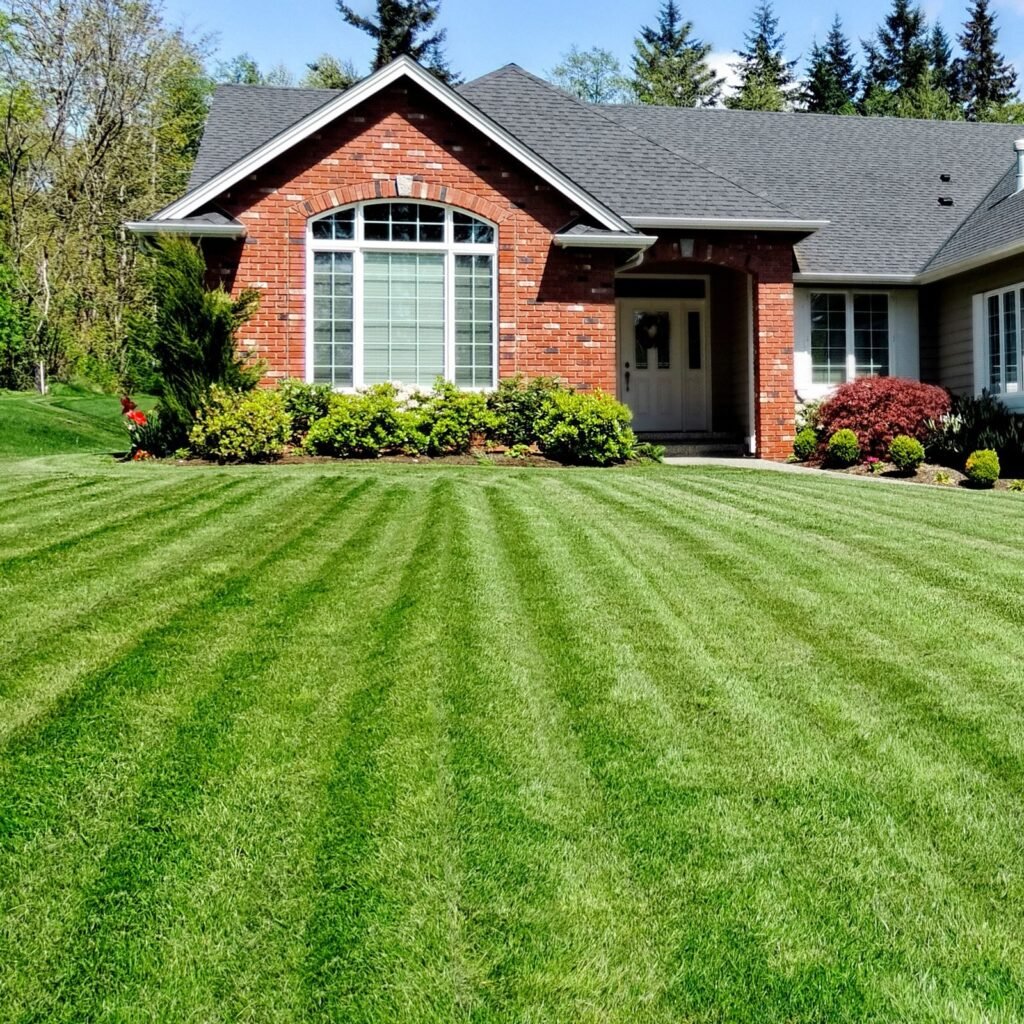
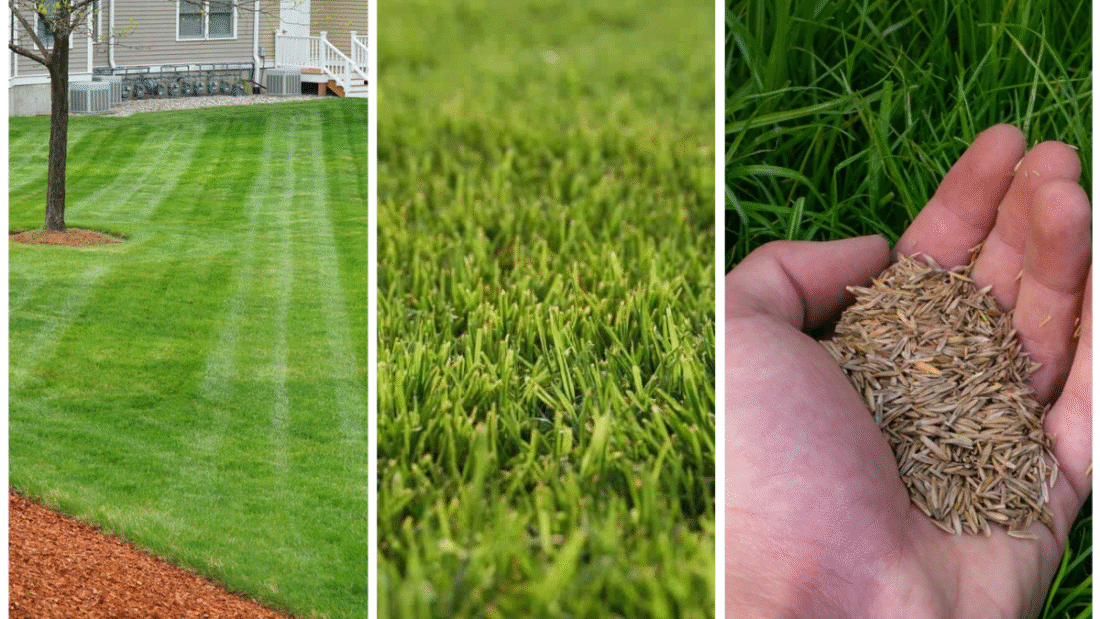
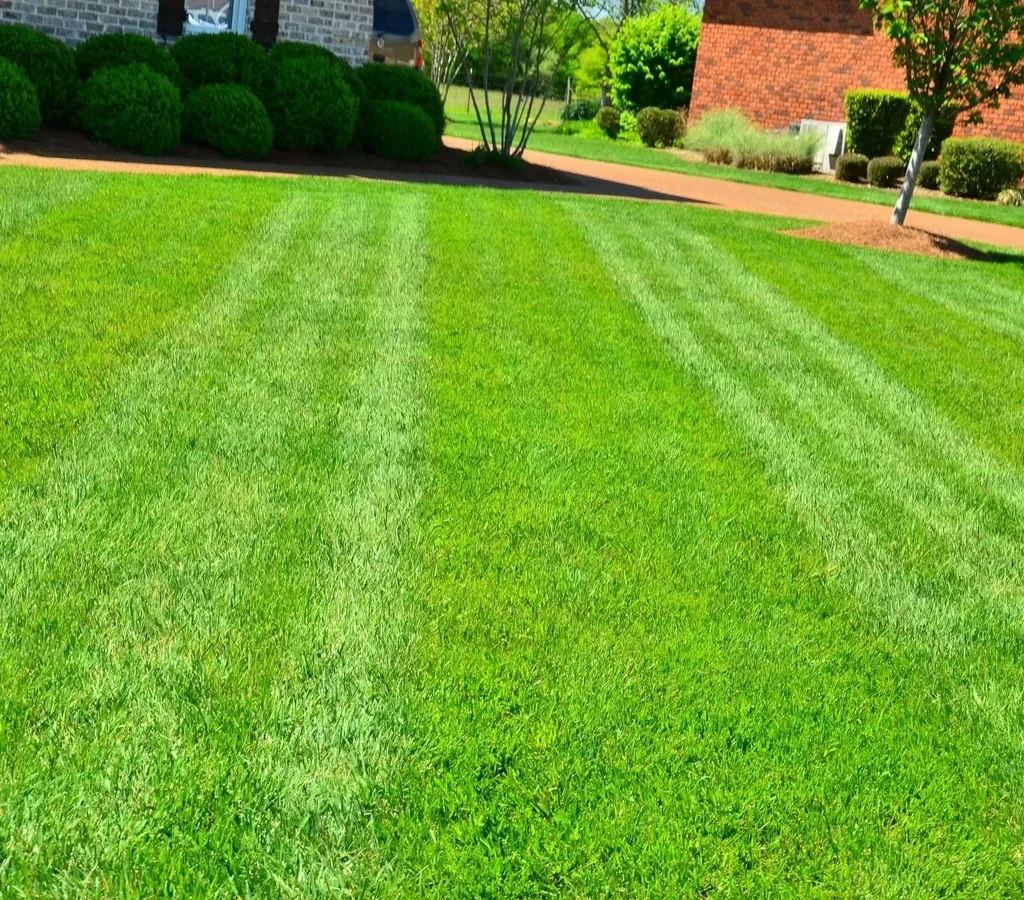
For homeowners and gardeners alike, a lush, green lawn is the ultimate reward after a season of care. But if you want your lawn to look its best year-round, fall fertilization is one of the most powerful steps you can take. Unlike spring feeding, which encourages rapid top growth, fall fertilizer strengthens roots, stores energy, and sets the stage for thick, healthy grass in spring.

The key to success, however, lies not just in what you apply, but in when you apply it. Fertilizing at the right time in fall ensures nutrients are absorbed efficiently, maximizing growth and resilience before winter dormancy. Apply too early, and you risk stressing the grass; apply too late, and the nutrients won’t reach roots before the ground freezes.

This article breaks down the science of fall fertilization, the best timing strategies for cool- and warm-season grasses, the types of fertilizers to use, and practical application tips to get maximum results.


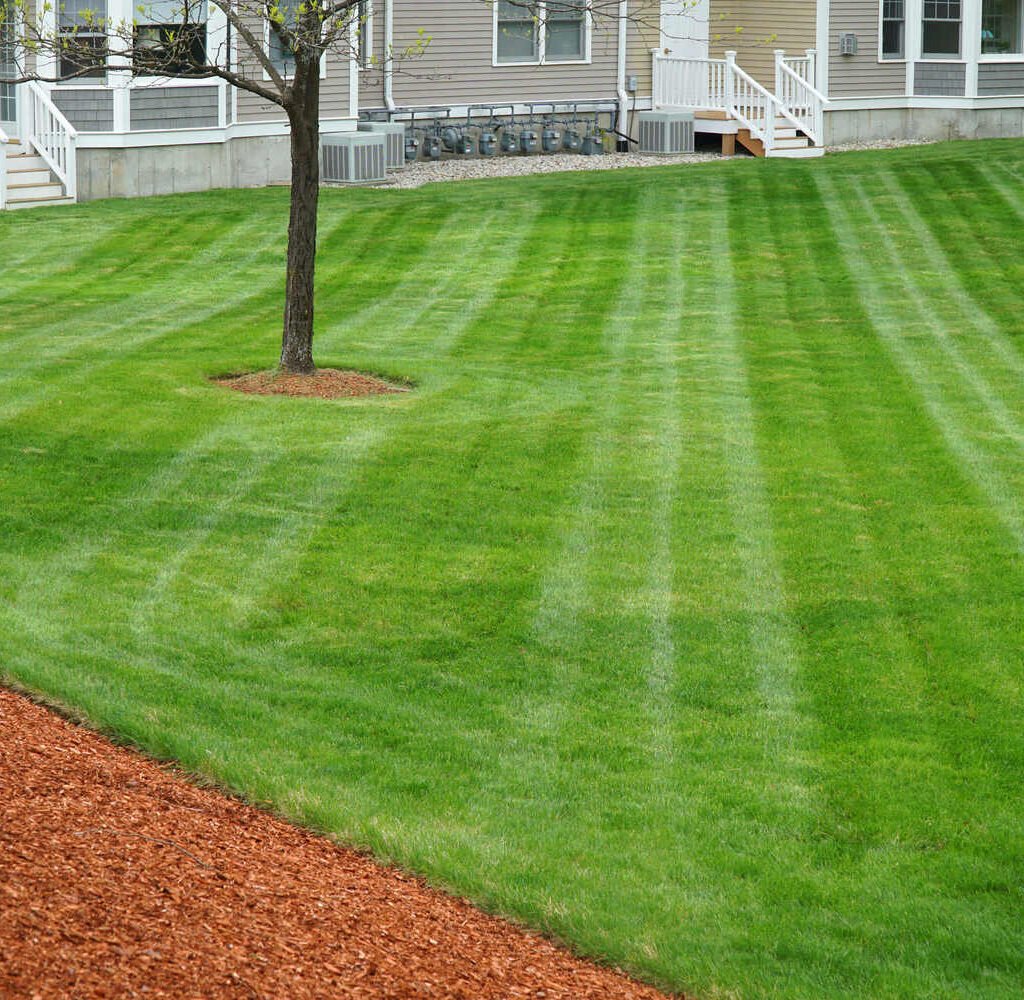
Why Fall Fertilization Matters

Grass doesn’t stop growing the moment temperatures dip. In fact, roots remain active well into late fall, even after top growth slows. Feeding your lawn during this critical period delivers multiple benefits:

  1. Strengthens Root Systems – A nitrogen boost encourages deep root growth, helping grass anchor firmly and absorb more water.
  2. Improves Nutrient Storage – Extra nutrients are stored in root reserves, fueling rapid green-up when spring arrives.
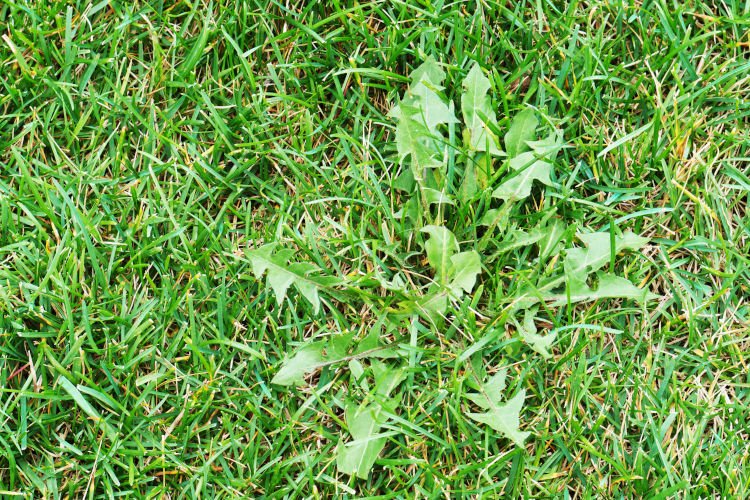
  3. Repairs Summer Stress – Fertilizer replenishes resources lost from heat, drought, or foot traffic during summer.
  4. Enhances Winter Survival – Well-fed lawns resist snow mold, disease, and cold injury better.
  5. Thicker Spring Growth – Lawns fertilized in fall emerge greener and denser than unfed lawns.

The Science of Timing: Understanding Grass Growth

To know when to apply fertilizer, you need to understand how grass grows seasonally.

  • Cool-season grasses (Kentucky Bluegrass, Fescues, Ryegrass): Grow most actively in spring and fall. Fall feeding is essential because it builds strong roots before winter dormancy.
  • Warm-season grasses (Bermuda, Zoysia, St. Augustine): Grow vigorously in summer and slow as fall approaches. Fall fertilization is less about promoting growth and more about preparing roots for winter survival.

The goal is to apply fertilizer when the grass is still actively growing but before the soil freezes—ensuring nutrients are absorbed and stored effectively.


Best Time to Apply Fertilizer in Fall

1. Early Fall Feeding (September–Early October)

The first fall application should be timed when daytime temperatures cool to 60–75°F, but the grass is still actively growing.

Why it matters:

  • Helps grass recover from summer stress.
  • Encourages new root shoots.
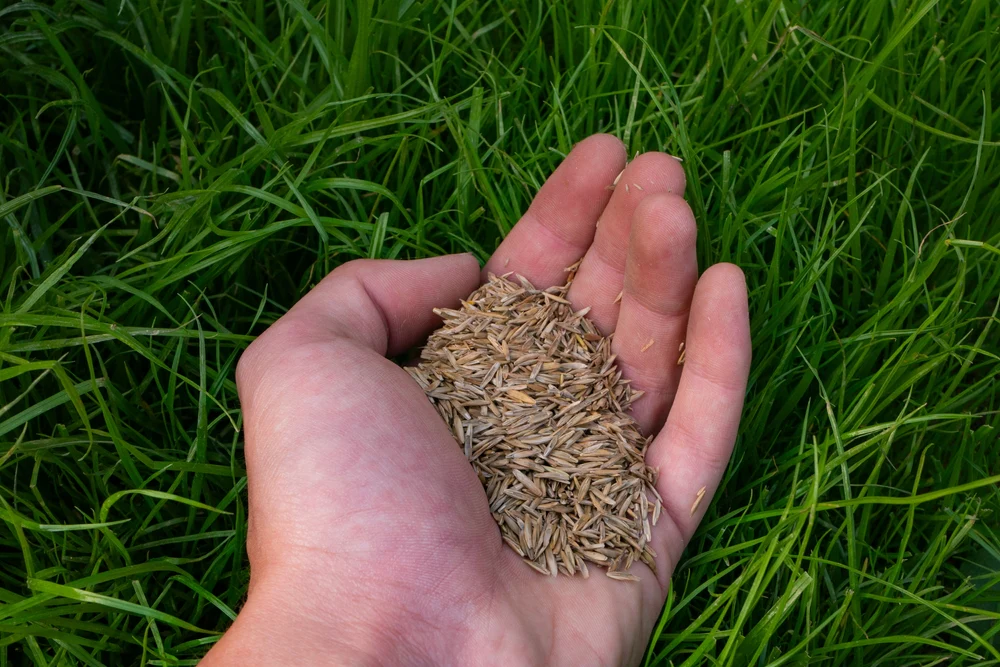
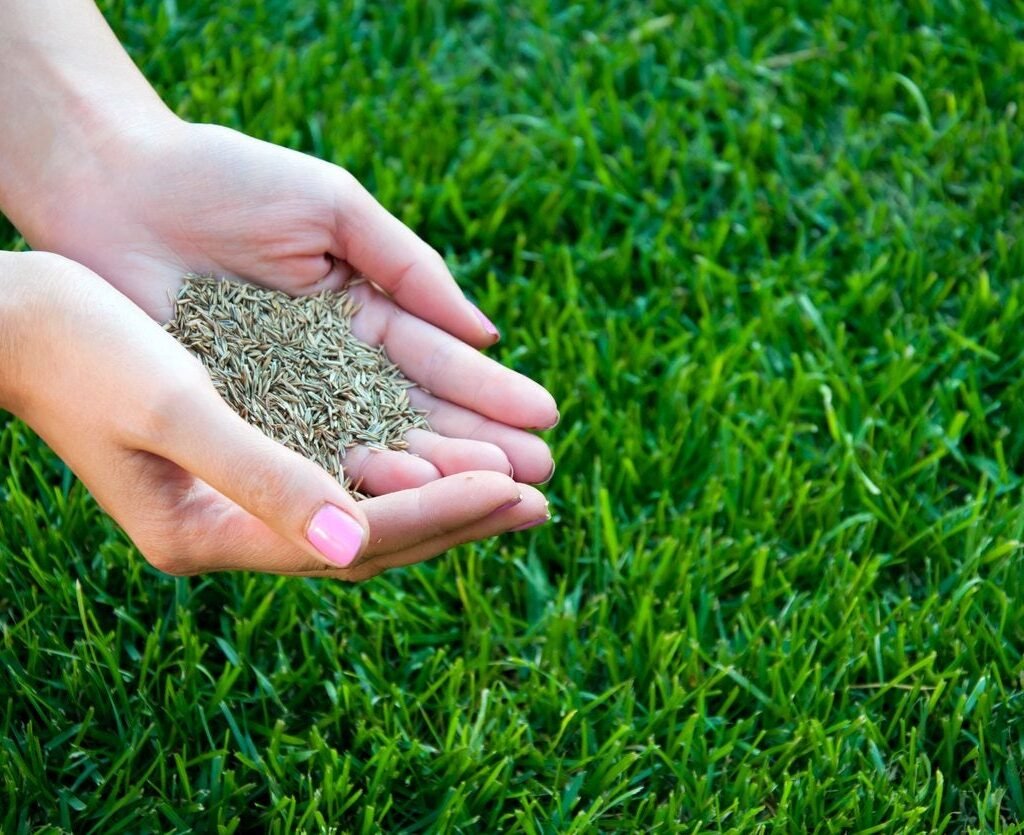
  • Prepares soil for overseeding.

Cool-season lawns: Ideal time for the first feeding.
Warm-season lawns: This is usually the last fertilization window before dormancy.


2. Late Fall Feeding (Late October–November)

The second fall application is often called a “winterizer” feeding. Apply it 4–6 weeks after your early fall feeding, but before the ground freezes.

Why it matters:

  • Maximizes nutrient storage in roots.
  • Fuels strong spring growth without excessive fall leaf growth.
  • Provides cold resistance.

Timing tip: The best window is after the last mow of the season, when top growth has slowed but roots remain active (usually soil temps above 40–45°F).


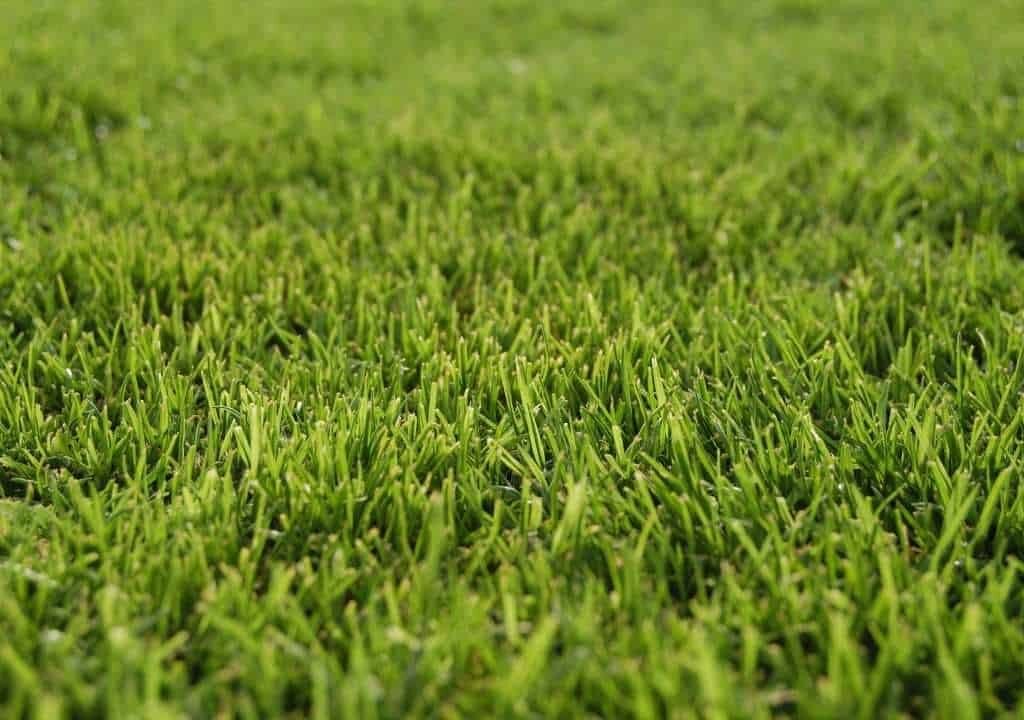
Signs It’s the Right Time to Fertilize

If you’re unsure about timing, look for these cues:

  • Grass blades are still green and growing slowly.
  • You’re still mowing, but less frequently.
  • Daytime temps are in the 50–70°F range.
  • Soil isn’t frozen or waterlogged.

Avoid fertilizing during summer heat (too stressful) or once soil freezes (nutrients won’t absorb).


Choosing the Right Fertilizer for Fall

The type of fertilizer you choose is just as important as timing.

1. Nitrogen (N)

  • Promotes density, color, and growth.
  • Slow-release nitrogen is best for steady feeding over weeks.

2. Phosphorus (P)

  • Strengthens root growth and seed establishment.
  • Only apply if a soil test shows deficiency (many areas restrict phosphorus use).

3. Potassium (K)

  • Improves cold tolerance and disease resistance.
  • Essential in fall fertilizers for winter hardiness.

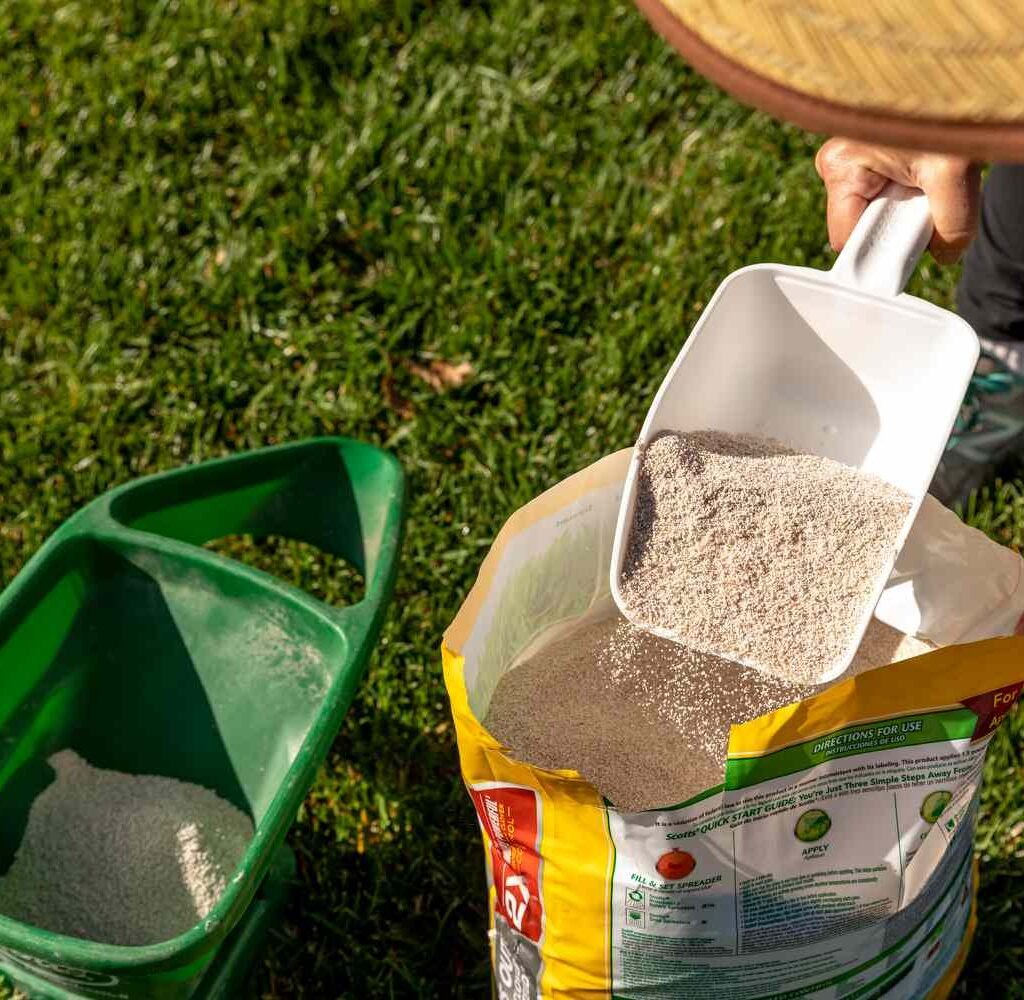
Recommended formula: Look for a fertilizer with a high first number (N) and significant third number (K). Example: 24-0-10 or 20-5-15.


Application Tips for Maximum Growth

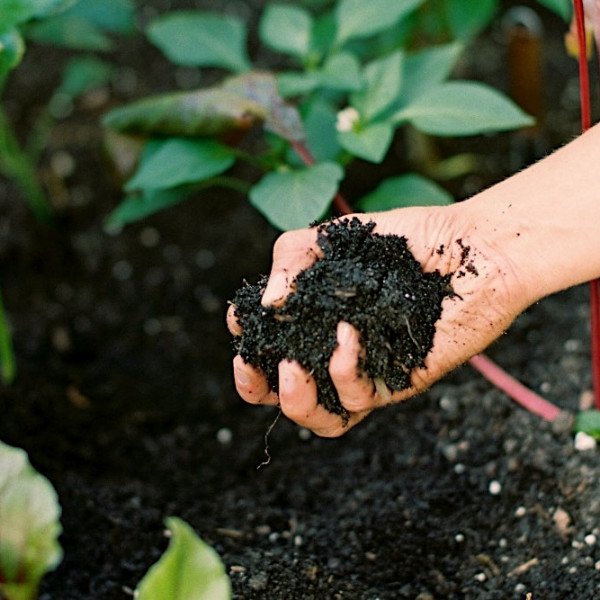
  1. Test Your Soil – A soil test every 2–3 years tells you which nutrients are truly needed.
  2. Mow Before Fertilizing – Apply fertilizer on freshly cut grass for even distribution.
  3. Water In After Application – Light watering dissolves granules and activates nutrients.
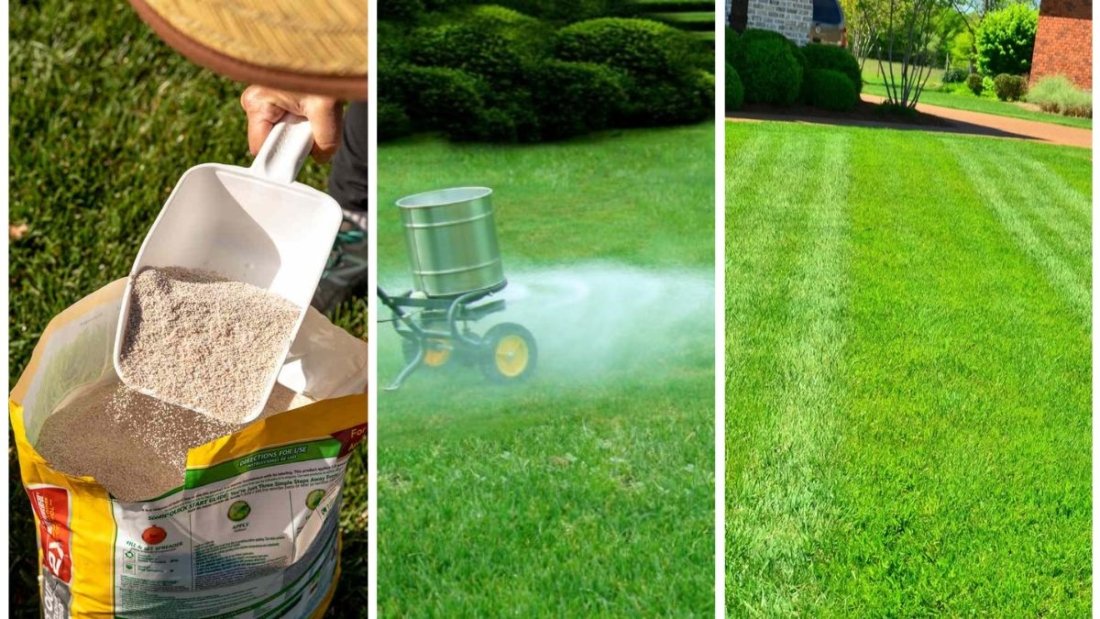
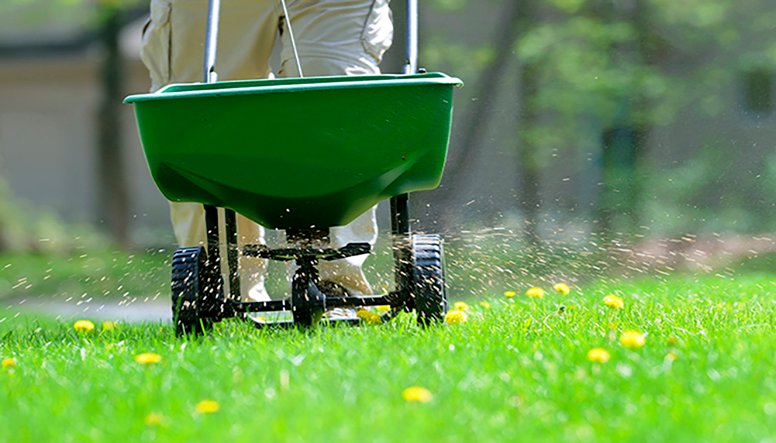
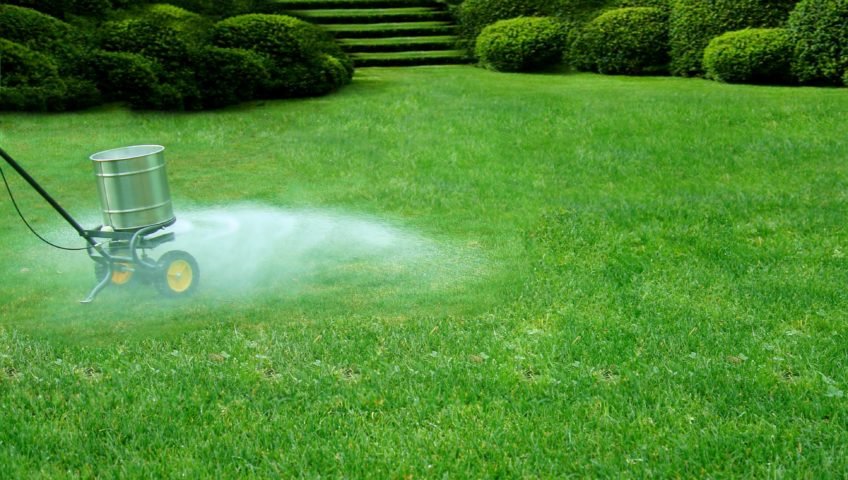
  4. Use a Spreader – A broadcast or drop spreader ensures even coverage and avoids streaks.
  5. Follow Label Rates – Over-fertilizing can burn grass or cause runoff pollution.

Regional Timing Recommendations

Northern/Cool-Season Regions (USDA Zones 4–7)

  • Early fall feeding: September–early October.
  • Winterizer feeding: Late October–mid-November, before soil freezes.

Southern/Warm-Season Regions (USDA Zones 8–10)

  • Final feeding: Early fall (September), no later than 6 weeks before expected frost.
  • Avoid late fall nitrogen; too much can cause tender growth susceptible to frost damage.

Transition Zones (Zones 6–8)

  • Use a mix of cool-season and warm-season strategies.
  • Overseed with ryegrass in fall, and fertilize accordingly.

Mistakes to Avoid When Fertilizing in Fall

  1. Applying too early: Fertilizer gets wasted on top growth instead of root development.
  2. Using quick-release only: Can cause a growth surge, making grass vulnerable to frost.
  3. Ignoring watering: Without water, nutrients can’t penetrate the root zone.
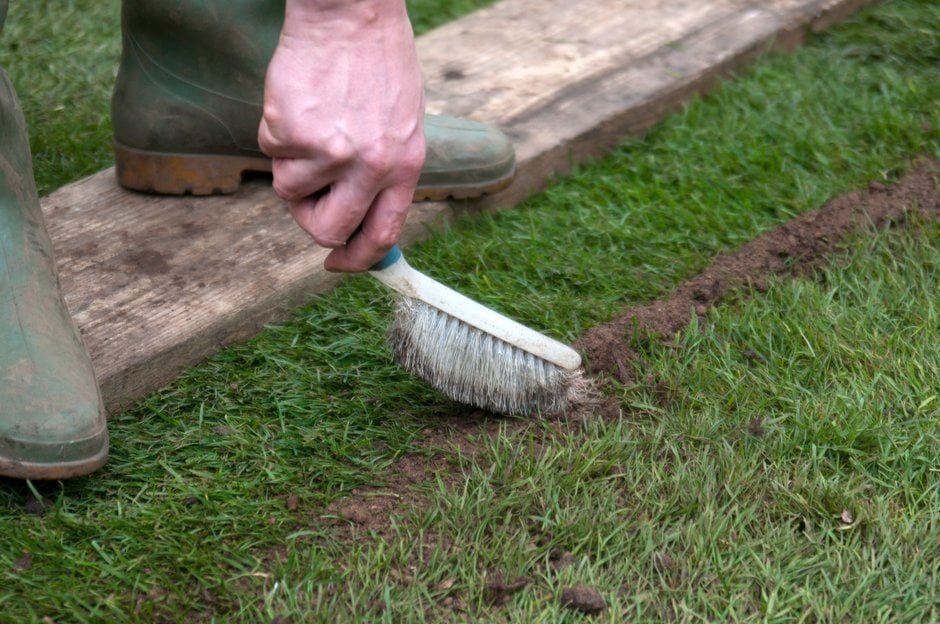
  4. Skipping soil prep: Aeration before fertilization increases effectiveness by allowing deeper nutrient penetration.
  5. Neglecting safety: Keep fertilizer away from driveways, sidewalks, and water drains to prevent pollution.

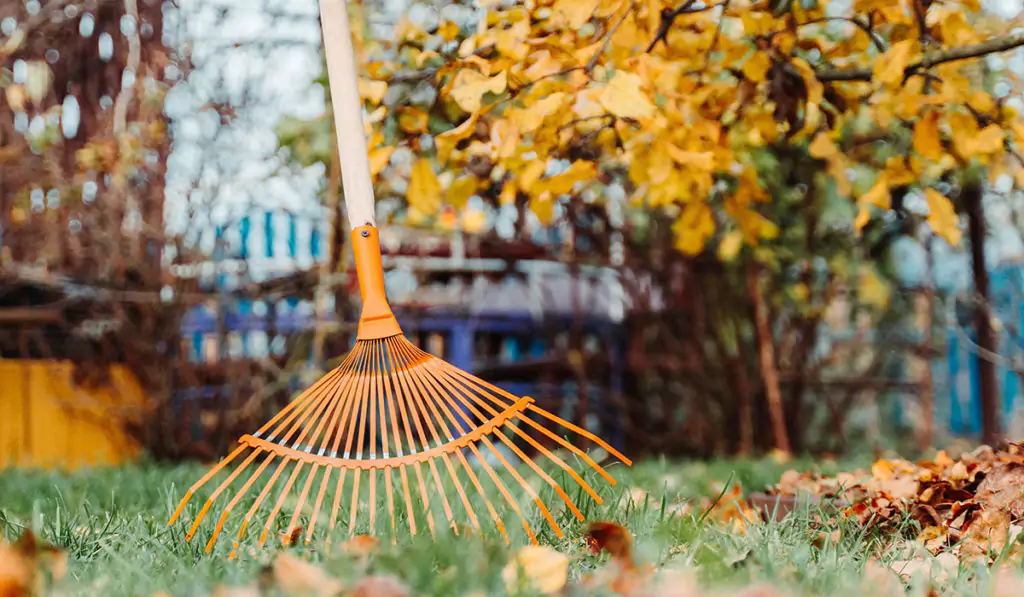
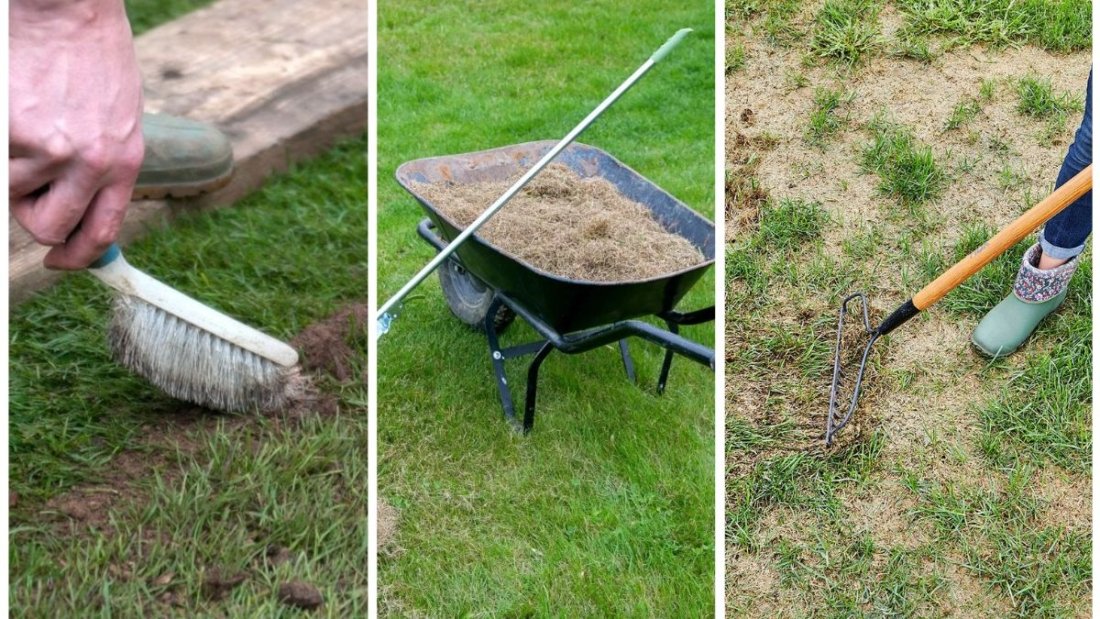
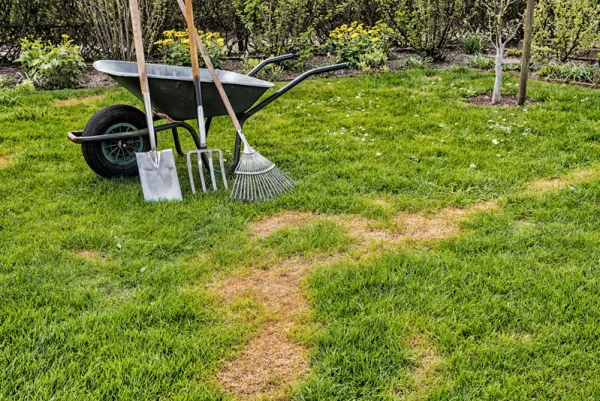
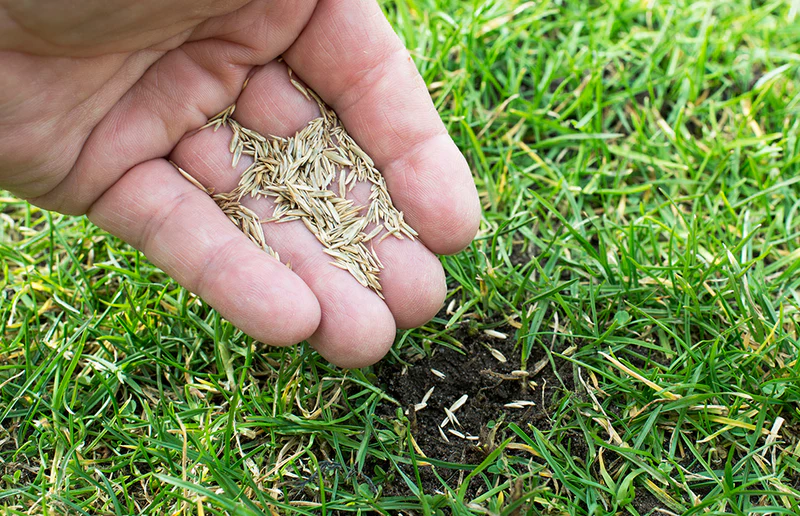
Pairing Fertilization with Other Fall Lawn Care

To maximize results, combine fertilization with these fall tasks:

  • Aeration: Relieves soil compaction, allowing fertilizer to penetrate deeper.
  • Overseeding: Combine seeding with starter fertilizer for better establishment.
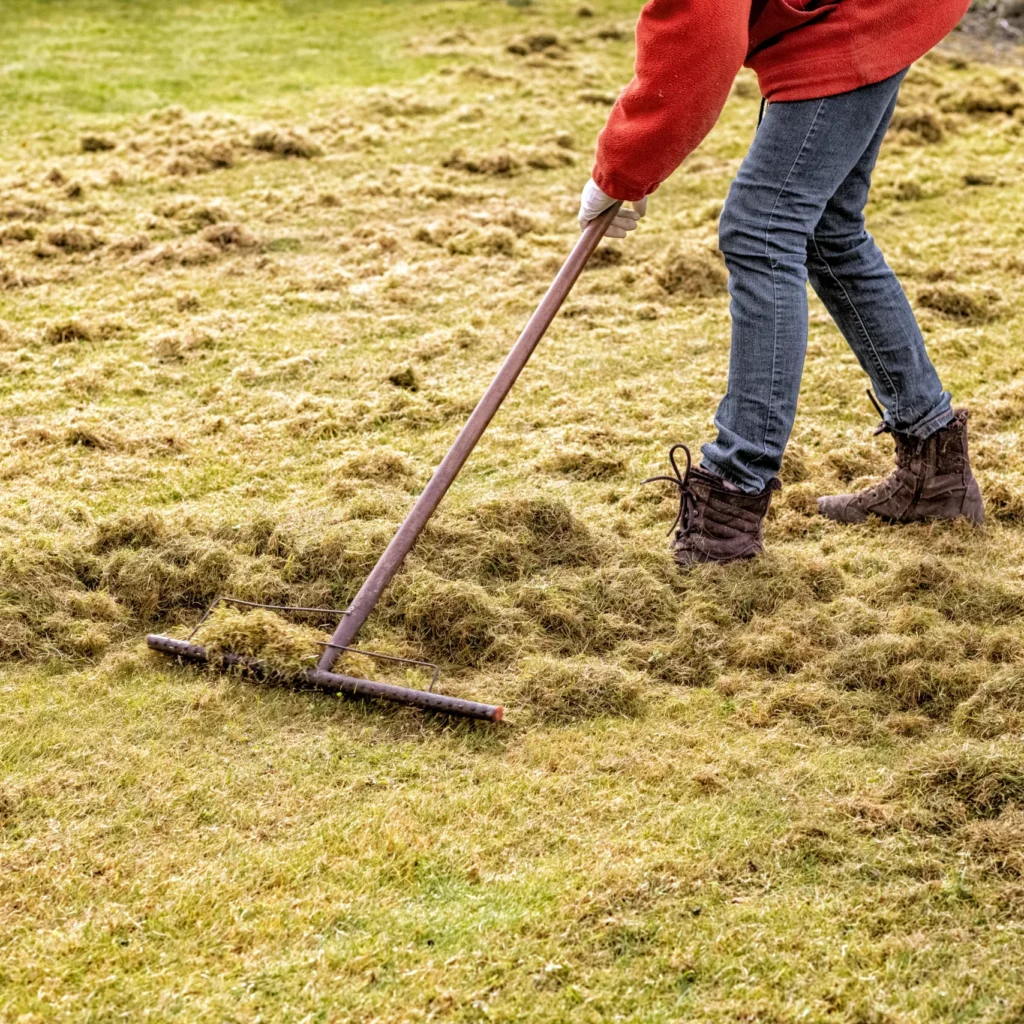
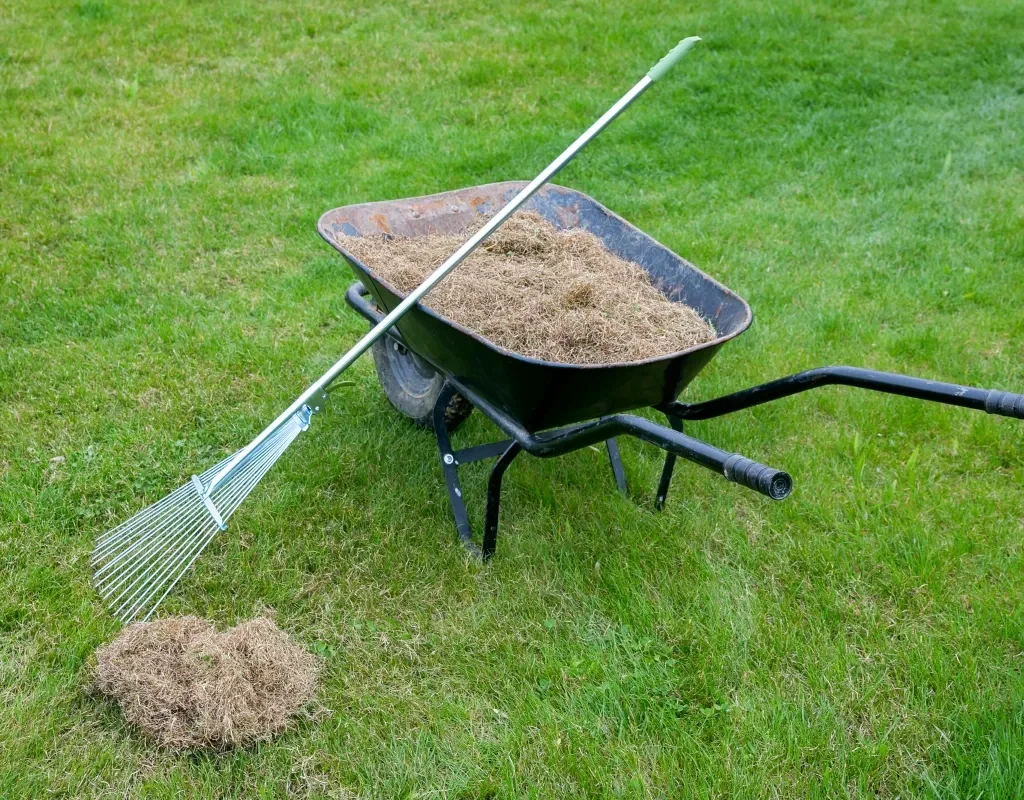
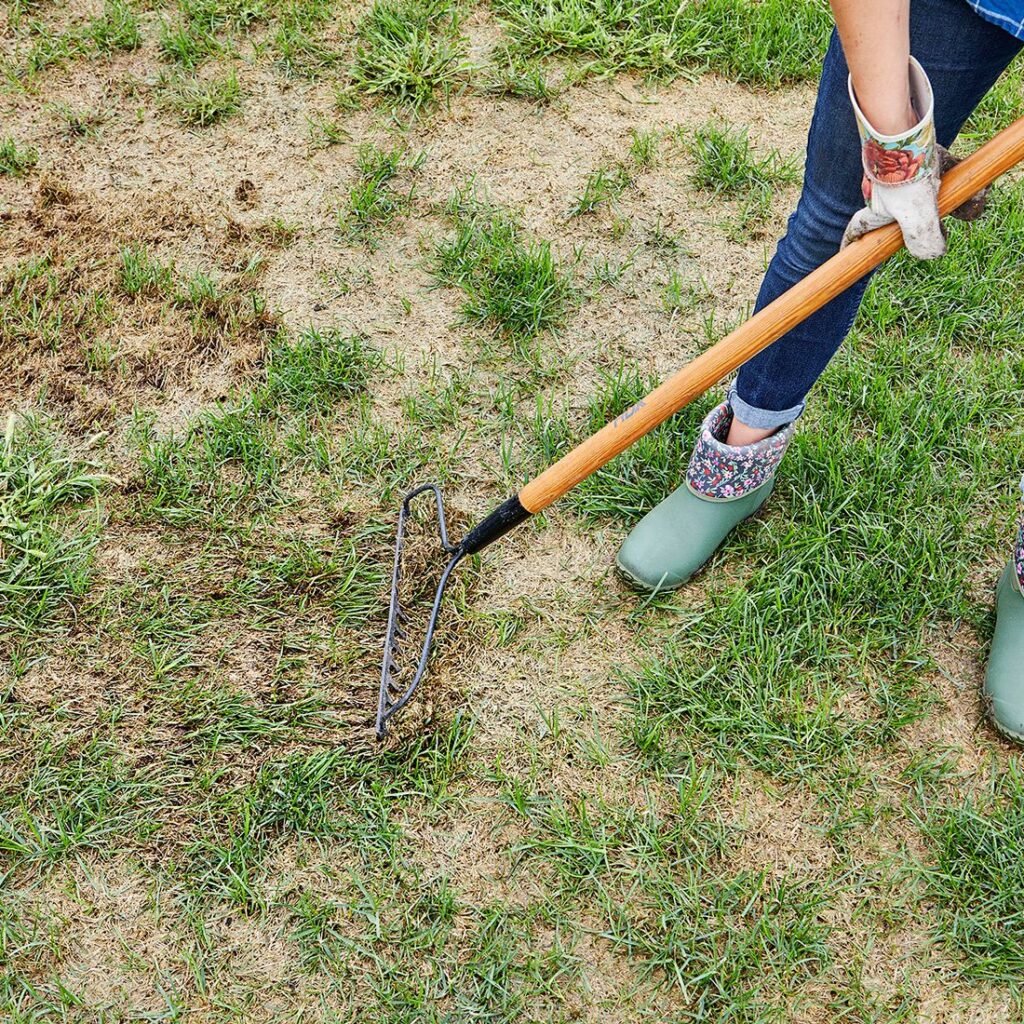
  • Dethatching: Removing excess thatch improves nutrient absorption.
  • Final mow: Keep grass around 2.5–3 inches tall before winter.

This holistic approach ensures fertilizer doesn’t just sit on the surface but reaches the roots effectively.


Conclusion

Knowing when to apply fall fertilizer is the secret to unlocking maximum lawn growth and resilience. For cool-season grasses, a two-step feeding—early fall recovery followed by a late fall winterizer—is ideal. For warm-season grasses, one final early fall application prepares them for dormancy without encouraging vulnerable new growth.

Timing is everything: apply too early, and nutrients are wasted; too late, and roots won’t benefit before the ground freezes. By fertilizing when grass is still actively growing, choosing the right formula, and pairing it with soil prep and watering, you’ll set your lawn up for a thicker, greener, and healthier return in spring.

Fall fertilization isn’t just a seasonal chore—it’s an investment in the beauty and strength of your lawn for the entire year ahead.

5 Tips for a Thicker Lawn Before Winter Dormancy

5 Tips for a Thicker Lawn Before Winter Dormancy

As the crisp air of fall settles in, many homeowners shift their focus from summer blooms and barbecues to preparing their lawns for the colder months ahead. While it may seem like the growing season is coming to a close, fall is actually the most important time to invest in your lawn’s health. Before your grass enters winter dormancy, you have a golden opportunity to strengthen its roots, fill in bare patches, and encourage lush, thick growth that will return even greener in spring.

A thin or stressed lawn going into winter risks weed invasion, snow mold, and weak growth in the following year. On the other hand, a thicker lawn before dormancy not only looks better but also insulates itself against winter stress, ensuring a strong comeback.

In this article, we’ll explore five proven tips for achieving a thicker lawn before winter dormancy—covering overseeding, fertilization, mowing, watering, and soil care. Each strategy works with the natural rhythm of grass growth in fall, ensuring your lawn is well-prepared to withstand the cold.


1. Overseed to Fill Bare and Thin Spots

One of the most effective ways to thicken your lawn in fall is through overseeding—spreading new seed over existing turf. As temperatures drop and soil remains warm, grass seed germinates quickly without the stress of summer heat.

Why Overseeding Works

  • Fills bare spots: Thin lawns allow weeds like crabgrass and dandelions to thrive. Overseeding chokes them out.
  • Increases density: More blades of grass equal a thicker, carpet-like appearance.
  • Boosts resilience: New seedlings add genetic diversity, improving disease resistance.

Best Practices for Overseeding

  • Choose the right seed mix: Match grass type to your region—Kentucky Bluegrass, Perennial Ryegrass, or Tall Fescue for cool-season lawns; Bermuda or Ryegrass blends for transitional zones.
  • Prepare the lawn: Mow shorter than usual (about 2 inches) and rake thoroughly to expose soil.
  • Ensure seed-to-soil contact: Lightly rake in seeds and consider a thin compost topdressing.
  • Keep soil moist: Water lightly 1–2 times daily until germination, then transition to deeper, less frequent watering.

Result: By the time winter arrives, you’ll have a lawn that looks fuller and is better equipped to crowd out weeds.


2. Fertilize with a Fall Formula

Fertilization is critical for thickening your lawn before dormancy. Unlike spring fertilization, which focuses on leaf growth, fall fertilization fuels root development. Stronger roots mean grass can store energy to survive winter and emerge thick and green in spring.

Why Fall Fertilizer Matters

  • Encourages root growth before the ground freezes.
  • Improves nutrient storage for spring regrowth.
  • Helps grass recover from summer stress (heat, drought, foot traffic).

Fertilizer Application Tips

  • Use a nitrogen-rich formula: Look for a fall or “winterizer” blend high in nitrogen and potassium. Nitrogen promotes density, while potassium enhances cold tolerance.
  • Timing is key: Apply early fall fertilizer when daytime temps are around 60–70°F, and a second application in late fall (4–6 weeks before the ground freezes).
  • Spread evenly: Use a broadcast spreader to avoid patchy growth.
  • Water afterward: Light watering ensures nutrients reach the root zone.

Result: Fertilization strengthens root systems, ensuring your lawn enters dormancy healthy and reawakens in spring thick and vibrant.


3. Adjust Your Mowing Routine

Mowing is often overlooked as a strategy for lawn thickening, but proper mowing habits in fall encourage stronger growth and prepare grass for winter.

Why Mowing Matters

  • Promotes lateral growth, encouraging turf to spread and thicken.
  • Prevents disease risk by keeping grass at the right height before snow cover.
  • Improves seed-to-soil contact during overseeding.

Mowing Tips for Fall

  • Gradually lower mowing height: Keep grass around 2.5–3 inches before winter. Taller grass insulates roots, but grass left too long may mat down and invite snow mold.
  • Sharpen mower blades: Clean cuts reduce stress and disease risk.
  • Leave clippings: Mulched clippings return nutrients to the soil naturally.
  • Avoid scalping: Cutting too short weakens the plant before winter dormancy.

Result: A carefully managed mowing schedule thickens turf in fall and prevents disease issues under winter snow.


4. Water Deeply and Strategically

Even though cooler temperatures and fall rains reduce evaporation, watering remains essential for building a thicker lawn before dormancy. Grass roots are still active until the ground freezes, meaning they benefit from consistent moisture.

Why Watering Helps Thickness

  • Supports seed germination and establishment from overseeding.
  • Prevents drought stress in fall, which weakens root reserves.
  • Ensures nutrients from fertilizer are absorbed efficiently.

Watering Guidelines for Fall

  • Depth over frequency: Water deeply (6–8 inches) 1–2 times per week instead of shallow, daily watering.
  • Early morning is best: Reduces evaporation and fungal risk.
  • Stop before freezing temps: Once the ground freezes, watering is no longer effective.

Result: Well-hydrated roots grow deeper and stronger, creating a thicker lawn capable of surviving winter and bouncing back quickly in spring.


5. Improve Soil Health with Aeration and Topdressing

Even the best overseeding and fertilization won’t work without healthy soil. Fall is the perfect time to aerate and topdress your lawn, giving roots the oxygen, nutrients, and structure they need to support thicker turf.

Core Aeration Benefits

  • Relieves soil compaction caused by summer activity.
  • Improves air, water, and nutrient movement to roots.
  • Enhances seed-to-soil contact during overseeding.

Topdressing with Compost

  • Adds organic matter, boosting microbial activity.
  • Improves water retention while preventing runoff.
  • Levels uneven areas, giving the lawn a smoother appearance.

How to Do It:

  1. Rent a core aerator or hire a professional service.
  2. Spread a thin layer (¼–½ inch) of compost or high-quality topsoil.
  3. Rake lightly to blend it into existing turf.

Result: Aeration and topdressing rejuvenate soil, ensuring grass roots grow deeper and blades grow thicker before dormancy.


Bonus: Weed and Pest Control Before Dormancy

While the five tips above are primary, consider weed and pest management as supplemental steps:

  • Apply selective herbicides only where needed (avoid pre-emergent if you’re overseeding).
  • Inspect for grubs or pests and treat accordingly.
  • A thicker lawn naturally resists future weed invasion.

Putting It All Together: A Pre-Winter Lawn Care Routine

Here’s how you can combine all five tips into an easy fall routine:

  1. Early Fall (September–October): Aerate and overseed thin spots, apply starter fertilizer, and water consistently.
  2. Mid-Fall (October): Continue watering, mow regularly at the right height, and spread topdressing if needed.
  3. Late Fall (November): Apply a winterizing fertilizer, perform the last mow (2.5–3 inches), and reduce watering as temperatures drop.

By following this structured plan, you’ll ensure your lawn is thick, resilient, and prepared for dormancy.


Conclusion

A thicker lawn before winter dormancy doesn’t just improve your yard’s curb appeal—it’s an investment in your lawn’s long-term health. By overseeding, fertilizing properly, mowing smartly, watering deeply, and improving soil health through aeration and topdressing, you give your lawn the best chance to thrive through winter and flourish in spring.

Rather than letting your grass fade into dormancy unprepared, take advantage of the fall season. A little extra care now will reward you with a vibrant, dense, and resilient lawn that will be the envy of the neighborhood come springtime.

How To Repair Lawn Damage After a Hot Summer

How To Repair Lawn Damage After a Hot Summer

Ahot summer can take a serious toll on your lawn. Weeks of scorching sun, drought stress, and heavy foot traffic can leave once-green turf looking dry, patchy, and brown. While it may feel discouraging, the good news is that most lawns can recover with the right care and timing. Early fall is the perfect season to start lawn repair because the weather cools, rainfall increases, and grass has the best chance to establish strong roots before winter.

In this guide, we’ll walk you through why summer heat damages lawns, practical steps to restore their health, the best grasses to reseed with, and ongoing maintenance tips to ensure your lawn bounces back stronger than ever.


Why Hot Summers Damage Lawns

To repair effectively, it’s important to understand what causes summer lawn decline:

  1. Heat Stress – High daytime temperatures push grass into dormancy. Leaves turn brown as the plant conserves energy.
  2. Drought Conditions – Lack of water weakens roots and leaves grass unable to absorb nutrients.
  3. Soil Compaction – Frequent walking or playing on dry soil compresses it, reducing air and water movement to roots.
  4. Weed and Pest Invasion – Stress creates opportunities for crabgrass, dandelions, grubs, and chinch bugs to invade.
  5. Disease Pressure – Fungal diseases such as brown patch thrive in hot, humid conditions, further damaging turf.

Understanding these stressors helps you tailor a repair plan that restores both the appearance and resilience of your lawn.


Step-by-Step Guide to Repair Lawn Damage

1. Assess the Damage

Walk across your lawn and note areas of concern:

  • Dormant grass vs. dead grass – Dormant grass will regrow once cooler weather arrives, but dead grass requires reseeding or sodding.
  • Thatch buildup – A thick, spongy layer may prevent water and nutrients from penetrating.
  • Bare spots – Exposed soil areas are prone to weed takeover.

Mark the worst patches for more intensive repair.


2. Clear and Prepare the Lawn

Before seeding or fertilizing, prepare the soil for new growth:

  • Remove debris – Rake up dead grass, sticks, and leaves.
  • Dethatch if needed – Use a dethatching rake or machine if thatch exceeds ½ inch.
  • Aerate compacted soil – Core aeration relieves compaction, improves drainage, and creates pathways for seed-to-soil contact.

This preparation ensures seeds can establish strong roots without obstacles.


3. Reseed Bare or Thin Areas

Fall is the ideal season for reseeding after summer damage because soil is warm but the air is cool. Choose grass varieties suited to your region:

  • Cool-season zones (northern U.S., Europe): Kentucky Bluegrass, Tall Fescue, Fine Fescues, Perennial Ryegrass.
  • Warm-season zones (southern U.S., tropical regions): Bermuda Grass, Zoysia, Bahia Grass (usually best seeded or sodded in late spring, but overseeding with ryegrass in fall maintains color).

Steps for reseeding:

  1. Loosen the soil surface with a rake.
  2. Spread seed evenly at recommended rates.
  3. Lightly rake again for soil contact.
  4. Apply a thin layer of straw mulch or compost to retain moisture.
  5. Water lightly and consistently until germination.

4. Water Wisely

After summer drought, consistent watering is key. Follow these guidelines:

  • Frequency: Water daily in short bursts until seedlings sprout.
  • Depth: Once established, water deeply 2–3 times a week so roots grow downwards.
  • Timing: Morning watering is best to minimize evaporation and disease risk.

Avoid overwatering, as soggy soil can suffocate roots.


5. Fertilize for Recovery

Summer heat depletes soil nutrients. Apply a balanced fall fertilizer rich in nitrogen and potassium to encourage strong root growth.

  • Early fall: Use a starter fertilizer when reseeding.
  • Late fall: Apply a winterizing fertilizer to prepare grass for dormancy.

Avoid heavy fertilization during extreme summer heat, as stressed grass cannot process nutrients effectively.


6. Control Weeds and Pests

Weeds often thrive where grass has thinned. To prevent takeover:

  • Hand-pull weeds from reseeded patches.
  • Apply a selective post-emergent herbicide if needed (avoid pre-emergents, as they hinder new seed growth).
  • Inspect for grubs and pests—treat infestations with targeted controls like beneficial nematodes or approved insecticides.

A healthy, dense lawn is the best long-term defense against weeds and pests.


7. Mow with Care

Mowing is essential for recovery but must be done carefully:

  • Keep blades sharp to avoid tearing fragile new growth.
  • Mow when grass reaches 3–4 inches tall.
  • Never remove more than one-third of the blade at once.
  • Leave clippings on the lawn to recycle nutrients.

Raise mowing height slightly in fall to provide shade to the soil and retain moisture.


8. Mulch and Topdress for Soil Health

Adding a thin layer of organic compost or topsoil improves soil structure, increases nutrient availability, and helps retain moisture. Mulching around trees and shrubs also reduces competition for water during recovery.


Best Grass Varieties for Lawn Repair After Summer

When reseeding in fall, select grasses known for quick germination and resilience:

  • Perennial Ryegrass – Fast germination (5–10 days), great for quick coverage.
  • Tall Fescue – Deep-rooted, drought-resistant, ideal for summer recovery.
  • Kentucky Bluegrass – Lush appearance, spreads to repair thin spots, though slower to germinate.
  • Fine Fescues – Shade-tolerant and low-maintenance, perfect for problem areas.

In warm-season regions, overseeding Bermuda or Zoysia lawns with ryegrass ensures greenery through the cooler months.


Long-Term Maintenance Tips to Prevent Future Damage

Repairing your lawn is only the first step—keeping it healthy requires preventive care:

  1. Regular Aeration – Aerate every fall or spring to prevent compaction and promote strong roots.
  2. Consistent Watering – Install irrigation systems or follow a deep, infrequent watering schedule.
  3. Fertilization Schedule – Apply fertilizer 3–4 times annually based on grass type and soil test results.
  4. Weed Control – Use pre-emergent herbicides in early spring to stop summer weeds from germinating.
  5. Proper Mowing – Adjust mower height seasonally, keeping blades higher in summer for shade.
  6. Soil Health Monitoring – Test soil every 2–3 years to check nutrient balance and pH.
  7. Traffic Management – Rotate play areas, use stepping stones, or limit heavy traffic during hot, dry spells.

When to Consider Sod Instead of Seed

If large areas of your lawn are completely dead or if you need instant results, sodding may be a better option than seeding. Sod provides immediate green coverage, prevents soil erosion, and establishes more quickly. However, it is more expensive and requires proper watering to root successfully.


Conclusion

A hot summer can leave lawns looking lifeless, but recovery is absolutely possible with the right repair strategy. By assessing damage, reseeding with appropriate grass varieties, watering consistently, fertilizing, and maintaining healthy soil, you can transform brown patches into a lush green carpet once again.

Fall provides the perfect window for lawn repair, giving grass time to strengthen roots before winter and bounce back vigorously in spring. With ongoing care—regular aeration, proper mowing, and preventive weed control—your lawn will not only recover from summer stress but also become more resilient for seasons to come.

A damaged lawn is not the end of your landscape’s beauty—it’s simply an invitation to renew, repair, and grow stronger than before.

The Best Grass Varieties for Fall Seeding

The Best Grass Varieties for Fall Seeding

A lush, healthy lawn is one of the most rewarding sights in any garden or landscape, but achieving it depends heavily on timing and grass selection. For homeowners and gardeners, fall is often considered the best season to seed a new lawn or overseed an existing one. The soil is still warm from summer, moisture levels are generally higher, and cooler air temperatures reduce stress on emerging seedlings. However, the key to long-term success lies in choosing the right grass varieties for fall seeding.

In this article, we’ll explore why fall is the prime season for lawn establishment, the best grass varieties suited for different regions, and detailed insights into their growth patterns, benefits, and care requirements.


Why Fall Is the Ideal Time for Seeding Grass

Before discussing varieties, it’s important to understand why fall offers the perfect conditions for grass growth:

  1. Optimal Soil Temperature – Grass seeds germinate best when soil temperatures remain between 50–70°F. Fall soil, warmed by summer, provides this environment.
  2. Cooler Air, Less Stress – Unlike summer, cooler air in fall reduces stress on seedlings and lowers the chances of drought damage.
  3. Fewer Weeds – Weeds like crabgrass and foxtail are less active in fall, allowing grass seedlings to establish with minimal competition.
  4. Better Root Development – With more energy focused on roots rather than shoots, fall seedlings develop strong systems to survive winter and thrive in spring.

Cool-Season vs. Warm-Season Grasses

Grass varieties fall into two major categories:

  • Cool-Season Grasses – Thrive in northern regions with cold winters and mild summers. They germinate quickly in fall and stay green longer into winter.
  • Warm-Season Grasses – Suited for southern climates with hot summers. While spring is best for planting them, some varieties can still benefit from early fall seeding in warm zones.

For fall seeding, cool-season grasses are typically the top choice, though certain transitional climates may support both.


The Best Grass Varieties for Fall Seeding

1. Kentucky Bluegrass (KBG)

  • Best for: Northern and transition zones
  • Germination time: 14–30 days
  • Key traits: Fine texture, rich green color, excellent cold tolerance

Kentucky Bluegrass is one of the most popular lawn grasses for fall seeding. It thrives in cooler climates and develops a dense, carpet-like turf. Its rhizomatous growth habit allows it to spread, filling bare patches naturally over time.

Benefits:

  • Tolerates cold winters and bounces back in spring
  • Self-repairing growth through underground rhizomes
  • Resistant to foot traffic and damage

Challenges:

  • Slower germination compared to ryegrass
  • Requires more frequent watering during establishment

Best Use: For homeowners looking for a lush, durable lawn that can withstand northern winters.


2. Perennial Ryegrass

  • Best for: Transitional and northern regions
  • Germination time: 5–10 days (fastest among cool-season grasses)
  • Key traits: Quick establishment, medium texture, shiny green leaves

Perennial Ryegrass is an excellent choice for overseeding in fall because of its rapid germination. It quickly covers bare patches, making it ideal for repairing lawns damaged by summer stress or foot traffic.

Benefits:

  • Germinates in less than two weeks
  • Provides quick green cover before winter
  • Tolerates moderate wear and tear

Challenges:

  • Not as drought-resistant as fescues
  • May require frequent reseeding since it doesn’t spread aggressively

Best Use: Perfect for homeowners seeking fast lawn establishment or patch repair in fall.


3. Tall Fescue

  • Best for: Wide adaptability across north and transition zones
  • Germination time: 7–12 days
  • Key traits: Coarse texture, drought tolerance, deep root system

Tall Fescue is one of the most versatile grasses for fall seeding. Its deep roots make it drought-tolerant, while its adaptability allows it to thrive in various soil types. It is often recommended for areas with fluctuating weather conditions.

Benefits:

  • Strong drought resistance compared to other cool-season grasses
  • Tolerates heavy foot traffic
  • Low maintenance with fewer fertilizer requirements

Challenges:

  • Coarser texture than bluegrass or ryegrass
  • Does not spread vigorously—relies on clump growth

Best Use: Great for family lawns, play areas, or regions with inconsistent rainfall.


4. Fine Fescues (Creeping Red, Chewings, Hard, Sheep Fescue)

  • Best for: Shady areas and northern climates
  • Germination time: 7–14 days
  • Key traits: Shade tolerance, soft fine blades, low fertility needs

Fine fescues are a group of grasses ideal for lawns with significant shade. They can grow in low-light conditions where other varieties struggle, making them a valuable addition to seed blends.

Benefits:

  • Excellent performance in shade
  • Low maintenance—require less fertilizer and water
  • Soft, fine blades create a velvety appearance

Challenges:

  • Poor wear resistance compared to ryegrass or tall fescue
  • May thin out in high-traffic areas

Best Use: Perfect for shaded lawns or as part of a mixed seed blend for balanced performance.


5. Bentgrass (Creeping Bentgrass)

  • Best for: Golf courses, ornamental lawns
  • Germination time: 10–14 days
  • Key traits: Extremely fine texture, dense growth, light green color

Bentgrass is commonly used in golf courses due to its ability to create smooth, even turf. While not always suitable for standard home lawns, it can be a premium choice for ornamental landscapes.

Benefits:

  • Creates a dense, uniform surface
  • Can be mowed very short (ideal for putting greens)
  • Adapts well to cooler climates

Challenges:

  • High maintenance—requires frequent mowing and watering
  • Susceptible to disease if not managed properly

Best Use: For specialized lawns where appearance is prioritized over low maintenance.


Regional Recommendations

  • Northern U.S. & Cold Regions: Kentucky Bluegrass, Fine Fescues, Perennial Ryegrass
  • Transition Zones (Midwest, Mid-Atlantic): Tall Fescue, Perennial Ryegrass, Kentucky Bluegrass blends
  • Shaded Lawns: Fine Fescues (Creeping Red, Hard, Chewings)
  • High-Traffic Areas: Tall Fescue, Perennial Ryegrass

Blended Seed Mixes: A Smart Strategy

Instead of choosing one variety, many homeowners opt for blended seed mixes. These contain multiple grasses, combining strengths like shade tolerance, drought resistance, and wear durability. For example:

  • Sun & Shade Mix: Kentucky Bluegrass + Fine Fescue + Ryegrass
  • High-Traffic Mix: Tall Fescue + Perennial Ryegrass
  • Low-Maintenance Mix: Fine Fescues

Seed blends ensure year-round performance and adaptability to changing conditions.


Tips for Successful Fall Seeding

  1. Prepare the Soil – Loosen compacted soil, remove debris, and enrich with compost or starter fertilizer.
  2. Test the pH – Grass grows best in slightly acidic soil (6.0–7.0). Adjust with lime or sulfur if needed.
  3. Seed at the Right Rate – Over-seeding requires lighter application, while new lawns need heavier seeding.
  4. Water Consistently – Keep soil evenly moist until seedlings establish roots.
  5. Mow Carefully – Wait until grass reaches 3–4 inches before the first mow.
  6. Protect Seedlings – Minimize foot traffic until grass thickens.

Conclusion

Fall is the season of opportunity for lawn lovers. With warm soil, cool air, and fewer weeds, it’s the best time to establish strong, resilient turf. Choosing the right grass variety—whether it’s the lush Kentucky Bluegrass, the quick-growing Perennial Ryegrass, the durable Tall Fescue, or the shade-loving Fine Fescues—makes all the difference in achieving a vibrant, healthy lawn that thrives through winter and flourishes in spring.

By pairing the right seed variety with proper soil preparation, watering, and maintenance, you can transform your yard into a green oasis that lasts year-round.

5 Ways to Improve Poor Garden Soil

5 Ways to Improve Poor Garden Soil

A beautiful and productive garden doesn’t begin with seeds or plants—it starts with healthy soil. Unfortunately, many gardeners find themselves struggling with poor soil conditions: compacted clay, sandy soil that drains too fast, or lifeless dirt that seems to repel growth. But here’s the good news—poor soil is not a dead end. With the right strategies and a bit of patience, you can transform even the most uninviting garden bed into fertile, vibrant soil.

In this article, we’ll explore 5 proven ways to improve poor garden soil, backed by horticultural science and real-world experience.


Why Soil Quality Matters

Soil isn’t just dirt—it’s a living ecosystem made up of minerals, organic matter, microorganisms, air, and water. Healthy soil provides:

  • Nutrient storage and delivery
  • Proper drainage and moisture retention
  • Air circulation for roots
  • Habitat for beneficial organisms like earthworms and microbes

Poor soil disrupts these functions, leading to:

  • Weak plant growth
  • Poor yields
  • Increased pest and disease problems

Let’s look at five practical and effective ways to reverse this and build the foundation for a thriving garden.


1. Add Organic Matter

The Gold Standard for Soil Improvement

If you do nothing else for your poor soil, add organic matter. It’s the single most effective way to improve soil structure, nutrient content, and biological activity.

What is Organic Matter?

Organic matter refers to decomposed plant or animal materials, such as:

  • Compost
  • Aged manure
  • Leaf mold
  • Grass clippings
  • Shredded bark or wood chips

How It Helps:

  • Improves texture: Makes clay soil looser and sandy soil more cohesive.
  • Feeds microorganisms: Encourages beneficial bacteria, fungi, and earthworms.
  • Increases nutrient-holding capacity: Especially important in sandy soils.
  • Improves water retention and drainage: Balances moisture for roots.

How to Use:

  • Spread a 2–4 inch layer of compost or other organic material over your garden beds.
  • Work it into the top 6–12 inches of soil with a shovel or garden fork.
  • Repeat annually or semi-annually, especially at the beginning and end of the growing season.

2. Practice Cover Cropping

Nature’s Way to Rebuild Soil

Also known as “green manure,” cover crops are plants grown primarily to protect and enrich the soil, not for harvest.

Common Cover Crops:

  • Legumes (e.g., clover, peas, vetch): Fix nitrogen from the atmosphere into the soil.
  • Grasses (e.g., rye, oats): Improve soil structure and suppress weeds.
  • Brassicas (e.g., mustard): Break up compacted soils and reduce pests.

Benefits:

  • Adds organic matter when mowed or tilled into the soil.
  • Prevents erosion by covering bare ground.
  • Suppresses weeds naturally.
  • Boosts soil nitrogen and microbial diversity.

When and How to Use:

  • Plant cover crops in fall or early spring.
  • Allow them to grow for several weeks or months.
  • Cut or till them into the soil before they flower for best results.

3. Improve Soil Structure with Mulching

Mulching isn’t just for weed suppression or moisture retention—it plays a key role in soil restoration.

Types of Organic Mulch:

  • Straw
  • Grass clippings
  • Wood chips
  • Leaves
  • Pine needles
  • Compost

Benefits of Mulching:

  • Regulates soil temperature
  • Prevents compaction from rain
  • Encourages earthworm activity
  • Slowly adds nutrients and organic matter as it decomposes
  • Reduces evaporation, conserving water

How to Apply:

  • Apply 2–4 inches of mulch around plants and over bare soil.
  • Keep mulch a few inches away from plant stems to prevent rot.
  • Replenish as needed, especially after heavy rain or wind.

Mulching mimics the natural forest floor, where layers of organic material break down slowly and enrich the soil below.


4. Test and Amend the Soil

Poor soil often suffers from imbalanced pH or nutrient deficiencies. Guesswork is unreliable—you need to test your soil to know exactly what’s wrong.

Step 1: Get a Soil Test

  • Use a home test kit or send a sample to a local extension service or soil lab.
  • Tests typically measure:
    • pH (acidic or alkaline)
    • Macronutrients (N, P, K)
    • Micronutrients (Fe, Mg, Zn, etc.)

Step 2: Amend Based on Results

  • Adjust pH:
    • Add lime to raise pH (make soil less acidic).
    • Add sulfur to lower pH (make soil more acidic).
  • Add nutrients:
    • Use balanced organic fertilizers or specific amendments like bone meal, blood meal, rock phosphate, or kelp.
  • Apply compost: To correct minor deficiencies and improve overall fertility.

Benefits:

  • Improves nutrient uptake.
  • Corrects toxic or deficient conditions.
  • Maximizes the effectiveness of other improvements.

Understanding your soil’s current status allows you to make targeted and cost-effective improvements.


5. Minimize Soil Disturbance (No-Till or Low-Till Gardening)

Constant tilling and digging may seem helpful, but they can destroy soil structure and microbial life.

Problems with Excessive Tilling:

  • Breaks apart soil aggregates
  • Exposes beneficial organisms to the elements
  • Increases erosion and compaction
  • Disrupts fungal networks

The No-Till Approach:

  • Layer organic matter (compost, mulch) on top of the soil.
  • Let earthworms and microbes naturally incorporate it.
  • Use a broadfork (not a rototiller) if soil is severely compacted.

Benefits:

  • Preserves soil structure and microbial ecosystems.
  • Retains moisture and reduces erosion.
  • Promotes long-term soil health and fertility.

Over time, a no-till or low-till system creates a self-sustaining soil ecosystem that improves itself with minimal intervention.


Bonus Tips for Long-Term Soil Health

  • Rotate crops annually to prevent nutrient depletion and disease buildup.
  • Incorporate companion planting to encourage diverse root structures and symbiotic interactions.
  • Avoid chemical herbicides and pesticides, which can harm beneficial organisms.
  • Water wisely: Overwatering can lead to compaction and nutrient leaching.

How Long Does It Take to Improve Poor Soil?

Improving poor garden soil is a process—not a one-time fix. Visible results can begin in a few weeks to a season, but true transformation can take 1–3 years, depending on the soil’s original condition.

However, each step you take—from adding compost to cover cropping—builds a healthier soil environment for long-term success.


Conclusion: From Dirt to Gold

Poor soil is not a life sentence for your garden. With time, observation, and commitment, even the worst soil can be transformed into rich, dark, crumbly earth teeming with life.

To recap, the 5 best ways to improve poor garden soil are:

  1. Add organic matter consistently.
  2. Grow and incorporate cover crops.
  3. Use mulch to protect and build soil.
  4. Test and amend based on real data.
  5. Minimize tilling to protect structure and biology.

These methods are sustainable, cost-effective, and supported by decades of agricultural science. By treating your soil as a living system—and not just a medium for plant roots—you lay the foundation for a vibrant, abundant garden that will reward you for years to come.

The Best Time of Day to Water Flowers

The Best Time of Day to Water Flowers

Watering may seem like the simplest task in flower gardening, but timing can make or break your garden’s success. You may have the most nutrient-rich soil, the perfect flowers for your region, and ideal sunlight—but if you water at the wrong time, your plants can still suffer from wilting, disease, or nutrient deficiency.

So, what is the best time of day to water flowers, and why does it matter so much? This article dives deep into the science of watering timing, the effects on plant health, and the strategies that lead to a flourishing flower garden.


Why Watering Time Matters More Than You Think

Watering flowers isn’t just about quenching their thirst. The time of day you water directly affects:

  • Moisture absorption
  • Disease prevention
  • Evaporation rates
  • Root development
  • Overall plant stress

Choosing the right time to water means maximizing benefits while minimizing risks like fungal diseases, water waste, or sunscald.


The Golden Rule: Water Flowers in the Early Morning

Best Time: 5:00 AM – 9:00 AM

The early morning is universally regarded by horticulturists and professional gardeners as the ideal time to water flowers. Here’s why:

1. Optimal Absorption

Cooler morning temperatures allow water to soak deeply into the soil before the heat of the day evaporates it. This ensures roots get the maximum benefit from every drop.

2. Prepares Plants for the Day

Watering in the morning primes the plant’s hydration levels, helping it manage stress during hot, sunny afternoons. Hydrated plants maintain turgor pressure, which keeps stems strong and flowers perky.

3. Reduces Fungal Growth

By watering early, the foliage has plenty of time to dry during the day. Damp leaves overnight create the perfect environment for fungal diseases such as powdery mildew, botrytis, and downy mildew.

4. Minimizes Evaporation

Morning watering reduces the amount of water lost to evaporation, making your watering efforts more efficient and eco-friendly.


What Happens If You Water at the Wrong Time?

Midday (10:00 AM – 4:00 PM)

Watering during the hottest part of the day is not recommended, though it’s not as dangerous as once thought.

Common Myths:

  • “Watering at noon will scorch leaves.”
  • “Droplets act like magnifying glasses and burn foliage.”

These myths have been largely debunked. However, midday watering still isn’t ideal because:

  • Water evaporates quickly, meaning less reaches the roots.
  • Soil can become hot, leading to root stress.
  • It’s an inefficient use of resources, especially in arid climates.

Evening or Night (After 6:00 PM)

Evening watering is better than no watering, but it carries risks:

Downsides:

  • Moisture lingers on leaves and soil surface overnight.
  • Increases the risk of fungal infections and root rot.
  • Cooler temperatures reduce evaporation, but also reduce plant activity, meaning less water uptake.

That said, if morning watering isn’t possible, early evening watering (before sunset, around 5:00–6:00 PM) is acceptable, as long as foliage dries before nightfall.


Factors That Affect Watering Time

Although morning is generally best, certain factors may influence when and how you should water your flowers.

1. Climate and Weather Conditions

  • In dry, hot regions, early morning watering is essential to prevent moisture loss.
  • In humid environments, morning watering helps prevent prolonged dampness.
  • During rainy seasons, watering may be reduced or skipped entirely.

2. Type of Flowers

Different flowers have varying water needs and sensitivities.

  • Shallow-rooted annuals (like petunias or impatiens) need more frequent morning watering.
  • Drought-tolerant perennials (like lavender or coneflowers) can handle less frequent watering.
  • Moisture-loving flowers (like hydrangeas or fuchsias) benefit from consistent early morning watering.

3. Soil Type

  • Clay soil retains moisture longer—morning watering every few days may be enough.
  • Sandy soil drains quickly—morning watering may be needed daily during summer.

4. Container vs. Ground Beds

  • Potted flowers dry out faster and should be checked daily.
  • Ground-planted flowers have deeper root access but still benefit most from morning watering.

Best Watering Techniques for Flowers

No matter the time, your watering technique is just as important as your timing.

Water at the Base, Not Overhead

Soaking the base of the plant ensures water reaches the roots and prevents fungal disease on leaves and blooms.

Deep, Infrequent Watering

Encourages deeper root systems, making plants more drought-resistant. Avoid shallow, frequent watering which leads to weak roots.

Use Mulch

Mulching helps retain moisture and regulate soil temperature. Organic mulches like bark, straw, or compost are ideal.

Use Soaker Hoses or Drip Irrigation

These systems deliver water slowly and directly to the root zone, perfect for early morning watering schedules and water conservation.


Watering Flowers by Season: What Changes?

Spring

  • Soil retains more moisture from winter.
  • Begin morning watering as temperatures rise and new growth appears.

Summer

  • Most demanding season.
  • Daily or every-other-day morning watering may be necessary for heat-sensitive flowers.
  • Mulch heavily to reduce evaporation.

Fall

  • Cooler nights mean less frequent watering.
  • Transition back to watering every few days in the morning.

Winter

  • For regions with mild winters, watering is reduced drastically.
  • Only water if there’s been no rainfall and plants show signs of stress.

Common Flower Watering Mistakes to Avoid

  1. Watering on a Schedule Instead of Observing the Soil
    • Always check soil moisture before watering.
    • Use your finger or a moisture meter.
  2. Using Cold Water from the Hose
    • Cold water can shock plant roots.
    • If possible, use water at ambient temperature.
  3. Watering Too Quickly
    • Water slowly to allow moisture to seep deep into the root zone.
    • Fast watering can cause runoff and uneven distribution.
  4. Ignoring Wind Conditions
    • Windy mornings increase evaporation.
    • You may need to adjust watering volume slightly.

The Role of Light in Watering Time

Plants are most active when the sun is rising. This is when:

  • Stomata (tiny pores on leaves) open to regulate water and gas exchange.
  • Photosynthesis begins in full swing.

By watering in the early morning, you provide the moisture needed right when the plant begins its daily functions. Evening watering, on the other hand, provides water during the plant’s resting phase, when uptake slows down.


Conclusion: Timing is Everything in Flower Gardening

Watering your flowers at the right time is one of the simplest and most effective ways to boost plant health, encourage vibrant blooms, and prevent disease. While there are many variables—plant type, soil, season, climate—the clear winner across most situations is early morning watering.

To recap:

  • Best time: Early morning (5:00–9:00 AM)
  • Worst time: Late evening or midday
  • Factors to consider: Plant type, soil, weather, containers vs. beds
  • Watering techniques: Base watering, deep soaking, use of mulch and drip irrigation

By understanding when and how to water your flowers, you’re not just maintaining them—you’re optimizing their entire growing environment. In gardening, timing is not just about the calendar; it’s about syncing with the natural rhythms of your plants.

Why Your Plants May Be Overwatered Without You Knowing

Why Your Plants May Be Overwatered Without You Knowing

Water is life for plants—but too much of it can be just as harmful as too little. Ironically, many well-meaning gardeners unknowingly sabotage their plants with an excess of care, particularly through overwatering. While underwatering shows obvious symptoms like wilting and dryness, overwatering is a silent killer, often misdiagnosed until it’s too late.

This article explores why your plants may be overwatered without you realizing, how to identify the subtle signs, the science behind it, and what you can do to prevent it.


Understanding the Problem: Why Overwatering Happens

Overwatering typically doesn’t mean dumping gallons of water at once. In fact, many plants are overwatered by frequent small waterings that don’t allow the soil to dry out properly. This creates a constantly moist environment that suffocates roots and encourages rot, mold, and disease.

Common reasons overwatering happens unnoticed:

  • Misinformation: Believing all plants need daily watering.
  • Habit: Watering on a fixed schedule, not based on actual need.
  • Indoor conditions: Limited airflow, indirect sunlight, and humidity cause water to evaporate more slowly.
  • Poor drainage: Pots or soil that trap water lead to moisture buildup.
  • Over-potting: Using pots that are too large retains more water than the plant can use.

The Science of Overwatering: What Happens to Your Plants

To understand how overwatering harms plants, we must look beneath the surface.

1. Oxygen Deprivation

Roots not only absorb water and nutrients—they also breathe. In saturated soil, water fills up the air pockets, preventing oxygen from reaching the roots. Without oxygen, roots can’t function properly, and the plant essentially suffocates from below.

2. Root Rot

Prolonged moisture creates a breeding ground for fungal pathogens like Pythium, Phytophthora, and Rhizoctonia. These fungi attack roots, turning them brown or black, mushy, and nonfunctional. Root rot is often irreversible and deadly.

3. Disrupted Nutrient Uptake

Even if soil is nutrient-rich, constant moisture interferes with a plant’s ability to absorb those nutrients. This can cause deficiency symptoms similar to underfeeding, such as yellowing leaves, stunted growth, or weak stems.


7 Subtle Signs Your Plant Is Overwatered

Overwatered plants don’t always look wet. In fact, many of the symptoms mimic those of underwatering or nutrient deficiencies. Here’s what to watch for:

1. Yellowing Leaves, Especially Lower Leaves

If the lower leaves are turning yellow and soft, it’s likely due to too much moisture. Yellowing caused by overwatering typically starts at the bottom and moves upward.

2. Wilting, Even When the Soil Feels Wet

Many people associate wilting with dryness, but if your plant is wilting and the soil is moist, it’s a major red flag. This is caused by root damage, not dehydration.

3. Leaf Drop or Leaf Curling

Overwatered plants may shed leaves, especially older ones. New growth may appear distorted, curled, or discolored.

4. Mushy or Soft Stems

This is a late-stage symptom, often associated with stem or root rot. The base of the plant may feel squishy or look darkened.

5. Soil That Smells Sour or Rotten

Healthy soil has an earthy scent. If your potting mix smells like mildew, rot, or stagnant water, it’s a clear sign of anaerobic activity and overwatering.

6. Algae or Mold on Soil Surface

Green algae or white mold growing on the surface of the soil indicates excess moisture and poor air circulation.

7. Fungus Gnats

These tiny black flies thrive in moist soil. If you notice them hovering near your plants, your watering habits might be the cause.


Situations Where Overwatering Is Most Common

1. Indoor Plants

Indoor environments often lack proper light and airflow. Combined with pots without drainage or overzealous watering, this makes houseplants extremely vulnerable.

2. Dormant Plants

In winter or during a plant’s natural dormancy cycle, its water needs drop significantly. Continuing the same watering routine leads to waterlogged soil.

3. Young or Newly Potted Plants

Young roots are tender and more susceptible to fungal infections. Also, fresh potting soil can retain water more efficiently, tricking gardeners into watering too often.

4. Large Pots for Small Plants

Big pots hold more soil, and therefore more water. A small plant in a large pot may not be able to absorb water quickly enough, resulting in constantly wet conditions.


How to Test for Overwatering

1. The Finger Test

Stick your finger 1–2 inches into the soil. If it feels wet or cool, hold off on watering. If it’s dry, it’s usually time to water.

2. Use a Moisture Meter

A moisture meter can give you a precise reading of the soil moisture level at different depths—perfect for beginners and experienced gardeners alike.

3. Lift the Pot

Wet soil is significantly heavier than dry soil. Learn the difference by lifting your potted plant before and after watering.


Preventing Overwatering: Best Practices

1. Know Your Plant’s Needs

Each plant has unique water requirements. For example:

  • Succulents and cacti need infrequent, deep waterings.
  • Tropical plants like peace lilies enjoy consistent moisture but still need drainage.
  • Fruiting vegetables like tomatoes need more water during fruiting but prefer drying out slightly between waterings.

2. Use the Right Soil

Potting soil should be light, well-draining, and aerated. For example:

  • Mix sand or perlite for succulents.
  • Use compost-rich loam for vegetables and herbs.
    Avoid heavy garden soil in containers.

3. Ensure Proper Drainage

Always use pots with drainage holes. You can also:

  • Add a layer of gravel or broken pottery at the bottom.
  • Avoid letting pots sit in trays filled with water for too long.

4. Water Deeply, Not Frequently

Encourage deep root growth by watering thoroughly but less often. This allows roots to seek moisture below the surface and helps the topsoil dry out properly.

5. Monitor Humidity and Temperature

Plants in humid environments or cooler seasons require less frequent watering. Adjust accordingly to prevent water from sitting too long in the soil.


How to Save an Overwatered Plant

If you’ve identified overwatering as the issue, act quickly:

Step 1: Stop Watering

Let the soil dry out. Move the plant to a brighter, warmer location to encourage evaporation.

Step 2: Remove Damaged Leaves

Trim yellow, brown, or mushy leaves and stems to redirect energy to healthy parts of the plant.

Step 3: Repot if Necessary

If root rot is suspected:

  • Gently remove the plant from its pot.
  • Cut away all black, mushy roots with sterile scissors.
  • Repot in fresh, dry, well-draining soil.
  • Disinfect the pot before reusing it.

Step 4: Wait Before Resuming Normal Watering

After repotting, give the plant time to recover. Resume watering only when the top inch of soil feels dry.


Conclusion: Don’t Kill Your Plants with Kindness

In gardening, good intentions can sometimes lead to unintended consequences. Overwatering is one of the most common mistakes plant owners make—often out of love and attentiveness. But understanding your plant’s needs, recognizing the early signs, and adjusting your care routine can prevent this silent killer from taking root.

In short:

  • Overwatering can mimic drought symptoms.
  • It damages roots, attracts pests, and disrupts nutrient uptake.
  • Regular observation and flexible watering schedules are key.

By learning to listen to your plants and trust the soil—not the calendar—you’ll avoid overwatering and cultivate a healthier, more resilient garden.9