The Best Soil Mix for Container Veggies

The Best Soil Mix for Container Veggies

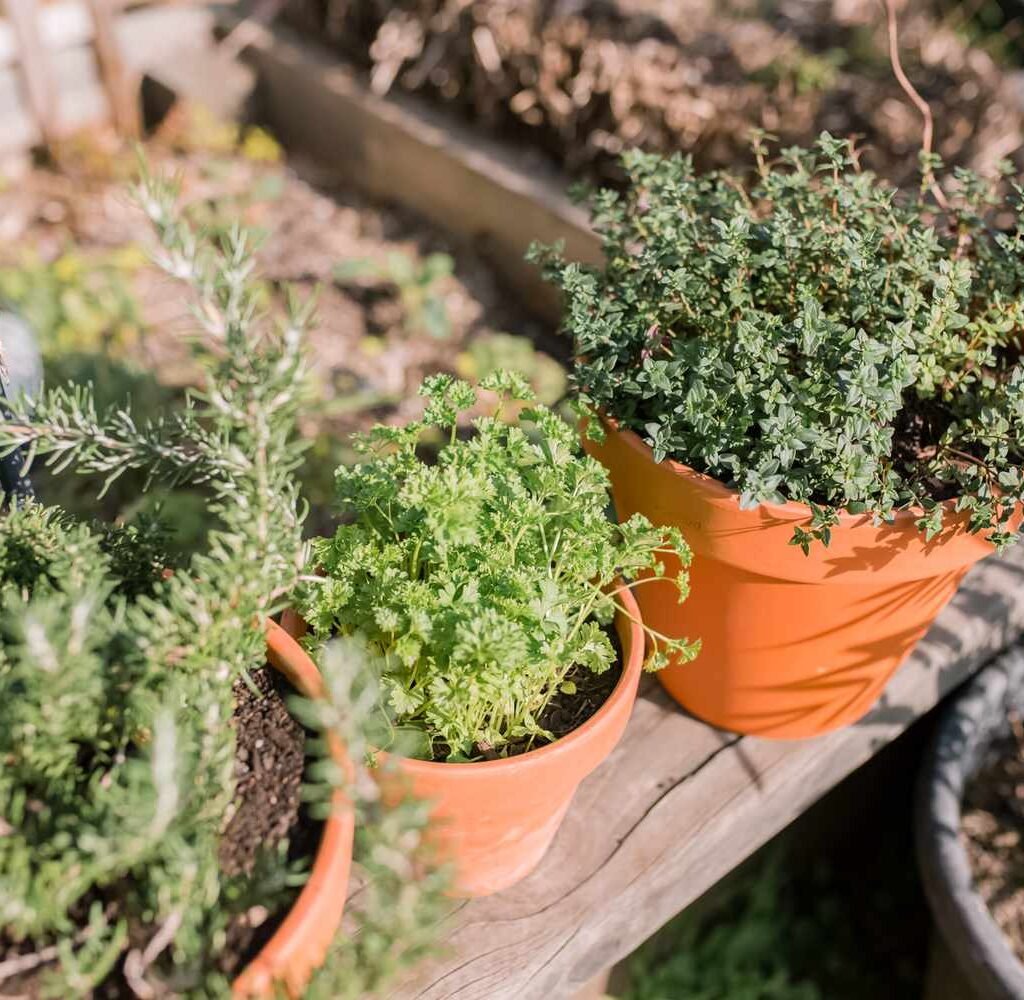
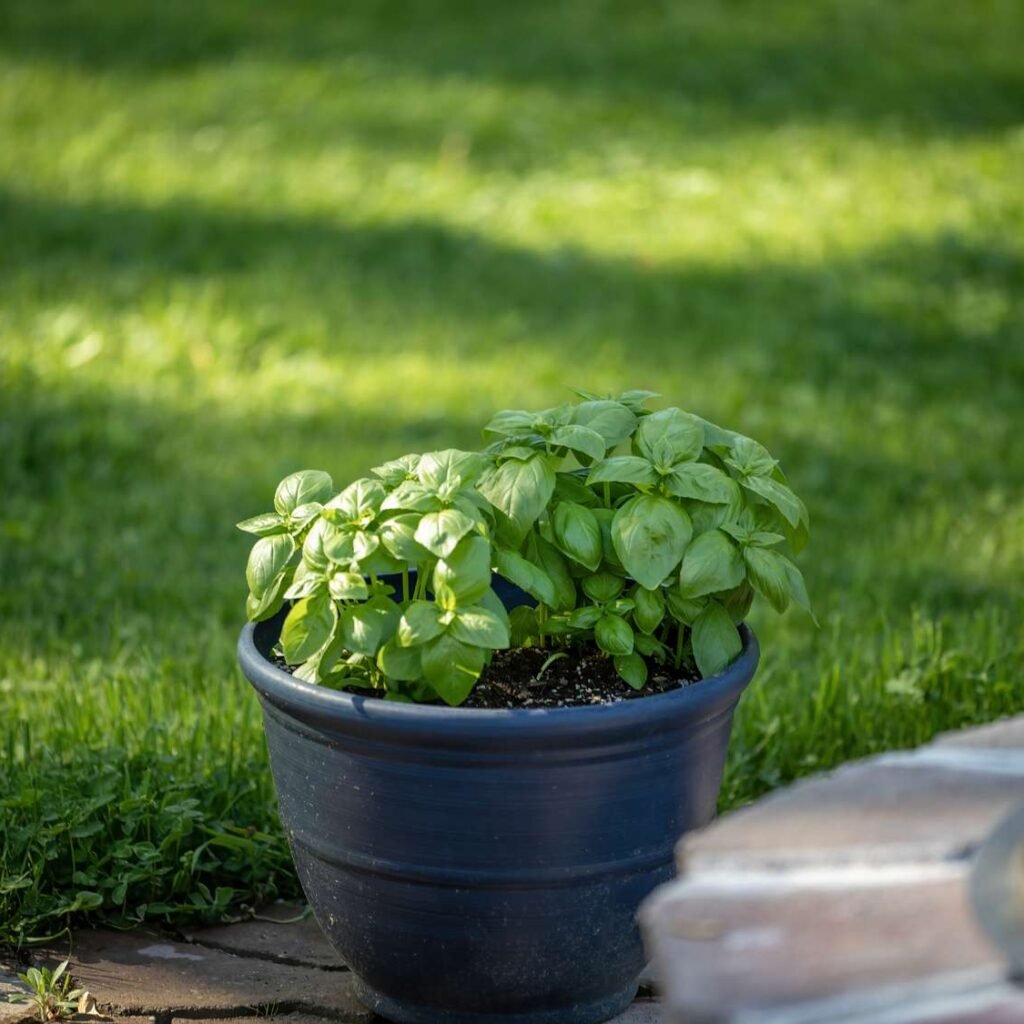
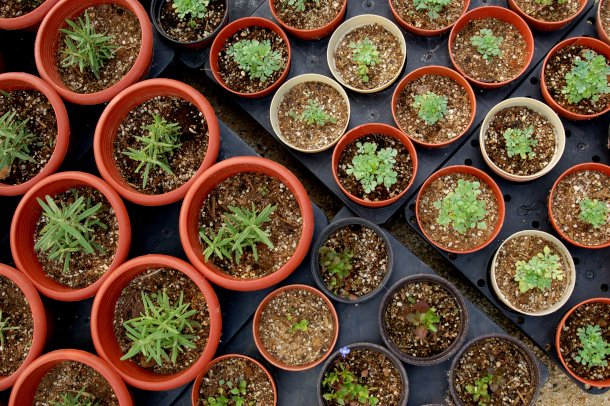
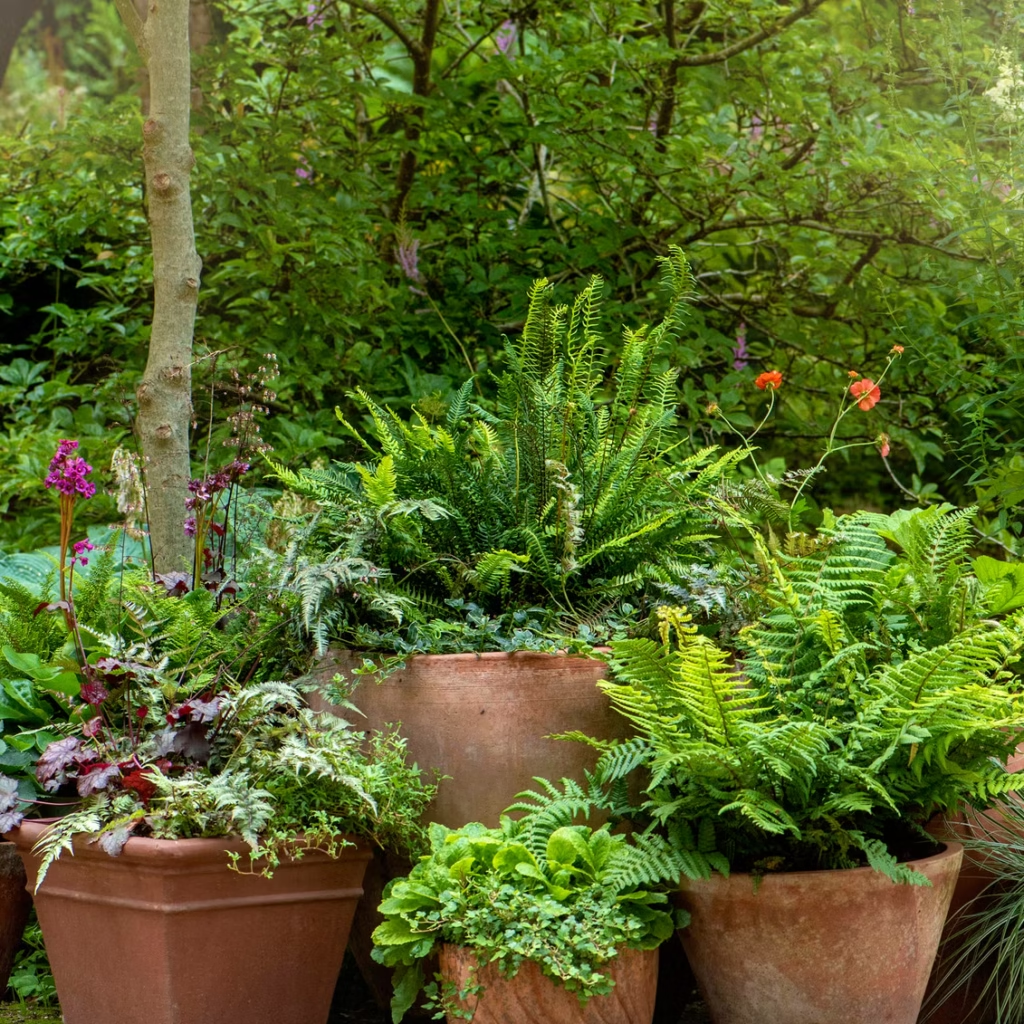
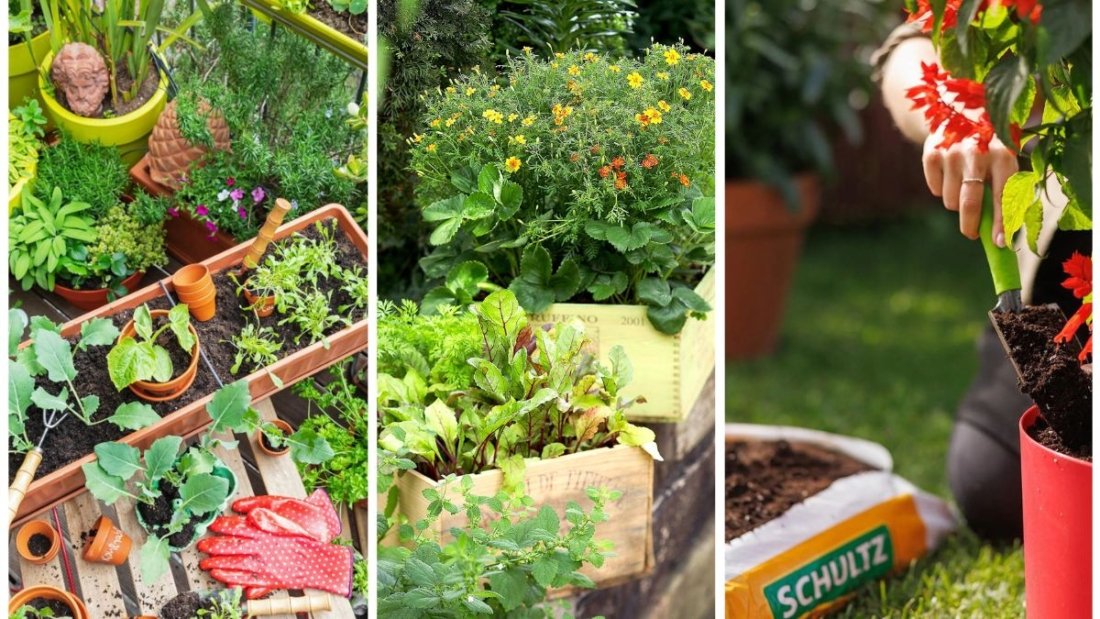
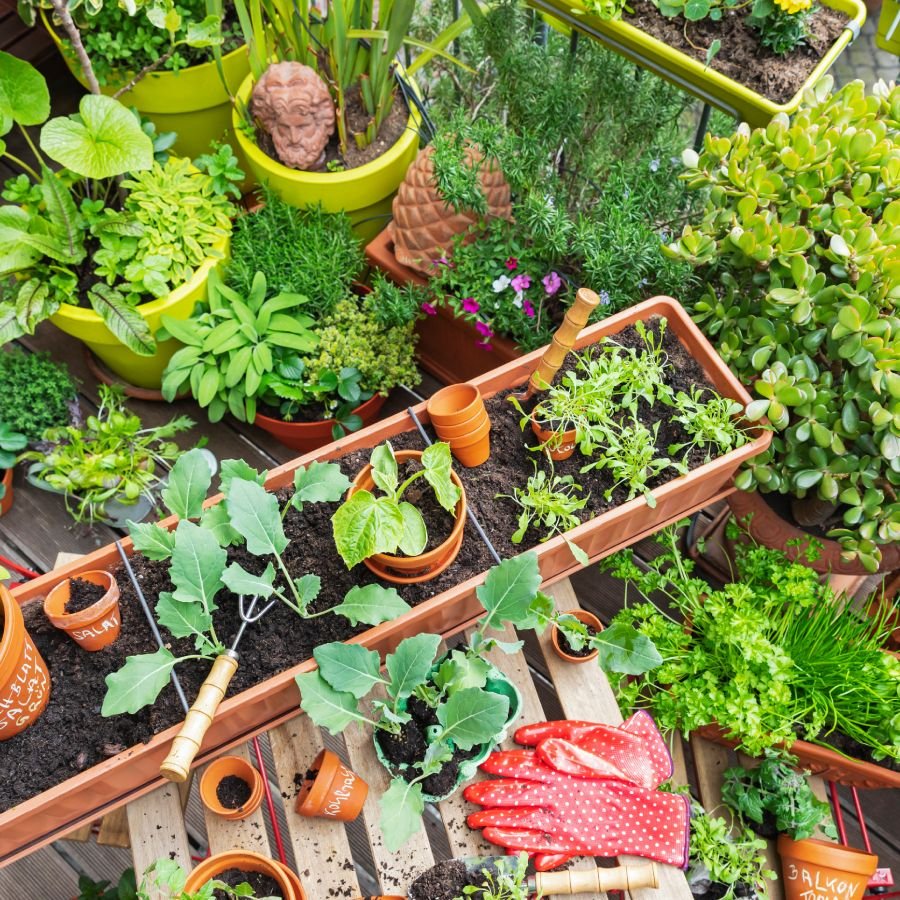
With rising interest in sustainable living, organic food, and space-efficient gardening, growing vegetables in containers has become a popular practice among home gardeners. Whether you’re working with a balcony, patio, or small backyard, container gardening allows you to cultivate fresh produce in limited spaces. However, the success of any container vegetable garden depends heavily on one factor—the soil mix.

Unlike in-ground gardening, where plants benefit from natural soil ecosystems, container vegetables rely entirely on the soil mix you provide. A poorly formulated mix can result in compacted roots, poor drainage, nutrient deficiencies, or even plant failure. On the other hand, a well-balanced mix will ensure healthy root development, optimal nutrient availability, and abundant yields.

In this article, we’ll explore the components of the ideal soil mix for container vegetables, how to adjust for specific crops, and tips for maintaining soil health throughout the growing season.


Why Container Soil is Different

Soil used in containers must fulfill multiple roles: it should hold moisture without becoming soggy, provide essential nutrients, offer good aeration, and support healthy root growth. Natural garden soil typically doesn’t work well in containers because it becomes too compacted, retains excess water, and lacks proper drainage.

Key Requirements for Container Soil:

  • Lightweight and fluffy texture
  • Well-draining, yet moisture-retentive
  • Rich in organic matter for fertility
  • Free from pests, diseases, and weed seeds
  • pH balanced, ideally between 6.0 and 7.0 for most vegetables

Essential Components of a Good Container Mix

The best soil mix is not actually “soil” in the traditional sense—it’s often a blend of several organic and inorganic materials that mimic ideal soil conditions in a confined space.

1. Base Materials (Structure and Drainage)

These materials make up the bulk of the mix and provide essential aeration and structure.

a. Coconut Coir or Peat Moss

  • Helps retain moisture
  • Lightweight and organic
  • Neutral (coir) or slightly acidic (peat)
  • Coir is a sustainable alternative to peat moss

b. Perlite or Vermiculite

  • Improve drainage and aeration
  • Prevent soil compaction
  • Perlite: white volcanic rock, ideal for aeration
  • Vermiculite: better at water retention

c. Composted Bark Fines

  • Enhances soil structure
  • Provides organic matter
  • Improves microbial life

2. Organic Matter (Nutrients and Microbial Activity)

These ingredients feed the plant and help with long-term fertility.
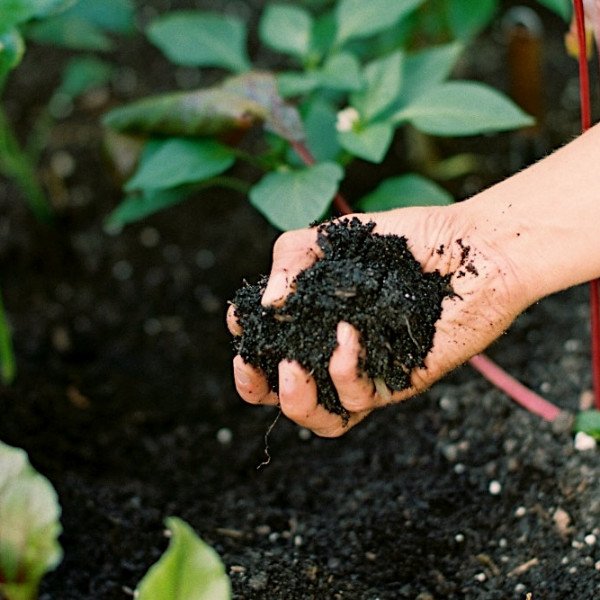
a. Compost

  • Rich in nutrients and beneficial microbes
  • Improves soil structure
  • Helps retain moisture

b. Worm Castings

  • Nutrient-dense, slow-release fertilizer
  • Stimulates root growth
  • Improves plant immunity

c. Aged Manure

  • Provides nitrogen and micronutrients
  • Must be well-composted to avoid burning roots

3. Mineral Additives (Long-Term Fertility)

These are optional but can significantly improve plant health and yields.

a. Rock Dust (e.g., basalt or granite dust)

  • Supplies trace minerals
  • Improves soil biology

b. Greensand or Kelp Meal

  • Provides potassium and micronutrients
  • Encourages strong root systems

c. Crushed Eggshells or Lime

  • Adds calcium
  • Helps prevent blossom end rot in tomatoes and peppers

The Ideal Soil Mix Formula

A balanced soil mix should combine aeration, water retention, and nutrient delivery. Here is a general-purpose recipe suitable for most container vegetables:


Basic DIY Soil Mix (for 10 gallons of mix):

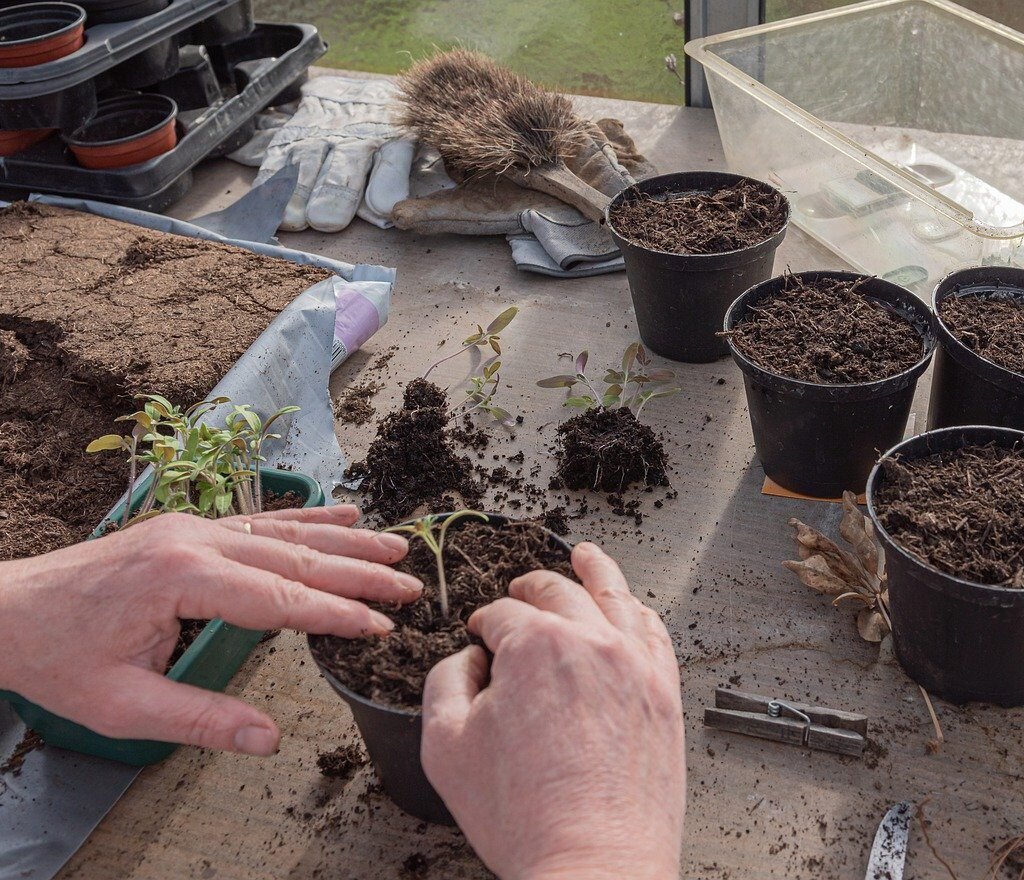
  • 4 gallons coconut coir or peat moss (moisture retention)
  • 3 gallons compost (nutrients)
  • 2 gallons perlite or vermiculite (aeration and drainage)
  • 1 gallon worm castings (slow-release nutrients)
  • Optional:
    • 1 cup crushed eggshells or garden lime
    • ½ cup rock dust
    • ½ cup organic fertilizer (balanced NPK)

Mix all ingredients thoroughly in a wheelbarrow or tarp before filling your containers.

Note: For acid-loving crops (like blueberries), adjust pH by using peat moss and avoiding lime.


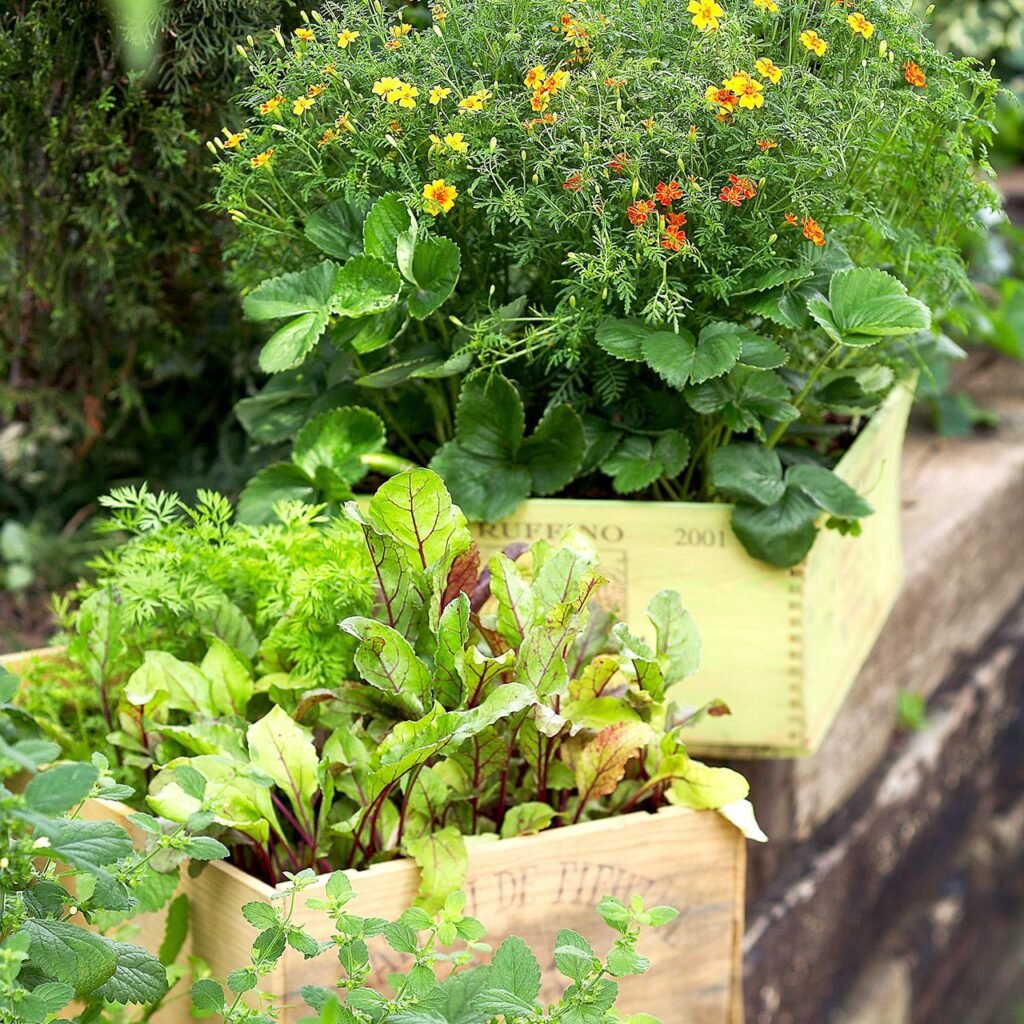
Crop-Specific Mix Adjustments

Different vegetables have different needs. Here’s how to tweak your mix:

1. Leafy Greens (lettuce, spinach, kale)

  • Prefer more moisture
  • Add extra compost or vermiculite
  • Keep nitrogen high for leaf production

Suggested Ratio:

  • 40% compost
  • 30% peat/coir
  • 20% perlite
  • 10% worm castings

2. Tomatoes, Peppers, Eggplants

  • Heavy feeders
  • Need good drainage and calcium
  • Add lime, bone meal, and extra compost

Suggested Additions:

  • 1 cup bone meal per 10 gallons
  • ½ cup crushed eggshells
  • ½ cup organic tomato fertilizer

3. Root Vegetables (carrots, radishes, beets)

  • Prefer loose, fluffy soil
  • Avoid clumpy compost that causes root splitting
  • Use more sand or perlite

Suggested Ratio:

  • 50% coconut coir
  • 30% compost
  • 20% perlite or coarse sand
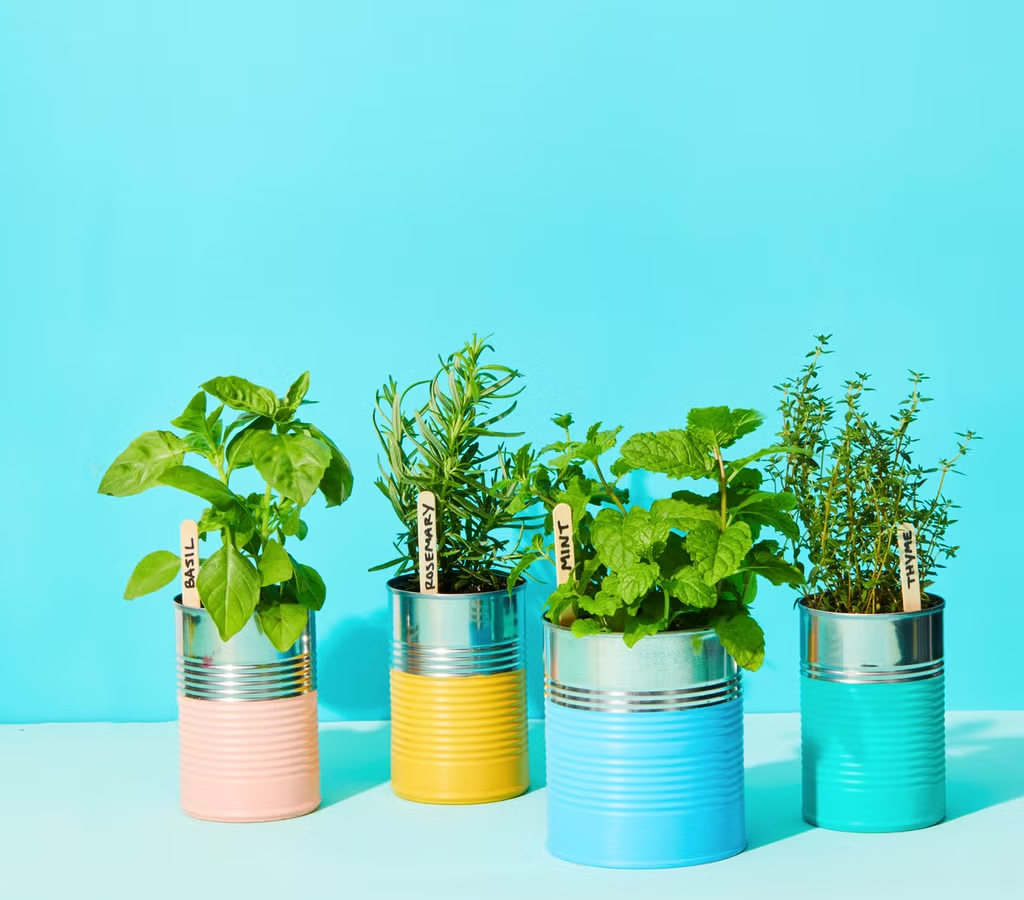
4. Herbs

  • Require less nutrients
  • Prefer well-drained soil
  • Add grit or perlite for better aeration

Suggested Ratio:

  • 50% coir/peat
  • 30% perlite
  • 20% compost

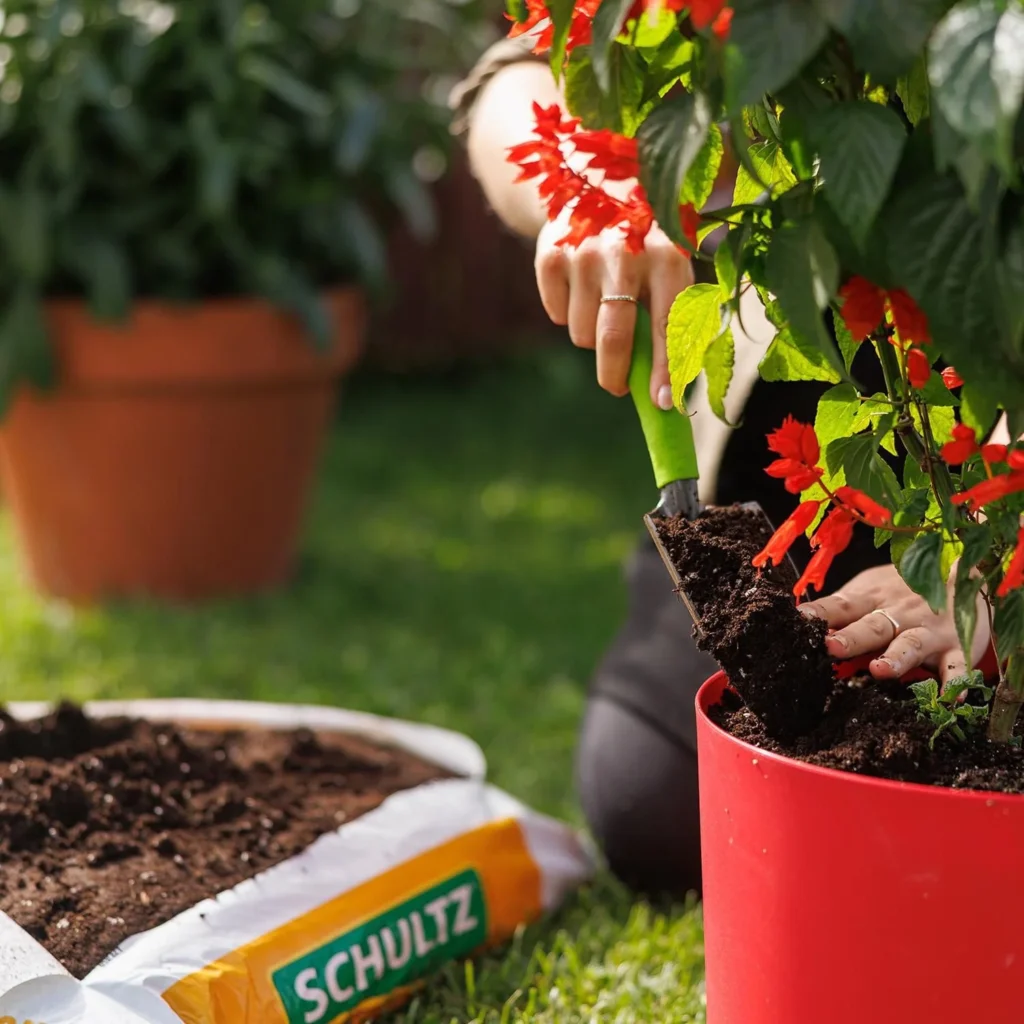
Ready-Made Alternatives and What to Look For

If you’re short on time or space, commercial potting mixes can work well—if you choose wisely.

Look for Mixes That:

  • Are labeled “potting mix” or “container mix” (not “garden soil”)
  • Contain organic ingredients and added compost
  • Include mycorrhizae or beneficial microbes
  • Avoid mixes with synthetic fertilizers if you prefer organic growing

Brands to Consider (check labels for details):

  • FoxFarm Ocean Forest
  • Espoma Organic Potting Mix
  • Miracle-Gro Performance Organics
  • Black Gold Natural & Organic

Tip: Even the best commercial mixes benefit from added compost or worm castings before use.


Tips for Maintaining Healthy Container Soil

The work doesn’t stop once the mix is in the pot. Healthy container soil requires ongoing care:

1. Monitor Moisture Levels

  • Use your finger or a moisture meter to check water content
  • Overwatering leads to root rot; underwatering stresses plants

2. Mulch the Surface

  • Add straw, shredded leaves, or coconut mulch to reduce evaporation
  • Helps keep soil temperatures stable and retains moisture

3. Top Dress with Compost

  • Add ½ inch of fresh compost every 3–4 weeks to replenish nutrients
  • Helps maintain a vibrant soil ecosystem

4. Rotate Crops and Refresh Soil

  • Reuse container soil by mixing in fresh compost and fertilizer between seasons
  • Avoid planting the same crop in the same container year after year

5. Watch for Salt Build-up

  • Flush containers with clean water every month to remove excess salts
  • White crusts on soil surface indicate salt accumulation

Conclusion

Creating the best soil mix for container vegetables is both a science and an art. By understanding the unique requirements of container growing—and tailoring your mix accordingly—you can cultivate healthy, productive plants even in the smallest of spaces.

A good soil mix does more than just anchor roots; it acts as a living ecosystem that supports growth, nutrition, and resistance to disease. With the right blend of organic matter, aeration, and nutrients, your container garden can yield bountiful harvests season after season.

So whether you’re growing juicy tomatoes on a balcony, fresh greens on a windowsill, or carrots in a patio pot, remember: it all starts with the soil.

Creative Ways To Reuse Old Pots And Planters

Creative Ways To Reuse Old Pots And Planters

As sustainability becomes more central to modern living, gardeners and homeowners alike are looking for creative, eco-friendly ways to reduce waste. One of the simplest and most effective methods? Repurposing old pots and planters. Whether they’re cracked, faded, or simply no longer in use, these once-loved garden containers can find new life in surprisingly inventive ways.

Instead of tossing them in the trash, old pots and planters—terracotta, ceramic, plastic, metal, or wood—can be transformed into charming features for your garden, home décor, or even DIY crafts. This not only cuts down on landfill waste but also adds personality, rustic charm, and uniqueness to your space.

In this article, we’ll explore creative, practical, and beautiful ways to reuse old pots and planters, turning would-be junk into functional treasures for both your garden and beyond.


1. Turn Old Pots into Vertical Gardens


Why Vertical Gardening?

Vertical gardens are a perfect solution for small spaces like balconies, patios, or urban gardens. Repurposing old pots for a vertical setup allows you to maximize your growing space and create a living wall filled with herbs, flowers, or succulents.


How to Do It:

  • Stacking Method: Use three or more pots of descending sizes. Place the largest pot on the bottom, fill it with soil, and insert a dowel or metal rod in the center. Slide the next smaller pot down the rod, tilting it slightly for a cascading effect. Repeat for the next pot(s).
  • Wall Hanging Planters: Drill holes into lightweight plastic pots and mount them to a wooden pallet or fence. Use as a vertical herb garden or floral display.

Best Plants to Use:

  • Herbs: basil, thyme, mint
  • Trailing flowers: petunias, lobelia, nasturtiums
  • Succulents and cacti

Tip: Ensure adequate drainage in each container to avoid root rot.


2. Create Unique Garden Art and Sculptures


Why Use Pots for Art?

Old pots—especially mismatched or chipped ones—can be transformed into whimsical and artistic features. Whether you’re building a sculpture, garden gnome, or quirky figure, this adds character and playfulness to outdoor spaces.


Ideas to Try:

  • Pot People: Stack different-sized pots to create human-like figures. Use rope to attach small pots for arms and legs. Paint on faces and dress with old scarves or hats.
  • Totem Towers: Stack pots upside-down in interesting patterns, alternating colors and sizes for visual interest.
  • Mosaic Planters: Break old pots and use the shards to create mosaic patterns on intact containers or stepping stones.

Materials Needed:

  • Paint (outdoor-safe)
  • Adhesive/sealant
  • Pot shards or tiles
  • Strong glue or concrete for stacking

Pro Tip: Spray-seal painted pots for longer life outdoors.


3. Use Old Planters as Indoor Storage or Organizers


Functional and Stylish

Pots aren’t just for plants—they can become attractive storage solutions inside your home. From rustic farmhouse aesthetics to minimalist modern designs, pots can fit a variety of décor themes.


Creative Storage Uses:

  • Office Supplies: Store pens, rulers, clips, or small tools.
  • Craft Station: Organize brushes, buttons, thread, or yarn.
  • Bathroom Storage: Hold rolled towels, toiletries, or extra soaps.
  • Kitchen Utensils: Use medium pots for wooden spoons, spatulas, or herb jars.

Design Tips:

  • Paint or stencil to match your interior décor
  • Wrap with jute rope or burlap for rustic charm
  • Add labels or chalkboard paint for personalization

Idea: Stack small pots on a lazy Susan for a rotating craft or spice station.


4. Make Bird Baths and Feeders


Bring Wildlife to Your Garden

Attracting birds is both beneficial for pest control and adds life and sound to your garden. Old pots and saucers can be repurposed into bird baths or feeders with little effort.


DIY Bird Bath:

  • Use a large clay pot turned upside-down as a pedestal.
  • Place a shallow bowl or saucer on top, secured with weather-resistant adhesive.
  • Fill with clean water and place in a shaded, quiet part of the garden.

DIY Bird Feeder:

  • Hang small pots upside-down using twine or chain.
  • Attach a saucer below filled with birdseed.
  • Optionally, paint the pot for a decorative touch.

Tips for Success:

  • Clean regularly to prevent algae and disease
  • Use non-toxic paint and sealants
  • Keep out of reach of pets or predators

5. Build a Fairy Garden or Miniature Landscape


A Garden Within a Pot

Cracked or chipped pots are perfect candidates for fairy gardens—miniature landscapes that spark creativity and storytelling.


How to Create One:

  • Use a broken pot and arrange the shards as “terraces” or levels inside the container.
  • Fill each layer with soil and miniature plants like moss, thyme, or succulents.
  • Add small figurines, pebbled paths, fairy houses, or tiny benches.

Popular Fairy Garden Accessories:

  • Mini birdhouses
  • Tiny lanterns
  • Painted stones
  • Dollhouse furniture

Creative Touch: Add battery-powered fairy lights for evening charm.


6. Repurpose as Candle Holders or Lanterns


Cozy Ambience with Upcycled Style

Old pots, especially small or medium-sized terracotta ones, make great candle holders or rustic lanterns for patios and garden tables.


Candle Holder Ideas:

  • Place pillar candles inside pots filled with sand or pebbles for stability.
  • Paint or stencil pots for decorative flair.
  • For a festive look, tie a ribbon or string of beads around the rim.

Lantern Conversion:

  • Cut patterns or holes in lightweight plastic or metal planters.
  • Insert tea lights or LED candles inside.
  • Hang using chain or wire, or place on tables or steps.

Safety Note: Always supervise open flames and use flame-safe containers.


7. Convert Into Compost Bins or Worm Towers


Support Sustainable Gardening

Old, large pots can be turned into mini compost bins or worm towers for enriching your garden soil naturally.


Mini Compost Bin:

  • Use a large plastic or ceramic pot with drainage holes.
  • Fill with alternating green (vegetable scraps, coffee grounds) and brown (leaves, paper) materials.
  • Stir occasionally and keep it moist but not wet.

Worm Tower:

  • Bury a pot halfway into a garden bed.
  • Add kitchen scraps and red wigglers (composting worms).
  • Cover with a lid or another pot to keep pests out.
  • Worms will naturally fertilize the surrounding soil.

Benefits:

  • Reduces kitchen waste
  • Improves soil fertility
  • Great for small gardens or raised beds

8. Use as Raised Beds or Grow Towers for Small Plants


Gardening Made Accessible

Even if you’re short on space or mobility, old pots can be stacked or grouped to create elevated raised beds or grow towers for herbs, strawberries, or lettuce.


How To:

  • Stack several pots with holes drilled in the sides for planting pockets.
  • Fill with soil and plant small edibles like strawberries or herbs.
  • Alternatively, group several wide, shallow pots together to form a mini raised bed.

Best Crops for Pot Towers:

  • Leafy greens (spinach, lettuce)
  • Herbs (oregano, chives)
  • Strawberries
  • Radishes

Conclusion

Giving old pots and planters a second life is more than a practical solution—it’s a creative journey. By transforming tired or broken containers into vertical gardens, bird baths, candle holders, storage solutions, or miniature landscapes, you’re not only reducing waste but also injecting personality and charm into your space.

With just a bit of imagination and minimal tools, your once-forgotten pots can become functional, decorative, and deeply satisfying elements in your home or garden. Whether you’re an eco-conscious gardener, a crafty DIYer, or simply someone with a few extra containers lying around, there’s always a way to rethink, repurpose, and revive.

5 Shade-Loving Plants Perfect for Small Containers

5 Shade-Loving Plants Perfect for Small Containers

Container gardening has become a staple in urban spaces, patios, and small balconies. Yet one of the biggest challenges for container gardeners is dealing with limited sunlight. Not all outdoor or indoor areas receive the recommended six to eight hours of full sun that many plants crave. Fortunately, shade doesn’t have to mean a dull or lifeless garden. In fact, many shade-loving plants thrive in low-light conditions and bring a unique beauty to small spaces.

Whether you’re working with a shaded balcony, a covered porch, or an indoor nook, choosing the right shade-loving plants can turn even the gloomiest corner into a lush green retreat. This article explores five stunning shade-tolerant plants that are perfect for small containers, combining aesthetic appeal, manageable size, and low maintenance.


1. Hostas (Hosta spp.)


Why Hostas Are Ideal for Shade and Containers:

Hostas are classic shade garden favorites, beloved for their ornamental foliage. With their wide range of leaf colors, textures, and sizes, hostas bring visual interest even without blooms. While many varieties are quite large, there are miniature and dwarf hostas that are ideal for small containers.


Key Features:

  • Foliage: Green, blue, variegated white/yellow
  • Height: 4 inches to 2 feet (dwarf varieties for containers)
  • Light Needs: Partial to full shade
  • USDA Zones: 3–9 (depending on variety)

Recommended Varieties for Small Containers:

  • ‘Blue Mouse Ears’ – Compact and round with bluish foliage
  • ‘Golden Tiara’ – Small with green leaves and yellow edges
  • ‘Pandora’s Box’ – Creamy center with green borders, very compact

Care Tips:

  • Use a moisture-retentive but well-draining potting mix
  • Water consistently, especially during dry spells
  • Protect from slugs and snails, which are common pests

2. Ferns (e.g., Boston Fern, Maidenhair Fern, Japanese Painted Fern)


Why Ferns Are Ideal for Shade and Containers:

Ferns are champions of the shade garden, and their textural, feathery fronds add elegance to any container display. Many fern species thrive in small containers and offer an exotic, woodland feel.


Key Features:

  • Foliage: Fine, divided, often arching
  • Height: 6 inches to 2 feet (varies by species)
  • Light Needs: Indirect light to full shade
  • USDA Zones: 3–11 (species-dependent; some grown as houseplants)

Best Ferns for Containers:

  • Boston Fern (Nephrolepis exaltata) – Classic and full-bodied
  • Maidenhair Fern (Adiantum spp.) – Delicate foliage, perfect for indoor shade
  • Japanese Painted Fern (Athyrium niponicum) – Striking silvery fronds with purple veins

Care Tips:

  • Keep soil evenly moist, not soggy
  • Mist regularly for humidity, especially indoors
  • Use a peat-based potting mix with good aeration

3. Caladium (Caladium bicolor)


Why Caladium Is Ideal for Shade and Containers:

Caladiums are tropical foliage plants known for their dramatic, heart-shaped leaves in shades of red, pink, white, and green. They perform exceptionally well in containers and thrive in partial to deep shade.


Key Features:

  • Foliage: Variegated, heart- or arrow-shaped
  • Height: 12 to 24 inches
  • Light Needs: Shade to filtered sun
  • USDA Zones: 9–11 (grow as annuals or lift bulbs in colder zones)

Top Container Varieties:

  • ‘White Christmas’ – Crisp white leaves with green veins
  • ‘Pink Beauty’ – Vibrant pink centers with green margins
  • ‘Red Flash’ – Deep red center with speckled green and pink edges

Care Tips:

  • Plant tubers in warm soil (above 65°F)
  • Water regularly but allow the soil to dry slightly between waterings
  • Store tubers indoors in winter if grown in cold climates

4. Heuchera (Heuchera spp., also known as Coral Bells)


Why Heuchera Is Ideal for Shade and Containers:

Heucheras are prized for their colorful, ruffled foliage that comes in an array of hues from lime green and caramel to burgundy and almost black. Compact in size and shade-tolerant, they’re perfect for small containers or mixed arrangements.


Key Features:

  • Foliage: Colorful, textured, evergreen in mild climates
  • Height: 6 to 12 inches (with flower spikes up to 18 inches)
  • Light Needs: Partial to full shade
  • USDA Zones: 4–9

Popular Varieties for Containers:

  • ‘Caramel’ – Apricot-orange foliage that glows in the shade
  • ‘Obsidian’ – Deep black-purple leaves with high contrast
  • ‘Lime Rickey’ – Bright chartreuse foliage for vibrant containers

Care Tips:

  • Use well-drained soil with added organic matter
  • Water regularly, especially in hot, dry weather
  • Trim dead foliage in early spring to refresh the plant

5. Impatiens (Impatiens walleriana)


Why Impatiens Are Ideal for Shade and Containers:

When it comes to flowering plants for shady areas, impatiens top the list. These annuals are easy to grow, low maintenance, and bloom profusely in colors ranging from white and pink to coral and red—all season long.


Key Features:

  • Flowers: Single or double blooms in vibrant shades
  • Height: 6 to 12 inches
  • Light Needs: Shade to filtered light
  • USDA Zones: Annuals in most zones

Best Varieties for Small Containers:

  • ‘Accent Series’ – Dwarf, uniform growth and bright colors
  • ‘Double Impatiens’ – Rose-like blooms in pastel and bold shades
  • ‘SunPatiens’ – Tolerates more sun but does well in partial shade too

Care Tips:

  • Use rich, moist soil with good drainage
  • Water frequently during hot weather
  • Deadhead to encourage more blooms (although newer varieties are self-cleaning)

Design Tips for Small Shade Containers

Creating an attractive container arrangement in shady areas involves more than just plant selection. Consider the following design principles:

1. Thriller-Filler-Spiller Method

  • Thriller: Taller, eye-catching plant (e.g., Caladium or Heuchera)
  • Filler: Midsize plant to fill the space (e.g., Fern or Hosta)
  • Spiller: Trailing plant over the container edge (e.g., Creeping Jenny or English Ivy)

2. Use Contrasting Textures and Colors

  • Mix bold foliage (Caladium) with finer textures (Maidenhair Fern)
  • Combine dark-leaved plants (Heuchera ‘Obsidian’) with light or variegated types

3. Container Choice Matters

  • Choose containers that retain moisture, such as ceramic or glazed pots
  • Use lighter colors to brighten darker spots

Maintaining Shade-Loving Container Plants

Even shade-tolerant plants need care and attention:

Watering:

  • Shade slows down evaporation, so containers stay moist longer
  • Check soil moisture regularly to avoid overwatering

Feeding:

  • Use a balanced slow-release fertilizer or feed with a liquid fertilizer every 3–4 weeks during active growth

Pest Management:

  • Common pests: slugs, aphids, spider mites
  • Use natural solutions like neem oil or insecticidal soap

Seasonal Care:

  • Many shade plants are perennials—overwinter containers indoors or in a sheltered area
  • For annuals like impatiens, remove and replace in spring

Conclusion

Shade doesn’t have to be a limitation—it can be an opportunity to create a tranquil, lush retreat filled with subtle colors, rich textures, and unexpected elegance. By selecting the right shade-loving plants for small containers, even the darkest corners of your porch, balcony, or patio can become vibrant, living displays.

From the textured fronds of ferns to the flamboyant foliage of caladiums, and the constant blooms of impatiens, there’s a wealth of beauty waiting to thrive in your low-light garden. With thoughtful care and creative combinations, container gardening in the shade can be just as rewarding—and stunning—as gardening in the sun.

How To Keep Potted Herbs Thriving All Season

How To Keep Potted Herbs Thriving All Season

Herbs have long held a place in kitchens, gardens, and apothecaries, valued for their flavor, fragrance, and healing properties. For urban gardeners and culinary enthusiasts alike, growing herbs in containers offers a space-saving, manageable, and visually pleasing way to bring greenery into everyday life. Whether you’re placing potted herbs on a sunny balcony, windowsill, or patio, they can thrive all season long—with the right care.

Unlike herbs planted in the ground, potted herbs have unique needs and vulnerabilities. Factors such as soil type, drainage, sunlight, and watering require more attention in container gardening. This article provides a comprehensive guide on how to keep your potted herbs healthy and productive throughout the growing season—ensuring your basil stays bushy, your thyme fragrant, and your mint under control.


1. Choosing the Right Herbs for Pots

Not all herbs are equally suited to container growing. The best herbs for pots are those that adapt well to confined root spaces and can thrive in full or partial sun.

Top Herbs for Containers:

  • Basil – Annual; requires full sun and regular watering.
  • Thyme – Perennial; drought-tolerant and ideal for sunny spots.
  • Mint – Perennial; vigorous grower that can overwhelm beds, so perfect for pots.
  • Parsley – Biennial; prefers consistent moisture and partial shade.
  • Chives – Perennial; hardy and low-maintenance.
  • Rosemary – Woody perennial; thrives in full sun with good drainage.
  • Oregano – Perennial; excellent for containers in hot, dry climates.
  • Cilantro – Fast-growing annual; prefers cooler temperatures and partial shade.

Tip: Group herbs by similar water and light needs to simplify care.


2. Selecting the Best Containers

Herbs don’t require overly deep containers, but adequate space, proper drainage, and the right material are crucial.

Container Tips:

  • Size: Most herbs do well in containers that are 6–12 inches deep. Larger containers are better for fast-growing herbs like basil or mint.
  • Material:
    • Terracotta: Breathable but dries out quickly.
    • Plastic: Retains moisture, lightweight, but may overheat in direct sun.
    • Ceramic/Glazed: Attractive and moisture-retentive but heavy.
    • Fabric grow bags: Provide air pruning for roots and great drainage.
  • Drainage: Always ensure containers have drainage holes. Without drainage, water collects and causes root rot—a common killer of potted herbs.

3. Using the Right Soil Mix

Soil is the foundation of herb health. Garden soil is too dense for containers and often lacks the proper aeration.

Ideal Soil for Herbs:

  • Use a light, well-draining potting mix. A blend containing peat moss or coconut coir, perlite, and compost is ideal.
  • Avoid soil mixes that contain moisture-retaining crystals for herbs like rosemary or thyme, which prefer drier conditions.

pH and Nutrients:

  • Most herbs prefer a neutral to slightly alkaline pH (6.0 to 7.5).
  • Mix in organic compost or slow-release fertilizer for long-term nutrition.

4. Sunlight: Understanding Light Needs

Full-Sun Herbs (6–8 hours/day):

  • Basil
  • Rosemary
  • Oregano
  • Thyme
  • Sage

Partial Shade Herbs (3–5 hours/day):

  • Parsley
  • Cilantro
  • Mint
  • Chervil

If your growing area is limited to a shady balcony, opt for herbs that tolerate low light. Rotate pots weekly for even growth and prevent legginess.

Indoor Growing: If growing indoors, place pots in a south-facing window or use grow lights to provide sufficient light.


5. Watering Wisely

Watering is one of the most critical and misunderstood aspects of keeping potted herbs thriving. Too little water and they wilt; too much and they rot.

General Guidelines:

  • Water when the top inch of soil feels dry.
  • Water deeply until excess drains from the bottom.
  • Avoid letting pots sit in saucers filled with water.

Herb-Specific Watering Needs:

  • High water needs: Basil, parsley, cilantro
  • Moderate needs: Chives, mint
  • Low water needs: Rosemary, thyme, oregano

Tip: Water in the morning to reduce evaporation and prevent fungal growth.


6. Fertilizing for Healthy Growth

While herbs are generally light feeders, potted herbs benefit from supplemental nutrition.

Fertilizer Tips:

  • Use a balanced, water-soluble organic fertilizer (e.g., 10-10-10 or 5-5-5) every 3–4 weeks.
  • Over-fertilizing can lead to lush foliage with reduced flavor, especially in herbs like basil and oregano.
  • For leafy herbs (like parsley and basil), choose a nitrogen-rich fertilizer.
  • For woody herbs (like rosemary and thyme), use a low-nitrogen mix to prevent leggy growth.

7. Pruning and Harvesting Regularly

Regular harvesting promotes bushier, more productive plants. If left untrimmed, many herbs will bolt (flower and go to seed), which usually decreases flavor.

How to Harvest:

  • Basil: Pinch off the top sets of leaves regularly to prevent flowering.
  • Thyme/Rosemary: Snip off stems just above a pair of leaves.
  • Parsley: Cut outer stems near the base to encourage new growth.
  • Cilantro: Harvest frequently before it bolts in hot weather.

Tip: Never harvest more than one-third of a plant at a time. This ensures healthy regrowth.


8. Managing Pests and Diseases

Potted herbs are less vulnerable to soil-borne diseases, but still prone to pests like:

  • Aphids: Found on new growth; wash off with water or use neem oil.
  • Spider Mites: Fine webbing and stippled leaves; increase humidity and spray with insecticidal soap.
  • Whiteflies: Small flying insects; use sticky traps and neem oil.
  • Fungal diseases: Caused by overwatering or poor airflow. Space pots adequately and avoid wetting foliage.

Natural deterrents include:

  • Companion planting (e.g., basil repels aphids)
  • Homemade sprays (garlic or chili-based solutions)
  • Diatomaceous earth for crawling insects

9. Dealing with Weather and Seasonal Changes

Hot Weather:

  • Use shade cloth or relocate containers during midday heat
  • Water more frequently
  • Mulch with straw or bark to retain moisture

Cold Weather:

  • Bring tender herbs indoors before frost
  • Use rolling plant caddies for easy movement
  • Protect with cloches or frost blankets if left outside

Overwintering Tips:

  • Perennial herbs like thyme, oregano, and chives can survive outdoors in pots with insulation.
  • Tender herbs like basil and parsley should be harvested completely or grown indoors under lights.

10. Creative Container Herb Garden Ideas

Maximize space and visual appeal with creative setups:

  • Tiered herb stands: Perfect for patios with limited ground space.
  • Hanging baskets: Great for trailing herbs like thyme or oregano.
  • Vertical wall planters: Ideal for small balconies or porch walls.
  • Windowsill boxes: Keep fresh herbs within reach of your kitchen.

Design Tip: Mix contrasting leaf textures and colors. For example, pair broad-leafed basil with feathery dill or silvery sage.


Conclusion

Growing herbs in containers offers a rewarding and practical way to enjoy fresh flavors and greenery all season long. With proper planning—starting from choosing the right herbs and containers to mastering watering, pruning, and sunlight—you can cultivate a thriving herb garden in even the smallest of spaces.

Container herbs are not only functional for cooking but also enhance the beauty and atmosphere of your home, patio, or balcony. They invite pollinators, purify air, and connect us to the rhythms of nature.

Whether you’re a beginner gardener or a seasoned green thumb, these practices will help ensure your potted herbs remain lush, healthy, and productive from spring to fall—and beyond, if you’re willing to bring them indoors.

5 Beautiful Container Plants for Your Front Porch

5 Beautiful Container Plants for Your Front Porch

The front porch is more than just an entryway—it’s a transitional space between the outdoors and the warmth of home. As the first impression visitors receive, it sets the tone for your entire living environment. One of the most effective and inviting ways to enhance your front porch is through container gardening. Whether you’re working with a wide veranda, a small stoop, or a covered entryway, container plants add color, texture, fragrance, and seasonal interest without requiring extensive landscaping.

Container gardening also offers flexibility, allowing you to rotate plants by season, experiment with combinations, and adapt to varying light and climate conditions. In this article, we explore five beautiful container plants that thrive on front porches, each selected for aesthetic appeal, adaptability, and ease of care.


1. Hydrangea (Hydrangea macrophylla)

Why It’s Ideal for Your Porch:

Hydrangeas are synonymous with lush, voluminous blooms that bring classic charm and elegance to any space. Their bold flower clusters and rich green foliage create a striking visual impact in porch containers, especially during late spring and summer.

Key Features:

  • Bloom Colors: Pink, blue, purple, white (depending on soil pH)
  • Height: 2 to 5 feet (compact varieties ideal for containers)
  • Light Requirements: Morning sun and afternoon shade
  • USDA Zones: 5 to 9

Best Varieties for Containers:

  • ‘Endless Summer’ – Reblooming mophead that flowers repeatedly throughout the season
  • ‘Little Lime’ – A compact panicle hydrangea with lime-green blossoms turning pink in late summer
  • ‘Mini Penny’ – A dwarf hydrangea perfect for pots

Care Tips:

  • Use large containers with good drainage
  • Water consistently; do not let soil dry out
  • Use acidic soil for blue flowers, alkaline for pink
  • Apply mulch on top of soil to retain moisture

2. Coleus (Solenostemon scutellarioides)

Why It’s Ideal for Your Porch:

If you’re looking for bold foliage instead of flowers, Coleus is the answer. Known for its dazzling variety of leaf shapes and colors—from deep burgundy and chartreuse to pink and maroon—Coleus brings vibrant energy to shady porches.

Key Features:

  • Foliage Colors: Multicolored, including lime, red, purple, bronze
  • Height: 12 to 36 inches
  • Light Requirements: Partial to full shade (some varieties tolerate sun)
  • USDA Zones: Grown as an annual in most zones (9–11 perennial)

Best Varieties for Containers:

  • ‘Wizard Mix’ – A compact variety perfect for small pots
  • ‘Kong Rose’ – Large leaves with bright, bold patterns
  • ‘Rainbow Mix’ – A vibrant combination ideal for mixed planters

Care Tips:

  • Pinch back tips to encourage bushy growth
  • Keep soil evenly moist
  • Fertilize lightly every 3–4 weeks during growing season
  • Overwinter indoors or propagate from cuttings

3. Lavender (Lavandula angustifolia)

Why It’s Ideal for Your Porch:

Lavender is the perfect blend of beauty and utility. Its fragrant, silver-green foliage and spiked purple flowers offer a calming, Mediterranean aesthetic. Additionally, it repels mosquitoes and attracts beneficial pollinators like bees and butterflies.

Key Features:

  • Fragrance: Highly aromatic foliage and blooms
  • Height: 12 to 24 inches
  • Light Requirements: Full sun (6–8 hours daily)
  • USDA Zones: 5 to 9 (varies by variety)

Best Varieties for Containers:

  • ‘Munstead’ – A compact English lavender ideal for pots
  • ‘Hidcote’ – Dark purple flowers and dense growth
  • ‘Goodwin Creek’ – A hybrid with excellent drought tolerance

Care Tips:

  • Use well-draining soil (sand or gravel mix)
  • Do not overwater—lavender prefers dry conditions
  • Trim back after flowering to maintain shape and encourage new growth
  • Place containers where they receive direct sunlight

4. Begonia (Begonia spp.)

Why It’s Ideal for Your Porch:

Begonias are beloved for their brilliant blooms, asymmetrical foliage, and adaptability to container life. Whether your porch is sunny or shady, there’s a begonia variety that will thrive and bloom continuously from spring until frost.

Key Features:

  • Bloom Colors: White, red, pink, orange, yellow
  • Foliage: Often ornamental, with patterns and textures
  • Height: 8 to 24 inches
  • Light Requirements: Varies—shade or partial sun depending on species
  • USDA Zones: Typically grown as annuals (some varieties can be overwintered indoors)

Best Varieties for Containers:

  • ‘Dragon Wing Red’ – Cascading form ideal for hanging baskets or tall pots
  • ‘Nonstop Series’ – Tuberous begonias with continuous large blooms
  • ‘Rex Begonia’ – Grown primarily for dramatic foliage, not flowers

Care Tips:

  • Keep soil moist but not soggy
  • Avoid overhead watering to prevent mildew
  • Fertilize bi-weekly with a balanced liquid fertilizer
  • Deadhead spent blooms to encourage new ones

5. Boxwood (Buxus sempervirens)

Why It’s Ideal for Your Porch:

For structure and timeless sophistication, boxwood is unmatched. This slow-growing evergreen shrub adds elegance through clean lines and year-round greenery. Perfect for flanking doors or accenting steps, boxwood is also easily pruned into shapes or topiaries.

Key Features:

  • Foliage: Dense, small green leaves
  • Height: 1 to 4 feet (dwarf varieties are ideal for pots)
  • Light Requirements: Full sun to partial shade
  • USDA Zones: 5 to 9

Best Varieties for Containers:

  • ‘Green Velvet’ – Maintains a rounded form and compact size
  • ‘Baby Gem’ – Dwarf variety with lush foliage
  • ‘Wintergreen’ – Hardy and cold-tolerant

Care Tips:

  • Use high-quality potting mix with excellent drainage
  • Water regularly but allow soil to dry slightly between waterings
  • Prune in late spring to shape
  • Wrap or move containers during extreme cold spells in northern climates

Tips for Successful Front Porch Container Gardening

Container gardening may seem straightforward, but there are several key considerations to ensure long-term success and beautiful displays:

1. Container Selection

  • Choose weather-resistant pots (ceramic, resin, wood, or concrete)
  • Ensure pots have drainage holes to prevent root rot
  • Match pot size to plant needs—too small and roots will crowd, too large and soil stays too wet

2. Soil Matters

  • Use potting mix, not garden soil—it’s lighter and retains moisture appropriately
  • Consider adding perlite or coarse sand for improved drainage

3. Watering Routine

  • Containers dry out faster than in-ground gardens
  • Water in the morning to avoid fungal diseases
  • Use self-watering containers or drip irrigation for convenience

4. Seasonal Changes

  • Rotate plants seasonally—replace spring/summer blooms with fall options like mums or ornamental cabbages
  • Use evergreens and structural plants (like boxwood) to maintain winter interest

Conclusion

A well-designed front porch sets the mood for your entire home, and container plants are a powerful tool to add beauty, personality, and seasonal flair. From the vibrant blooms of hydrangeas and begonias, to the aromatic calm of lavender, the lush foliage of coleus, and the formal elegance of boxwood, there’s a plant for every taste and climate.

The beauty of container gardening lies in its versatility. Whether you’re a seasoned gardener or a beginner, you can experiment with styles, colors, and textures without committing to permanent changes. With the right plants and proper care, your front porch can become a lush, welcoming oasis that evolves beautifully throughout the seasons.

Why Sunflower Seeds Are Perfect for Fall Planting

Why Sunflower Seeds Are Perfect For Fall Planting

Sunflowers (Helianthus annuus) are some of the most iconic, eye-catching flowers in the gardening world. With their tall stalks, bright yellow petals, and sun-tracking heads, they bring beauty, biodiversity, and even edible seeds to any garden. Traditionally associated with summer, many gardeners are surprised to learn that sunflower seeds can also be planted in the fall—and with great success.

Fall planting not only allows for earlier blooms the following season but also plays a key role in soil health, pollinator support, and sustainable gardening. This article explores in detail why sunflower seeds are perfect for fall planting, including the biological, ecological, and practical advantages they offer. Whether you’re a backyard gardener, a homesteader, or a horticulture student, this guide will help you understand and utilize sunflowers to their fullest potential.


Understanding Sunflower Growth Basics

Before diving into fall planting, it’s essential to understand the basic growth requirements of sunflowers:

  • Sunlight: Full sun (6–8 hours daily)
  • Soil: Well-drained, neutral to slightly acidic soil
  • Water: Moderate; drought-tolerant once established
  • Spacing: Depends on variety (12–24 inches apart)
  • Growth Time: 70–100 days from seed to bloom, depending on the variety

Sunflowers are annuals, meaning they complete their life cycle in one season. However, when planted in the fall, they behave more like a “winter annual”—germinating, establishing roots, and then going dormant until spring resumes their growth.


Why Fall Planting Works for Sunflowers

Contrary to the belief that all annuals must be planted in spring, sunflower seeds can thrive with fall sowing in many regions, especially those with mild or moderate winters.

Here’s why it works:

1. Natural Mimicry of Wild Cycles

In nature, sunflower seeds drop in late summer or fall and lie dormant in the soil until conditions are favorable again. Fall planting mimics this natural cycle, allowing seeds to overwinter and germinate at the right time in spring.

2. Earlier Blooms in Spring

Seeds sown in fall often germinate earlier than spring-planted seeds because they’ve already endured cold stratification and begin growing as soon as soil warms. This results in:

  • Earlier flowering (by 2–3 weeks)
  • A longer season of blooms and seed production

3. Stronger Root Systems

Fall-planted sunflower seeds develop strong root systems over the winter, especially if planted early enough to sprout before the first frost. This gives the plant a head start in spring, leading to:

  • More vigorous growth
  • Taller stems
  • Larger flower heads

Benefits of Fall Planting Sunflower Seeds

Let’s explore in detail the key advantages of planting sunflower seeds in the fall:

1. Natural Cold Stratification

Many sunflower seeds benefit from cold stratification, a process where seeds are exposed to cold temperatures to break dormancy. Fall planting allows nature to handle this process for you.

Benefits:

  • Improves germination rates
  • Breaks dormancy naturally
  • Reduces need for indoor seed treatments

2. Early Pollinator Support

Early blooming sunflowers serve as important nectar sources for pollinators like bees, butterflies, and other beneficial insects emerging in spring.

Fall planting ensures:

  • First blooms align with first pollinators
  • Support for local bee populations
  • Greater biodiversity in your garden

3. Weed Suppression and Soil Health

Sunflowers have deep taproots that break up compacted soil and draw nutrients from deep layers. Planting in fall can also suppress spring weed growth due to early canopy development.

  • Prevents soil erosion during winter
  • Improves soil structure
  • Suppresses early-season weeds

4. Food Source for Birds and Wildlife

Sunflowers are a favorite food source for birds, especially goldfinches, in late summer and fall. If fall-planted seeds produce early blooms and seed heads, they’ll offer:

  • An earlier food source for seed-eating birds
  • Natural pest control as birds consume insects too
  • Greater attraction of wildlife to your garden

5. Ideal for Cut Flower Production

If you’re growing sunflowers for floristry or cut flowers, earlier blooms mean earlier harvests. This gives growers a market advantage in spring and early summer.


How to Successfully Plant Sunflower Seeds in Fall

While fall planting is beneficial, success depends on timing, variety selection, and local climate. Here’s how to do it right:

1. Choose the Right Time

  • Ideal Time: 2–4 weeks before the first average frost date
  • This gives seeds time to settle and, in some climates, even germinate slightly before winter.
  • In colder zones (USDA zones 5 and below), seeds will likely remain dormant until spring.

2. Select Cold-Hardy or Native Varieties

Some sunflower varieties are better suited for fall planting:

  • Native sunflowers (e.g., Helianthus maximiliani)
  • Smaller varieties with shorter growing cycles (e.g., Teddy Bear, Autumn Beauty)
  • Heirloom or open-pollinated types that adapt well to natural cycles

3. Prepare the Soil

  • Loosen soil 12–18 inches deep to accommodate taproots.
  • Mix in compost or aged manure to improve fertility and drainage.
  • Ensure the site has full sun exposure.

4. Sow the Seeds

  • Plant seeds 1 inch deep and 6–12 inches apart, depending on variety.
  • Cover lightly with soil and press gently.
  • Water once after planting. Do not overwater, as excess moisture + cold = seed rot.

5. Mulch Lightly (Optional)

  • Apply a light mulch layer (e.g., straw or shredded leaves) to protect seeds from heavy rain, frost heave, and birds.
  • Remove or thin mulch in early spring to allow sprouts access to light.

Regions Where Fall Planting Works Best

Fall planting of sunflower seeds is especially effective in:

  • Mild winter climates (USDA Zones 7–10)
  • Areas with early springs and minimal snow cover
  • Regions with wet but not freezing winters

In colder climates (Zones 3–6), success depends on seed hardiness and soil drainage. You may still plant in fall, but expect delayed germination until soil temperatures rise.


Potential Risks and How to Avoid Them

While fall planting has many benefits, there are also a few risks:

RiskPrevention
Premature germination before winterPlant close to first frost date
Seed rot in wet soilsEnsure well-draining soil, avoid clay-heavy beds
Wildlife eating seedsUse row covers or netting if needed
Frost damage to seedlingsMulch and choose frost-tolerant varieties

Success Tips for Maximum Bloom

  • Succession Planting: Combine fall and spring planting for a longer bloom season.
  • Deadheading: Remove old blooms to encourage branching and new flowers.
  • Fertilization: Use a balanced organic fertilizer in early spring when growth resumes.
  • Companion Planting: Grow with cucumbers, squash, or beans to improve pollination and pest control.

Sunflowers in Sustainable and Regenerative Gardening

Sunflowers are more than just pretty flowers. In regenerative agriculture and sustainable gardening, they serve multiple purposes:

  • Phytoremediation: Sunflowers extract heavy metals and toxins from soil.
  • Carbon sequestration: Their rapid growth absorbs carbon dioxide.
  • Biodiversity: They attract dozens of beneficial species to your garden ecosystem.

By fall-planting sunflowers, you’re aligning your gardening practice with nature’s cycles and contributing to a more resilient, productive, and biodiverse space.


Conclusion

Sunflower seeds are not just for spring — in fact, fall may be the perfect time to sow them. With the right timing, conditions, and variety, fall-planted sunflowers will reward you with stronger plants, earlier blooms, better soil, and happier pollinators.

Whether you’re a casual gardener or a serious grower, planting sunflowers in fall is a simple yet powerful way to harness the rhythms of nature for maximum beauty and yield.

So as the days grow shorter and the temperatures cool, don’t pack away your gardening tools just yet. Instead, plant a row of sunflowers and let them work their magic — above and below the soil — all through the coming seasons.

How to Harvest Dill Without Killing the Plant

How to Harvest Dill Without Killing the Plant

Dill (Anethum graveolens) is a flavorful, aromatic herb beloved by chefs and gardeners alike. Whether it’s sprinkled fresh on a potato salad, brewed into a digestive tea, or used to flavor pickles, dill is a versatile addition to any garden. But if you’ve ever tried to harvest dill only to see your plant struggle or die shortly after, you’re not alone.

Harvesting dill the right way is crucial to its health and longevity. With the proper technique, you can enjoy continuous harvests throughout the growing season — without harming or killing the plant.

This article is a complete, detailed guide on how to harvest dill without killing the plant. We’ll cover everything from understanding its growth cycle, knowing when and how to cut it, tips to maximize regrowth, and common mistakes to avoid.


Why Dill Is a Unique Herb

Before diving into harvesting techniques, it’s essential to understand the growth habit of dill, which directly influences how and when you should harvest it.

Fast-Growing but Short-Lived

  • Dill is an annual herb, meaning it completes its life cycle in one season.
  • It grows quickly, often reaching 2–4 feet in height within 6–8 weeks.
  • If not harvested properly, it will bolt (produce flowers and seeds), ending its leaf production.

Bolting and Flowering

  • Once dill bolts, the plant shifts its energy from growing leaves to producing seeds.
  • Leaf production slows or stops entirely.
  • While flowering is natural, you can delay bolting through correct harvesting and care.

Understanding this life cycle helps you know why timely, selective harvesting is key to keeping the plant alive and productive.


Parts of the Dill Plant You Can Harvest

Dill is one of those herbs where multiple parts can be harvested and used:

  1. Leaves (Dill Weed) – Used fresh or dried in cooking.
  2. Seeds – Used in pickling, spice blends, or herbal remedies.
  3. Flowers – Edible and used for flavoring pickles or garnishes.

This guide focuses on harvesting leaves — the most commonly used part — without killing the plant. However, we’ll also touch briefly on harvesting flowers and seeds without disrupting growth prematurely.


When to Start Harvesting Dill

Timing is everything in herb harvesting.

Ideal Time to Harvest Dill Leaves:

  • Begin harvesting when the plant reaches 8–12 inches tall.
  • This is typically around 4–6 weeks after planting.
  • At this stage, the plant has developed enough foliage to sustain regrowth after cutting.

Best Time of Day:

  • Harvest in the morning, just after the dew has dried.
  • Essential oils are at their peak concentration, resulting in maximum flavor and aroma.

How to Harvest Dill Without Killing the Plant

To keep your dill alive and productive, follow these five core principles.


1. Use the “Cut-and-Come-Again” Method

This method involves trimming only what you need while leaving enough of the plant intact to continue growing.

Steps:

  • Identify the outer, mature fronds (feathery leaves).
  • Use sharp scissors or garden shears to cut these leaves 2–4 inches from the base.
  • Leave the center (crown) of the plant untouched — this is where new growth originates.
  • Only take about one-third of the plant at a time.

This method stimulates regrowth and extends the life of the plant.


2. Never Harvest the Whole Plant at Once

It may be tempting to cut the entire plant when you need a big batch of dill — but doing so will halt further growth.

Why it matters:

  • The dill plant needs leaves to perform photosynthesis.
  • Removing all foliage starves the plant and often leads to death.

Best practice: Take small, regular harvests instead of a one-time cut.


3. Pinch Off Flower Buds to Delay Bolting

As soon as you notice flower buds forming at the top of the plant, pinch them off. This redirects the plant’s energy back into leaf production.

Why it works:

  • Bolting is the beginning of the end of leaf growth.
  • Removing flower buds delays the plant’s natural reproductive process.
  • It gives you more time to harvest flavorful leaves.

However, if you’re growing dill for its seeds or flowers, allow bolting on some plants only, and keep others for foliage harvest.


4. Harvest Consistently

Regular harvesting is not only possible — it’s beneficial.

  • Dill responds well to light, frequent trimming.
  • Regular cutting prevents the plant from becoming leggy and encourages bushier growth.

Schedule: Aim to harvest every 7–10 days once the plant is established.


5. Water and Feed After Harvesting

Harvesting can stress any plant. Help dill recover by:

  • Watering at the base immediately after harvest.
  • Applying a diluted organic fertilizer (like compost tea or fish emulsion) every 2–3 weeks.

This ensures the plant has enough energy to regrow quickly.


How to Harvest Dill Seeds and Flowers Without Killing the Plant

If you’re interested in harvesting dill seeds for cooking or future planting:

Steps:

  1. Allow some plants to bolt and form umbrella-shaped flower heads.
  2. Once flowers turn brown and seed pods form, cut the entire flower stalk.
  3. Hang upside down in a paper bag to dry and collect seeds.

Important: Let only some plants go to seed. Keep others in vegetative (leaf-growing) phase by pinching flowers, so you can continue harvesting leaves.


Indoor Dill Harvesting Tips

If you’re growing dill in containers indoors:

  • Ensure it gets at least 6 hours of sunlight (use grow lights if needed).
  • Use a well-draining potting mix.
  • Harvest using the same methods: trim outer fronds, leave the center, and pinch flower buds.
  • Avoid overharvesting — small plants need more time to regrow.

Common Mistakes to Avoid

MistakeConsequence
Cutting the entire plantPlant won’t recover; it may die
Harvesting too earlyStunts growth and reduces yield
Ignoring flower budsPlant bolts; leaf production declines
Using dull scissors or handsDamages stems, invites disease
OverharvestingWeakens the plant and shortens its life

Signs You’re Harvesting Dill Correctly

  • The plant continues to produce new leaves after each harvest.
  • It maintains a bushy, green appearance.
  • There is no yellowing or drooping of leaves.
  • Flower buds are under control unless intentionally left for seeds.

How Long Will Dill Keep Producing?

If harvested correctly and maintained well, dill can continue producing leaves for 6–10 weeks, or even longer. Once flowering becomes dominant and seed production starts, leaf growth will gradually decline.

For a continuous supply throughout the season, consider succession planting: sow new dill seeds every 3–4 weeks to stagger growth cycles.


Conclusion

Harvesting dill doesn’t have to mean the end of your plant’s life. With the right technique — selective cutting, avoiding overharvest, pinching flower buds, and providing proper care — you can enjoy fresh dill leaves again and again throughout the season.

Whether you’re growing dill for culinary use, herbal remedies, or seeds, understanding the plant’s growth cycle and harvesting needs allows you to maximize yield without compromising plant health.

So next time you reach for your shears, remember: the key to harvesting dill without killing the plant is not how much you cut — it’s how wisely you do it.