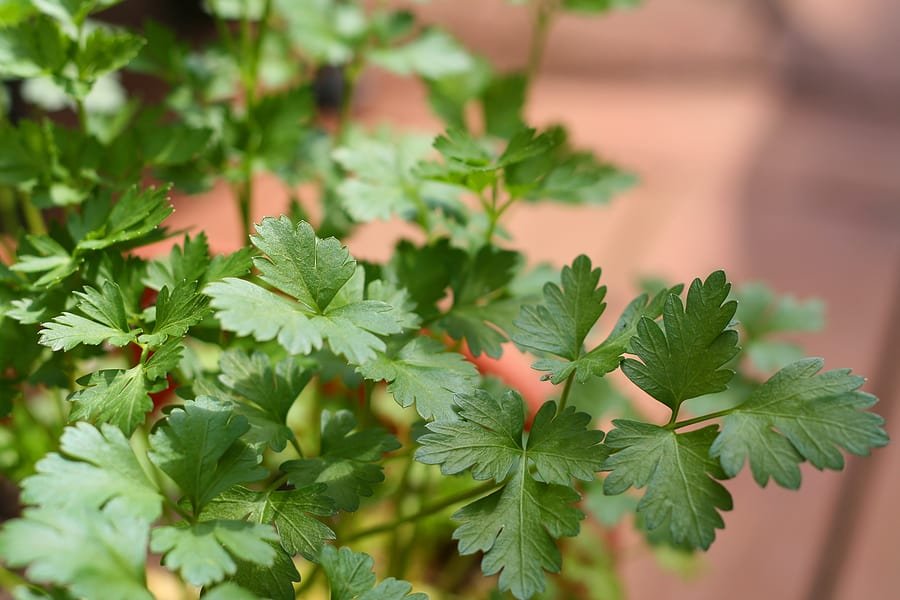
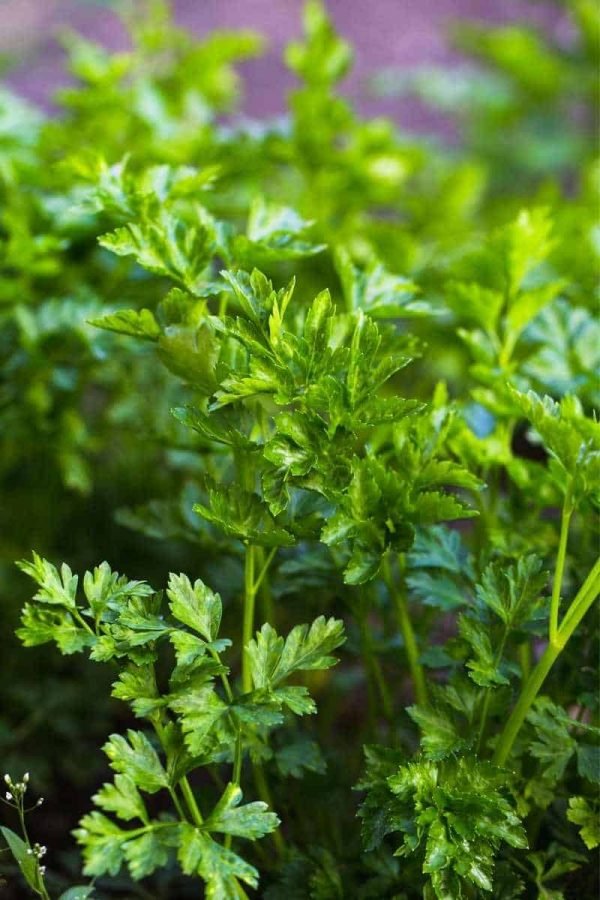
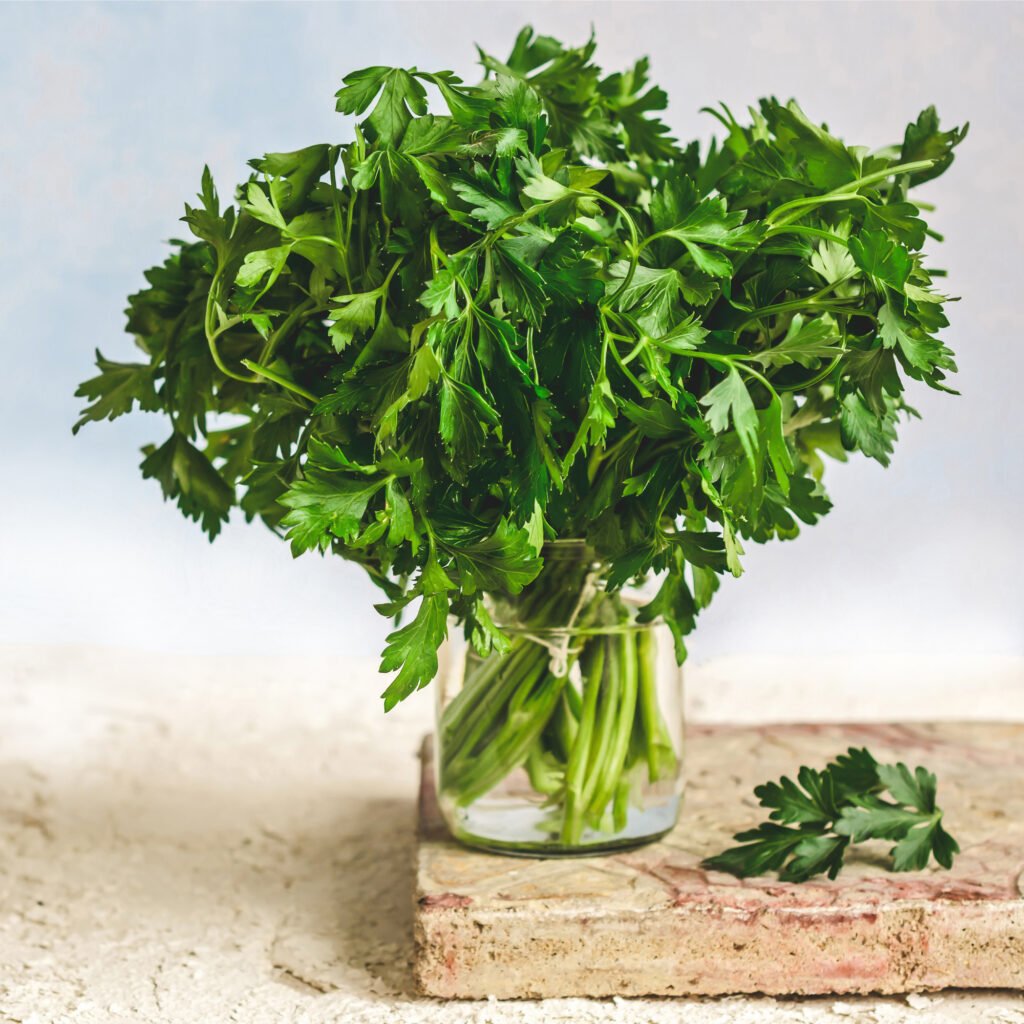
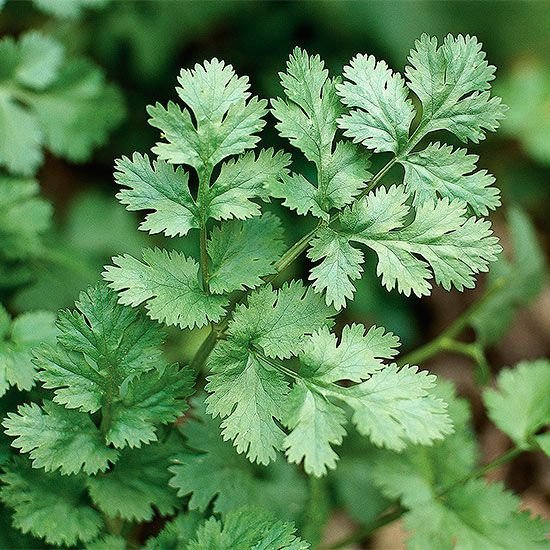
Cilantro, also known as coriander (Coriandrum sativum), is one of the most versatile herbs used in kitchens around the world. From fresh salsa and curries to soups and salads, this fragrant green herb adds a burst of flavor to countless dishes. The best part? Cilantro is surprisingly easy to grow at home, even for beginners.
If you’ve ever wanted to enjoy a constant supply of fresh cilantro from your own garden, balcony, or windowsill, this guide will walk you through everything you need to know—from planting and care to harvesting and troubleshooting common problems.
Why Grow Cilantro?
Before diving into the practical steps, it’s worth highlighting why cilantro is a great addition to your home garden:
- Flavorful and versatile – Adds fresh, citrusy flavor to a wide range of dishes.
- Dual harvest – Both leaves (cilantro) and seeds (coriander) are edible.
- Fast-growing – You can harvest leaves within a few weeks of planting.
- Health benefits – Rich in vitamins A, C, and K, antioxidants, and essential minerals.
- Easy to grow – Thrives in small spaces, containers, and even indoors.
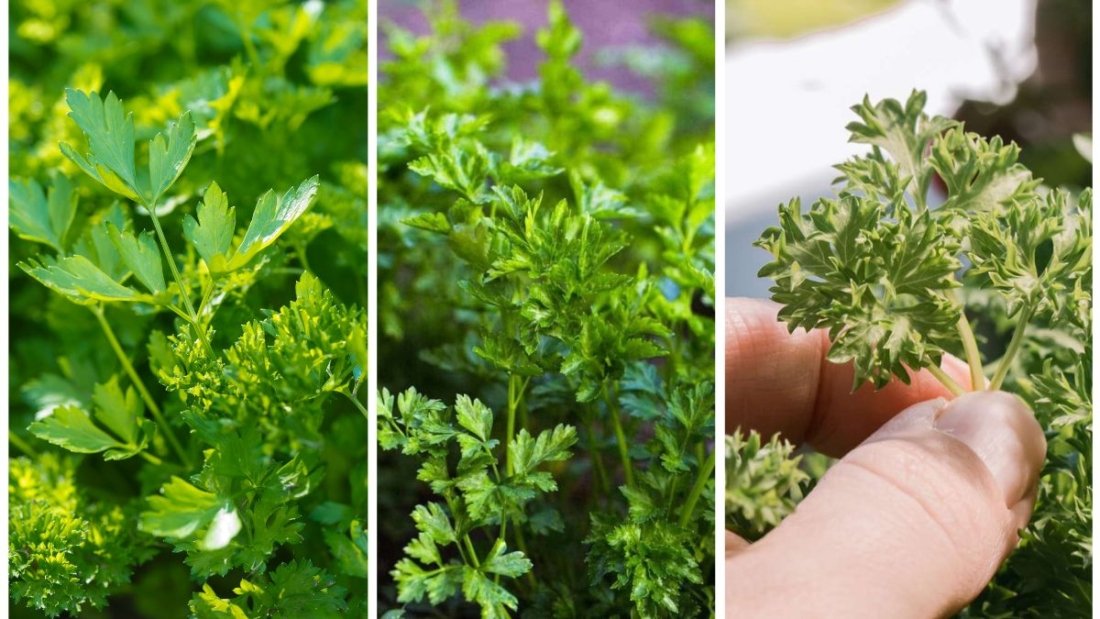
Choosing the Right Cilantro Variety
While cilantro is generally grown from the same plant species, there are different varieties worth considering:
- Santo – Slow-bolting variety that resists going to seed too quickly. Great for beginners.
- Leisure – Another slow-bolting type, ideal for continuous leaf harvest.
- Calypso – Known for producing abundant foliage and resisting heat.
- Coriander (seed harvest) – Some gardeners grow cilantro specifically for its seeds, which are used as a spice.
For beginners, slow-bolting varieties like Santo or Leisure are highly recommended.
Best Growing Conditions for Cilantro
Cilantro thrives under specific conditions, and replicating them will ensure healthy, flavorful leaves.
- Sunlight: Needs 4–6 hours of sunlight daily. In very hot climates, partial shade is better.
- Soil: Prefers well-draining, loamy soil rich in organic matter. A pH of 6.2–6.8 is ideal.
- Water: Requires consistent moisture but hates waterlogging. Keep soil evenly moist.
- Temperature: Best in cool weather (50–70°F / 10–21°C). It bolts quickly in hot conditions.
Planting Cilantro
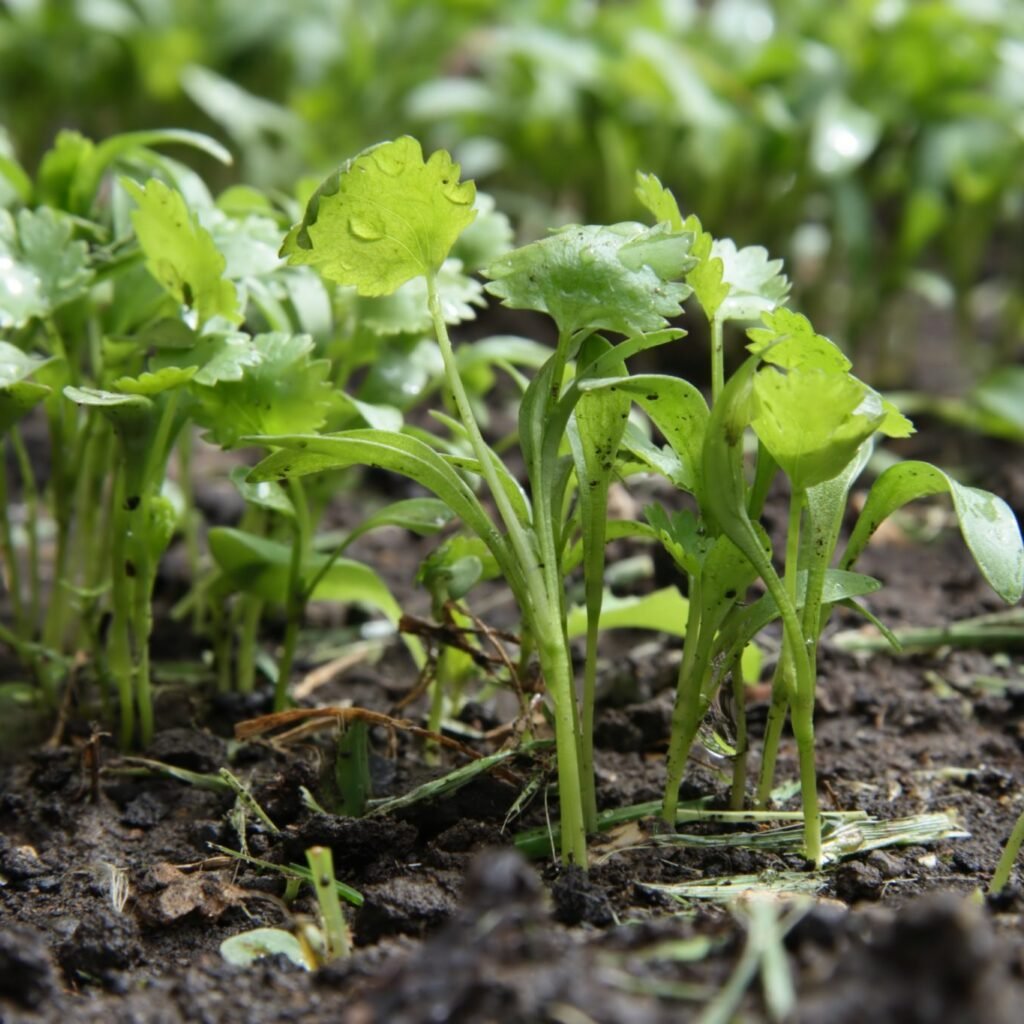
1. Starting from Seeds
Cilantro is best grown directly from seeds rather than transplants, as it doesn’t handle being moved very well.
- Prepare seeds: Crush the seed husks gently (each husk contains 2 seeds). Soak them in water overnight to improve germination.
- Plant depth: Sow seeds about ¼ inch deep.
- Spacing: Plant seeds 6–8 inches apart in rows or scatter them for a natural look.
- Germination: Seeds usually sprout within 7–14 days.
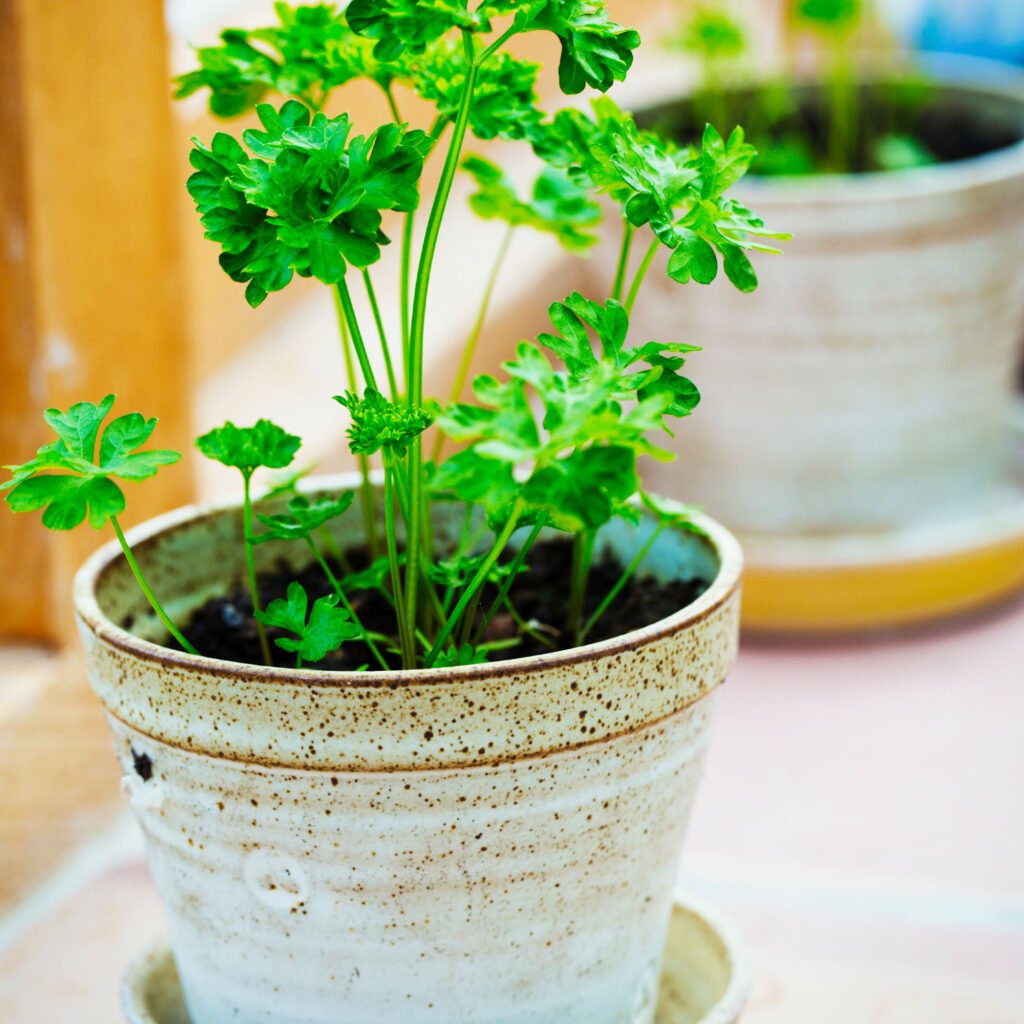
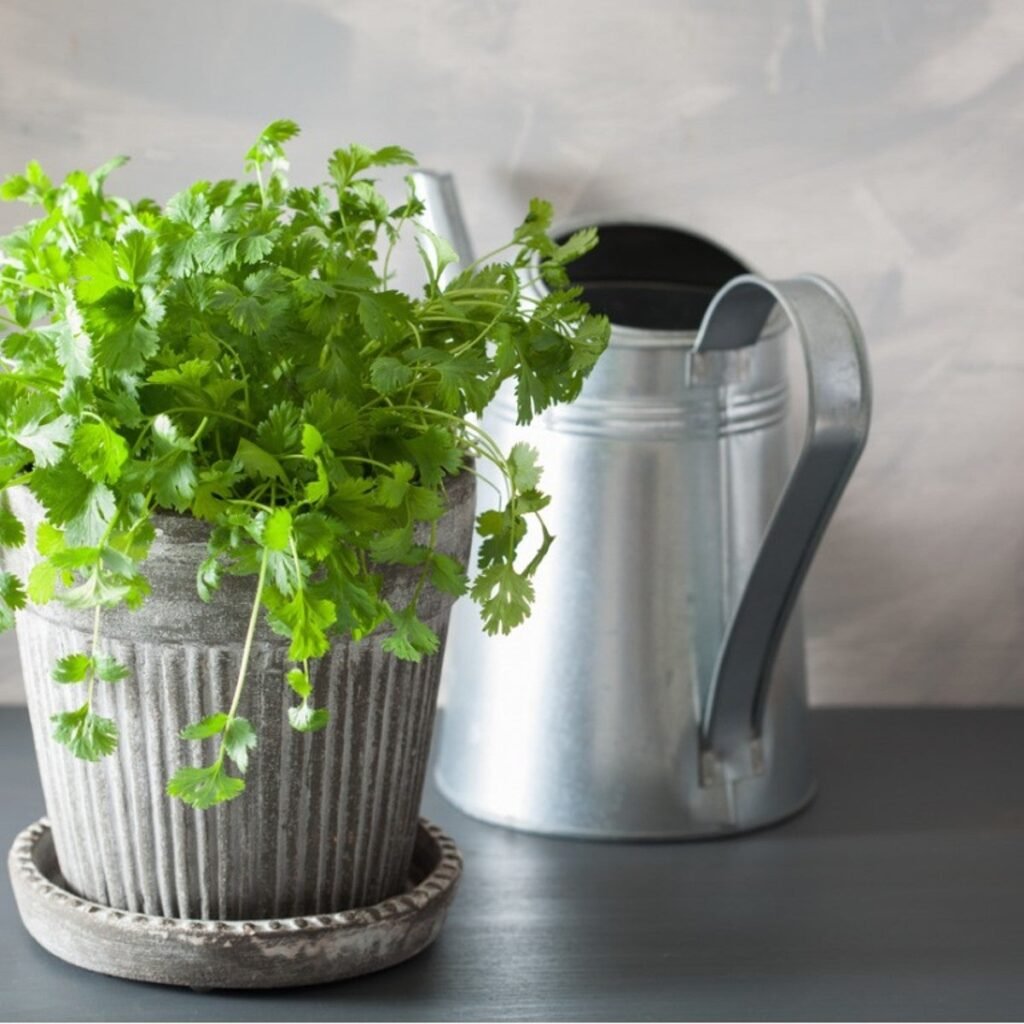
2. Growing in Containers
Cilantro is perfect for small spaces or indoor growing. Use a pot that’s at least 8 inches deep to allow for root development. Ensure the pot has drainage holes to prevent soggy soil.
Caring for Cilantro
Watering
- Water consistently to keep soil moist but not soggy.
- Avoid overhead watering, as wet leaves can lead to disease.
Fertilizing
- Cilantro doesn’t need heavy feeding.
- Mix compost into the soil before planting.
- Use a balanced, water-soluble fertilizer every 3–4 weeks if needed.
Mulching
- Apply a thin layer of mulch around the plants to retain moisture and regulate soil temperature.
Pruning
- Regularly snip leaves to encourage bushy growth.
- Remove flower stalks (bolts) immediately if you want to prolong leaf production.
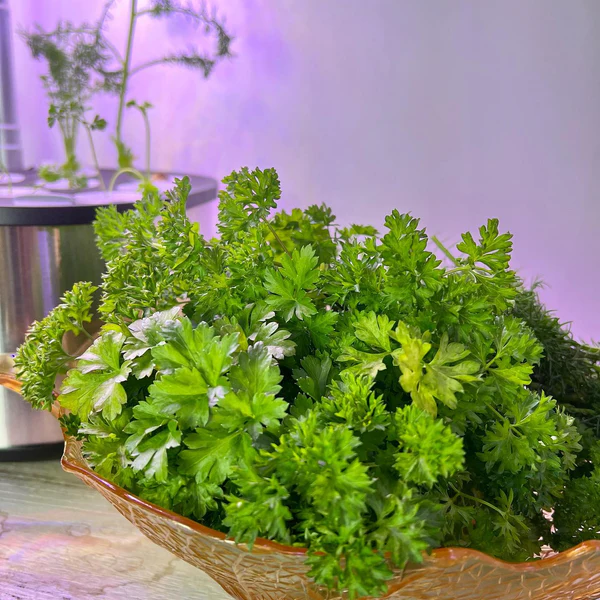
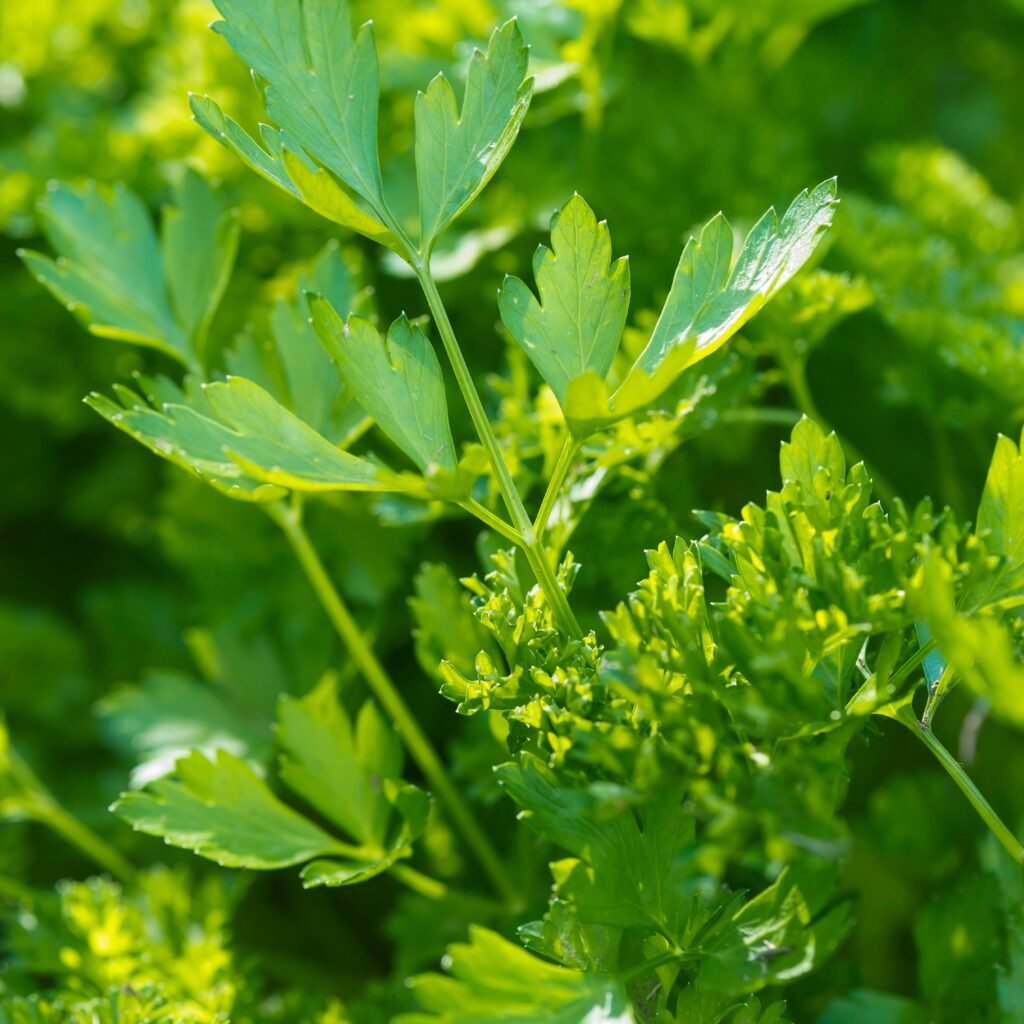
Harvesting Cilantro
Harvesting Leaves
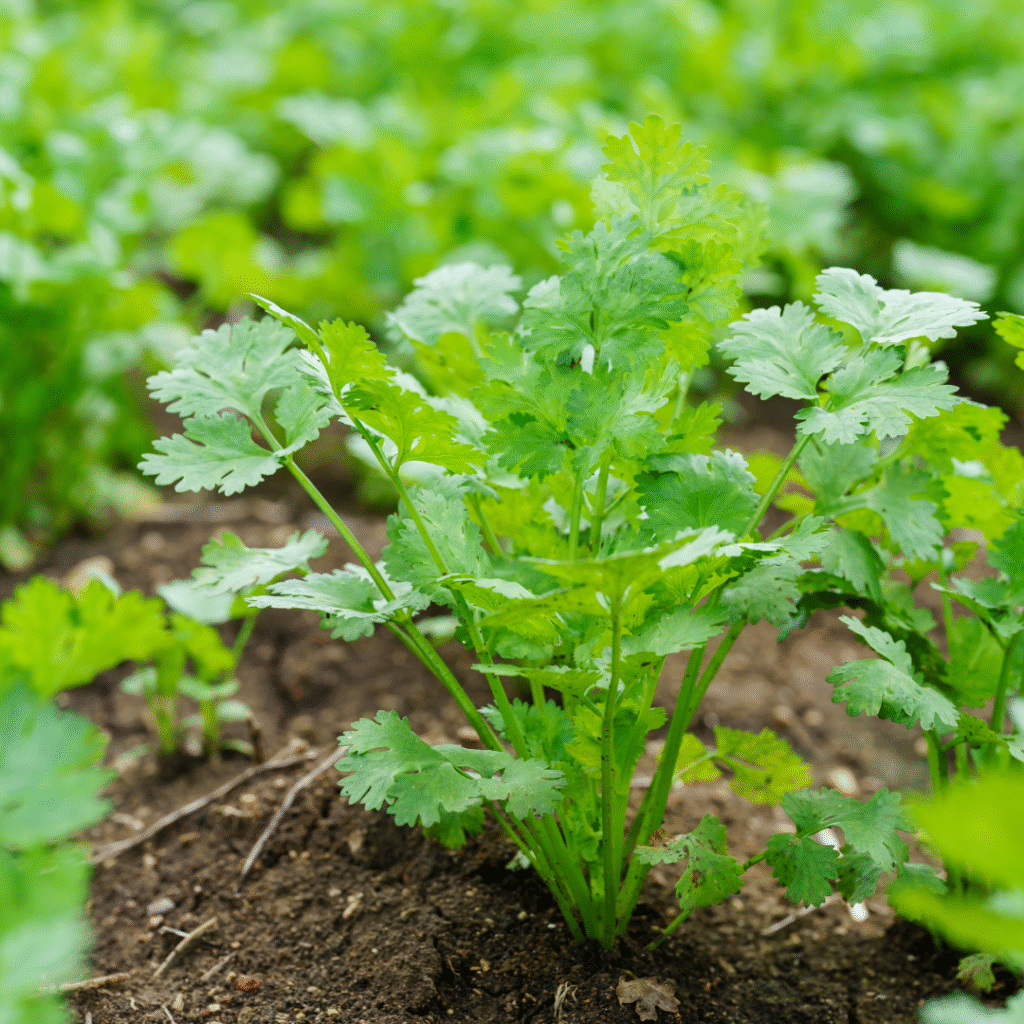
- You can start harvesting leaves when plants are 6–8 inches tall.
- Always cut from the outer leaves first, allowing the inner growth to continue.
- Use scissors or pinch stems close to the soil.
- Harvest regularly to keep the plant producing.
Harvesting Seeds (Coriander)
If you let cilantro flower and set seed:
- Wait until seed heads turn brown and dry on the plant.
- Cut the seed heads and place them in a paper bag.
- Allow them to dry completely before storing.
These seeds can be used for cooking or replanting.
How to Keep Cilantro Thriving
Cilantro tends to bolt (go to seed) quickly, especially in hot weather. Here’s how you can extend its growing season:
- Succession Planting – Plant new seeds every 2–3 weeks for a steady supply of fresh leaves.
- Grow in Cooler Seasons – Plant in spring or fall, as cilantro prefers cool temperatures.
- Partial Shade in Summer – In warmer regions, give plants afternoon shade to slow bolting.
- Harvest Frequently – Regular cutting delays flowering.
Common Pests and Diseases
Cilantro is relatively low-maintenance but can occasionally face pests or diseases:
Pests
- Aphids – Small insects that suck sap; wash them off with water or use insecticidal soap.
- Caterpillars – Hand-pick or use organic pest control methods.
- Whiteflies – Control with yellow sticky traps or neem oil spray.
Diseases
- Powdery Mildew – Appears as white spots on leaves; improve air circulation and avoid overhead watering.
- Leaf Spot – Brown or yellow spots caused by fungus; remove infected leaves.
- Root Rot – Caused by poor drainage; plant in well-drained soil.
Companion Planting with Cilantro
Cilantro is a great companion plant in your garden:
- Good companions: Basil, tomatoes, spinach, dill, and peas. It repels harmful insects like aphids.
- Avoid: Fennel, as it can stunt cilantro’s growth.
Culinary and Health Uses
Cilantro isn’t just a flavorful herb—it also offers a wide range of uses.
Culinary Uses
- Fresh garnish for soups, tacos, and curries.
- Essential in Mexican salsa, Indian chutneys, and Middle Eastern salads.
- Seeds (coriander) are used in spice mixes, baking, and pickling.
Health Benefits
- Rich in vitamins A, C, and K.
- Contains antioxidants that support heart and immune health.
- Aids digestion and may help detoxify heavy metals.
- Freshens breath naturally.
Troubleshooting Cilantro Growing Problems
- Bolting too fast: Plant slow-bolting varieties, keep soil cool, and harvest regularly.
- Leaves turning yellow: Usually due to overwatering, poor drainage, or nutrient deficiency.
- Sparse growth: Cilantro has a short lifecycle—plant seeds frequently for continuous harvest.
Final Thoughts
Growing cilantro at home is simple, rewarding, and perfect for beginners. By providing the right growing conditions, watering consistently, and practicing succession planting, you can enjoy fresh cilantro throughout the season. Not only will you have an endless supply of this flavorful herb, but you’ll also gain the satisfaction of knowing you grew it yourself.
From adding a fresh touch to your favorite dishes to boosting your health with its nutrients, cilantro is an herb that every gardener should try. With this beginner’s guide, you now have the knowledge to grow cilantro and keep it thriving—whether in a garden bed, pot, or sunny windowsill.