There’s something magical about tiny worlds that spark the imagination — a blend of nature, creativity, and whimsy all in one container. Creating a fairy garden with miniature plants indoors is not just a hobby; it’s a form of living art that brings a sense of wonder and tranquility into your home. Whether you’re looking for a new creative project, a stress-relieving indoor activity, or a unique way to display plants, an indoor fairy garden offers endless possibilities.
In this guide, we’ll walk through everything you need to know — from planning and choosing plants to arranging, decorating, and maintaining your own enchanting indoor fairy garden.
1. What Is a Fairy Garden?
A fairy garden is a miniature landscape featuring tiny plants, pathways, furniture, and accessories designed to look like a world where fairies might live. Think of it as a small-scale garden scene, complete with its own ecosystem and imaginative story.
Unlike traditional gardens, fairy gardens are built to capture a sense of wonder. They combine miniature plants (such as ferns, mosses, and succulents) with tiny decorative elements like fairy houses, bridges, and garden furniture. When created indoors, these little gardens can thrive year-round, bringing nature’s charm into your living space.
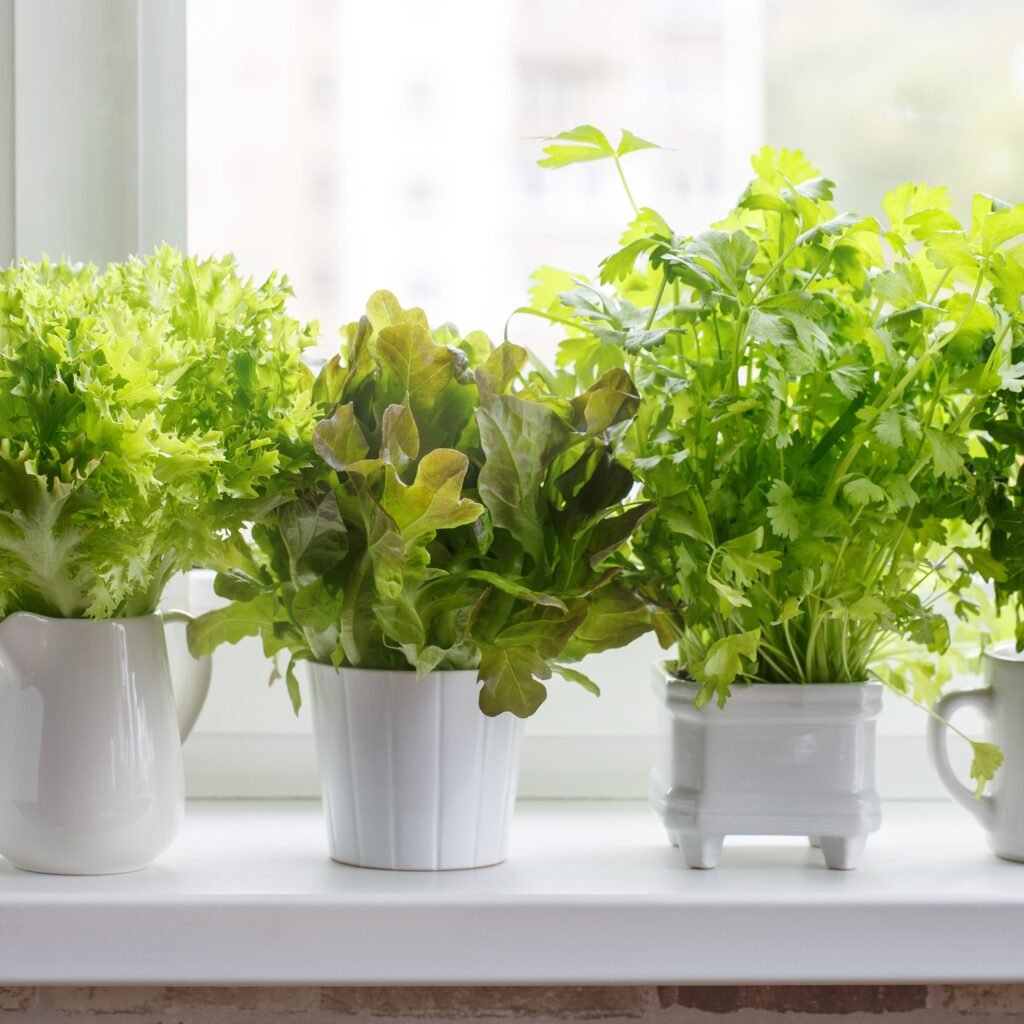
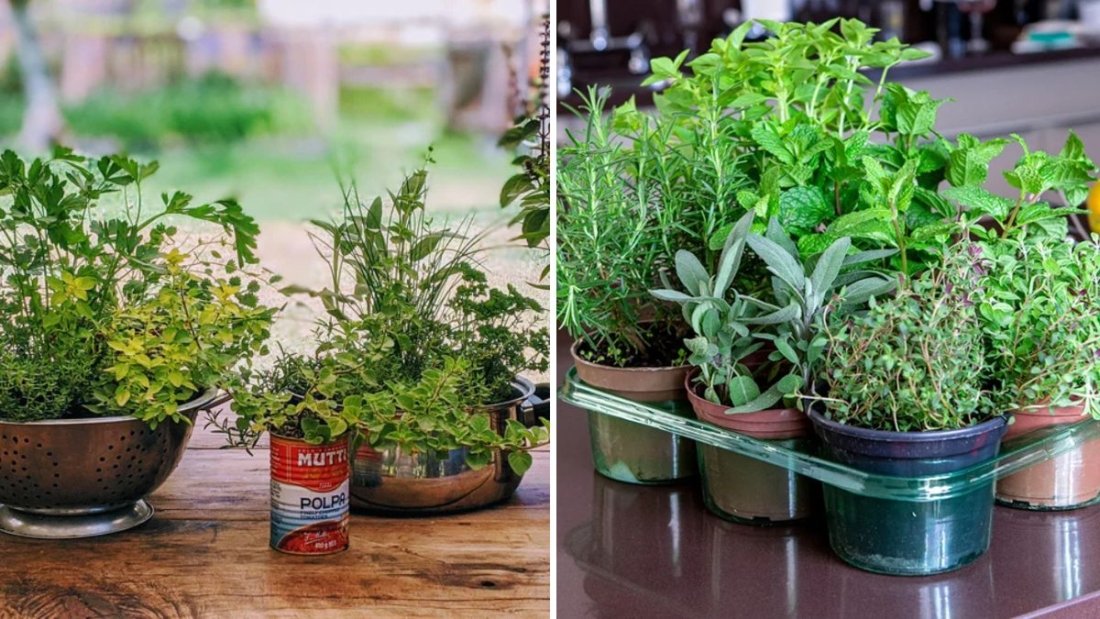
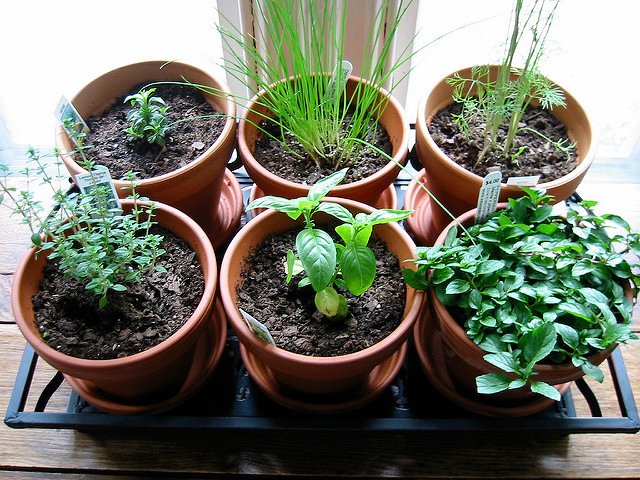
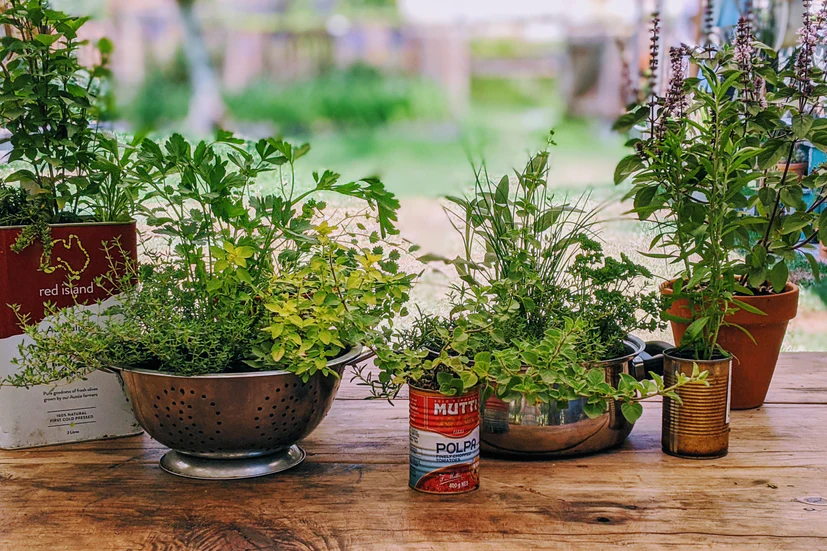
2. Choosing the Right Container
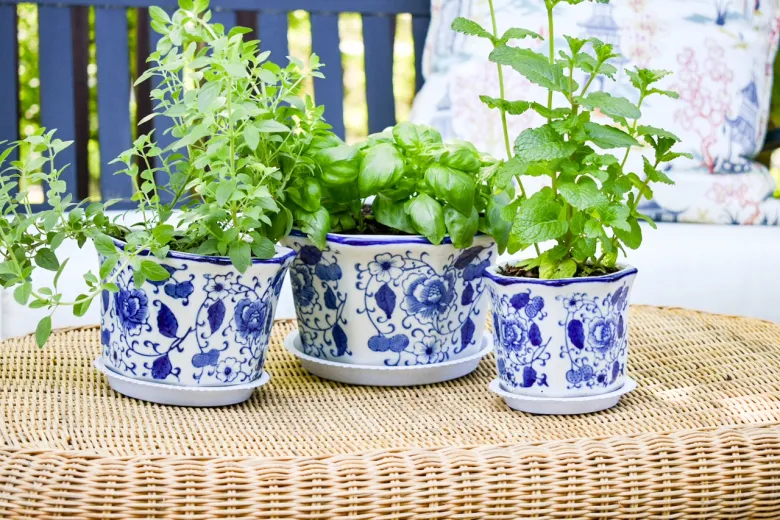
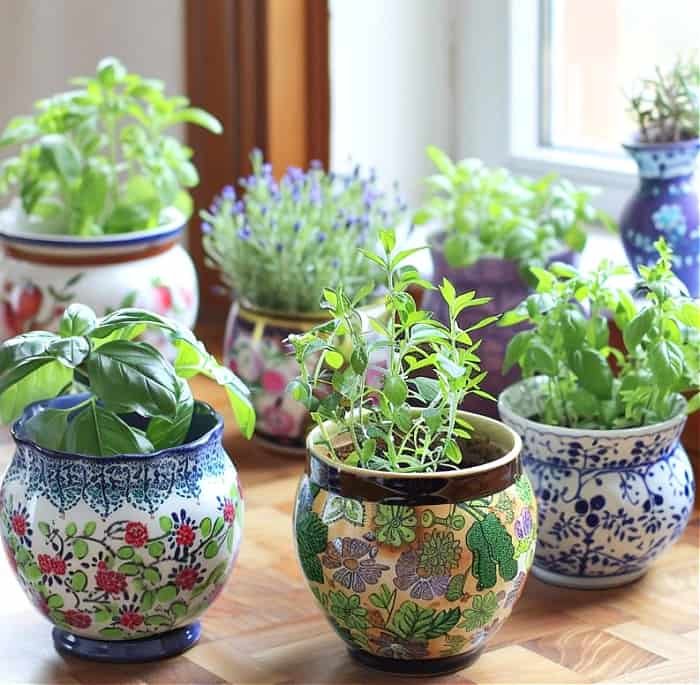
Your container will form the foundation of your fairy garden, so choose one that fits your space, style, and the plants you plan to use. The possibilities are endless — from wide ceramic bowls to glass terrariums or even repurposed household items like teacups, wooden boxes, or shallow trays.
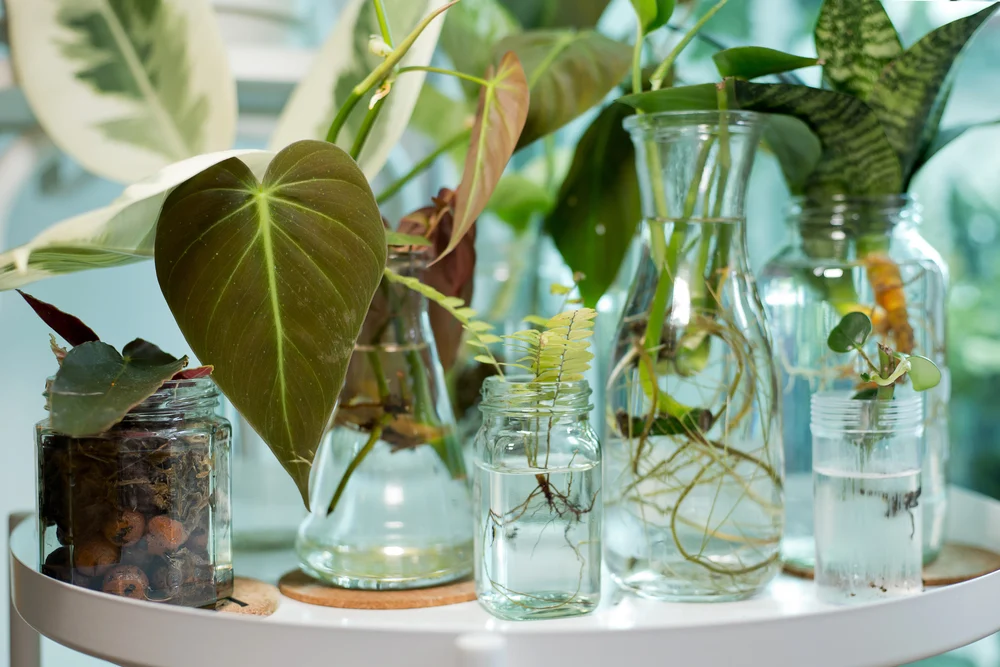
Popular container options include:
- Glass terrariums: Great for mossy or humid fairy gardens.
- Shallow ceramic bowls: Perfect for open-air arrangements with succulents.
- Old baskets or trays: Add rustic, whimsical charm.
- Large jars or lanterns: Ideal for enclosed, moisture-loving fairy scenes.
Whatever you choose, ensure it has drainage holes (unless it’s a terrarium). If your container doesn’t, add a layer of pebbles or activated charcoal at the bottom to prevent water buildup and keep roots healthy.
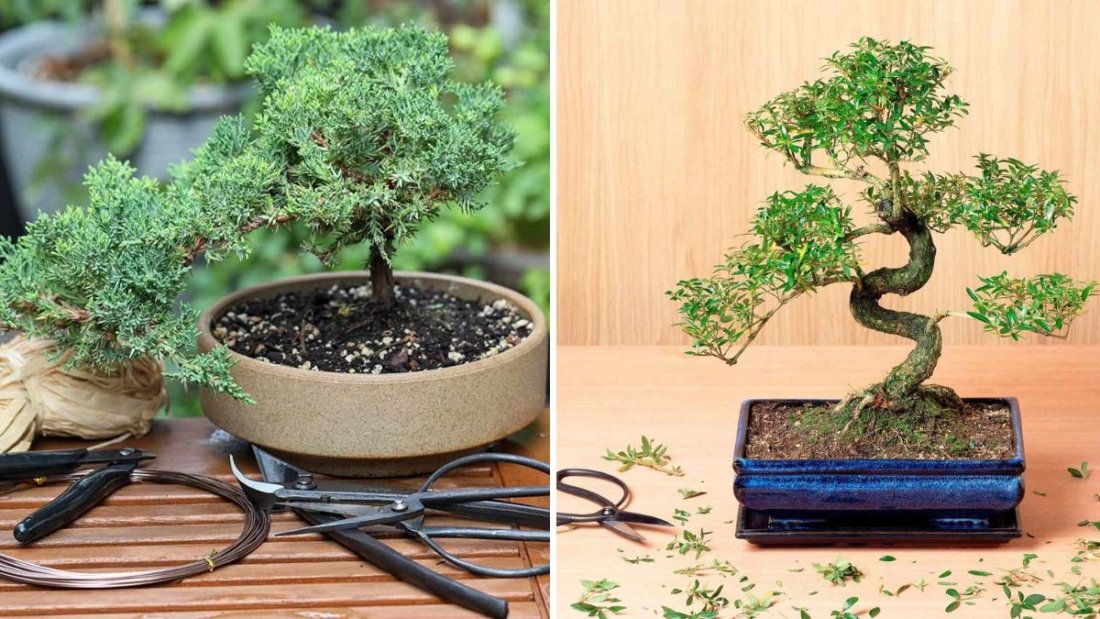
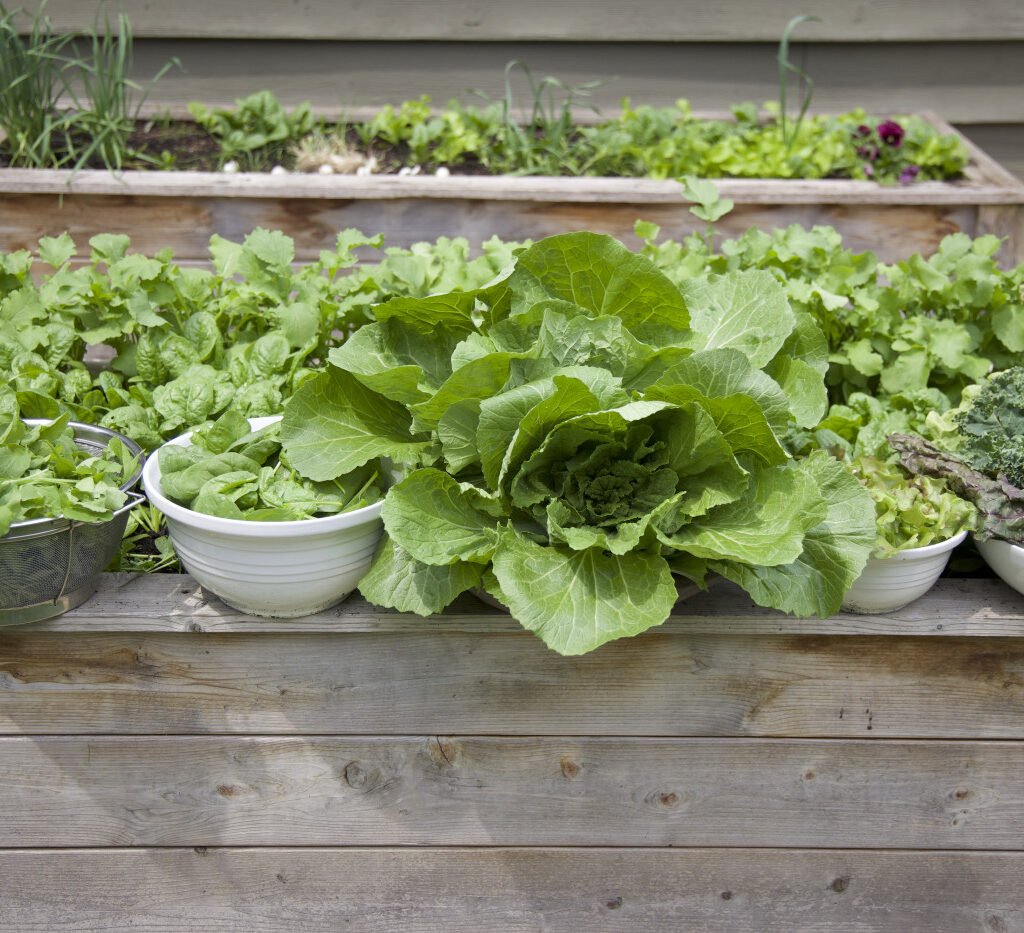
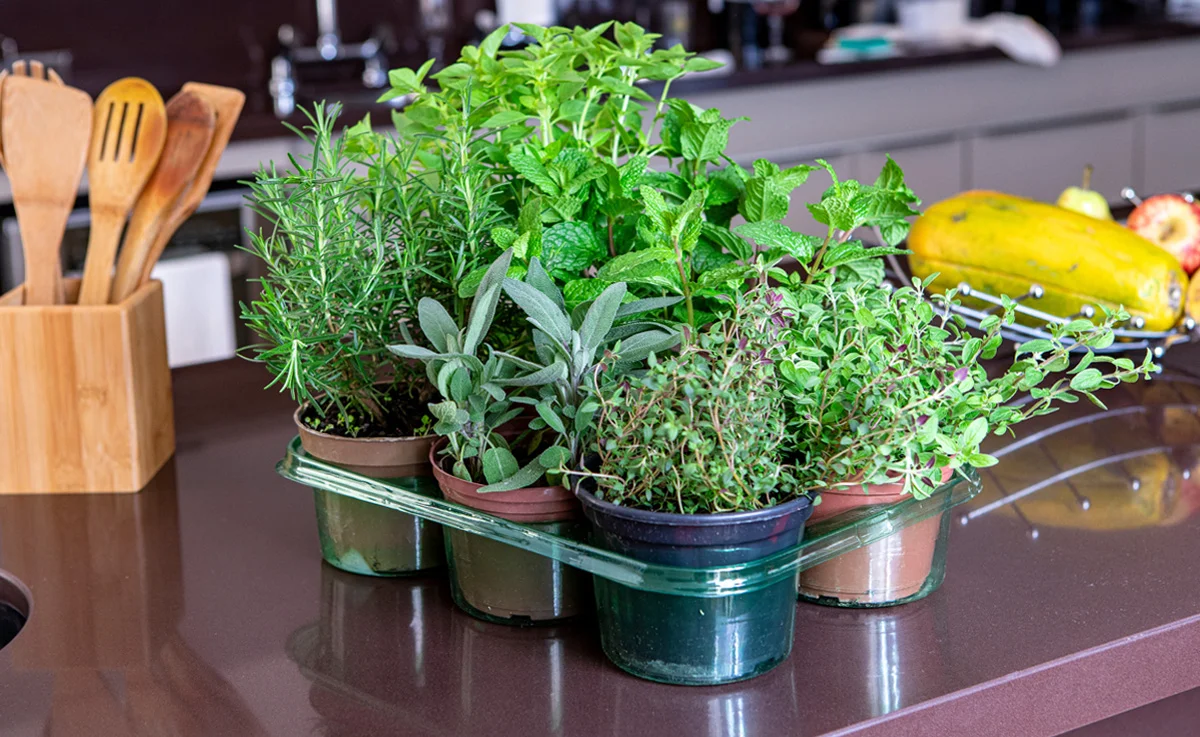
3. Selecting Miniature Plants
The magic of your fairy garden lies in its plants. Since this is an indoor setup, focus on species that thrive in containers, stay small, and match the light conditions in your home.
Here are some great miniature plant options depending on your design and environment:
For Humid, Shady Environments:
- Baby’s Tears (Soleirolia soleirolii): Forms a lush, carpet-like cover.
- Miniature Ferns: Such as button fern or maidenhair fern.
- Mosses: Perfect for soft ground cover and a natural forest look.
- Polka Dot Plant (Hypoestes phyllostachya): Adds colorful leaves.
For Bright, Sunny Spots:
- Miniature Jade Plant (Crassula ovata ‘Minima’): Compact and easy to care for.
- Sedums: Great for drier environments.
- Mini Echeveria or Haworthia: Ideal for fairy gardens with a desert or rocky theme.
For a Touch of Color:
- African Violet: Small blooms add charm and texture.
- Miniature Begonias: Perfect for adding variety in foliage.
Mix and match different textures and colors — just make sure to group plants with similar water and light needs in the same container.
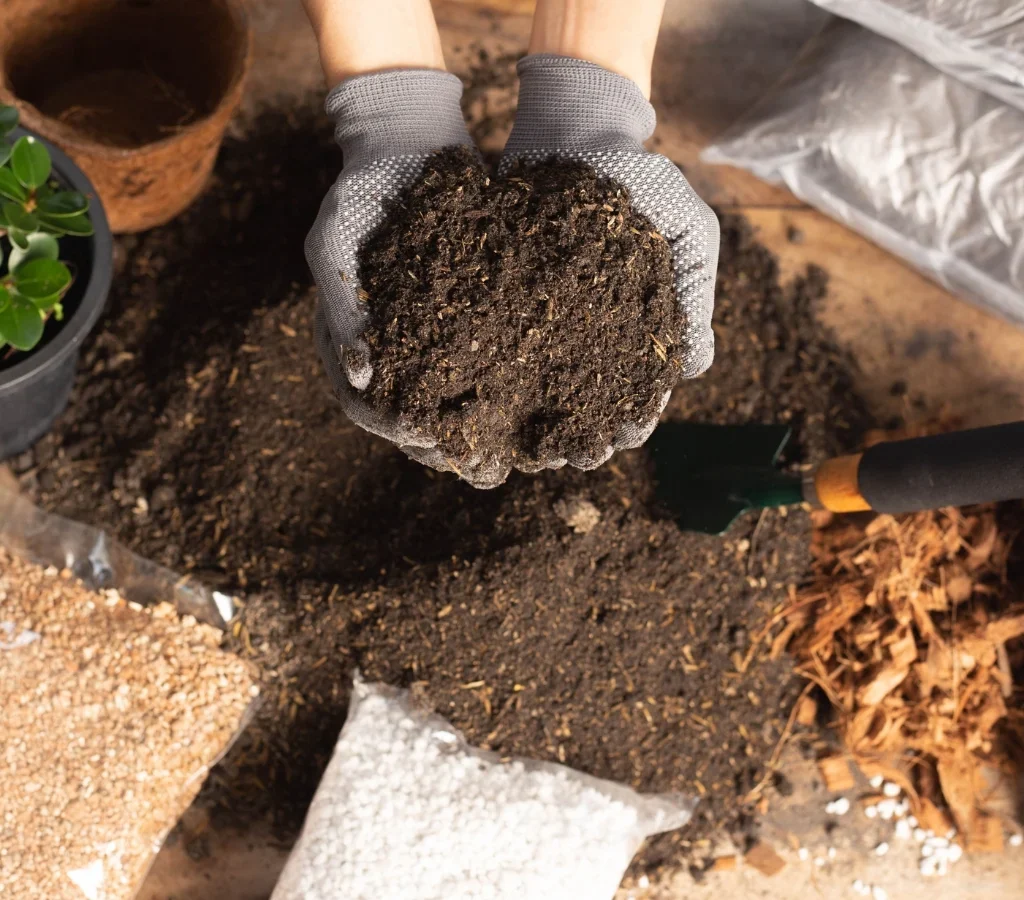
4. Preparing the Base and Soil

To ensure your fairy garden thrives, create a healthy foundation.
Here’s how to layer your garden base:
- Drainage layer: Add small pebbles, gravel, or activated charcoal to the bottom of your container.
- Soil layer: Use a high-quality potting mix suited to your chosen plants (e.g., cactus mix for succulents or a moisture-retentive mix for ferns).
- Optional moss or bark top layer: Helps retain moisture and gives your garden a finished look.
Make sure the soil is slightly moist before planting. Avoid compacting it too tightly — you want it airy enough for roots to breathe.
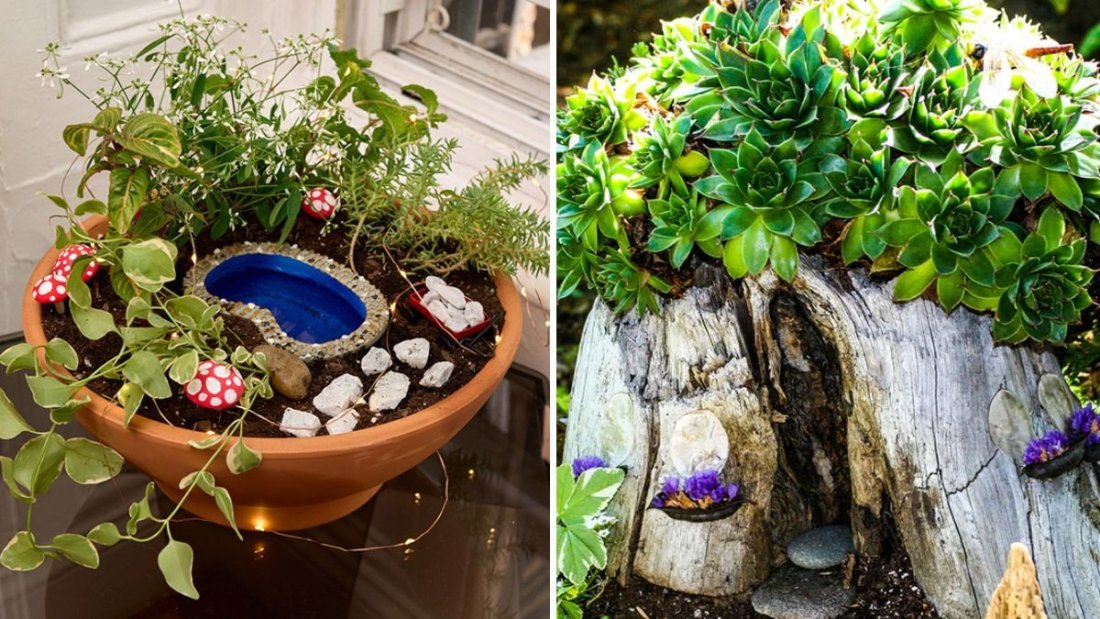
5. Designing Your Fairy Garden Layout
Before planting, take a moment to plan your layout. Think about creating visual balance and storytelling elements — where will your fairy home sit? Will there be a pathway, a pond, or a little seating area?
Pro design tips:
- Use height variation by placing taller plants or fairy houses at the back and smaller ones toward the front.
- Create pathways with small pebbles, sand, or crushed shells.
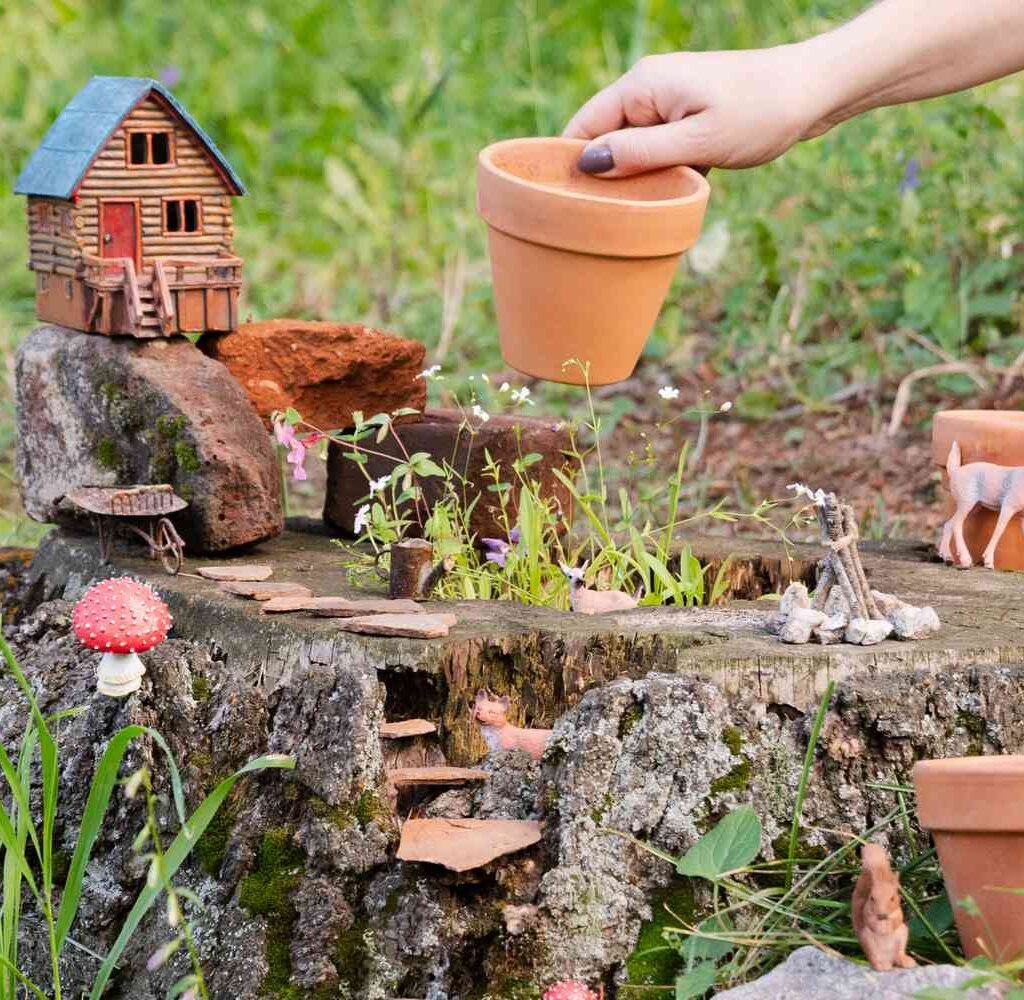
- Use natural materials like twigs, bark, and stones to make miniature benches, fences, or bridges.
- Add a focal point, such as a tiny house, wishing well, or pond, to draw attention.
You can sketch your design on paper first to visualize the layout before planting.
6. Adding Miniature Accessories
Accessories are where the fun begins! These small elements transform your indoor fairy garden from a simple plant display into a magical world.
Here are some ideas to bring your fairy scene to life:
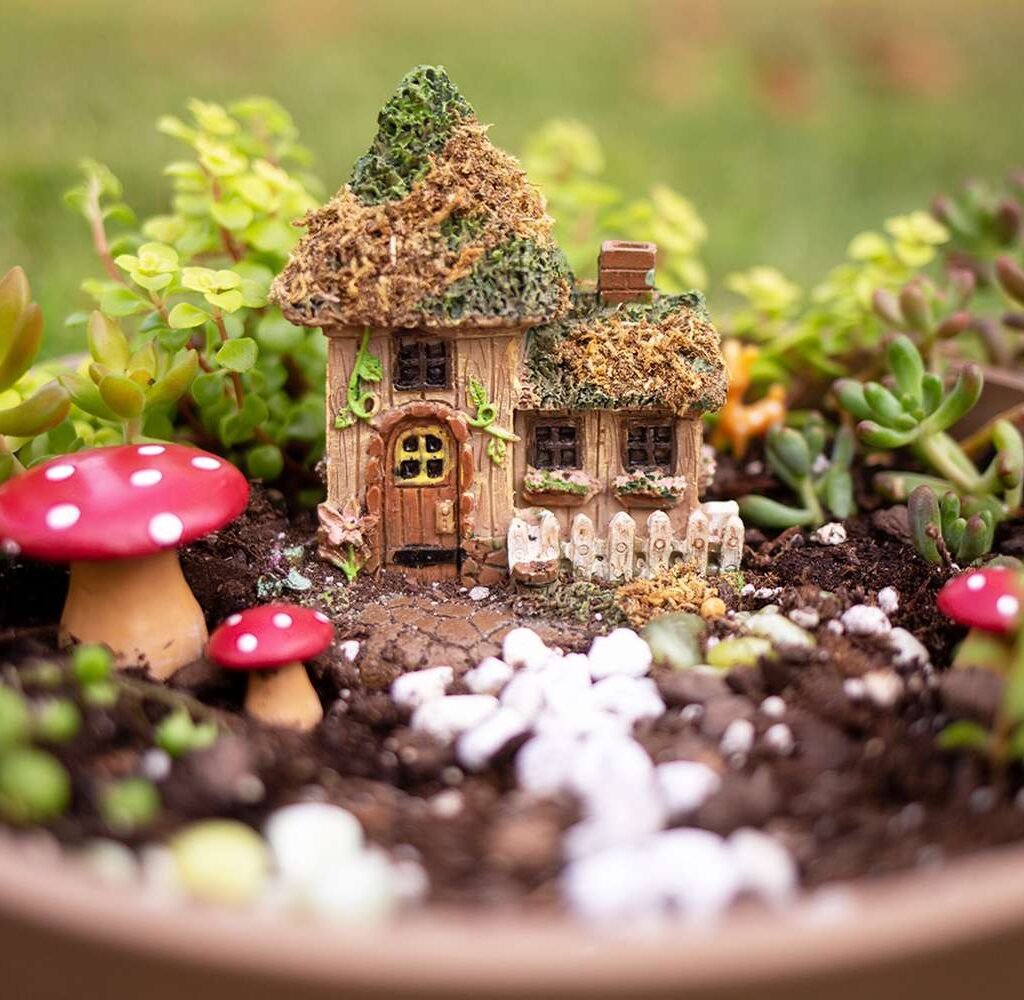
- Fairy houses: Made from clay, wood, or resin — centerpiece of your garden.
- Tiny furniture: Mini chairs, tables, or swings for an inviting feel.
- Pathways: Create winding trails with sand, moss, or colored gravel.
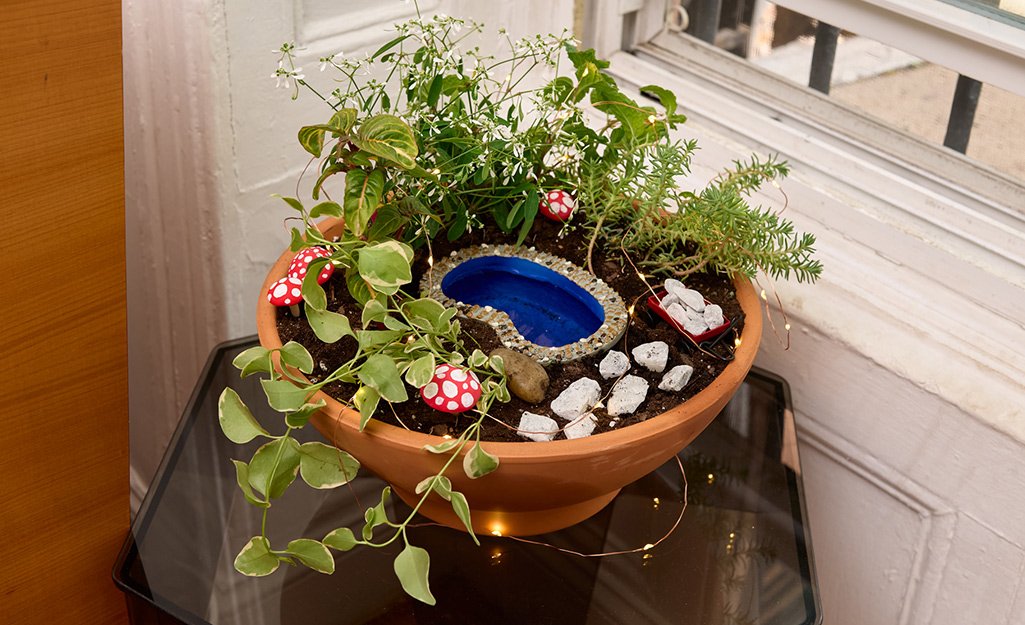
- Mini ponds or fountains: Use small glass dishes filled with blue pebbles or resin for a water effect.
- Fairy figurines or animals: Optional, but they can make your garden feel alive.
You can find ready-made accessories at craft stores or online, or craft your own using household materials for a personalized touch.
7. Light and Temperature Requirements
Lighting is crucial for plant health. Most miniature indoor plants thrive in bright, indirect light. Too much direct sunlight can scorch leaves, while low light can lead to leggy, weak growth.
Lighting tips:
- Place your fairy garden near an east- or north-facing window.
- For low-light homes, use LED grow lights to provide consistent light levels.
- Avoid placing near heaters or air vents that dry out the soil or cause temperature fluctuations.
Maintain a stable room temperature between 60–75°F (15–24°C), ideal for most indoor plants.
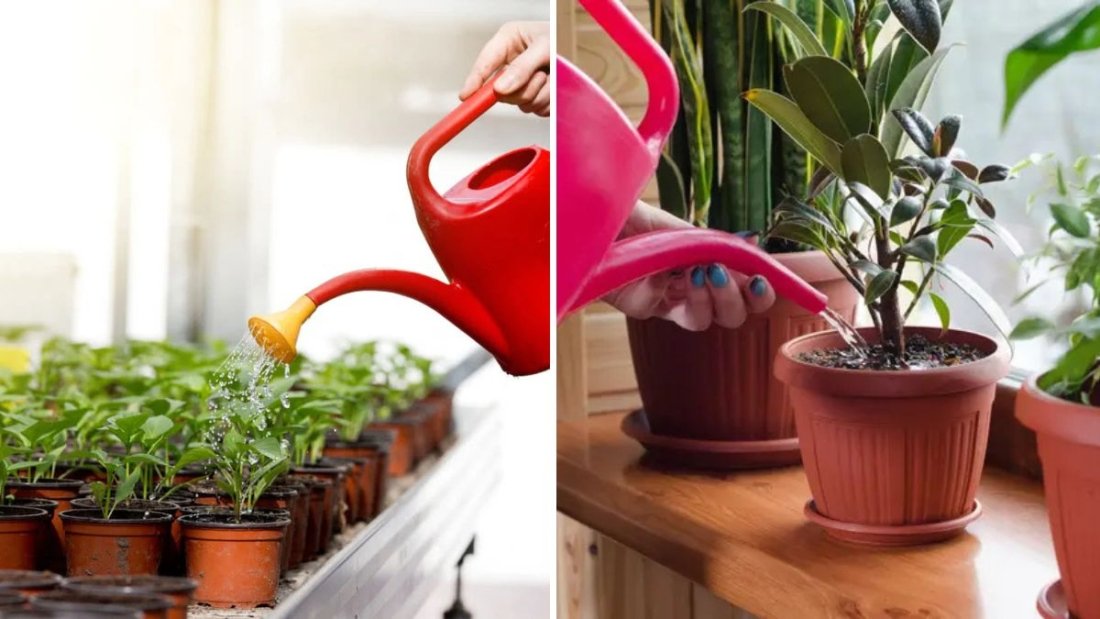
8. Watering and Maintenance
Because fairy gardens are compact, proper watering is essential. Overwatering is the most common mistake. Always check the soil before watering.
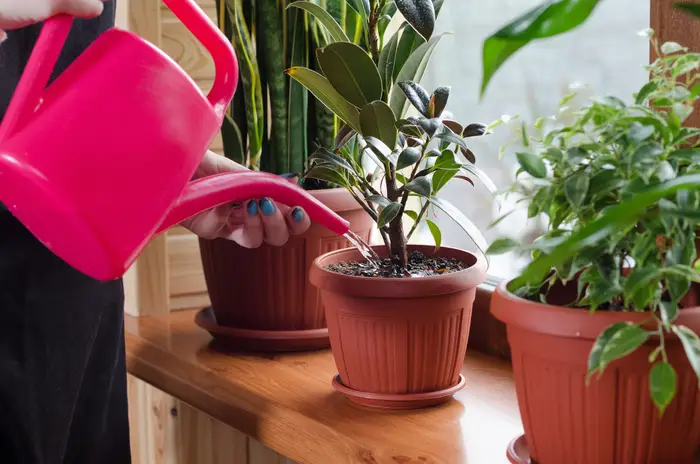
Watering guidelines:
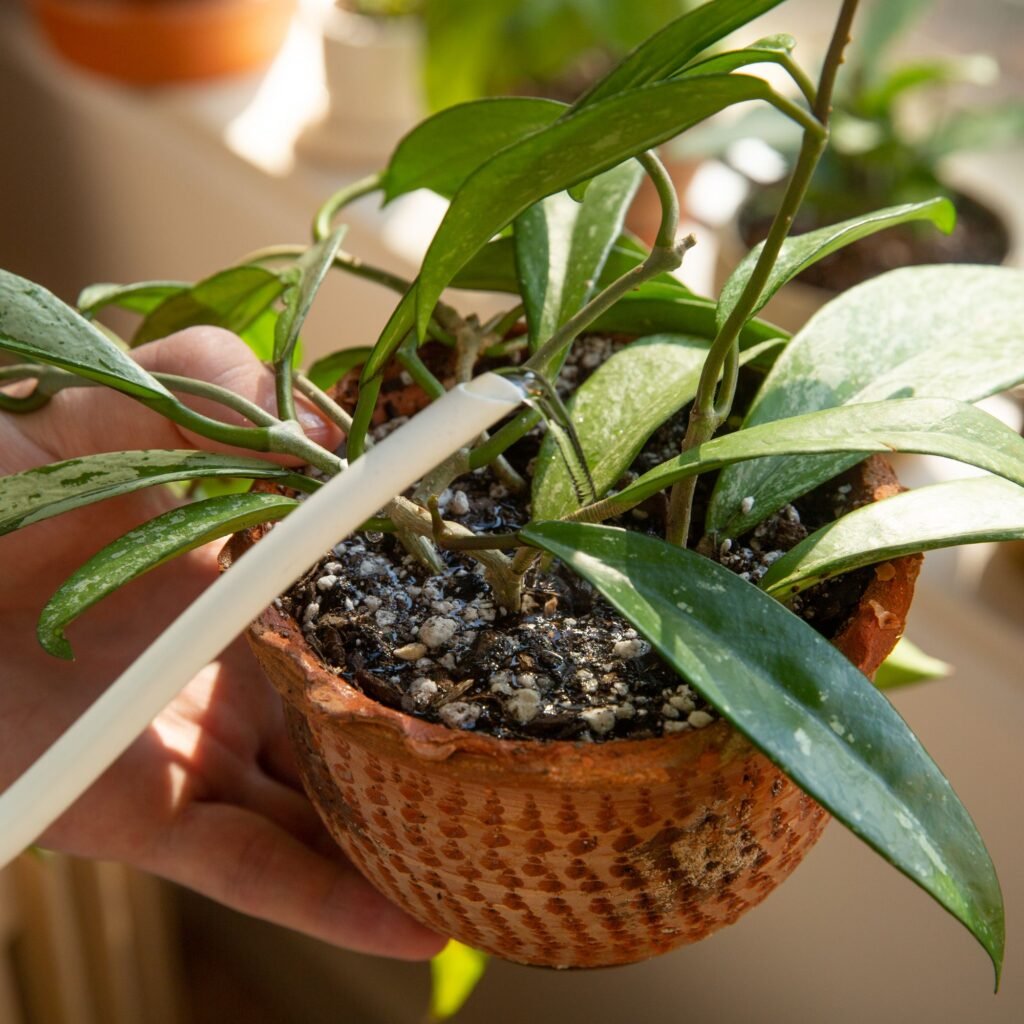
- Use a small watering can or misting bottle for precision.
- Water only when the top inch of soil feels dry.
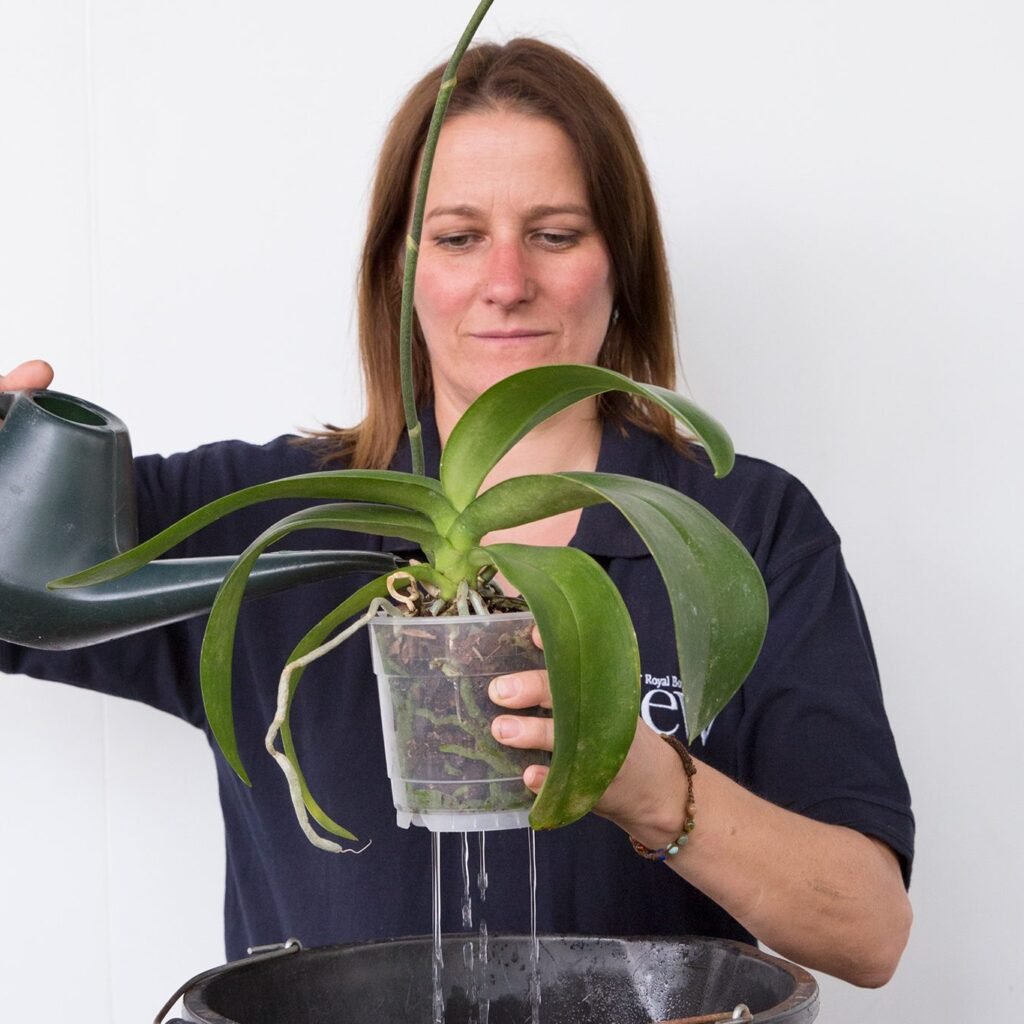
- If using moss or ferns, mist regularly to keep humidity high.
- For succulents, water sparingly and ensure excellent drainage.
Occasionally trim plants to keep them proportionate and remove yellowing leaves. If moss or decorations become dusty, lightly clean them with a soft brush or damp cloth.
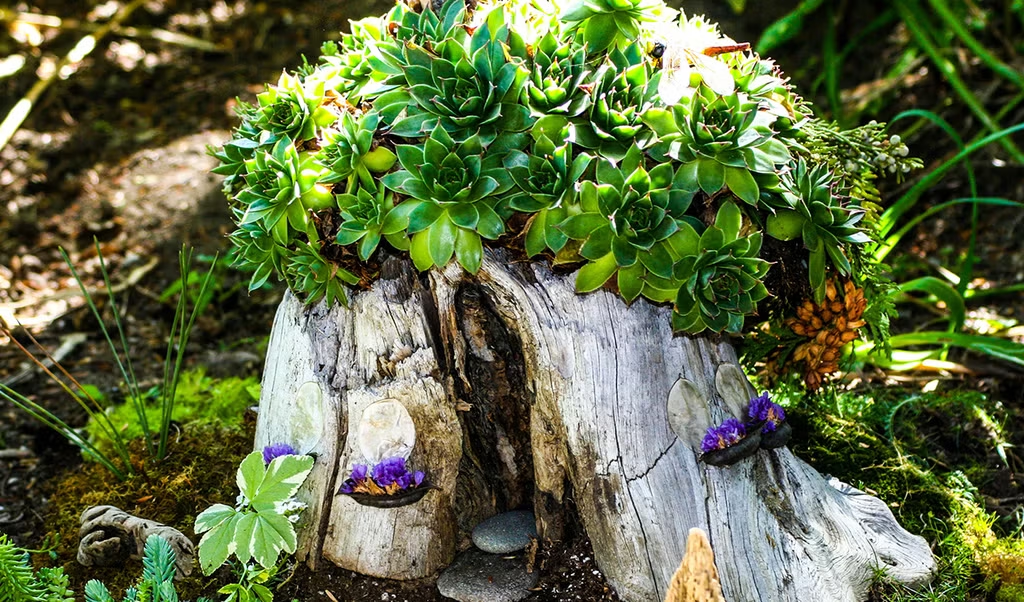
9. Themed Fairy Garden Ideas
You can personalize your fairy garden around a theme or story. Here are a few creative ideas:
- Enchanted Forest: Use ferns, moss, and twigs for a woodland vibe.
- Mini Castle Garden: Add stone-like structures and creeping groundcovers.
- Flower Fairy Retreat: Fill with tiny blooming plants like violets or begonias.
- Desert Fairy Garden: Use succulents, sand, and tiny cacti.
- Beach Fairy Garden: Add shells, sand, and driftwood for a coastal look.
Choosing a theme makes the design process more cohesive and fun!
10. Keeping the Magic Alive: Long-Term Care
A fairy garden is a living creation — it will evolve over time. Plants grow, moss spreads, and accessories may shift. That’s part of the charm!
To keep your fairy garden healthy:
- Prune plants regularly to maintain scale.
- Replace worn decorations or faded moss.
- Refresh the soil every few months if it compacts.
- Rotate your garden occasionally for even light exposure.
If a plant outgrows the container, replace it with a smaller variety to maintain proportion.
11. Benefits of Creating an Indoor Fairy Garden
Beyond their visual appeal, fairy gardens offer surprising mental and emotional benefits:
- Stress relief: Working with plants and creative design reduces anxiety.
- Connection with nature: Perfect for those without outdoor garden space.
- Mindfulness and patience: Nurturing small plants encourages calm focus.
- Fun for all ages: Great for families, kids, and adults alike.
Creating a fairy garden also makes for a thoughtful handmade gift — a miniature world full of life and imagination.
Conclusion
Building a fairy garden with miniature plants indoors is a delightful blend of gardening and artistry. It allows you to express creativity while caring for living plants in a manageable space.
With the right container, healthy miniature plants, and a touch of imagination, you can design a magical world that thrives right on your tabletop or windowsill. Each time you mist the moss or rearrange a tiny chair, you reconnect with the serenity and joy that only nature — even in miniature form — can bring.
So gather your materials, let your creativity flow, and start crafting your own enchanting indoor fairy garden today. Who knows? You might just attract a few fairies along the way.