How to Keep Indoor Plants Looking Fresh During Winter Months

How to Keep Indoor Plants Looking Fresh During Winter Months

Winter can be a challenging season for indoor plants. Shorter days, lower light levels, dry indoor air, and cooler temperatures can all take a toll on your leafy companions. However, with the right care and adjustments, you can help your plants stay lush, green, and vibrant all winter long. This detailed guide will walk you through everything you need to know about keeping your indoor plants looking fresh and thriving during the colder months.


1. Understand the Winter Challenges for Indoor Plants

Before you can properly care for your plants in winter, it’s important to understand what they’re up against. During this season, the natural environment inside your home changes significantly.

  • Reduced Sunlight: The days are shorter and the sunlight is weaker, meaning your plants receive far less light than they do in spring or summer.
  • Dry Indoor Air: Heaters and radiators dry out the air, causing humidity levels to drop, which can make plants’ leaves curl, brown, or drop.
  • Cooler Temperatures: Cold drafts near windows or doors can stress tropical plants, while consistent temperature fluctuations can slow their growth.
  • Less Growth: Most indoor plants enter a semi-dormant phase in winter, meaning they grow more slowly and require less water and fertilizer.

Once you understand these seasonal stressors, you can adapt your care routine accordingly.


2. Adjust Lighting for the Season

Since sunlight is limited in winter, ensuring your plants get enough light becomes one of the most important steps in keeping them fresh.

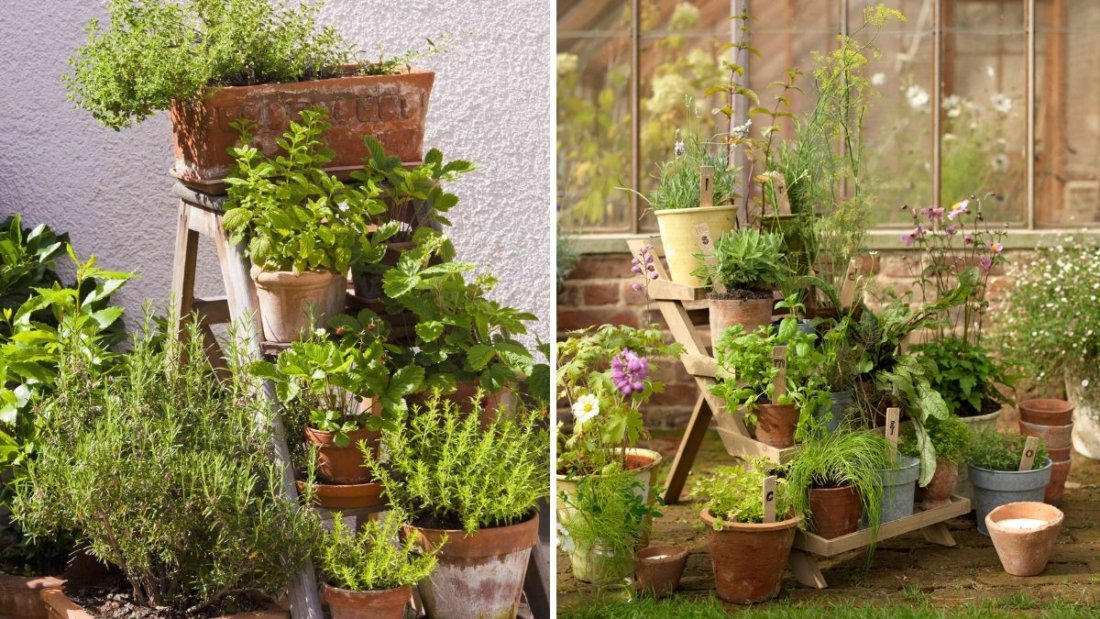
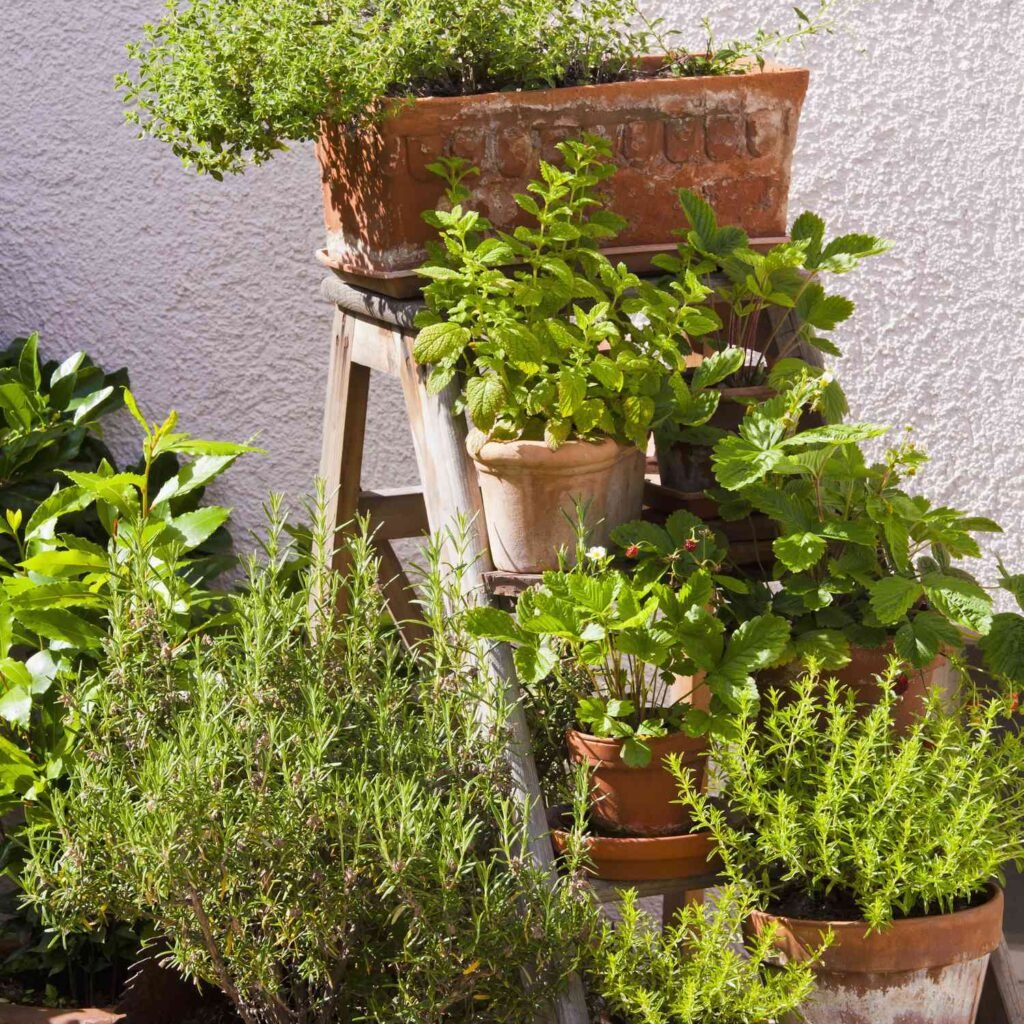
  • Move Plants Closer to Windows: Place your plants near south- or west-facing windows where they can receive the most sunlight during the day. Be careful, though—avoid placing them too close to cold glass.
  • Clean the Windows: Dust and grime can block as much as 10–20% of incoming sunlight. Clean your windows regularly to maximize light exposure.
  • Rotate Plants Frequently: Every few days, rotate your pots so all sides of the plant get equal access to light, helping them grow evenly.
  • Use Grow Lights: If your home doesn’t get much natural sunlight, consider investing in LED grow lights. Position them about 12–18 inches above the plant and keep them on for 10–12 hours a day to mimic natural daylight.

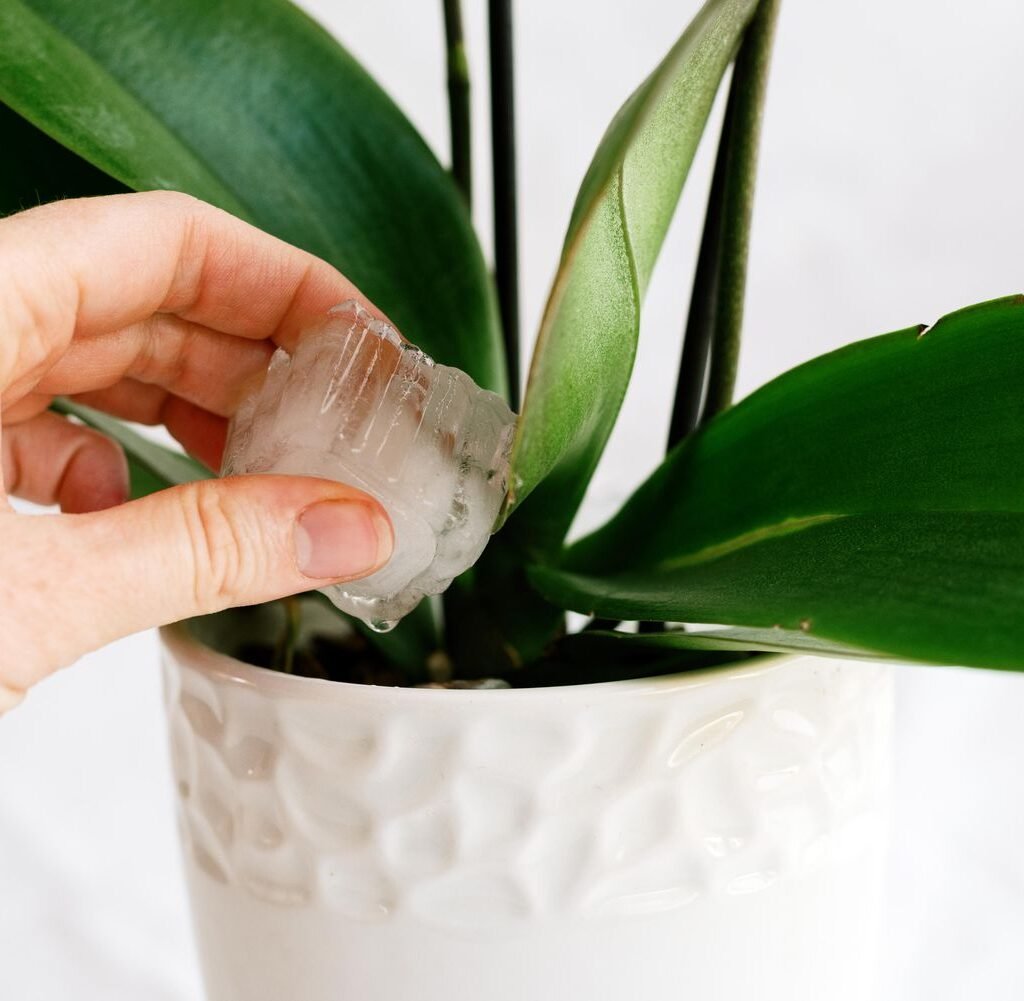
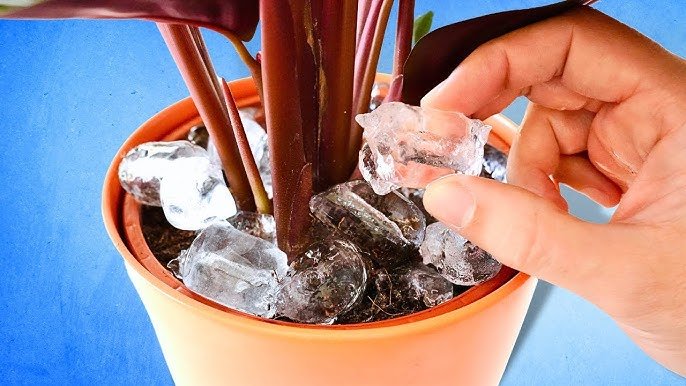
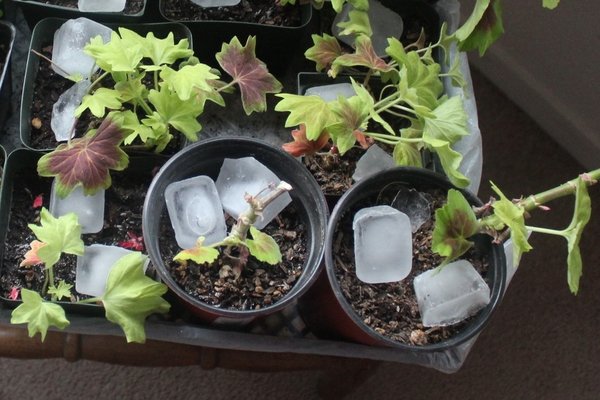
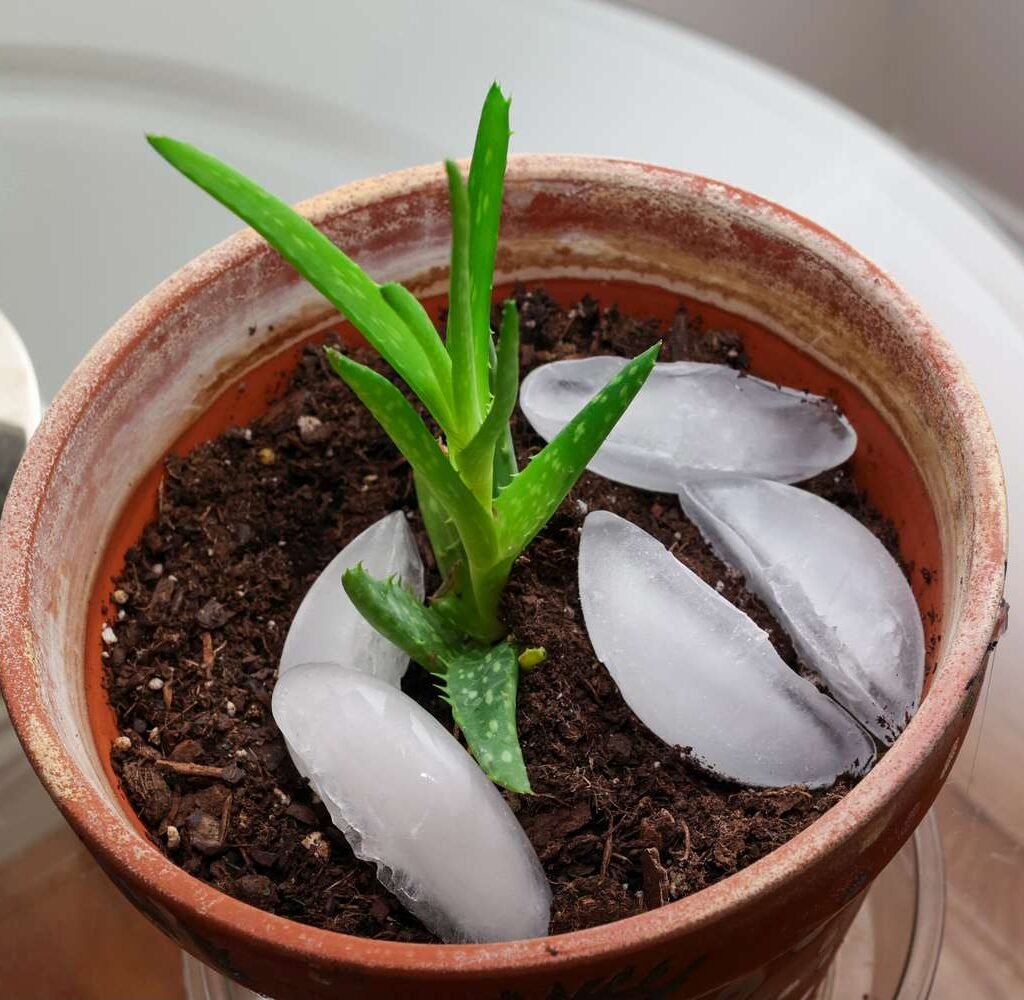
3. Master the Art of Winter Watering

Overwatering is one of the biggest mistakes people make during the winter months. Because plants are growing more slowly, their water needs drop significantly.

  • Check the Soil First: Always test the soil with your finger—if the top inch feels dry, it’s time to water.
  • Use Room Temperature Water: Cold water can shock your plants’ roots, especially tropical varieties. Let water sit out for a few hours before using it.
  • Drain Properly: Ensure your pots have drainage holes to prevent water from pooling at the bottom, which can cause root rot.
  • Reduce Frequency: You may only need to water your plants once every 10–14 days, depending on the species and indoor climate.

Remember, it’s better to slightly underwater in winter than to risk overwatering.


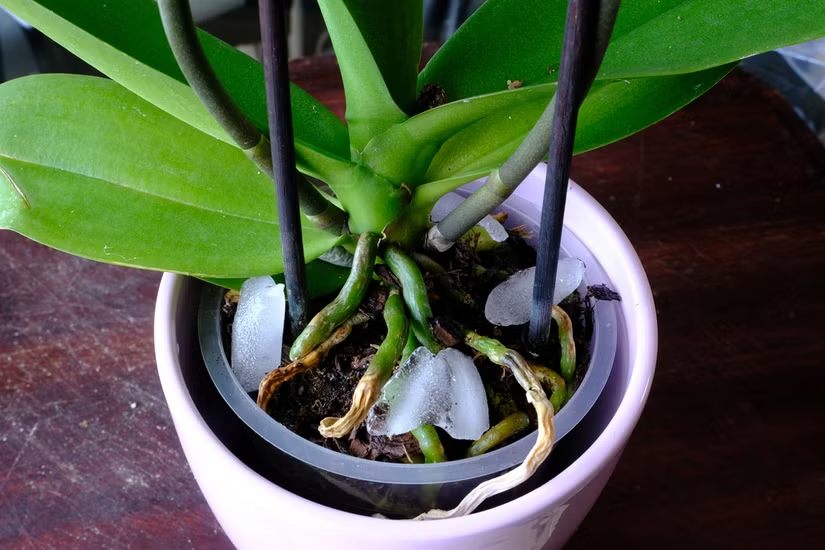
4. Maintain the Right Humidity Levels

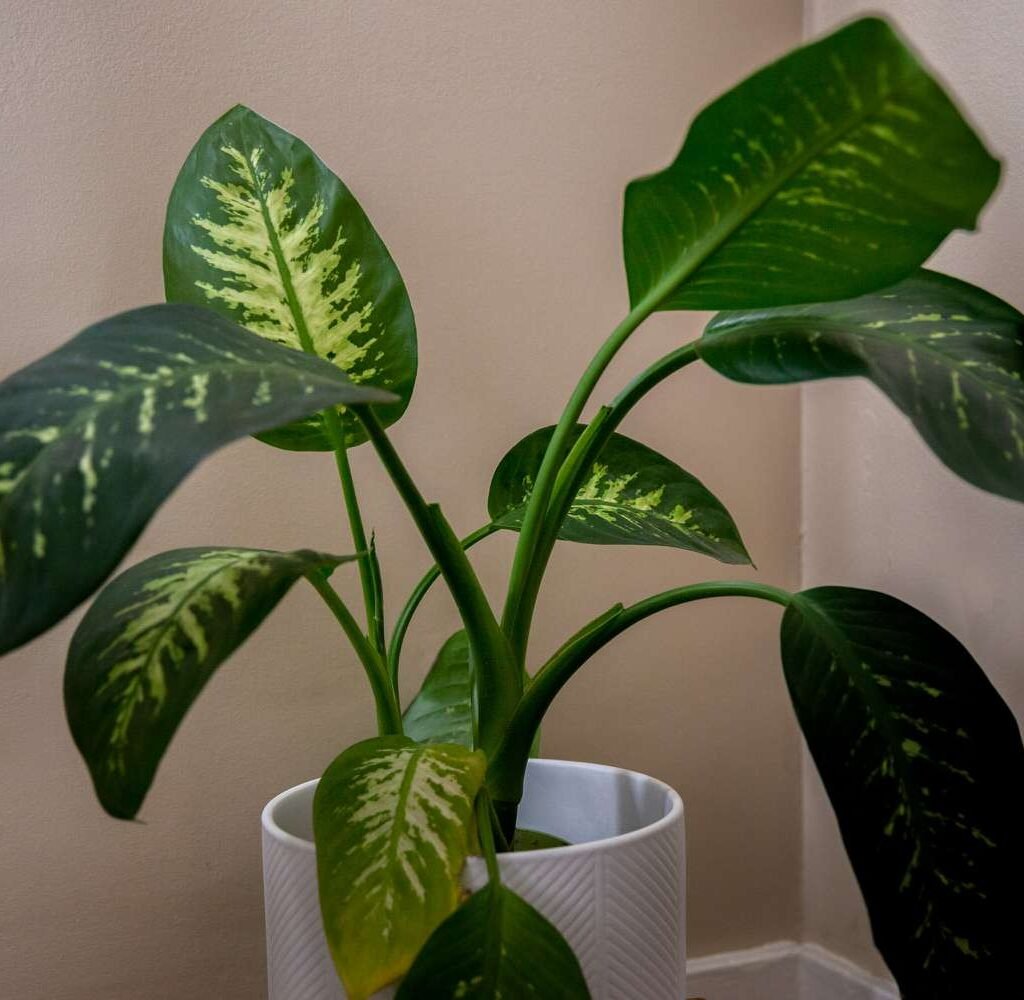
Most indoor plants, especially tropical ones like ferns, calatheas, and monsteras, prefer humidity levels between 40–60%. Unfortunately, indoor air in winter can drop as low as 20%.

Here are some ways to increase humidity:

  • Use a Humidifier: This is the easiest and most effective way to maintain consistent humidity levels around your plants.
  • Create a Pebble Tray: Fill a shallow tray with pebbles and water, then place your plant pot on top (without submerging the base). As the water evaporates, it increases humidity around the plant.
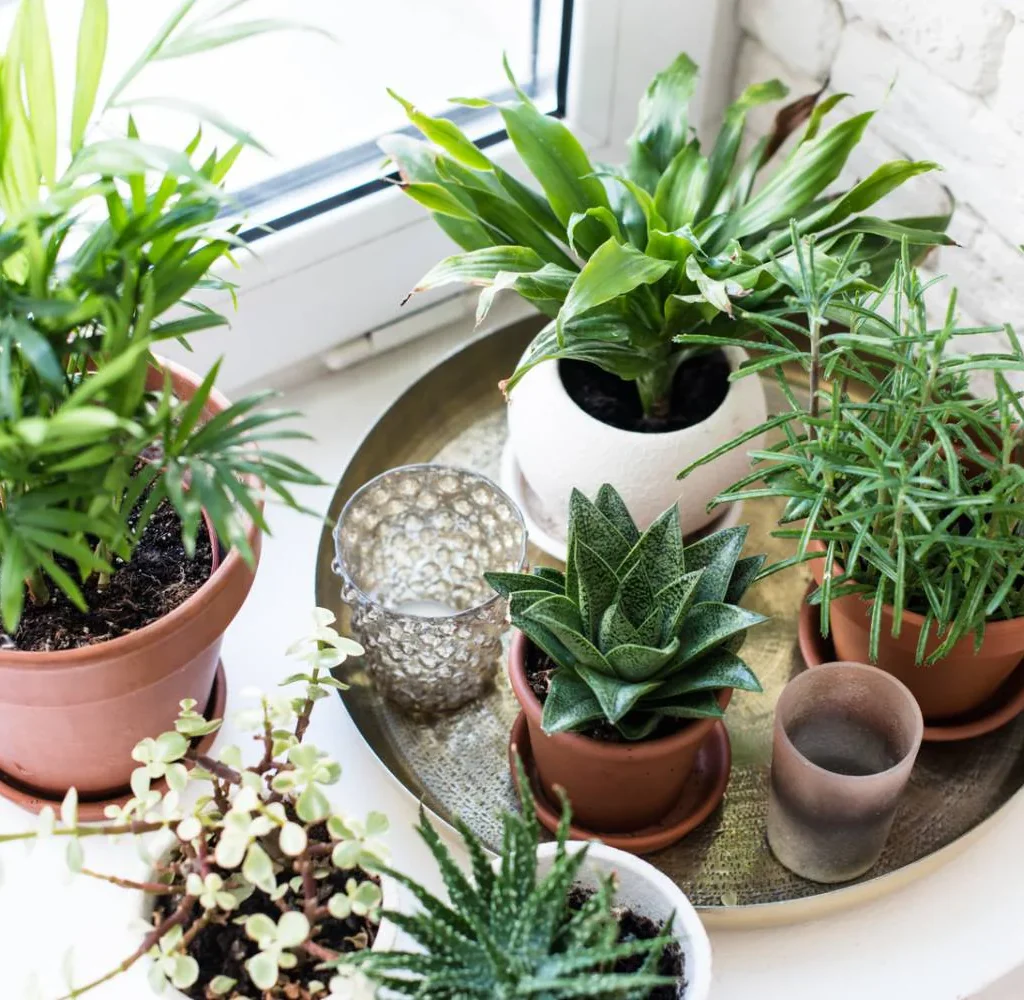
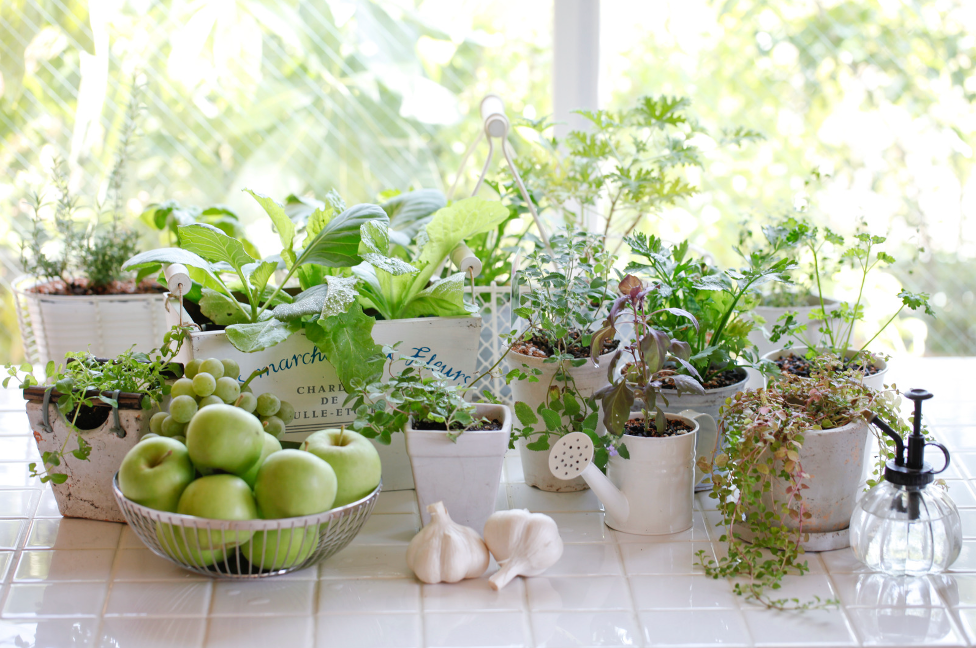
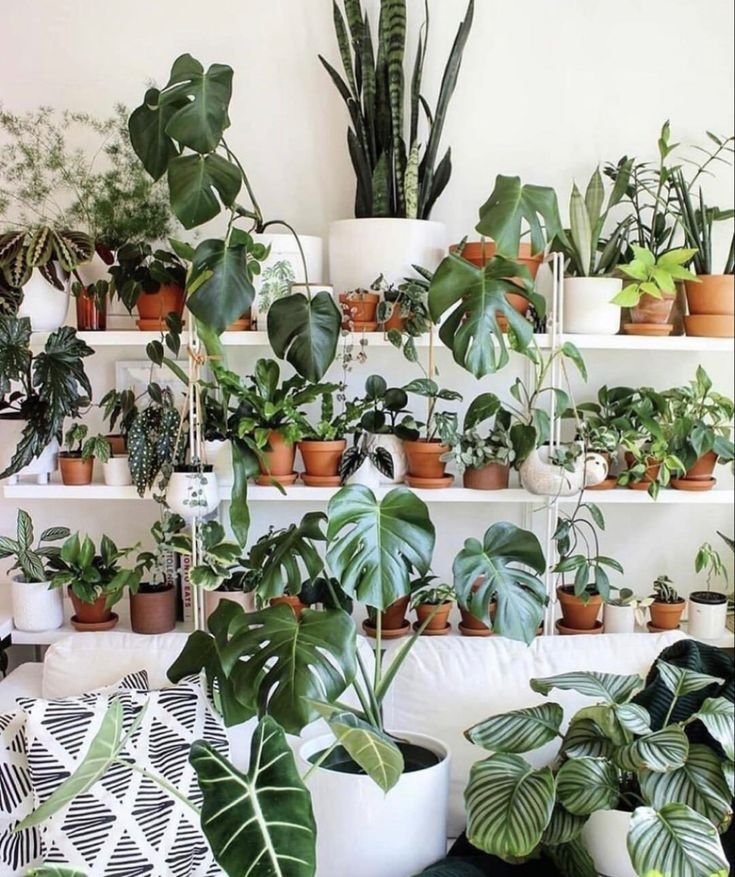
  • Group Plants Together: Plants naturally release moisture through a process called transpiration. Grouping them helps create a mini humid microclimate.
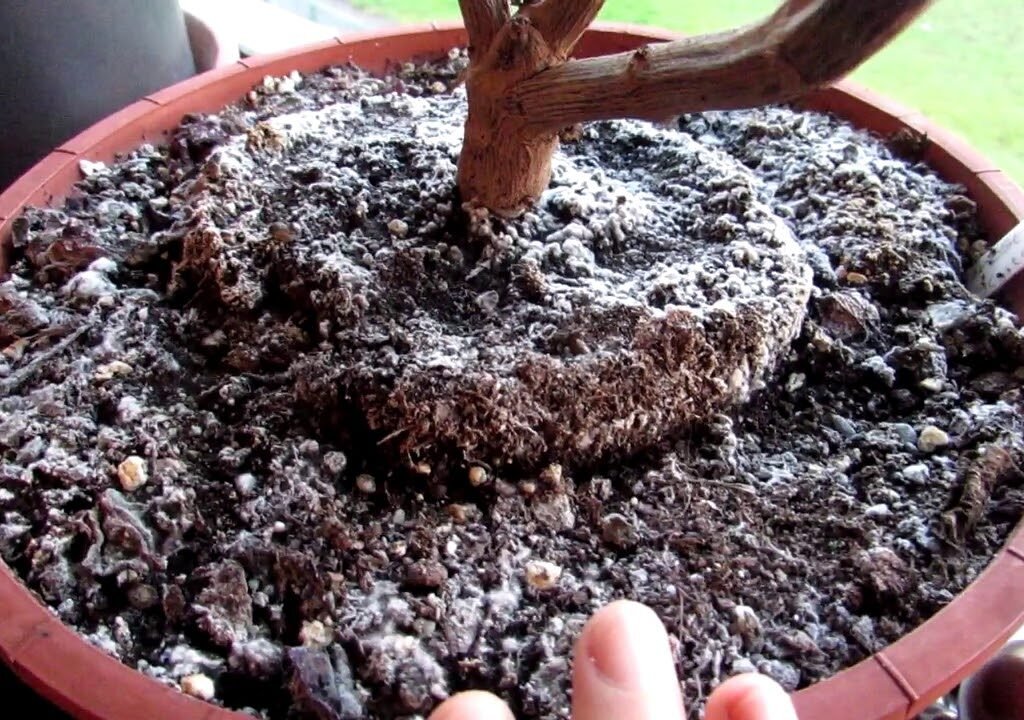
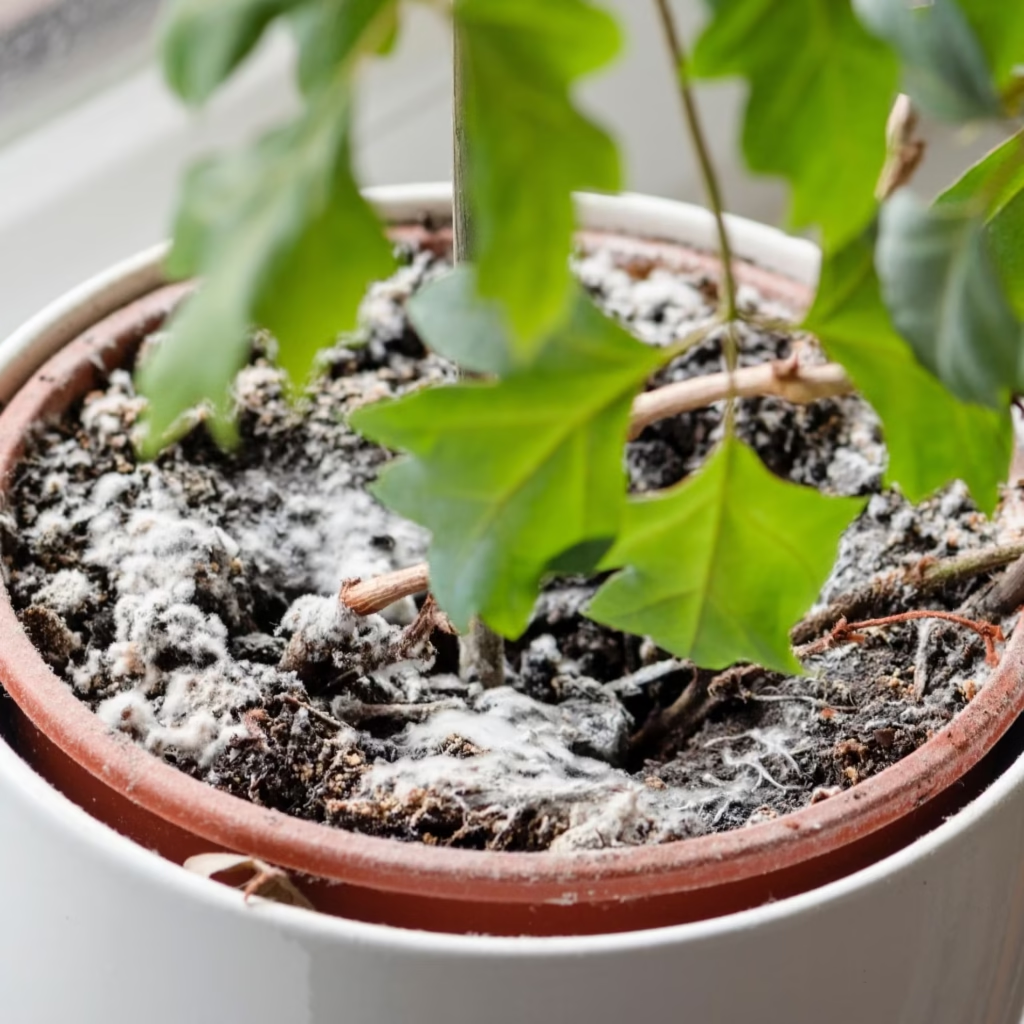
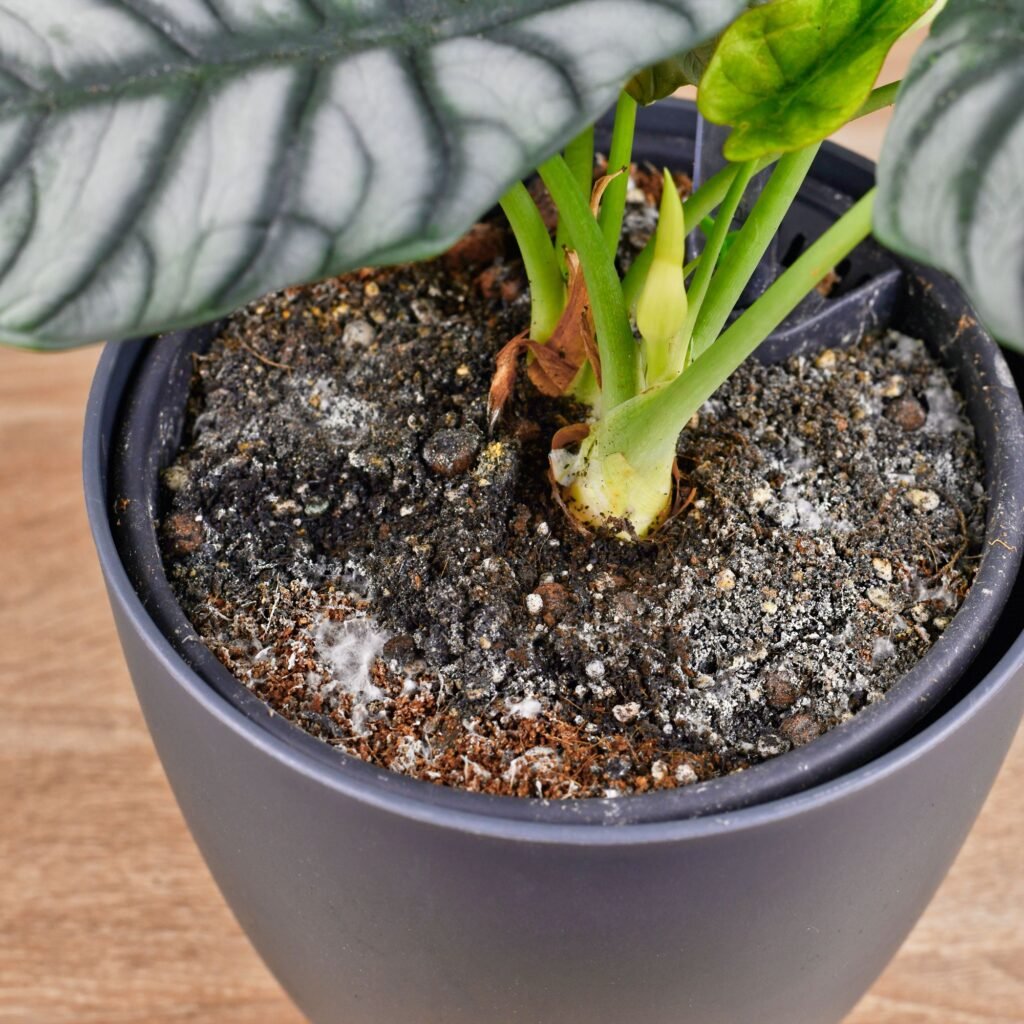
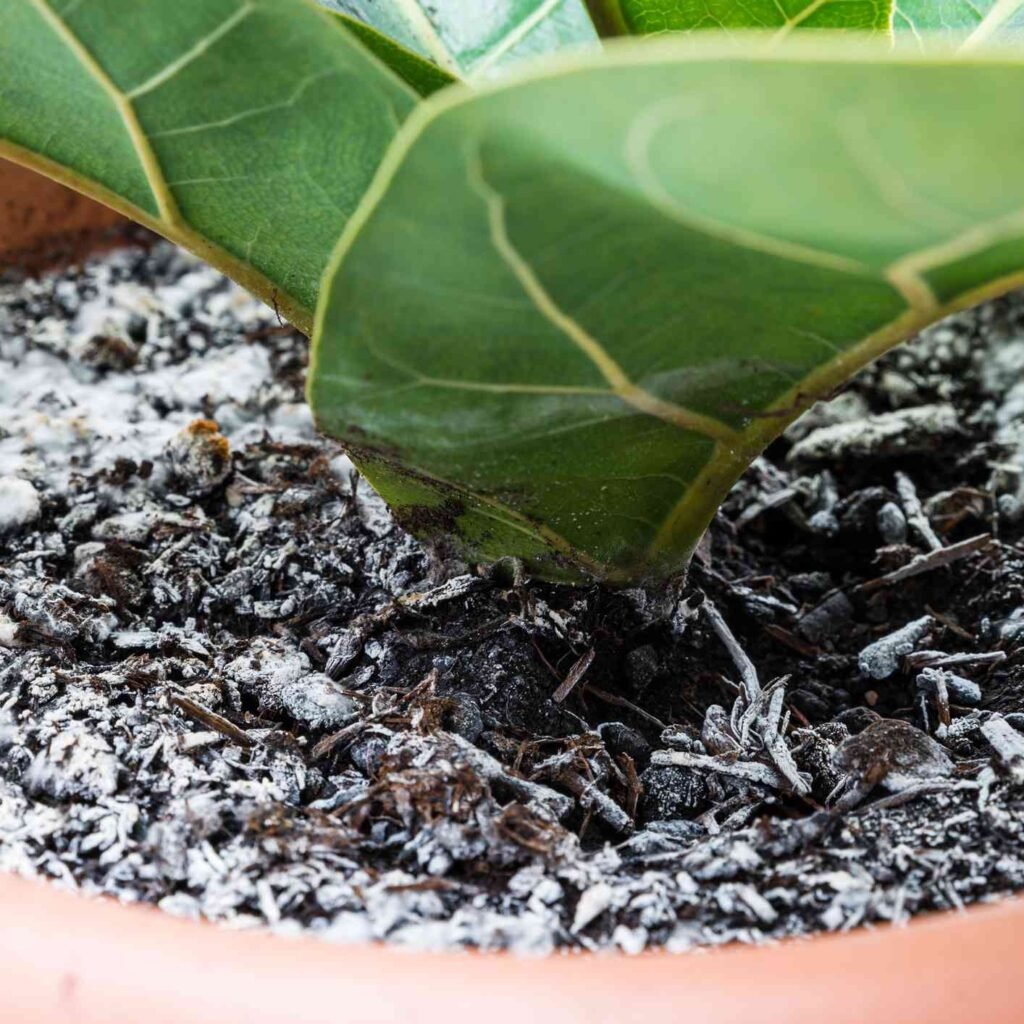
  • Misting (With Caution): Lightly mist your plants’ leaves once or twice a week, but don’t overdo it, as excess moisture can lead to fungal issues in low light conditions.

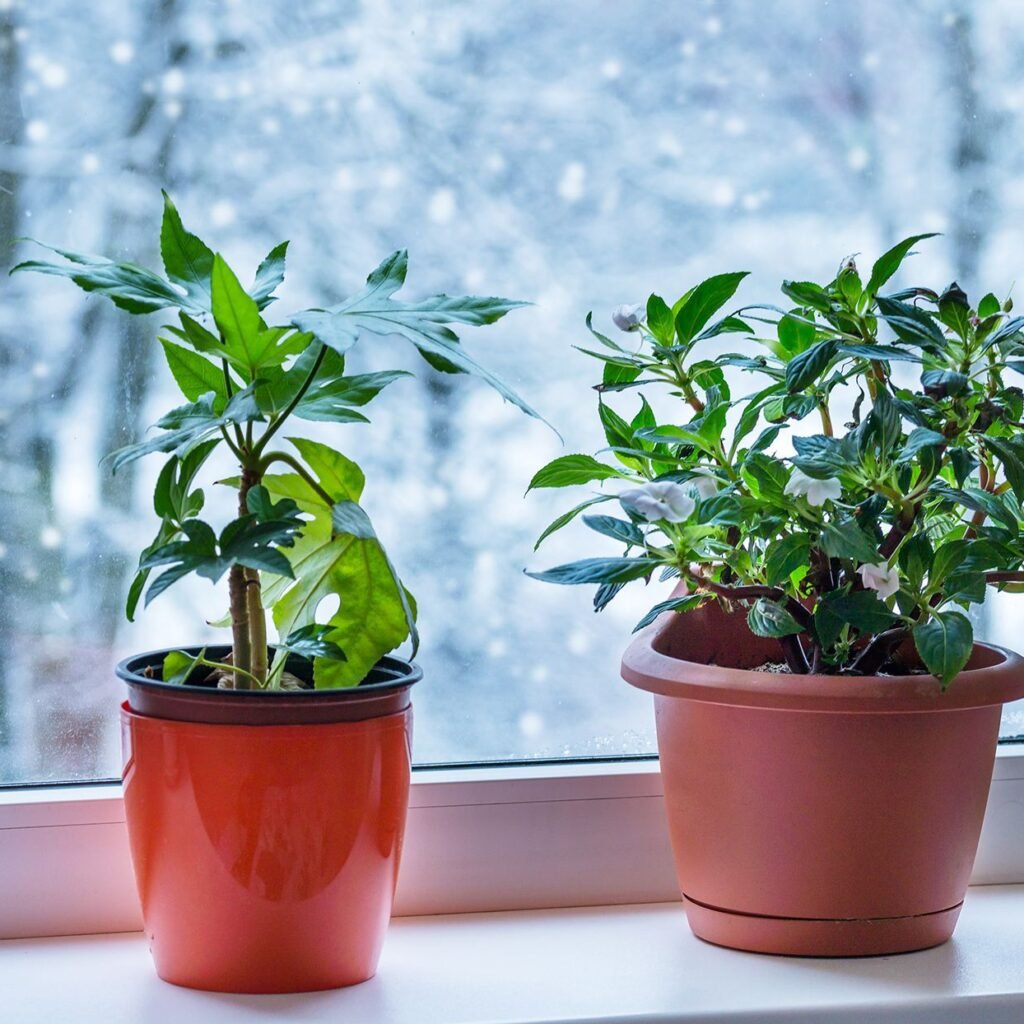
5. Keep Temperatures Stable

Fluctuating temperatures can cause stress and leaf drop. Aim to maintain a consistent indoor temperature between 65–75°F (18–24°C) during the day and slightly cooler at night.

  • Avoid Drafts: Keep plants away from cold windows, doors, and vents. Drafts can chill plants and damage their leaves.
  • Stay Away from Heaters: While it’s tempting to put plants near radiators or fireplaces, the dry, hot air can scorch their foliage.
  • Insulate Windows: If your plants are near a window, use thermal curtains or bubble wrap insulation to keep the area warmer without blocking light.

6. Go Easy on Fertilizer

Because most plants slow their growth in winter, they don’t need as many nutrients. Overfertilizing during this time can lead to salt buildup in the soil and root damage.

  • Pause or Reduce Feeding: Unless your plant is actively growing (like some herbs or winter bloomers), it’s best to stop fertilizing altogether until spring.
  • If Necessary, Dilute: If you must feed, use a half-strength liquid fertilizer once every 6–8 weeks.

Come spring, you can resume your regular fertilizing schedule to support new growth.


7. Clean and Groom Your Plants Regularly

Winter is the perfect time to give your plants a little extra attention. Dust and debris can block light absorption and slow photosynthesis.

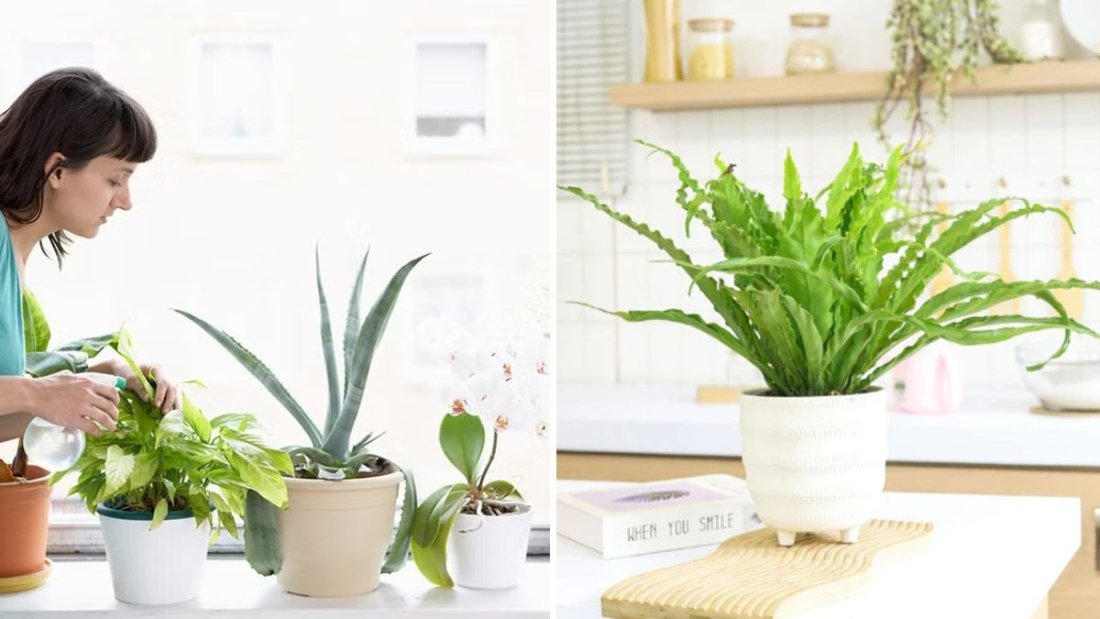
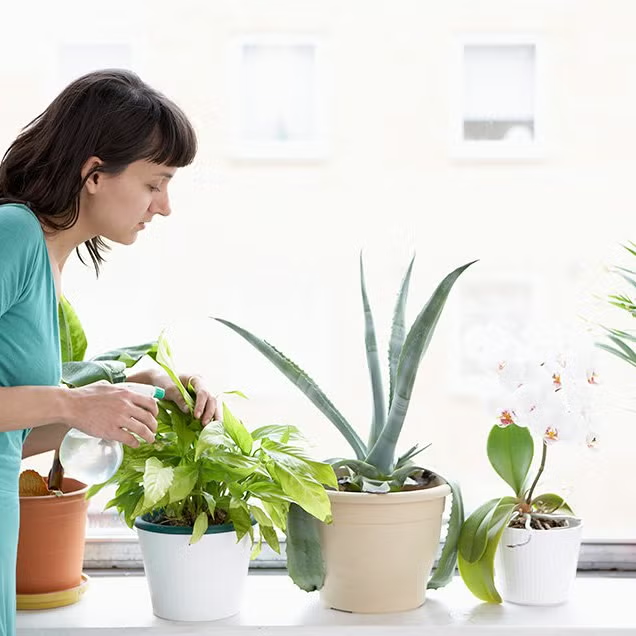
  • Wipe Down Leaves: Use a damp, soft cloth to gently wipe both sides of the leaves. For plants with delicate or fuzzy leaves, use a soft brush instead.
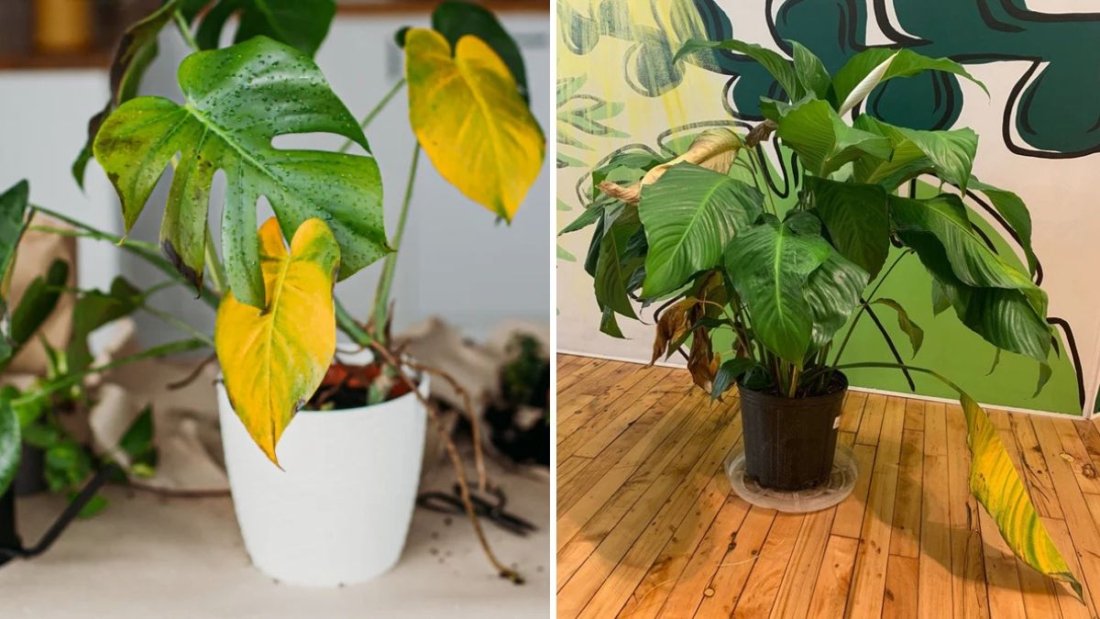
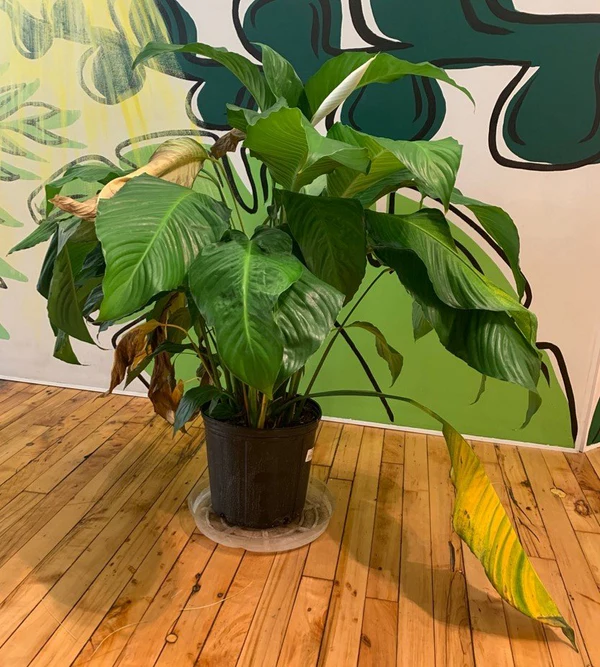
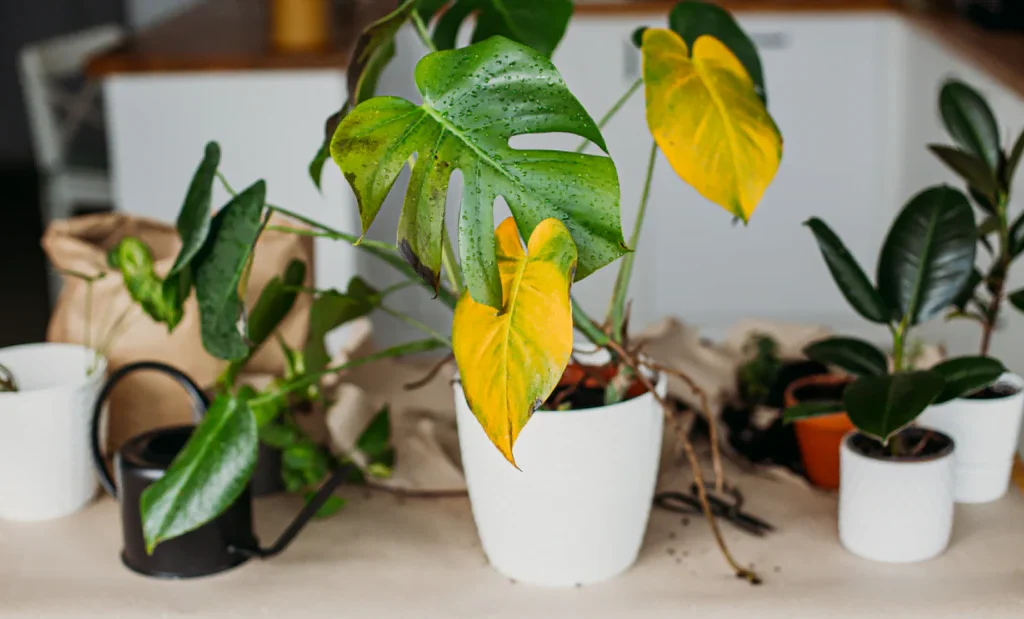
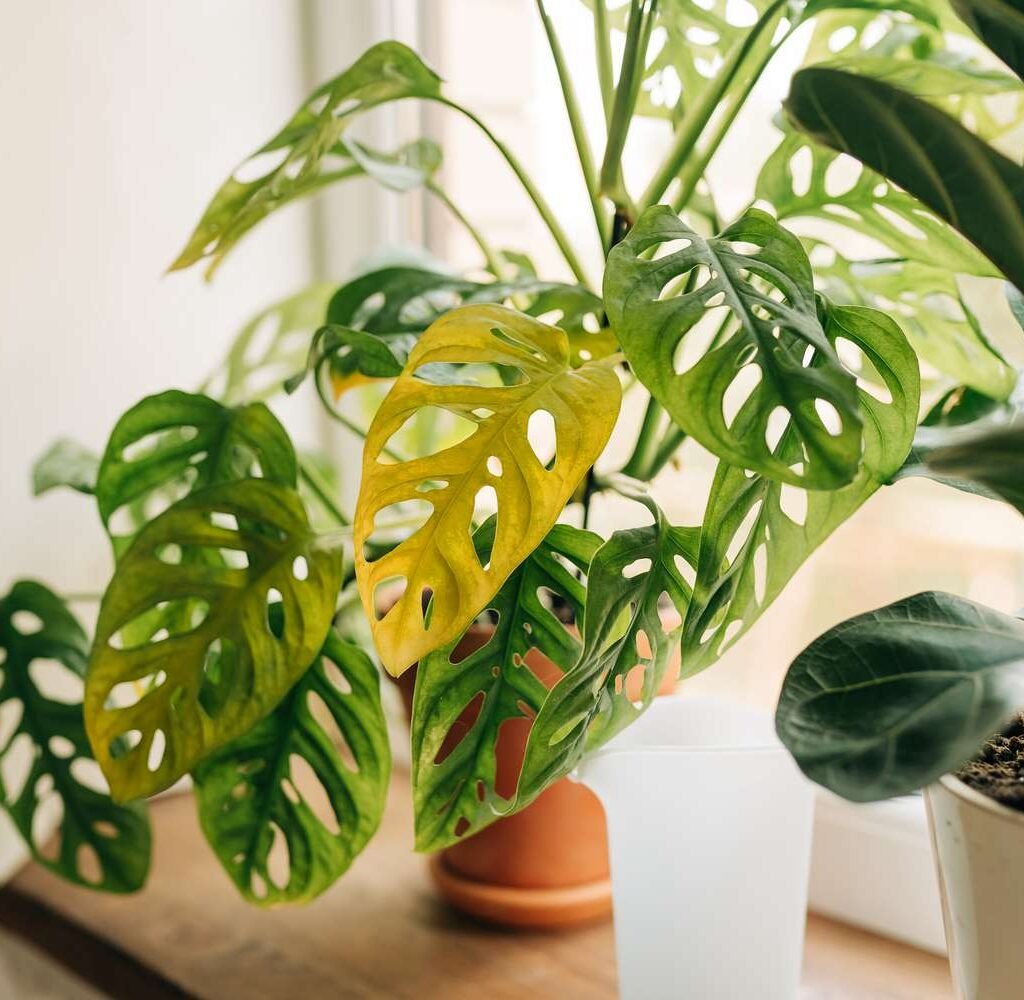
  • Trim Dead or Yellow Leaves: Removing damaged leaves not only improves appearance but also prevents pests and diseases.
  • Check for Pests: Indoor environments can still attract pests like spider mites, mealybugs, and aphids, especially when the air is dry. Inspect leaves weekly and use insecticidal soap or neem oil if needed.

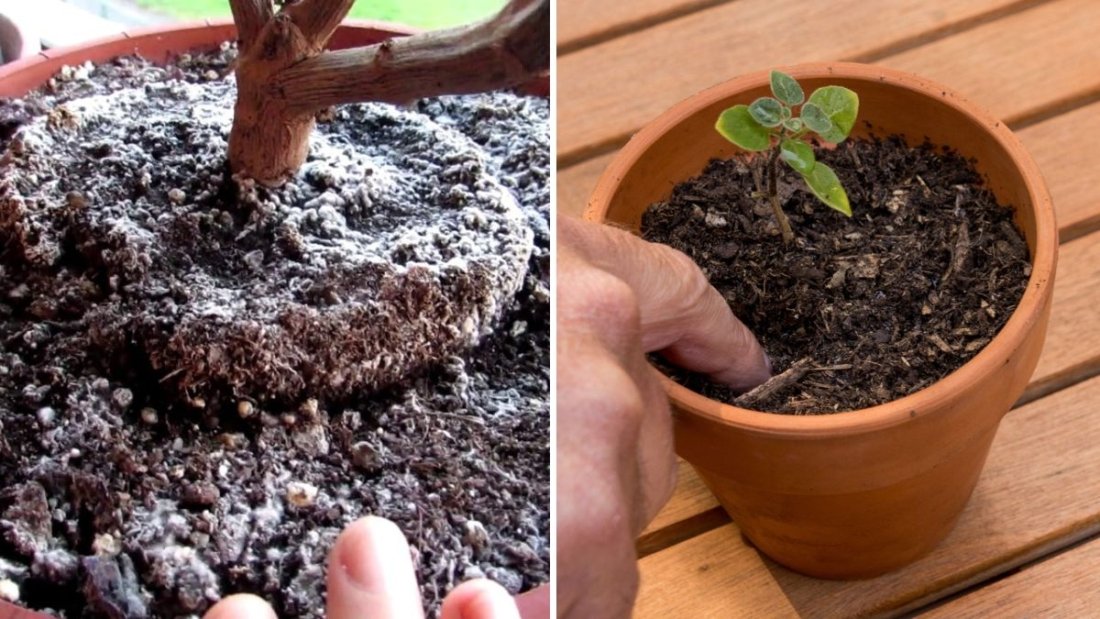
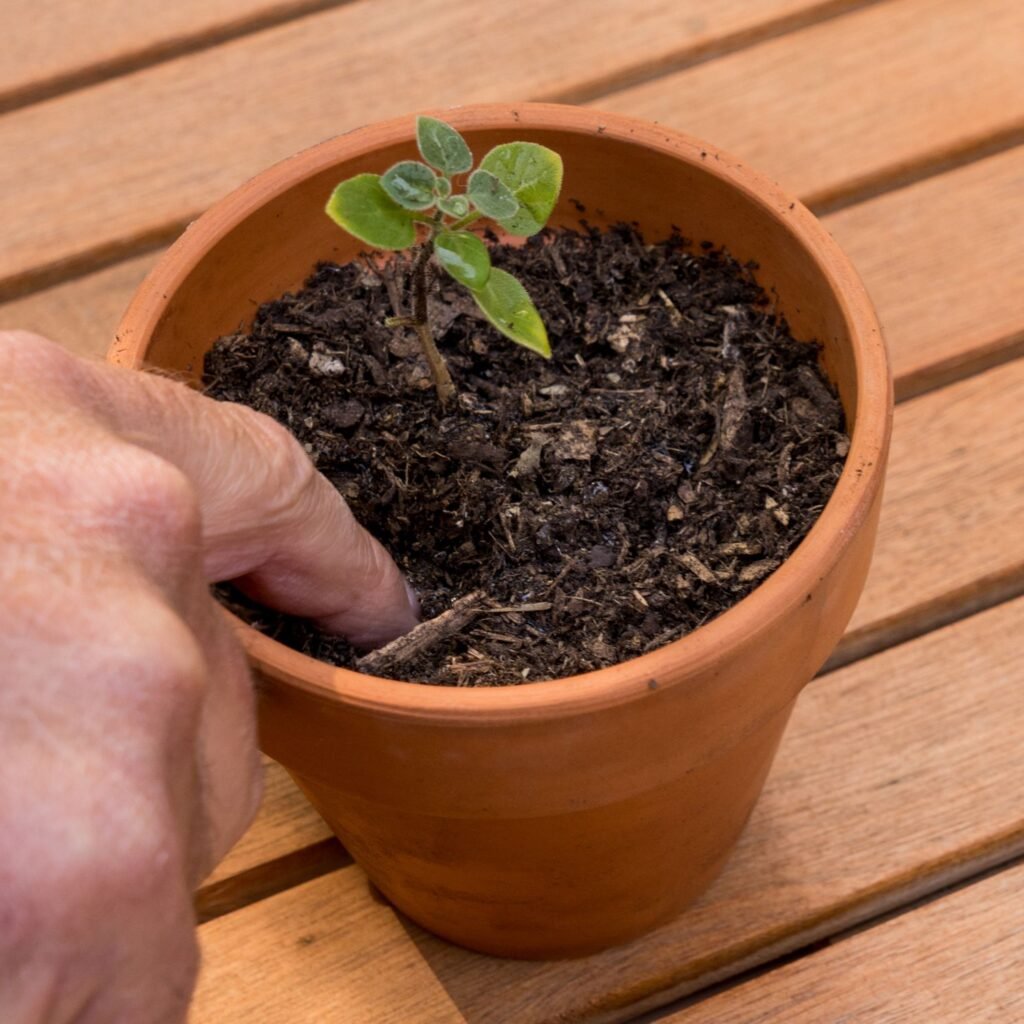
8. Repot Only If Necessary

Winter is not the ideal time for repotting since most plants are semi-dormant and not actively growing. Repotting during this time can stress them unnecessarily.

  • Wait Until Spring: Unless your plant is severely root-bound or showing signs of distress, wait until warmer months to repot.
  • If Urgent: If you must repot, handle the roots gently and avoid fertilizing for at least 4 weeks afterward.

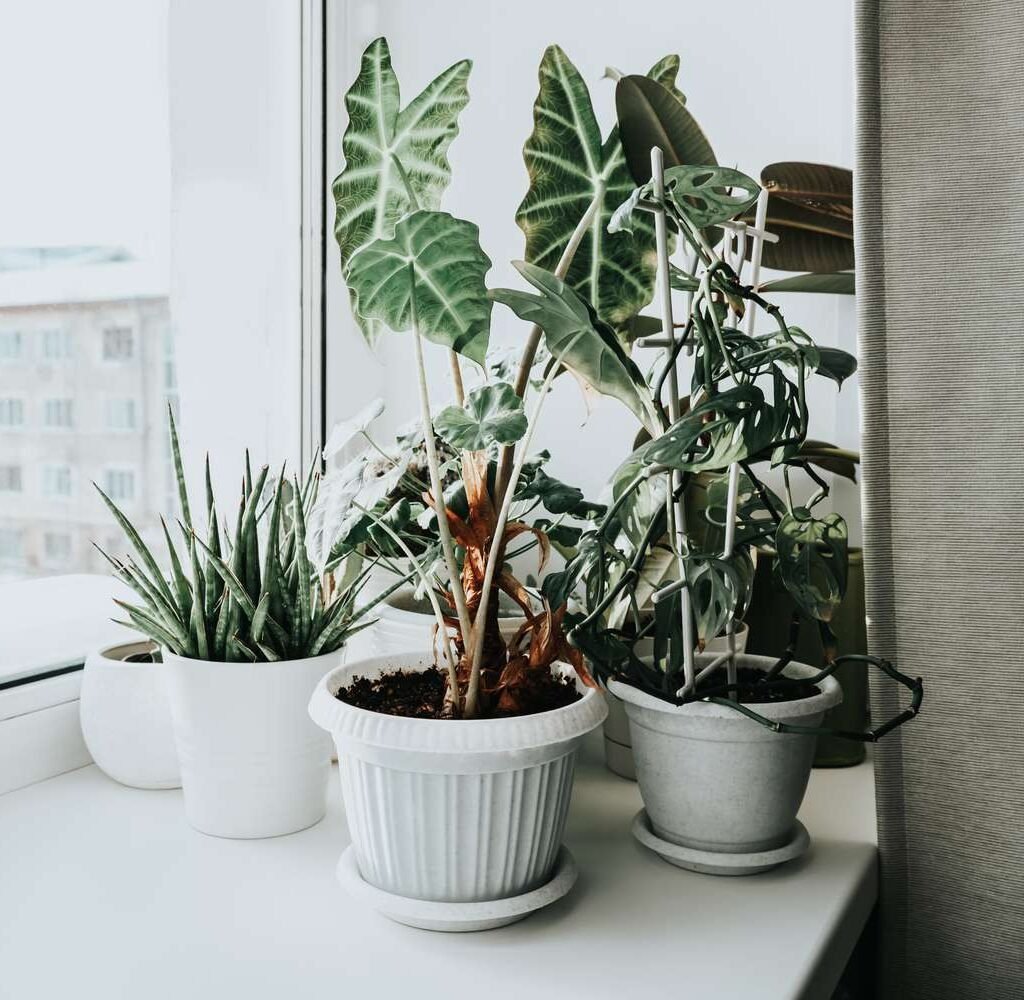
9. Choose the Right Plants for Winter Resilience

Some indoor plants handle winter better than others. If you’re looking to keep your space green with minimal effort, consider adding a few hardy varieties:

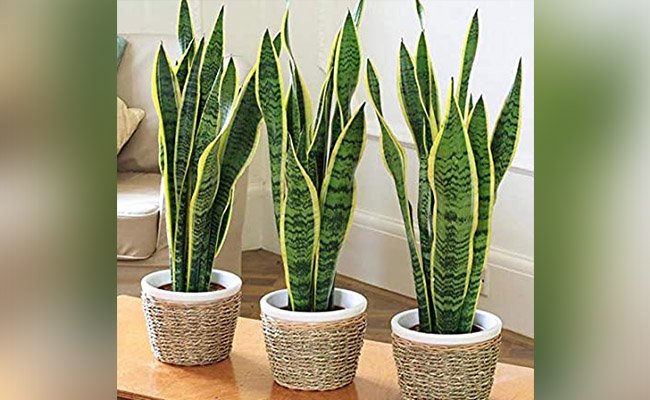
  • Snake Plant (Sansevieria): Tolerates low light and infrequent watering.
  • ZZ Plant (Zamioculcas zamiifolia): Thrives in low humidity and indirect light.
  • Pothos: A fast-recovering plant that adapts well to winter conditions.
  • Peace Lily: Can handle low light but benefits from occasional misting.
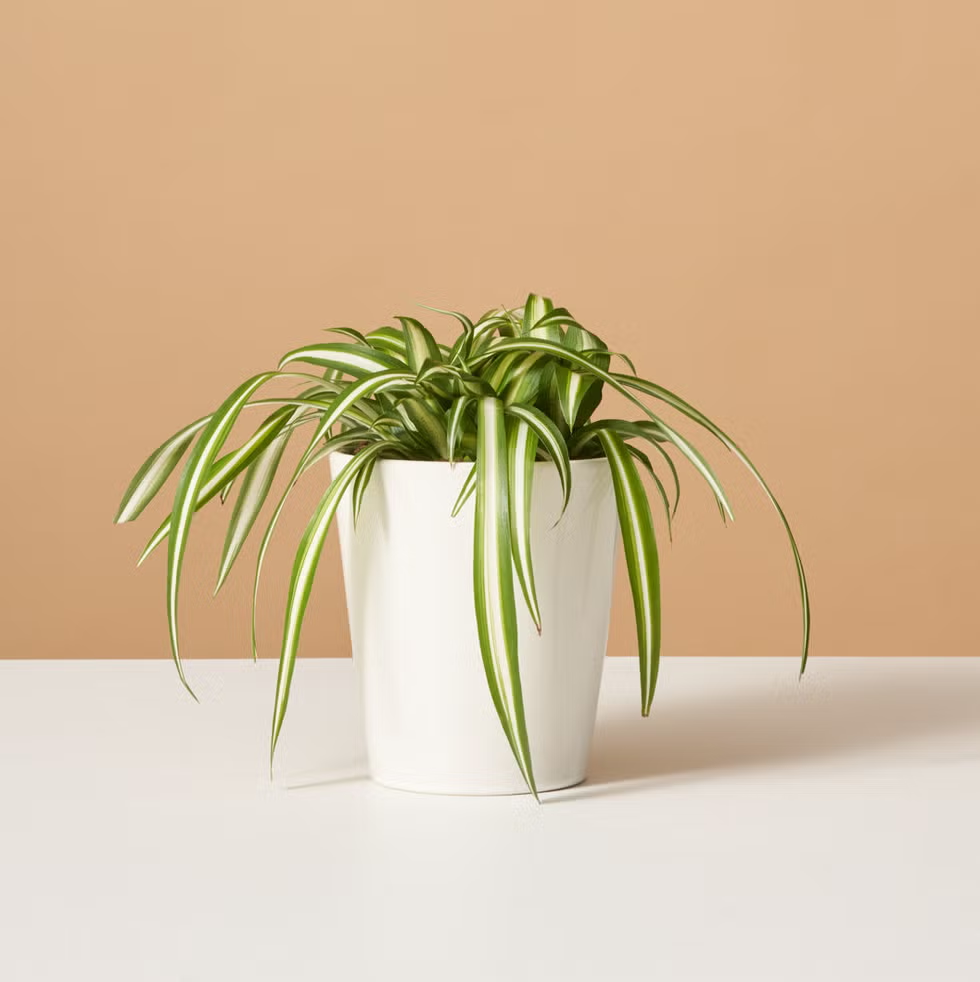
  • Spider Plant: Handles fluctuations in temperature well.

10. Give Them Rest — and Plan Ahead

Winter is a rest period for your indoor plants, similar to hibernation. Don’t panic if your plants seem less lively or their growth slows down — this is completely natural.

  • Avoid Forcing Growth: Focus on keeping them healthy rather than trying to push new growth.
  • Plan for Spring Revival: Once daylight increases, gradually resume regular watering and feeding. You’ll be rewarded with lush, fresh growth in the coming months.

Conclusion

Keeping indoor plants looking fresh during winter is all about understanding and adapting to seasonal changes. With mindful adjustments — from lighting and watering to temperature and humidity — your indoor garden can stay healthy, green, and beautiful even in the coldest months of the year.

By taking a little extra care and creating a cozy environment for your plants, you’re not just helping them survive winter — you’re helping them thrive so they’ll burst back into full glory when spring returns.

The Best Organic Fertilizers for Indoor Plants You Can Make at Home

The Best Organic Fertilizers for Indoor Plants You Can Make at Home

Caring for indoor plants is not just about watering and providing sunlight—it’s also about feeding them right. Just like humans need nutrition to thrive, plants require essential nutrients to grow lush leaves, vibrant blooms, and strong roots. However, many store-bought fertilizers contain synthetic chemicals that can harm the environment and even damage sensitive houseplants over time.

That’s why more plant lovers are turning to organic, homemade fertilizers—natural nutrient boosters made from everyday household items. These DIY fertilizers are eco-friendly, affordable, and surprisingly effective at keeping your indoor jungle healthy and thriving.

In this article, we’ll explore the best organic fertilizers for indoor plants that you can make at home, how to use them, and why they’re a better choice for sustainable plant care.


Why Choose Organic Fertilizers for Indoor Plants?

Before diving into recipes, it’s important to understand why organic fertilizers are a smart choice—especially for indoor plants.

1. Safe for You and the Environment

Organic fertilizers are made from natural materials like food scraps, compost, or plant matter. They don’t release harmful chemicals into the air or soil, making them ideal for enclosed indoor spaces where pets and children live.

2. Gentle on Plants

Unlike synthetic fertilizers that deliver nutrients quickly (and risk burning roots), organic fertilizers release nutrients slowly and steadily, providing balanced nourishment that promotes long-term health.

3. Improves Soil Health

Organic fertilizers enrich the soil with beneficial microbes and organic matter, improving aeration and water retention—key for healthy root systems.

4. Budget-Friendly and Sustainable

Most homemade fertilizers use kitchen waste that would otherwise be discarded. This not only saves money but also reduces household waste—an eco-conscious win.


Essential Nutrients Plants Need

Before preparing your homemade fertilizers, it’s helpful to know the key nutrients your indoor plants require:

  • Nitrogen (N): Promotes leafy green growth.
  • Phosphorus (P): Encourages root development and flowering.
  • Potassium (K): Supports overall plant health and resistance to disease.
  • Calcium, Magnesium, Iron, and Trace Minerals: Aid in enzyme function, chlorophyll production, and balanced growth.

Organic materials like banana peels, eggshells, coffee grounds, and compost naturally provide these nutrients in gentle, plant-friendly forms.


The Best Organic Fertilizers You Can Make at Home

Here are the top 10 effective, easy-to-make organic fertilizers that will nourish your indoor plants naturally.


1. Banana Peel Fertilizer – Potassium Powerhouse

Best For: Flowering and fruiting plants (like hibiscus, jasmine, and tomatoes)

Nutrient Content: Potassium, phosphorus, calcium, magnesium

Bananas are rich in potassium, which helps plants produce strong stems and vibrant flowers. You can use banana peels in several ways:

How to Use:

  • Banana Peel Water: Soak banana peels in water for 2–3 days. Strain and use the liquid to water your plants once a week.
  • Powdered Peels: Dry banana peels in sunlight, grind them into powder, and sprinkle a spoonful around plant bases.

Tip: Don’t leave raw peels directly on soil indoors—they may attract pests.


2. Eggshell Fertilizer – Calcium Boost

Best For: Succulents, leafy greens, and potted herbs

Nutrient Content: Calcium, magnesium, trace minerals

Eggshells are an excellent natural source of calcium, which strengthens cell walls and prevents issues like leaf curling or tip burn.

How to Use:

  • Crushed Eggshells: Clean and dry eggshells, crush them finely, and mix into potting soil.
  • Eggshell Tea: Boil shells in water for 5–10 minutes, let cool, and use the water as a mild calcium supplement once every two weeks.

Tip: Always wash and dry shells to avoid odor or bacterial growth.


3. Coffee Grounds Fertilizer – Nitrogen Rich

Best For: Acid-loving plants like ferns, peace lilies, and pothos

Nutrient Content: Nitrogen, potassium, and magnesium

Coffee grounds enhance soil fertility and stimulate healthy leaf growth. However, moderation is key—too much can make soil acidic.

How to Use:

  • Compost Additive: Mix used coffee grounds into your compost pile.
  • Soil Topper: Sprinkle a thin layer on top of soil and water lightly.

Tip: Let coffee grounds dry before applying to prevent mold.


4. Compost Tea – All-Purpose Fertilizer

Best For: All indoor plants

Nutrient Content: Balanced nutrients, beneficial microbes

Compost tea is a liquid fertilizer made by steeping compost in water, delivering a nutrient-rich tonic that boosts plant vitality.

How to Make:

  1. Fill a bucket with one part compost and three parts water.
  2. Let it sit for 2–3 days, stirring occasionally.
  3. Strain and use the liquid to water your plants.

Tip: Use once a month for best results.


5. Vegetable Scrap Fertilizer – Nutrient Blend

Best For: Leafy plants and flowering varieties

Instead of throwing away vegetable peels or ends, you can repurpose them into plant food.

How to Use:

  1. Collect vegetable scraps like carrot tops, spinach stems, and potato peels.
  2. Boil them in water for 10–15 minutes.
  3. Let the mixture cool, strain, and use the water for your plants.

Tip: Avoid using scraps from salty or oily cooked foods.


6. Aquarium Water Fertilizer – Natural Nitrate Source

Best For: Large potted plants and foliage types

If you have an aquarium, the water you change out can become a gentle, nutrient-rich fertilizer. Fish waste provides nitrogen and beneficial bacteria that boost plant health.

How to Use:
Use old aquarium water to water your plants once every few weeks.

Tip: Only use freshwater from healthy aquariums—avoid saltwater or medicated tanks.


7. Rice Water – Gentle Growth Promoter

Best For: Young plants and delicate herbs

Rice water contains starches, amino acids, and trace minerals that stimulate root growth and nourish beneficial soil microbes.

How to Use:

  • After rinsing or boiling rice, save the water (unsalted).
  • Allow it to cool and use to water plants once a week.

Tip: Avoid storing rice water for long—it can ferment and smell unpleasant.


8. Epsom Salt Fertilizer – Magnesium Boost

Best For: Fiddle leaf figs, palms, and flowering plants

Epsom salt (magnesium sulfate) enhances chlorophyll production and nutrient absorption.

How to Use:

  • Dissolve 1 tablespoon of Epsom salt in 1 liter of water.
  • Spray or water your plants with this solution once a month.

Tip: Avoid overuse—too much magnesium can interfere with calcium uptake.


9. Green Tea Fertilizer – Antioxidant Tonic

Best For: Ferns, palms, and indoor vines

Used green tea leaves or diluted tea water add tannins and organic matter to soil, helping acid-loving plants flourish.

How to Use:

  • Steep a used tea bag in a liter of water.
  • Cool and use as a liquid fertilizer every two weeks.

Tip: Avoid sweetened or flavored teas.


10. Molasses Fertilizer – Microbe Booster

Best For: Flowering plants and soil revitalization

Molasses feeds beneficial microbes in the soil, improving nutrient availability and root health.

How to Use:

  • Mix 1 tablespoon of blackstrap molasses in 1 liter of water.
  • Water your plants with this once every 3–4 weeks.

Tip: Combine with compost tea for an extra boost of microbial life.


How to Apply Homemade Fertilizers Effectively

  1. Start Small: Begin with diluted solutions and observe how your plants react before increasing frequency.
  2. Timing Matters: Fertilize during active growth periods (spring and summer), not dormancy (winter).
  3. Avoid Overfeeding: Too much organic matter can cause root rot or mold buildup in indoor pots.
  4. Ensure Drainage: Always use pots with drainage holes to prevent nutrient accumulation.
  5. Rotate Fertilizers: Alternate between nitrogen-rich and potassium-rich options for balanced growth.

Common Mistakes to Avoid

  • Overusing Fertilizer: Even organic fertilizers can damage roots if used excessively.
  • Ignoring Light and Water: Fertilizers can’t compensate for poor lighting or irregular watering.
  • Applying to Dry Soil: Always water the plant lightly before fertilizing to prevent shock.
  • Using Spoiled or Moldy Ingredients: These can introduce bacteria or unpleasant odors indoors.

Environmental and Health Benefits

Homemade organic fertilizers do more than just nourish plants—they contribute to a healthier planet. They reduce chemical runoff, repurpose kitchen waste, and eliminate packaging pollution. Plus, since they’re free of harsh chemicals, they’re safer for your hands, your air, and your pets.

By incorporating these sustainable fertilizers into your plant care routine, you help create a small, self-sustaining ecosystem—right in your home.


Final Thoughts

Growing vibrant indoor plants doesn’t require synthetic fertilizers or expensive plant food. With simple ingredients like banana peels, eggshells, coffee grounds, and rice water, you can make powerful organic fertilizers at home.

These natural formulas not only save money but also keep your indoor environment chemical-free, healthy, and sustainable. Whether you’re nurturing a lush Monstera, fragrant basil, or delicate peace lily, homemade organic fertilizers provide everything your plants need—naturally and responsibly.

So next time you reach for that banana peel or pour out rice water, think twice—your plants will thank you for the nutritious, eco-friendly treat.

How to Grow a Thriving Indoor Herb Garden Without Sunlight

How to Grow a Thriving Indoor Herb Garden Without Sunlight

Fresh herbs can transform everyday meals into gourmet experiences, infusing flavor, aroma, and health benefits into your cooking. But what if you live in a small apartment, have limited natural light, or your kitchen windows face the wrong direction? The good news is that you can still grow a flourishing indoor herb garden—even without sunlight.

With the right setup, lighting alternatives, and care techniques, herbs like basil, parsley, mint, and thyme can thrive indoors year-round. This guide will walk you through everything you need to know to grow a lush, aromatic indoor herb garden in low-light conditions.


Why Sunlight Isn’t Always Necessary

Most herbs are sun-loving plants that naturally thrive in bright, outdoor conditions. However, advances in indoor gardening technology and better understanding of plant biology have made it possible to grow them indoors with minimal or no sunlight.

Plants don’t specifically need “sunlight”—they need light energy, particularly from the blue and red wavelengths of the spectrum. By mimicking natural sunlight with artificial grow lights or strategic indoor placement, you can provide your herbs with everything they need for healthy photosynthesis.


Choosing the Right Herbs for Low-Light Spaces

Not all herbs are suited to low-light conditions. Some, like basil and rosemary, crave intense light, while others tolerate shade or artificial lighting. Below are the best herbs for growing indoors without direct sunlight:

1. Mint (Mentha spp.)

Mint is one of the easiest herbs to grow indoors. It tolerates low light, grows rapidly, and produces a refreshing fragrance that brightens any room. Keep the soil moist, and it will reward you with lush green leaves for teas, desserts, and salads.

Tip: Trim the stems often to encourage bushy growth and prevent legginess.


2. Parsley (Petroselinum crispum)

Parsley grows well under fluorescent or LED lights and can handle less-than-ideal light conditions. It may grow slowly at first, but once established, it becomes a reliable kitchen staple.

Tip: Harvest outer leaves first and allow inner leaves to mature.


3. Chives (Allium schoenoprasum)

Chives thrive indoors and adapt beautifully to artificial lighting. Their mild onion flavor makes them perfect for garnishing soups, salads, and dips.

Tip: Snip the leaves regularly to encourage new shoots.


4. Thyme (Thymus vulgaris)

Thyme tolerates partial shade and requires less light than most Mediterranean herbs. It prefers drier soil, so water sparingly. Its tiny leaves pack a punch of flavor in soups, roasts, and sauces.

Tip: Place near a small fan or open window for airflow—it helps mimic outdoor conditions.


5. Oregano (Origanum vulgare)

Oregano loves warmth and can tolerate moderate light. It’s an excellent choice for an indoor herb garden near artificial lights.

Tip: Allow the top inch of soil to dry before watering.


6. Cilantro (Coriandrum sativum)

Cilantro prefers cooler temperatures and indirect light. Under artificial lighting, it can produce fragrant leaves for several weeks before flowering.

Tip: Grow multiple small batches for continuous harvests, as cilantro grows quickly but doesn’t last long.


7. Lemon Balm (Melissa officinalis)

This herb tolerates low light and fills your space with a calming lemon scent. It’s perfect for teas, potpourri, and natural home fragrance.

Tip: Trim frequently to prevent the plant from becoming leggy.


Best Lighting Alternatives for Herbs Without Sunlight

When growing herbs indoors, artificial lighting is the key to success. Here’s how to choose and use the right lighting setup:

1. LED Grow Lights

Modern LED grow lights are energy-efficient, long-lasting, and designed to mimic natural sunlight. They emit the necessary red and blue wavelengths for optimal plant growth.

  • Pros: Low heat emission, customizable light spectrum, energy-efficient.
  • Placement: Keep LEDs about 6–12 inches above the herbs.

2. Fluorescent Lights

Compact fluorescent lamps (CFLs) or T5 fluorescent tubes are great budget-friendly options. They work well for small herb gardens and provide sufficient brightness for leafy growth.

  • Pros: Affordable and widely available.
  • Placement: Keep 6–8 inches above the plants for best results.

3. Full-Spectrum Grow Lights

These simulate the natural balance of sunlight and can support photosynthesis effectively. They’re perfect for larger setups or herb gardens with multiple varieties.

  • Tip: Use timers to maintain consistent light exposure—12 to 16 hours per day is ideal for most herbs.

Setting Up Your Indoor Herb Garden

Creating an efficient indoor garden setup doesn’t require much space or equipment. Follow these simple steps for a thriving herb garden without sunlight:

1. Choose the Right Containers

Select pots with good drainage holes to prevent root rot. Herbs generally prefer snug pots (4–6 inches wide) since compact roots encourage leaf growth.

You can use ceramic, terracotta, or even recycled containers—just ensure there’s proper drainage.


2. Use High-Quality Potting Mix

Avoid regular garden soil; it’s too dense for indoor growing. Instead, use a lightweight potting mix with good aeration and moisture retention. A mix containing peat, coco coir, and perlite works best.

Tip: Add a small amount of compost or organic fertilizer for nutrients.


3. Set Up Lighting

Position your chosen grow light 6–12 inches above the plants and adjust its height as your herbs grow. Set a timer to provide 12–16 hours of light daily, followed by 8 hours of darkness for rest.

Tip: Rotate your pots weekly to ensure even light exposure.


4. Maintain Proper Watering Habits

Overwatering is a common mistake. Most herbs prefer slightly moist—but not soggy—soil. Insert your finger about an inch deep; if it feels dry, it’s time to water.

Tip: Use room-temperature water and avoid wetting the leaves to prevent fungal issues.


5. Monitor Humidity and Temperature

Indoor herbs thrive in moderate humidity (40–60%) and temperatures between 18–24°C (65–75°F). If your home is too dry, use a humidity tray or a small humidifier nearby.

Tip: Avoid placing herbs near heating vents or air conditioners.


6. Fertilize Sparingly

Since indoor herbs grow slower, they need fewer nutrients. Use a diluted liquid organic fertilizer once every 3–4 weeks during active growth periods.

Tip: Over-fertilizing can reduce flavor intensity in herbs, so less is more.


7. Prune Regularly

Frequent trimming encourages fuller, bushier growth. Always snip above a leaf node to stimulate new branching.

Tip: Use sharp, clean scissors to avoid damaging the stems.


Troubleshooting Common Problems

Even the best indoor gardens face occasional challenges. Here’s how to handle common issues:

1. Leggy Growth:
If herbs grow tall and spindly, they’re not getting enough light. Move them closer to the grow light or extend light exposure time.

2. Yellow Leaves:
Often a sign of overwatering or poor drainage. Let the soil dry before watering again.

3. Slow Growth:
Could be due to low temperatures or lack of nutrients. Move plants to a warmer spot and feed with a mild fertilizer.

4. Mold on Soil:
Indicates excessive moisture. Improve air circulation and reduce watering frequency.


Creative Ways to Display Indoor Herbs

A thriving indoor herb garden can also enhance your home decor. Try these creative ideas:

  • Wall-Mounted Planters: Save counter space and create a living green wall in your kitchen.
  • Hanging Baskets: Perfect for small spaces; hang herbs like mint or oregano near your grow light.
  • Tiered Shelves: Organize multiple herbs vertically under one lighting system.
  • Mason Jar Gardens: Aesthetic and compact, ideal for window ledges or countertops (ensure proper drainage).

Harvesting and Using Your Herbs

Harvest herbs in the morning when their oils are most concentrated. Always trim from the top to promote new growth.

Freshly cut herbs can be used immediately in dishes or dried for later use. Popular ways to enjoy your harvest include:

  • Basil and parsley for pasta and sauces.
  • Mint for teas and desserts.
  • Thyme and oregano for roasts and soups.
  • Cilantro for chutneys, curries, and salsas.

Final Thoughts

Growing an indoor herb garden without sunlight is entirely possible with the right planning and tools. By selecting shade-tolerant herbs, providing consistent artificial lighting, and maintaining proper care routines, you can enjoy year-round access to fresh, fragrant herbs right in your kitchen.

Not only does this add greenery and aroma to your home, but it also supports sustainable living by reducing waste and promoting self-sufficiency. Whether you’re an urban dweller or a busy professional, a thriving indoor herb garden is within reach—no sunlight required.

With just a few pots, some artificial light, and a little love, you can cultivate your own green oasis and enjoy the endless rewards of fresh, homegrown herbs.

The Best Indoor Plants for Busy People Who Forget to Water

The Best Indoor Plants for Busy People Who Forget to Water

In today’s fast-paced world, maintaining lush, green indoor plants can seem like a luxury—especially for people who often forget to water them. Between work deadlines, household chores, and personal commitments, it’s easy for plant care to fall by the wayside. Fortunately, there’s good news for busy or forgetful plant lovers: some indoor plants not only survive neglect but actually thrive on it.

These low-maintenance, drought-tolerant plants can bring natural beauty, cleaner air, and positive energy into your home with minimal effort. This guide explores the best indoor plants for people who forget to water—plants that are nearly indestructible, forgiving, and perfect for beginners or busy homeowners.


Why Choose Low-Water Indoor Plants?

Before diving into the list, it’s helpful to understand why low-water indoor plants are such a smart choice.

1. Low Maintenance:
These plants typically require watering only once every few weeks, meaning you can go on vacations or endure busy weeks without stressing about them drying out.

2. Resilience:
They have adapted to thrive in harsh, dry environments like deserts or rocky terrains. This natural resilience makes them perfect for homes and offices with inconsistent watering habits.

3. Air Purification:
Many drought-tolerant plants, such as Snake Plants and ZZ Plants, are known for their ability to purify indoor air—removing toxins and increasing oxygen levels.

4. Aesthetic Appeal:
Low-water plants come in many shapes and sizes, offering architectural beauty, vibrant greens, and even occasional blooms. They can complement modern, rustic, or bohemian interiors effortlessly.


Top 10 Indoor Plants for Busy or Forgetful People

Below is a curated list of the best indoor plants that don’t mind a little neglect and require minimal watering.


1. Snake Plant (Sansevieria trifasciata)

Common Name: Mother-in-Law’s Tongue
Watering: Once every 2–4 weeks
Light: Tolerates low to bright indirect light

The Snake Plant is practically unkillable. With its upright, sword-shaped leaves and striking variegation, it’s one of the best options for those who forget to water regularly. It stores water in its thick leaves, meaning it can survive drought-like conditions indoors.

It also purifies the air by removing toxins such as formaldehyde and benzene. Even if you leave it unattended for weeks, it’ll still look fresh and healthy.

Tip: Water only when the soil is completely dry. Overwatering is the only real threat to this hardy plant.


2. ZZ Plant (Zamioculcas zamiifolia)

Watering: Once every 2–3 weeks
Light: Low to medium light

Known for its glossy, dark green leaves, the ZZ Plant is a champion for busy plant owners. It’s drought-resistant and thrives in low light, making it ideal for offices, bedrooms, or bathrooms.

The plant stores water in its rhizomes (underground stems), allowing it to go without watering for weeks. It’s also highly resistant to pests and diseases.

Tip: Avoid direct sunlight and make sure excess water can drain freely from the pot.


3. Aloe Vera

Watering: Once every 3 weeks
Light: Bright, indirect light or filtered sunlight

Aloe Vera isn’t just beautiful—it’s also functional. Its fleshy leaves contain soothing gel often used for burns and skin care. Since it’s a succulent, it thrives in dry conditions and can go long periods without water.

It’s perfect for kitchen windowsills or sunny indoor spots. When the soil feels bone dry, give it a deep watering.

Tip: Ensure good drainage; soggy soil can rot the roots.


4. Pothos (Epipremnum aureum)

Watering: Once every 1–2 weeks
Light: Low to bright indirect light

Pothos, also known as Devil’s Ivy, is one of the most forgiving houseplants. It can tolerate underwatering, low light, and even irregular feeding schedules. Its trailing vines make it an excellent choice for hanging baskets or shelves.

Even if the leaves droop from neglect, they usually perk back up after a good drink.

Tip: Pothos also propagates easily from cuttings—perfect for expanding your indoor jungle with minimal effort.


5. Spider Plant (Chlorophytum comosum)

Watering: Once every 1–2 weeks
Light: Bright, indirect light

Spider Plants are famous for their arching green-and-white striped leaves and their ability to thrive in neglectful conditions. They’re highly adaptable, forgiving of missed waterings, and even help purify indoor air.

They also produce baby “spiderettes” that can be easily propagated.

Tip: Let the soil dry out between waterings, and mist occasionally if your indoor air is very dry.


6. Jade Plant (Crassula ovata)

Watering: Once every 2–3 weeks
Light: Bright light, some direct sun

The Jade Plant is a beautiful succulent with thick, shiny leaves that store water efficiently. It’s often associated with good luck and prosperity, making it a popular houseplant.

Jade Plants are extremely drought-tolerant and only need occasional watering. In fact, too much water can be more harmful than too little.

Tip: Water thoroughly but infrequently. Allow the soil to dry completely before watering again.


7. Peace Lily (Spathiphyllum)

Watering: Once a week or less
Light: Low to medium indirect light

If you want a low-maintenance plant that still flowers, the Peace Lily is a perfect pick. It produces elegant white blooms and thrives even in low-light corners.

Although it appreciates some moisture, it can survive short dry spells. When it’s thirsty, its leaves droop dramatically—an easy visual reminder that it needs water.

Tip: Mist occasionally to keep humidity balanced, especially in air-conditioned rooms.


8. Rubber Plant (Ficus elastica)

Watering: Every 2–3 weeks
Light: Bright, indirect light

The Rubber Plant adds a bold, tropical touch to indoor spaces with its broad, glossy leaves. It’s drought-resistant and can adapt to various light conditions, though it prefers bright, indirect sunlight.

Once established, it’s extremely forgiving of irregular watering.

Tip: Wipe the leaves occasionally to remove dust and allow better photosynthesis.


9. Cast Iron Plant (Aspidistra elatior)

Watering: Once every 2–3 weeks
Light: Low light tolerant

As the name suggests, the Cast Iron Plant is almost indestructible. It tolerates neglect, low light, temperature fluctuations, and minimal watering.

It’s a great choice for dark hallways, offices, or shaded rooms where most other plants fail.

Tip: Keep away from direct sunlight to avoid leaf scorching.


10. Succulent Mix (Echeveria, Haworthia, etc.)

Watering: Once every 3 weeks or when soil is dry
Light: Bright light or filtered sun

If you love variety, create a succulent garden indoors. Mix species like Echeveria, Haworthia, and Sedum in decorative containers. These small, sculptural plants require minimal water and care.

Tip: Use well-draining soil and shallow pots with drainage holes to prevent root rot.


Caring Tips for Forgetful Plant Owners

Even the toughest plants benefit from a little care. Here are quick tips to keep your plants thriving effortlessly:

  1. Set a Watering Reminder: Use a smartphone app or calendar alert to remind you once every few weeks.
  2. Use Self-Watering Pots: These containers provide consistent moisture without overwatering.
  3. Choose the Right Soil: Well-draining potting mix prevents root rot.
  4. Group Plants Together: This helps maintain humidity and makes watering easier.
  5. Avoid Overwatering: Most low-maintenance plants prefer dryness over excess water.

Final Thoughts

For busy individuals or those prone to forgetting plant care routines, the right plant selection makes all the difference. Snake Plants, ZZ Plants, Aloe Vera, and Pothos are all excellent choices that can thrive even with minimal attention.

These plants not only beautify your home but also improve air quality, boost mood, and bring a calming presence into your space. With just a few low-maintenance species, you can enjoy all the benefits of indoor greenery—without the guilt of neglect.

So, even if your schedule is packed or you’re forgetful when it comes to watering, don’t give up on your dream of having a lush indoor garden. Choose plants that fit your lifestyle—and let nature thrive, even in your busiest moments.

How to Use Ice Cubes to Water Indoor Plants the Right Way

How to Use Ice Cubes to Water Indoor Plants the Right Way

Watering indoor plants is one of the most essential yet misunderstood aspects of plant care. While many plant enthusiasts stick to traditional watering methods, a growing trend involves using ice cubes as a convenient and controlled way to hydrate plants. Though the method might seem unconventional, it can be highly effective if done correctly.

This article explores how ice cubes can benefit indoor plants, which plants are suitable for this technique, and step-by-step guidelines to ensure proper hydration without harming your green companions.


1. Understanding the Ice Cube Method

The ice cube watering method involves placing small cubes of frozen water directly on the soil surface. As the ice melts slowly, it releases water gradually into the soil. This slow-release system offers several benefits:

  • Prevents overwatering: Ice cubes melt slowly, reducing the risk of waterlogging.
  • Controlled hydration: Provides a measured amount of water, especially useful for plants prone to root rot.
  • Convenience: Useful for busy plant parents or when leaving plants unattended for short periods.

However, this method is not suitable for all plants, and improper use can stress or damage sensitive species.


2. Advantages of Using Ice Cubes for Watering

a. Prevents Root Rot

Traditional watering methods can lead to puddles in pots without proper drainage. Ice cubes provide slow hydration, preventing soil saturation and root rot.

b. Consistent Moisture Distribution

Melting ice ensures water penetrates deeper into the soil gradually, giving roots time to absorb moisture effectively.

c. Easy to Measure

Each ice cube is approximately 1 ounce (30 ml), making it easier to control how much water each plant receives. This is particularly helpful for small indoor pots or succulents.

d. Reduces Risk of Overwatering for Beginners

New plant owners often struggle with watering schedules. Ice cubes provide a visual cue and prevent accidental overwatering, one of the most common causes of plant stress.


3. Ideal Plants for Ice Cube Watering

Not all indoor plants benefit from ice cubes. Choosing the right species is crucial:

a. Succulents and Cacti

  • These plants store water in their leaves and are prone to root rot if overwatered.
  • Using 1–2 ice cubes per week ensures slow hydration without overwhelming their roots.

b. Orchids (Phalaenopsis)

  • Sensitive to overwatering and prone to root rot.
  • Place 1–2 ice cubes near the base weekly to keep roots moist without soaking the crown.

c. Small Indoor Plants

  • Plants in small pots, like pothos, spider plants, or small ferns, benefit from the controlled water release of ice cubes.
  • Use 1–3 ice cubes depending on pot size.

4. Plants That Should Avoid Ice Cubes

Some plants are sensitive to cold and sudden temperature changes in the soil. Avoid using ice cubes for:

  • Tropical plants with soft foliage (e.g., calathea, peace lily)
  • Plants with delicate roots that prefer evenly warm soil
  • Newly repotted plants or seedlings that require consistent moisture

Using ice cubes on these plants can shock the roots, slow growth, and cause leaf damage.


5. Step-by-Step Guide: Watering Indoor Plants with Ice Cubes

Step 1: Assess Plant Needs

  • Determine the plant type and size of the pot.
  • Check soil moisture before using ice cubes. Only use this method if soil is dry or slightly moist.

Step 2: Prepare Ice Cubes

  • Standard 1-ounce cubes are ideal for small to medium pots.
  • For larger pots, use 2–3 cubes.
  • Optionally, freeze water with a pinch of diluted fertilizer for added nutrients (use slow-release, balanced fertilizer).

Step 3: Placement

  • Place ice cubes evenly across the soil surface, avoiding direct contact with leaves or stems.
  • Keep them near the base but not touching the plant crown, especially for orchids and succulents.

Step 4: Monitor Melting

  • Observe as the ice melts. The water should soak into the soil gradually.
  • Avoid letting the soil stay soggy for long periods.

Step 5: Adjust Frequency

  • Water frequency depends on the plant species and indoor conditions:
    • Succulents: 1–2 cubes per week
    • Orchids: 1–2 cubes weekly
    • Small tropical plants: 2–3 cubes once or twice a week

6. Benefits of Ice Cubes in Maintaining Proper Soil Moisture

The slow melting of ice cubes helps maintain even soil moisture, which is essential for root health:

  • Reduces rapid evaporation, keeping soil hydrated longer.
  • Encourages deeper root growth, as roots gradually access water.
  • Prevents water accumulation at the surface, which can attract mold or fungal growth.

7. Common Mistakes to Avoid

Using ice cubes incorrectly can harm plants. Common mistakes include:

  • Using too many cubes: Can cause waterlogging, especially in small pots.
  • Placing cubes on leaves or stems: Causes cold damage or rot.
  • Using ice on sensitive plants: Tropical plants and seedlings may not tolerate the sudden cold.
  • Neglecting drainage: Ensure the pot has proper drainage holes to prevent standing water.

Awareness of these mistakes ensures safe and effective use of ice cubes.


8. Enhancing the Ice Cube Method

To maximize benefits:

a. Combine with Fertilizer

  • Freeze water mixed with a small amount of liquid fertilizer.
  • As the ice melts, nutrients are released gradually, feeding the plant safely.

b. Use in Rotating Schedule

  • Alternate ice cube watering with regular watering to ensure plants receive adequate hydration during warmer months or dry indoor air conditions.

c. Track Indoor Conditions

  • Ice cubes are ideal for rooms with central heating or dry air.
  • Observe soil dryness and adjust cube frequency based on temperature and humidity.

9. Advantages Over Traditional Watering

While traditional watering is effective, ice cubes provide:

  • Convenience: Perfect for busy schedules and short vacations.
  • Precision: Avoids overwatering in small or delicate pots.
  • Slow absorption: Encourages deep root hydration, preventing shallow growth.
  • Reduced risk of spillage: Prevents water pooling on surfaces for indoor décor plants.

10. Considerations for Seasonal Use

Seasonal changes impact watering needs:

  • Winter: Ice cube watering may reduce root shock, as soil is naturally cooler.
  • Summer: Plants may need additional hydration; adjust the number of cubes accordingly.
  • High humidity seasons: Fewer ice cubes are needed to avoid excess moisture and mold.

Understanding these seasonal variations ensures plants receive optimal water all year.


11. Psychological and Practical Benefits

Beyond plant health, ice cube watering offers:

  • Stress-free care: Provides visual guidance on water quantity.
  • Time-saving: Reduces frequent watering tasks for small indoor setups.
  • Fun technique: A unique, innovative way for beginners and children to engage with plants.
  • Aesthetic control: Minimizes messy watering spills on furniture or floors.

12. Conclusion

Watering indoor plants with ice cubes is a practical, innovative method when applied correctly. It allows for slow, controlled hydration, reduces overwatering risk, and simplifies plant care. By understanding which plants are suitable, properly preparing ice cubes, and following a systematic watering routine, plant enthusiasts can maintain healthy, thriving indoor greenery.

However, ice cubes are not a universal solution. Tropical plants, seedlings, or moisture-sensitive species require traditional watering methods. Awareness of plant-specific needs, proper placement, and observation ensures that this method enhances plant growth rather than causing harm.

With careful implementation, ice cube watering is a convenient, safe, and effective way to keep indoor plants hydrated, even for busy plant parents or those managing small, delicate indoor gardens.

Why Your Indoor Plant Leaves Are Turning Pale and How to Fix It

Why Your Indoor Plant Leaves Are Turning Pale and How to Fix It

Indoor plants bring life, color, and energy into our homes, but when their leaves start turning pale or yellowish, it can be a clear warning that something is wrong. Pale leaves are more than a cosmetic issue—they signal underlying problems in plant health, ranging from nutrient deficiencies to improper lighting. Understanding the causes and implementing corrective measures can restore your plants’ vitality and ensure they thrive.

This article explores the common reasons indoor plant leaves turn pale, how to identify the underlying cause, and actionable solutions to bring back healthy, vibrant foliage.


1. Understanding the Causes of Pale Leaves

Leaf discoloration in indoor plants is often a sign of stress. Pale or yellow leaves indicate that plants are not producing enough chlorophyll, the pigment responsible for photosynthesis and the deep green color of leaves. Several factors can reduce chlorophyll production:

  • Nutrient deficiencies
  • Improper lighting
  • Overwatering or underwatering
  • Pests or diseases
  • Environmental stress, including temperature and humidity fluctuations

Pinpointing the exact cause is crucial for restoring healthy green foliage.


2. Nutrient Deficiencies

Plants require essential nutrients for growth and chlorophyll production. A lack of specific nutrients can lead to pale leaves.

a. Nitrogen Deficiency

Nitrogen is vital for leaf growth and deep green color. A deficiency typically causes older leaves to turn pale or yellow while new growth may remain green.

Fix:

  • Apply a balanced nitrogen-rich fertilizer.
  • Use organic options like compost or worm castings.

b. Iron Deficiency

Iron is essential for chlorophyll synthesis. A lack of iron often leads to interveinal chlorosis, where leaves turn pale but veins remain green.

Fix:

  • Use chelated iron supplements or foliar sprays.
  • Ensure the soil pH is not too high, as alkaline soil can prevent iron absorption.

c. Magnesium Deficiency

Magnesium is a core component of chlorophyll. Deficiency can cause yellowing or pale leaves, often beginning with older leaves.

Fix:

  • Apply Epsom salts (magnesium sulfate) diluted in water.
  • Use a fertilizer containing magnesium.

d. Potassium and Other Trace Elements

Other micronutrients like manganese, zinc, and sulfur are also essential. Lack of these can cause general pale or mottled leaf appearance.

Fix:

  • Use a complete, balanced indoor plant fertilizer with trace elements.

3. Improper Lighting

Light is essential for photosynthesis. Plants deprived of sufficient light cannot produce enough chlorophyll, resulting in pale or yellow leaves.

Signs of Light Deficiency:

  • Leaves pale but soft and droopy.
  • Growth is slow or leggy (elongated stems).
  • New leaves are smaller than usual.

Fix:

  • Move plants closer to natural light sources (windows, balconies).
  • Rotate plants periodically to ensure even exposure.
  • Supplement with grow lights if natural light is insufficient.

Conversely, too much direct light can bleach leaves, turning them pale or scorched. Adjust placement to provide bright, indirect light for most indoor plants.


4. Watering Issues

Both overwatering and underwatering can lead to pale leaves. Proper water management is key.

a. Overwatering

Excess water saturates soil, suffocates roots, and prevents nutrient uptake. This often results in pale, soft leaves and potential root rot.

Fix:

  • Ensure pots have drainage holes.
  • Water only when the top 1–2 inches of soil are dry.
  • Repot plants in well-draining soil if root rot is detected.

b. Underwatering

Dry soil limits nutrient absorption and causes leaves to lose their green vibrancy.

Fix:

  • Water plants thoroughly until water drains from the bottom.
  • Maintain a consistent watering schedule suitable for each plant species.

5. Pests and Diseases

Pale leaves can indicate infestation or infection:

a. Common Pests

  • Spider mites: Tiny webs and stippling on leaves.
  • Aphids: Clustered on stems or undersides of leaves.
  • Mealybugs: White, cotton-like clusters.

Fix:

  • Wipe leaves with soapy water or neem oil.
  • Use insecticidal sprays for severe infestations.

b. Fungal and Bacterial Infections

Overwatering or poor ventilation can cause fungal growth, leading to pale or discolored leaves.

Fix:

  • Remove affected leaves.
  • Improve air circulation and reduce humidity.
  • Use a mild fungicide if necessary.

6. Environmental Stress

Indoor plants are sensitive to changes in temperature, humidity, and airflow:

  • Temperature fluctuations: Sudden drafts from windows or heaters can stress plants, leading to pale leaves.
  • Low humidity: Many tropical plants lose leaf color in dry, heated environments.
  • Poor airflow: Stagnant air fosters fungal growth and reduces nutrient uptake.

Fix:

  • Keep plants away from vents, heaters, or drafty windows.
  • Use a humidifier for tropical plants.
  • Provide adequate air circulation by spacing plants apart.

7. Correcting Pale Leaves

Once the cause is identified, implement targeted corrective measures:

Step 1: Diagnose

  • Check soil moisture, light conditions, temperature, and humidity.
  • Inspect for pests and diseases.
  • Consider recent changes in fertilization or potting.

Step 2: Adjust Watering

  • Water appropriately for the species.
  • Ensure proper drainage to prevent root suffocation.

Step 3: Optimize Light

  • Increase natural or artificial light.
  • Avoid direct sunlight for shade-loving plants.

Step 4: Fertilize Correctly

  • Apply a balanced indoor plant fertilizer.
  • Address specific deficiencies with targeted nutrients.

Step 5: Remove Damaged Leaves

  • Prune pale, yellow, or damaged leaves to redirect energy to healthy growth.

Step 6: Treat Pests or Disease

  • Apply natural or chemical treatments as required.
  • Isolate affected plants to prevent spreading.

8. Preventive Measures for Vibrant Green Leaves

Maintaining healthy indoor plants and preventing pale leaves involves proactive care:

  1. Regular Soil Testing: Use soil pH and nutrient tests to monitor plant health.
  2. Consistent Watering: Avoid sudden changes in soil moisture.
  3. Balanced Fertilization: Apply fertilizers seasonally according to plant needs.
  4. Proper Lighting: Rotate plants and supplement with grow lights if necessary.
  5. Air Quality: Ensure good ventilation to reduce stress and fungal growth.
  6. Routine Inspections: Regularly check leaves, stems, and soil for early signs of problems.

By incorporating these preventive steps, plants remain robust and visually vibrant year-round.


9. Psychological and Aesthetic Benefits of Healthy Green Leaves

Healthy, green foliage offers more than aesthetics:

  • Enhances indoor air quality and oxygen levels.
  • Improves mental well-being, reducing stress and increasing productivity.
  • Creates a visually appealing environment, boosting mood and relaxation.

Pale leaves not only indicate stress in plants but also diminish these benefits. Maintaining lush greenery restores both beauty and functional advantages.


10. Conclusion

Pale leaves in indoor plants are a warning signal that requires immediate attention. Causes range from nutrient deficiencies, improper lighting, and watering issues to pests, diseases, and environmental stress. By understanding these factors and applying targeted corrective measures—optimizing light, adjusting water, fertilizing correctly, and treating pests—plant owners can restore healthy green foliage.

Proactive care, preventive maintenance, and careful observation are key to keeping indoor plants vibrant, resilient, and visually stunning. Healthy leaves reflect a well-cared-for plant, creating a thriving indoor environment that benefits both the plants and the people who enjoy them.

How to Prevent Mold Growth in Indoor Plant Soil

How to Prevent Mold Growth in Indoor Plant Soil

Indoor plants bring life, beauty, and freshness to homes, offices, and classrooms. However, one common challenge plant enthusiasts face is mold growth in the soil. Mold not only affects the aesthetics of your plant setup but can also harm plant roots, stunt growth, and even pose health risks to humans and pets.

Understanding why mold appears, the conditions that favor its growth, and preventive strategies is essential for maintaining healthy, thriving indoor plants. This article explores practical techniques and care practices to prevent mold in indoor plant soil while promoting overall plant health.


1. Understanding Mold Growth in Indoor Plant Soil

Mold is a type of fungus that thrives in moist, warm, and poorly ventilated environments. While mold on soil is usually white, gray, green, or black, it can also appear as fuzzy or powdery patches on the soil surface.

Mold growth is often caused by overwatering, poor drainage, stagnant air, and organic matter accumulation. It can sometimes be harmless, but persistent mold can:

  • Compete with plant roots for nutrients.
  • Block air exchange in the soil.
  • Cause root rot and stunted plant growth.
  • Trigger allergies or respiratory issues in sensitive individuals.

Preventing mold is crucial not only for plant health but also for maintaining a safe indoor environment.


2. Common Causes of Mold in Indoor Plant Soil

To prevent mold effectively, it is essential to identify its causes:

a. Overwatering

Excessive water creates a damp environment that fosters fungal growth. Soil that remains constantly wet is highly prone to mold formation.

b. Poor Drainage

Pots without drainage holes or compacted soil prevent water from escaping, leading to soggy conditions.

c. Lack of Air Circulation

Stagnant air around plants encourages mold spores to settle and germinate on the soil surface.

d. Organic Matter Accumulation

Dead leaves, plant debris, and decaying roots in soil provide a nutrient-rich substrate for mold.

e. High Humidity

While many indoor plants thrive in humidity, excessive moisture combined with poor ventilation can create ideal mold-growing conditions.


3. Choosing the Right Soil to Prevent Mold

The type and quality of soil play a key role in preventing fungal growth. Consider these guidelines:

a. Well-Draining Soil

Use a mix that allows water to pass through quickly while retaining enough moisture for plants. For example:

  • Succulents: cactus mix or sandy soil.
  • Tropical plants: potting soil with perlite or vermiculite.

b. Sterilized or Fresh Soil

Using fresh or sterilized soil reduces the presence of dormant mold spores that can become active in favorable conditions.

c. Avoid Heavy Organic Layers

Soils with excessive organic matter, like compost-heavy mixes, can retain too much moisture and provide a substrate for mold.

By starting with the right soil, you minimize the risk of mold before it even appears.


4. Proper Watering Techniques

Water management is the most critical factor in preventing mold growth. Here’s how to do it effectively:

a. Water According to Plant Needs

  • Check soil moisture by inserting your finger about an inch deep. Only water when it feels dry.
  • Water thoroughly but allow excess water to drain out completely.

b. Avoid Topsoil Saturation

Watering lightly over the surface without penetrating deep soil layers can create damp patches ideal for mold growth.

c. Schedule Regular Checks

Adjust watering frequency based on seasons, plant type, and indoor conditions. Heated rooms may dry soil faster, while humid environments retain moisture longer.

d. Use Room-Temperature Water

Cold water can shock roots, slowing absorption and leaving moisture sitting in the soil. Lukewarm water encourages proper uptake and reduces stagnant moisture.


5. Improve Drainage and Pot Selection

The right container is vital for healthy soil:

a. Use Pots With Drainage Holes

Ensure all pots have holes at the bottom for excess water to escape. Standing water at the pot base is a primary mold risk factor.

b. Use Saucer Wisely

If using a saucer, empty collected water regularly to prevent stagnant moisture.

c. Elevate Pots

Use plant stands or small pebbles to lift pots, allowing air circulation beneath the container and preventing water buildup.


6. Promote Air Circulation

Stagnant air contributes to mold growth. To enhance airflow around indoor plants:

  • Use fans sparingly on low settings to improve room ventilation.
  • Space plants apart to allow air movement between pots. Crowding traps moisture and increases fungal risk.
  • Open windows occasionally to bring in fresh air.
  • Avoid placing plants in enclosed corners with poor ventilation.

7. Maintain Cleanliness Around Plants

Good hygiene reduces mold spores:

  • Remove dead leaves and debris from soil surface regularly.
  • Clean pot edges and trays to prevent mold buildup.
  • Sterilize tools like scissors and trowels before use.
  • Inspect plants weekly for early signs of mold or fungal growth.

A clean environment reduces organic matter and makes the soil less hospitable to fungi.


8. Natural Remedies to Prevent and Treat Mold

If mold appears or you want to prevent it proactively, natural solutions can be very effective:

a. Cinnamon

Cinnamon is a natural antifungal agent. Sprinkle a thin layer on soil surfaces to inhibit mold spores.

b. Neem Oil

Dilute neem oil in water and lightly spray soil and foliage. It suppresses fungal growth and prevents recurrence.

c. Activated Charcoal

Mix a small amount into potting soil to improve drainage and reduce moisture retention.

d. Hydrogen Peroxide

A mild solution (1 part hydrogen peroxide to 4 parts water) can be applied to mold-affected soil. It kills mold while oxygenating the soil.

e. Baking Soda

A light dusting of baking soda on the soil surface may help prevent mold formation in high-humidity conditions.


9. Preventive Measures for Long-Term Mold Control

Long-term prevention requires combining multiple strategies:

  1. Monitor humidity: Keep indoor humidity around 40–50% for most houseplants. Use humidifiers or dehumidifiers as needed.
  2. Choose mold-resistant plants: Some plants, like succulents, snake plants, and ZZ plants, naturally resist mold due to thick, water-storing leaves.
  3. Rotate soil top layer: Occasionally remove the top 1–2 cm of soil and replace with fresh mix to reduce mold spores.
  4. Avoid over-fertilization: Excess nutrients can encourage fungal growth. Use moderate, balanced fertilizer.
  5. Limit indoor moisture sources: Avoid placing plants near humidifiers, leaking pipes, or areas prone to condensation.

10. Recognizing Mold Before It Becomes a Problem

Early detection is key. Common signs of mold in soil include:

  • White, gray, or black fuzzy patches.
  • Musty or earthy odor from the soil surface.
  • Yellowing leaves or slowed plant growth.

Act promptly by adjusting watering, improving airflow, or applying natural antifungal treatments to prevent widespread contamination.


11. Psychological and Environmental Benefits of Mold-Free Plants

Maintaining healthy, mold-free plants enhances both environmental and psychological well-being:

  • Plants with healthy soil grow stronger and more vibrant, contributing to indoor aesthetics.
  • Mold-free plants reduce the risk of allergic reactions and respiratory issues.
  • Clean, thriving plants improve mood, reduce stress, and create a positive indoor atmosphere.

Thus, mold prevention is not only about plant care but also about maintaining a healthy living environment.


Conclusion

Mold growth in indoor plant soil is a common issue, but it is preventable with knowledge and proactive care. By choosing the right soil, managing watering practices, improving drainage and airflow, maintaining cleanliness, and using natural remedies, plant owners can keep their indoor gardens healthy, vibrant, and mold-free.

Regular observation and preventive measures ensure that indoor plants not only survive but thrive, enriching indoor spaces with beauty, oxygen, and psychological benefits. With these strategies, mold becomes a minor concern, and your indoor plants continue to flourish year-round.