How to Keep Indoor Plants Alive in Low-Ventilated Rooms

How to Keep Indoor Plants Alive in Low-Ventilated Rooms

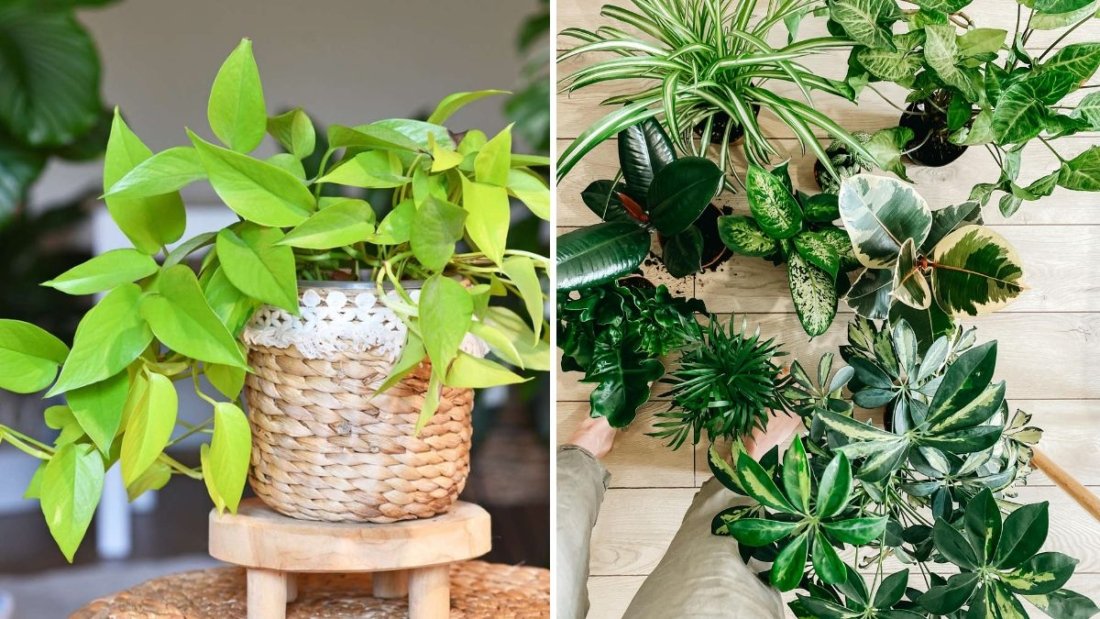
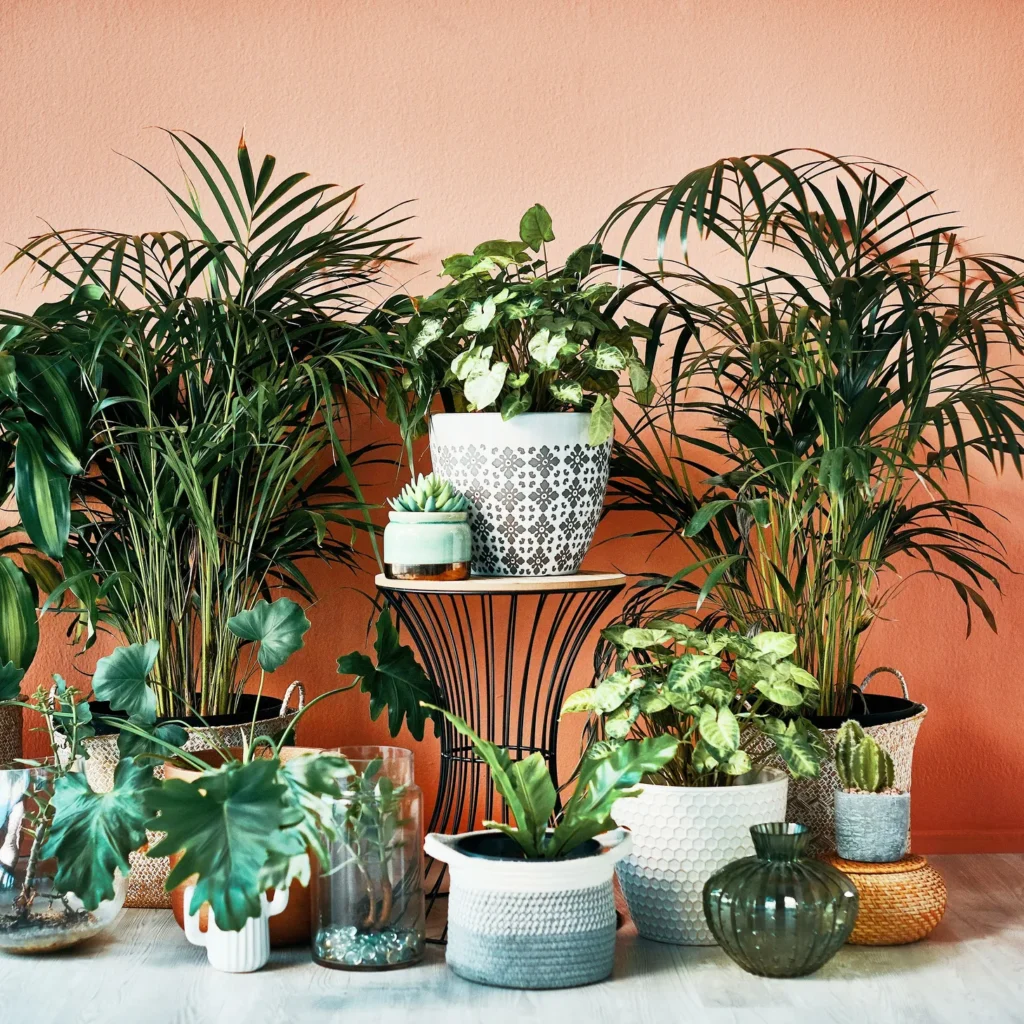
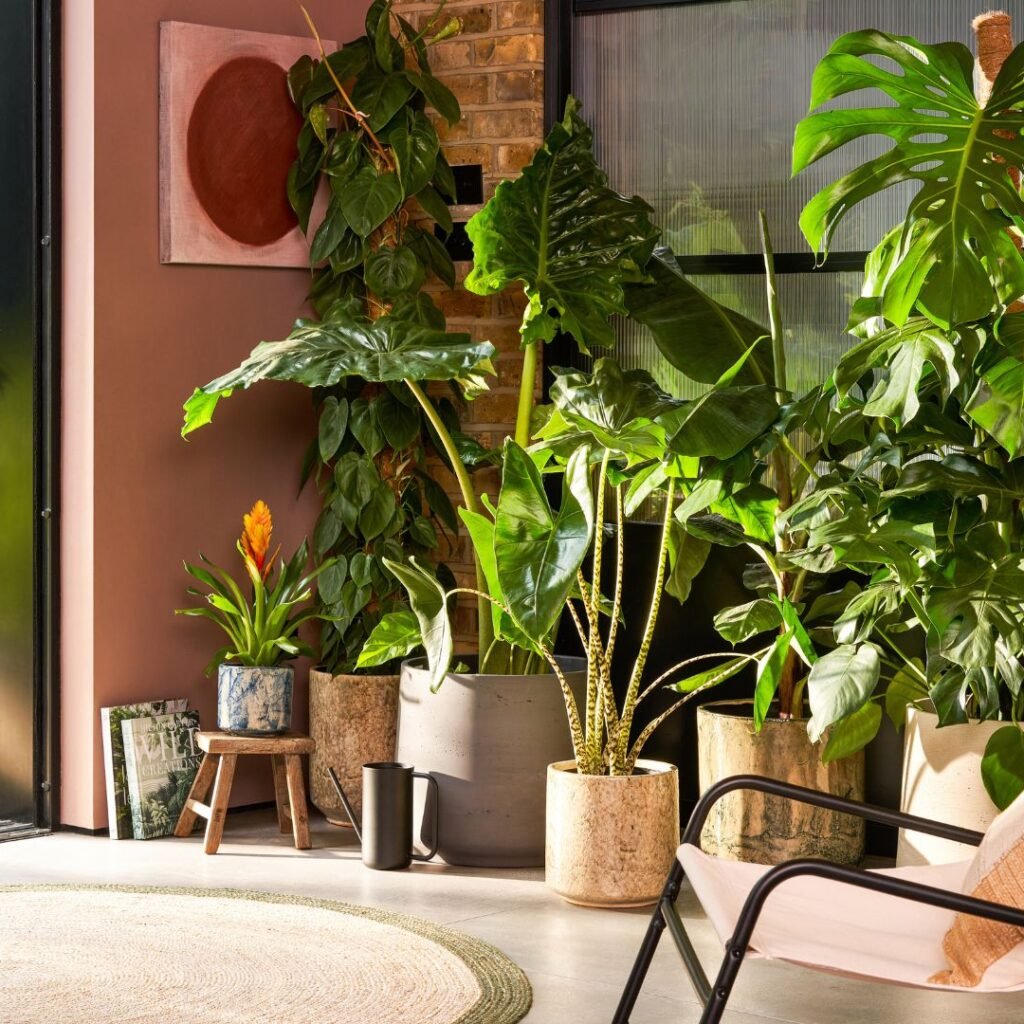
Growing indoor plants can instantly refresh any space, adding life, color, and natural beauty. However, one of the biggest challenges many plant lovers face is keeping their plants healthy in rooms with poor ventilation. Low-ventilated rooms often have stagnant air, higher humidity, and limited oxygen exchange — all of which can stress plants over time. Yet, with the right approach, even the most air-starved spaces can be transformed into thriving green oases.

This article explores practical strategies, plant care tips, and the science behind maintaining indoor plants in poorly ventilated environments, ensuring they grow strong and beautiful all year round.


Understanding the Problem: Why Ventilation Matters

Ventilation plays a key role in a plant’s overall health. Plants rely on proper air movement for several reasons:

  1. Gas Exchange – Plants absorb carbon dioxide (CO₂) and release oxygen during photosynthesis. Stagnant air limits this exchange, reducing their growth rate.
  2. Humidity Balance – Without proper air circulation, moisture builds up around leaves, increasing the risk of fungal diseases.
  3. Temperature Regulation – Poorly ventilated spaces often trap heat, causing stress to temperature-sensitive indoor plants.
  4. Pollution Buildup – Household pollutants such as volatile organic compounds (VOCs) and dust accumulate in stagnant rooms, negatively affecting plant and human health alike.

Understanding these factors helps you create better conditions even when windows rarely open or air movement is minimal.


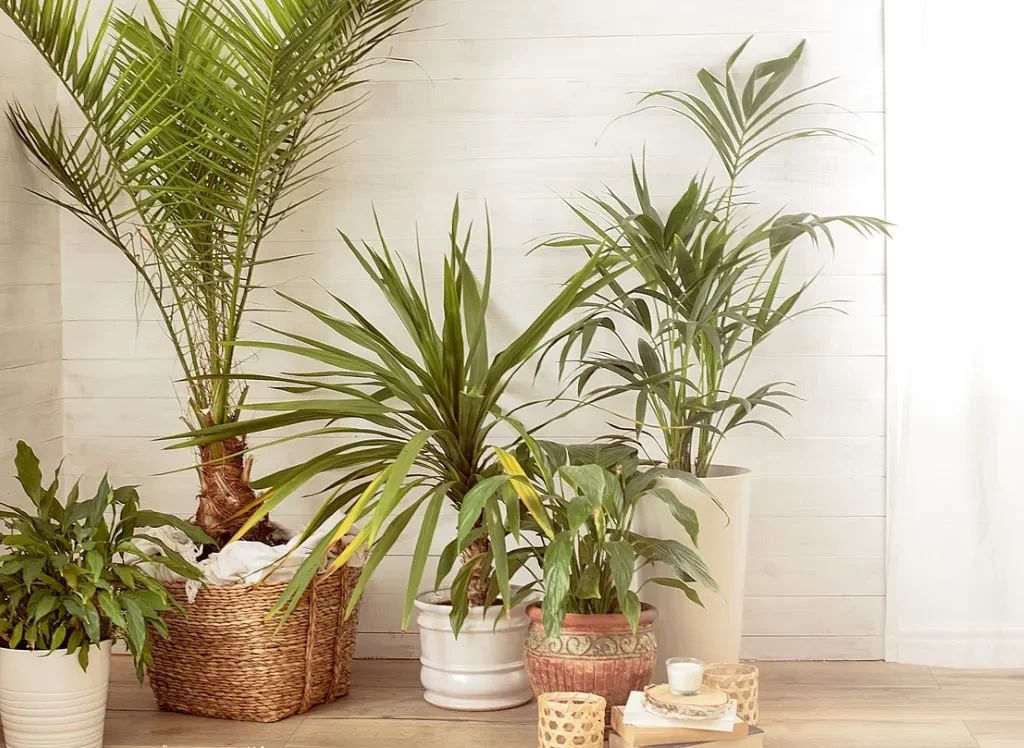
1. Choose the Right Plants for Low-Airflow Environments

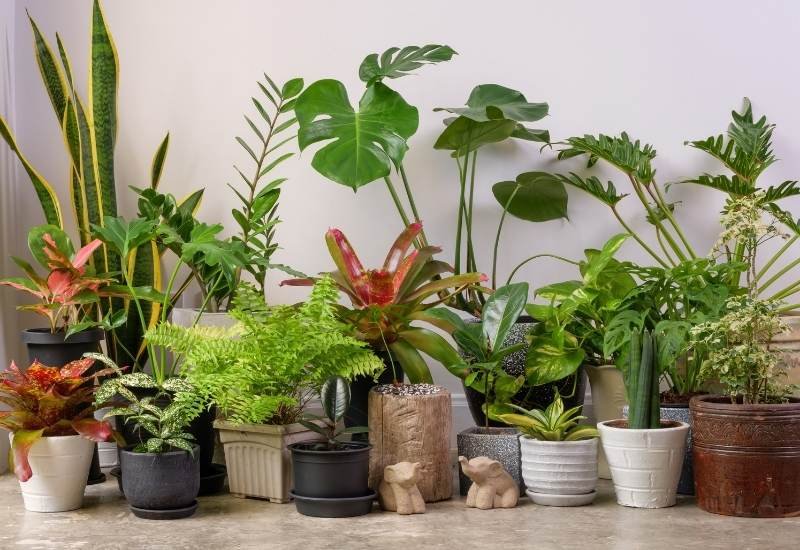
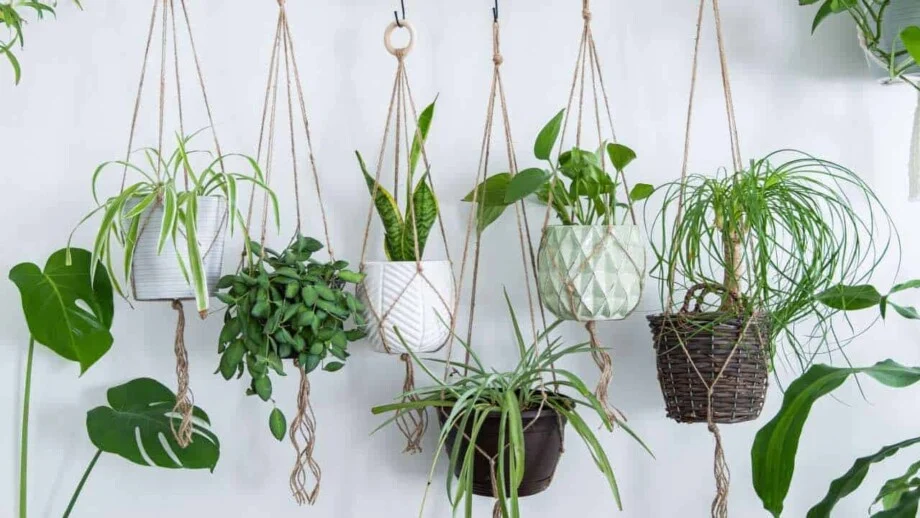
Not all indoor plants tolerate stagnant air equally. When selecting greenery for such spaces, go for hardy, low-ventilation-tolerant plants that adapt well to enclosed conditions.

Some excellent options include:

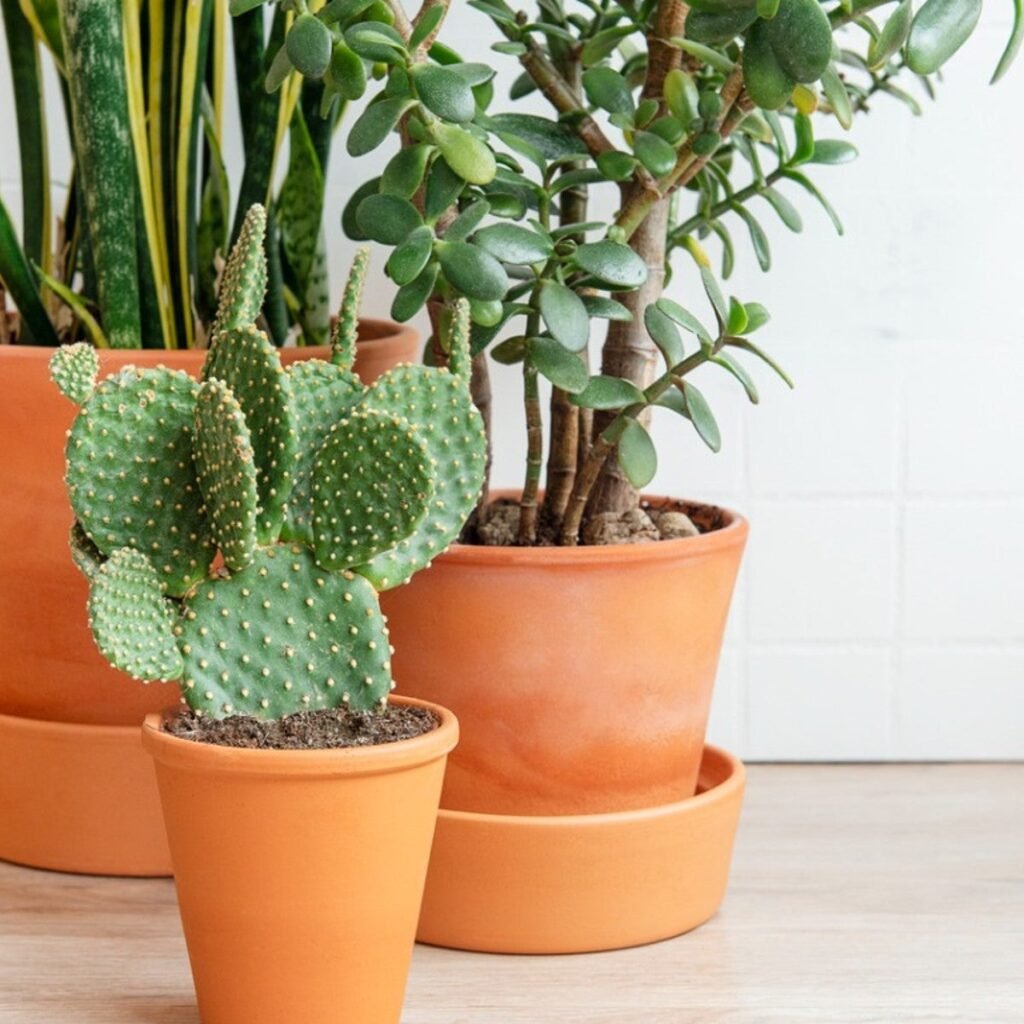
  • Snake Plant (Sansevieria trifasciata): One of the toughest houseplants, it can survive low light, low airflow, and irregular watering.
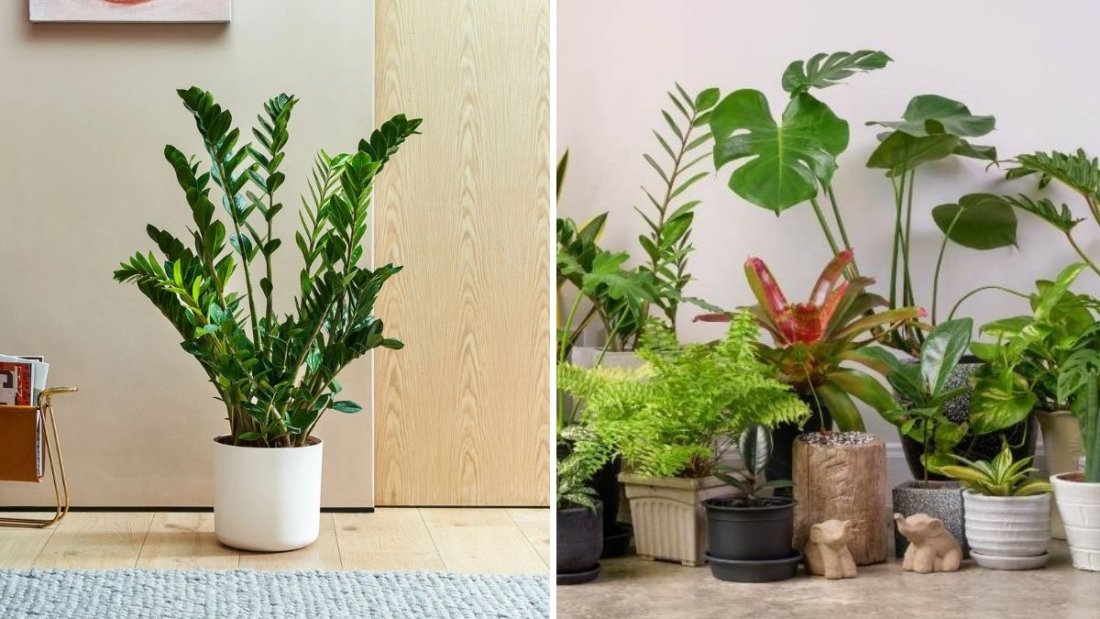
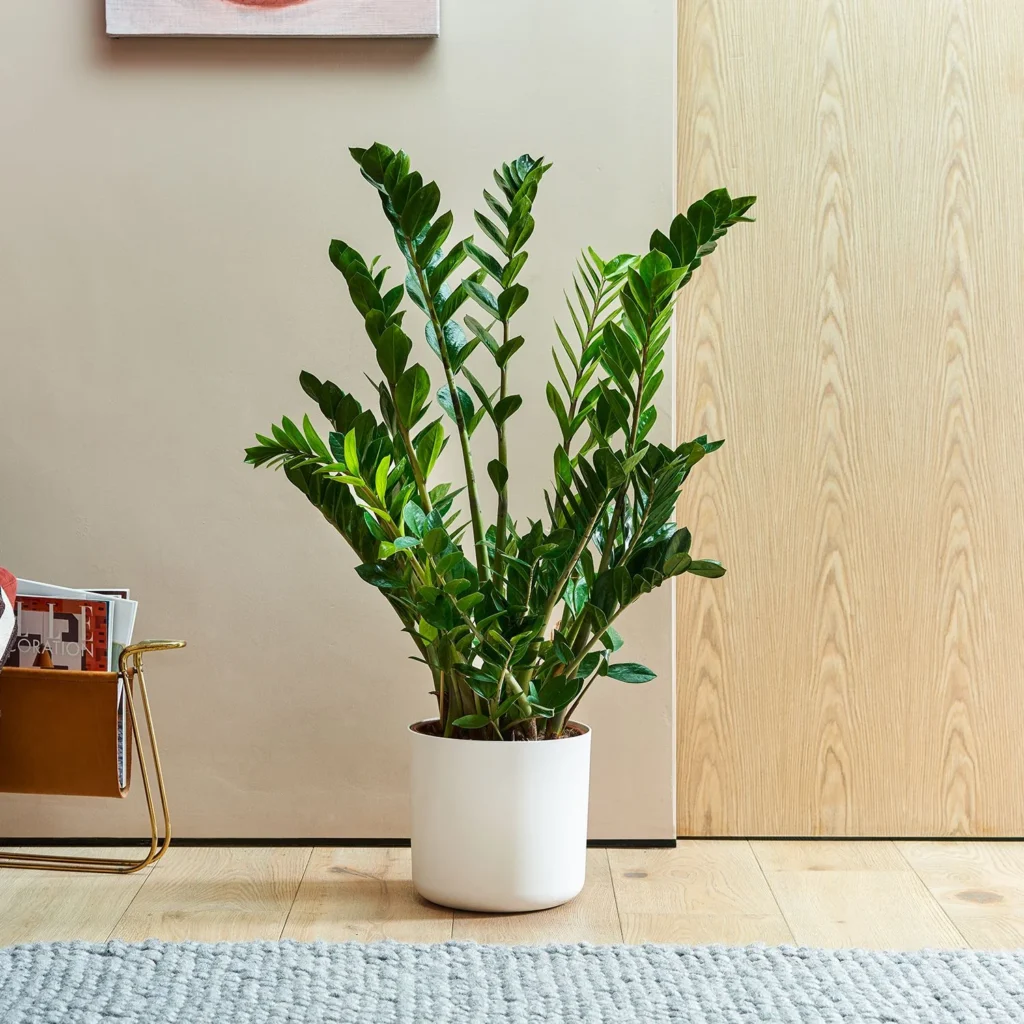
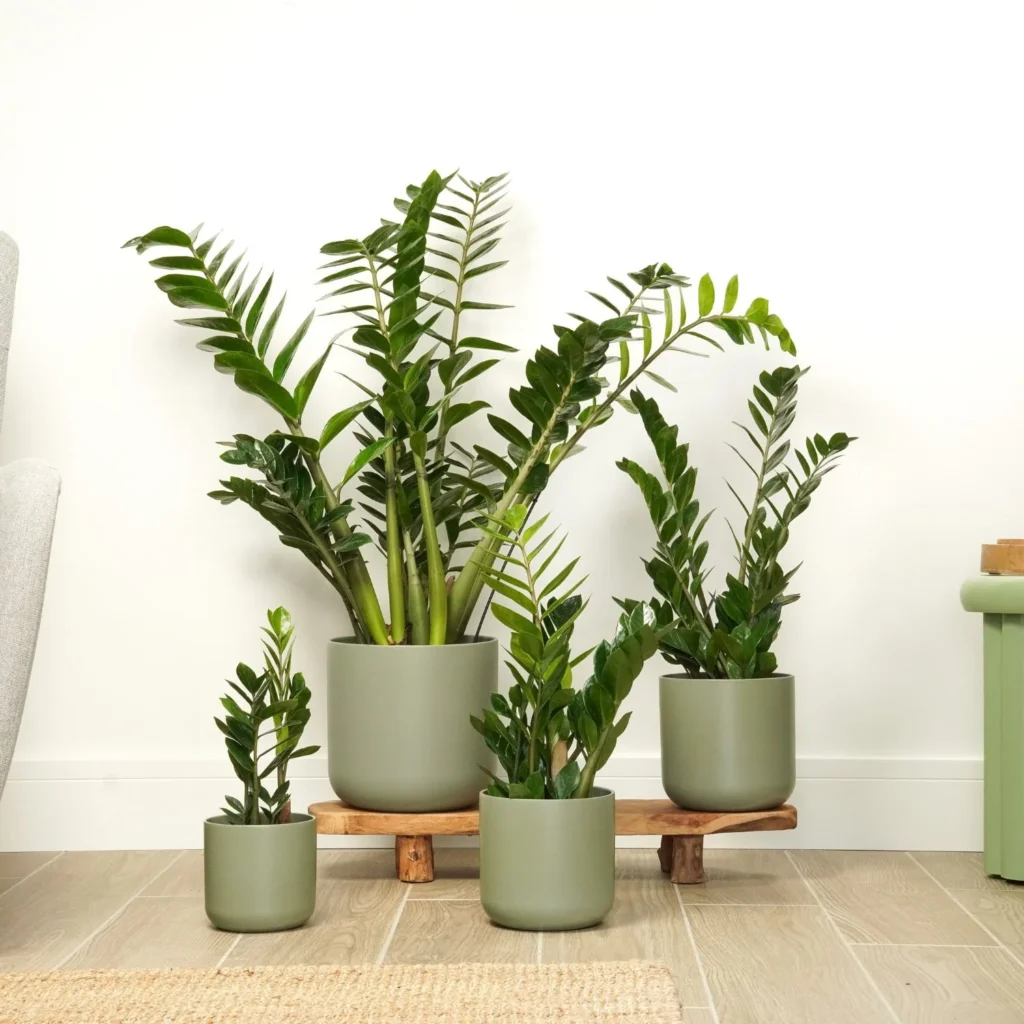
  • ZZ Plant (Zamioculcas zamiifolia): Tolerates shade and dry air, thriving even in corners with little circulation.
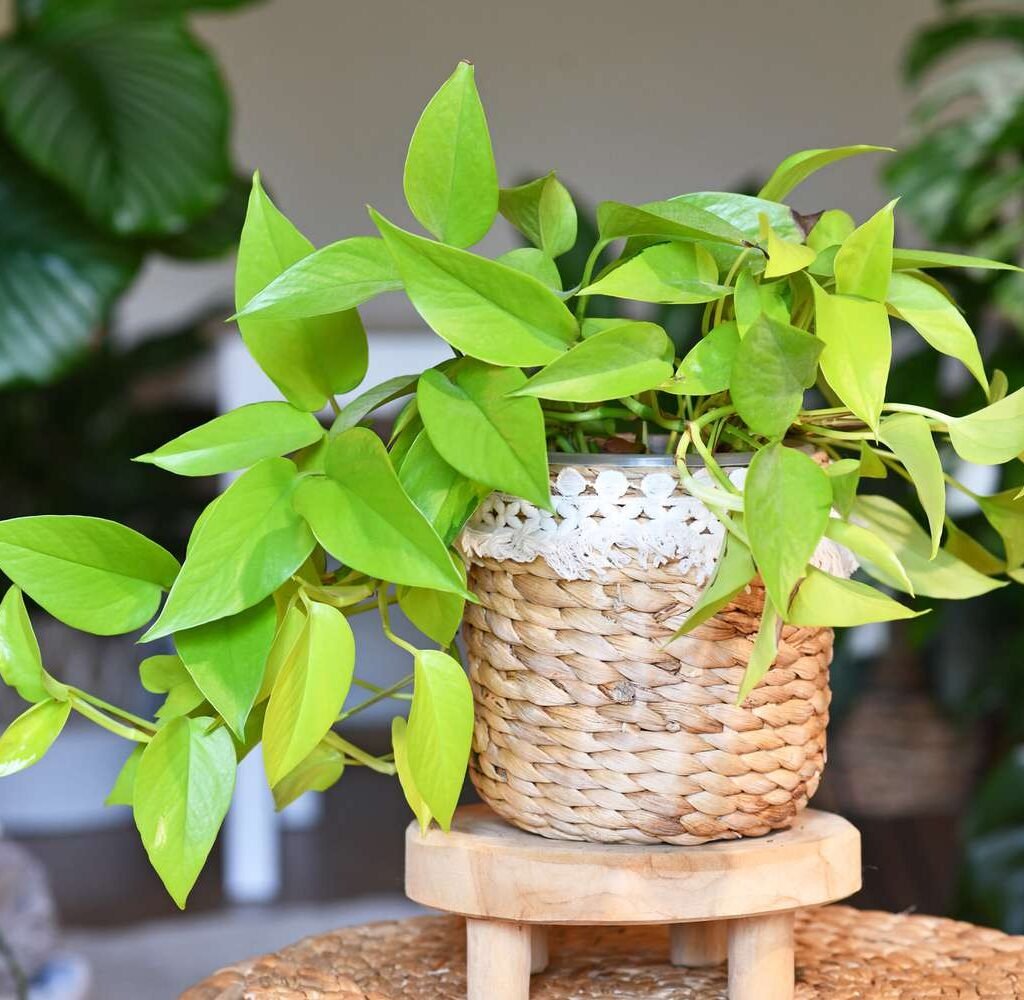
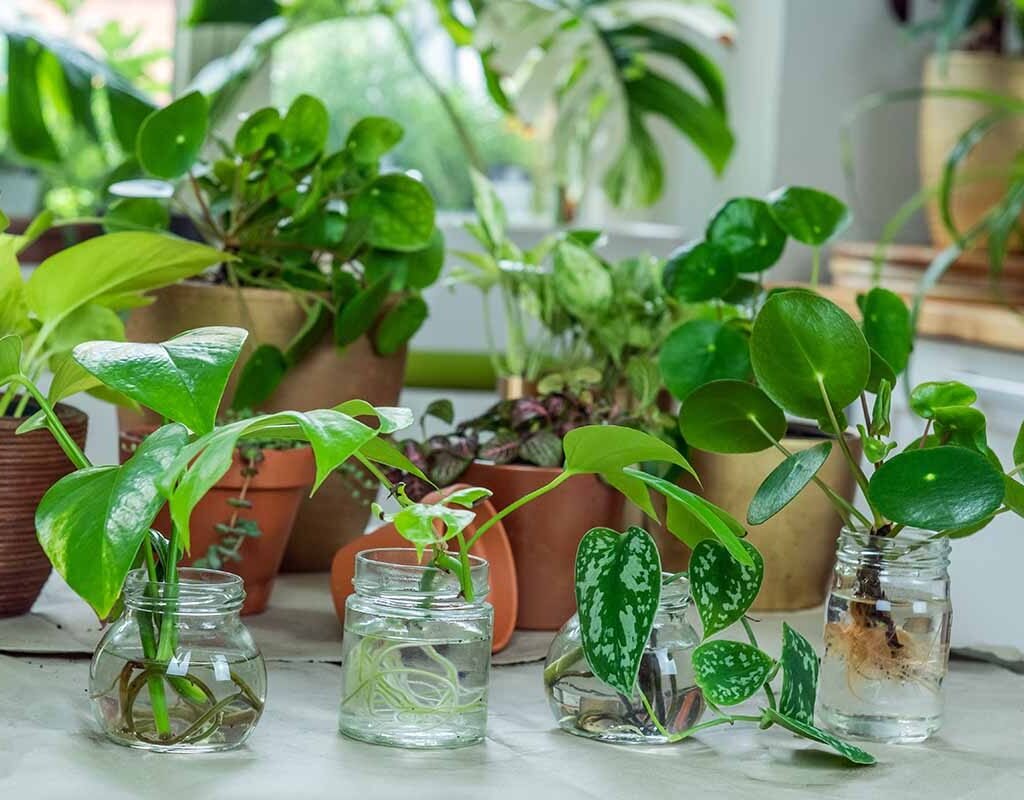
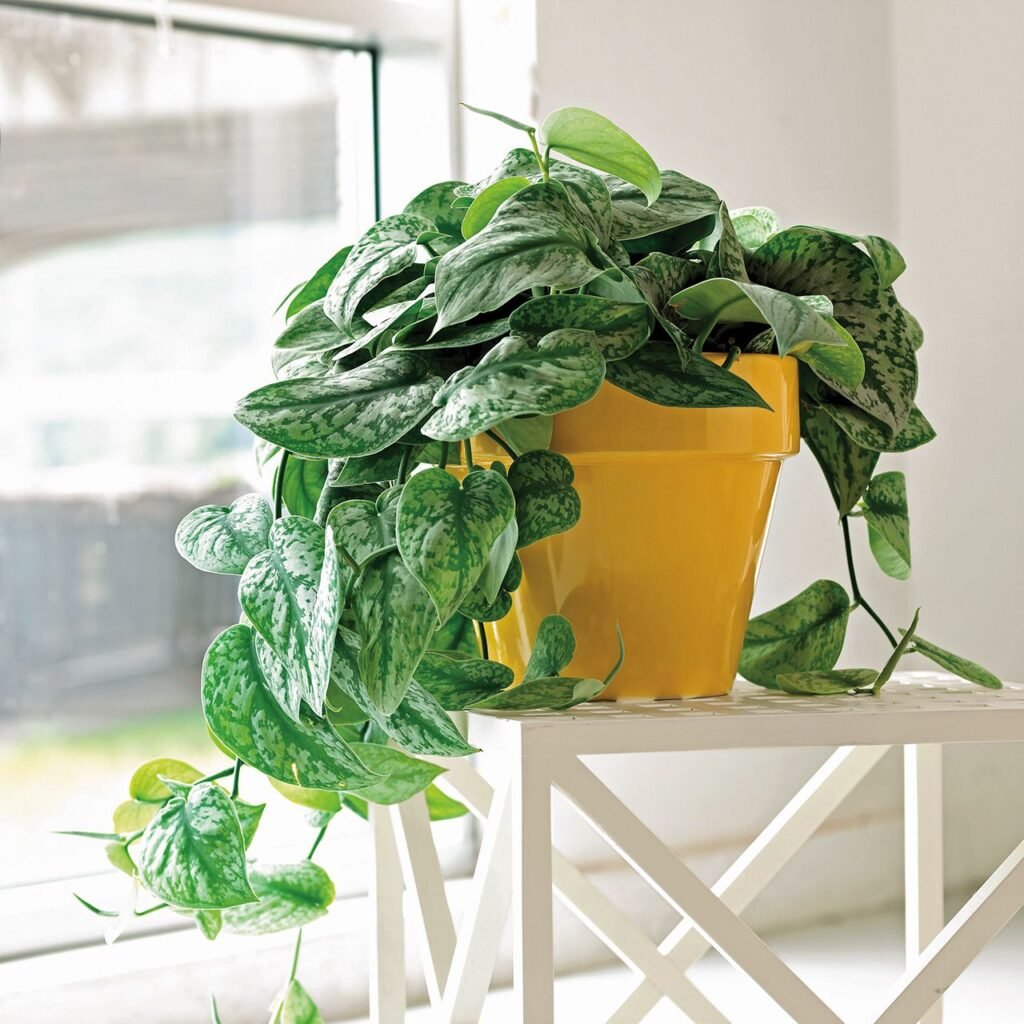
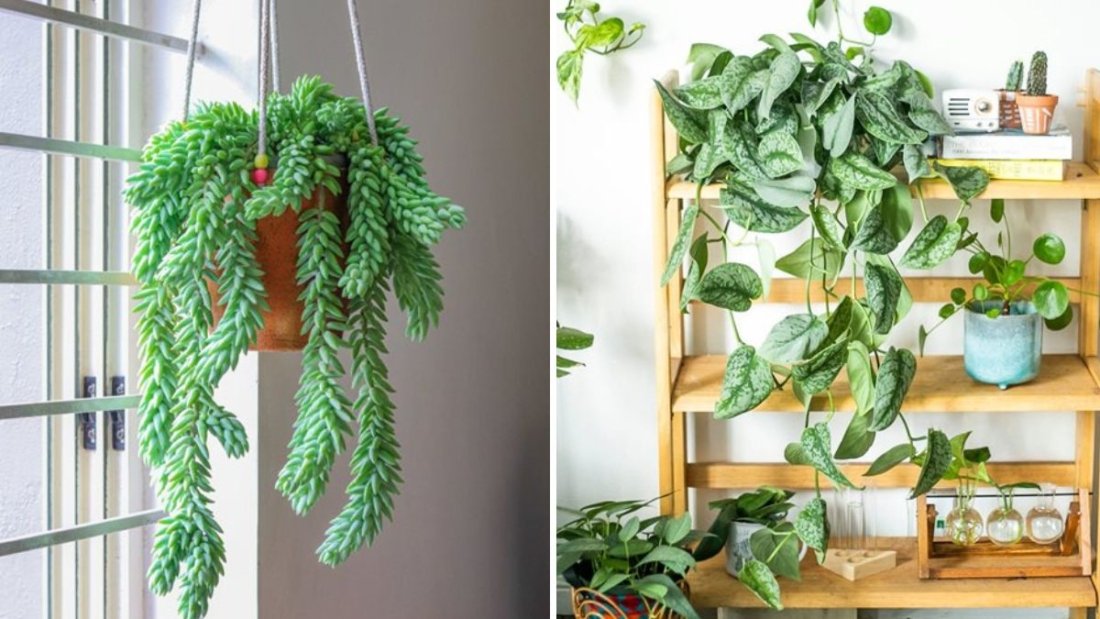
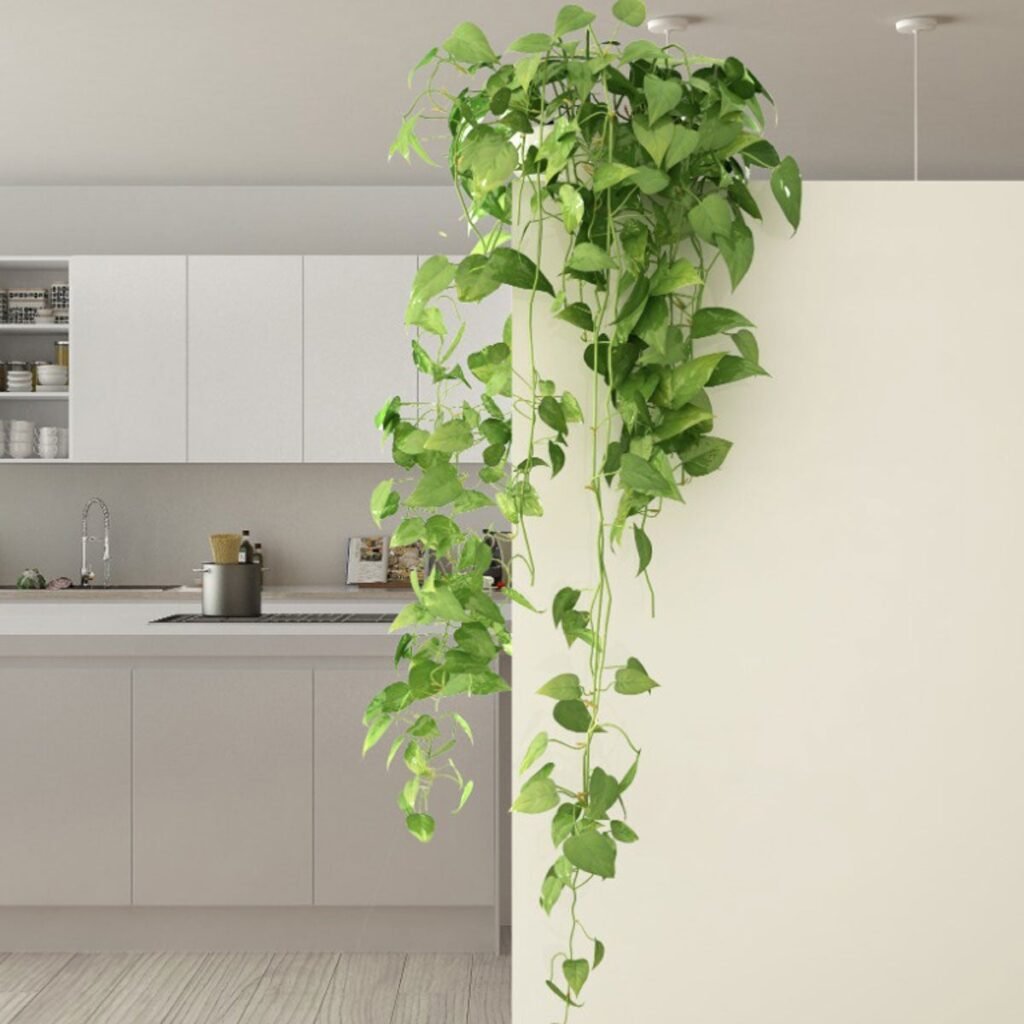
  • Pothos (Epipremnum aureum): Known for air-purifying properties, this trailing plant grows well in still air conditions.
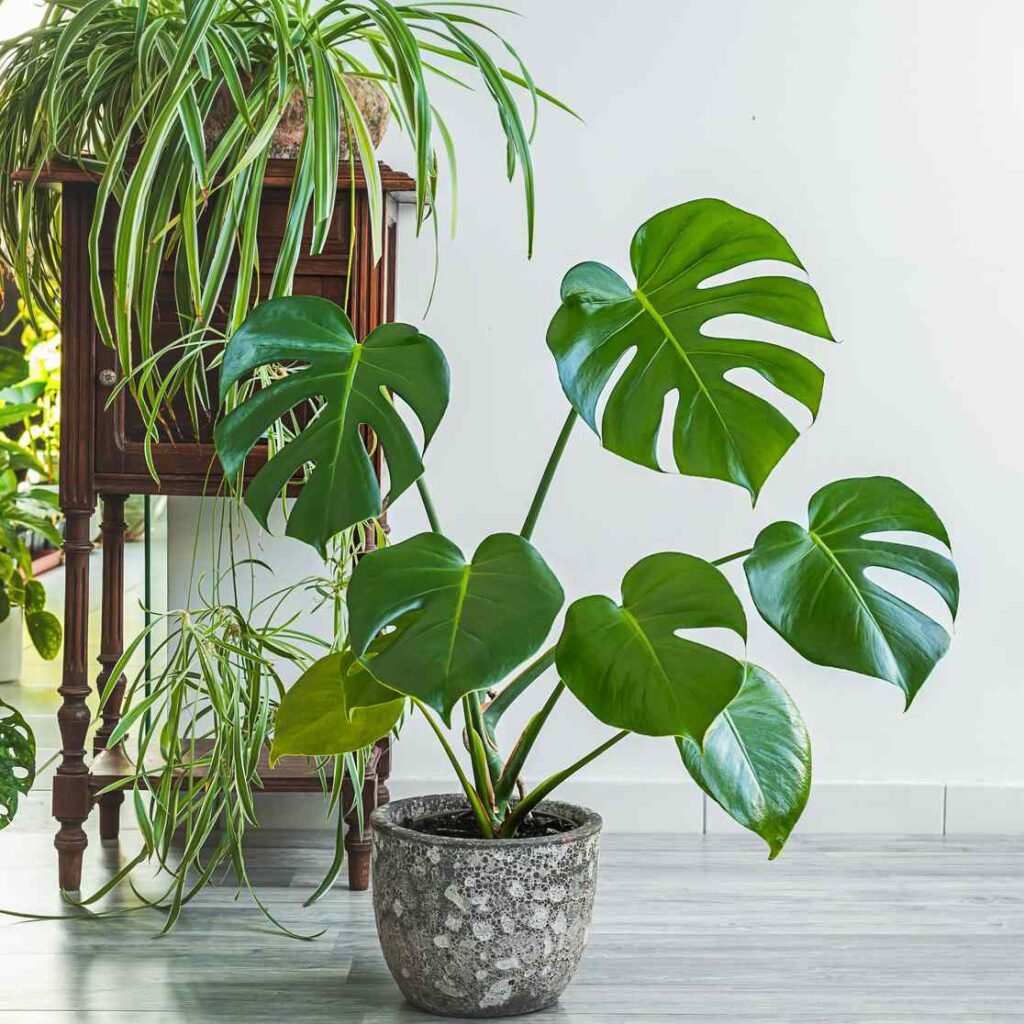
  • Spider Plant (Chlorophytum comosum): An excellent air purifier that removes toxins like formaldehyde and xylene.
  • Peace Lily (Spathiphyllum): Thrives in humid, low-light conditions and improves indoor air quality.

These plants are naturally resilient, making them ideal for closed spaces such as offices, bathrooms, or bedrooms with limited airflow.


2. Improve Air Circulation Without Opening Windows

If your space lacks windows or has restricted airflow, there are still ways to improve circulation:

Use a Small Fan

A low-speed oscillating fan can mimic natural airflow. It doesn’t need to run all day—just a few hours daily is enough to prevent stagnant air.

Try an Air Purifier with a Fan

Air purifiers not only clean the air but also gently circulate it. This creates a fresh environment that plants love while removing dust and allergens.

Create Natural Air Movement

Placing plants near doorways, hallways, or ventilation vents encourages indirect airflow. Even the small drafts from HVAC systems can help.

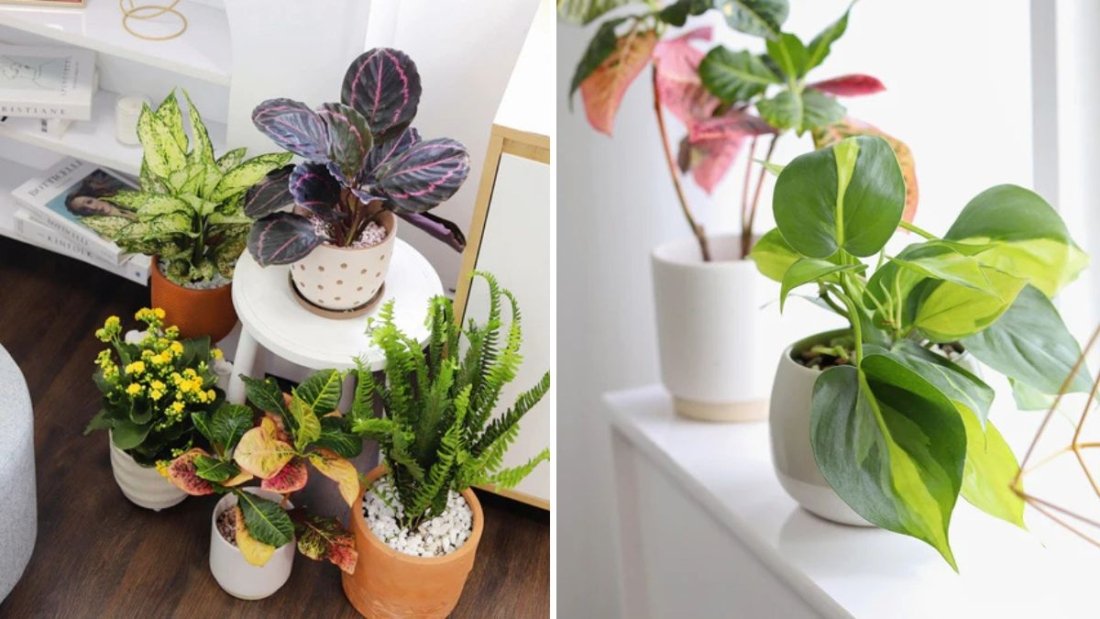
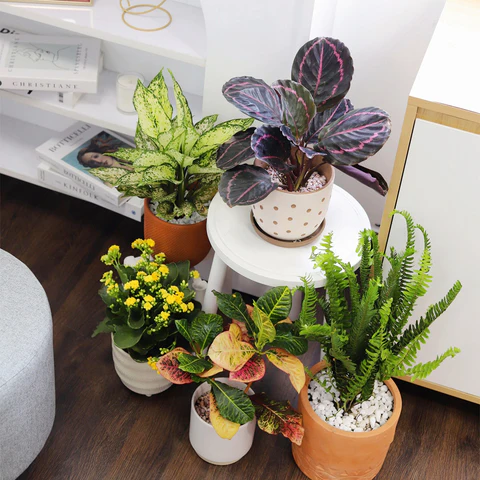
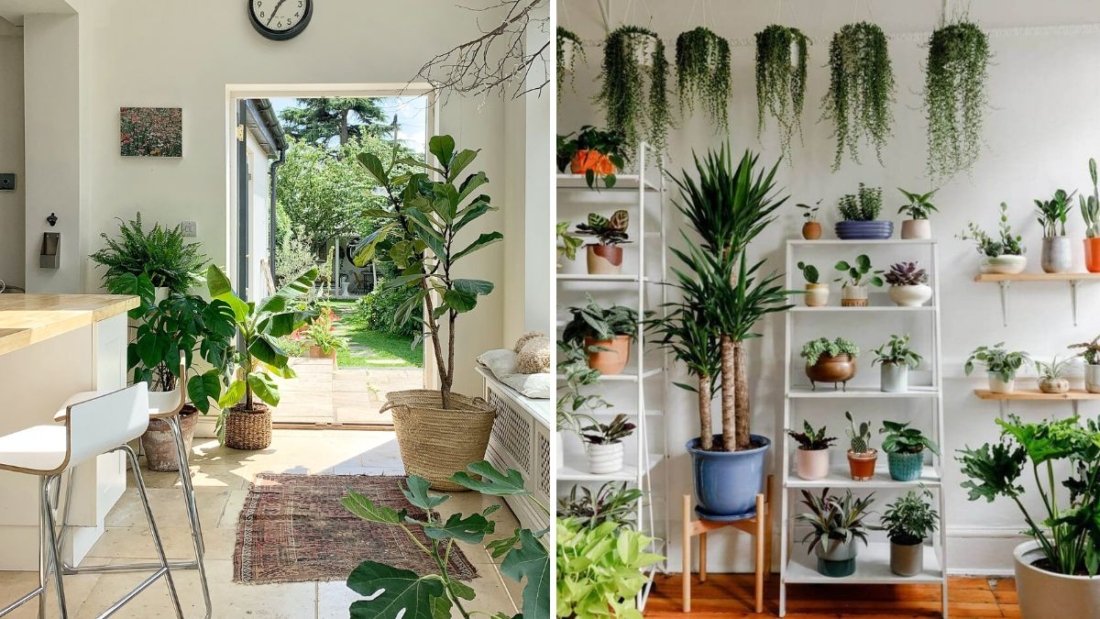
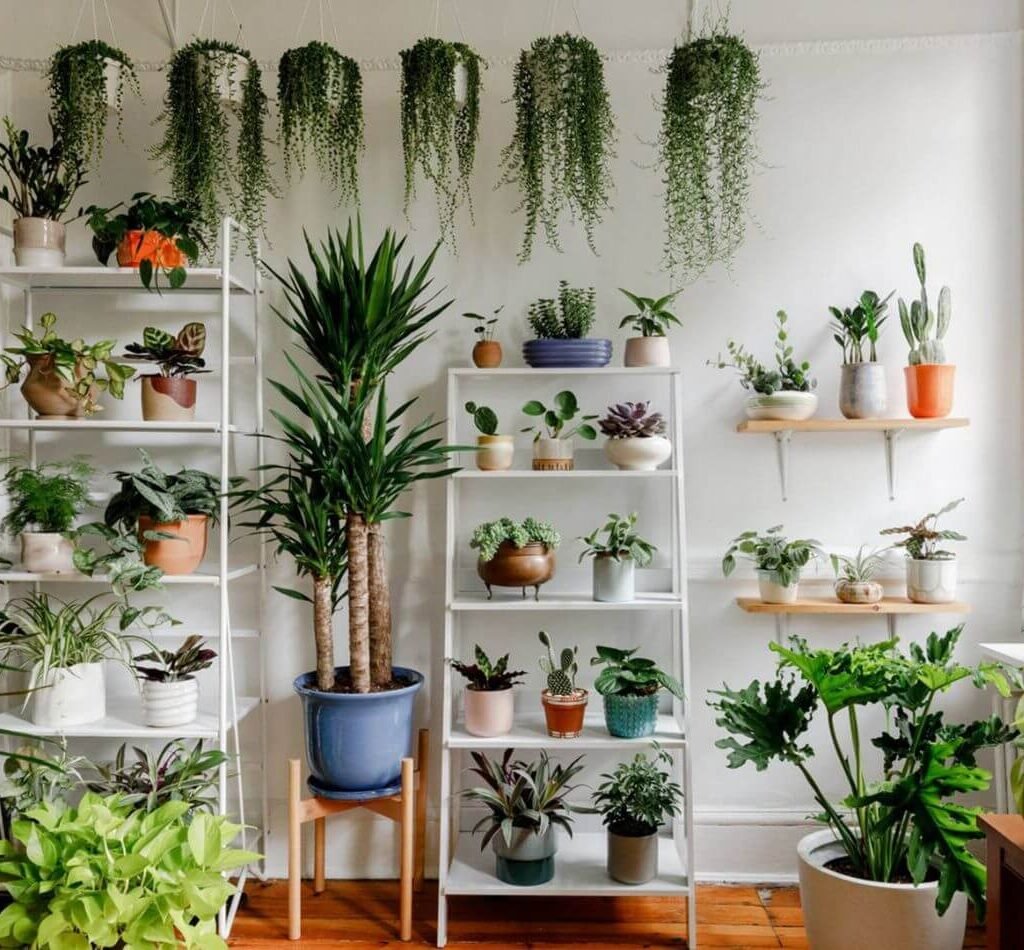
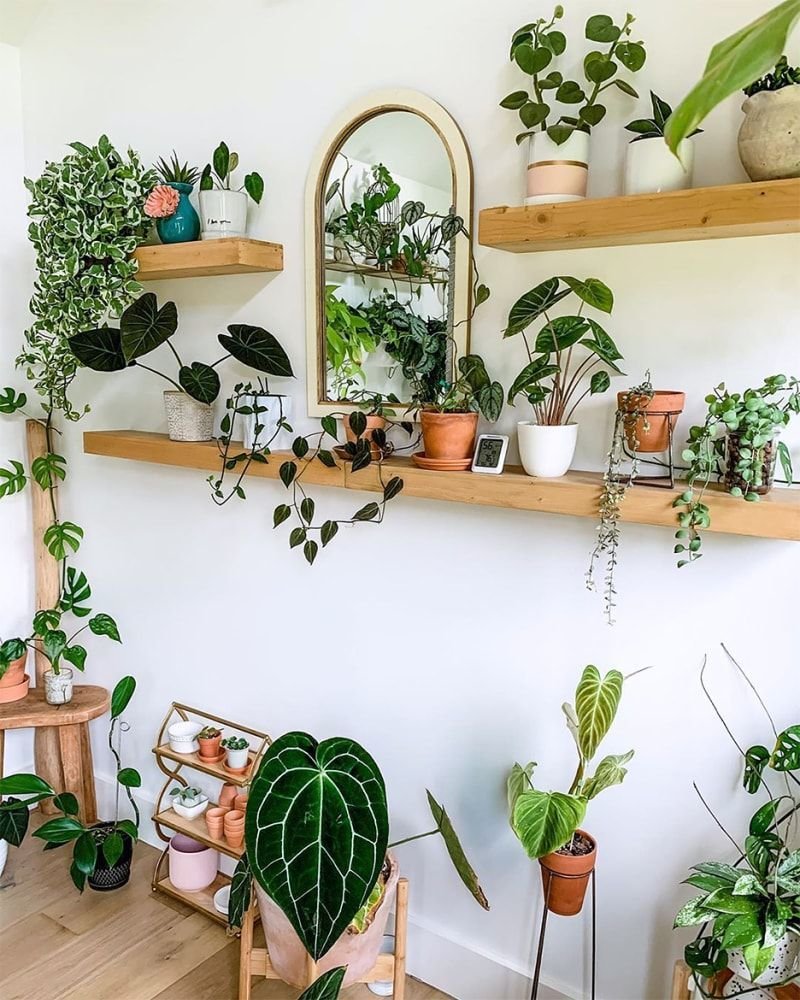
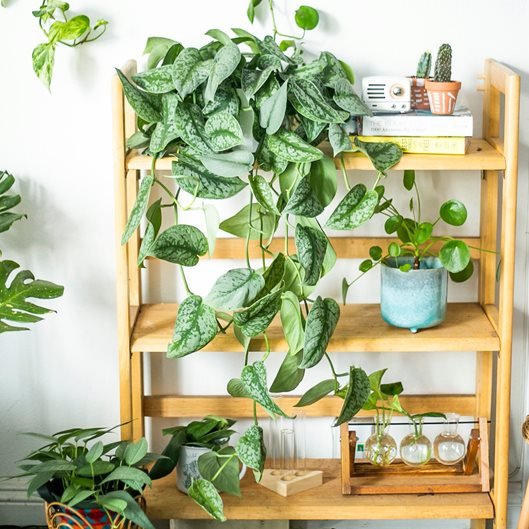
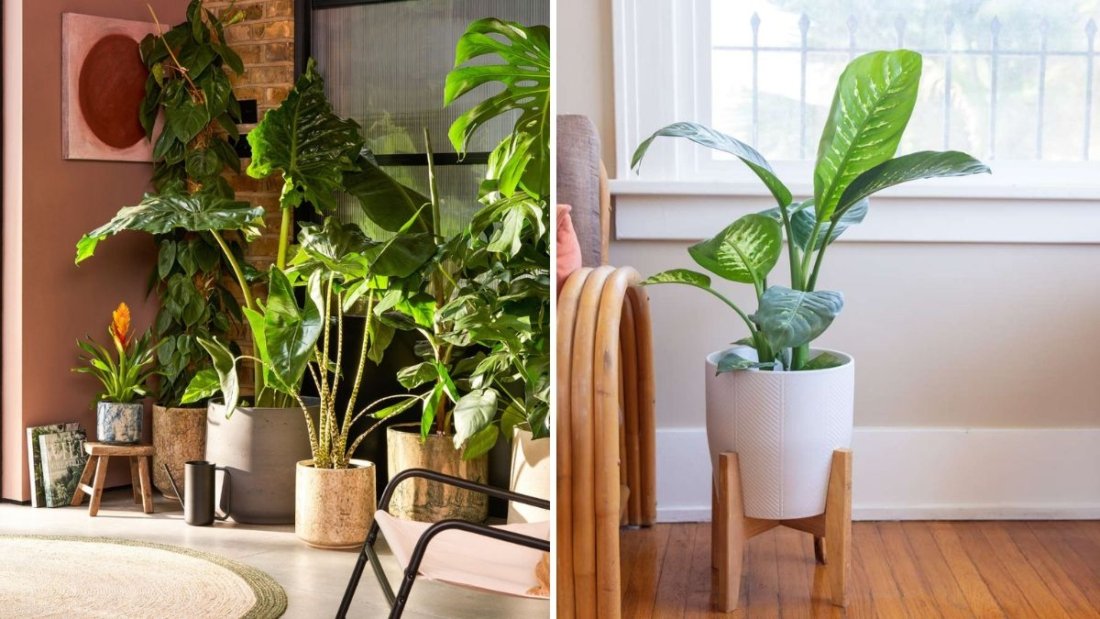
Use Vertical Plant Stands

Elevating plants at different heights allows better air movement around their leaves and reduces humidity buildup in dense clusters.

By maintaining even minimal air circulation, you can mimic outdoor-like conditions, helping plants stay fresh and disease-free.


3. Manage Humidity and Watering Carefully

Low-ventilated rooms often trap moisture, leading to excess humidity—a perfect environment for mold, fungus, and root rot. At the same time, air conditioning or heating may dry out the air. Striking the right balance is essential.

How to Control Humidity

  • Use a Dehumidifier: Keeps the air dry if humidity exceeds 60%.
  • Group Plants Wisely: Avoid overcrowding. Dense clusters trap moisture and reduce air movement.
  • Pebble Trays: For rooms that are too dry, use a water-filled pebble tray under pots to gently increase humidity.

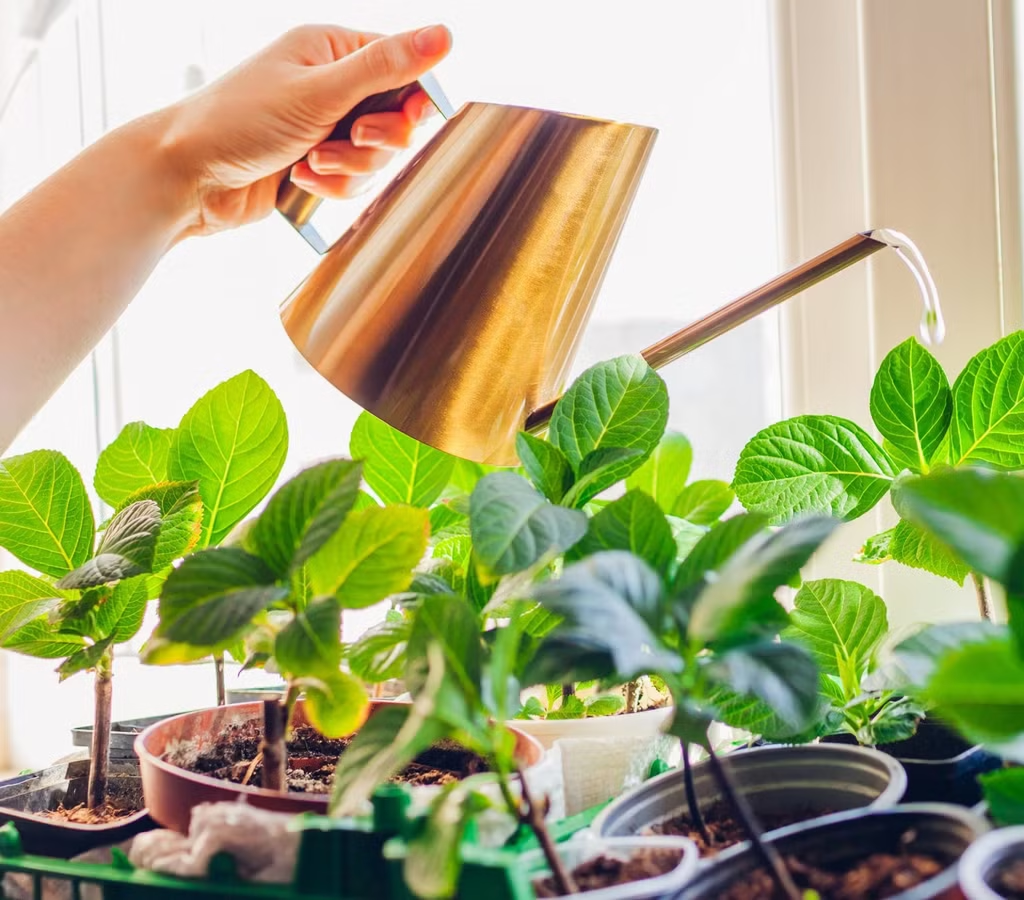
How to Adjust Watering

Overwatering is the biggest mistake in low-ventilated environments. Since water evaporates more slowly, always check soil moisture before watering.

  • Stick your finger 1–2 inches into the soil—if it feels dry, water lightly.
  • Ensure pots have drainage holes to prevent waterlogging.
  • Empty saucers regularly to avoid standing water.

Proper watering prevents fungal growth and keeps roots healthy even when air circulation is limited.


4. Use Air-Purifying Plants and Natural Filters

Some plants not only survive in poor ventilation but actively clean and refresh the air. The NASA Clean Air Study identified several species that absorb toxins and improve oxygen levels.

Try incorporating these:

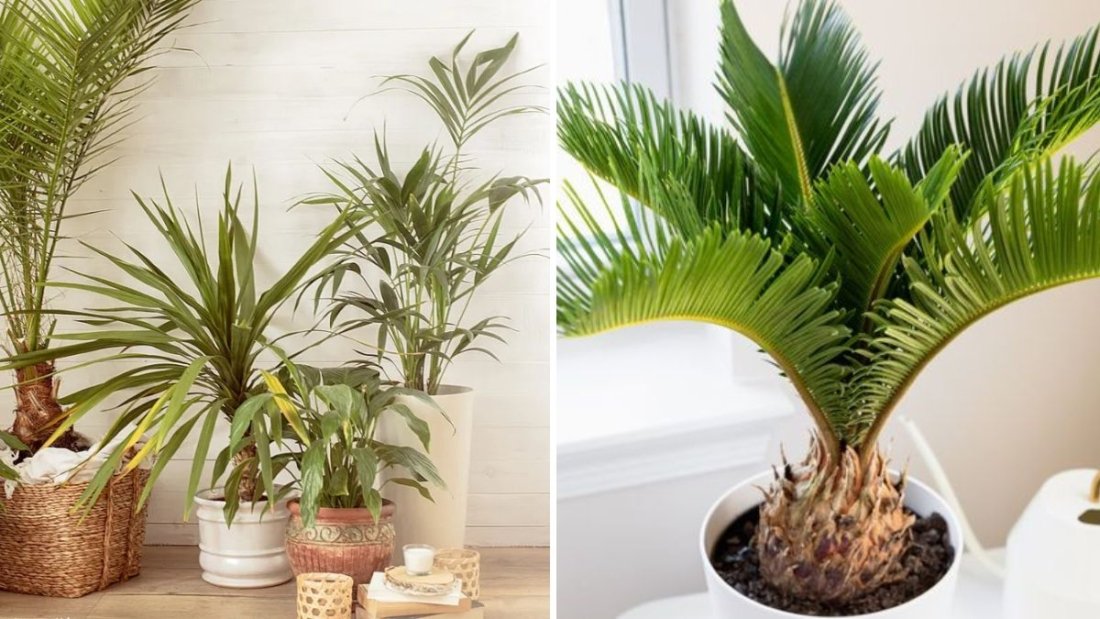
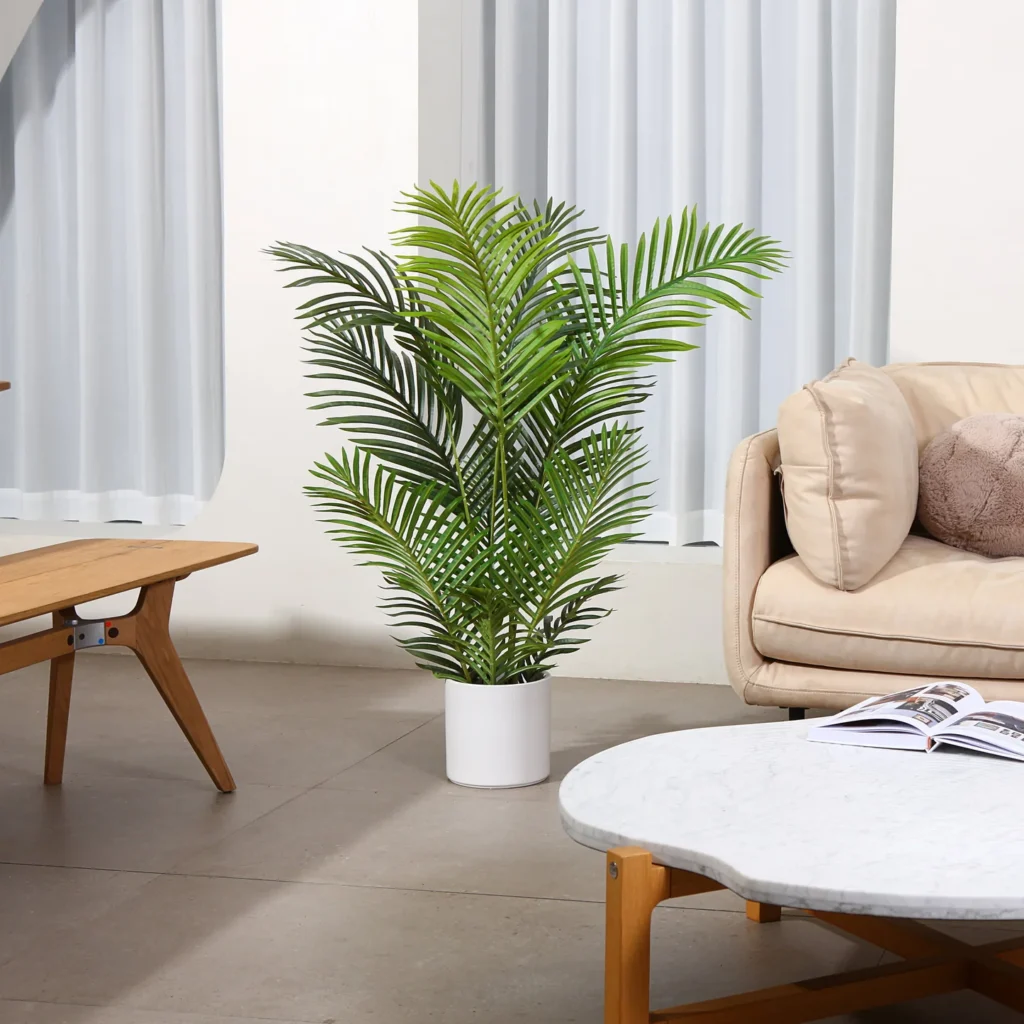
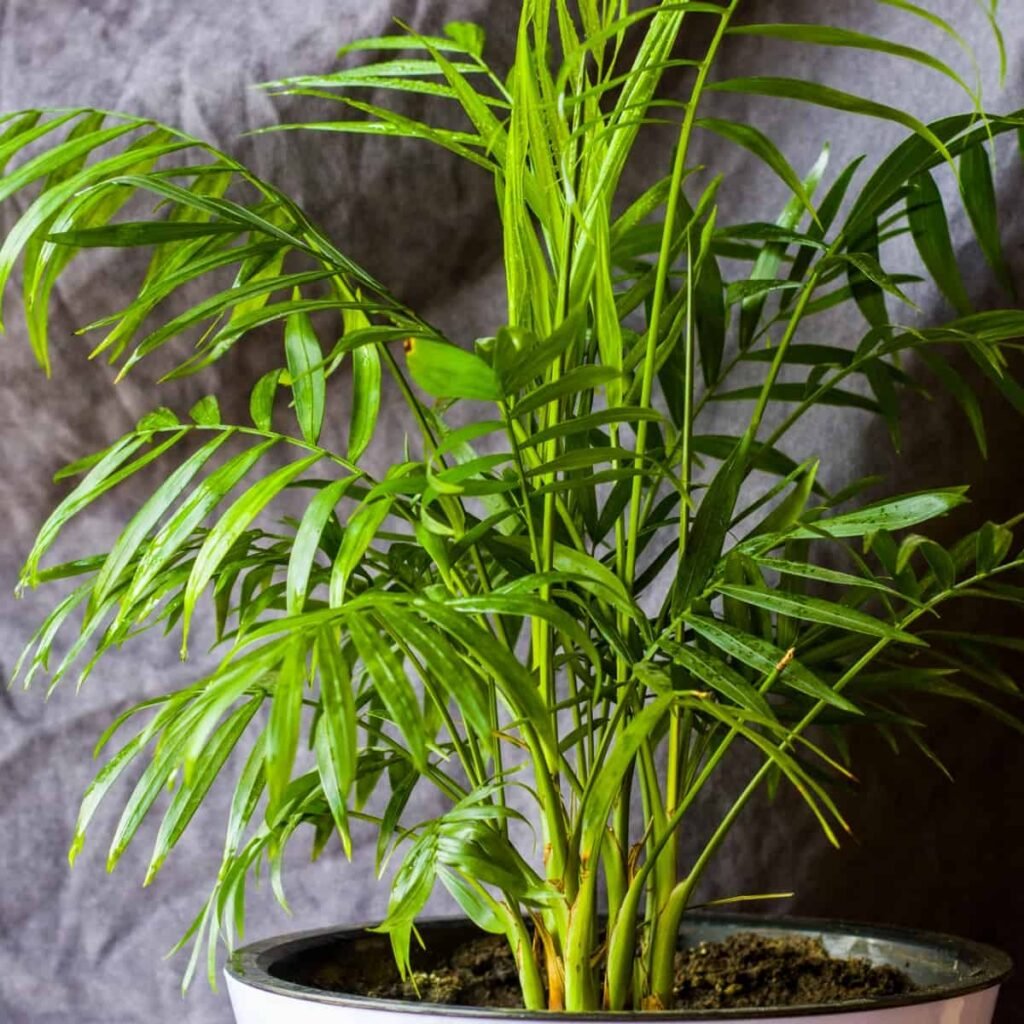
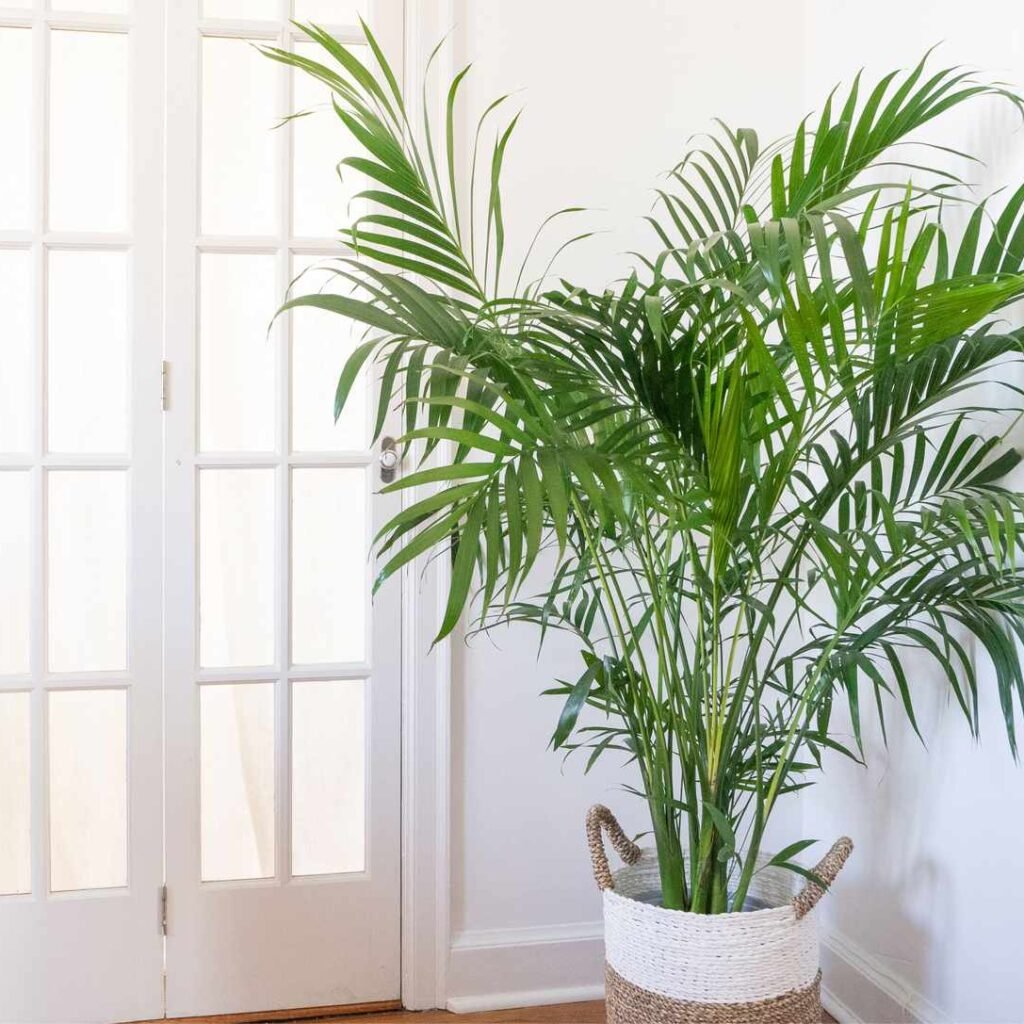
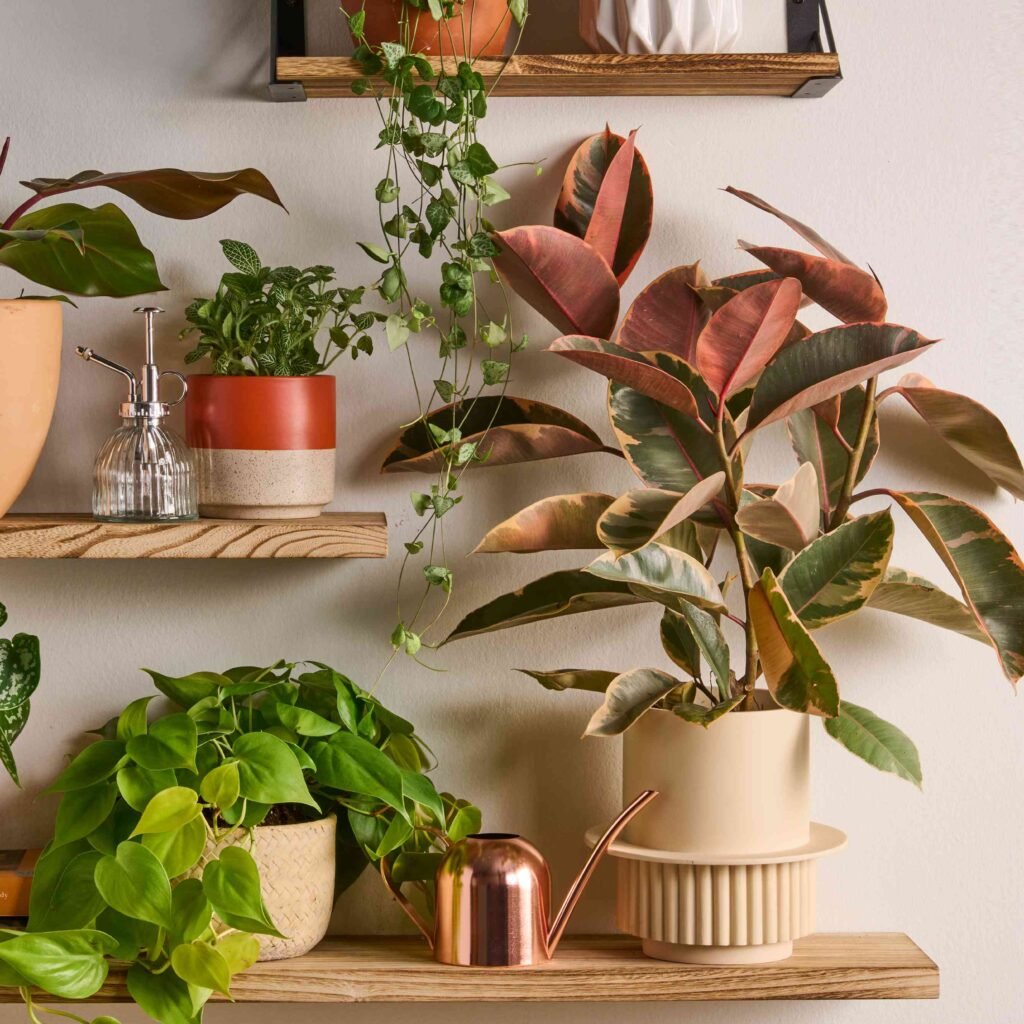
  • Areca Palm: Adds humidity and filters xylene, toluene, and carbon monoxide.
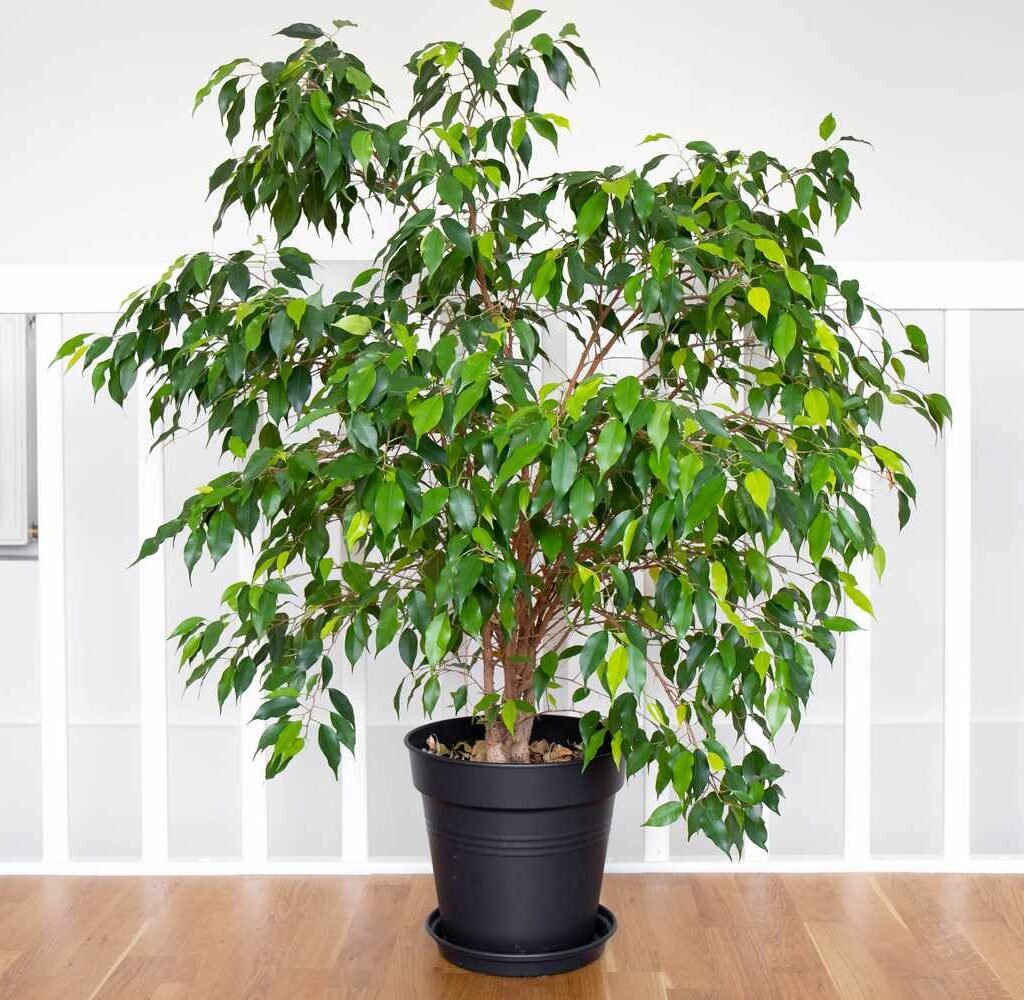
  • Rubber Plant: Excellent at removing formaldehyde and adapts to low ventilation.
  • Boston Fern: Absorbs indoor pollutants and thrives in damp air.
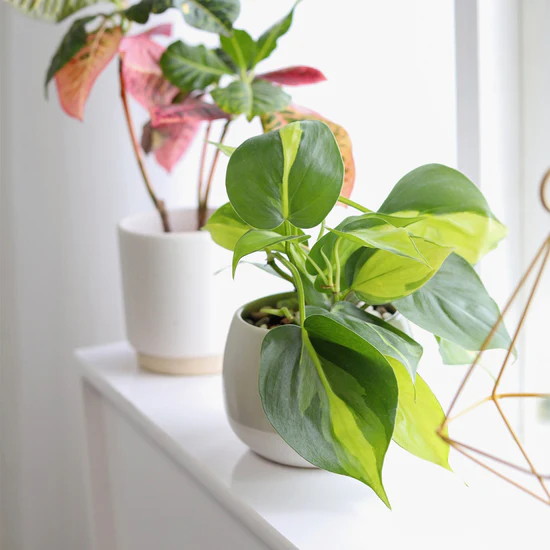
  • Philodendron: Grows well in indirect light and purifies the air efficiently.

Adding these natural filters reduces indoor air pollutants, making low-ventilated rooms feel fresher and healthier for both you and your plants.


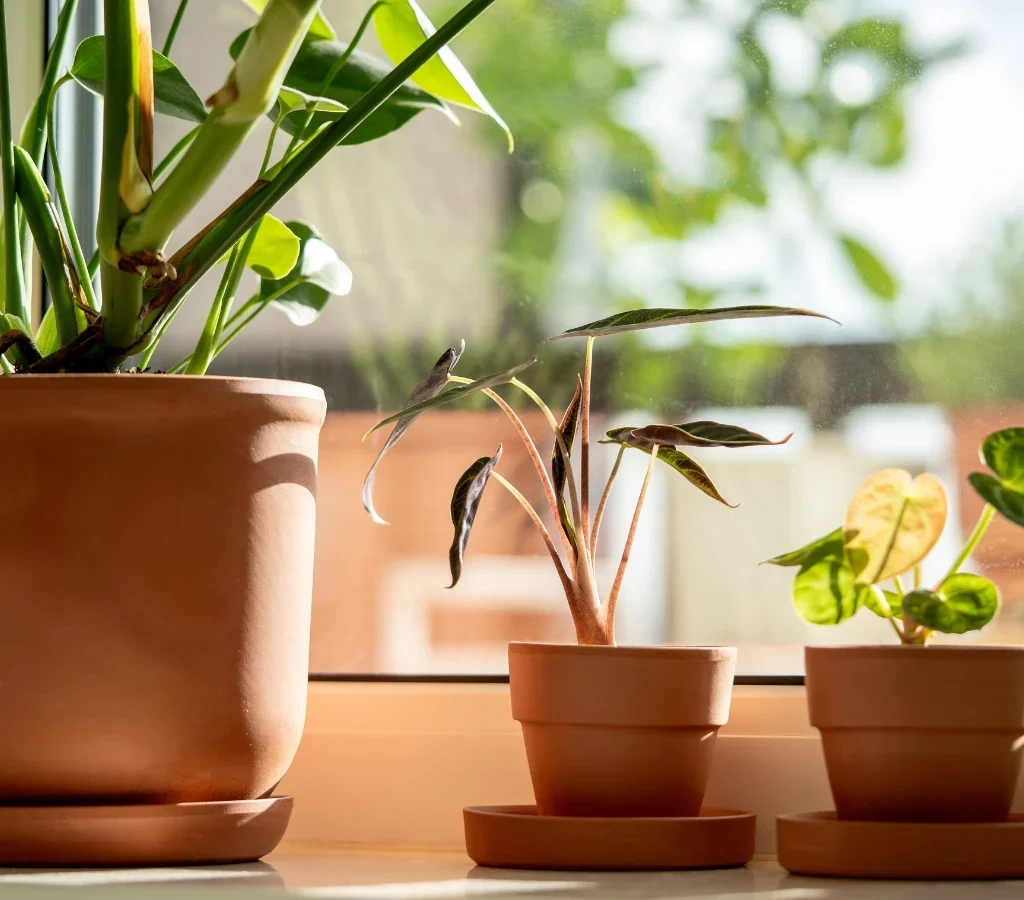
5. Provide Adequate Light

Low ventilation often coincides with limited natural light, especially in rooms with small windows. Since photosynthesis depends on light, you must ensure your plants receive enough illumination.

Lighting Tips:

  • Use LED Grow Lights: Full-spectrum grow lights mimic natural sunlight and promote healthy growth.
  • Choose Low-Light Plants: If light is scarce, go for species like pothos, peace lilies, and ZZ plants.
  • Rotate Plants Weekly: Move them around occasionally to ensure even light exposure.

Balanced lighting encourages steady photosynthesis and helps offset the slow air exchange typical of poorly ventilated rooms.


6. Keep the Environment Clean

Dust and pollutants build up faster in stagnant spaces. Dust-covered leaves can block sunlight and clog plant pores (stomata), reducing oxygen exchange.

Cleaning Routine:

  • Wipe Leaves Weekly: Use a soft, damp cloth to remove dust and keep leaves glossy.
  • Clean Pots and Trays: Prevent mold buildup by scrubbing pots and saucers regularly.
  • Vacuum or Mop Around Plants: Reduces the presence of pests like fungus gnats that thrive in moist, stagnant environments.

A clean environment ensures your plants breathe freely and remain pest-free.


7. Monitor for Pests and Diseases

Low airflow can lead to an increase in pests such as spider mites, fungus gnats, or mealybugs, as well as fungal infections. To prevent infestations:

  • Inspect leaves (especially undersides) weekly.
  • Use neem oil spray or insecticidal soap to treat pests naturally.
  • Avoid misting leaves excessively, which promotes fungal growth.

Regular observation and quick action will prevent small issues from spreading.


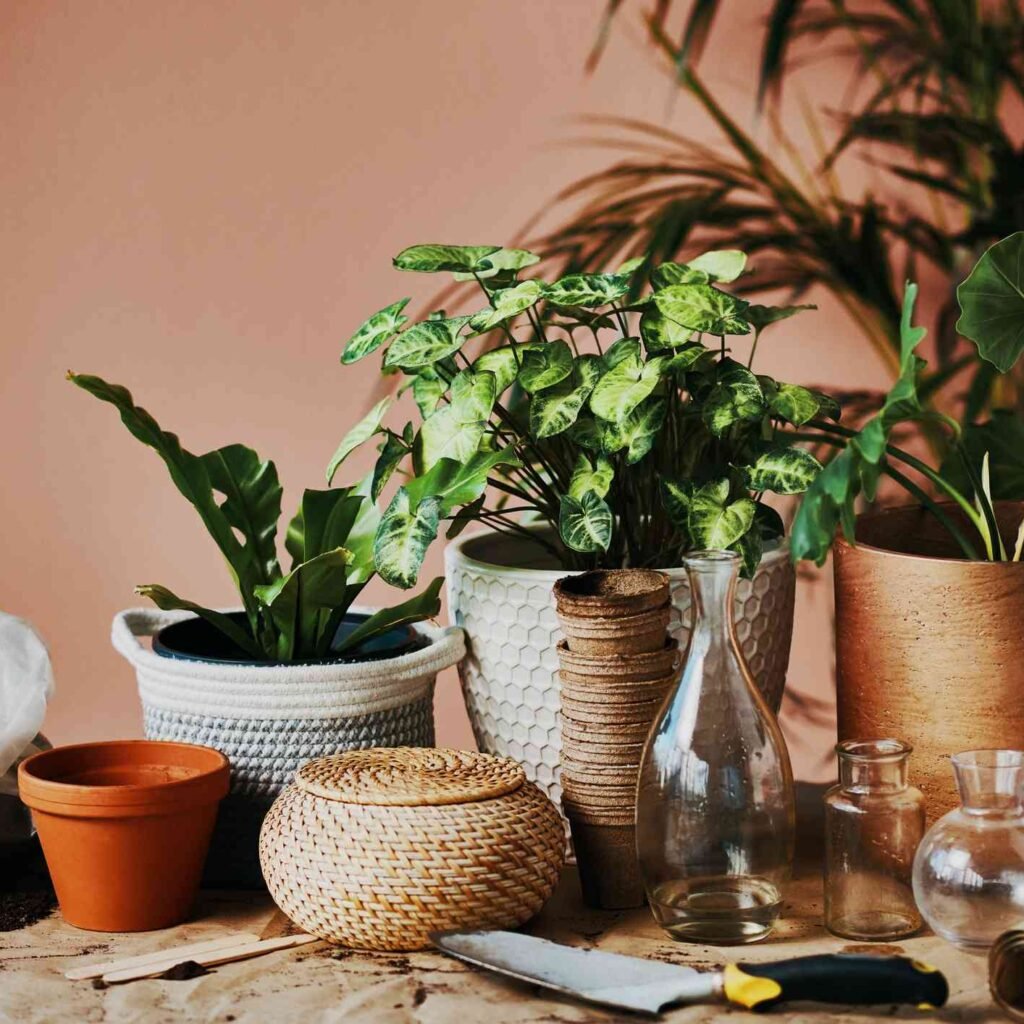
8. Use the Right Soil Mix

In low-ventilated rooms, soil tends to retain more moisture. Choose a well-draining, airy potting mix to prevent root rot.

A good formula includes:

  • 50% high-quality potting soil
  • 25% perlite or pumice for aeration
  • 25% coco coir or peat moss for moisture balance

This blend ensures roots get oxygen even when the surrounding air is still.


Conclusion: Creating a Balanced Indoor Ecosystem

Keeping indoor plants alive in low-ventilated rooms may seem challenging, but it’s entirely achievable with mindful care. By choosing resilient plants, improving air circulation with simple tools, managing humidity, and maintaining cleanliness, you can create a thriving miniature ecosystem indoors.

Remember, plants are remarkably adaptable—they just need the right balance of light, water, and airflow. With consistent observation and small adjustments, your enclosed spaces can turn into lush, vibrant sanctuaries filled with healthy, green life.

So, even if your room doesn’t have open windows or constant fresh air, with the right strategy, your plants can still flourish—proving that nature finds a way to thrive, even in the stillest of spaces.

The Easiest Indoor Plants to Grow From Cuttings

The Easiest Indoor Plants to Grow From Cuttings

Growing indoor plants from cuttings is one of the most rewarding and cost-effective ways to expand your plant collection. It’s a magical process — you take a small piece of a healthy plant, nurture it with care, and soon enough, it grows roots and becomes a thriving new houseplant. Not only does this save money, but it also strengthens your bond with nature, giving you the joy of watching life begin from something so simple.

The best part? You don’t need a green thumb or fancy tools to do it. Many popular indoor plants can be easily propagated through cuttings with minimal effort. Whether you’re new to plant care or an experienced gardener looking to multiply your greenery, this guide will walk you through the easiest indoor plants to grow from cuttings, complete with detailed steps and expert tips for successful propagation.


Understanding Plant Propagation

Before diving into the specific plants, let’s understand what propagation means.

Propagation is the process of creating new plants from existing ones. When you take a cutting, you’re essentially cloning the parent plant by growing new roots from a stem, leaf, or node. There are several methods—water propagation, soil propagation, and using growth hormones—but for most indoor plants, stem cuttings in water or soil work beautifully.

Why Grow Plants From Cuttings?

  • It’s free and sustainable.
  • You get faster results than growing from seeds.
  • It allows you to share plants with friends and family.
  • It’s an educational and satisfying hands-on experience.

Now, let’s explore the easiest indoor plants you can grow successfully from cuttings.


1. Pothos (Epipremnum aureum)

Why It’s Easy:

Pothos is perhaps the most beginner-friendly plant to propagate. Known for its hardy nature and fast growth, pothos can develop roots in just 1–2 weeks, even in low light conditions.

How to Propagate:

  1. Cut a 4–6 inch section of stem just below a node (the small bump where leaves emerge).
  2. Remove the lower leaves, leaving two or three at the top.
  3. Place the cutting in a jar of water, ensuring the node is submerged.
  4. Change the water every few days to keep it fresh.
  5. Once roots are 2–3 inches long, transplant into soil.

Extra Tip:

Keep your jar near bright, indirect light. Avoid direct sunlight—it can heat the water and damage tender roots.

Pothos varieties like Golden Pothos, Marble Queen, and Neon Pothos all propagate with equal ease.


2. Spider Plant (Chlorophytum comosum)

Why It’s Easy:

Spider plants produce baby plantlets, or “pups,” that hang from long stems. These little offshoots already have small roots, making propagation almost effortless.

How to Propagate:

  1. Gently snip off a plantlet from the mother plant.
  2. Place it in water or directly into moist potting soil.
  3. Keep the soil consistently damp and provide bright, indirect light.
  4. Within a few weeks, roots will establish and growth will accelerate.

Extra Tip:

You can also leave the baby attached to the mother plant while placing its roots in soil nearby. Once established, simply cut the connection.

Spider plants are tough survivors that can adapt to most indoor conditions—making them a must-have for propagation beginners.


3. Philodendron (Heartleaf Philodendron)

Why It’s Easy:

Philodendrons are fast-growing vining plants that respond wonderfully to cutting propagation. Their stems are soft, flexible, and rich in growth nodes, allowing roots to form quickly in water.

How to Propagate:

  1. Choose a healthy vine and cut just below a leaf node, ensuring each cutting has at least one or two leaves.
  2. Remove any leaves near the base of the cutting.
  3. Place the cutting in a glass of clean water.
  4. Change water every few days. Roots should appear in about 10–15 days.
  5. Transfer to soil once roots are well developed.

Extra Tip:

Add a little liquid rooting hormone to the water for even faster results.

Varieties like Heartleaf Philodendron, Brazil Philodendron, and Micans Philodendron all propagate easily, adding lush green vibes to any space.


4. English Ivy (Hedera helix)

Why It’s Easy:

English ivy is another classic indoor plant that grows vigorously from cuttings. Its climbing nature makes it perfect for hanging baskets and wall displays.

How to Propagate:

  1. Snip 4–5 inch cuttings from a healthy vine, just below a leaf node.
  2. Remove leaves from the bottom 2 inches of the cutting.
  3. Place the stem in water or directly in moist potting mix.
  4. Keep in bright, indirect light until new roots form (usually within 2–3 weeks).

Extra Tip:

To prevent fungal issues, ensure good air circulation and avoid letting water touch the leaves during propagation.

Once rooted, English ivy grows fast and can easily cover trellises or drape gracefully from shelves.


5. ZZ Plant (Zamioculcas zamiifolia)

Why It’s Easy:

The ZZ plant is nearly indestructible and can even be propagated from a single leaf or a stem cutting. Though it grows slowly, it’s one of the most resilient indoor plants to root and maintain.

How to Propagate:

  1. Cut a healthy stem or remove a single leaf from the parent plant.
  2. Place it in water or plant it directly into moist soil.
  3. Be patient—roots can take 6–8 weeks to develop, followed by bulb-like rhizomes.
  4. Keep the cutting in moderate light and avoid overwatering.

Extra Tip:

Soil propagation tends to work better for ZZ plants than water. Keep the soil slightly moist but never soggy.

The ZZ’s waxy green leaves make it an elegant addition to any indoor collection, and propagation ensures you can grow more of this stylish, low-maintenance plant with ease.


6. Chinese Money Plant (Pilea peperomioides)

Why It’s Easy:

This trendy “friendship plant” is famous for producing baby offshoots, known as pups, around its base. These pups are incredibly easy to detach and root, making propagation fun and rewarding.

How to Propagate:

  1. Wait until a pup is at least 2–3 inches tall.
  2. Gently dig around the base and cut it off with a clean knife, ensuring some roots come with it.
  3. Plant the pup in fresh, well-draining soil and water lightly.
  4. Keep it in bright, indirect sunlight.

Extra Tip:

If the pup has no roots, place it in water for a week or two before potting it.

Pilea plants not only multiply quickly but also make perfect gifts for friends—hence the nickname “friendship plant.”


7. Tradescantia (Wandering Jew / Inch Plant)

Why It’s Easy:

Tradescantia species are among the fastest to propagate. With colorful striped or purple leaves, these plants root almost instantly in water and grow vigorously.

How to Propagate:

  1. Cut 4–6 inch sections of stem just below a node.
  2. Remove a few lower leaves and place the cuttings in water.
  3. Within a week, new roots will begin to form.
  4. Transfer to soil after roots reach about 2 inches in length.

Extra Tip:

Tradescantia loves bright light, so keep your new cuttings near a sunny window. Pinch off growing tips regularly to encourage bushier growth.


8. Coleus

Why It’s Easy:

Coleus plants are adored for their vibrant, multi-colored foliage. They root quickly in water, often within just a few days, making them perfect for beginners.

How to Propagate:

  1. Cut a 4-inch stem just below a leaf node.
  2. Remove the bottom leaves and place the cutting in water.
  3. Keep it in indirect light and refresh the water regularly.
  4. When roots appear, plant in a rich, moist potting mix.

Extra Tip:

Coleus cuttings can grow year-round indoors, so you can easily maintain a colorful collection without buying new plants.


9. Peace Lily (Spathiphyllum)

Why It’s Easy:

Though peace lilies are usually propagated by division, small offshoots from mature plants can also be separated and rooted with minimal effort.

How to Propagate:

  1. Gently remove the parent plant from its pot.
  2. Locate a clump of leaves with its own root system.
  3. Separate it carefully using a clean knife or by hand.
  4. Plant each division into fresh soil and water thoroughly.

Extra Tip:

Peace lilies prefer consistently moist soil and moderate, indirect light for the best growth.


10. African Violet (Saintpaulia)

Why It’s Easy:

African violets are delicate but surprisingly easy to grow from leaf cuttings. With proper humidity, they root quickly and reward you with vibrant blooms.

How to Propagate:

  1. Cut a healthy leaf with about 1 inch of stem attached.
  2. Place it in moist, well-draining soil at a 45° angle.
  3. Cover it with a clear plastic bag to maintain humidity.
  4. New baby plants will sprout in about 4–6 weeks.

Extra Tip:

Avoid direct sunlight; bright, filtered light works best. Keep the soil evenly moist but never soggy.


Propagation Success Tips

To ensure consistent results when growing indoor plants from cuttings:

  • Use sterilized scissors or pruning shears to prevent infections.
  • Maintain warm temperatures (20–25°C / 68–77°F) for faster rooting.
  • Provide humidity by misting or covering with a plastic dome.
  • Be patient—some plants take longer than others to root.
  • Once rooted, gradually acclimate cuttings to normal indoor conditions before transplanting.

Conclusion

Propagating indoor plants from cuttings is more than just an affordable way to expand your collection—it’s a creative, rewarding, and eco-friendly gardening practice. With plants like pothos, philodendron, spider plant, ZZ plant, and pilea, success is almost guaranteed even for beginners.

By mastering this simple technique, you’ll not only fill your home with greenery but also experience the deeper joy of nurturing life from a single cutting—a true celebration of patience, growth, and connection with nature.

5 Mistakes to Avoid When Growing Houseplants in Terracotta Pots

5 Mistakes to Avoid When Growing Houseplants in Terracotta Pots

Terracotta pots have long been a favorite among plant lovers for their rustic charm, natural breathability, and timeless look. They instantly add warmth and texture to any indoor space while promoting healthy root growth. However, while terracotta pots are beautiful and functional, they also come with their own unique set of challenges.

If you’ve ever found your houseplants wilting, drying out too quickly, or showing signs of stress despite being in terracotta pots, you’re not alone. Many indoor gardeners unknowingly make small mistakes that can affect plant health and longevity.

In this detailed guide, we’ll uncover the 5 most common mistakes to avoid when growing houseplants in terracotta pots—and share expert tips to help you use them effectively for thriving, lush indoor plants.


1. Ignoring Terracotta’s Natural Porosity

One of the biggest advantages—and drawbacks—of terracotta pots is their porous nature. Made from baked clay, terracotta allows air and moisture to pass through its walls, creating an oxygen-rich environment for roots. This helps prevent root rot, a common problem with overwatered houseplants.

However, this same feature also means that water evaporates faster from terracotta pots than from plastic or glazed containers. If you’re not adjusting your watering routine accordingly, your plants might dry out too quickly, leading to drooping leaves, crispy tips, or stunted growth.

How to Avoid This Mistake:

  • Monitor soil moisture closely. Check the top 1–2 inches of soil regularly—if it feels dry, it’s time to water.
  • Water more frequently during hot or dry seasons. Terracotta pots lose moisture faster in warm conditions.
  • Add moisture-retaining materials like coco coir, peat moss, or vermiculite to your potting mix.
  • Use saucers wisely. Allow excess water to drain, but don’t let the pot sit in water for too long—terracotta will absorb it, keeping roots too damp.

By understanding and adapting to terracotta’s natural properties, you’ll help your houseplants stay hydrated without overwatering.


2. Skipping the Pre-Soaking Step Before Planting

A lesser-known but crucial tip when using terracotta pots is pre-soaking them before planting. Dry terracotta quickly absorbs moisture from the soil and plant roots. If you plant directly into an unsoaked pot, it can draw water away from the roots, leaving the plant stressed and dehydrated from the start.

Why It Matters:

When terracotta pots are bone dry, they act like a sponge. The clay will soak up the initial moisture meant for the plant’s soil, reducing water availability where it’s needed most—around the root zone. This can be especially harmful to young or newly repotted plants that need consistent moisture to establish roots.

How to Avoid This Mistake:

  • Soak the pot in water for 20–30 minutes before planting. This saturates the clay and prevents it from drawing moisture out of the soil.
  • If you’re repotting, rinse and soak the pot again even if it’s been used before, as old terracotta tends to dry out completely between uses.
  • For added protection, consider lining the interior of the pot with a thin layer of coconut fiber or coffee filter paper to slow water loss while maintaining breathability.

This simple pre-soak step can make a huge difference in maintaining soil moisture balance, especially in hot or dry indoor climates.


3. Using the Wrong Soil Mix

Another major mistake when growing houseplants in terracotta pots is using the wrong type of soil. Since terracotta promotes excellent drainage, pairing it with fast-draining soil can sometimes result in too much dryness. Conversely, heavy soils may compact and prevent airflow, defeating terracotta’s main advantage—root aeration.

Understanding the Balance:

Your goal is to create a potting mix that retains enough moisture for the plant to thrive while still allowing excess water to escape. The ideal mix depends on your plant type, but it should generally be light, nutrient-rich, and airy.

How to Avoid This Mistake:

  • For tropical plants (like pothos, philodendrons, and monsteras): Use a mix of 2 parts peat moss or coco coir, 1 part perlite, and 1 part compost.
  • For succulents and cacti: Choose a gritty mix with sand, pumice, or perlite for faster drainage.
  • For ferns or calatheas that love moisture: Add more organic matter like leaf mold or worm castings to hold water longer.
  • Always ensure the pot has drainage holes to prevent waterlogging.

If your soil drains too quickly, water will run straight through and your plant will never get enough hydration—so tailoring your mix to your plant’s needs is essential.


4. Placing Terracotta Pots in Extreme Environments

Terracotta pots are highly sensitive to their surroundings. Because they’re made from natural clay, they’re influenced by temperature, humidity, and light exposure more than other types of containers. Many plant owners unknowingly place their terracotta pots in spots that accelerate drying or temperature stress.

Common Environmental Mistakes:

  • Placing pots near heaters, vents, or radiators: This dries out the soil too quickly.
  • Exposing pots to direct sunlight for long hours: The clay heats up, drying the soil unevenly and potentially damaging roots.
  • Using terracotta outdoors in freezing temperatures: The clay can crack due to expansion and contraction of water inside its pores.

How to Avoid This Mistake:

  • Keep pots away from heat sources and cold drafts.
  • For indoor setups, choose bright but indirect light—terracotta helps regulate temperature, but too much heat can still stress roots.
  • Use pot trays or cork coasters to protect furniture surfaces from moisture rings or condensation.
  • In winter, reduce watering frequency and maintain stable indoor temperatures between 18–27°C (65–80°F).

A stable environment ensures that both your plant and its terracotta pot maintain an ideal balance of moisture and warmth.


5. Forgetting to Clean and Maintain Terracotta Pots

Over time, terracotta pots naturally develop white mineral deposits or residue on their surfaces. These marks, caused by salts and minerals from water and fertilizers, are harmless to look at but may indicate salt buildup in the soil. If left unchecked, this buildup can damage plant roots and contribute to brown tips, leaf burn, or poor growth.

Additionally, reused terracotta pots can harbor fungal spores, bacteria, or pests from previous plants if not cleaned properly—putting your new plants at risk.

How to Avoid This Mistake:

  • Clean terracotta pots regularly.
    • Remove the plant and soil.
    • Soak the pot in a 1:10 solution of bleach and water for 30 minutes to disinfect.
    • Scrub gently with a brush to remove white residue.
    • Rinse thoroughly and let it dry completely before replanting.
  • If you prefer a natural alternative, use a vinegar solution (1 part vinegar to 3 parts water) to remove mineral stains safely.
  • Avoid excessive fertilizer use, as it accelerates salt accumulation.
  • Periodically flush your potting soil with clean water to wash out excess minerals.

Maintaining your terracotta pots not only improves their appearance but also enhances your plants’ overall health and longevity.


Bonus Tip: Seal Your Terracotta Pots (Optional)

If you live in a very dry climate or find your plants drying out too quickly, consider sealing the inside of your terracotta pots. Sealing reduces water absorption through the pot walls, allowing soil to stay moist longer while maintaining that classic terracotta look.

You can use:

  • Clay pot sealants available at garden stores.
  • Natural beeswax or linseed oil for an eco-friendly finish.

Apply a thin coat on the interior and let it dry completely before planting. This technique helps balance the benefits of terracotta’s breathability with added moisture retention—perfect for humidity-loving houseplants.


Why Terracotta Remains the Best Choice

Despite its quirks, terracotta remains one of the best materials for growing houseplants. Here’s why it continues to be the favorite among both beginners and seasoned plant lovers:

  • Breathable: Promotes healthy root oxygenation and prevents rot.
  • Natural temperature control: Keeps roots cool in summer and insulated in winter.
  • Eco-friendly: Made from natural clay and biodegradable materials.
  • Aesthetic appeal: Complements all interior designs, from rustic to modern.

When used correctly, terracotta pots can create a perfect balance of function and style for your indoor plant collection.


Conclusion

Growing houseplants in terracotta pots can be incredibly rewarding—but only if you understand their unique characteristics and avoid common pitfalls.

To recap, here are the 5 key mistakes to avoid:

  1. Ignoring terracotta’s natural porosity and fast-drying nature.
  2. Skipping the crucial pre-soaking step before planting.
  3. Using an unsuitable or overly fast-draining soil mix.
  4. Exposing terracotta pots to harsh or unstable environments.
  5. Forgetting to clean and maintain the pots regularly.

By mastering these fundamentals, you’ll not only protect your plants from unnecessary stress but also enjoy healthier, greener, and more resilient houseplants.

Terracotta pots, when used with care, can turn any indoor space into a thriving sanctuary of natural beauty—proof that tradition and nature, when respected, can still create the perfect environment for modern living.

How to Grow Indoor Palms Without Brown Tips

How to Grow Indoor Palms Without Brown Tips

Indoor palms are among the most elegant and timeless houseplants you can grow. Their lush, tropical fronds instantly elevate a space, adding natural charm and a relaxing vibe. However, one of the most common issues indoor gardeners face with palms is browning tips. This frustrating problem can make even the healthiest palm look dull and neglected.

The good news? You can easily prevent and fix brown tips with the right care, environment, and attention. In this comprehensive guide, you’ll learn exactly how to grow indoor palms without brown tips — from choosing the right palm species to mastering watering, humidity, and light management.


1. Understanding Why Palm Tips Turn Brown

Before diving into solutions, it’s essential to understand why brown tips appear in the first place. Browning is often a sign of stress, indicating that the palm’s growing environment is less than ideal. Here are the most common causes:

  • Low humidity: Indoor air, especially in air-conditioned or heated rooms, tends to be dry. Palms are tropical plants that thrive in humid environments, so low humidity quickly leads to browning.
  • Improper watering: Both underwatering and overwatering can cause tip burn. Palms need consistent moisture but hate sitting in soggy soil.
  • Fluoride or chlorine in water: Tap water with high levels of these chemicals can damage delicate root systems.
  • Too much fertilizer: Excess fertilizer salts accumulate in the soil, burning root tips and causing leaves to brown.
  • Excessive sunlight or heat: While palms need light, direct sunlight through glass can scorch their fronds.
  • Poor air circulation or pest infestation: Stagnant air or pests like spider mites can also contribute to stressed, brown-tipped leaves.

By identifying the cause, you can apply targeted care to restore your palm’s vibrant green beauty.


2. Choose the Right Palm Variety for Indoors

Not all palm species adapt well to indoor conditions. Some are better suited for tropical gardens or greenhouses. For minimal maintenance and healthier foliage, choose indoor-friendly palms known for tolerance to low light and drier air.

Best Palms for Indoor Growth:

  1. Areca Palm (Dypsis lutescens): Known for its soft, feathery fronds and air-purifying qualities. Prefers bright, indirect light.
  2. Parlor Palm (Chamaedorea elegans): One of the most shade-tolerant and low-maintenance palms. Ideal for offices and small apartments.
  3. Kentia Palm (Howea forsteriana): Slow-growing, elegant, and resilient against dry indoor air.
  4. Bamboo Palm (Chamaedorea seifrizii): Compact and hardy, great for filtering indoor air.
  5. Lady Palm (Rhapis excelsa): Adapts to lower light and humidity; great for beginner gardeners.

Selecting a species that naturally adjusts to indoor environments is the first step toward avoiding brown tips and maintaining healthy growth.


3. Provide the Right Light Conditions

Lighting is critical for palm health. Palms thrive in bright, indirect light. Too much direct sunlight can scorch leaves, while too little can weaken growth and make them susceptible to stress.

Lighting Tips:

  • Place your palm near an east- or north-facing window where it gets gentle morning light.
  • Avoid harsh south-facing windows, or diffuse the light with sheer curtains.
  • If your space lacks natural light, supplement with a full-spectrum LED grow light for 10–12 hours a day.
  • Rotate your plant every few weeks to ensure even light exposure and balanced growth.

Proper lighting ensures vibrant green fronds and reduces the risk of discoloration and brown edges.


4. Master the Art of Watering

Watering mistakes are the most frequent cause of brown tips in palms. Palms prefer evenly moist but not waterlogged soil. Irregular watering — allowing soil to completely dry or stay soggy — stresses the plant.

How to Water Indoor Palms Correctly:

  1. Check the top 2 inches of soil. If it feels dry, it’s time to water.
  2. Use room-temperature, filtered, or distilled water. This helps avoid chlorine and fluoride build-up.
  3. Water thoroughly until water drains from the bottom, then empty the saucer to prevent root rot.
  4. Reduce watering in winter when growth slows and indoor air is cooler.

A consistent watering schedule keeps your palm hydrated and prevents the fronds from drying or browning at the edges.


5. Maintain Ideal Humidity Levels

Palms are tropical plants, so they thrive in high humidity environments — ideally between 50–70%. Unfortunately, indoor air, especially during winter or under air conditioning, can drop below 30%.

Easy Ways to Increase Humidity:

  • Mist the leaves with filtered water 2–3 times a week.
  • Use a humidifier to keep the air moist, especially during dry months.
  • Place the pot on a pebble tray filled with water (without letting the pot sit in water).
  • Group plants together to create a mini-humid microclimate.

Consistent humidity prevents frond dehydration and ensures lush, healthy foliage.


6. Use the Right Soil and Potting Mix

A good potting mix is essential for palm roots to breathe while retaining enough moisture. Palms dislike compact or poorly draining soil.

Ideal Palm Potting Mix:

  • 2 parts peat moss or coco coir (for moisture retention)
  • 1 part perlite or coarse sand (for aeration)
  • 1 part pine bark or compost (for nutrients)

Ensure the pot has drainage holes to avoid water stagnation. Repot your palm every 2–3 years to refresh the soil and prevent root binding.


7. Fertilize Carefully and Sparingly

Palms are not heavy feeders, and overfertilizing can quickly lead to brown leaf tips due to salt buildup.

Fertilization Tips:

  • Use a balanced, slow-release palm fertilizer (10-10-10 or 12-4-12) during the growing season (spring and summer).
  • Feed once a month or as directed on the label.
  • Avoid fertilizing in winter when the plant is dormant.
  • Every few months, flush the soil with clean water to remove excess salts.

Moderation is key — less is often more when it comes to feeding indoor palms.


8. Monitor Temperature and Airflow

Palms thrive in warm, stable environments. Sudden temperature changes or cold drafts can shock the plant and cause brown tips.

Ideal Conditions:

  • Maintain a temperature between 18–27°C (65–80°F).
  • Keep palms away from heaters, vents, or cold windows.
  • Provide gentle airflow using a ceiling fan or open window to prevent stagnant air and pest buildup.

Maintaining consistent indoor conditions helps your palm flourish without stress.


9. Regular Cleaning and Pruning

Dust can clog the pores of palm fronds, reducing photosynthesis and leading to dull or brown tips. Regular cleaning keeps your plant healthy and vibrant.

Palm Maintenance Routine:

  • Wipe leaves gently with a damp cloth every 2–3 weeks.
  • Trim brown or damaged tips using sterilized scissors, cutting just above the healthy green tissue.
  • Avoid cutting healthy fronds, as palms don’t regenerate from a cut stem like other plants.

Keeping your palm clean not only boosts its appearance but also supports better growth and disease resistance.


10. Watch for Pests and Diseases

Common indoor pests like spider mites, mealybugs, and scale insects can weaken palms, leading to brown tips.

Preventive Measures:

  • Inspect the plant regularly for webbing or sticky residue.
  • Wipe infested leaves with neem oil or insecticidal soap.
  • Quarantine new plants before placing them near your palm.

A pest-free environment ensures your palm stays lush and green.


11. Seasonal Care Adjustments

Palms respond differently across seasons. Adapting your care routine ensures year-round health.

  • Spring and Summer: Active growth period—provide more water, light, and monthly feeding.
  • Autumn and Winter: Reduce watering and stop fertilizing; maintain warmth and humidity.

These small seasonal adjustments prevent stress and tip browning during colder months.


12. Reviving Palms with Brown Tips

If your palm already has brown tips, don’t worry — it’s reversible!

Revival Steps:

  1. Trim brown edges carefully without cutting into the green part.
  2. Flush the soil with distilled water to remove fertilizer salts.
  3. Improve humidity and ensure even moisture.
  4. Relocate to a bright spot with indirect light.

Within a few weeks, new healthy fronds will emerge, restoring your palm’s beauty.


Conclusion

Growing indoor palms without brown tips is all about balance — the right mix of light, moisture, humidity, and nutrients. Once you understand your plant’s needs and maintain consistent care, your palms will reward you with lush, glossy foliage that transforms any room into a tropical retreat.

By following these detailed care strategies, you can enjoy the natural elegance of indoor palms year-round — free from brown tips and full of vibrant green life.

The Best Indoor Plants That Tolerate Low Humidity

The Best Indoor Plants That Tolerate Low Humidity

Maintaining lush and healthy indoor plants can be tricky, especially in regions or seasons where the air is dry. Low humidity often causes problems such as browning leaf tips, wilting, and slow growth for many tropical houseplants. However, not all plants are fussy about moisture levels—some species can thrive even in arid indoor environments.

In this detailed guide, we’ll explore the best indoor plants that tolerate low humidity, their unique features, and how you can care for them effectively to keep your home vibrant and green all year round.


Understanding Low Humidity and Its Impact on Plants

Humidity refers to the amount of water vapor in the air. Most tropical plants prefer humidity levels between 50–70%, but in many homes—especially during winter or in air-conditioned spaces—humidity can drop below 30%.

Low humidity can cause:

  • Dry and crispy leaf edges
  • Leaf drop or curling
  • Stunted growth
  • Increased vulnerability to pests like spider mites

To maintain a healthy indoor garden, it’s essential to choose plants that are naturally adapted to dry air conditions, such as desert natives or hardy foliage plants.


1. Snake Plant (Sansevieria trifasciata)

Why it thrives:
The snake plant is nearly indestructible and one of the best low-maintenance options for homes with low humidity. Native to arid regions of West Africa, it stores water in its thick, upright leaves and tolerates neglect with ease.

Care tips:

  • Light: Tolerates low to bright indirect light.
  • Water: Allow the soil to dry completely before watering.
  • Humidity: Thrives in dry air; no misting needed.
  • Bonus: Known for its air-purifying properties, filtering toxins like formaldehyde and benzene.

2. ZZ Plant (Zamioculcas zamiifolia)

Why it thrives:
ZZ plants are champions of low-light and low-humidity conditions. Their waxy, glossy leaves help retain moisture, making them ideal for dry indoor environments.

Care tips:

  • Light: Prefers moderate to low indirect light.
  • Water: Water sparingly; drought-tolerant.
  • Humidity: Does well in dry air.
  • Bonus: The ZZ plant grows slowly but remains lush and shiny year-round with minimal care.

3. Cast Iron Plant (Aspidistra elatior)

Why it thrives:
As the name suggests, this plant is as tough as iron. It tolerates low light, irregular watering, and dry indoor air without complaint.

Care tips:

  • Light: Low to medium light.
  • Water: Water when the top inch of soil feels dry.
  • Humidity: Adapts well to dry air.
  • Bonus: Its deep green foliage adds elegance to shaded corners and hallways.

4. Spider Plant (Chlorophytum comosum)

Why it thrives:
Spider plants are incredibly adaptable and can tolerate both humid and dry air conditions. They’re especially good for beginners who want an easy, fast-growing plant.

Care tips:

  • Light: Bright, indirect sunlight.
  • Water: Keep soil slightly moist but not soggy.
  • Humidity: Handles dry indoor air gracefully.
  • Bonus: Produces baby “spiderettes” that you can replant to grow more.

5. Aloe Vera

Why it thrives:
Aloe vera is a desert native, making it perfectly suited for low-humidity homes. Its thick, succulent leaves store water, helping it survive long dry spells.

Care tips:

  • Light: Prefers bright, indirect sunlight or some direct morning sun.
  • Water: Allow soil to dry out completely before watering.
  • Humidity: Prefers dry air; avoid misting.
  • Bonus: The gel inside its leaves has soothing, medicinal properties for skin burns and cuts.

6. Jade Plant (Crassula ovata)

Why it thrives:
Another succulent that loves dry air, the jade plant is perfect for offices and homes with low humidity. It’s known for its glossy, plump leaves and symbolic meaning of prosperity.

Care tips:

  • Light: Bright, indirect sunlight or full sun.
  • Water: Water only when soil is fully dry.
  • Humidity: Tolerates very dry indoor air.
  • Bonus: With proper care, a jade plant can live for decades and even bloom indoors.

7. Rubber Plant (Ficus elastica)

Why it thrives:
Rubber plants are hardy and can adapt to less-than-ideal humidity. Their thick, glossy leaves help retain moisture, making them more resistant to dry air than most tropical plants.

Care tips:

  • Light: Bright, indirect light.
  • Water: Water when the top 2 inches of soil dry out.
  • Humidity: Moderate to low humidity; occasional wiping of leaves helps.
  • Bonus: A bold statement plant that purifies indoor air while adding tropical appeal.

8. Ponytail Palm (Beaucarnea recurvata)

Why it thrives:
Despite its name, the ponytail palm is not a true palm but a succulent. It stores water in its bulbous base and thrives in dry, low-humidity indoor environments.

Care tips:

  • Light: Prefers bright light or some direct sunlight.
  • Water: Water sparingly; too much can cause root rot.
  • Humidity: Prefers dry air; never mist.
  • Bonus: Its graceful, cascading leaves make it a striking ornamental piece.

9. Pothos (Epipremnum aureum)

Why it thrives:
Pothos is a resilient vine that tolerates a range of conditions, including dry air. It grows beautifully in hanging baskets or trailing from shelves.

Care tips:

  • Light: Low to medium indirect light.
  • Water: Allow the soil to dry slightly between waterings.
  • Humidity: Adapts well to dry environments.
  • Bonus: An excellent air-purifier that removes indoor toxins.

10. Dracaena

Why it thrives:
Dracaenas are versatile houseplants known for their sculptural beauty and resilience. Their thick leaves and woody stems make them well-adapted to dry air.

Care tips:

  • Light: Moderate to bright indirect light.
  • Water: Let the top soil dry between watering.
  • Humidity: Handles dry indoor air easily.
  • Bonus: Great for offices and homes with air conditioning or heating systems.

11. Succulents and Cacti

Why they thrive:
These desert dwellers are the ultimate survivors in low-humidity conditions. With thick, fleshy leaves and stems, they store water efficiently and require minimal attention.

Care tips:

  • Light: Bright light or direct sunlight.
  • Water: Water sparingly; once every 2–3 weeks is often enough.
  • Humidity: Prefer dry air; never mist.
  • Bonus: Available in countless shapes, colors, and textures to add character to your home.

Tips to Keep Your Low-Humidity Plants Healthy

Even though these plants tolerate dryness, a little extra care ensures they remain vibrant:

  1. Avoid overwatering. In dry air, soil tends to dry faster on the surface but can remain damp underneath. Always check moisture levels before watering.
  2. Keep plants away from heating vents. Hot air can cause leaf burn.
  3. Group plants together. This helps create a microclimate with slightly higher humidity.
  4. Use pebble trays. Placing pots on trays filled with pebbles and water increases localized moisture without over-humidifying.
  5. Wipe leaves regularly. Dust buildup can interfere with photosynthesis, especially in dry environments.

Why Choose Low-Humidity Tolerant Plants

  • Low Maintenance: Perfect for busy people or beginners.
  • Versatile: Thrive in offices, bedrooms, and living rooms.
  • Resilient: Can withstand neglect, temperature fluctuations, and dry air.
  • Aesthetic Appeal: Many of these plants have unique shapes, glossy foliage, or elegant forms that elevate interior spaces.

Final Thoughts

Living in a low-humidity environment doesn’t mean you have to give up on your dream of a lush indoor garden. By choosing plants naturally suited to dry air, you can enjoy greenery that thrives year-round with minimal effort.

Whether you opt for the sturdy Snake Plant, the elegant Rubber Plant, or the eye-catching Ponytail Palm, these species bring life and color to your home—without demanding constant humidity control.

Remember, the secret to a thriving indoor garden lies not in creating a perfect environment but in choosing the right plants for your conditions. With these low-humidity champions, you’ll have a healthy, beautiful green space that flourishes effortlessly.

How to Mix Different Leaf Textures for Stunning Indoor Displays

How to Mix Different Leaf Textures for Stunning Indoor Displays

When it comes to creating visually captivating indoor plant displays, color isn’t the only thing that matters. The texture of leaves—whether glossy, velvety, feathery, or leathery—plays a crucial role in adding depth, contrast, and character to your space. A well-balanced mix of leaf textures can elevate even the simplest collection of houseplants into a stunning natural masterpiece.

In this guide, we’ll explore how to combine different leaf textures for dynamic indoor arrangements, what plant types to use, and how to design displays that look both elegant and cohesive.


Understanding Leaf Texture and Its Impact

Leaf texture refers to how a leaf’s surface looks and feels. Some plants have shiny, smooth leaves that reflect light beautifully, while others boast rough, fuzzy, or patterned foliage that adds visual interest and tactile contrast.

Here’s how textures typically influence the visual effect:

  • Smooth or Glossy Leaves – Reflect light and create a polished, clean aesthetic. Examples: Rubber Plant, Peace Lily, Philodendron.
  • Matte or Velvety Leaves – Absorb light and add softness to an arrangement. Examples: African Violet, Calathea, Begonia.
  • Rough or Rigid Leaves – Add boldness and structure. Examples: Snake Plant, Aloe Vera, Agave.
  • Feathery or Fine Leaves – Introduce a sense of movement and airiness. Examples: Asparagus Fern, Maidenhair Fern, Mimosa Pudica.

A great indoor display balances these textures to avoid visual monotony and create harmony. Think of it like pairing different fabrics in interior design—smooth silk beside coarse linen creates depth and balance. The same principle applies to plant leaves.


The Art of Mixing Leaf Textures

Creating a stunning indoor display with mixed leaf textures involves understanding contrast, proportion, and placement. You’re essentially designing a living composition, where each plant plays a distinct role.

1. Contrast Is Key

The magic happens when opposites meet. Pair plants with contrasting leaf surfaces for an eye-catching combination. For instance:

  • Combine glossy-leaved plants like the ZZ Plant or Rubber Plant with matte-textured foliage such as Calathea Orbifolia or Fiddle Leaf Fig.
  • Pair broad leaves with fine or narrow foliage. For example, the Monstera Deliciosa looks fantastic next to the Asparagus Fern.

The contrast draws attention and helps each plant stand out while maintaining overall balance.

2. Layering Textures

Layering plants of different heights and leaf textures creates a natural, cascading effect that mimics how plants grow in the wild. To do this effectively:

  • Place larger, bold-textured plants as the focal point.
  • Surround them with medium-textured varieties to bridge the transition.
  • Add fine-textured plants at the base or edges to soften the display.

For instance, you can start with a large Monstera as your centerpiece, flank it with Philodendron Brasil for medium texture, and finish with Boston Ferns for delicate detailing.

3. Stick to a Color Palette

Even though texture is the focus, coordinating leaf colors is equally important. Mixing too many shades can make the display look chaotic. Choose a color scheme that harmonizes with your interior—such as all-green tones, green and variegated whites, or tropical greens with hints of burgundy.

A combination like Green ZZ Plant, Silver Satin Pothos, and Burgundy Rubber Plant creates balance and elegance through color and texture contrast.


Best Indoor Plants by Leaf Texture

To help you design effectively, here’s a categorized list of indoor plants based on their leaf texture types.

1. Glossy-Textured Plants

  • Rubber Plant (Ficus elastica) – Large, shiny leaves add drama and reflect ambient light.
  • ZZ Plant (Zamioculcas zamiifolia) – Waxy foliage provides structure and low-maintenance elegance.
  • Peace Lily (Spathiphyllum) – Glossy leaves paired with white blooms add sophistication.
  • Philodendron Birkin – Glossy striped leaves give a modern touch.

2. Velvety-Textured Plants

  • African Violet (Saintpaulia) – Soft, fuzzy leaves with vibrant flowers.
  • Calathea Zebrina – Velvety, striped leaves add depth and visual luxury.
  • Begonia Rex – Colorful, textured leaves with a metallic sheen.
  • Tradescantia ‘Nanouk’ – Slightly hairy, pastel-toned leaves for a playful touch.

3. Rough or Leathery-Textured Plants

  • Snake Plant (Sansevieria trifasciata) – Stiff, upright leaves for structure and contrast.
  • Aloe Vera – Textured and slightly spiky leaves for a bold, architectural look.
  • Succulents (Echeveria, Haworthia) – Thick, rough leaves that add substance and form.
  • Aglaonema (Chinese Evergreen) – Broad, leathery leaves with patterned variegation.

4. Fine or Feathery-Textured Plants

  • Asparagus Fern – Airy foliage that softens hard lines.
  • Maidenhair Fern (Adiantum) – Delicate, lace-like leaves perfect for light contrast.
  • Cypress Vine or Mimosa Pudica – Unique, finely divided leaves for visual movement.
  • Baby’s Tears (Soleirolia soleirolii) – Tiny, cascading leaves for ground coverage.

Design Ideas for Mixing Leaf Textures Indoors

Here are a few creative display concepts that highlight the power of texture in indoor plant styling:

1. The Modern Minimalist Display

If your space has clean lines and neutral tones, choose a few plants with strong, simple textures.

  • Use a Rubber Plant as your anchor, add a ZZ Plant for a second glossy layer, and finish with a Snake Plant for vertical texture contrast.
  • Place them in sleek ceramic or metallic pots to maintain a minimalist aesthetic.

2. The Tropical Jungle Corner

For lush, layered charm, mix bold, velvety, and feathery foliage.

  • Combine Monstera, Calathea Orbifolia, Boston Fern, and Philodendron Brasil.
  • Use rattan or bamboo planters to enhance the tropical vibe and position plants at varying heights for a cascading effect.

3. The Bohemian Shelf Garden

A mix of small pots with diverse textures works wonders on open shelves.

  • Try pairing Pothos, Spider Plant, Begonia Rex, and Tradescantia in contrasting containers.
  • Hang a String of Hearts or English Ivy for trailing softness and dynamic movement.

4. The Office Green Zone

For a work-friendly environment, choose low-maintenance yet visually striking plants.

  • Combine ZZ Plant, Snake Plant, Aglaonema, and Peace Lily.
  • Their contrasting leaf textures and upright forms add energy without needing frequent care.

Lighting and Texture: The Hidden Connection

Light plays a key role in how textures appear. Glossy leaves shine beautifully under bright indirect light, emphasizing their reflective surfaces, while velvety or matte leaves look richer in lower light as they absorb rather than reflect light.

Tips:

  • Place glossy-leaved plants near bright windows to enhance their glow.
  • Keep fuzzy or delicate plants like African Violets away from harsh sunlight to prevent leaf scorch.
  • Use artificial lighting to highlight mixed textures at night—LED grow lights with warm tones add dimension and ambiance.

Maintenance Tips for a Polished Look

To keep your textured display vibrant and healthy:

  1. Dust regularly. Smooth and glossy leaves collect dust easily, dulling their shine. Use a damp cloth or mild leaf shine spray.
  2. Prune strategically. Remove damaged or yellowing leaves to maintain contrast and structure.
  3. Rotate plants weekly. This ensures even light exposure, especially for displays featuring plants with different light preferences.
  4. Mist and humidify. Velvety and fine-textured plants like ferns and Calatheas thrive in humidity.
  5. Feed moderately. Use balanced liquid fertilizer every 4–6 weeks during the growing season for lush growth.

Final Thoughts

Mixing different leaf textures is more than just an aesthetic choice—it’s a form of living art. By understanding how light, texture, and form interact, you can transform your indoor garden into a visually rich and harmonious display that feels alive and balanced.

Whether you’re designing a sleek modern corner, a cozy bohemian nook, or a lush tropical sanctuary, the right combination of glossy, velvety, rough, and feathery leaves will make your space look stunning and full of life.

So, start experimenting—mix textures, play with heights, and watch your indoor display evolve into a breathtaking showcase of nature’s artistry.

The Easiest Trailing Plants to Grow Indoors

The Easiest Trailing Plants to Grow Indoors

There’s something effortlessly beautiful about trailing plants. Their cascading vines and lush green leaves bring a touch of nature’s elegance to any interior — whether they’re hanging from ceiling baskets, draping over bookshelves, or adorning window sills. The best part? Many trailing houseplants are surprisingly easy to care for, even if you don’t have a green thumb.

In this detailed guide, we’ll explore the easiest trailing plants to grow indoors, how to care for them, and where they look best in your home. These plants don’t just add charm — they also purify the air and create a calming, cozy vibe.


Why Choose Trailing Indoor Plants?

Trailing plants (also known as cascading or vining plants) are among the most rewarding indoor greenery to grow because:

  • They add vertical interest, transforming plain walls or shelves into lush displays.
  • Most varieties are low-maintenance and adapt well to indoor conditions.
  • They can improve indoor air quality by filtering toxins.
  • Many are easy to propagate, so one plant can become many.

From bright-light lovers to shade-tolerant species, there’s a trailing plant for every home environment.


1. Pothos (Epipremnum aureum)

Why it’s easy: Pothos, also known as “Devil’s Ivy,” is practically indestructible. It thrives in low to bright indirect light and tolerates occasional neglect.

Care tips:

  • Water only when the top inch of soil feels dry.
  • It grows well in normal room humidity.
  • Trim regularly to encourage bushier growth.

Bonus: You can grow pothos in both soil and water. Just place a cutting in a jar of clean water, and it will root easily.

Best varieties: Golden Pothos, Marble Queen, Neon Pothos, and Jade Pothos.

Where to display: Hanging baskets, high shelves, or trailing down a bookcase for a natural, jungle-inspired look.


2. Heartleaf Philodendron (Philodendron hederaceum)

Why it’s easy: A classic favorite, the heartleaf philodendron adapts to almost any indoor space. Its glossy, heart-shaped leaves and graceful vines grow quickly, even in low light.

Care tips:

  • Keep soil slightly moist but not soggy.
  • Avoid direct sunlight, which can scorch leaves.
  • Fertilize lightly every 4–6 weeks during spring and summer.

Bonus: It’s one of the best trailing plants for beginners because it bounces back easily from under- or overwatering.

Where to display: Ideal for hanging planters near windows or trailing from tall furniture.


3. English Ivy (Hedera helix)

Why it’s easy: English ivy is a timeless indoor vine with beautiful lobed leaves that adapt to different conditions. It’s fast-growing and can trail beautifully from shelves or window boxes.

Care tips:

  • Prefers bright, indirect light but tolerates moderate shade.
  • Let the top layer of soil dry between waterings.
  • Mist occasionally to maintain humidity.

Bonus: It’s a great air purifier and can help reduce mold in humid spaces.

Where to display: Hanging baskets, windowsills, or trained along trellises indoors.


4. String of Hearts (Ceropegia woodii)

Why it’s easy: This delicate, romantic plant produces tiny heart-shaped leaves with silver marbling — perfect for hanging pots. Despite its fragile look, it’s hardy and drought-tolerant.

Care tips:

  • Loves bright, indirect light.
  • Allow soil to dry completely between waterings.
  • Avoid overwatering — its tuberous roots store moisture well.

Bonus: It grows quickly and looks stunning cascading several feet long.

Where to display: In a hanging basket near a bright window or high shelf where its long vines can spill gracefully downward.


5. Spider Plant (Chlorophytum comosum)

Why it’s easy: Few houseplants are as resilient as the spider plant. Known for its arching leaves and baby “spiderettes,” this plant thrives even in less-than-ideal conditions.

Care tips:

  • Bright to moderate indirect light works best.
  • Water once a week, allowing the soil to dry between waterings.
  • Cut off baby offshoots to propagate new plants.

Bonus: It’s pet-friendly and one of NASA’s top-rated air-purifying plants.

Where to display: Hanging baskets, plant stands, or atop cabinets where the offshoots can cascade naturally.


6. String of Pearls (Senecio rowleyanus)

Why it’s easy: A succulent with a twist, this plant’s round, pearl-like leaves make it one of the most visually striking trailing plants for indoors.

Care tips:

  • Needs bright, indirect light — or a few hours of morning sun.
  • Water sparingly; allow soil to dry completely before watering again.
  • Use a cactus or succulent mix for proper drainage.

Bonus: Each “string” can grow several feet long, making it perfect for modern minimalist spaces.

Where to display: Hanging planters or tall shelves — just ensure it gets enough light.


7. Tradescantia Zebrina (Wandering Jew)

Why it’s easy: With its purple-and-silver striped leaves, this plant adds vibrant color and texture to any space. It’s hardy and fast-growing, making it an excellent choice for beginners.

Care tips:

  • Prefers bright, filtered light for vibrant leaf color.
  • Water when the soil’s top inch is dry.
  • Pinch off growing tips to encourage fuller vines.

Bonus: Very easy to propagate — simply place stem cuttings in water or soil.

Where to display: Near bright windows, hanging planters, or as a trailing desk accent.


8. String of Turtles (Peperomia prostrata)

Why it’s easy: This adorable trailing plant features tiny, patterned leaves that resemble turtle shells. Despite its exotic look, it’s beginner-friendly.

Care tips:

  • Prefers bright, indirect light.
  • Keep soil evenly moist but not soggy.
  • Likes moderate humidity but tolerates normal indoor levels.

Bonus: Compact and slow-growing, so it won’t overrun small spaces.

Where to display: Terrariums, small hanging pots, or as a desktop accent.


9. Hoya Linearis (Wax Plant)

Why it’s easy: Hoyas are known for their thick, waxy leaves and star-shaped flowers. The Hoya linearis variety trails beautifully with soft, narrow leaves that look elegant indoors.

Care tips:

  • Bright, indirect light is best.
  • Water only when soil is dry to the touch.
  • Provide good airflow and occasional misting.

Bonus: With proper care, it blooms with fragrant, creamy-white flowers.

Where to display: Hanging baskets near east-facing windows.


10. Peperomia Hope (Peperomia tetraphylla)

Why it’s easy: Compact and low-maintenance, Peperomia Hope features thick, round leaves that trail gracefully from small pots.

Care tips:

  • Medium to bright indirect light works best.
  • Water when soil feels dry halfway down.
  • Avoid overwatering — roots prefer to stay slightly dry.

Bonus: Its semi-succulent nature makes it drought-tolerant and resilient to occasional neglect.

Where to display: On floating shelves, window ledges, or plant stands.


Bonus Tip: How to Keep Trailing Plants Healthy Indoors

Even though these plants are easy to grow, a few simple practices will keep them thriving and lush year-round:

  1. Rotate pots every few weeks so all sides get equal light exposure.
  2. Trim and prune regularly to maintain shape and prevent legginess.
  3. Fertilize monthly during the growing season (spring and summer).
  4. Wipe leaves clean to allow proper photosynthesis and prevent dust buildup.
  5. Propagate regularly to keep your plant collection growing and share cuttings with friends.

Final Thoughts

Trailing plants are among the easiest and most rewarding indoor plants to grow. They don’t just beautify your home — they add movement, texture, and life to your living space. Whether you love the lush green vines of pothos, the delicate strands of string of pearls, or the playful tendrils of spider plants, each brings a unique charm that enhances your interior décor.

Best of all, these low-maintenance climbers thrive with minimal care — making them perfect for both seasoned plant lovers and beginners looking to green up their homes.

So pick your favorites, hang them high, and let nature’s artistry trail through your home with effortless grace.