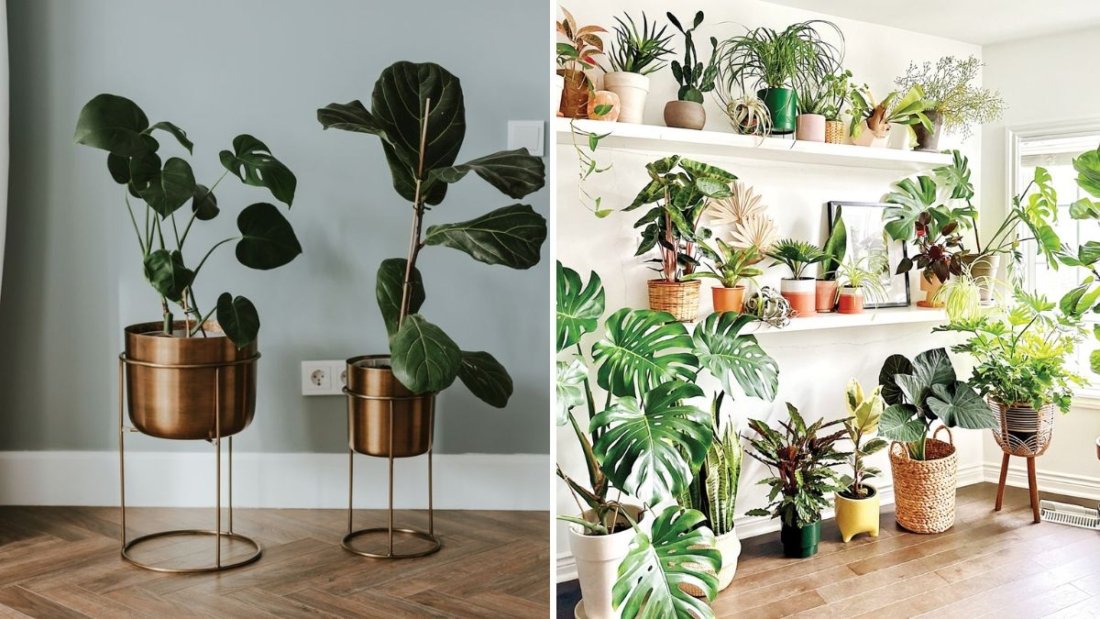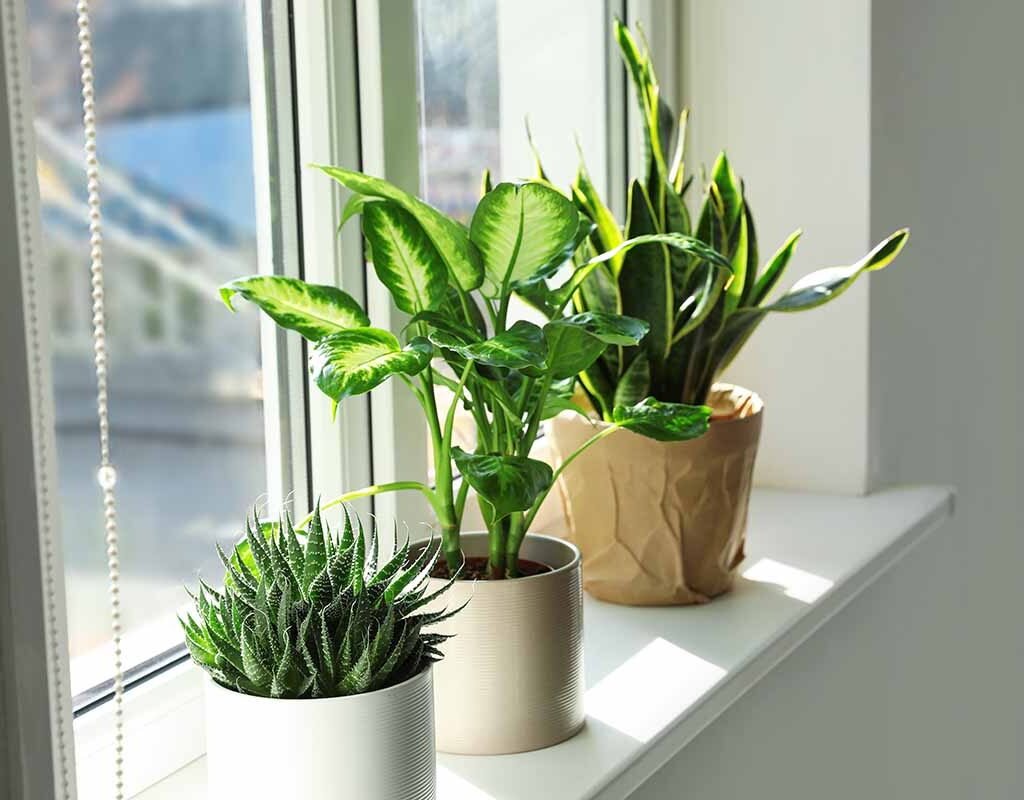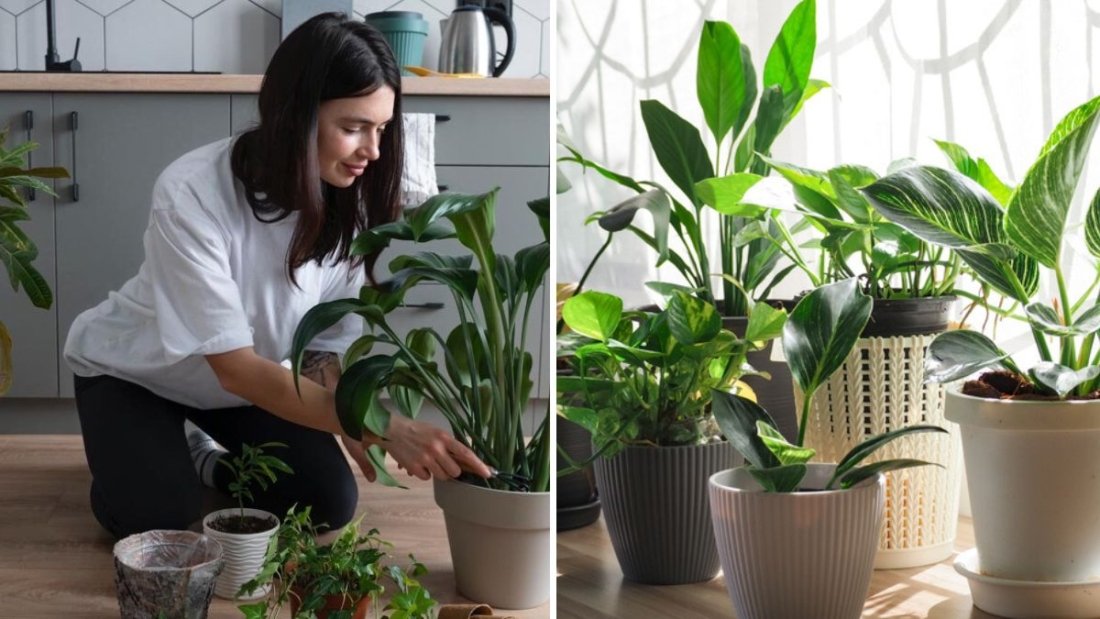
Central heating makes our homes warm and comfortable during chilly months, but it can also present unique challenges for indoor plants. While humans thrive in heated rooms, many houseplants struggle with dry air, fluctuating temperatures, and low humidity that often accompany heating systems. For plant lovers, finding greenery that can thrive in these conditions is essential for maintaining a healthy, vibrant indoor environment year-round.
This article explores the best indoor plants for homes with central heating, their care requirements, and practical strategies to help them flourish despite artificial warmth.
1. Understanding How Central Heating Affects Indoor Plants
Central heating provides consistent warmth but often dries out indoor air, especially during winter months. Heated air can:
- Reduce relative humidity to below 30%, which is stressful for most tropical plants.
- Accelerate soil moisture evaporation, increasing watering frequency.
- Stress plants sensitive to sudden temperature fluctuations near vents or radiators.
- Increase the likelihood of leaf browning, curling, or dropping.
To keep plants thriving, homeowners need to select species that are adaptable, drought-tolerant, and able to withstand low humidity while applying care strategies to mitigate these effects.
2. Key Factors to Consider When Choosing Plants for Heated Homes
When selecting plants for environments with central heating, focus on the following criteria:
a. Low Humidity Tolerance
Choose plants that tolerate dry indoor air. Many tropical plants prefer high humidity, but certain species can thrive even when moisture levels drop.
b. Drought-Resistant
Plants that store water in leaves, stems, or roots are more resilient in heated rooms. Succulents and semi-succulents are ideal for this purpose.
c. Temperature Stability
Avoid plants sensitive to temperature swings. Choose species that tolerate average indoor temperatures ranging from 18–24°C (65–75°F).
d. Low Maintenance
Since central heating often accelerates water loss, select hardy plants that require minimal attention, reducing stress for both plant and owner.
By considering these factors, you can select indoor greenery that adapts naturally to warm, dry, or fluctuating conditions.
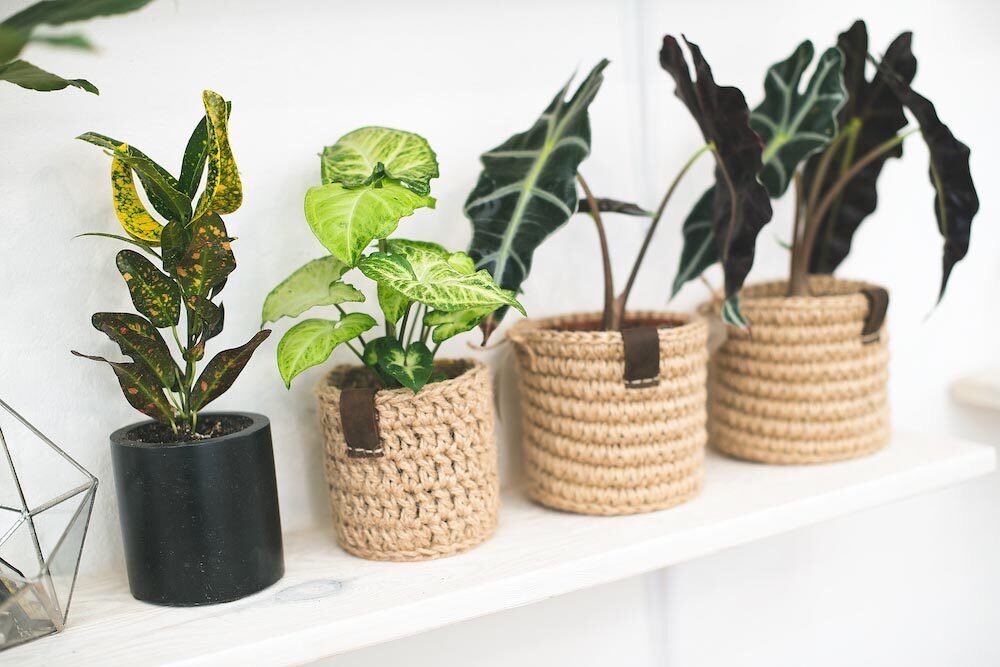
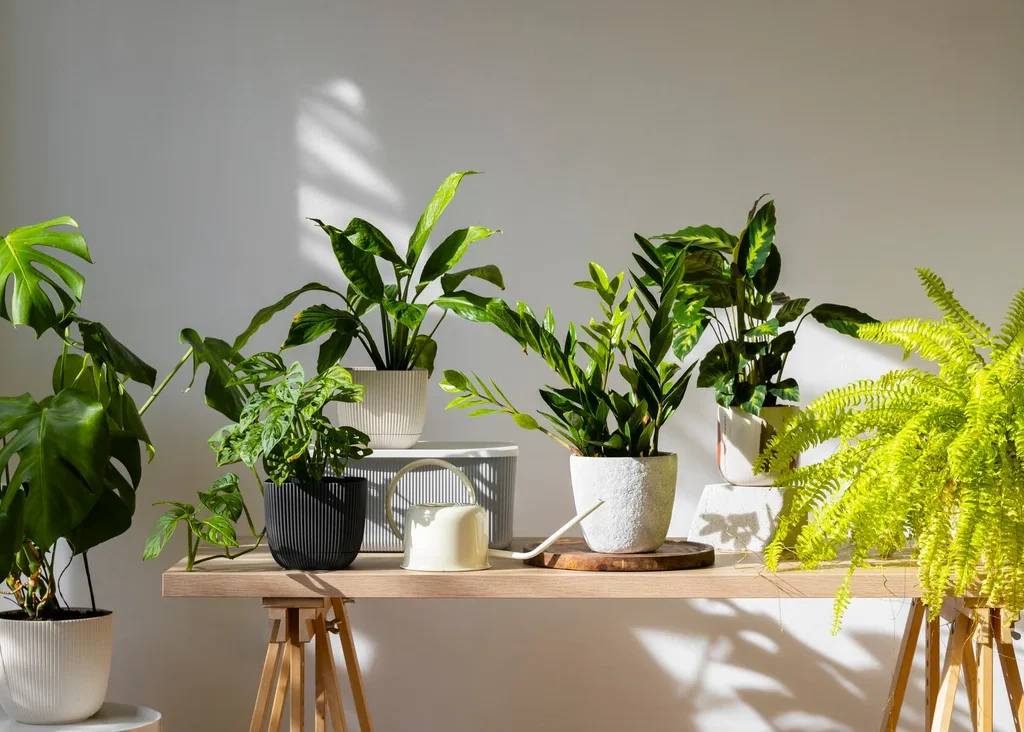
3. The Best Indoor Plants for Homes With Central Heating
Here is a curated list of plants that thrive in heated indoor spaces while adding beauty, greenery, and air purification benefits.
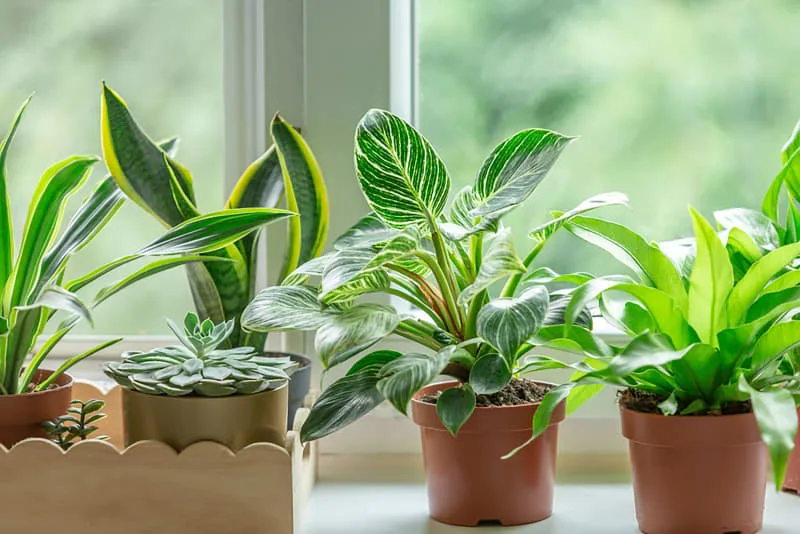
1. Snake Plant (Sansevieria trifasciata)
Snake plants are nearly indestructible and highly adaptable, making them ideal for heated homes. Their succulent leaves store water, allowing them to withstand dry air and irregular watering.
Benefits:
- Tolerates low humidity and low light conditions.
- Purifies air by removing formaldehyde and benzene.
- Requires minimal maintenance.
Care Tips:
- Water sparingly; let the soil dry between waterings.
- Avoid placing directly over heating vents.
- Can grow in low-light corners, perfect for bedrooms or living rooms.
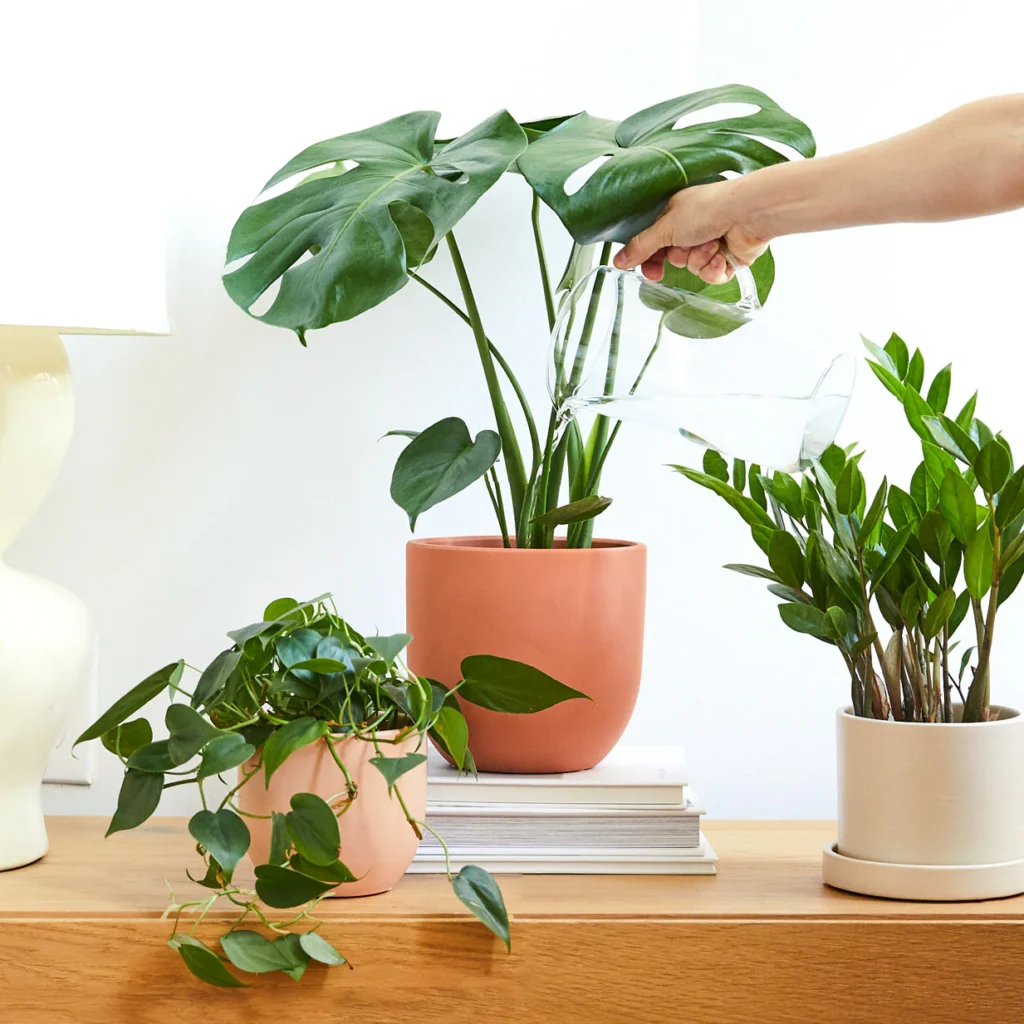
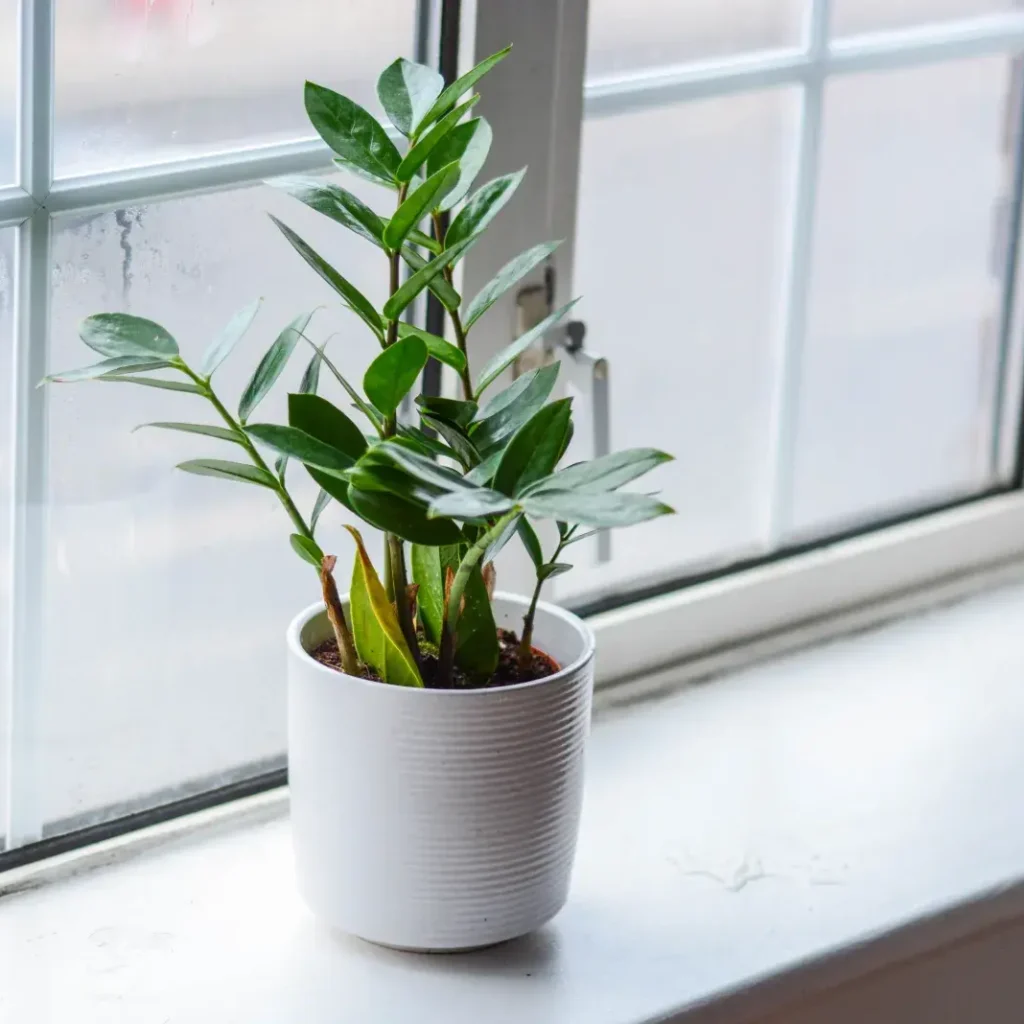
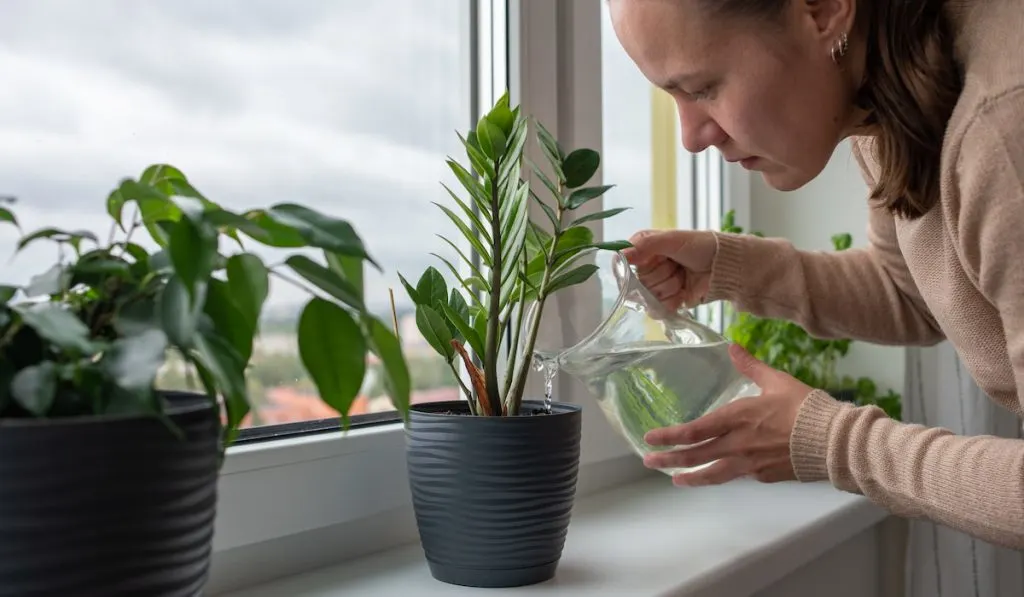
2. ZZ Plant (Zamioculcas zamiifolia)
The ZZ plant is known for its resilience. With thick, waxy leaves, it retains moisture efficiently, tolerating central heating and low-humidity conditions effortlessly.
Benefits:
- Drought-tolerant and low-maintenance.
- Survives in low to medium light.
- Air-purifying properties add value to indoor spaces.
Care Tips:
- Water only when soil is completely dry.
- Keep away from direct drafts or heat sources.
- Rotate periodically to ensure even growth.
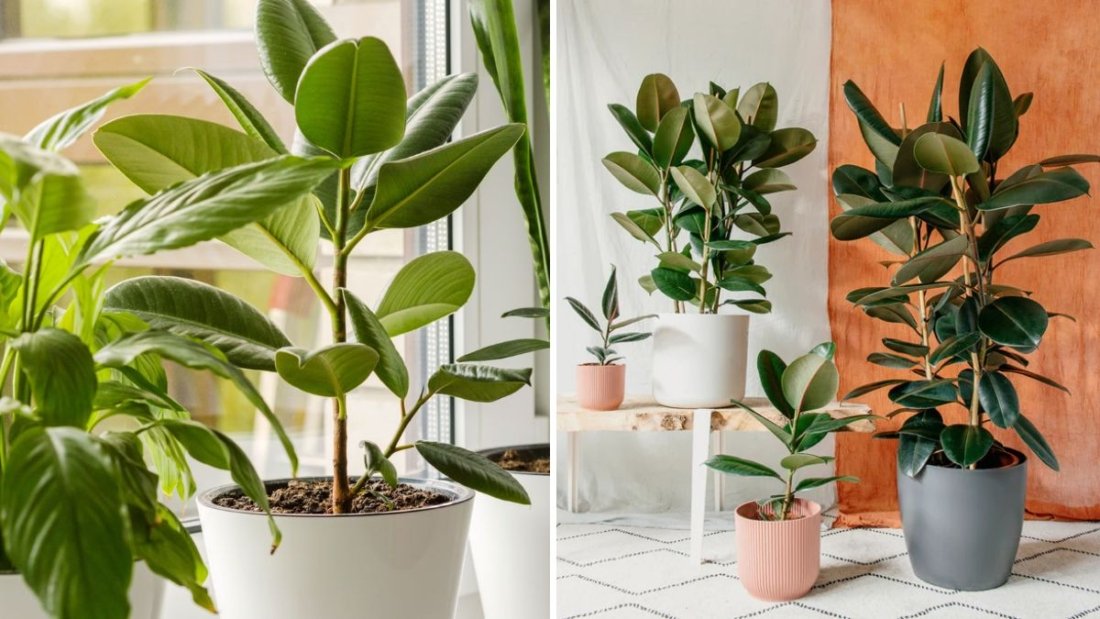
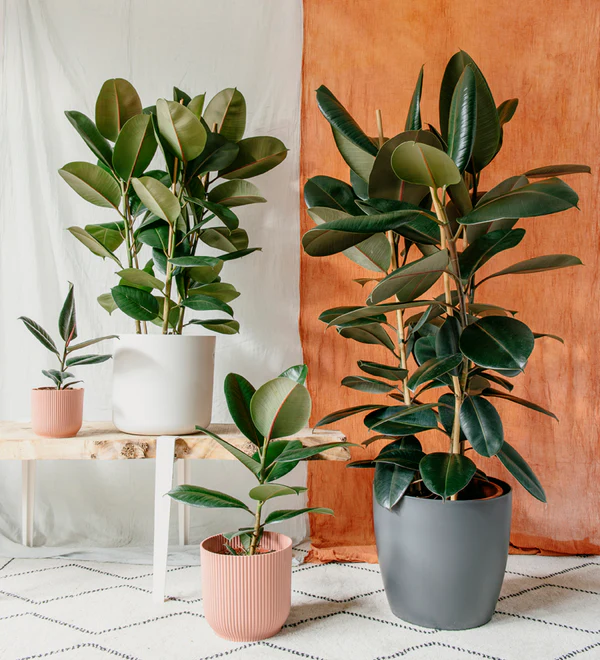
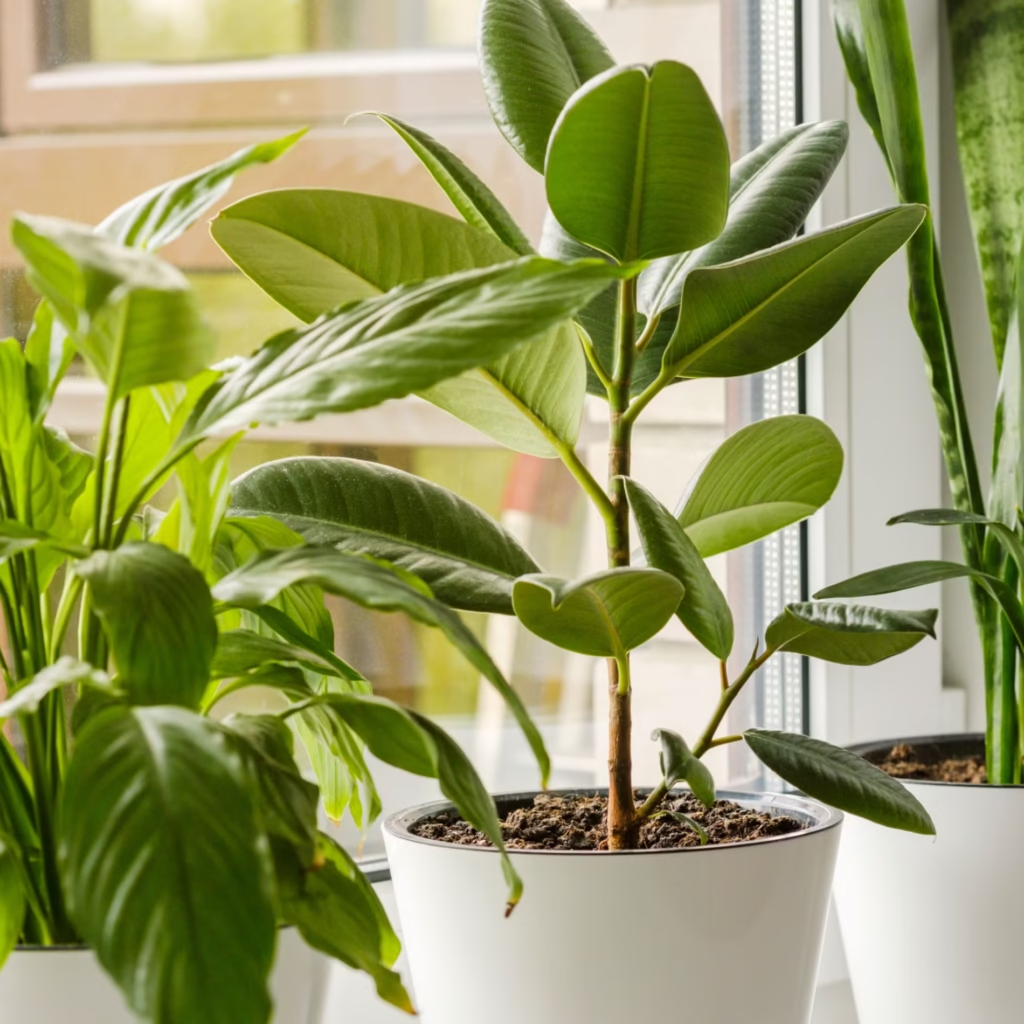
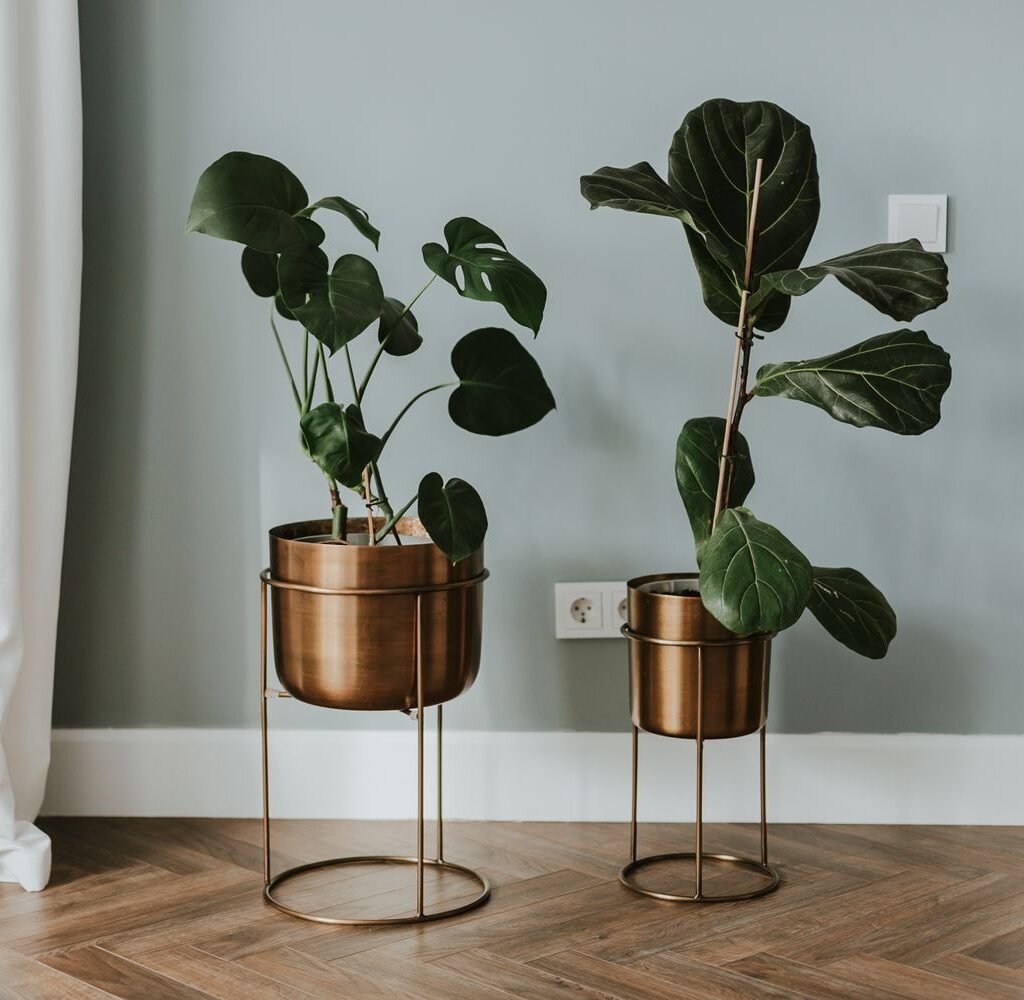
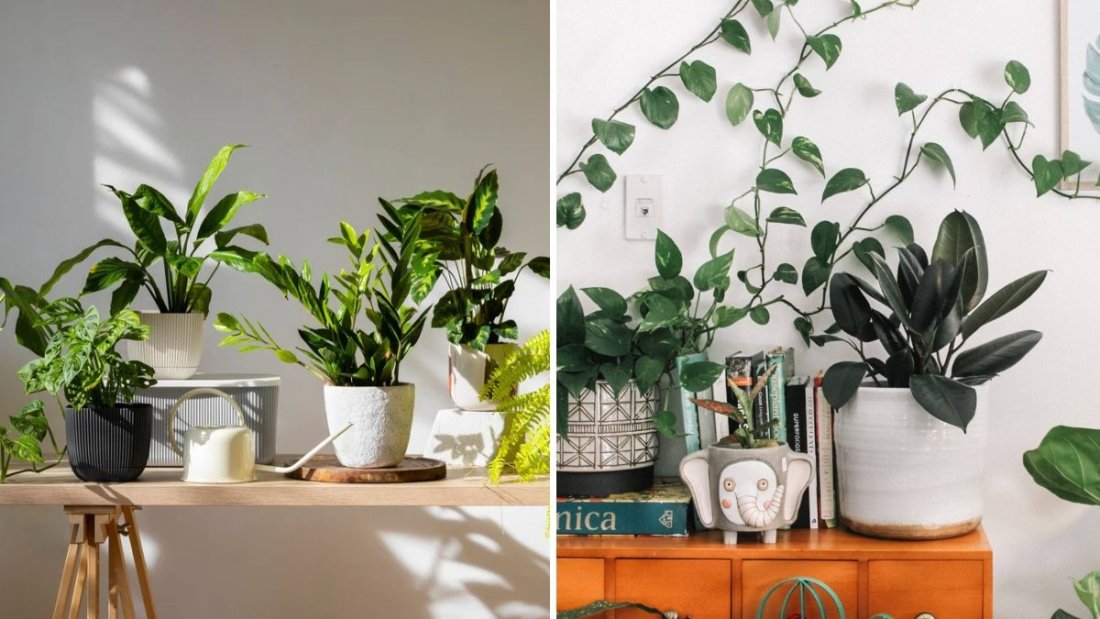
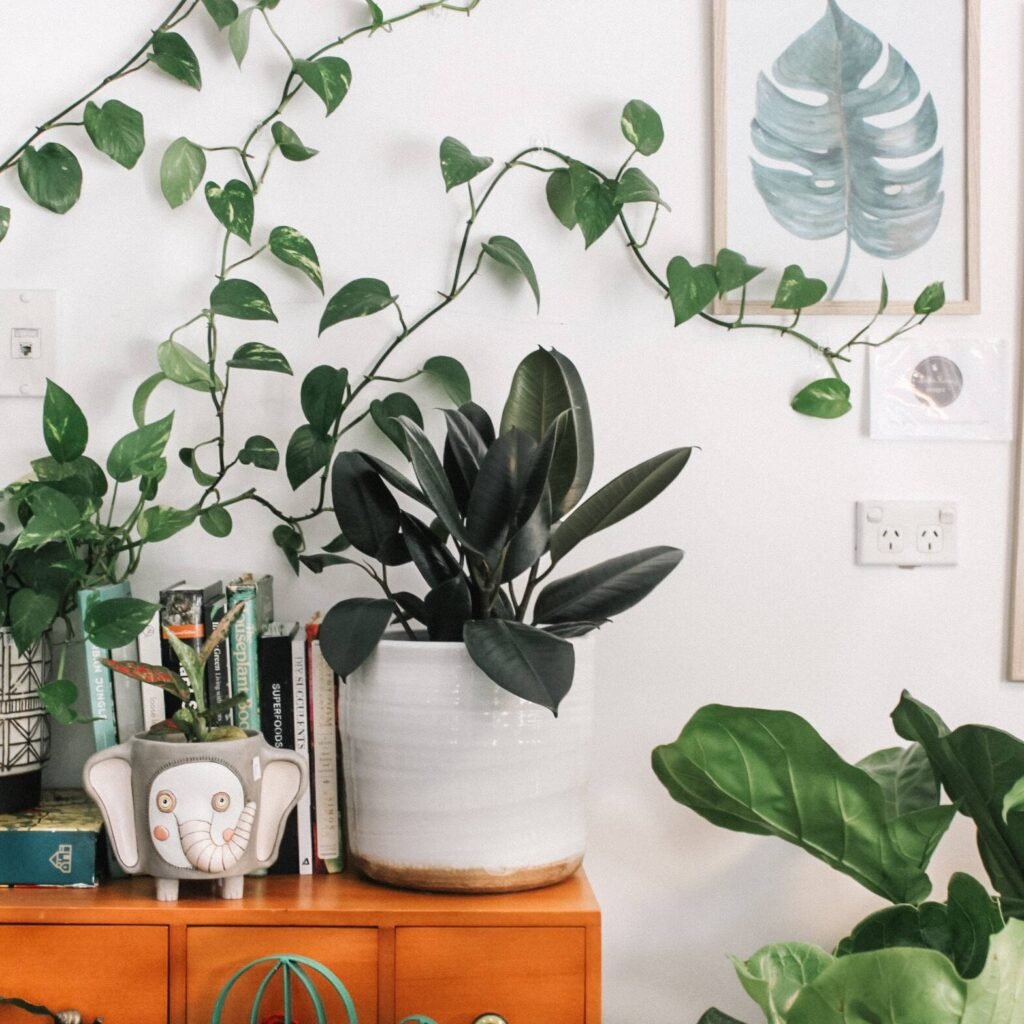
3. Rubber Plant (Ficus elastica)
The rubber plant has thick, glossy leaves that tolerate dry indoor air well. It is a robust tropical plant that can thrive in moderate light and warm conditions.
Benefits:
- Tolerates low humidity associated with heating.
- Filters indoor pollutants like formaldehyde.
- Adds height and visual impact to rooms.
Care Tips:
- Moderate watering; allow the top inch of soil to dry.
- Avoid placing near radiators or heating ducts.
- Mist leaves occasionally to improve humidity around the plant.
4. Spider Plant (Chlorophytum comosum)
Spider plants are classic indoor greenery known for their hardiness. They thrive under fluctuating temperatures and low humidity, making them ideal for heated homes.
Benefits:
- Very forgiving of neglect.
- Air-purifying properties help maintain indoor air quality.
- Produces charming baby plants for propagation.
Care Tips:
- Water when the soil is slightly dry.
- Bright, indirect light is preferred but not mandatory.
- Trim brown tips caused by low humidity and dry air.
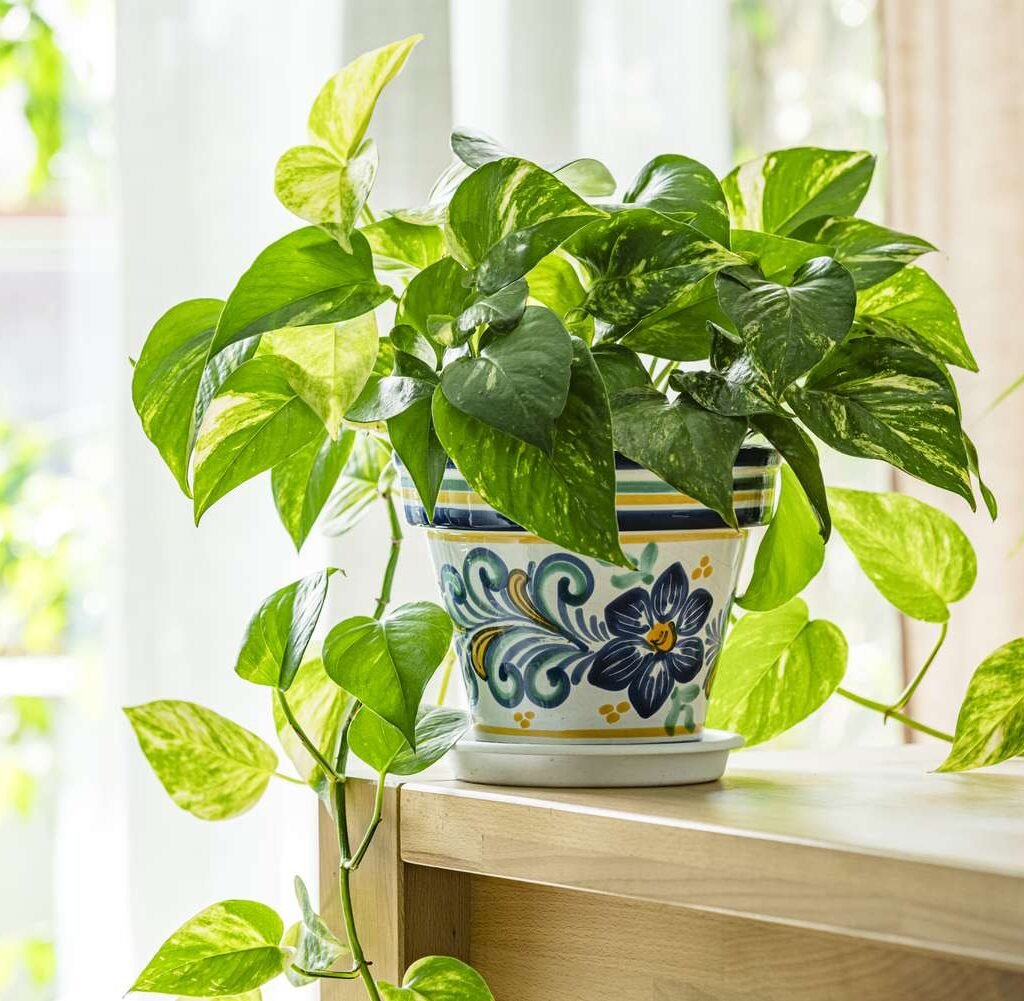
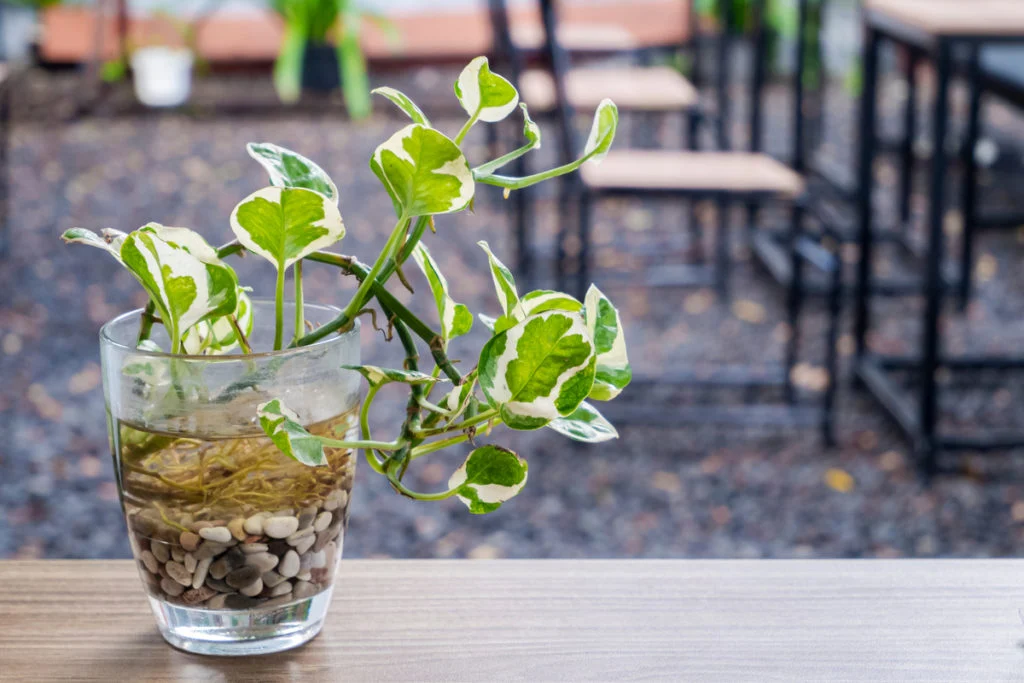
5. Pothos (Epipremnum aureum)
Pothos, or Devil’s Ivy, is extremely adaptable and can survive in a variety of indoor conditions. Its trailing vines make it perfect for shelves, hanging baskets, or tabletops.
Benefits:
- Thrives in low humidity and indirect light.
- Purifies air by removing toxins.
- Extremely low-maintenance, ideal for busy households.
Care Tips:
- Water sparingly; avoid soggy soil.
- Can tolerate temperature fluctuations but avoid placing too close to vents.
- Prune regularly to encourage bushier growth.
6. Aloe Vera (Aloe barbadensis miller)
Aloe vera is a succulent that excels in warm indoor environments. Its thick leaves store water, making it resistant to drying effects of heating.
Benefits:
- Low-maintenance and drought-tolerant.
- Produces oxygen and purifies air slightly.
- Leaves can be used for medicinal purposes.
Care Tips:
- Place in bright, indirect light.
- Water sparingly; let the soil dry completely between watering.
- Avoid overwatering to prevent root rot.
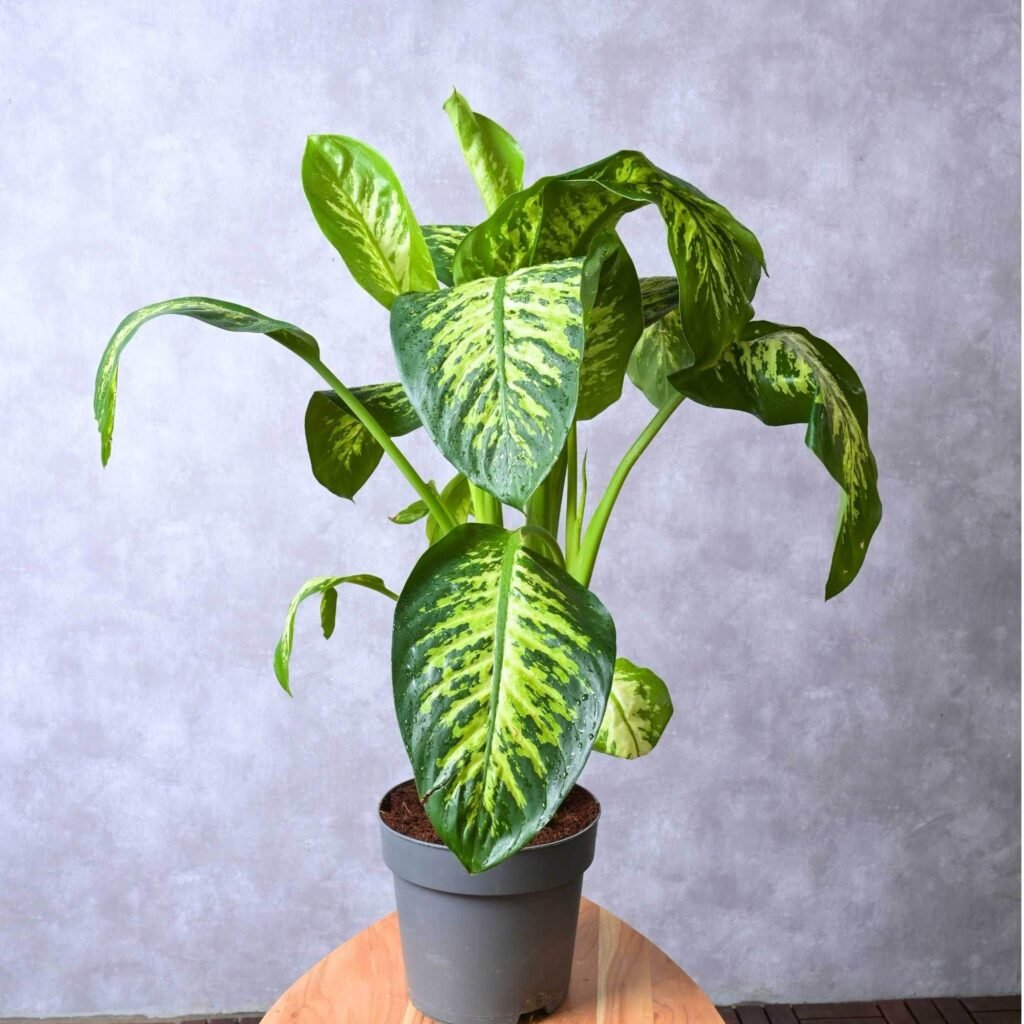
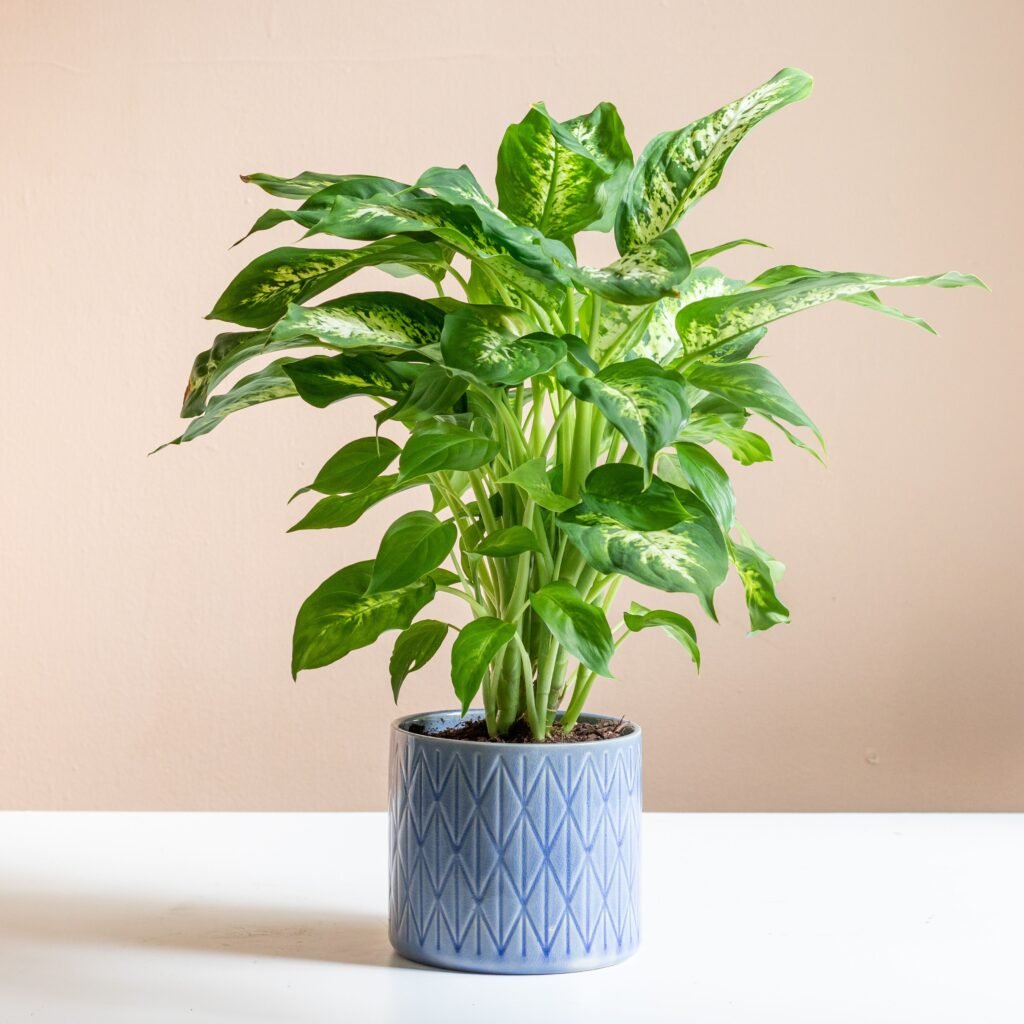
7. Dracaena (Dracaena marginata / Dracaena fragrans)
Dracaena species are popular indoor plants that tolerate low humidity and adapt well to indoor temperatures. They are excellent for adding height and elegance.
Benefits:
- Survives dry, warm air.
- Air purification properties remove benzene, formaldehyde, and trichloroethylene.
- Hardy and visually appealing.
Care Tips:
- Moderate watering; allow soil to dry between waterings.
- Avoid direct heat from radiators.
- Remove yellow leaves to maintain aesthetics.
4. Tips to Keep Indoor Plants Thriving in Heated Homes
Even hardy plants benefit from extra care in heated environments. Here are practical strategies:
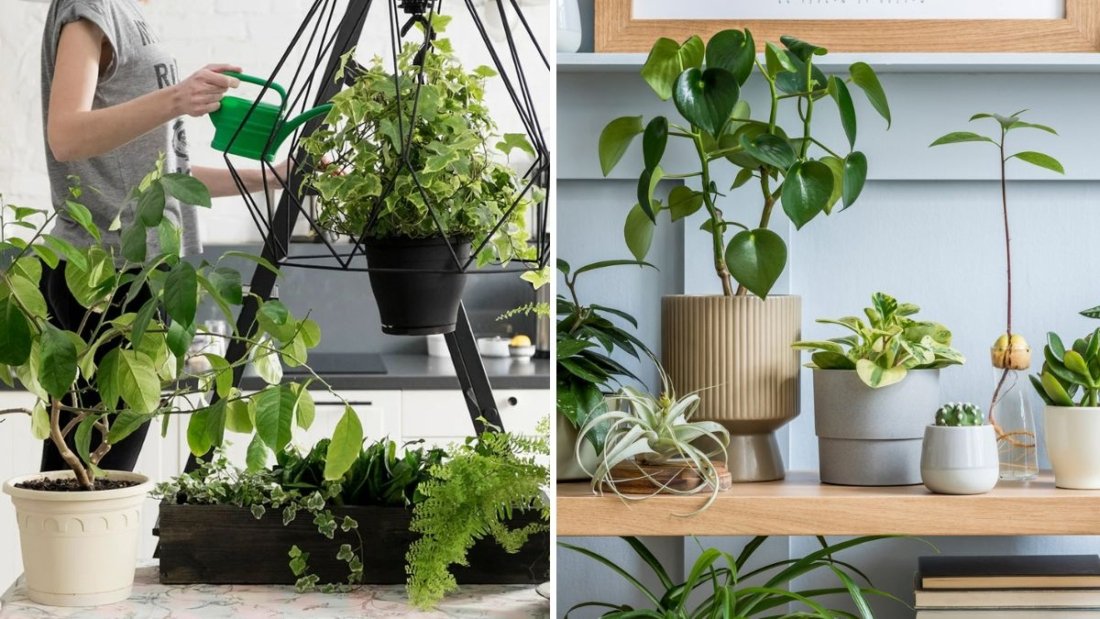
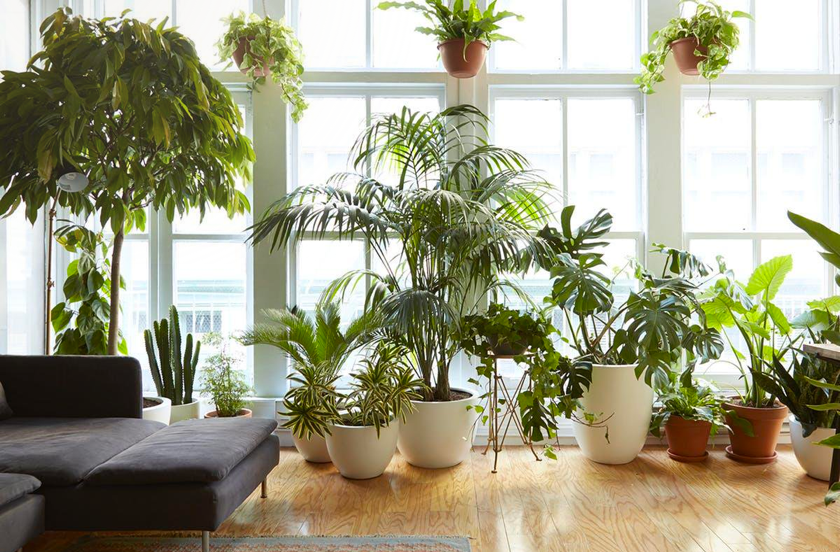
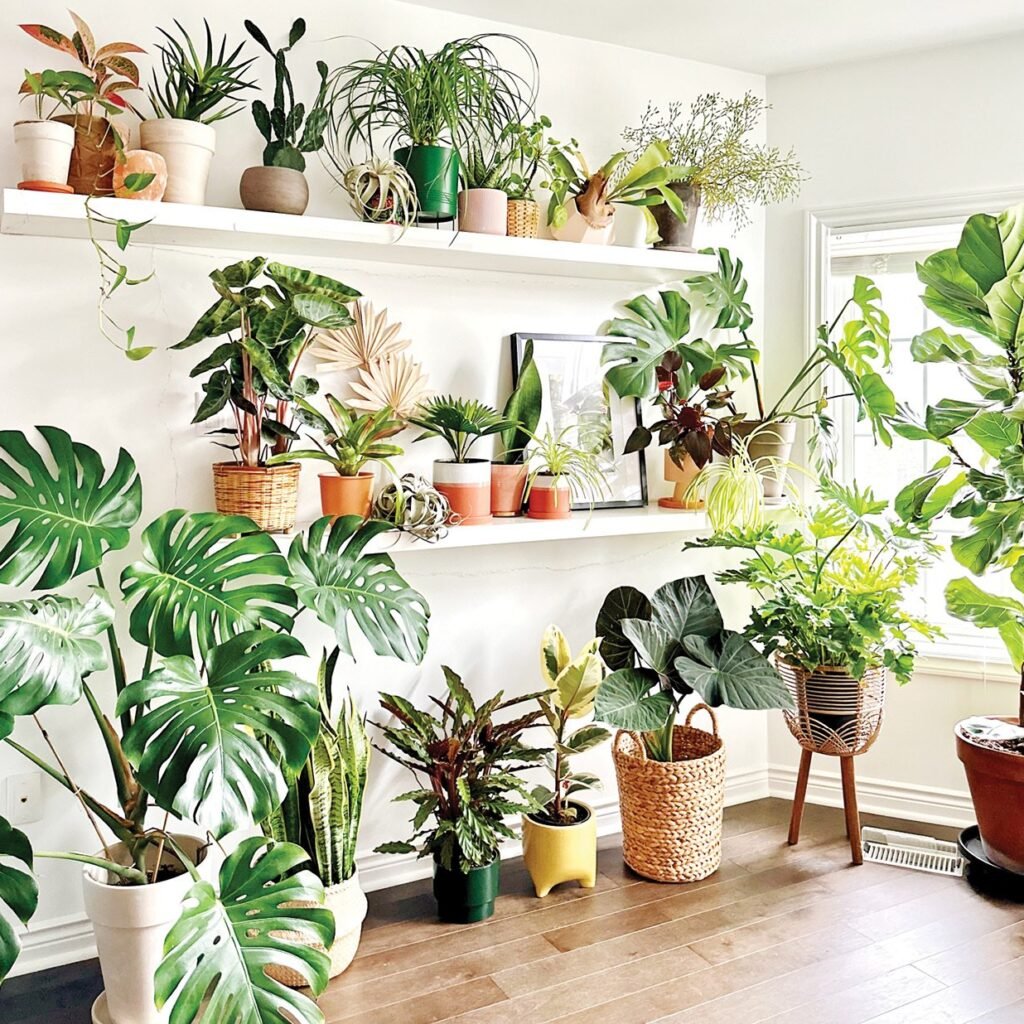
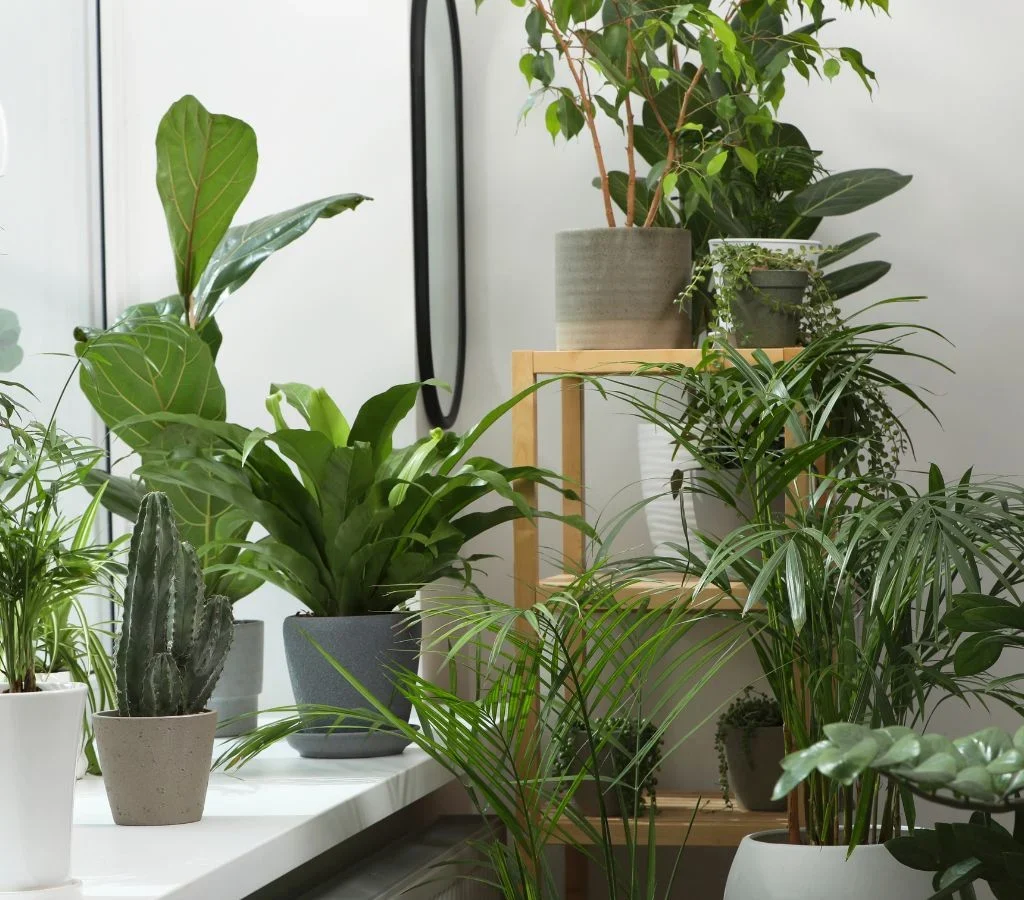
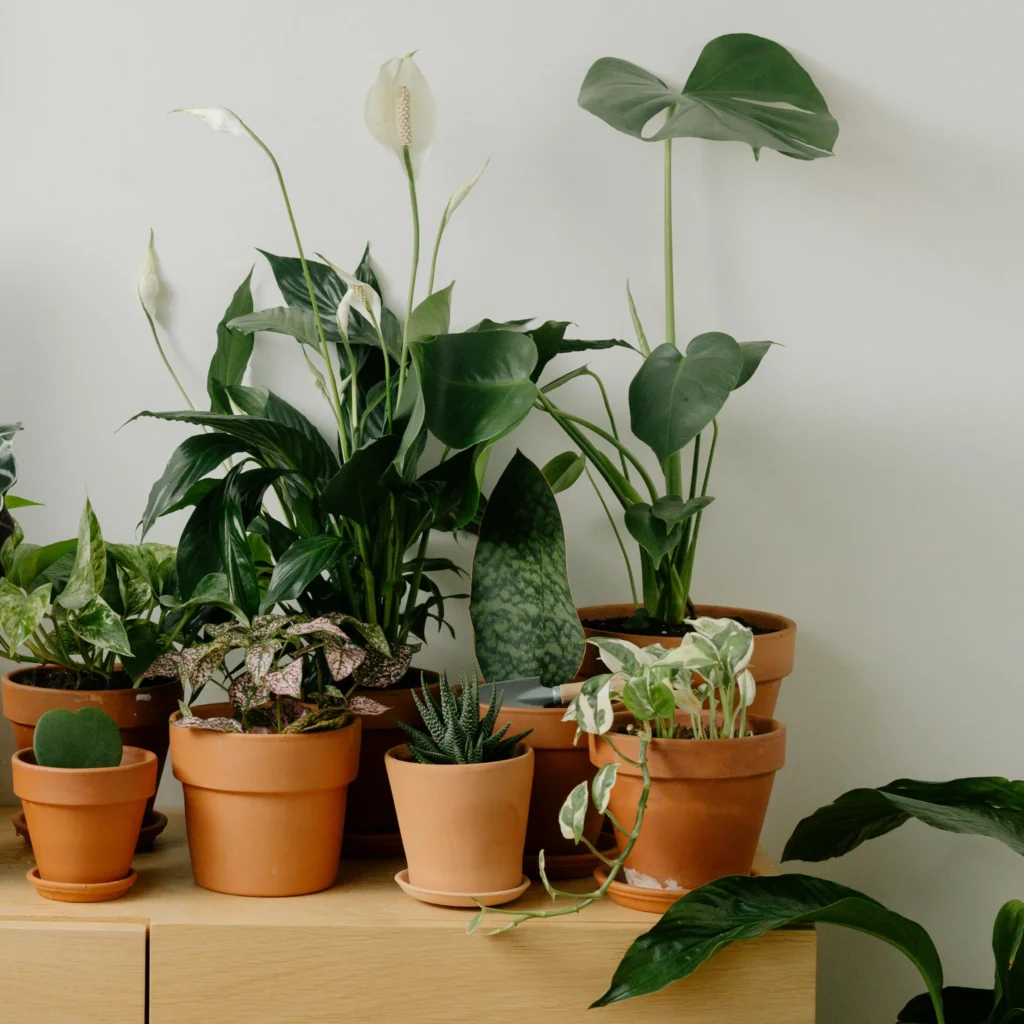
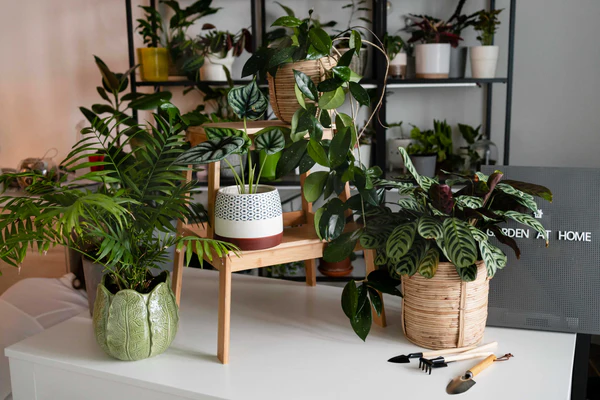
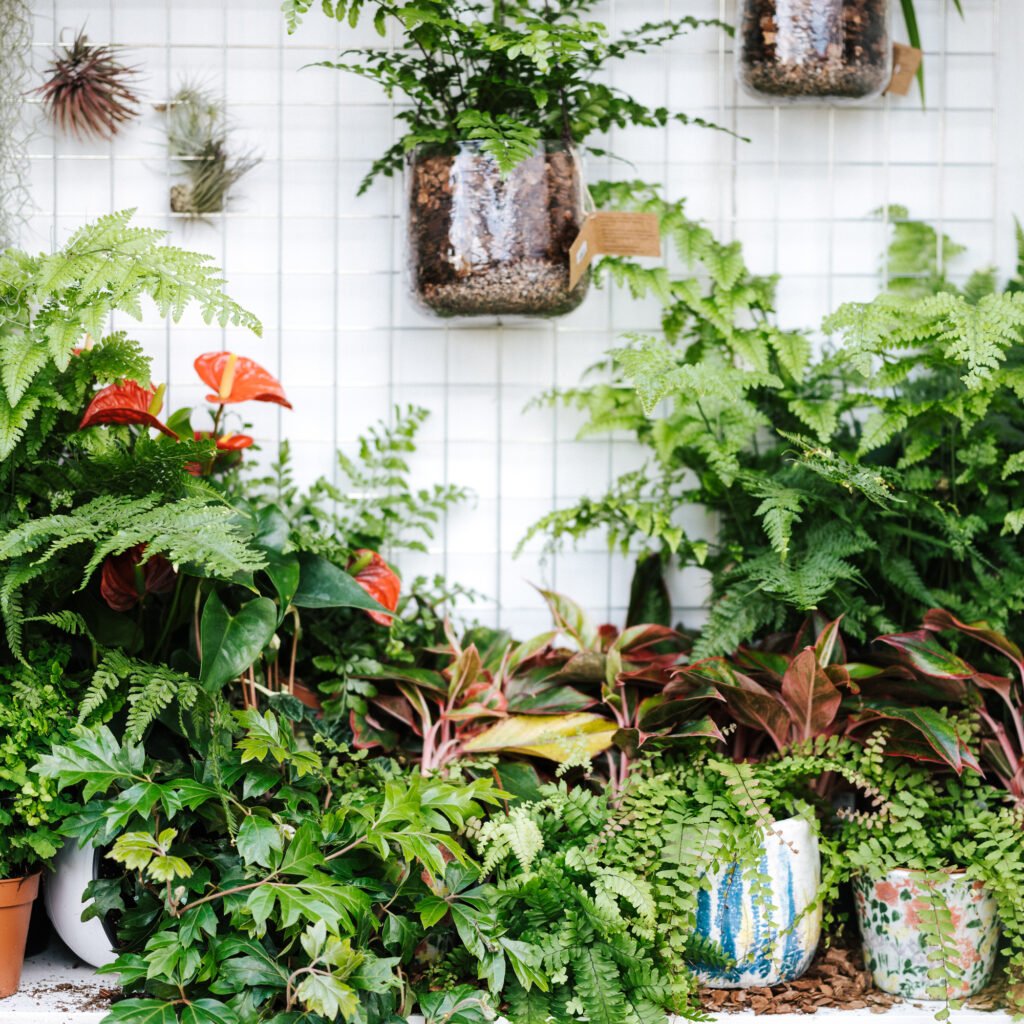
a. Increase Humidity
- Group plants together to create a natural humid microclimate.
- Use pebble trays or humidifiers.
- Mist tropical plants lightly during winter.
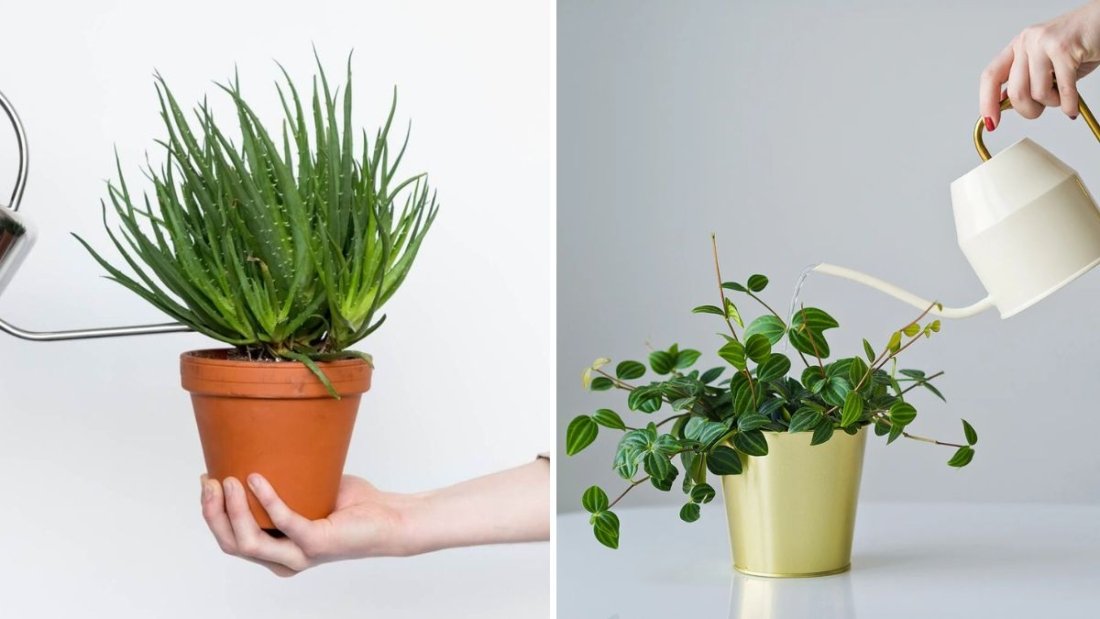
b. Adjust Watering
- Check soil moisture frequently; heated rooms cause soil to dry faster.
- Avoid overwatering, which can lead to root rot.
- Use self-watering pots or moisture-retaining soil for convenience.
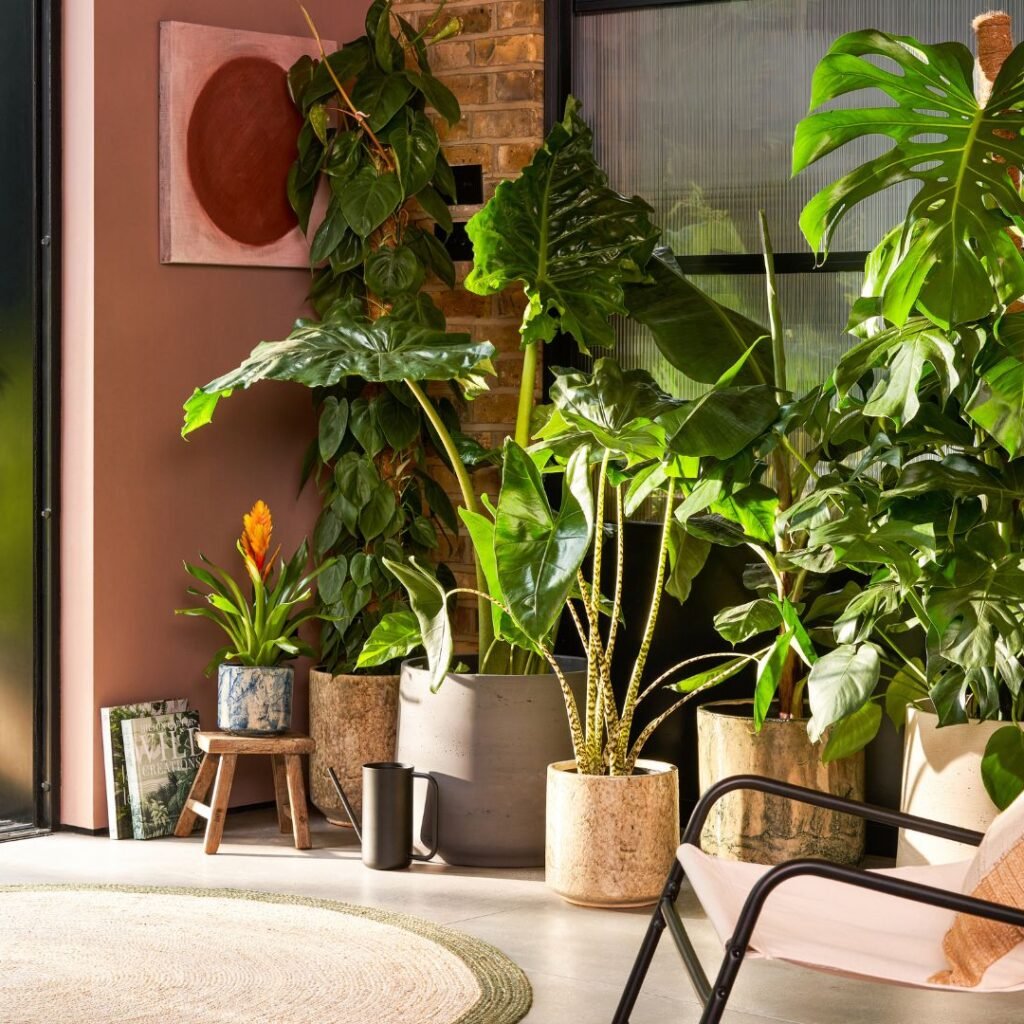
c. Avoid Direct Heating
- Keep plants away from radiators, vents, or heaters.
- Sudden hot air can stress foliage and dry leaves rapidly.
d. Rotate Plants
- Turn plants every few weeks to ensure even exposure to indirect sunlight.
e. Clean Leaves Regularly
- Dust reduces photosynthesis efficiency.
- Wipe leaves with a damp cloth or give plants a gentle shower periodically.
5. Selecting the Right Potting Soil
Soil choice can affect water retention in heated environments. For central-heated homes:
- Use well-draining soil for succulents and cacti.
- Choose moisture-retaining soil for tropical plants like peace lilies or rubber plants.
- Add perlite or vermiculite to balance drainage and moisture retention.
Healthy soil helps prevent stress caused by dry air or inconsistent watering.
6. Seasonal Adjustments for Heated Homes
Indoor plants respond to seasonal changes even in heated homes. During winter:
- Increase humidity around plants using trays or humidifiers.
- Reduce watering frequency as evaporation may be slower in some rooms.
- Ensure sufficient light by placing plants near windows or supplementing with grow lights.
In summer:
- Rotate plants away from intense sun if placed near windows.
- Adjust watering based on temperature and humidity levels.
These seasonal adjustments help plants thrive year-round, regardless of artificial heating.
7. Psychological and Environmental Benefits
Plants in heated homes offer more than aesthetic appeal:
- They improve indoor air quality, removing toxins that accumulate in sealed environments.
- Plants enhance well-being by reducing stress and increasing relaxation.
- Adding greenery compensates for the dryness caused by heating, making your home feel more natural and refreshing.
By carefully selecting resilient plants and providing optimal care, heated homes can become vibrant, healthy green spaces.
Conclusion
Homes with central heating pose unique challenges for indoor plants, primarily due to dry air, temperature fluctuations, and accelerated water loss. Selecting hardy, low-maintenance species such as snake plants, ZZ plants, rubber plants, spider plants, pothos, aloe vera, and dracaena ensures your indoor garden thrives despite these conditions.
Coupled with thoughtful care — proper watering, humidity management, and seasonal adjustments — these plants can flourish in heated rooms while improving air quality and aesthetics. By understanding your plants’ needs and making informed choices, you can maintain a thriving indoor garden even in the warmest, driest indoor environments.